TWIN CREEK VIADUCT


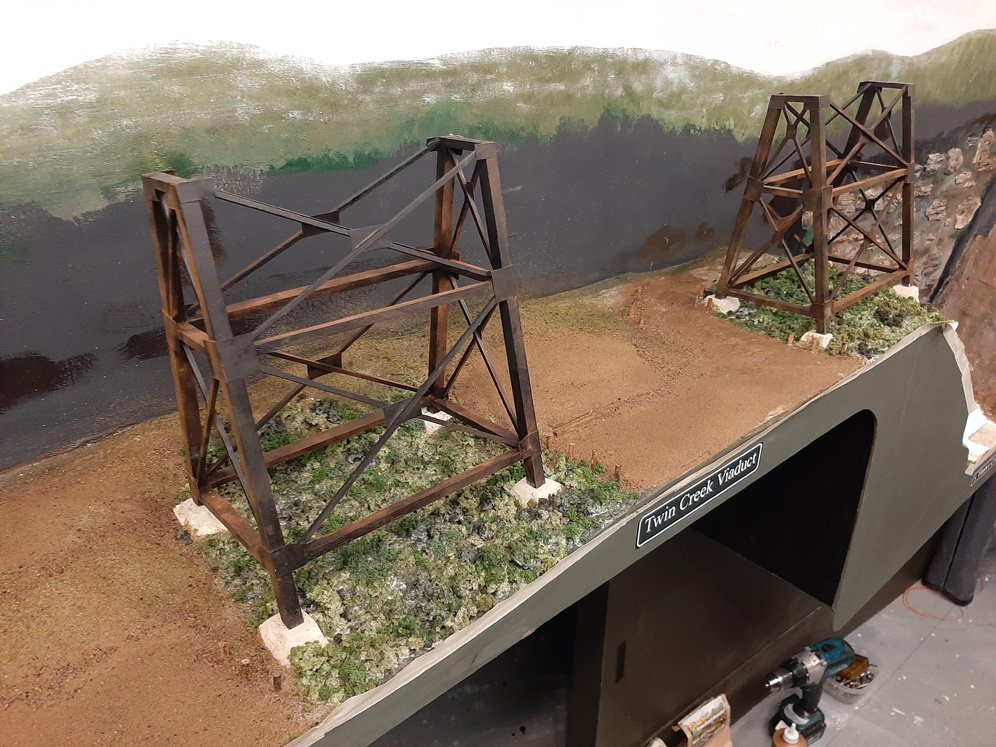


Time to finally complete the Twin Creek Viaduct scene. A 1.5” sq. aluminum tube carries tracks across “nature’s” gap.
1.5×1/8” lathe was contact cemented to the top for gluing ties. I would have liked the gap/gorge be deep all the way across this 500’ viaduct, but a necessary cross-basement duck under prevented that. So, Timber Creek divides into two channels before it gets to us. It also allowed me to honor my twin daughters :)
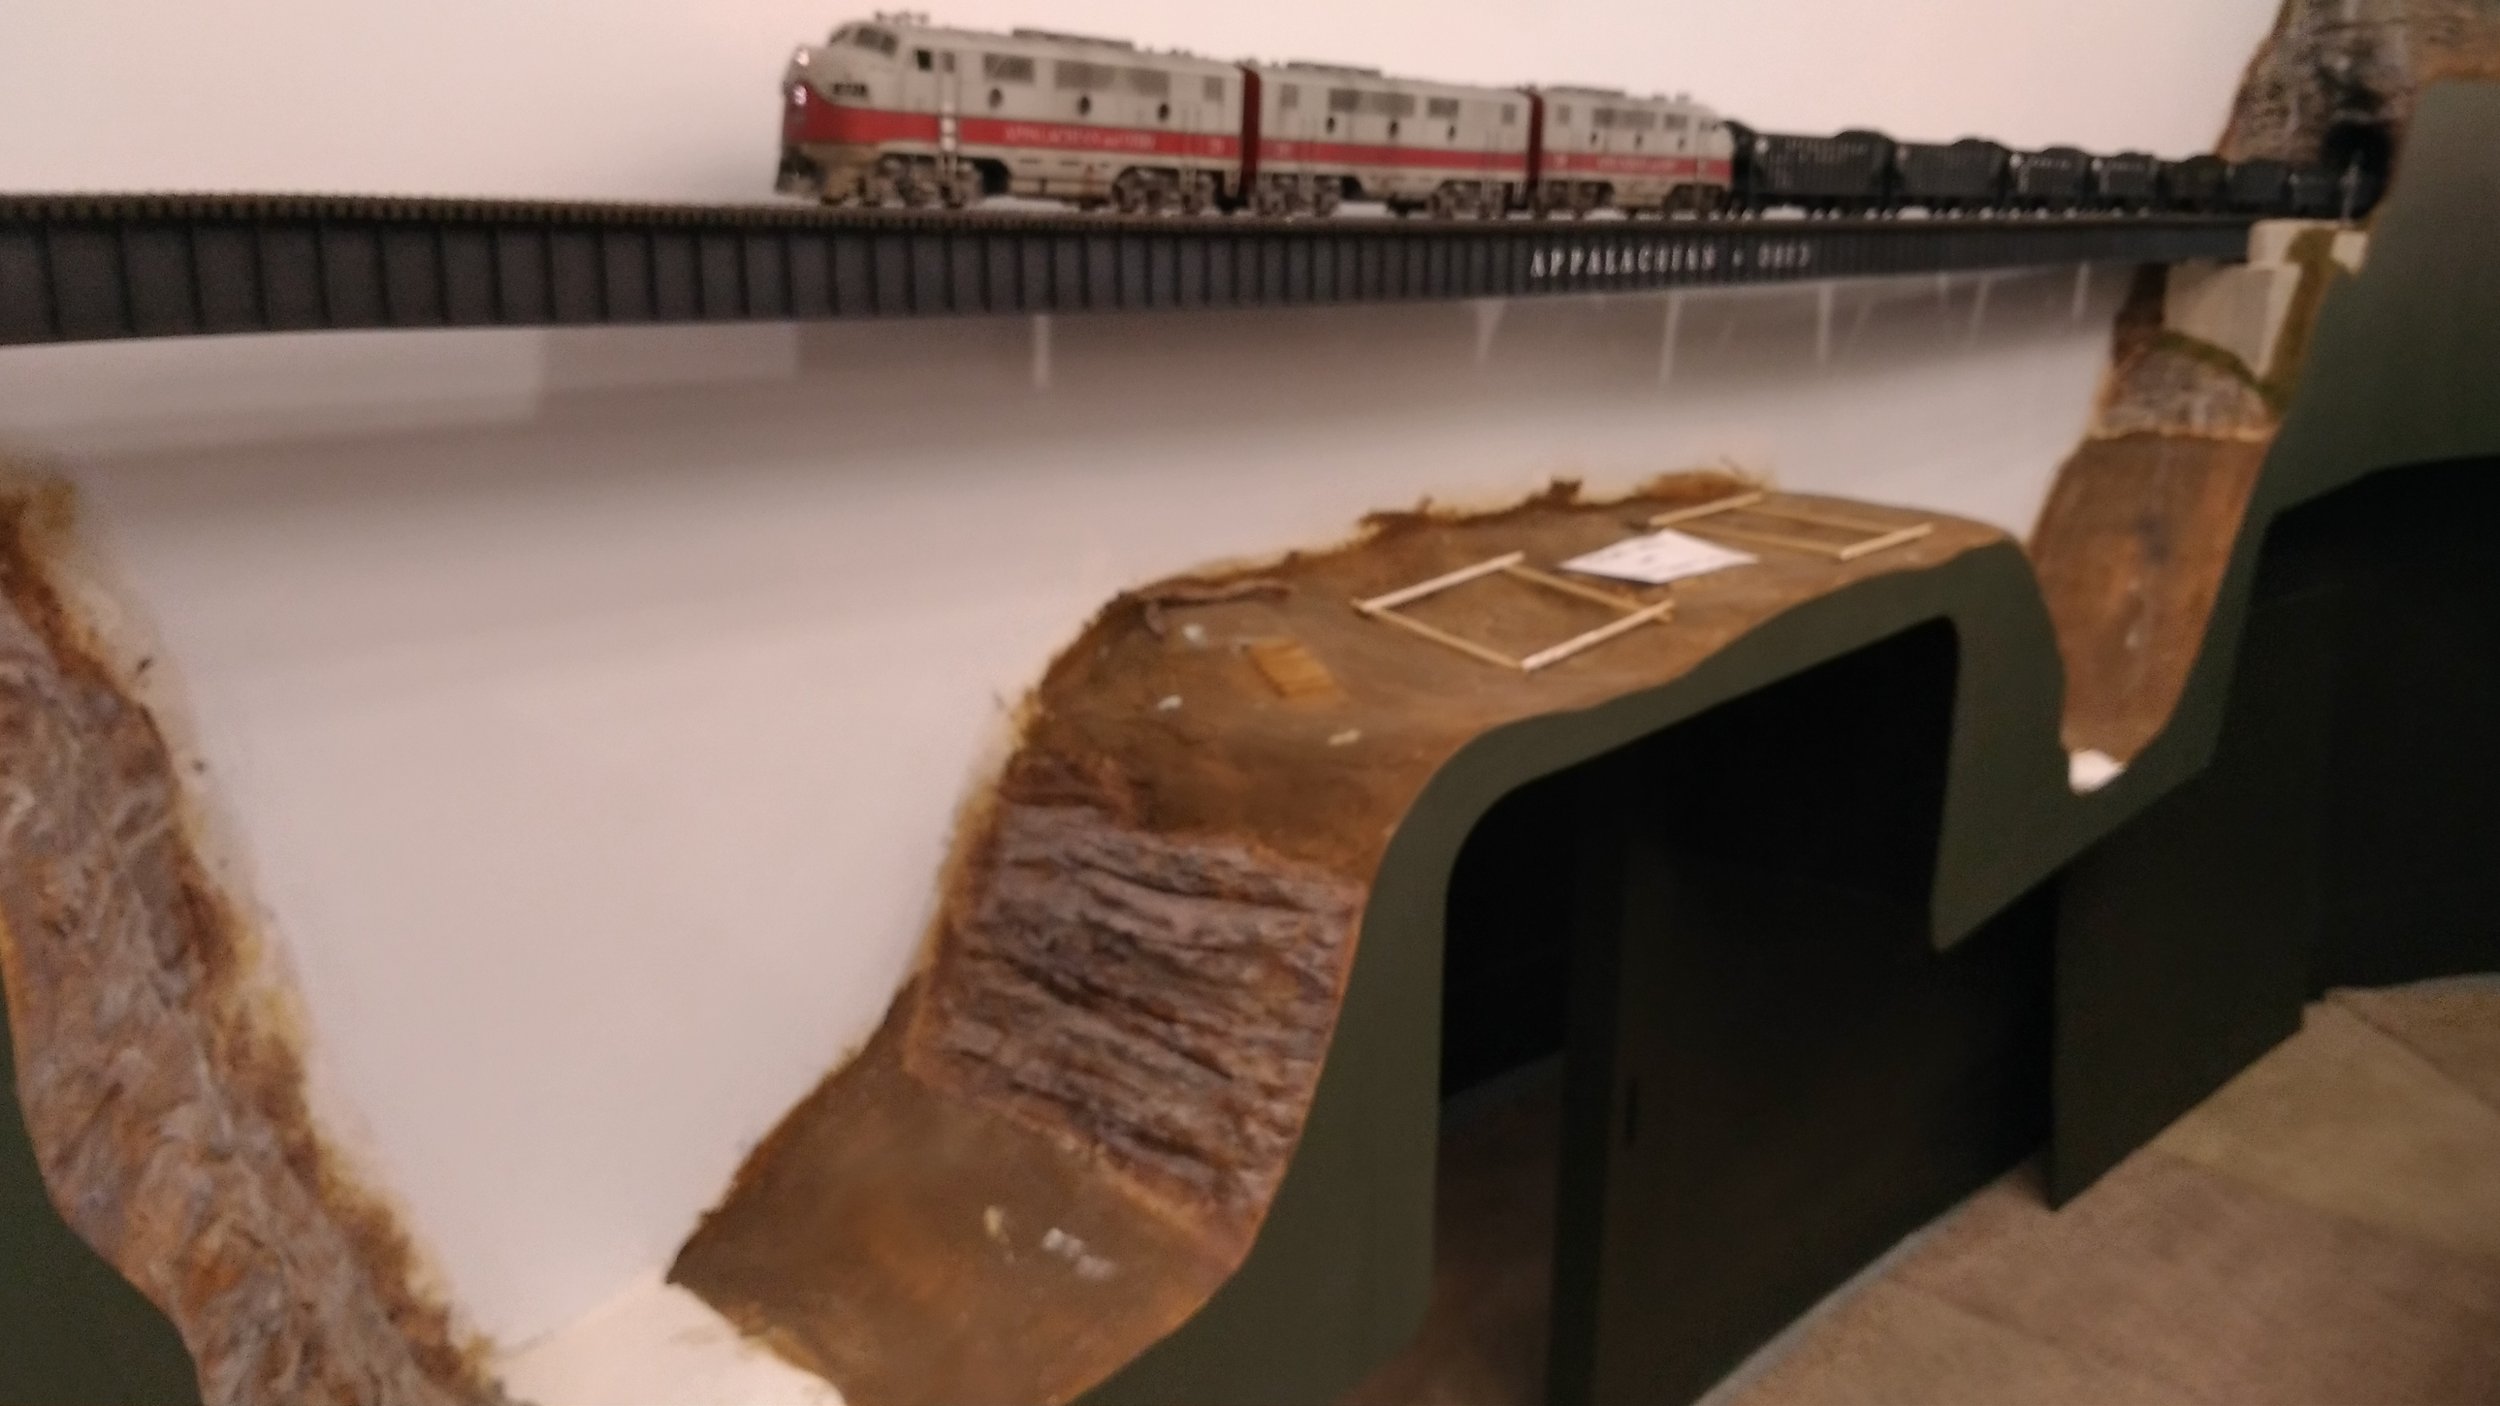
Scenic Express sold girder plates that when appropriately cut and sectioned, worked perfect for the viaduct. I contact cemented them to the aluminum, sprayed them black, the added A&O lettering. Would the lettering be seen by anyone? You betcha.
The viaduct had been in service looking like this for several years as other projects took priority. Even though the aluminum tube is stout, the weight of O scale produced a slight sag when crossed.
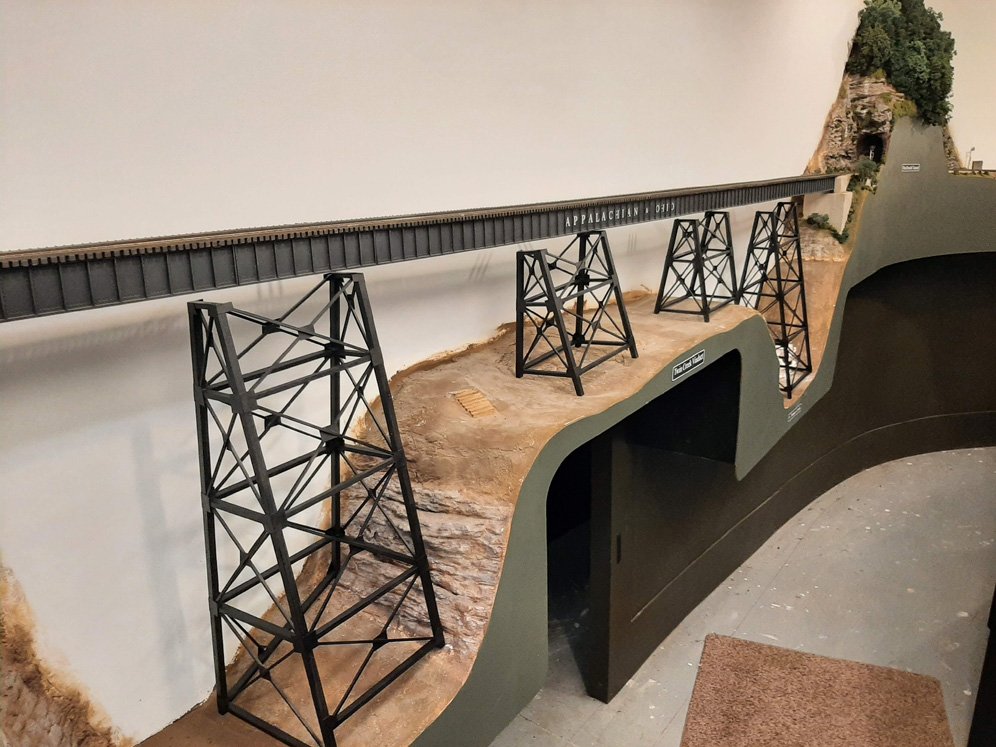
The original plan was to construct the viaduct towers out of brass shapes, but alas, Special Shapes went out of business before I placed an order. So I decided to construct “temporary” towers out of white pine/basswood with cardstock gusset plates. After painting and weathering, they work, and who knows if they’ll ever be replaced.
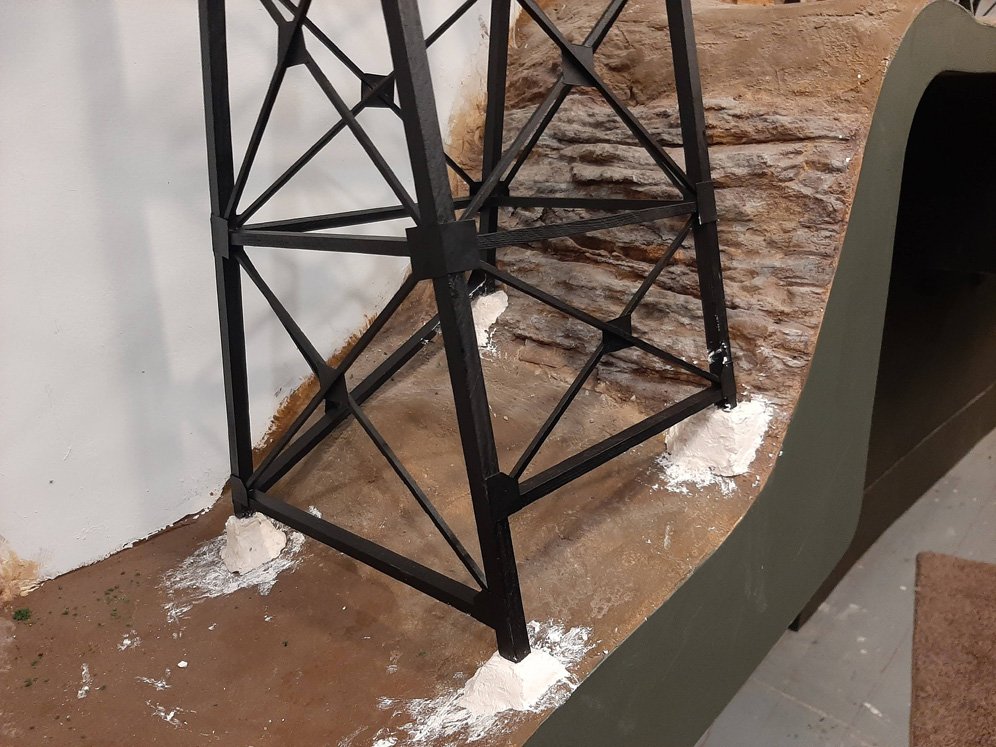
Now for the concrete footings. Here the towers are held in place against the underside of the bridge using a piece of wood and clamps. This enabled me to locate and measure the height of each footing.
At each marked location I drilled 1/4” holes and tapped/glued dowels in to the corresponding height for each leg.
I used Sculptamold to then fashion concrete footings around each dowel, leveling off at the height of dowel. Shazam. When dry slide the towers in place and check for fit and adjustments. The Sculptamold can be carved, sanded, cut, added to, even torn out tried again. Ahem.
Four towers, 16 footings.
Here it can be noticed that the deck plate ends meet at the top of each tower leg, as per the prototype. The spans across towers are shorter than between the towers.
Goodbye viaduct; we’ll see you later. We’ve got some landscaping to do.
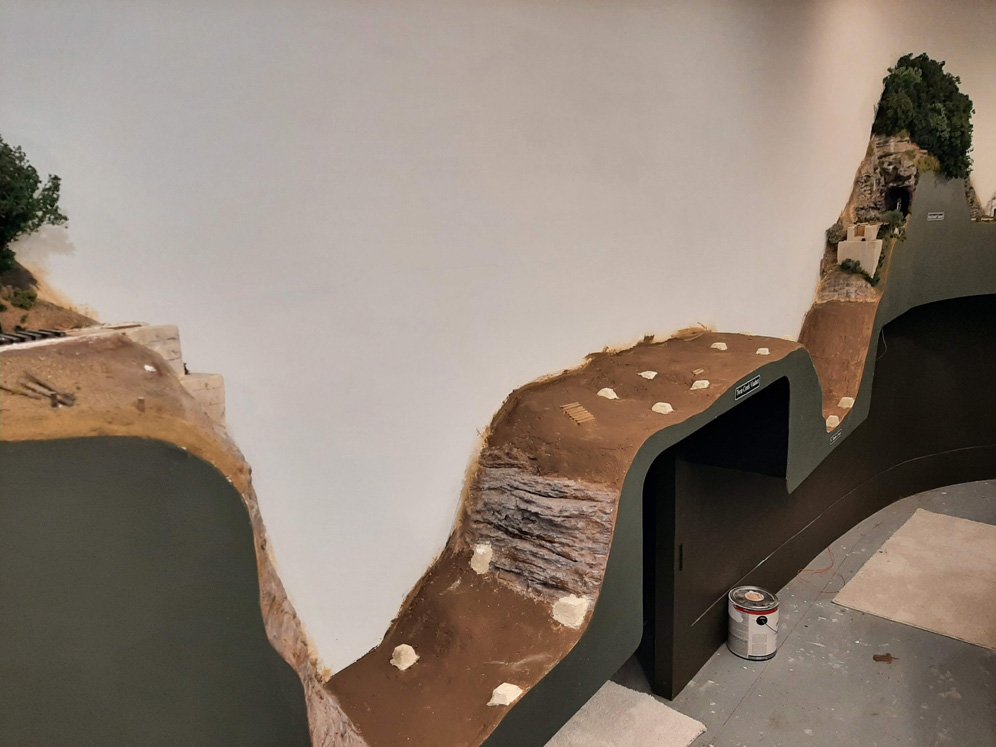
1. Paint distant mountains. I kept the height of the viaduct in mind, not wanting the mountains to rise higher and thus diminish the sense of being high in air. The black is where the trees will eventually be added.
2. Glue some pieces of rock castings to the gorge wall. Okay then-
Using plaster (Gypsolite), I brought the roughed-in scenery base up to desired contours. Note that a portion of the new plaster heads off toward the water bowl. We’ll see that later.
The raised area over the viaduct duck-under (??) is to be a campground scene. The timber steps had been implanted into the plaster during earlier rough-in. Here I’m sanding the plaster for smooth finish.
Campgrounds have parking, so with the cliff right next to the site (!!) it seemed appropriate to place some posts along the edge.
The entire scene has gotten a coating of (real) sifted dirt- and it’s still wet. The area under the smaller towers have become a montage of greenery, soaked with 50/50 water/white glue. The masking tape is the futile attempt to preserve the fascia.
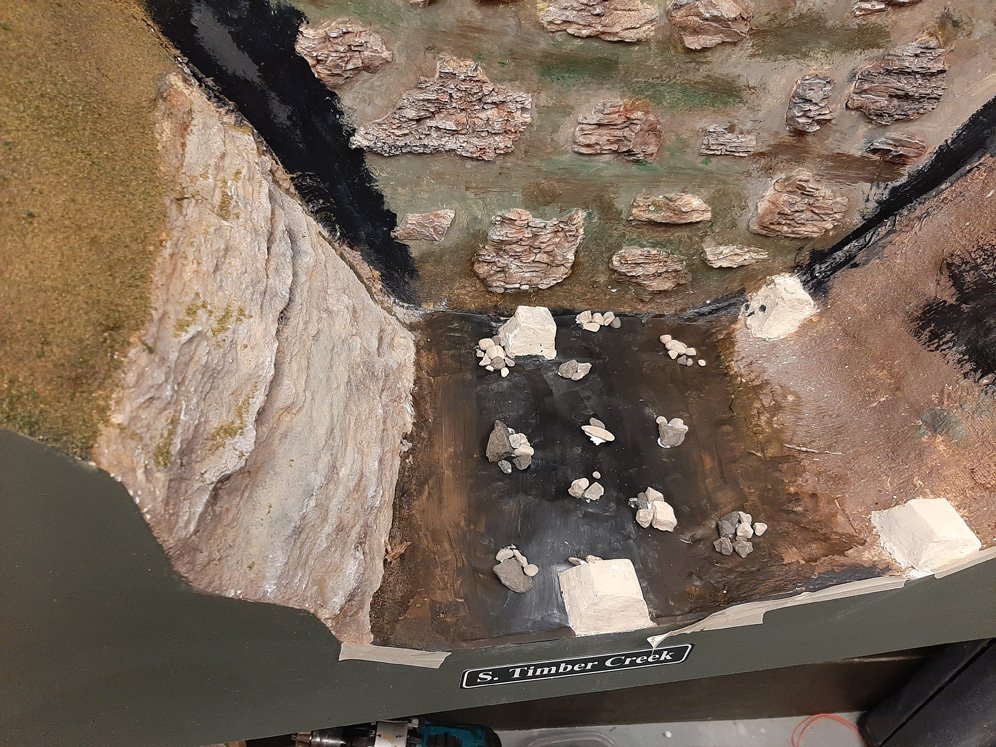
The rocks glued to the wall have been painted to match, and the creekbed is getting rocked.
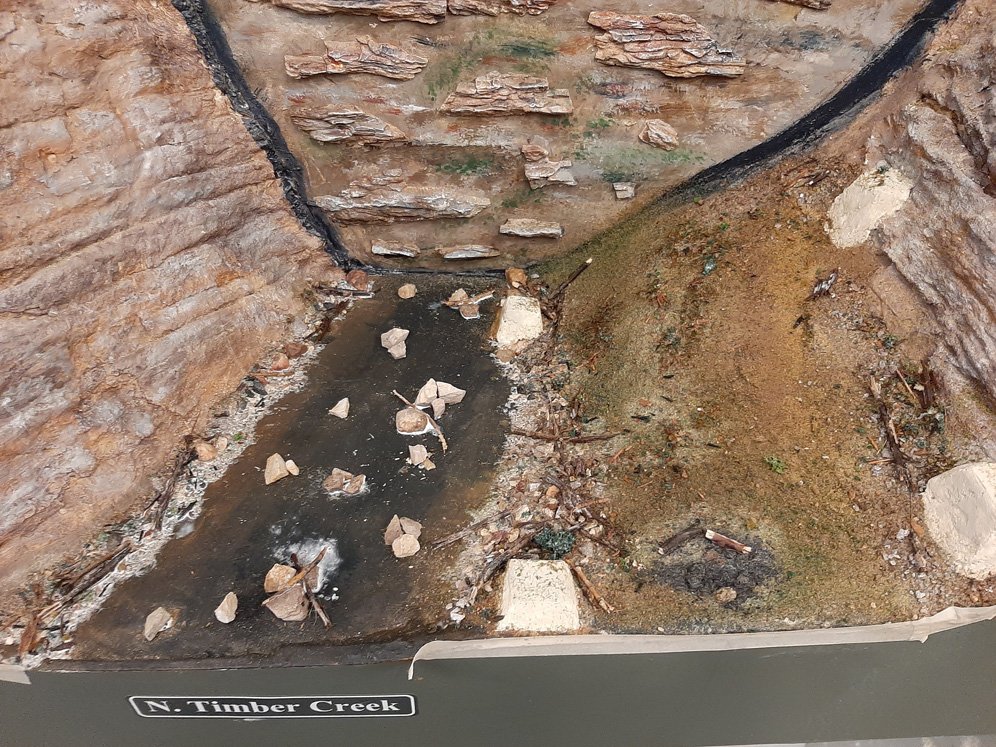
Finer rocks and branches have been added and a small firepit as well. The diluted white glue is still drying.
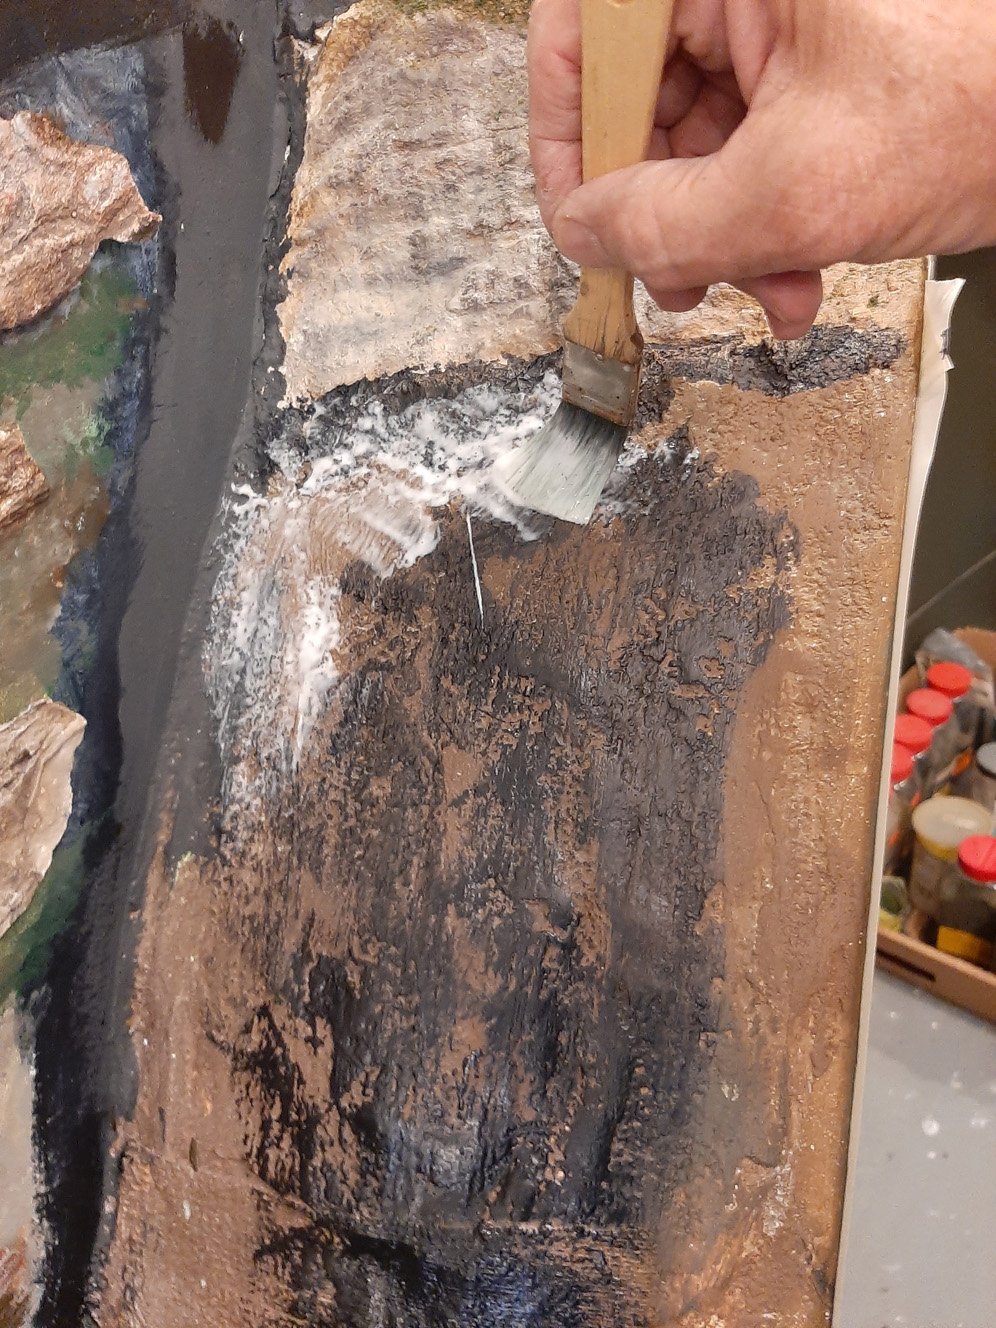
The hillside is getting white glue full strength in preparation for ground cover.
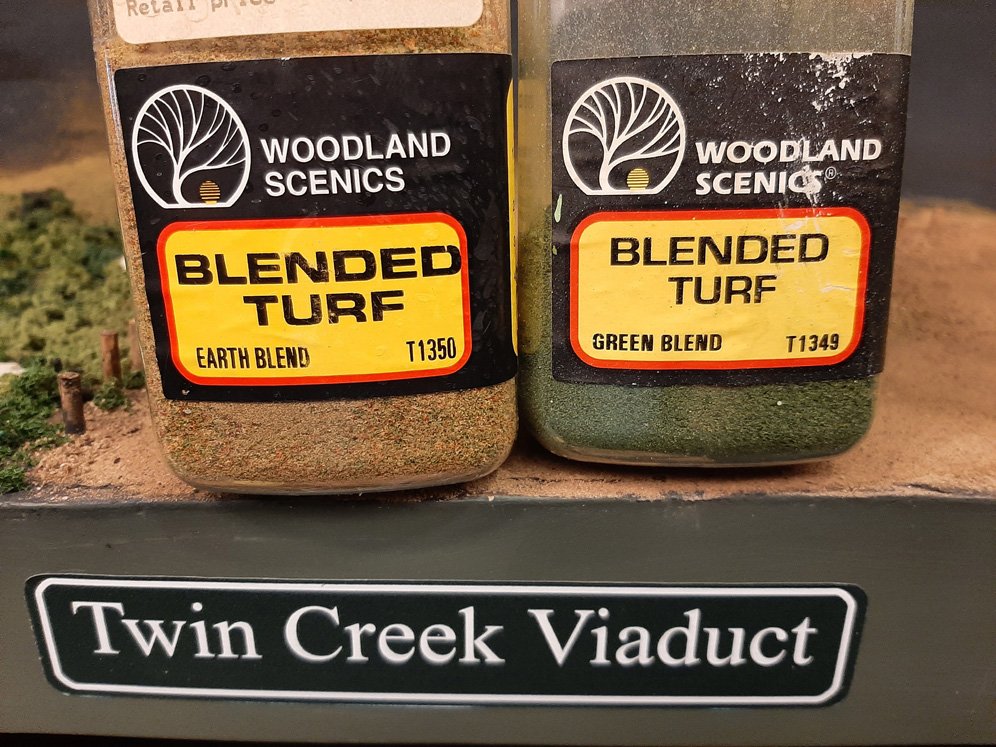
Blended together and applied to the previous hillside. It’s one of favorite base mixtures.
Woolah.
You can never have too many colors and textures. These came from a driveway. Shush.
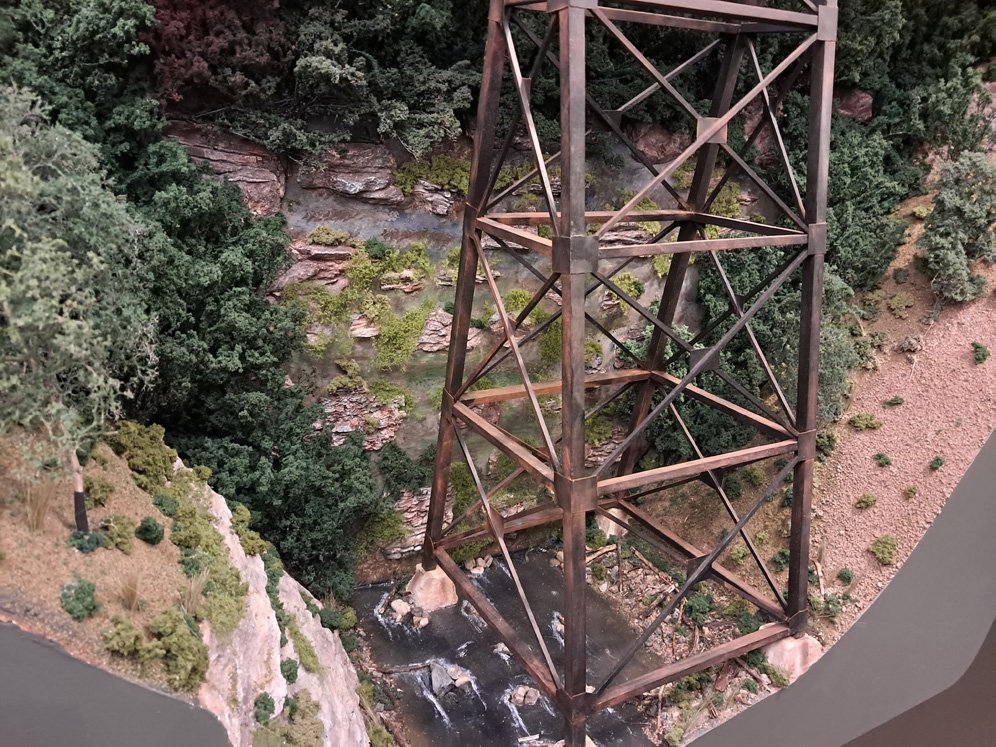
And, they were glued alongside the creek. Barely visible on the lower right concrete footing is the aforementioned top of a dowel.
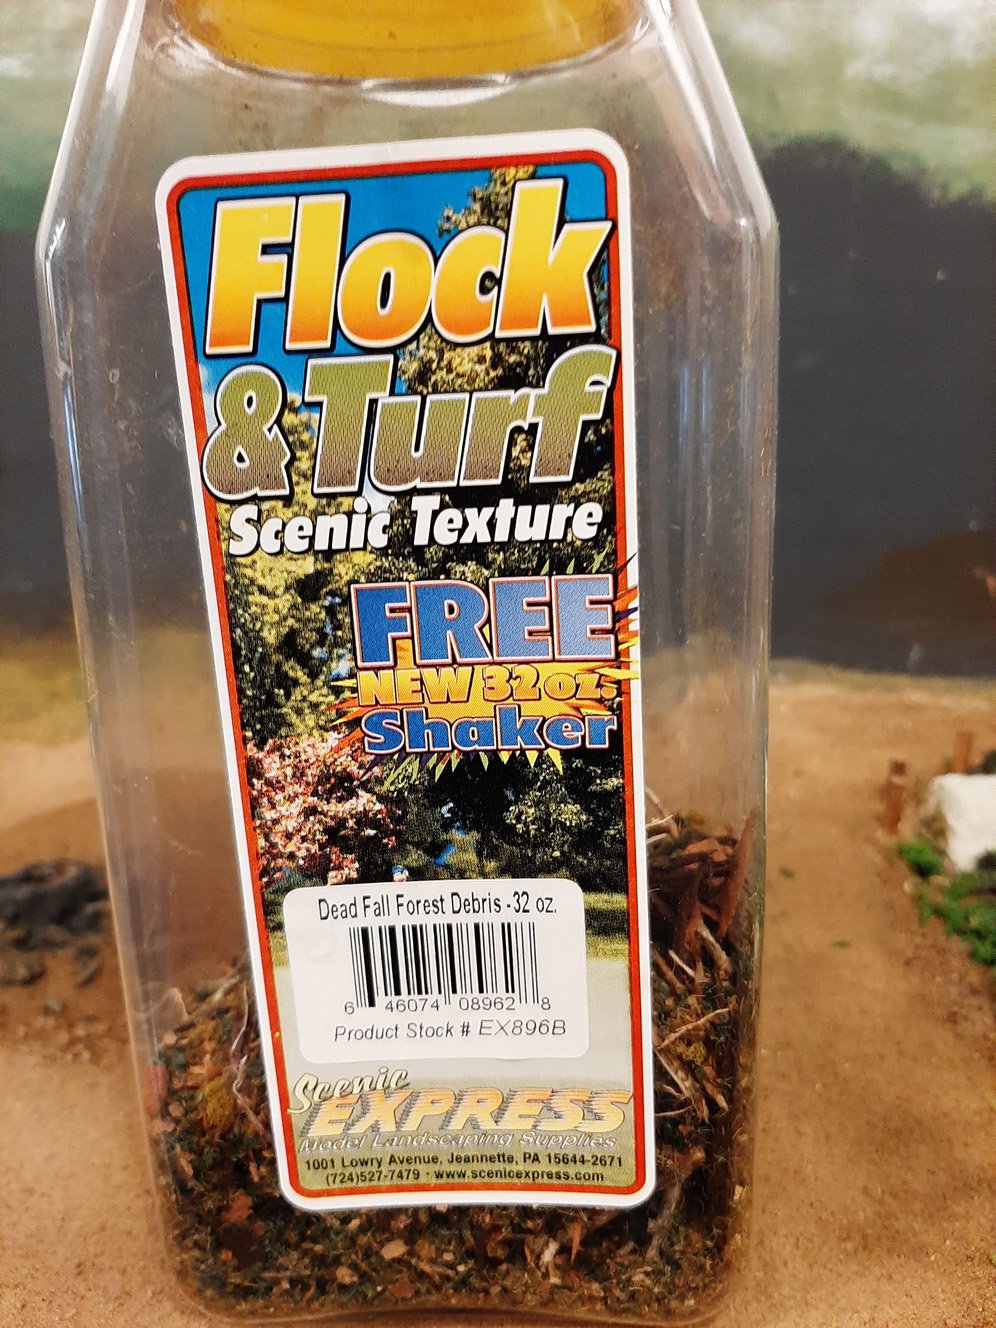
This is great stuff for adding that final random debris look to creek area.
North Timber Creek is getting there.
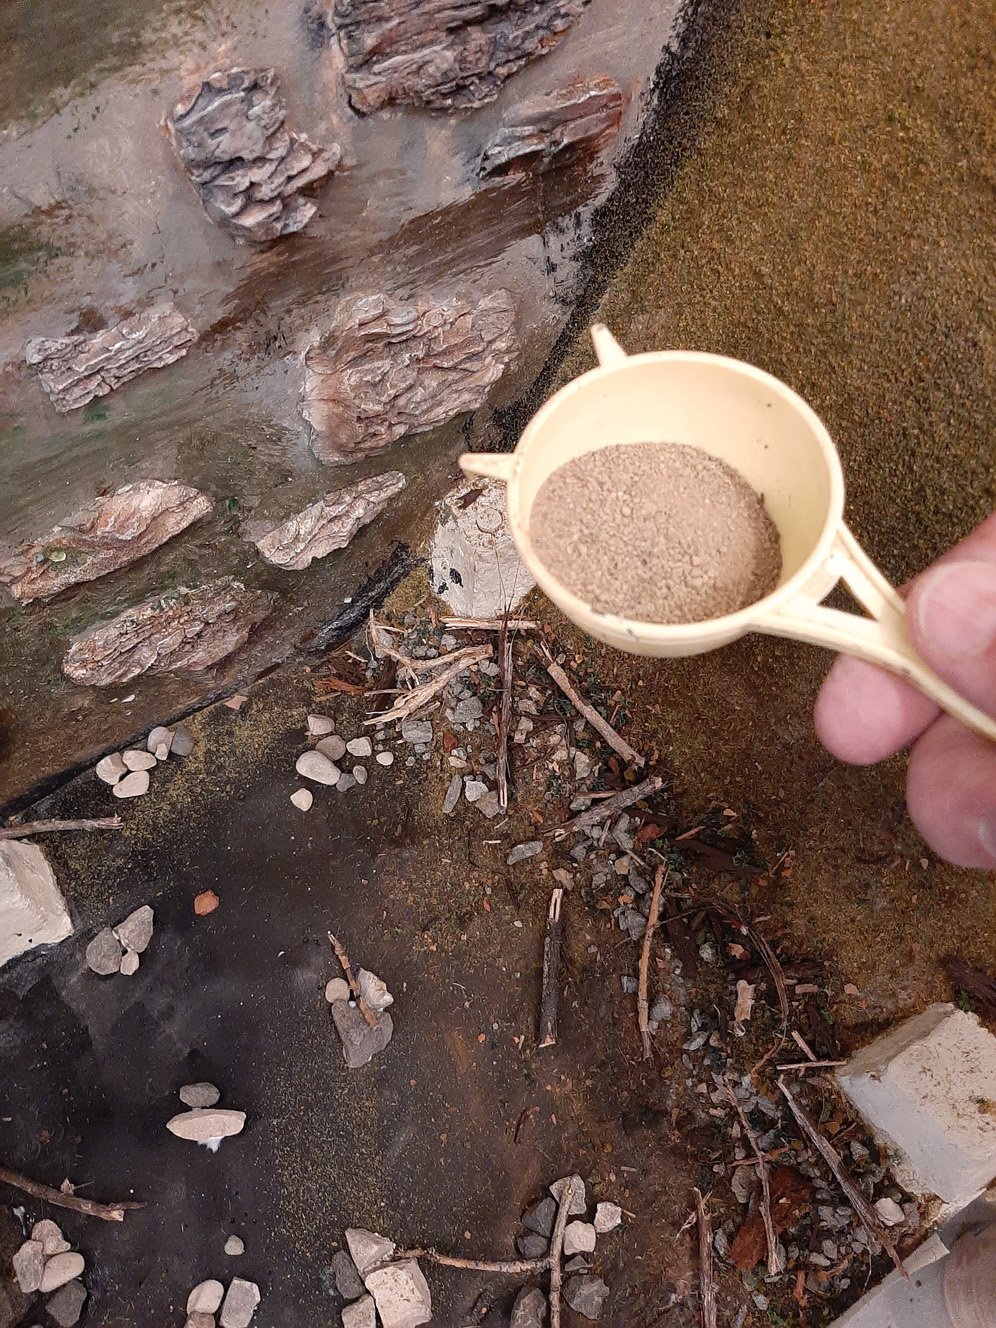
Lastly I sift some fine real dirt over everything. Not to much, just blend.
Then brush the painted riverbed clean. Time to glue it all in place.
And time to start stapling some small trees in place on the backdrop, covering the black (shadow) paint. Note that a campfire ring has been built at the campsite.
Trees have now pulled both sides of the scene together.
I cover the joint line between backdrop and landform with small trees shoved up from below. It simply looks like dense woods meets the clearing.
An awl stabs the plaster hillside for planting trees.
Greenery added to the rocks, shoreline, Mod Podge for water, and white acrylic for the current.
North Timber Creek
A path leading down from the tent area provides an opportunity for a splash, and maybe a campfire at the firepit later in the evening.
South Timber Creek
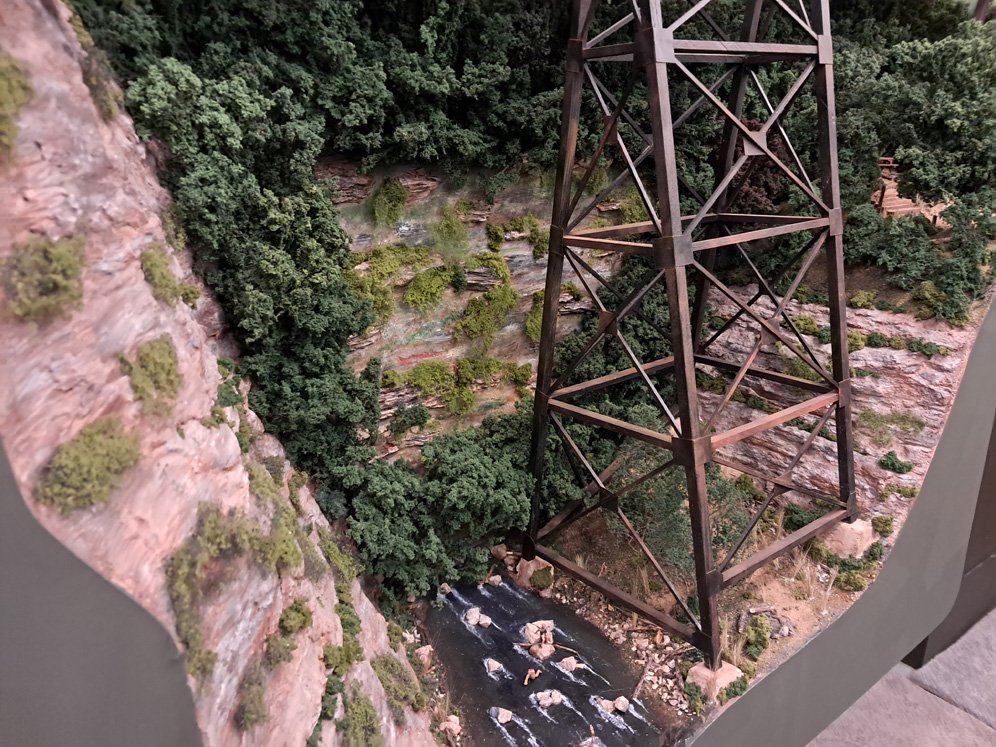
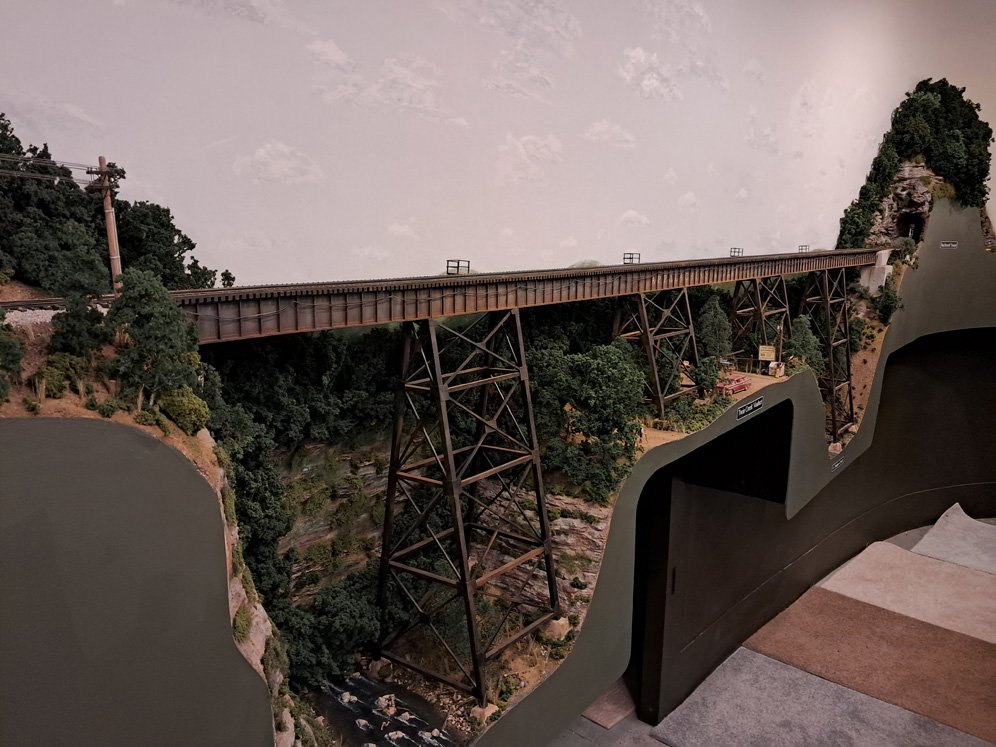
The finished Twin Creek Viaduct (steel trestle) Compare to the first photo on this page!
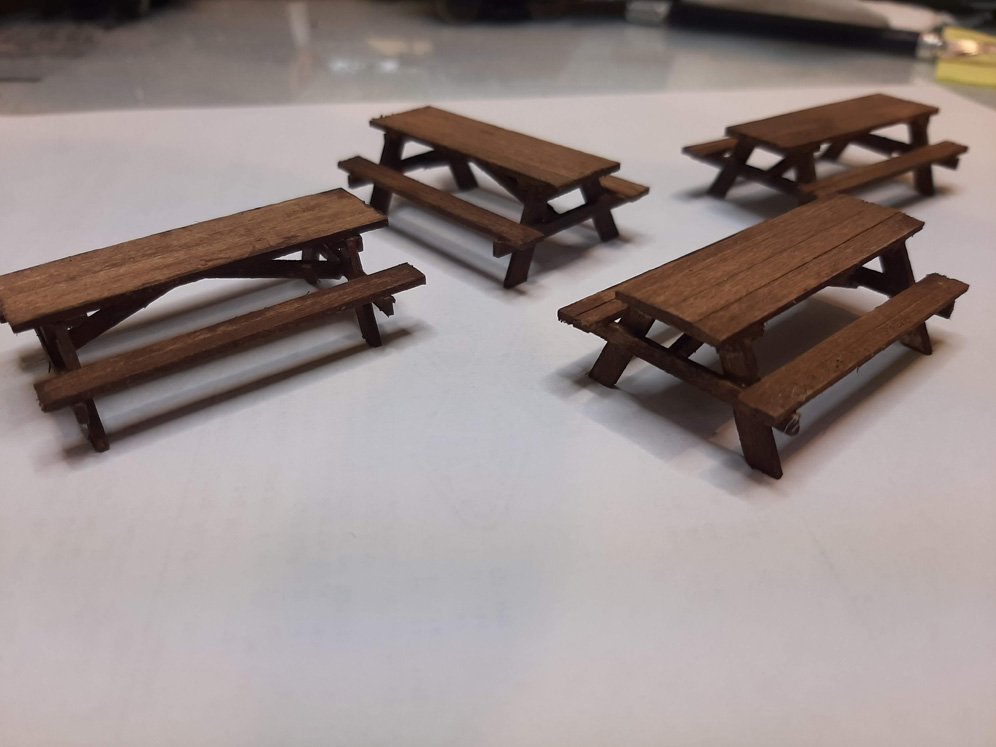
No campground is complete without a picnic table. An easy scratch build.
Now we can see why the A&O management thought it worthwhile to paint its name for all to see. Telegraph/phone/electrical cables have been added. The tree line creates the illusion of the bridge being higher than it is.
Remember that disappearing plaster into the water bowl? That was the road to other areas of the campground, or to site 20 as the post reads. The White Trash Company needs to do a pickup.
The campground mercury vapor light comes on during night ops, of course.
My suggestion to hiker Hal- Don’t stop, and don’t turnaround.
Ah, those (dusty) country roads, West Virginia.