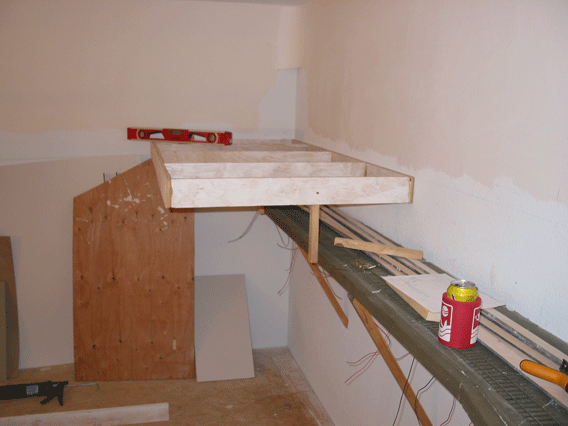
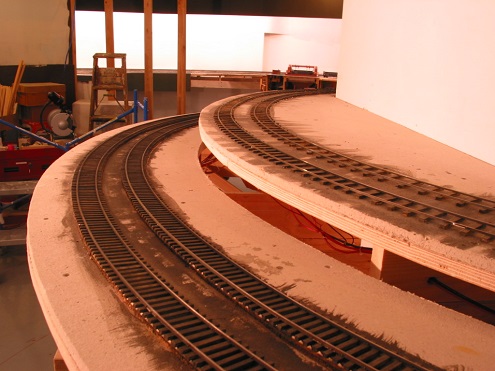
Framing in the "rain room" at Ridge begins. The narrow shelf below Ridge has 3 tracks which are extensions of the King Coal loading tracks in Brooks. With the elevated floor, track at Ridge is 52" for operators.
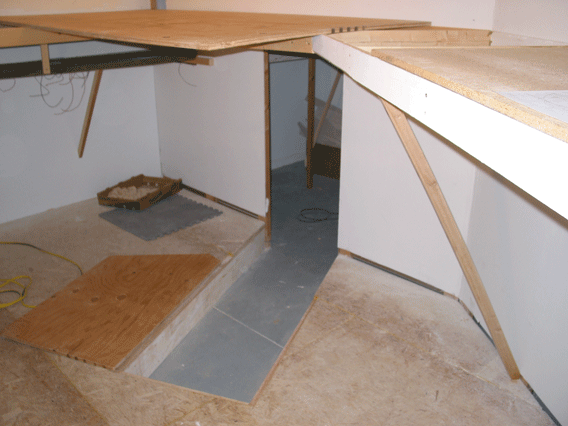
The step-down nod-under is shown as framing in rainy Ridge continues. A hinged trap door lifts to provide step-down access into the isolated Kayford Valley. Brooks is the first thing you see. When "closed", the door keeps operators from an accidental tumble, important in this dimly lit room.
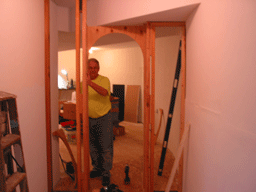
Bill Wood helps to frame an operator tunnel which encloses the rain room. The arched doorway will be lined with 1/8" hardboard.
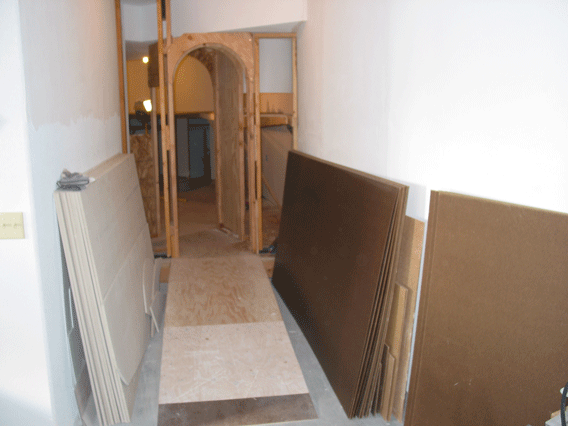
A gentle ramp was built to reach the elevated floor. Tracks will hug both walls in and out of the rain room.
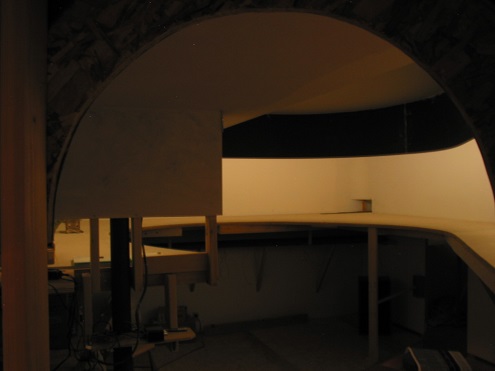
A peak into the "rain room" reveals finished benchwork and dimmable LED lighting behind the valance. It also features sound and Bob's special circuit random lightening flashes. VERY cool. Ties will be next.
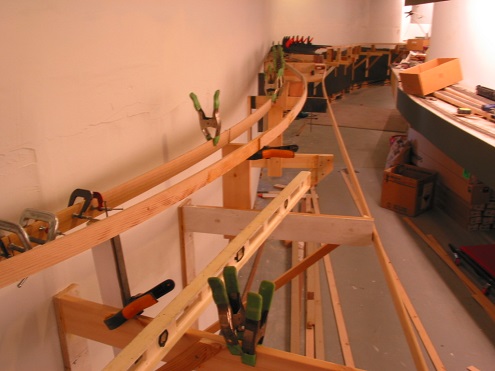
Time to start up the river gorge and actual spline roadbed time. So we leave Ricksburg and begin the climb toward Rock Bottom.
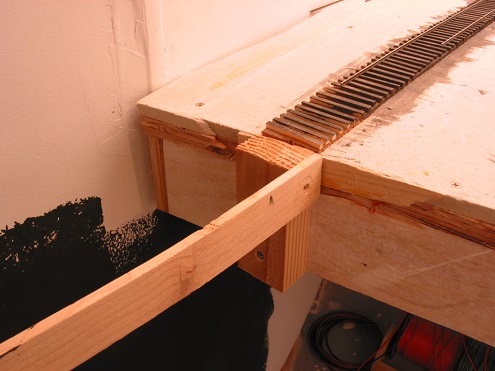
How do you go from table benchwork to splines, making a smooth transition? In this case I glued/screwed a block of wood the width of the four homosote roadbed splines (2") to edge of the benchwork. Then the initial track wood spline was glued/screwed to this block. A 4' level placed on the tabletop and spline ensured that the transition had a smooth flow with no vertical kink.
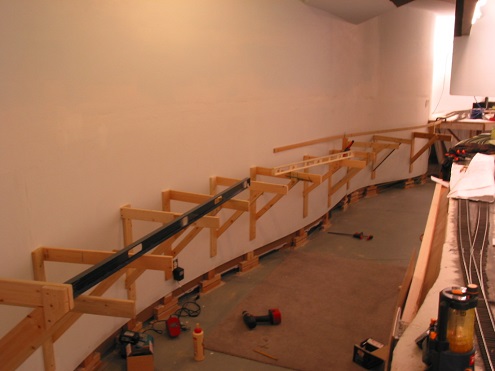
Wall brackets thru the gorge. The level was used to keep them consistent as this will be a future water course.
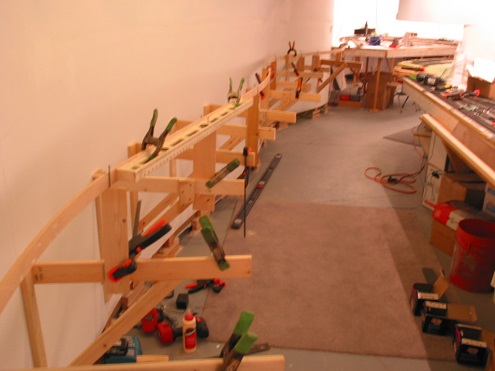
Here the track locating spline has been mounted on risers as it climbs throught the gorge. The white 4' level has been clamped to the spline to keep it straight where a pin-connected thru truss will go. Bracket length is arbitrary at this point and will be trimmed to length later.
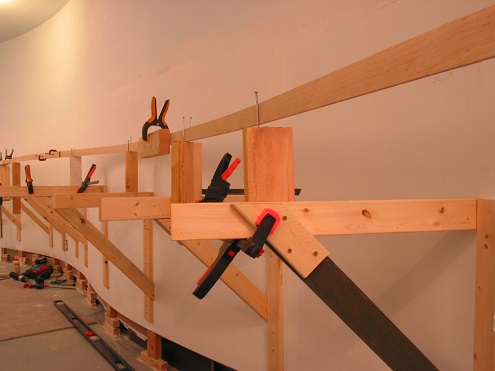
Risers elavate the spline, held to them pinched between nails. I'm still evaluating the flow of the mainline, adjusting the risers front to back as I compose the finished scene in my mind. When satisfied, the risers were adjusted to a consistent 2% grade with easment grades at the bottom (Ricksburg) and top (Rock Bottom). A 2x4 is temporarily clamped to the spline where a deck plate bridge goes.
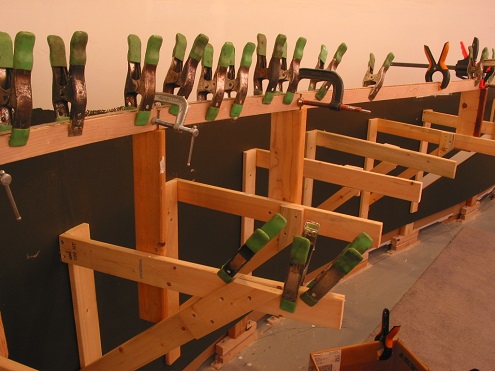
Next, homosote ripped the height of the spline (1 1/2") is glued to the spline. Where they cross a riser, glue is applied to the riser. After the glue sets, a second strip of homosote is added, staggering the joints. Then another, etc. The final O scale roadbed is a sandwich of wood spline, 4 homosote strips, and a final wood spline. VERY strong.
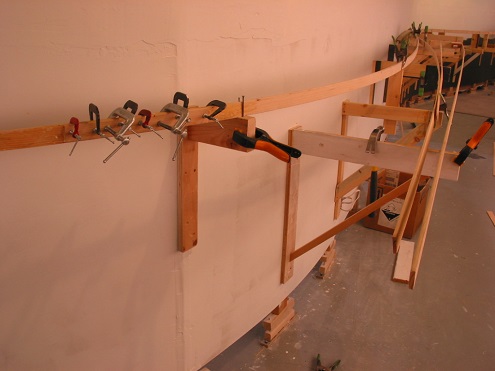
Coninuing through the gorge it becomes necessary to attach to the next spline. A scrap piece of is glued to make the bridged connection using many clamps. Again, the 4' level ensured that their is no vertical kink at the joint. I try to place these joints on straight track to avoid interuption of the smooth flow of curves.
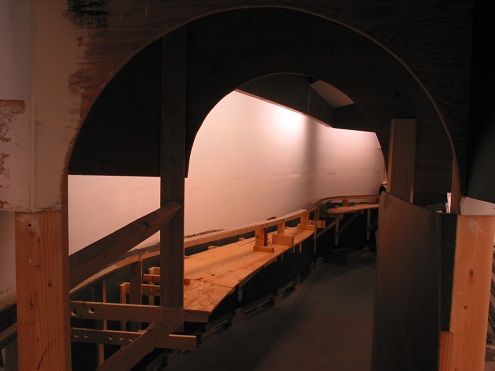
A look thru the gorge operator tunnel at the finished roadbed of the gorge. A spline was used to define the front edge of the scene, and then everything cut to make the smooth flow of the scene.
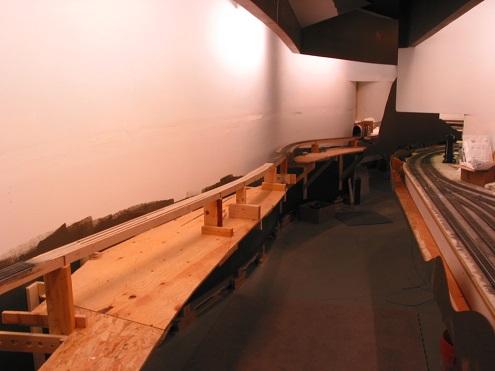
Plywood forms the future riverbed under a pin-connected truss and more distant, plate girder bridge. Lighting and valance have been added. Morrison is on the right of the aisle.
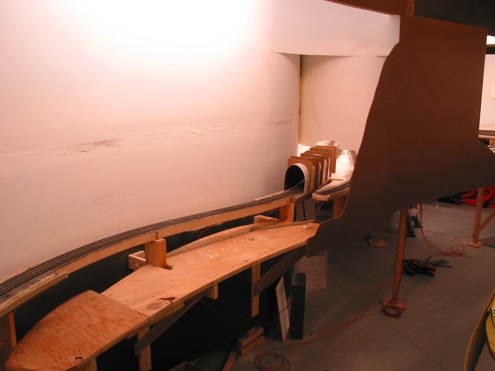
At the bottom of the gorge is Joel Beach, a repeat from A&O 1.0 (see 1.0 page). The tunnel leads into Ricksburg as the mainline arrives from the north. The high profile board blocks the view from either side, creating distinct scenes for the operators and a sense of place.

The splines define the mainline location as we continue northbound, passing Rock Bottom and rounding into Mount Union. A passing siding is floating midair as I compose the scene and evaluate locations. The brackets will be cut to length as all this is finalized.

Many spring clamps start the roadbed sandwich at Rock Bottom. The passing siding spline is beside the main. Here is seen a spline helping me define where the layout fascia edge will go.
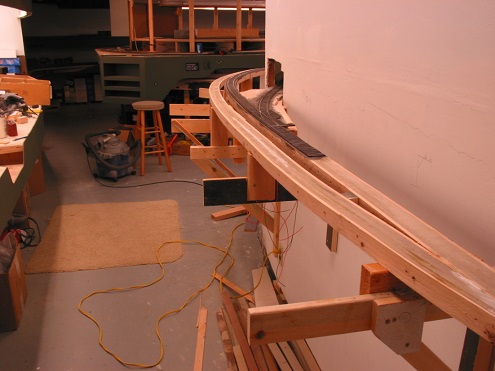
The completed roadbed at Rock Bottom. The siding drops to a lower grade as it paralells the main through Mt. Union around the curve. The wood spline can flex in a smooth vertical curve to nicely accomplish this prototypical look. Departing the main in the distance and piercing the wall is Rick Bacon's A&D connection to the A&O.
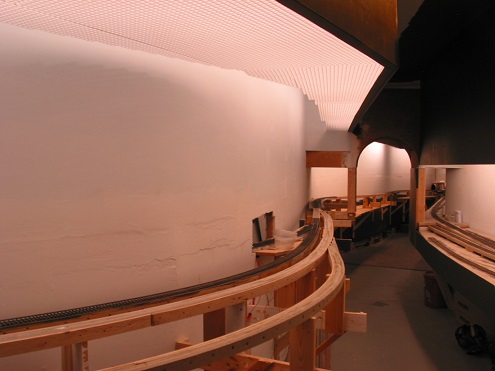
Looking back south thru what will be Mt. Union we can see another siding has been added in the foreground and the lighting installed. As in Ricksburg above the engine facitily penninsula, plastic grid blocks our view of the florescents above. The gorge operator tunnel in the distance and Sobol Springs on the right.
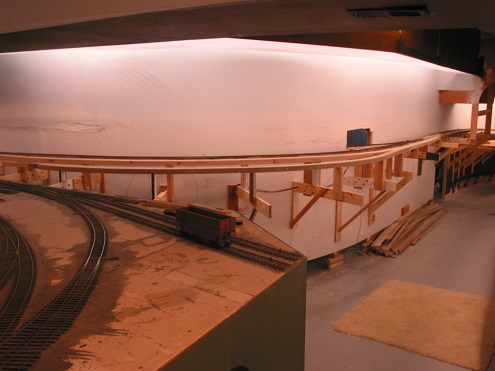
An overview of Mt. Union as it curves around the wall. The woodchip and pulpwood tracks of the International Paper Mill at Pt. Vincent are in the foreground.
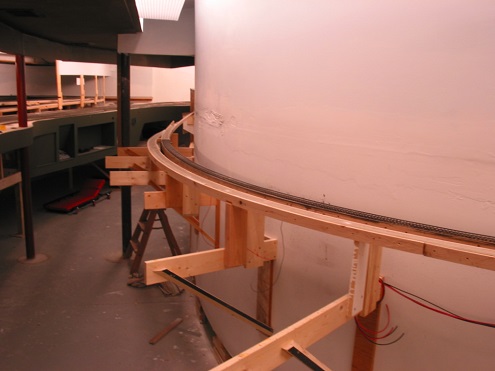
Mt. Union wraps around wall, creating two scenes in the process. A few buildings will populate the foreground of this hillside town.
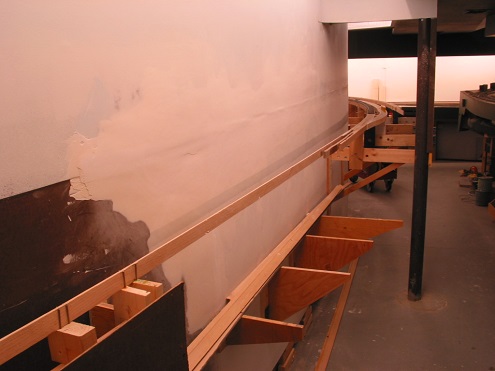
Leaving Mt. Union, the mainline penetrates a short tunnel (at post) before leaping across Union Gap on deck plates and a thru truss. This explains the lowered brackets for the creek bottom. Some backdrop painting required. Volunteers??
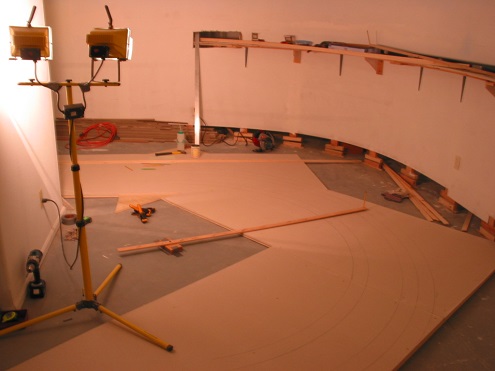
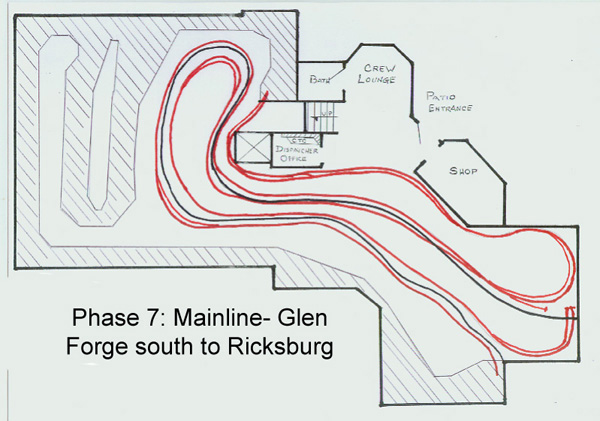
Now to tackle perhaps the most difficult bit of benchwork framing. The River Grade from Glen Forge up to the Ohio River and nod under entrance into the RR. The track wraps around the furnace closet in its climb. Three pieces of plywood with Micore have been laid on the available adjact floor space.
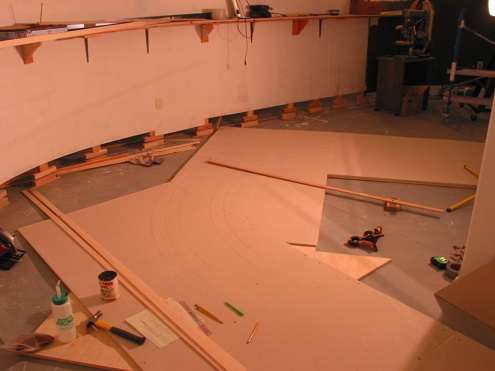
Careful measurements defined the furnace area on the Micore. It had to fit exactly around the closet when cut and pushed into place.
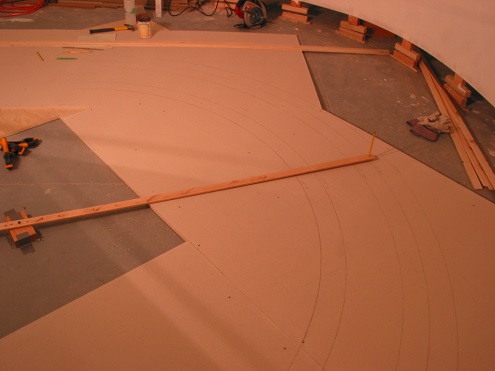
My 60" min. mainline radius was laid out using a trammel pinned to a block of wood, duct taped to the floor. Nothing could move out of alignment at this point. All track and cut lines were made now.
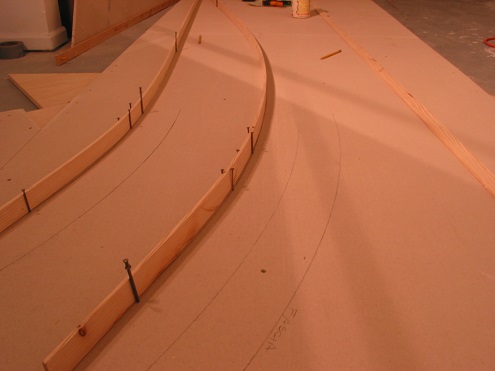
From the drawn curves, splines then connected the double tracks into the tangents that lead to the bridge crossing, and.... provide the natural transition spiral easement.
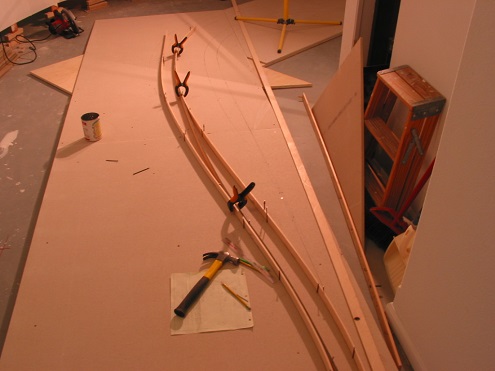
The Jackson crossover between the double track is laid out just before the bridge. Note how the splines carry the arc of each track thru the broad S-curve that is Jackson. Sweet.
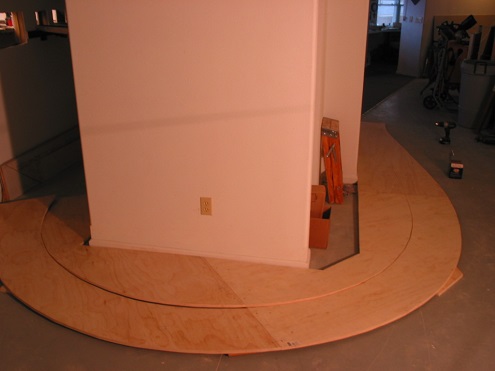
The Micore was then cut using a utility knife. When each piece was removed it provided a template for marking and cutting the plywood beneath. Splice plates were then added to connect the plywood. Time to shove it in place. Whew! The thing fits. Now for support brackets and adjusting risers to a consistent 2.5% grade.
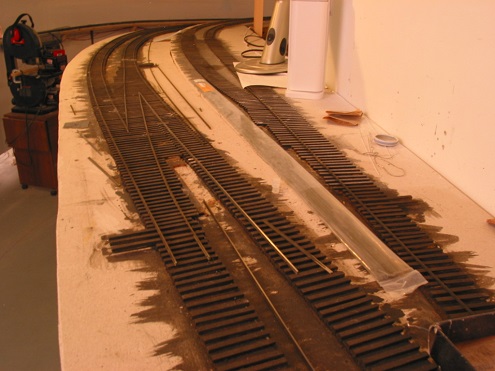
The rails are going in at the Jackson crossover. The Penn-Central connects with the A&O just this side of the Ohio River so its ties can be seen to the right.
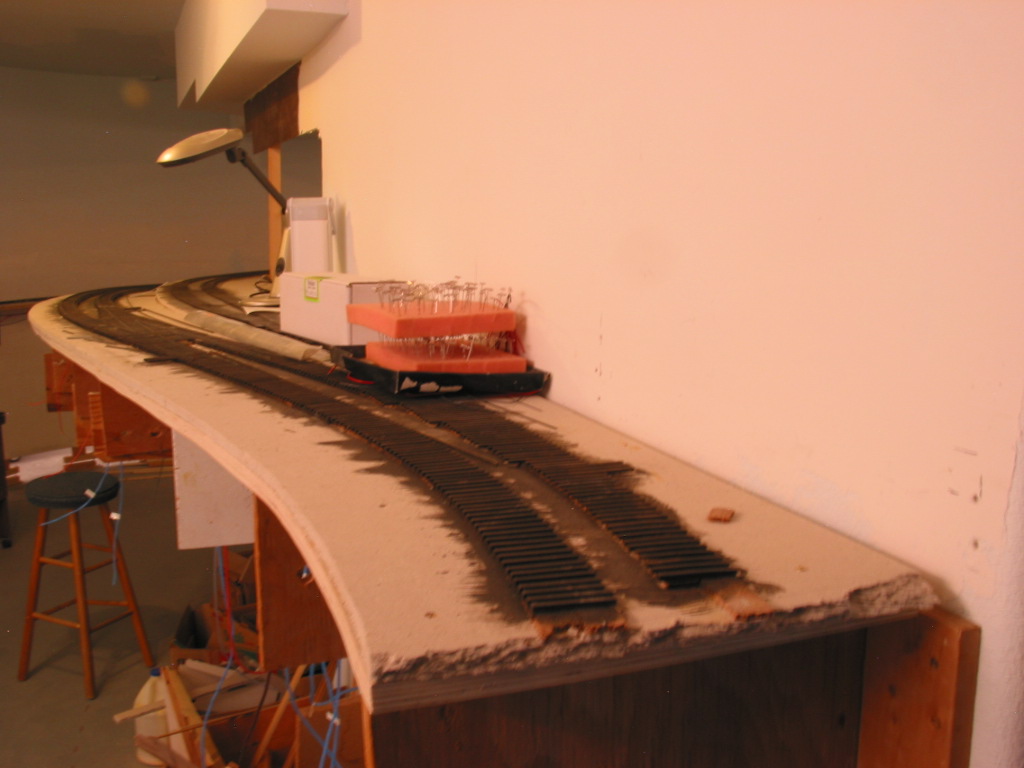
About mid-grade between the Ohio Bridge and Glen Forge. The Penn-Central staging tracks visible at the right and will be unseen, inside the hillside the A&O is following upgrade. With super-elevation on the two mains, this should be a fun place to railfan.
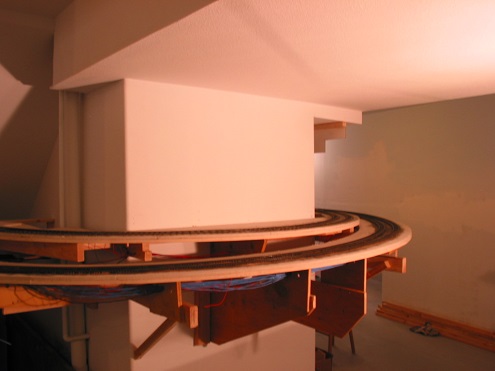
An overview of the River Grade which takes the mainline from 52" at Glen Forge (just to the left) to 58" at the Ohio River crossing.
Looks like it's about time for the Ohio River Bridge as we're saying farewell to the Buckeye State.
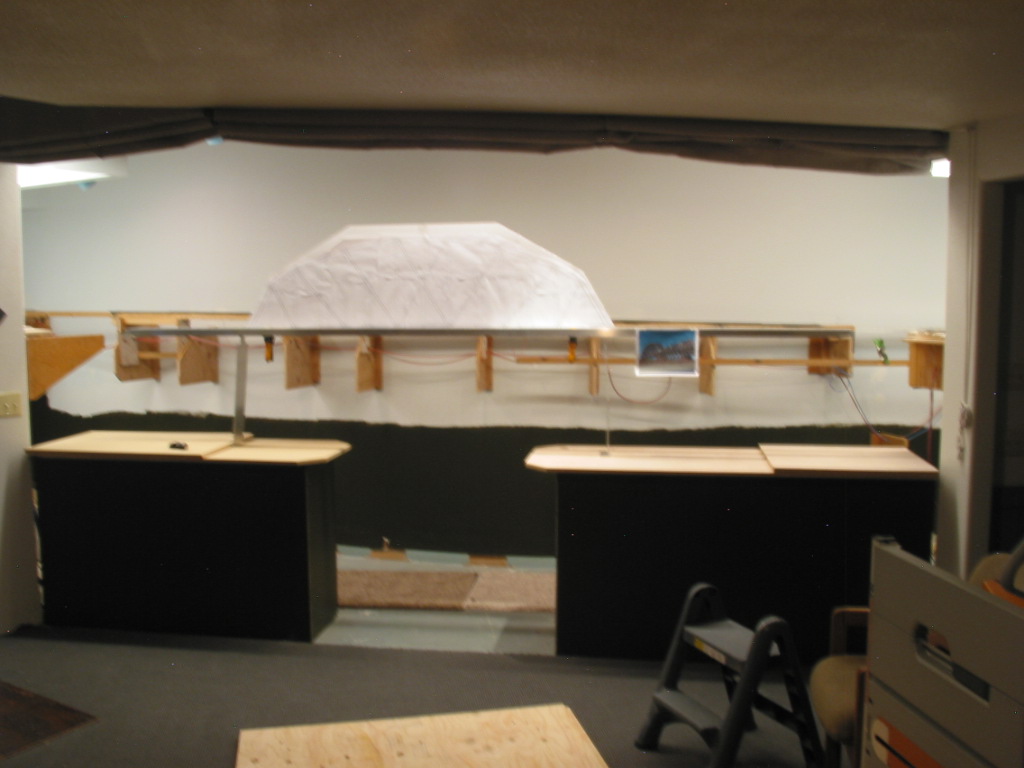
A pair of river-crossing boxes were built, sheetrocked, and painted the ceiling Sage Green. A pair of 1.5" aluminum tubes form the core of the bridge sequence. Risers of aluminum were professionally welded to them where the bridge piers will be. The OC Bridge near Pittsburgh serves as our prototype.
To enter the railroad space now requires a 58" nod-under. Many thanks to Bill Wood for his procurement of this material.
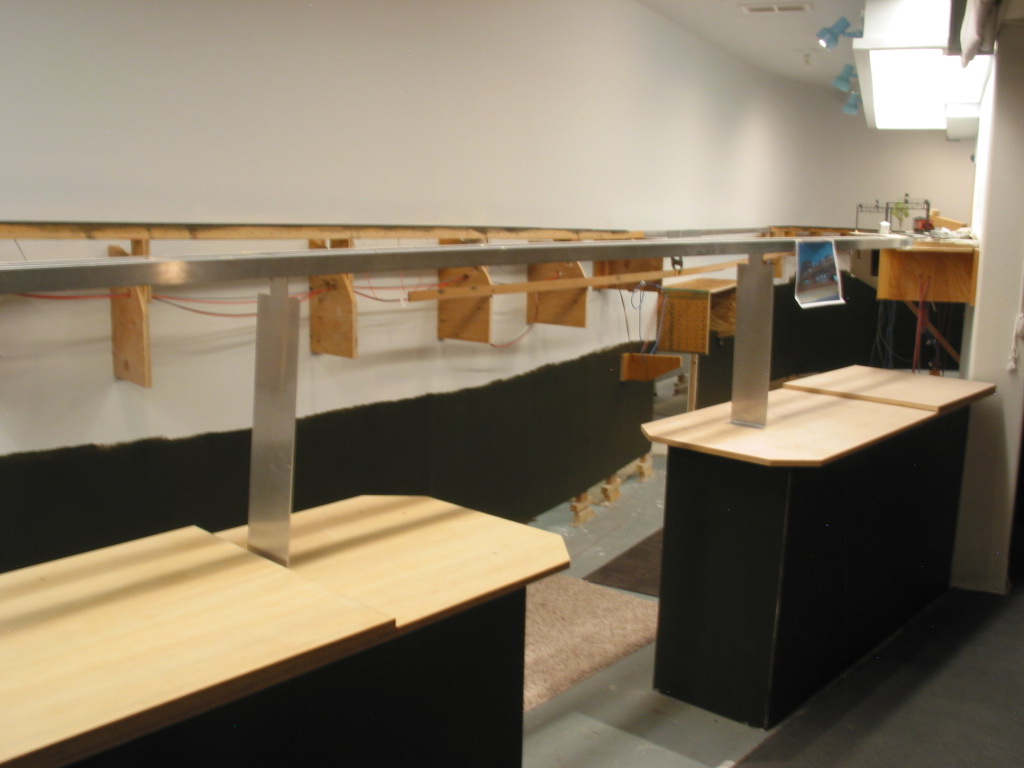
After years of walking in and out of the railroad space, this step represented a significant moment in our construction history.
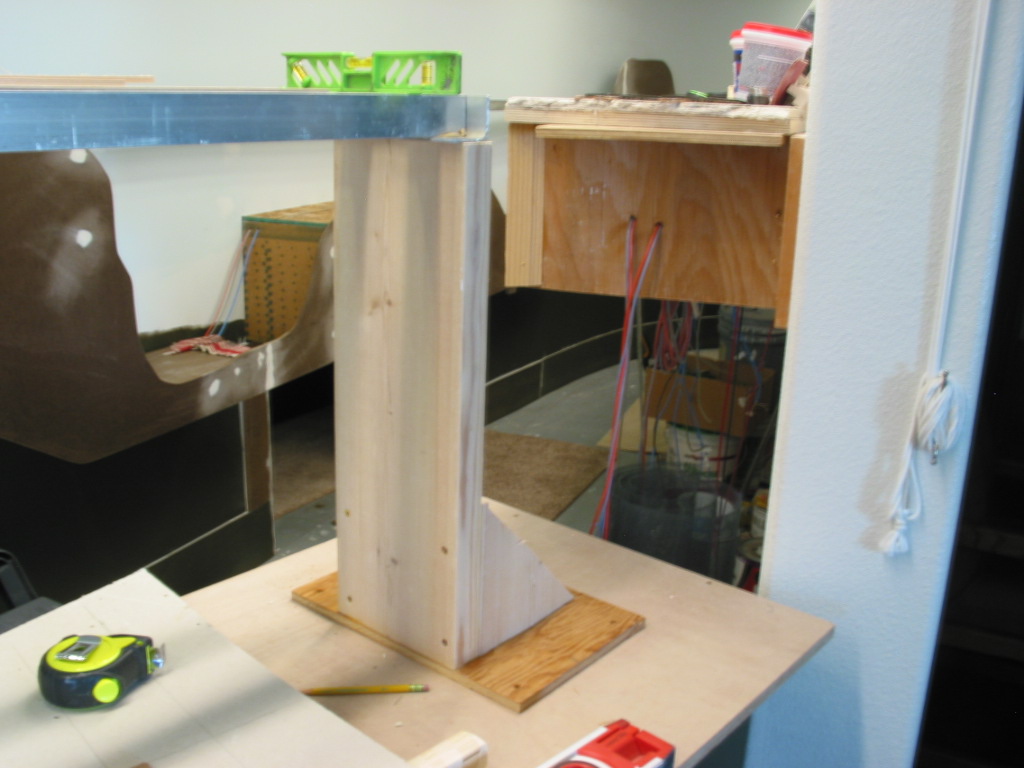
Anchoring the ends required frequent use of various levels and squares.
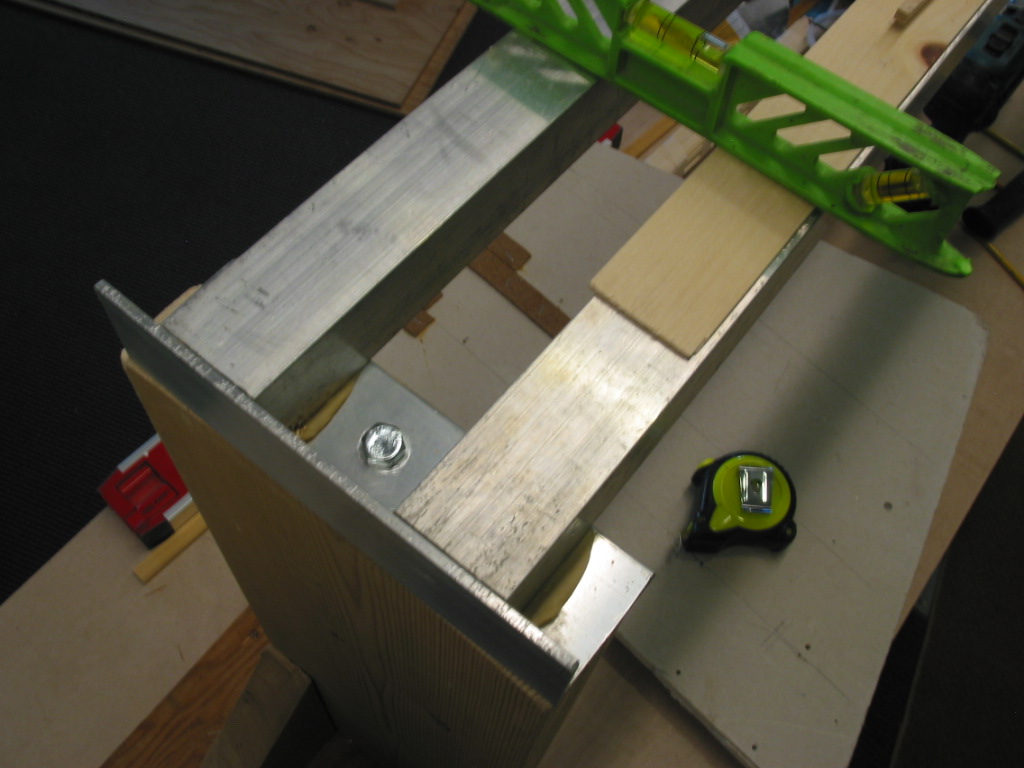
An "L" piece of aluminum had been welded to secure the ends. I drilled a hole and put a lag screw into the 2x8 riser.
Next I ripped a clear, straight 2x4 into several 1/8" pieces. These were then stained black and glued with contact cement to the aluminum tube to provide a gluing surface for the bridge ties.
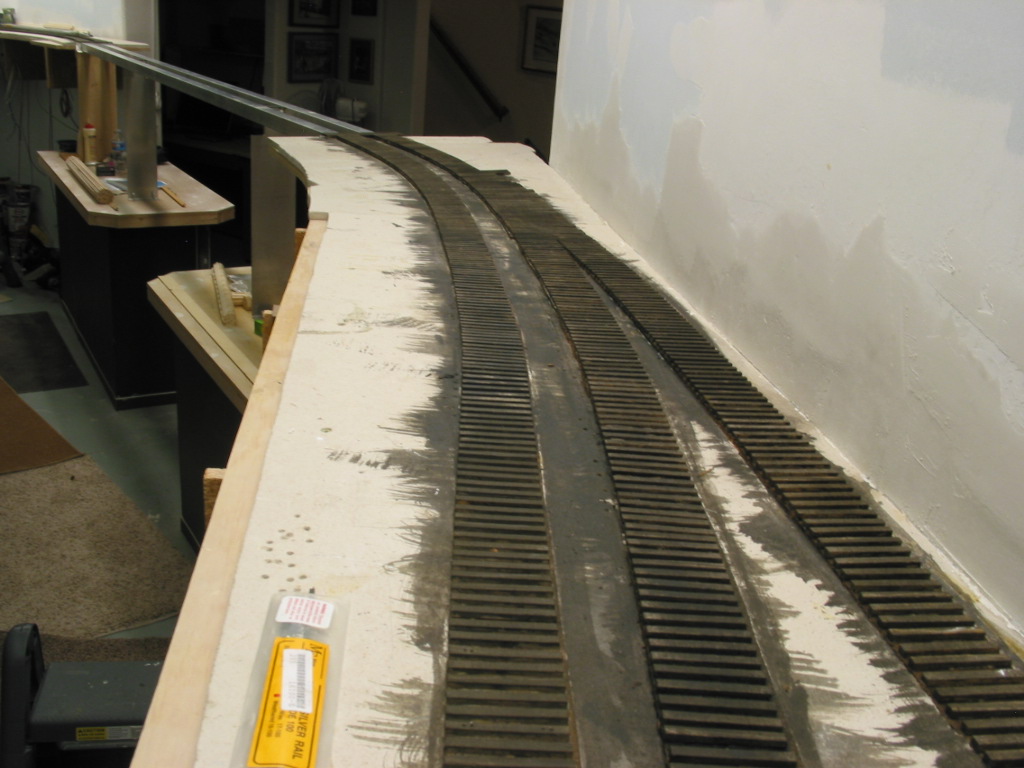
Once past the bridge, a slight super-elevated curve carries the double track main into West Virginia where we immediately pass a connection with the B&O.
We'll leave our current journey here, and jump down to the river gorge where the construction has been progressing as well.
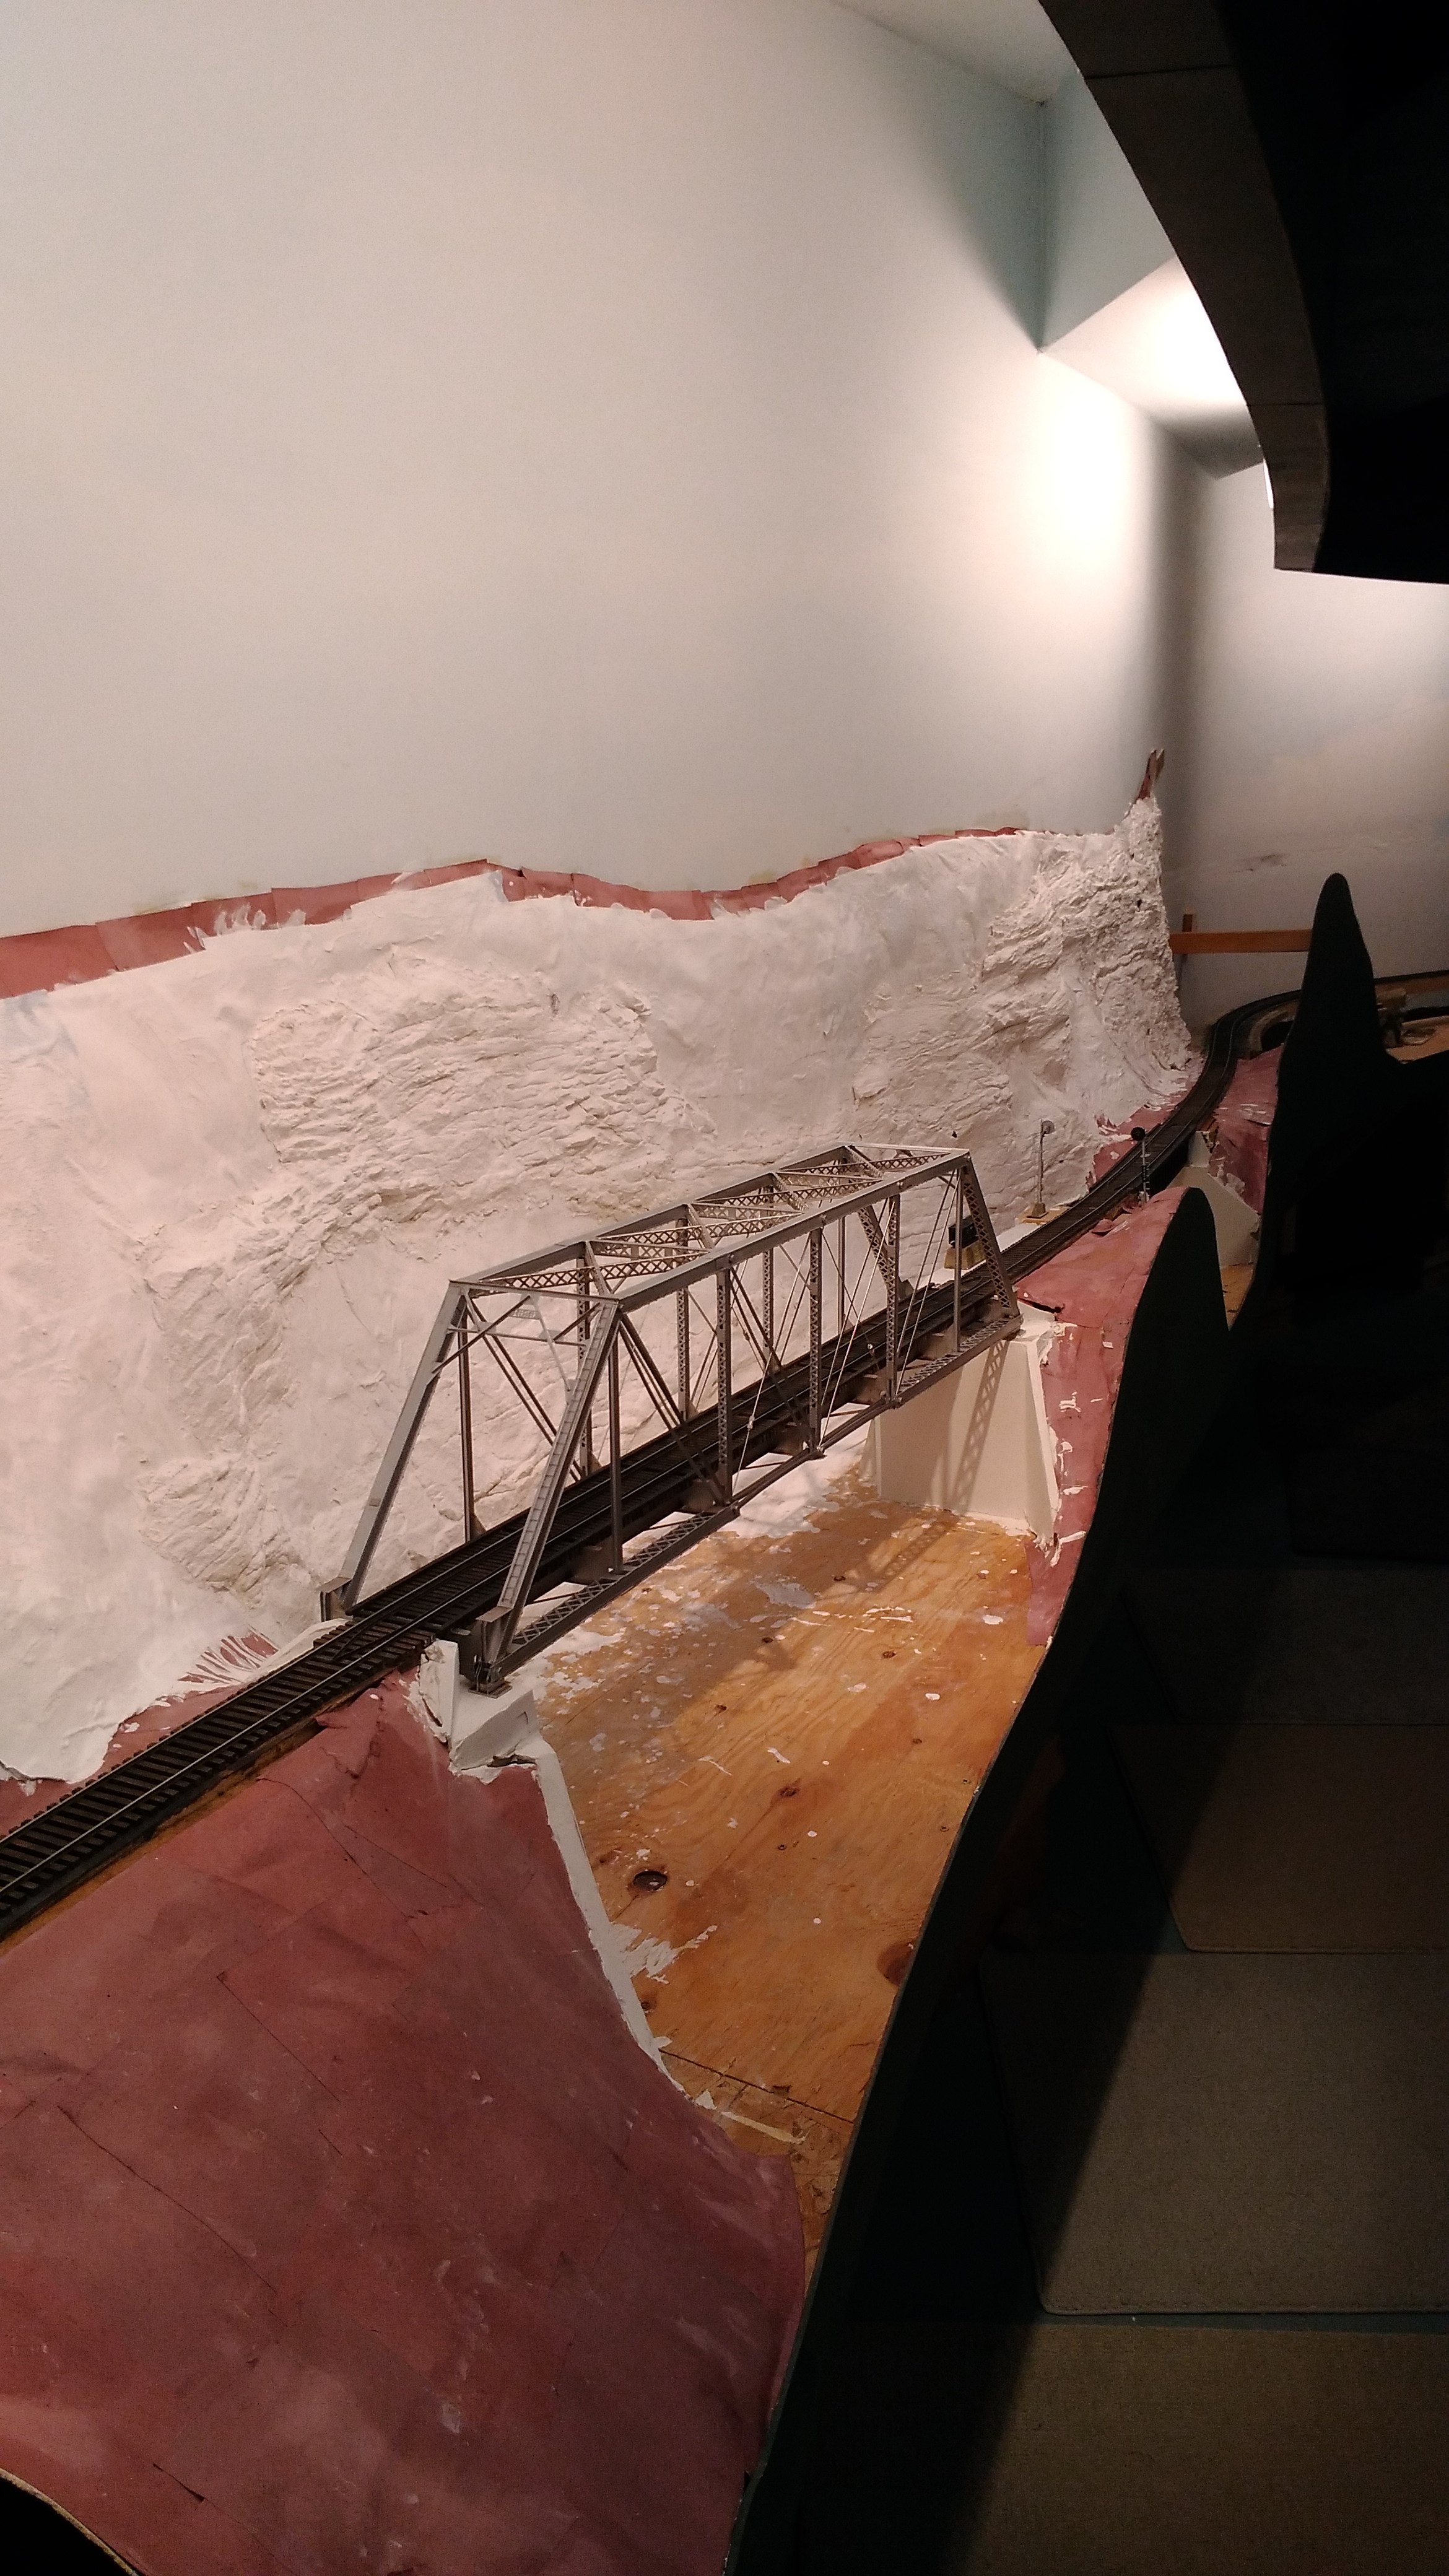
Scenery has begun in he Big Coal River gorge. And with the placement of the pin-connected bridge, the mainline was....(drum roll).....COMPLETED!! Appropriately, my long-suffering railroad-wife Katie ran the first train over the entire line.
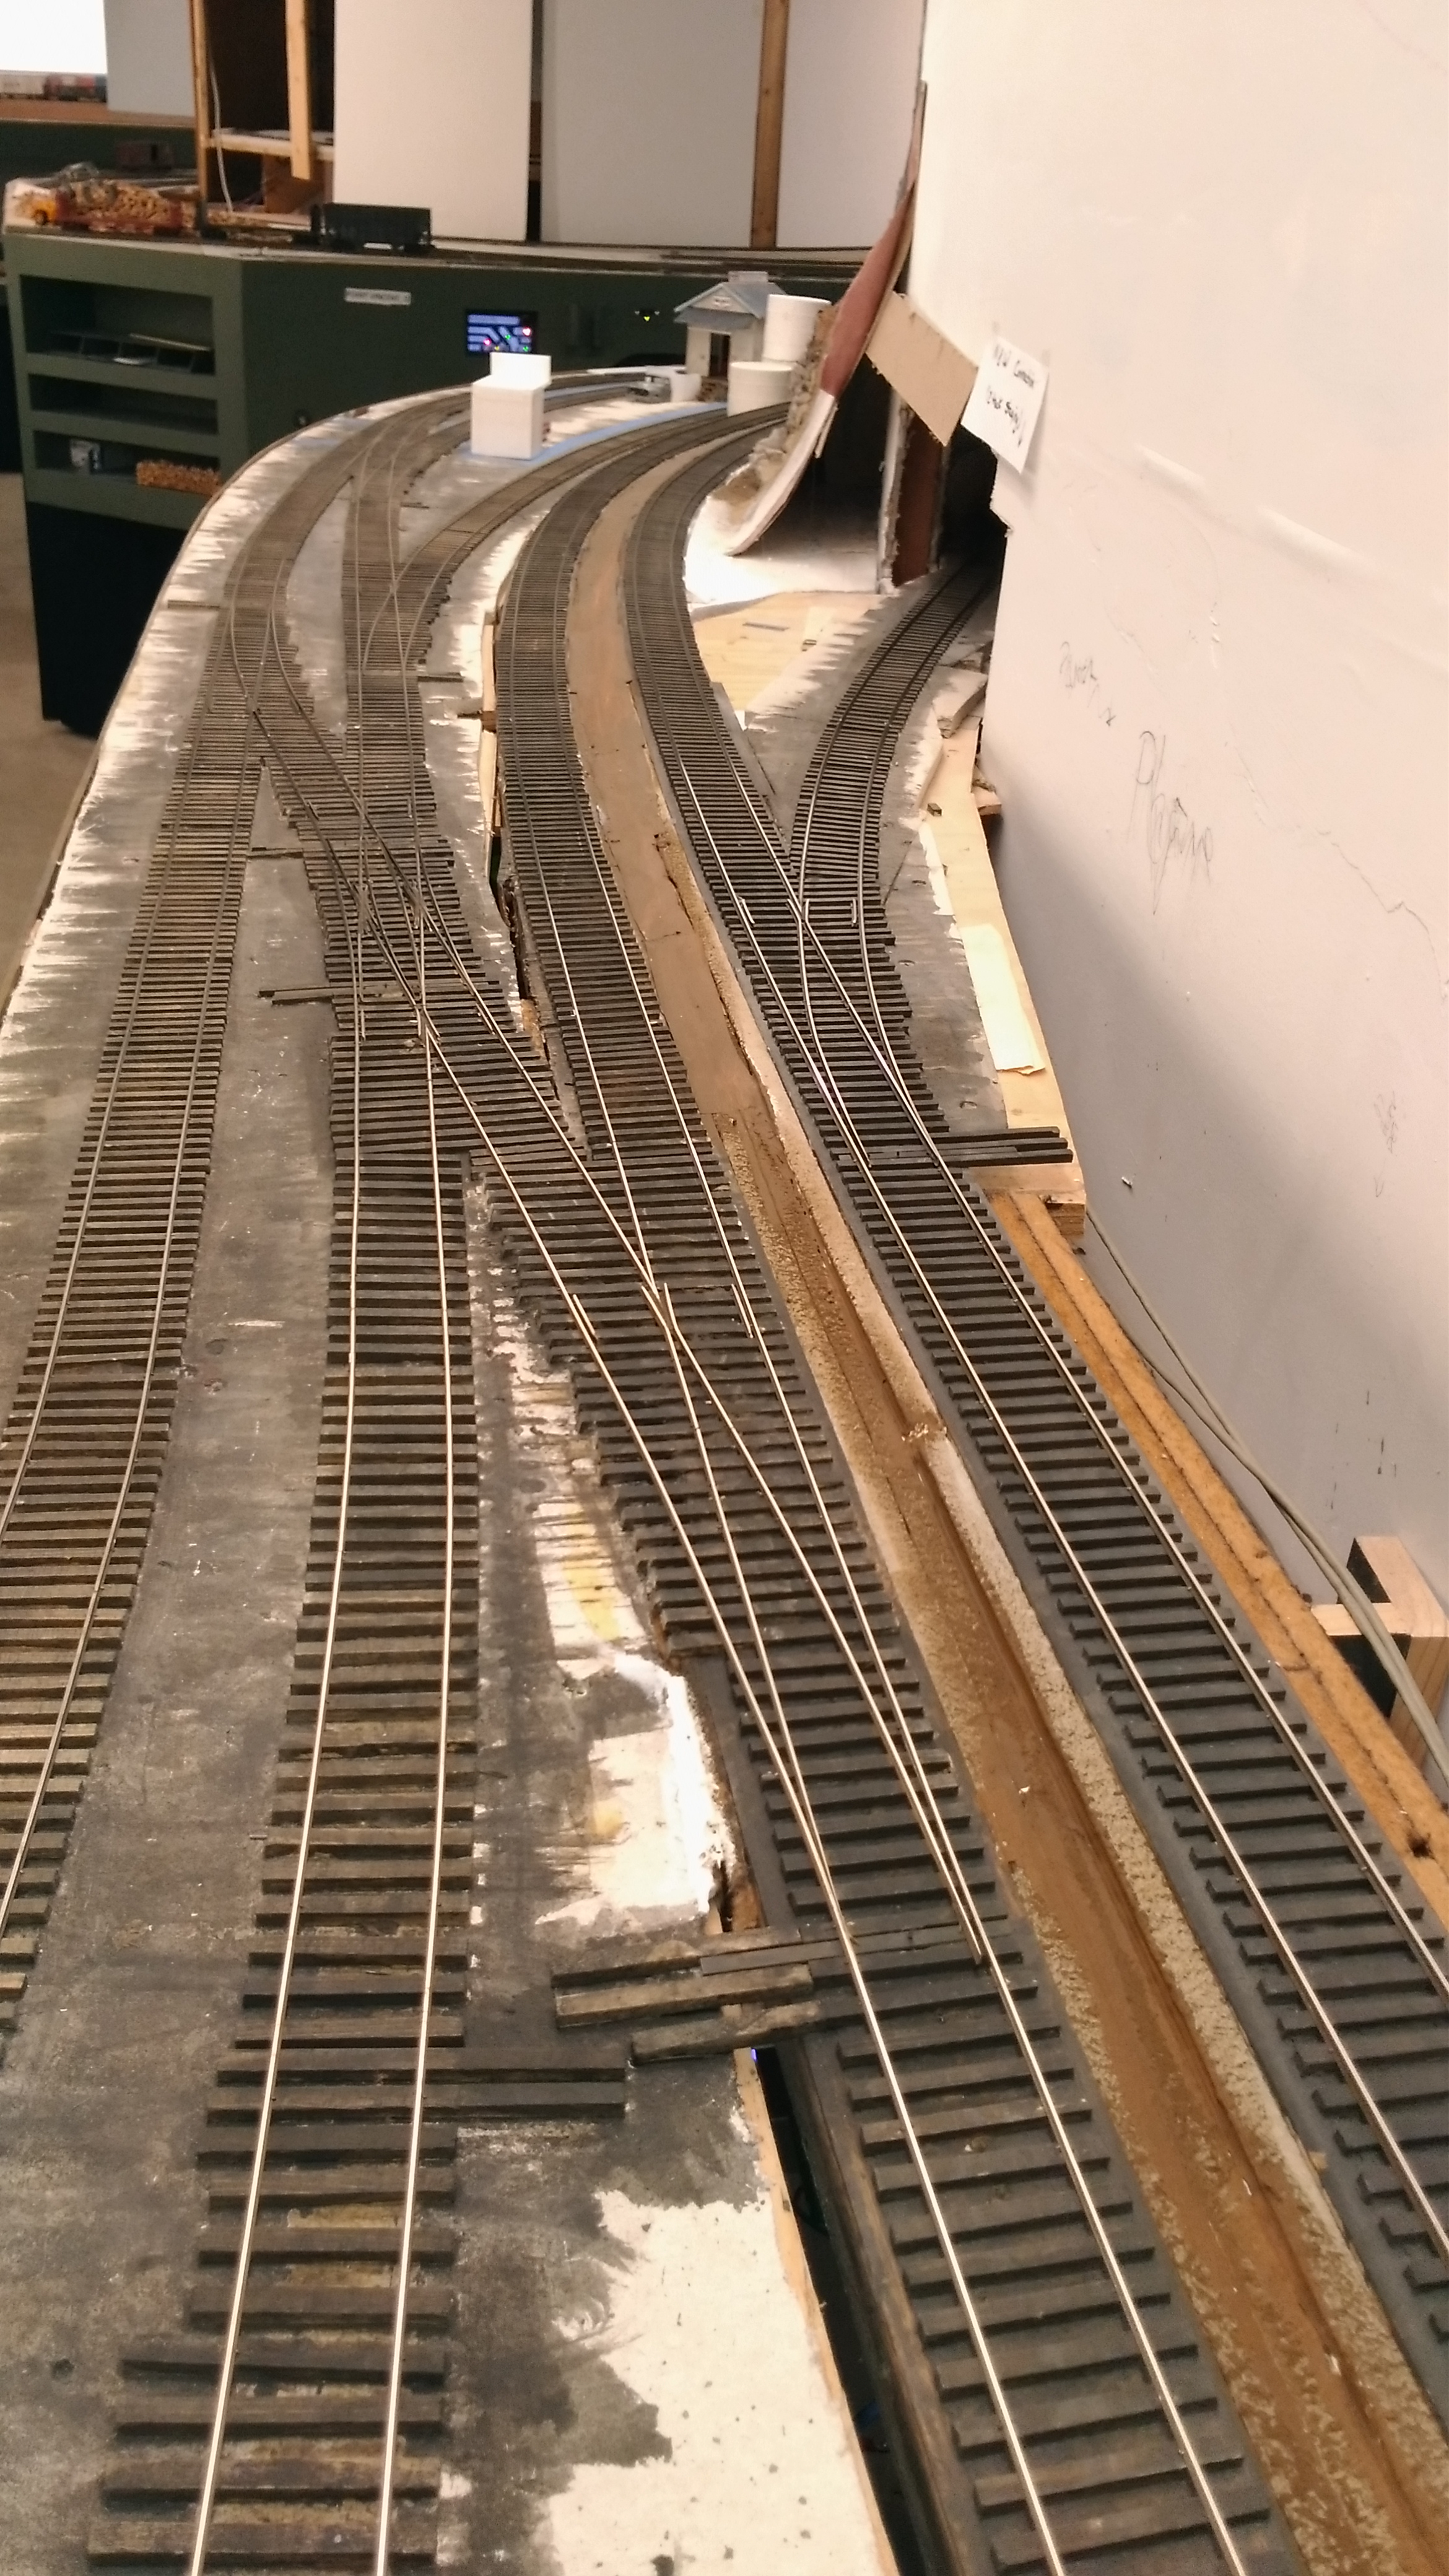
Fully embracing the mantra that "It's finished, until a better idea comes along", next is the redo of Mt. Union. What was the Antioc & Dover staging on the right, is now N&W staging.
The A&D now owns Mt. Union with it's connection to the A&O passing track flowing through a double-slip.
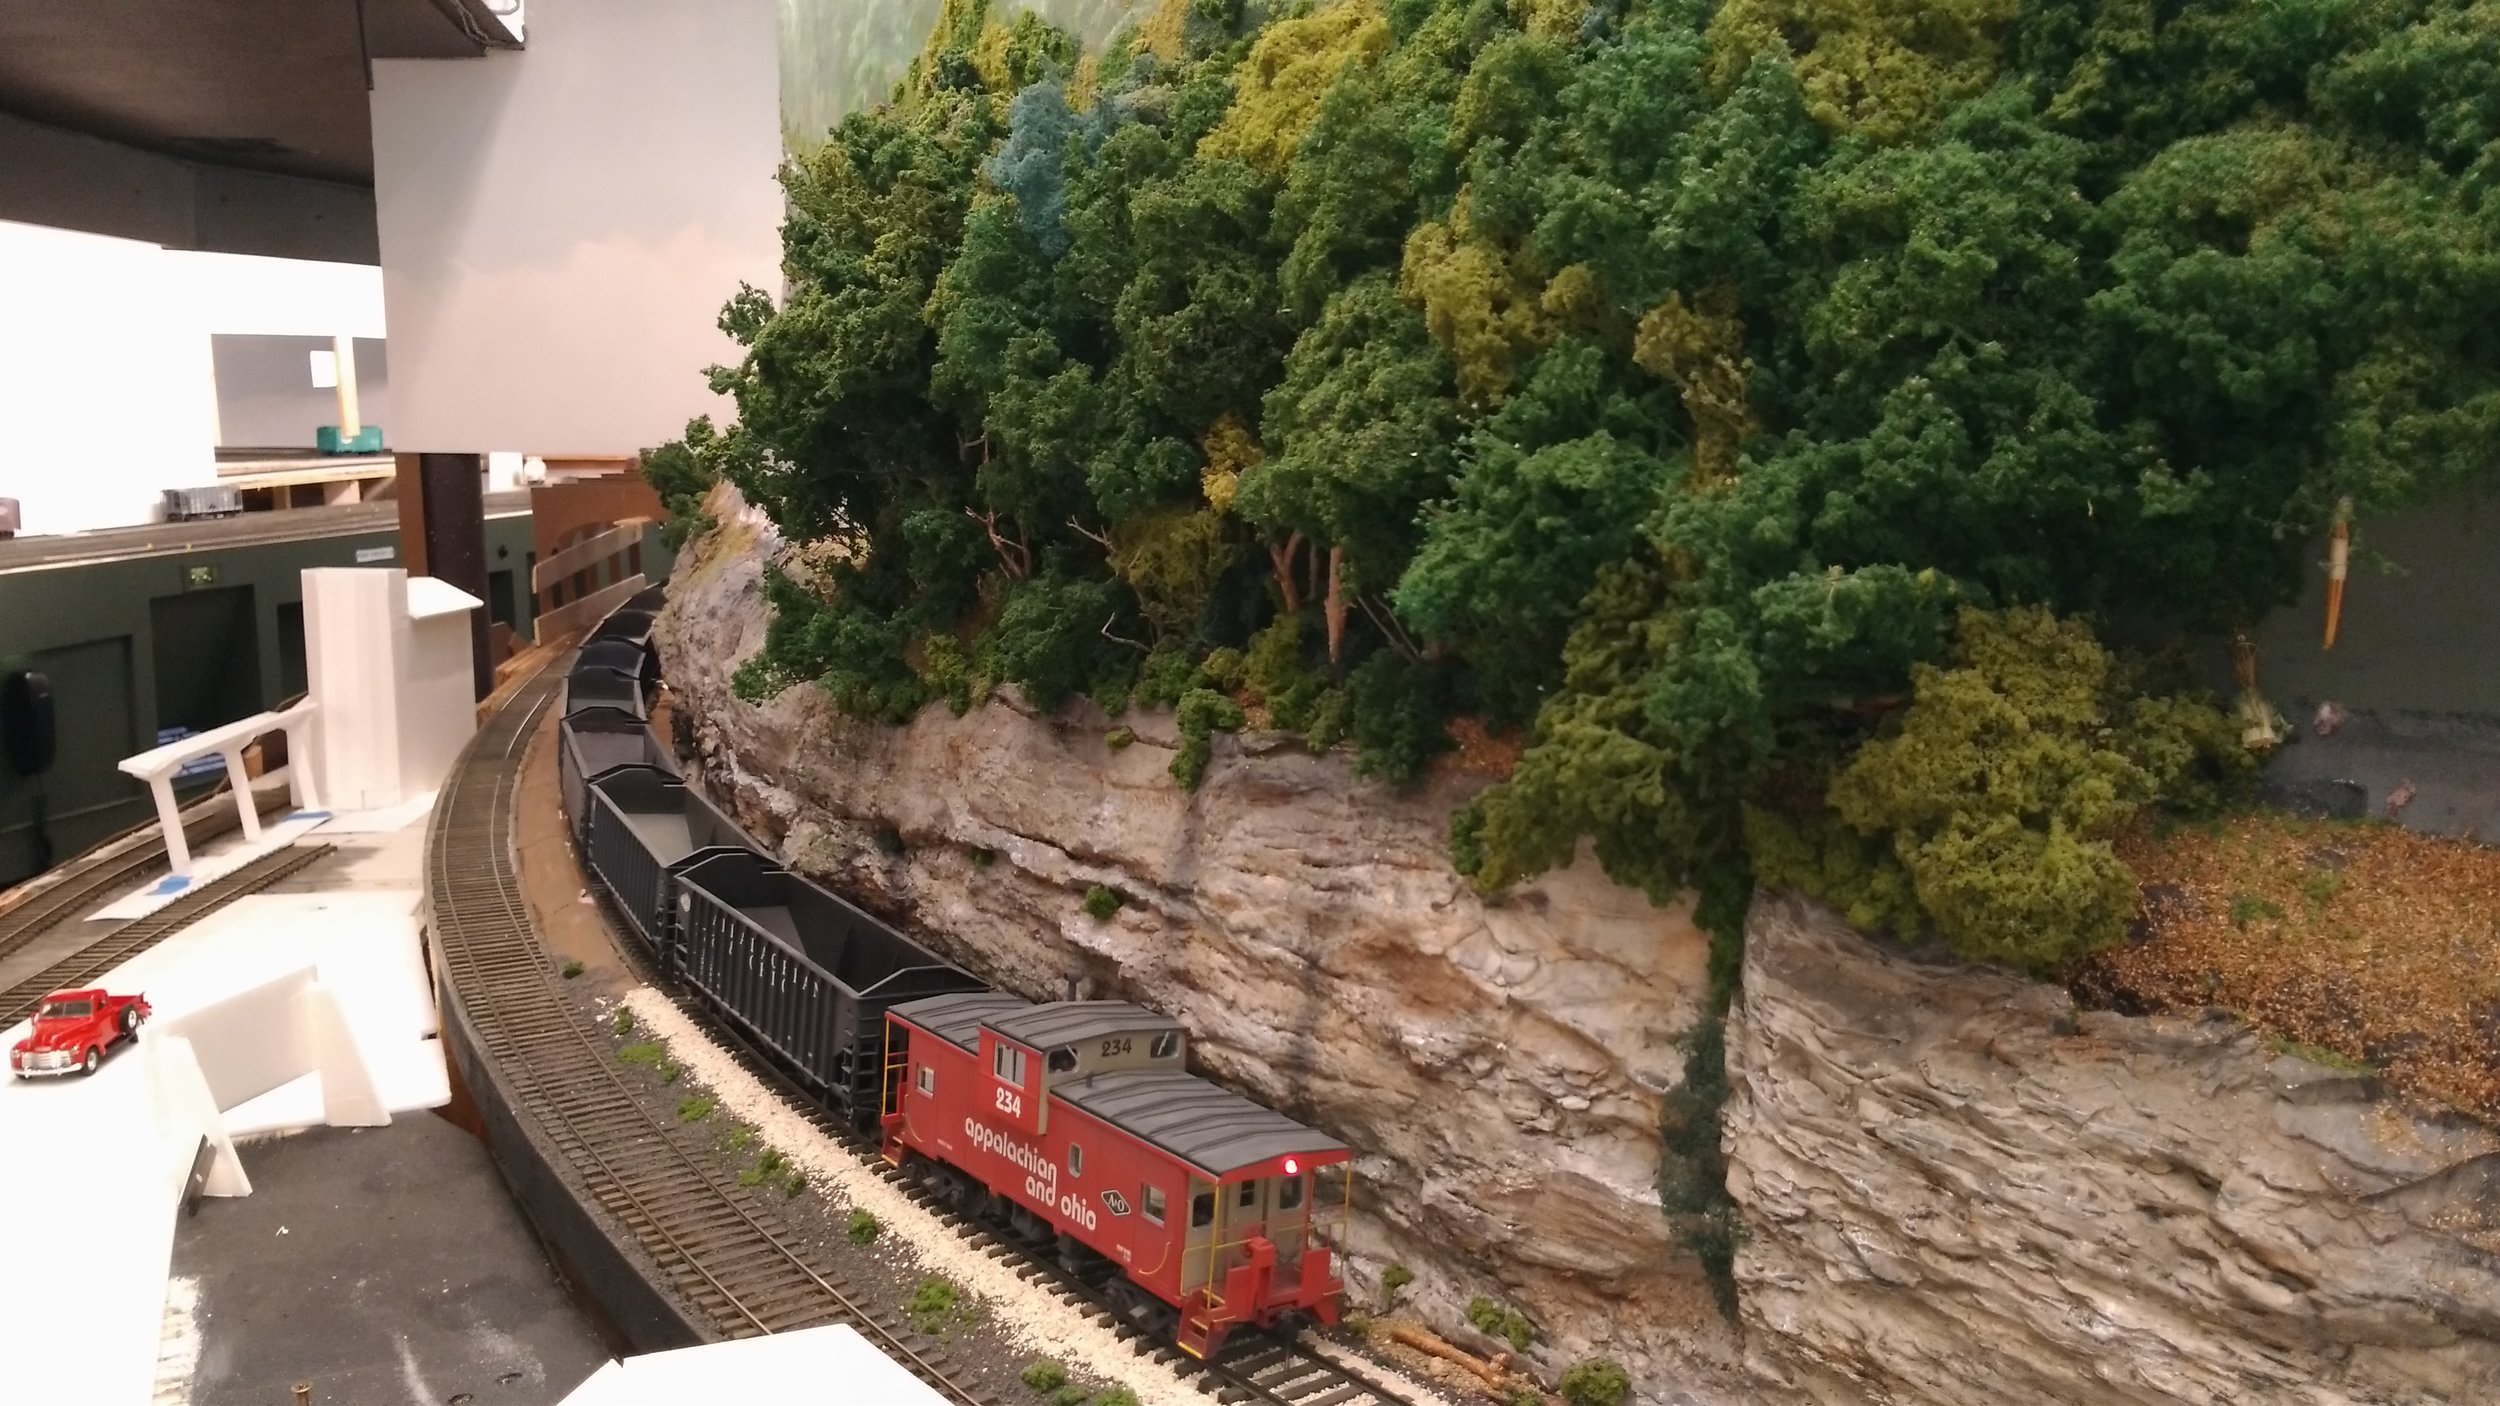
We've overtaken a string of A&O empties. The A&O and A&D will share a multi-level station as seen by the mock-up. We'll follow this train for awhile.
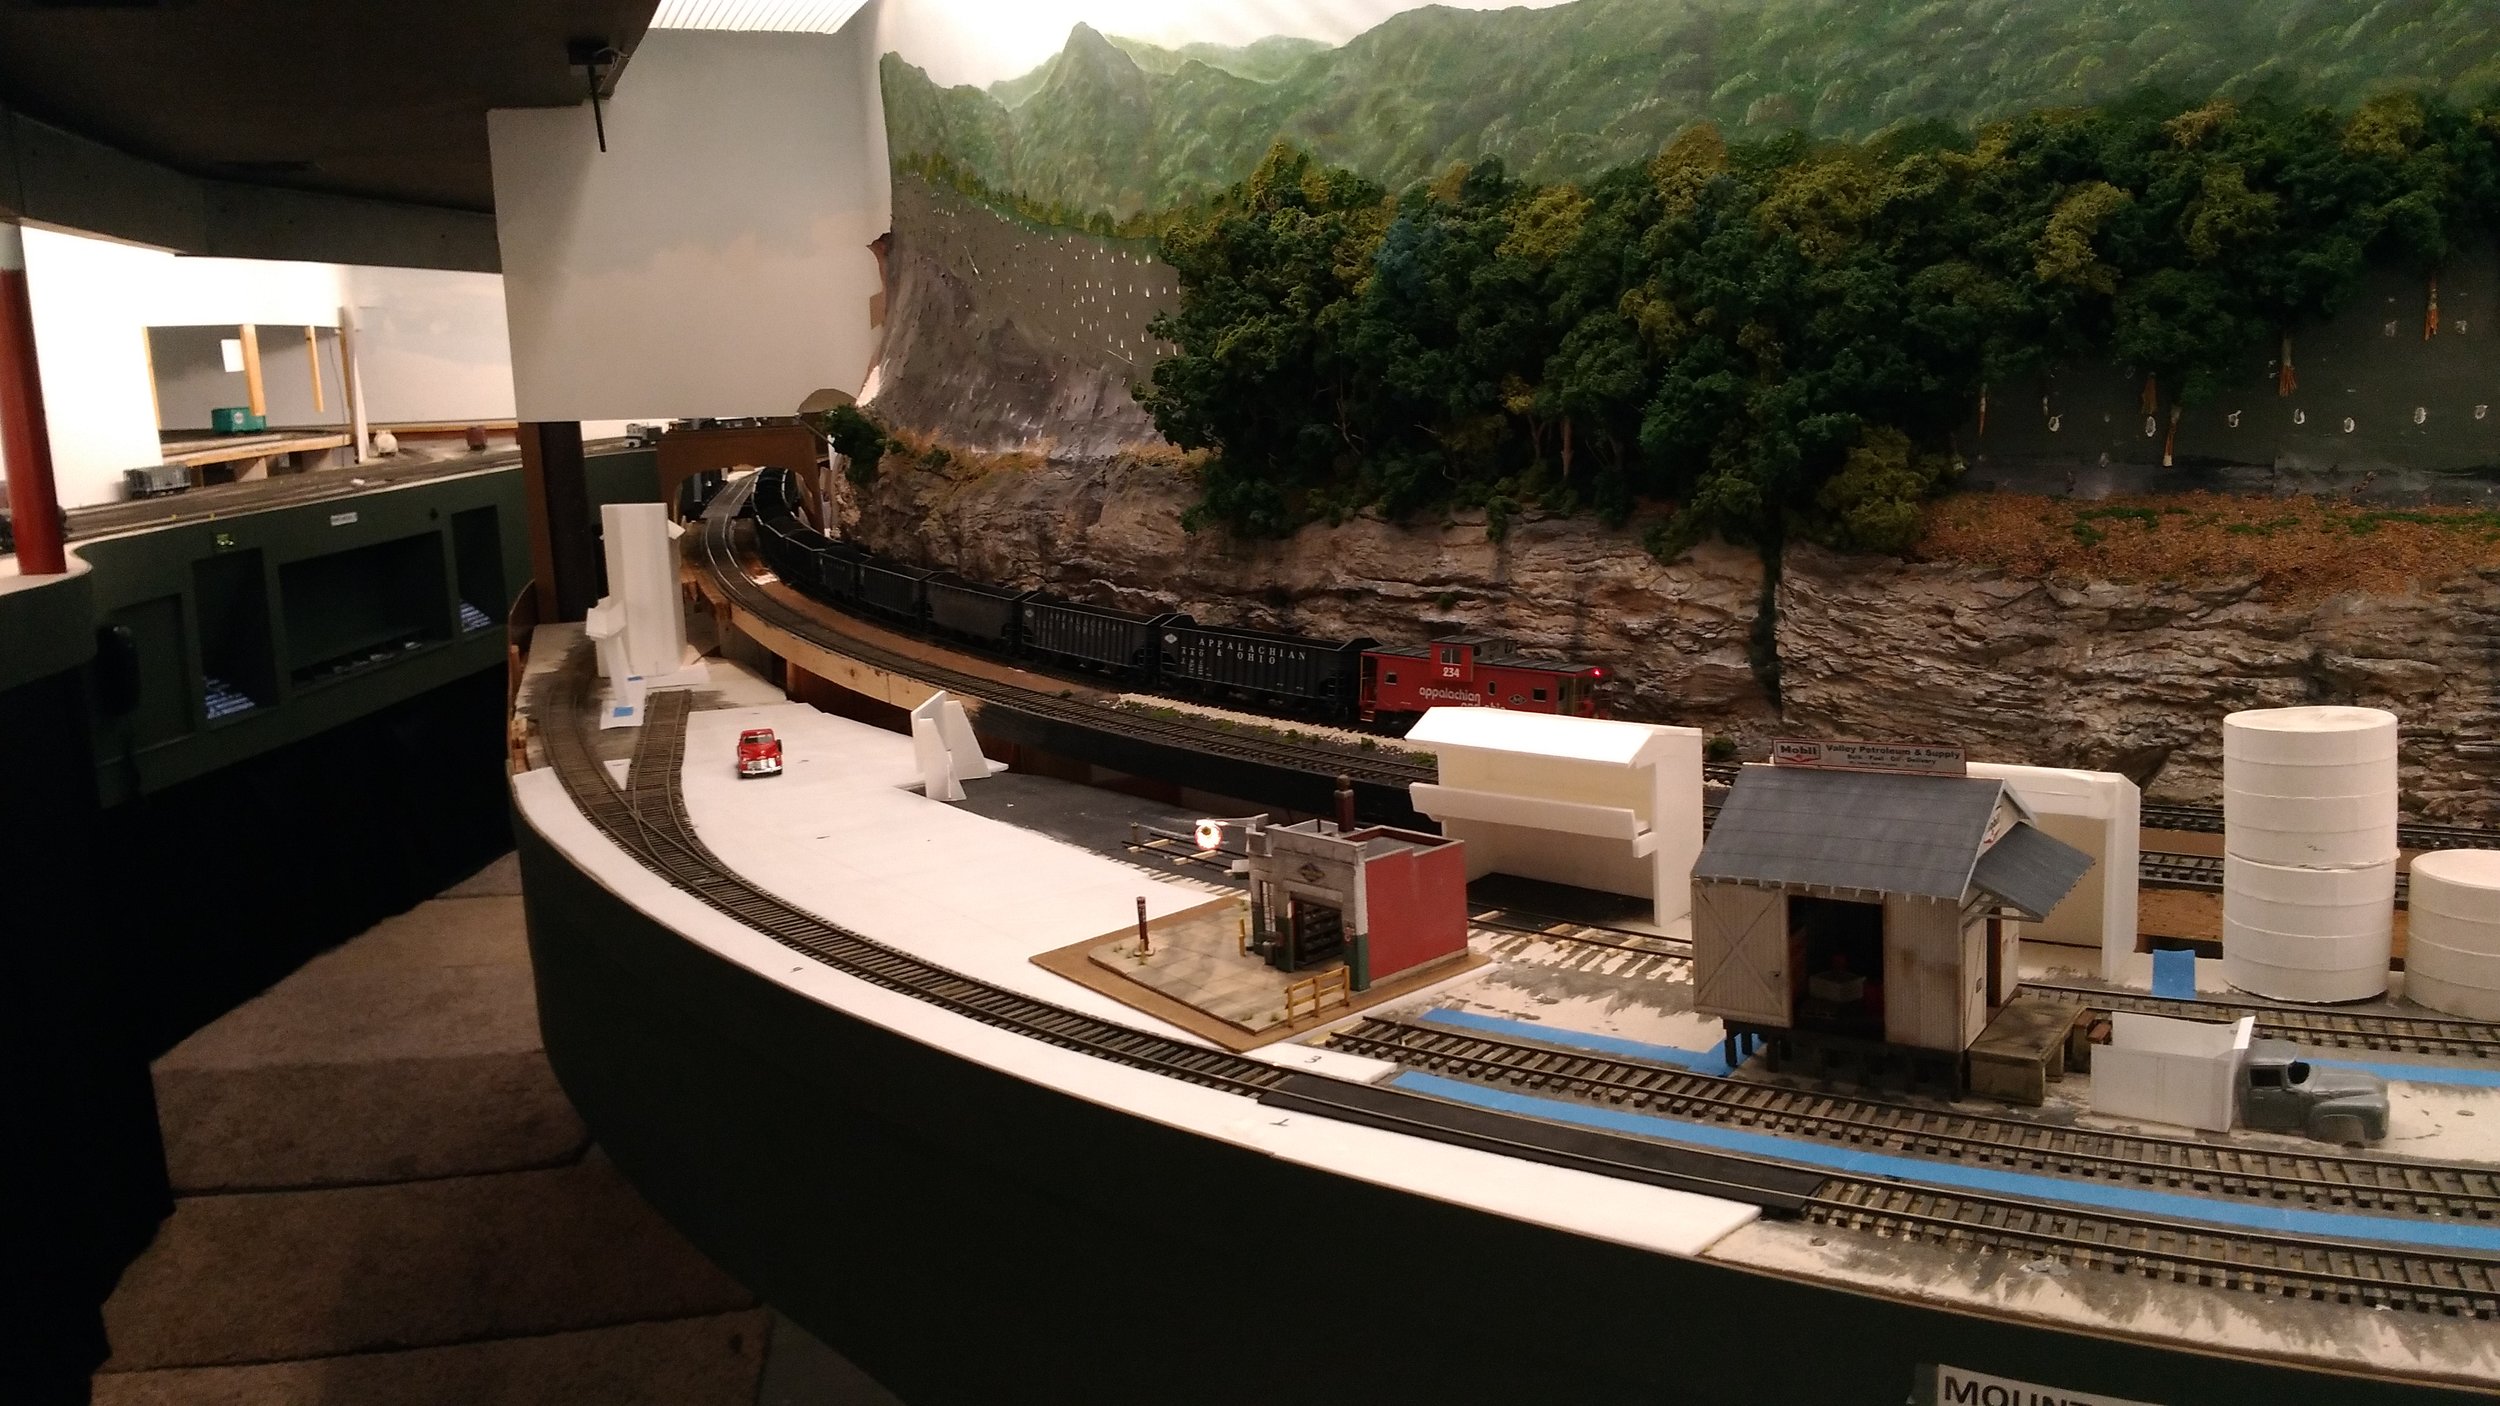
As crew member Rick Bacon's Antioc & Dover climbs through town, the tracks will become part of the street. Rick is an outstanding modeler and is scratch building all the structures in Mt. Union. Awesome photos to come!
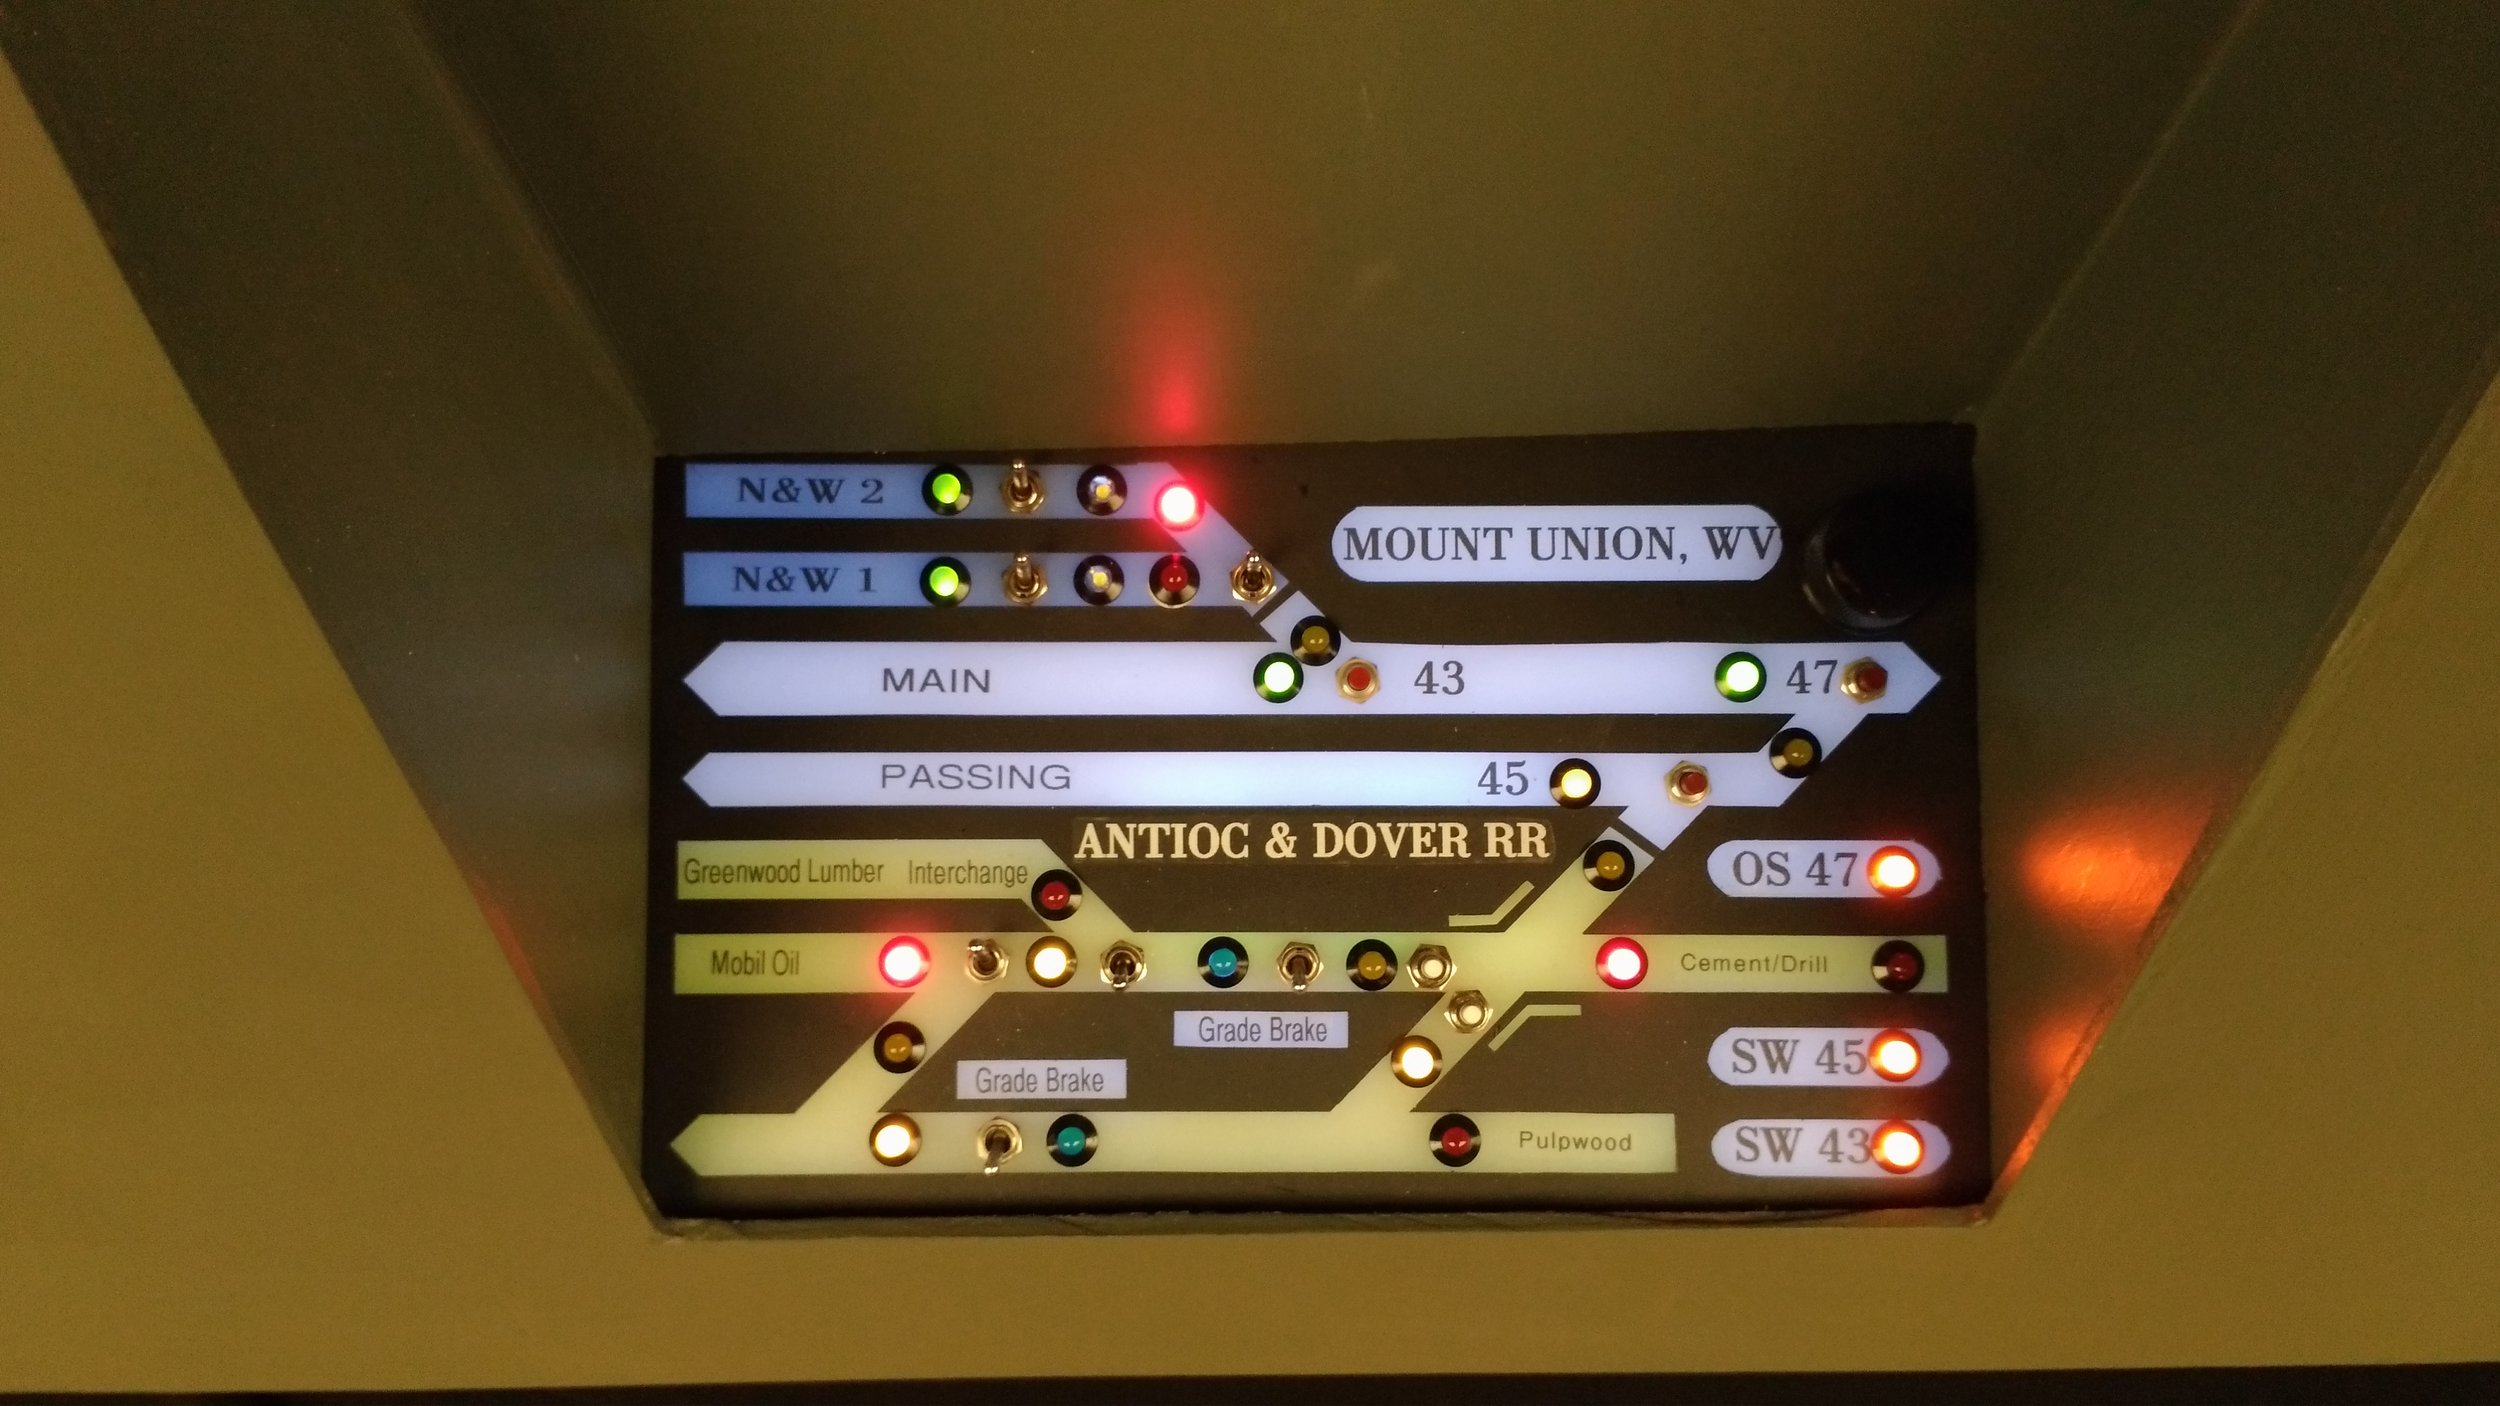
A look at one of the panels in Mt. Union featuring A&O (white), A&D (yellow), and N&W (blue) trackage. The A&D switch crew will have fun here, with the necessary Grade Brakes adding to the experience.
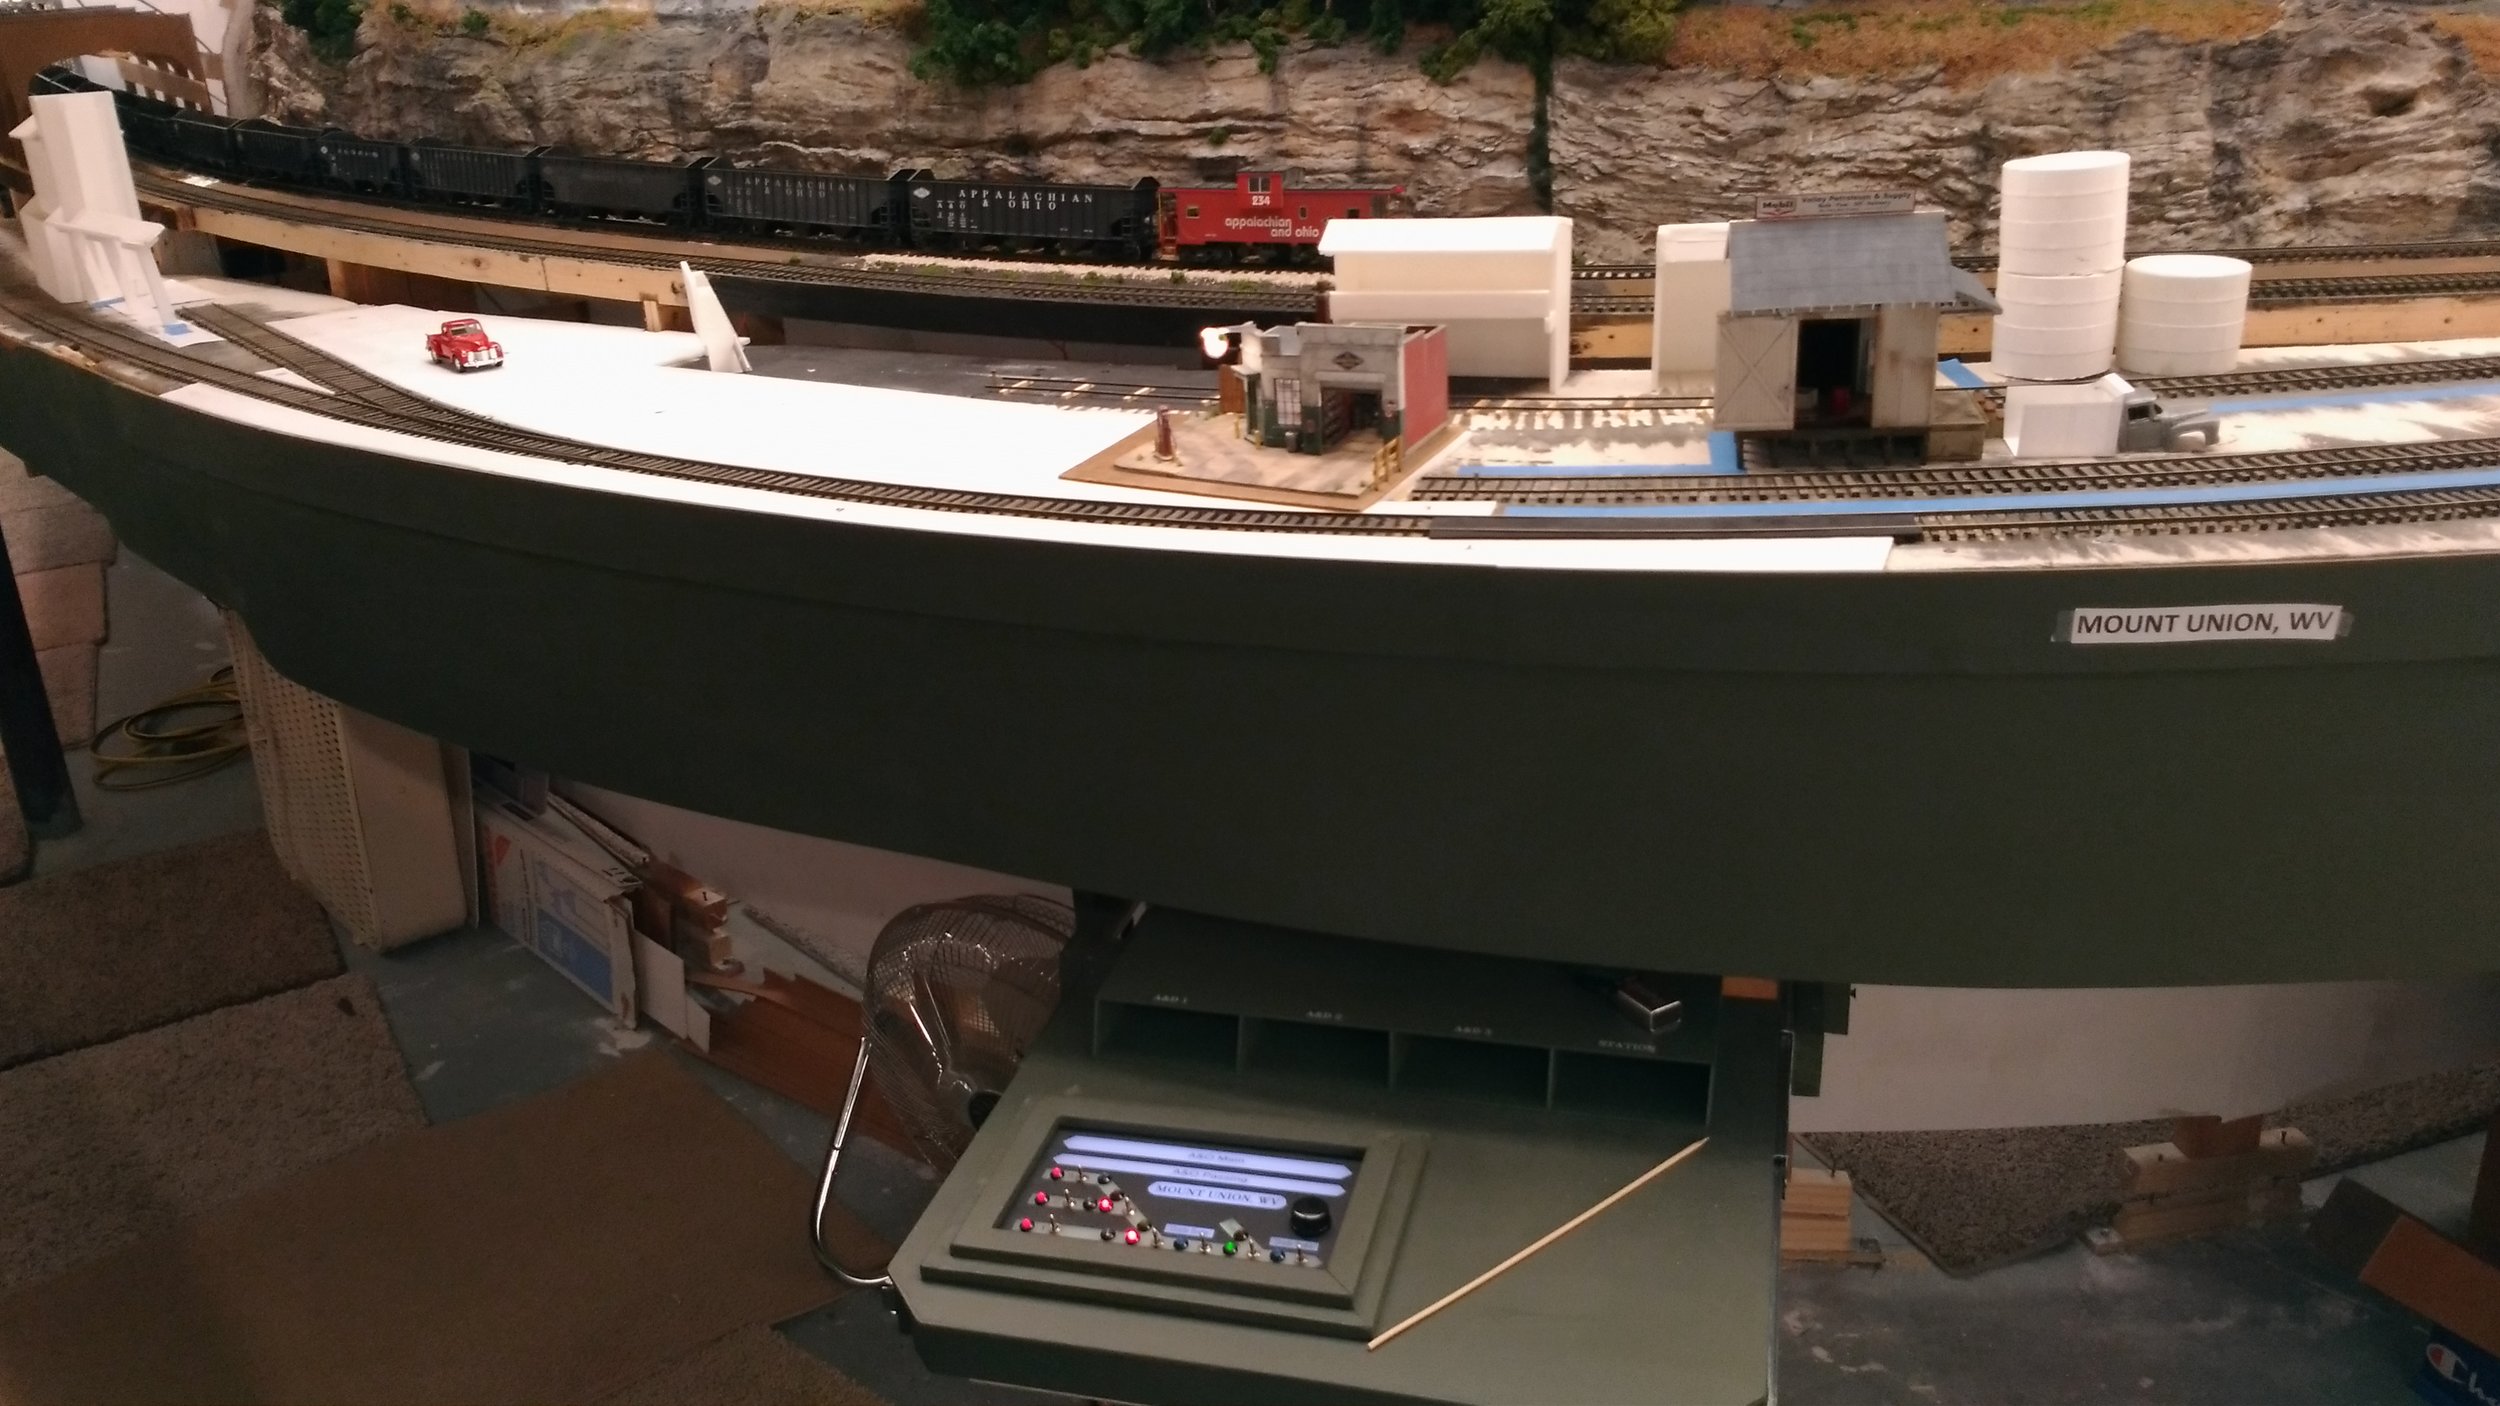
The A&D panel is a slide-out drawer with work space. Three of the car card/train file boxes are for trains in staging that was added, under the town of Kayford when Mt. Union was rebuilt. (ah..., ya) It took over a year complete this redo, but worth every effort!
The A&D is now a wholly-owned subsidiary of the A&O with many of its hoppers filling out A&O coal movements.
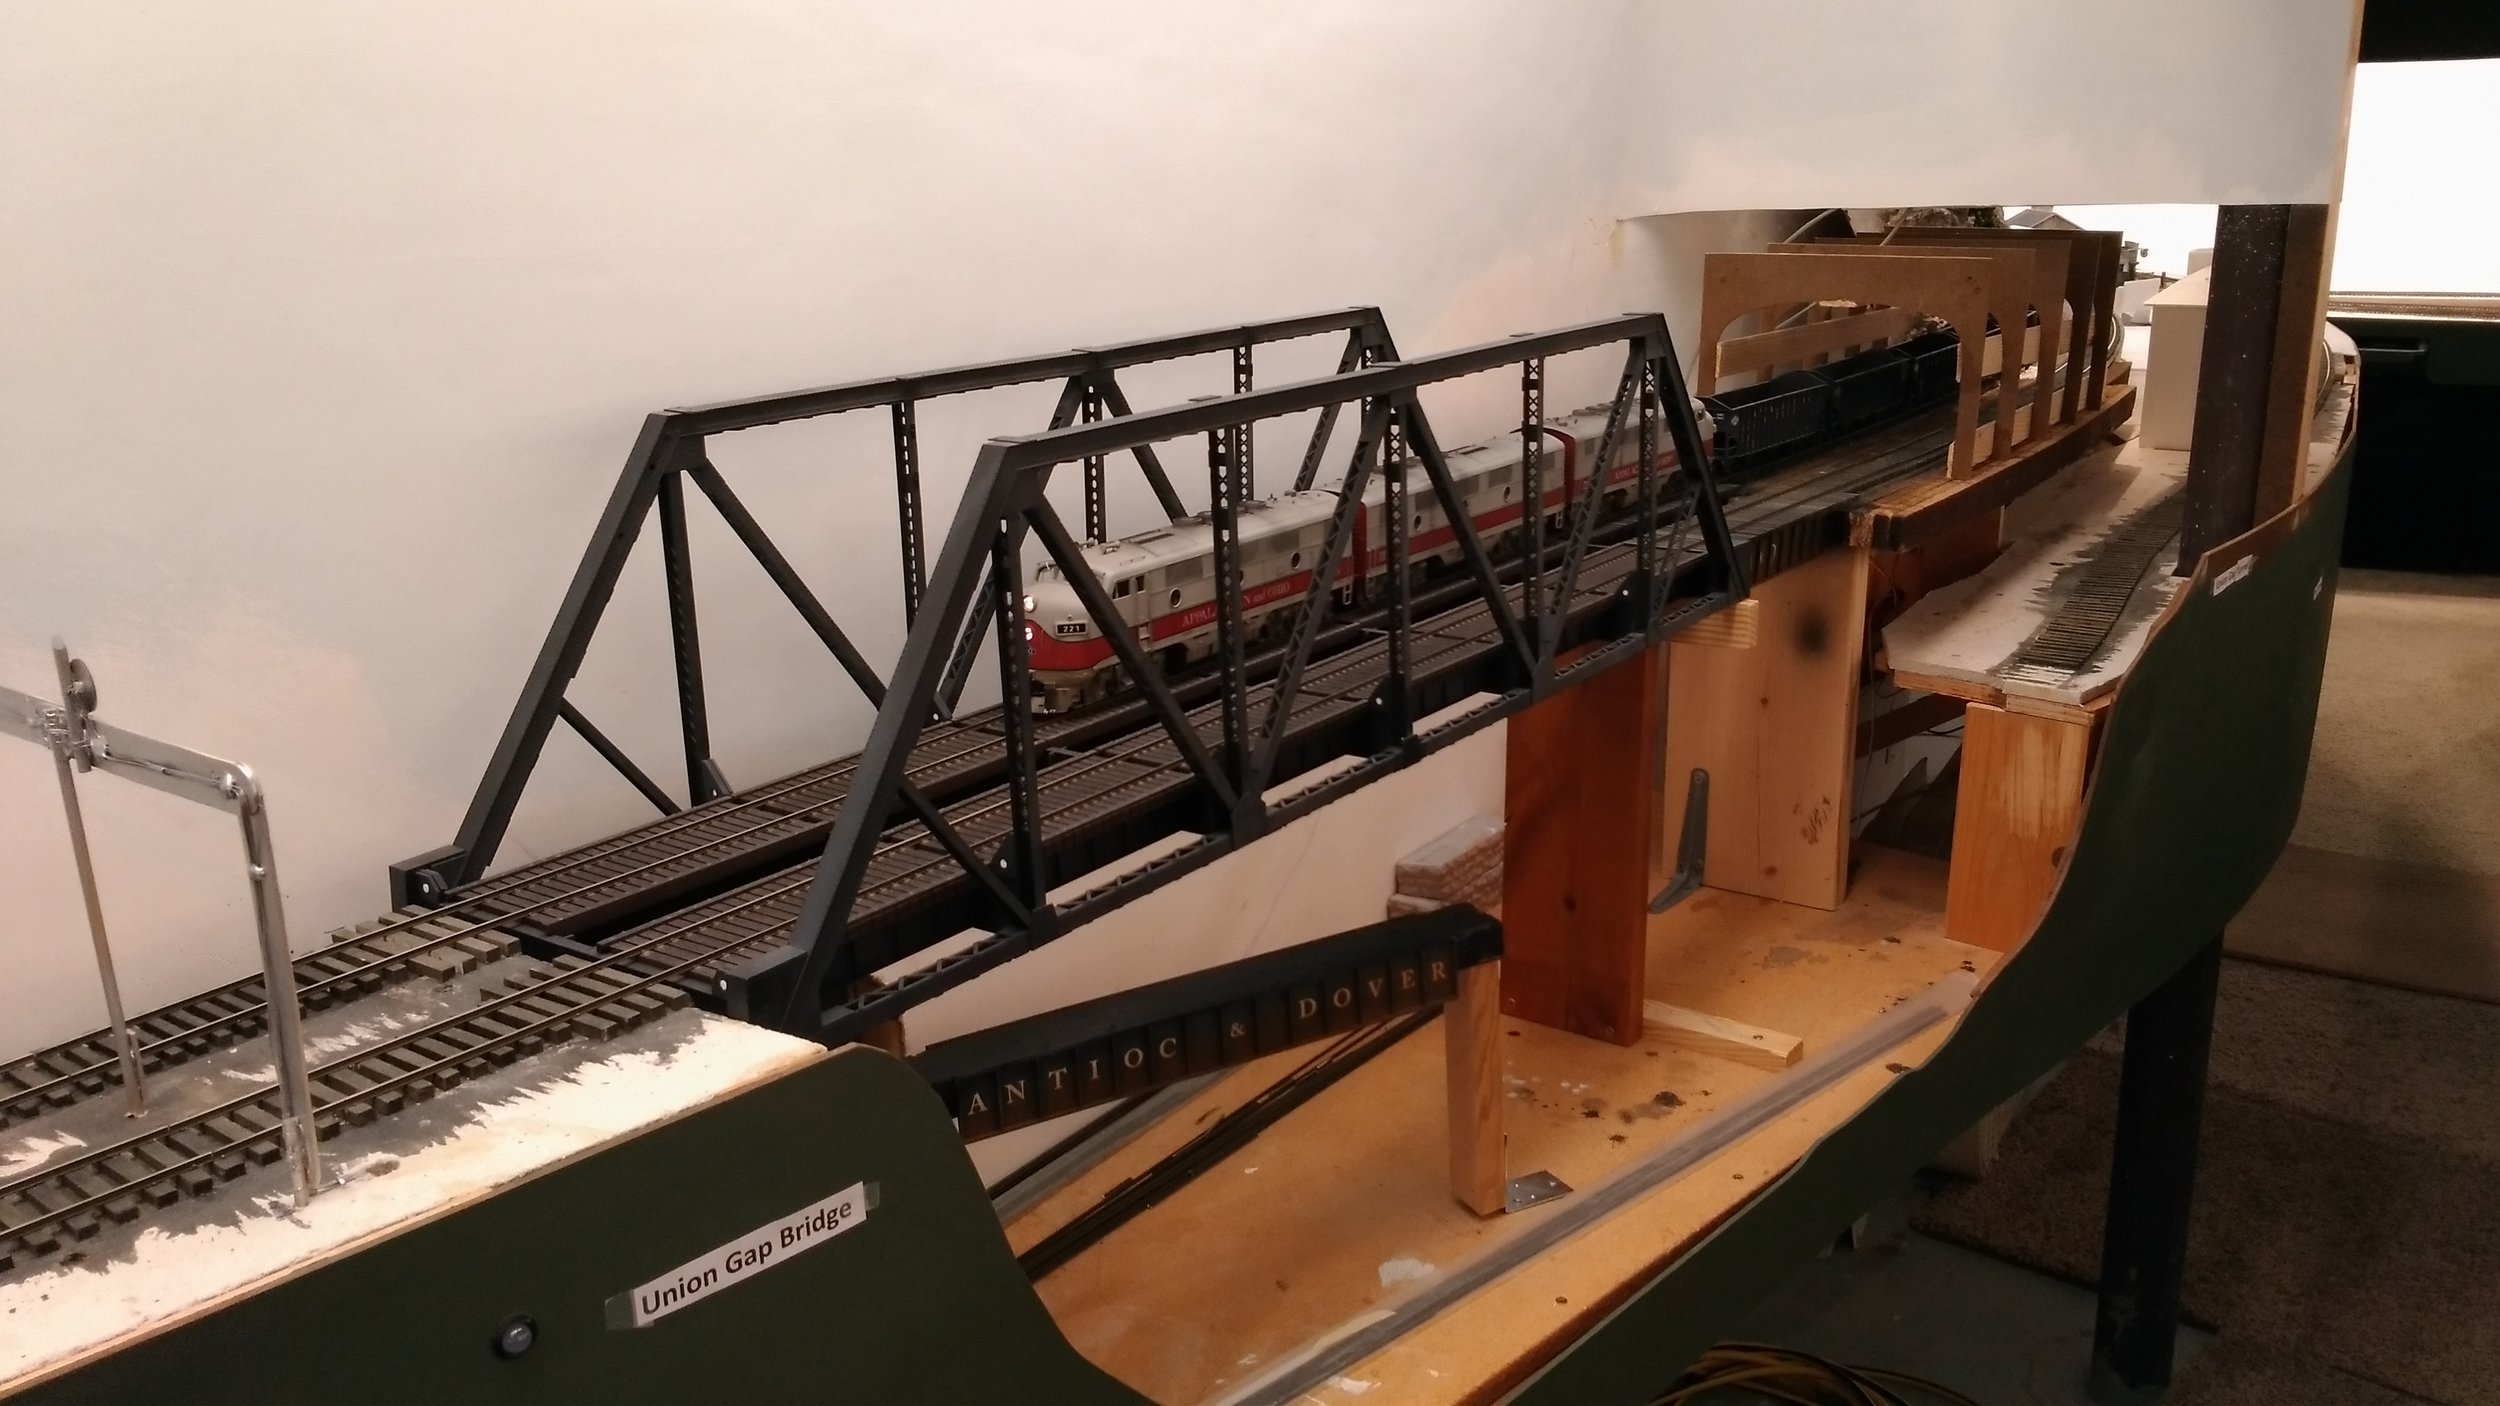
Leaving Mt. Union our train crosses Union Gap on a partially finished Atlas double track thru truss. The Antioc and Dover comes out of staging through the partition wall and onto a deck plate bridge as it passes under the A&O. A curved wood trestle will connect it to the ties just ahead. This is the only remaining rail to be laid on the entire railroad. The end is in sight! Lots of fun scenery work to do here.
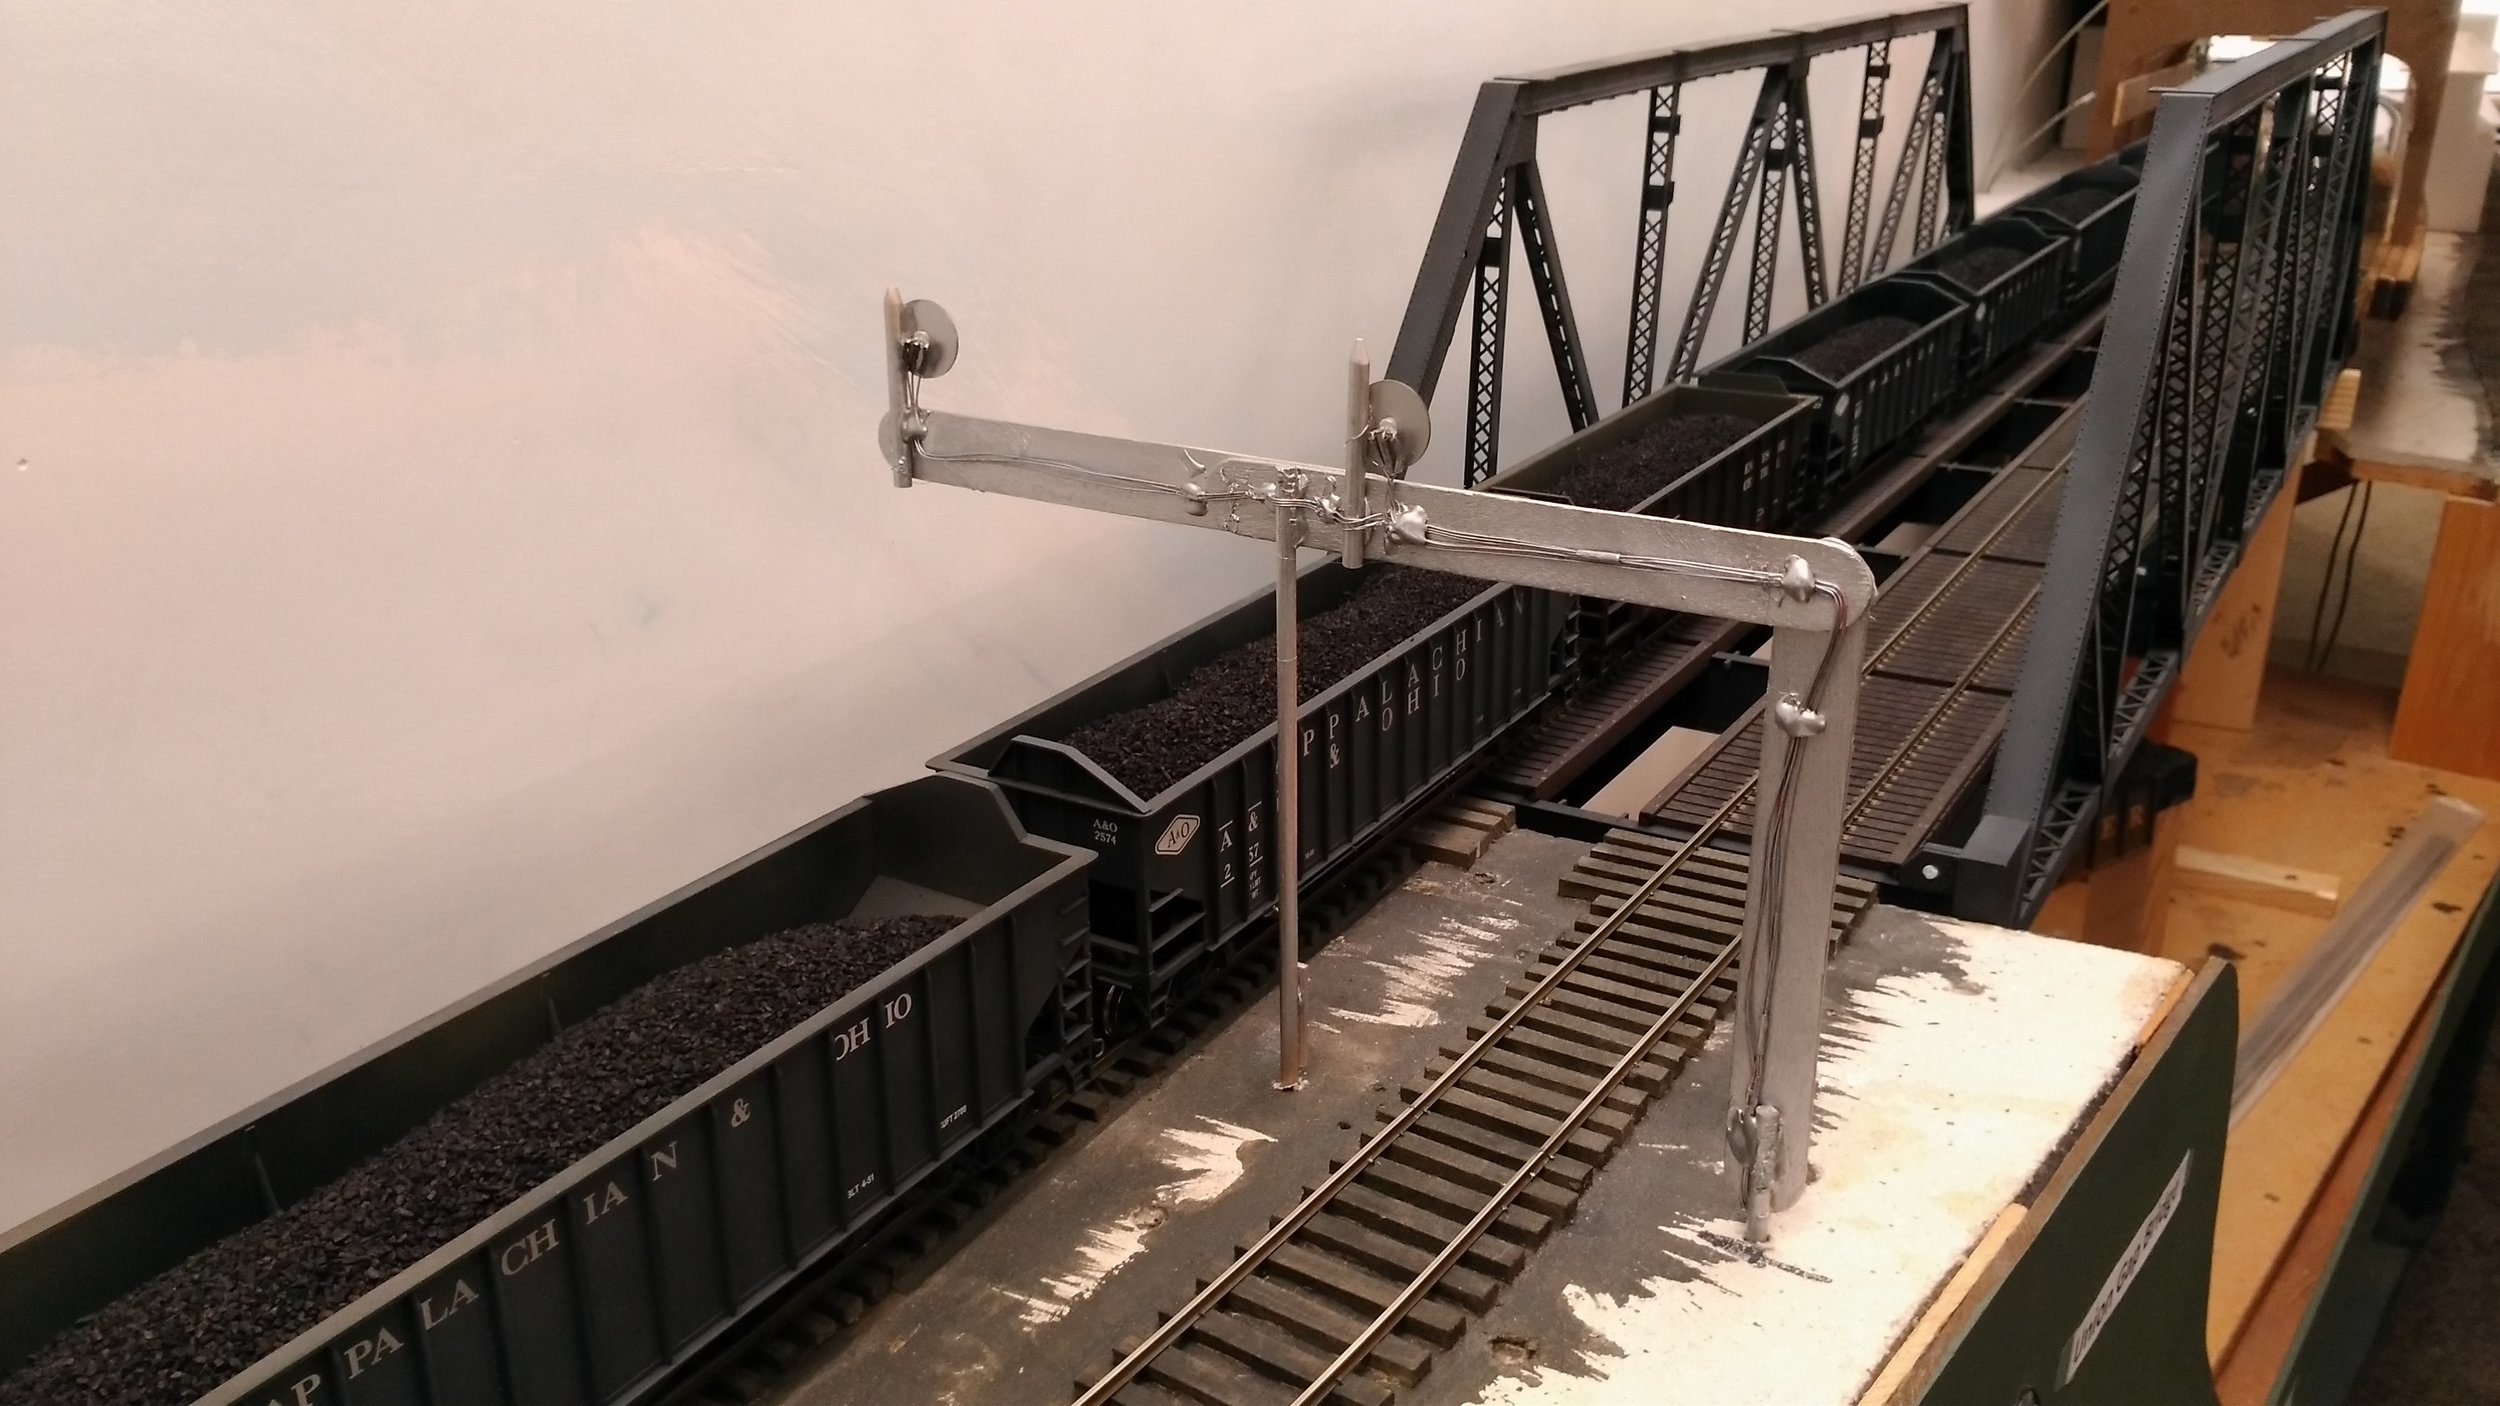
As we leave Union Gap, a quick pause to observe the temporary, state-of-the-art Tongue Depressor cantilever signal bridges. I'll replace them with scratchbuilt brass structures down the road.
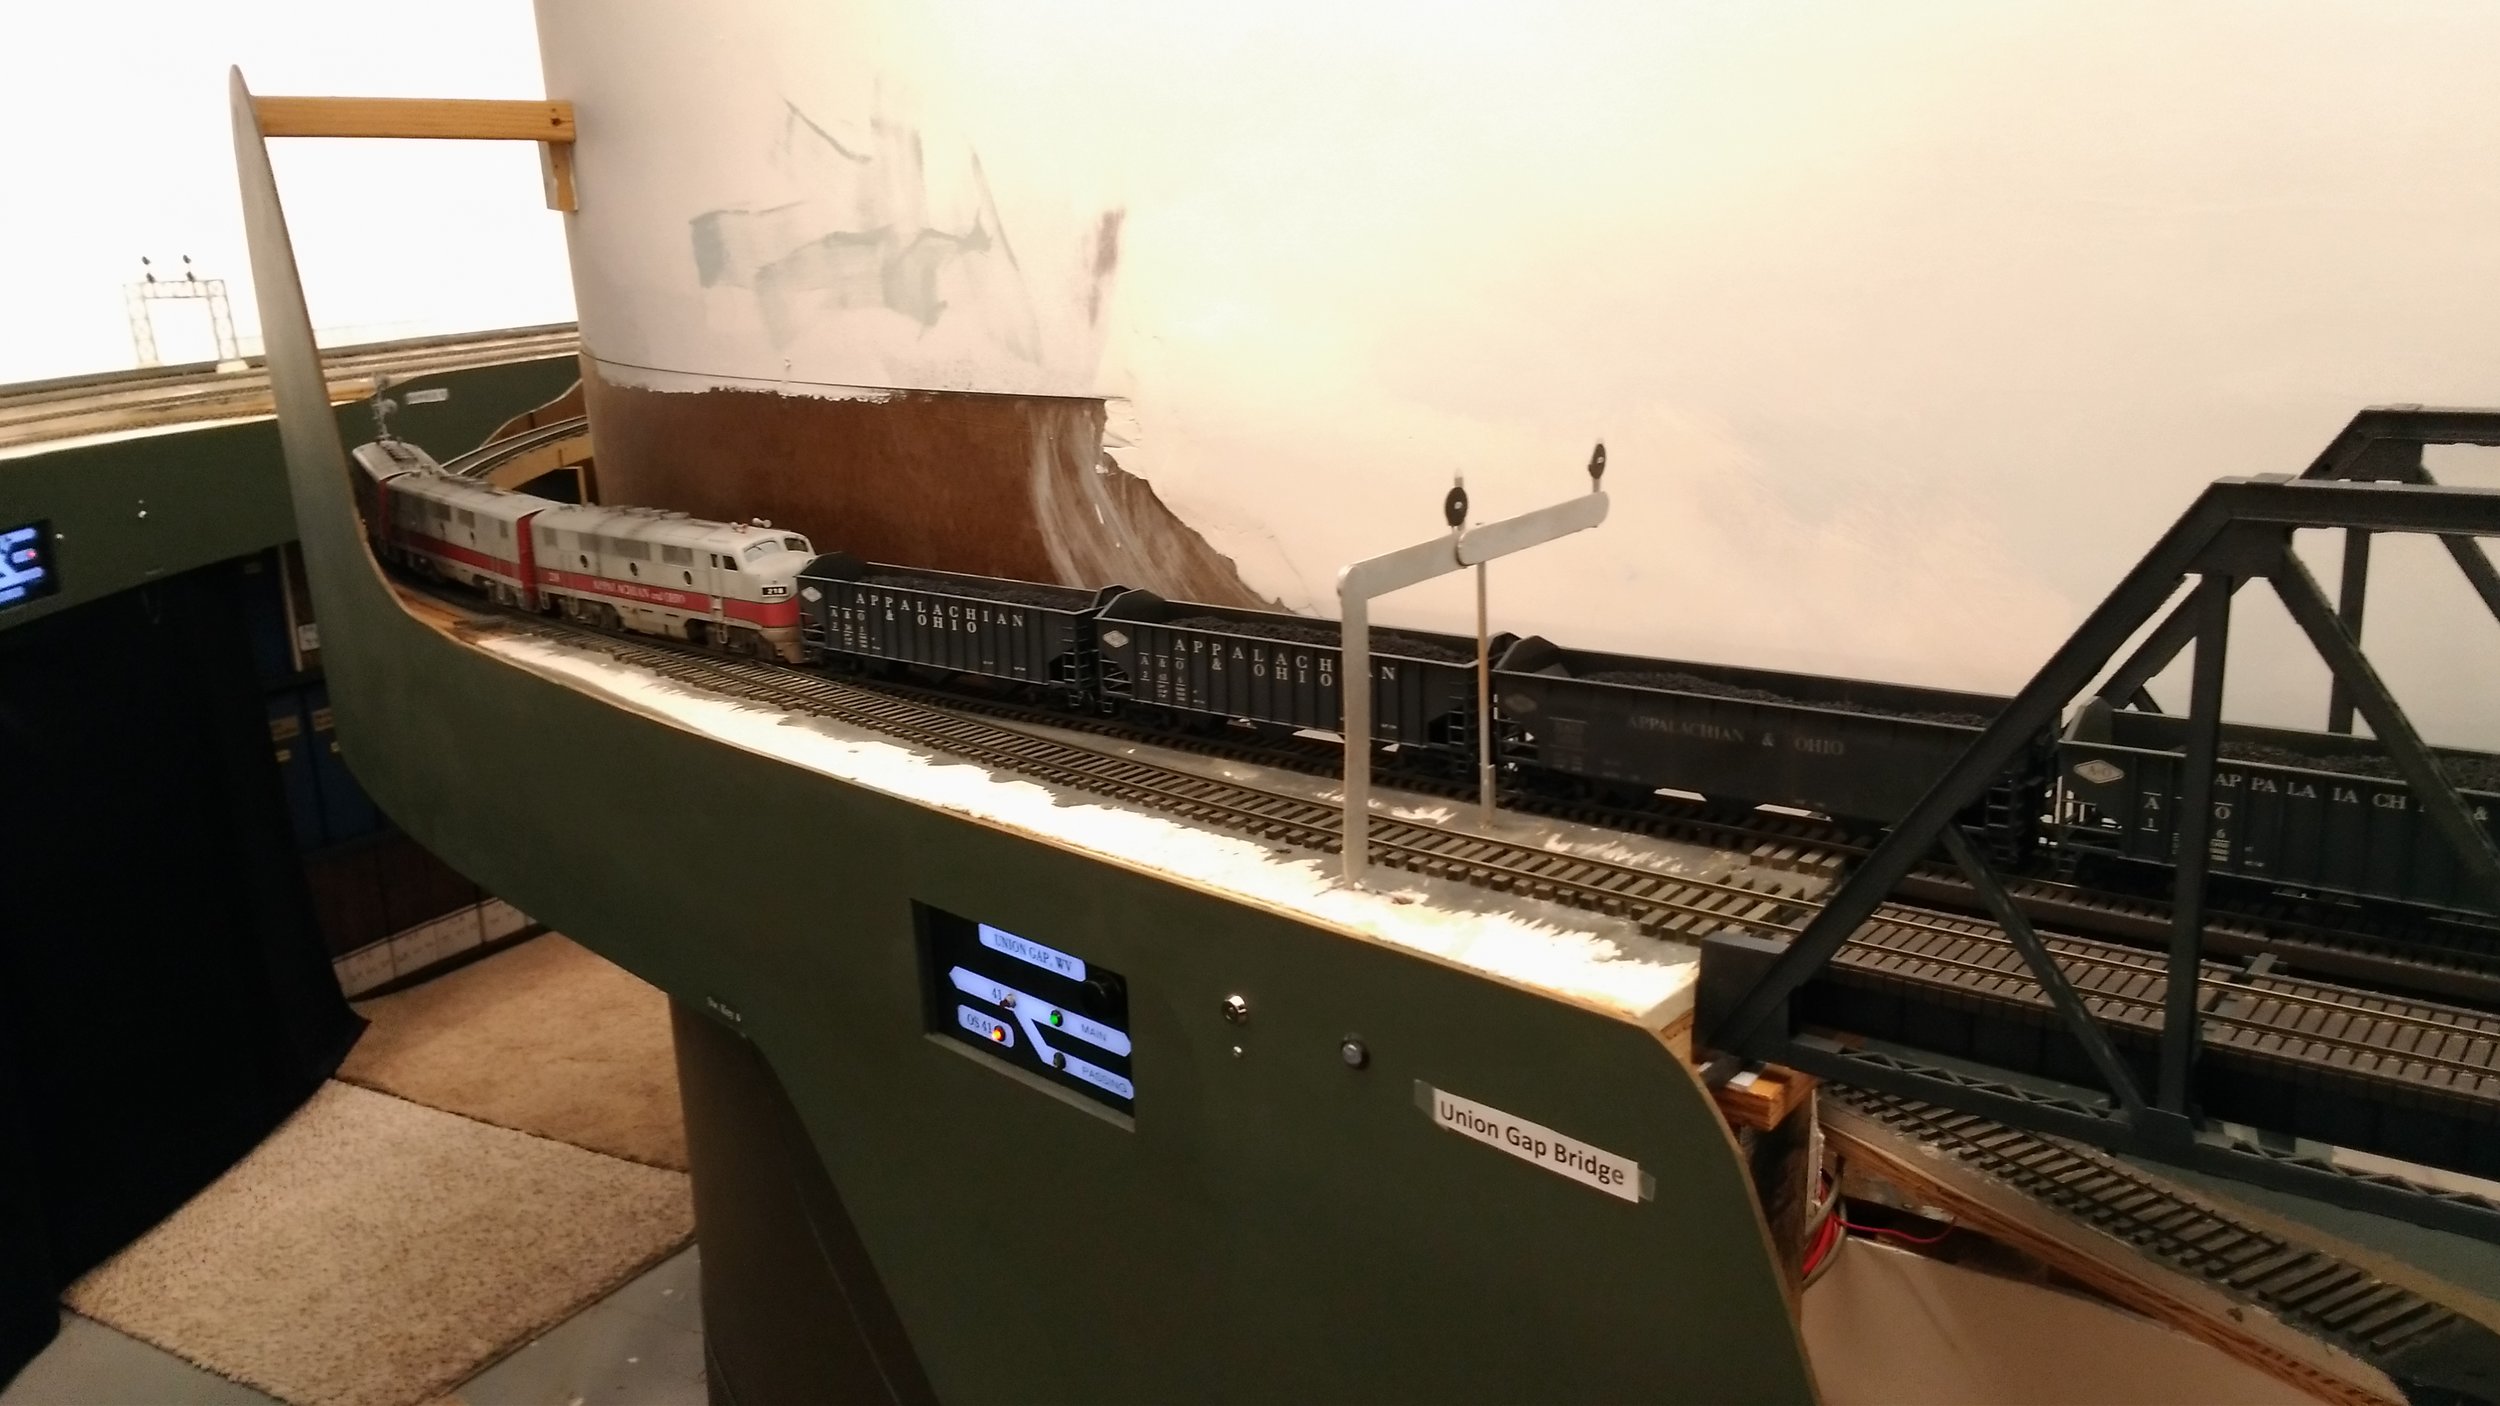
A short tunnel encloses this end of the Union Gap vignette.
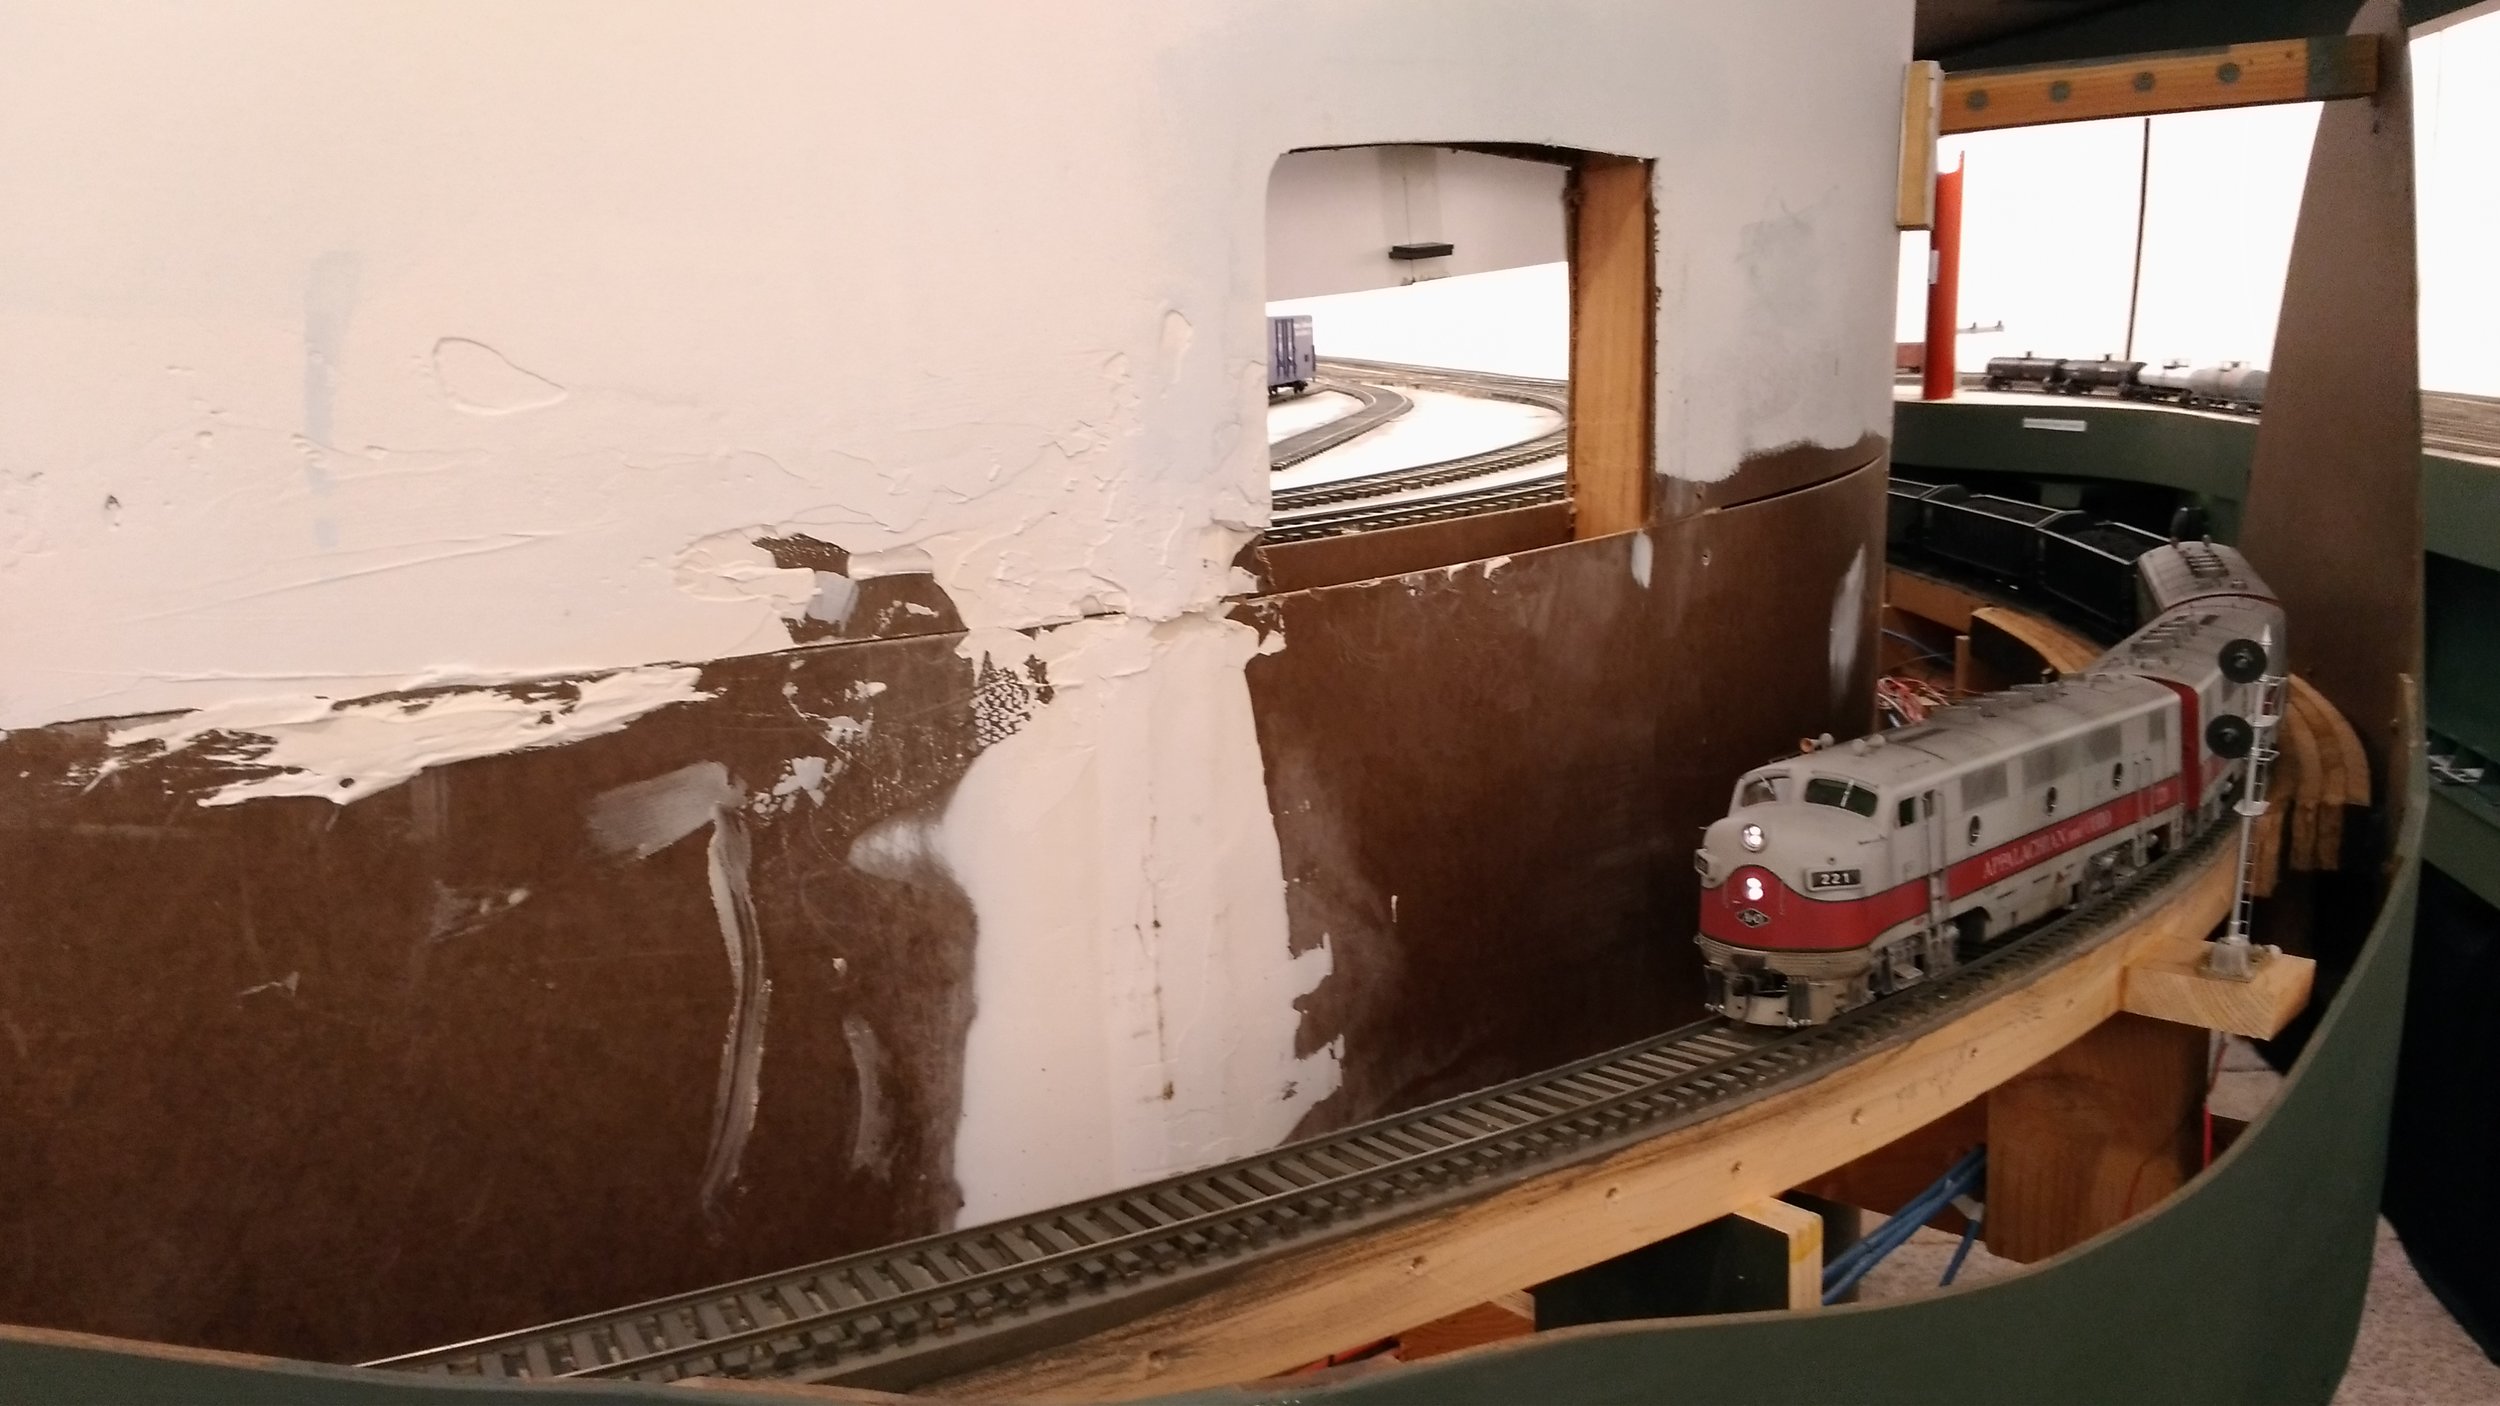
The 2.75% Coal Ridge Grade begins in earnest as we exit OS Union Gap. An open "window shade" shows how access to tracks on the Kayford Branch can be reached if needed. Removable scenery required.
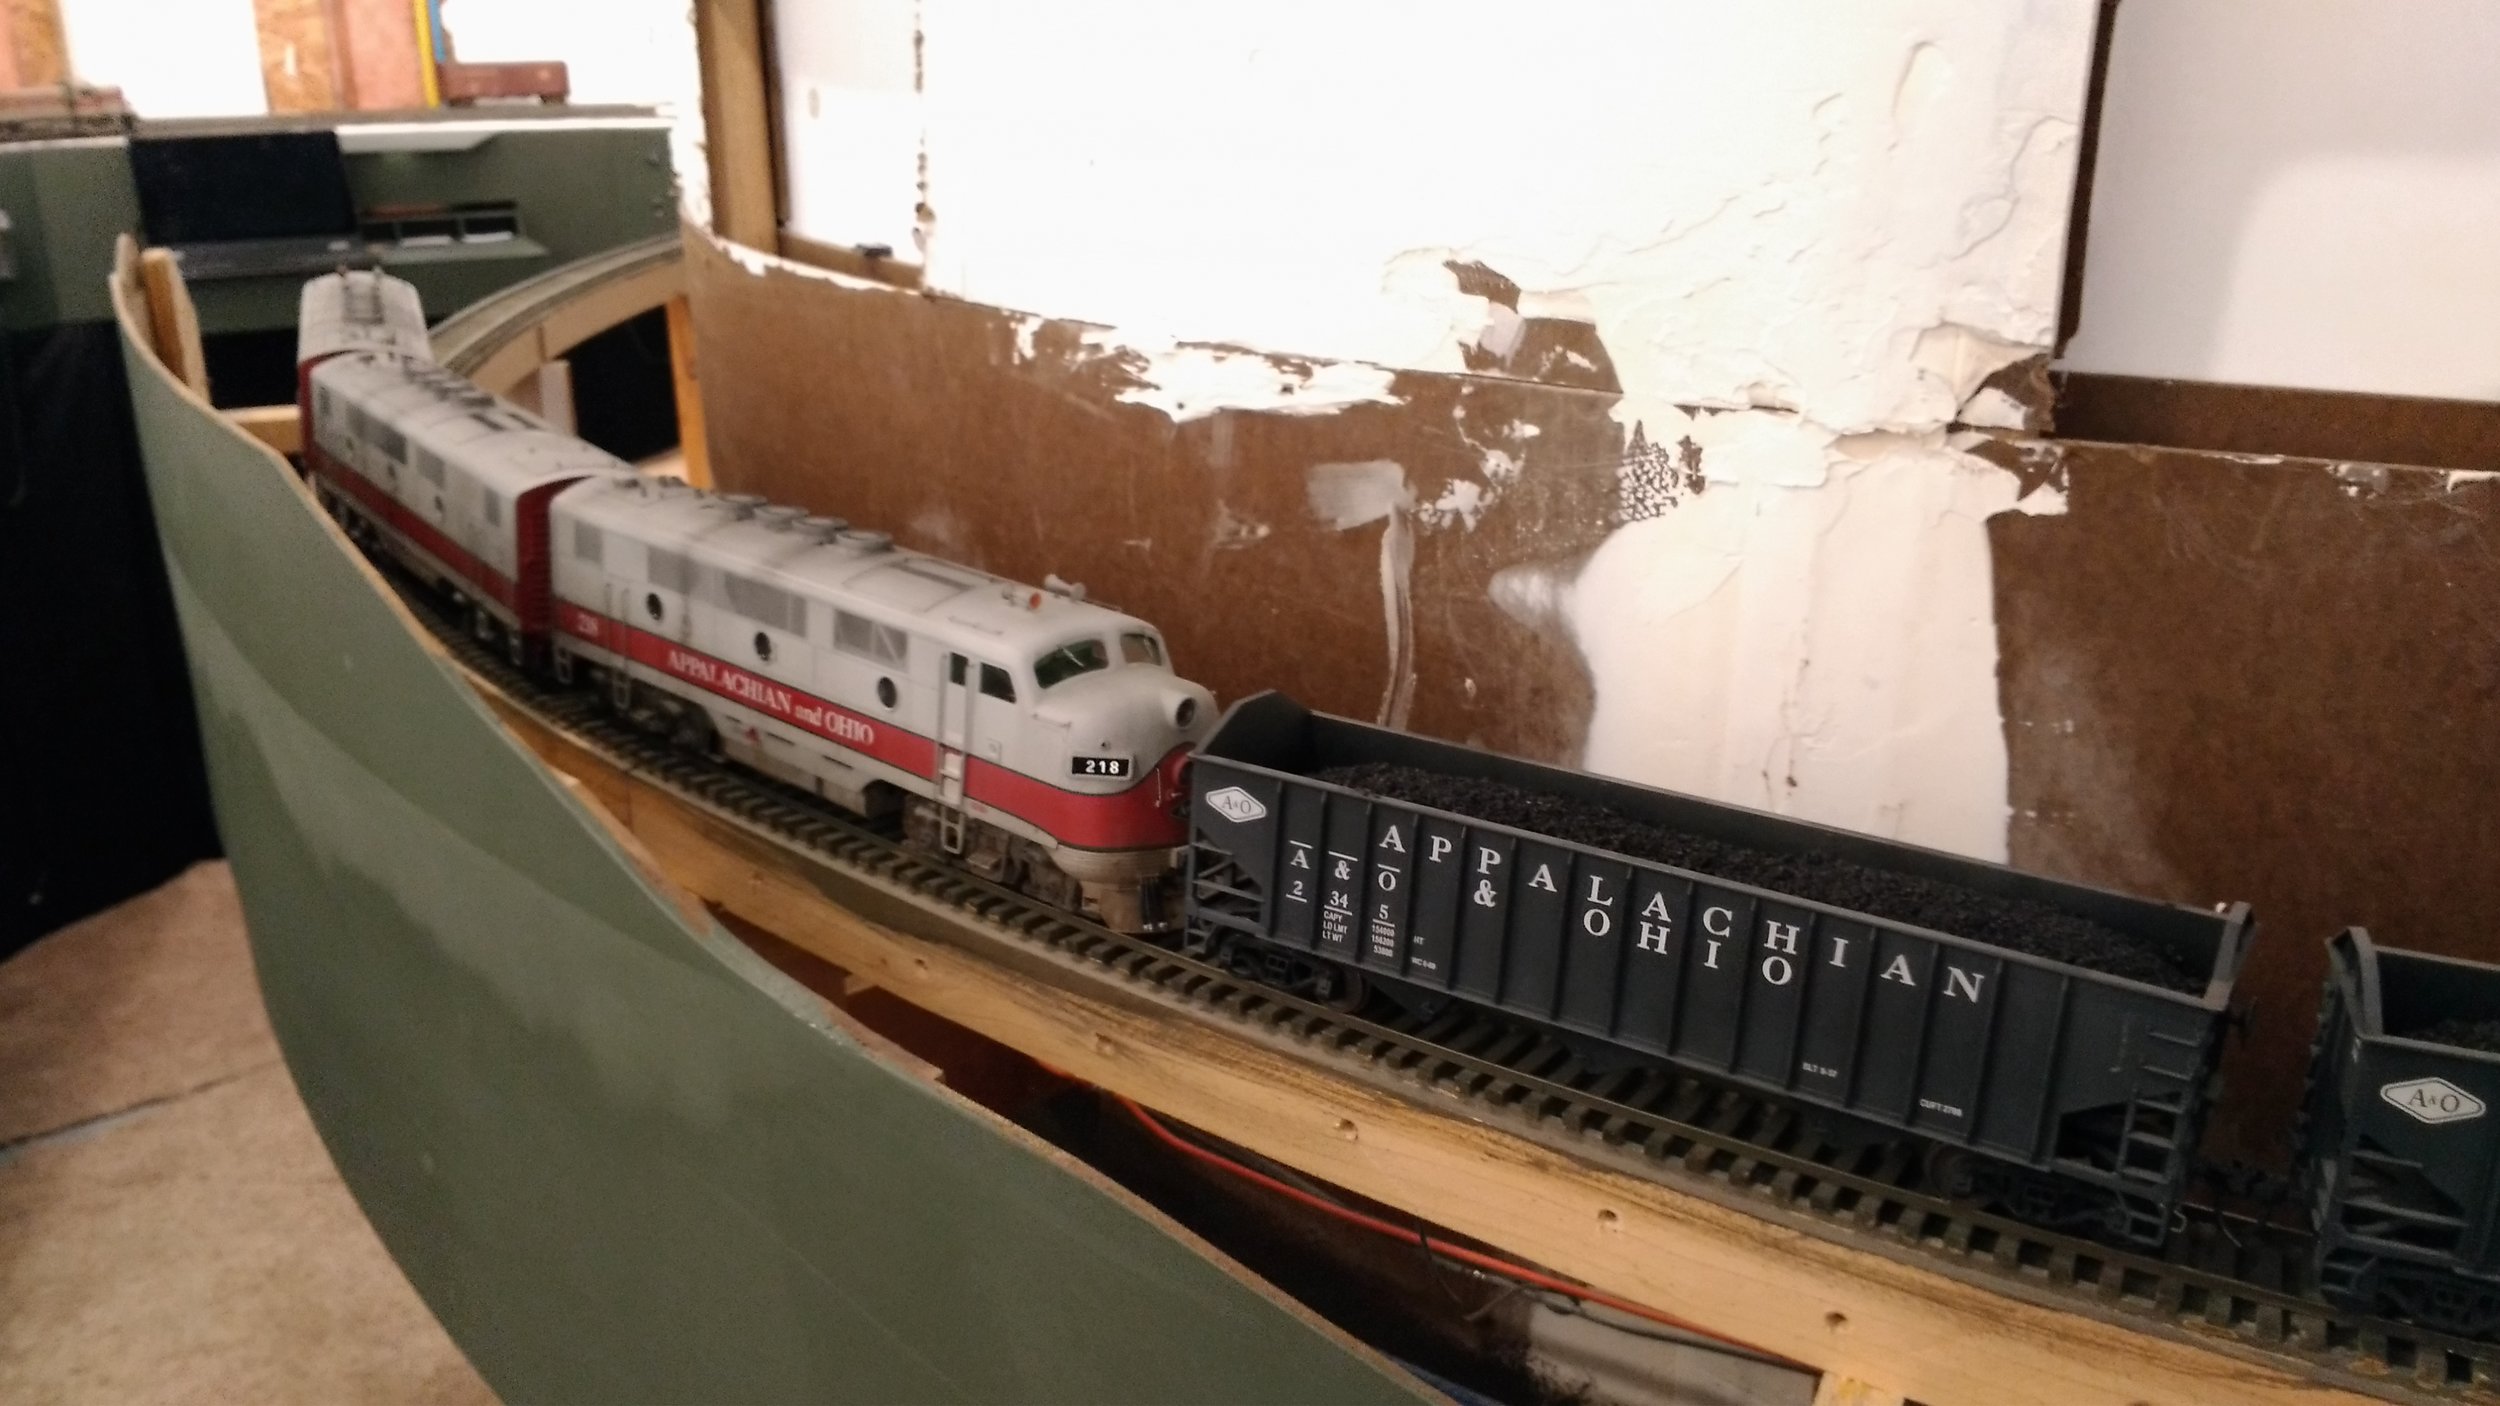
A deep cut forms the left edge of the OS Union Gap mini-scene.
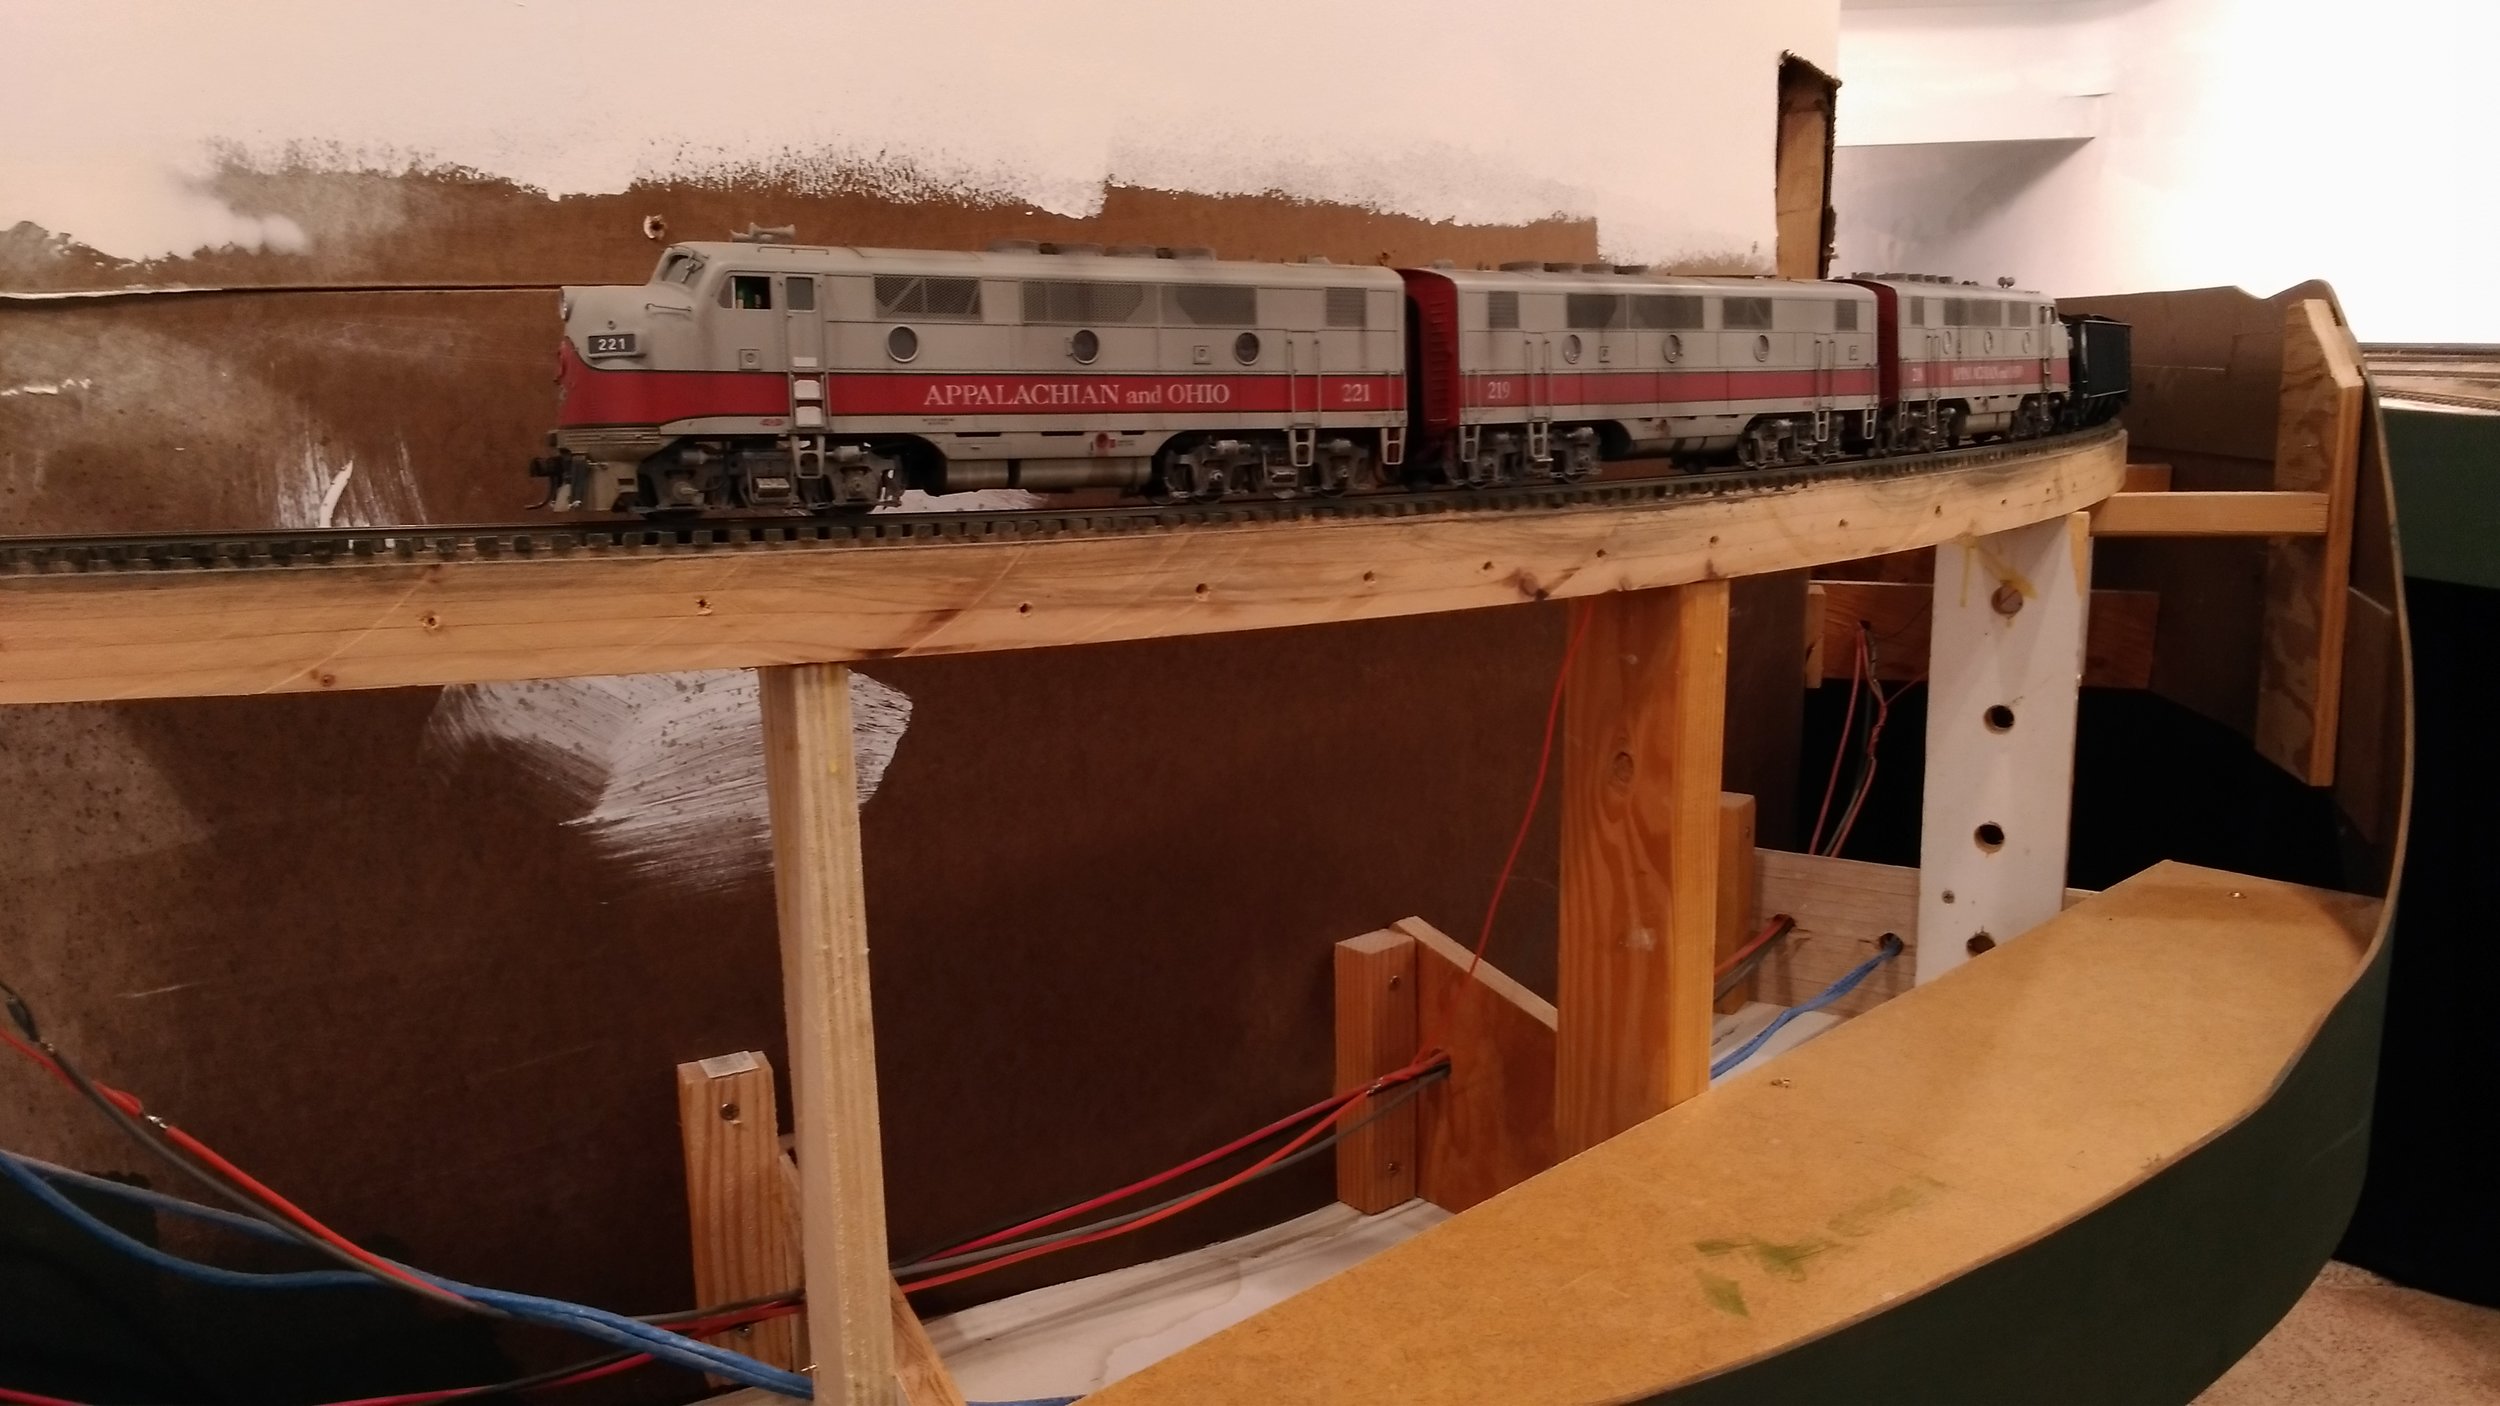
Next up is Big Stone Fill, an enlarged recreation of MP 234 on A&O 1.0. This time there's room for a fishing boat and some swimmers.
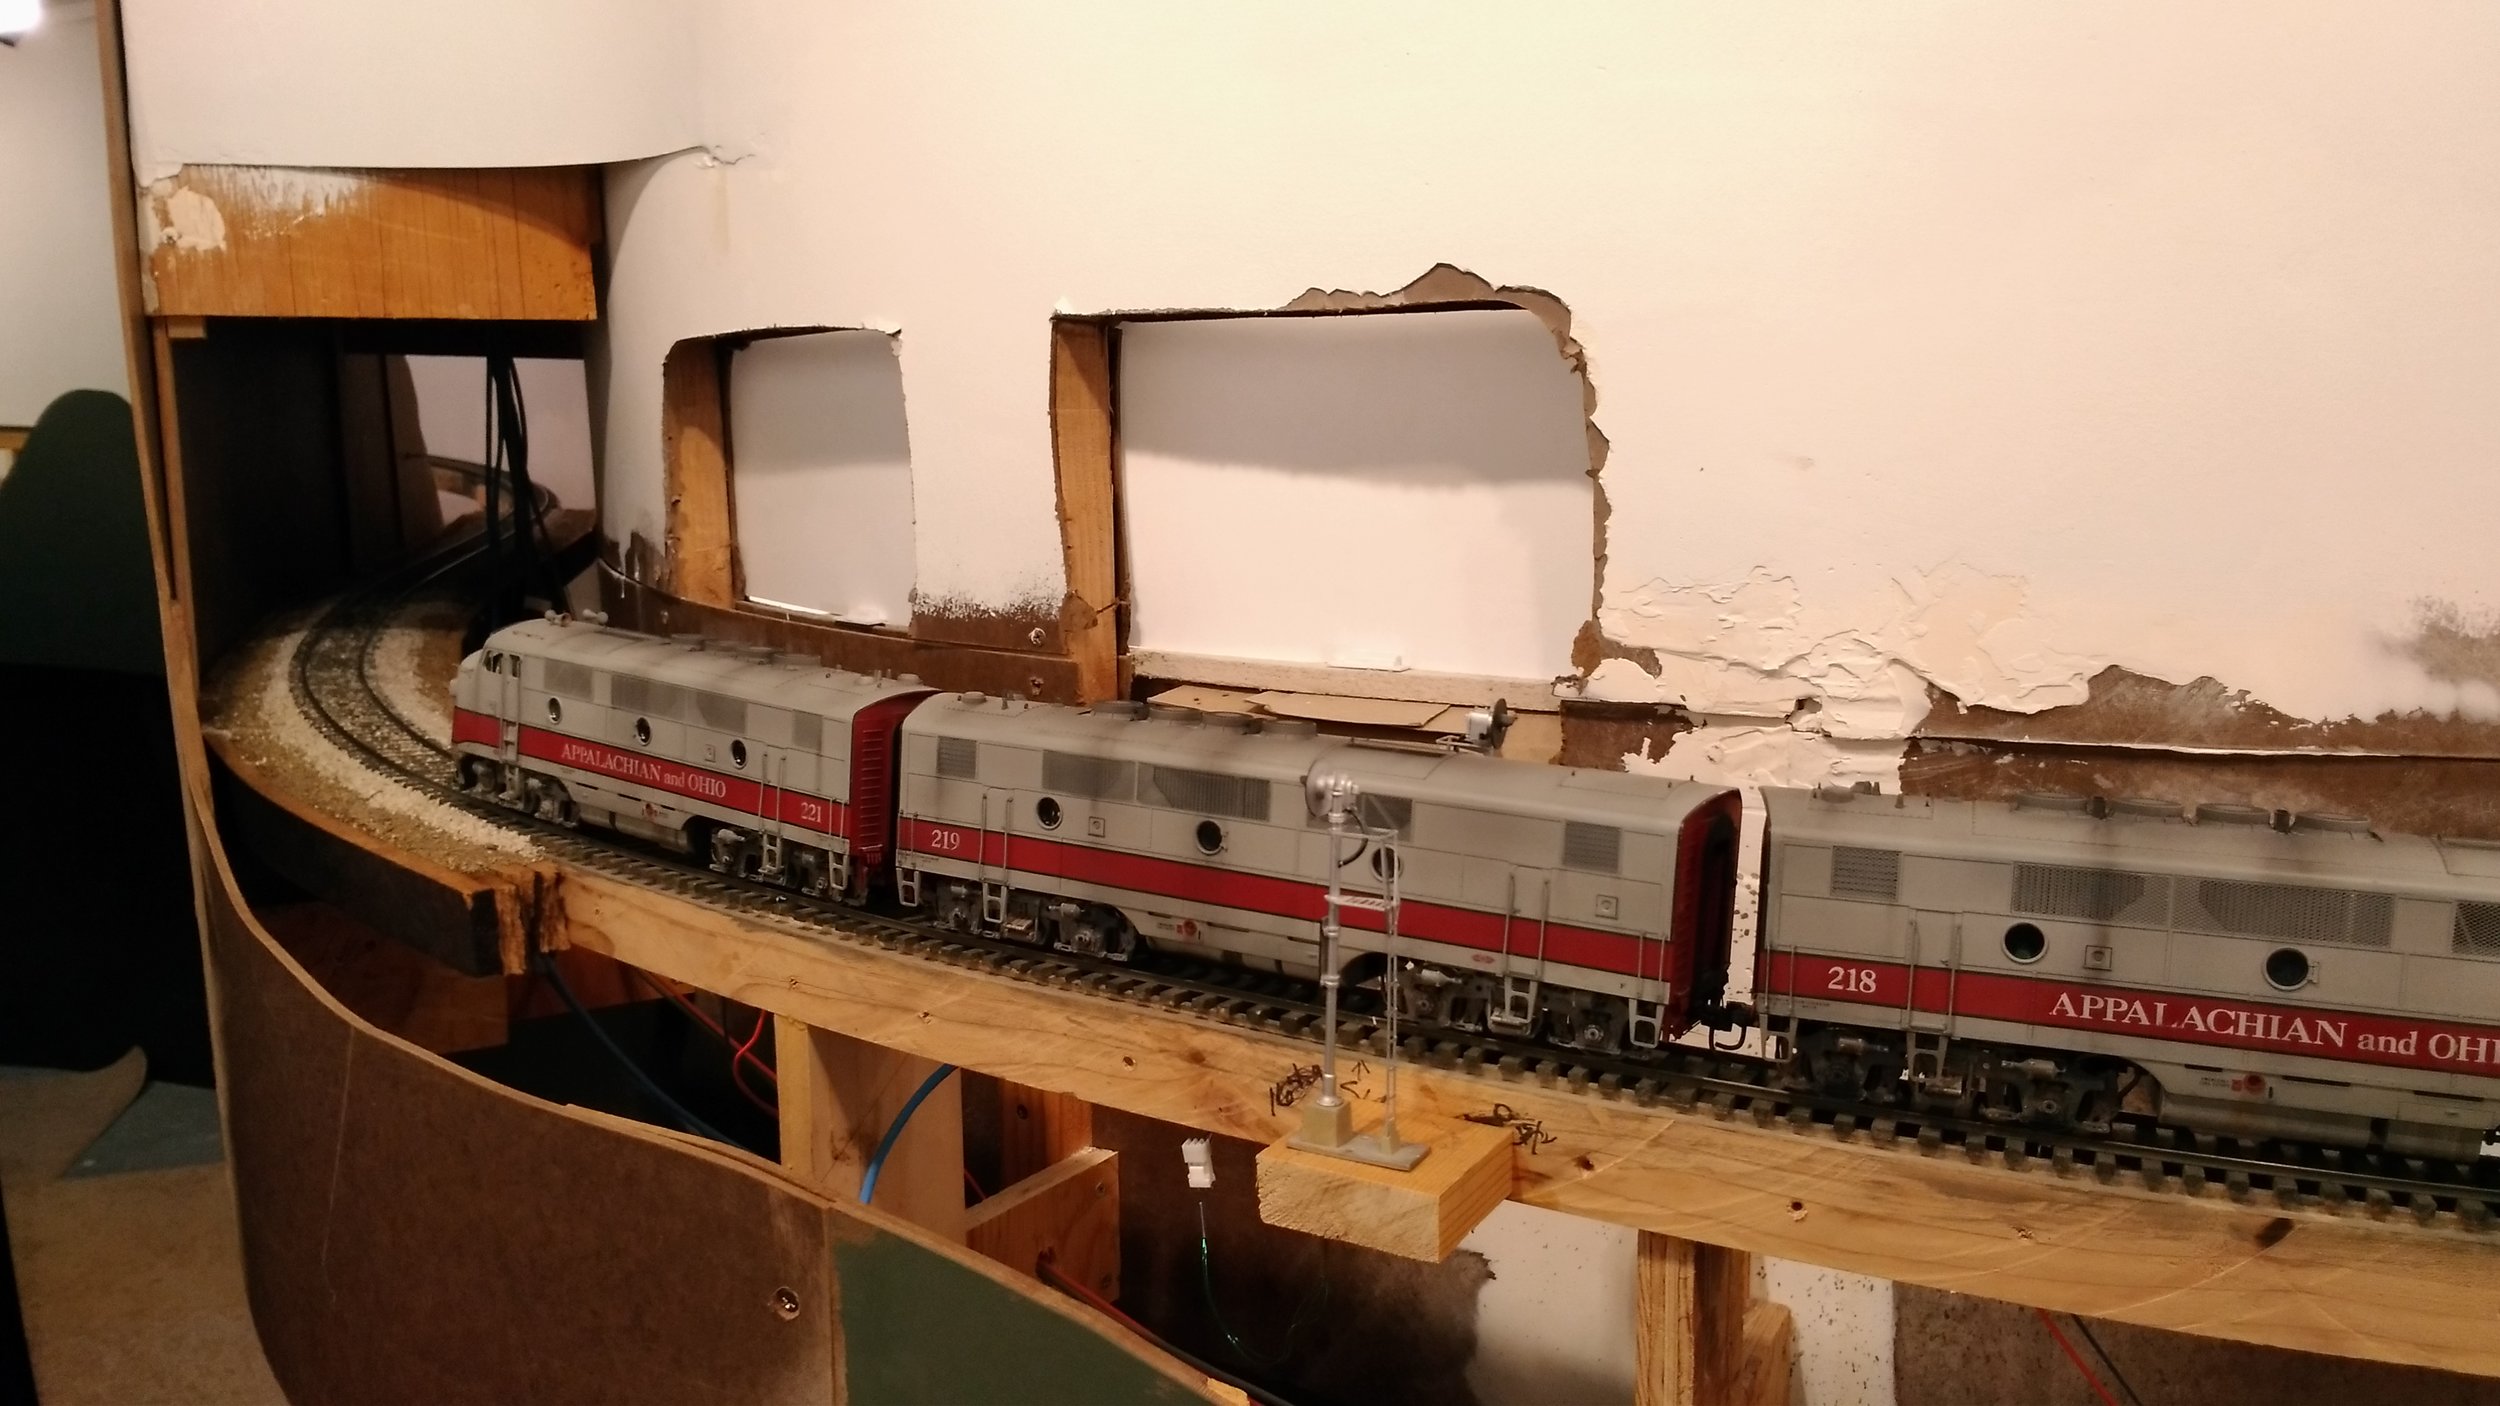
Typical of mountain railroading, the mainline now dives into County Line Tunnel and a gentle reverse curve. Once the tunnel liner is installed, the fascia will get its final spackle and paint, the last on the layout!
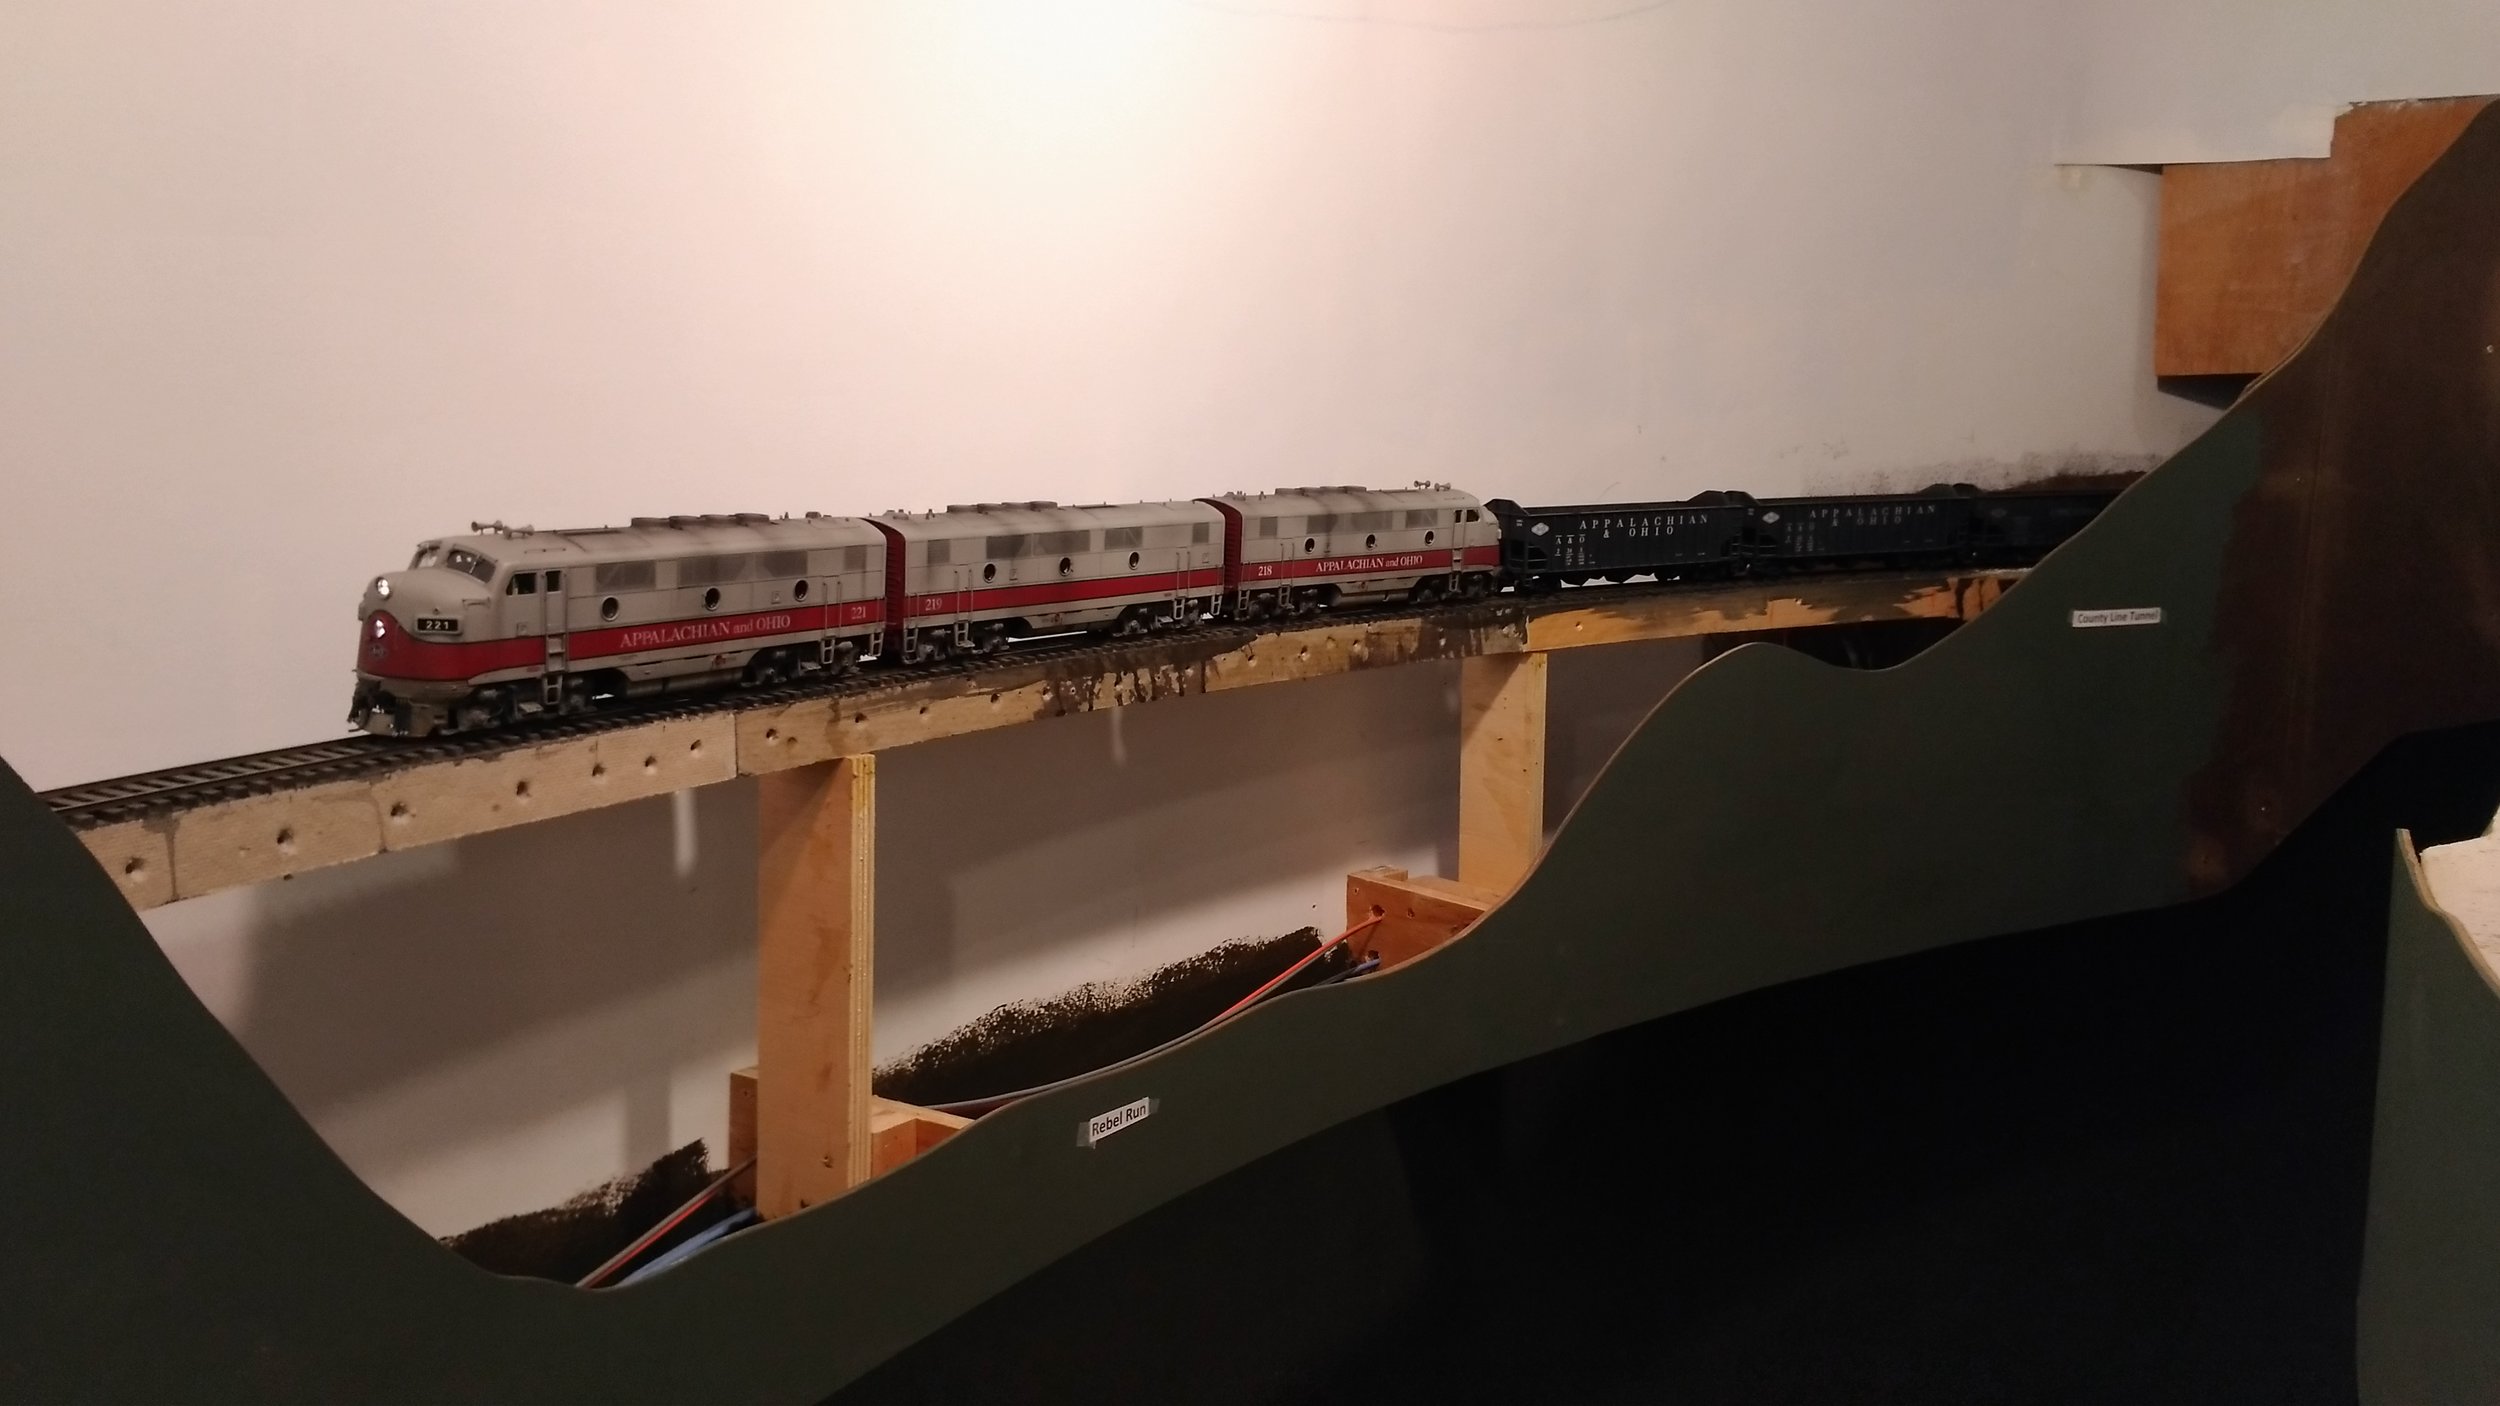
Exiting County Line Tunnel, a wide, but shallow gully known as Rebel Run will require a sequence of deck plates. Another mini-scene.
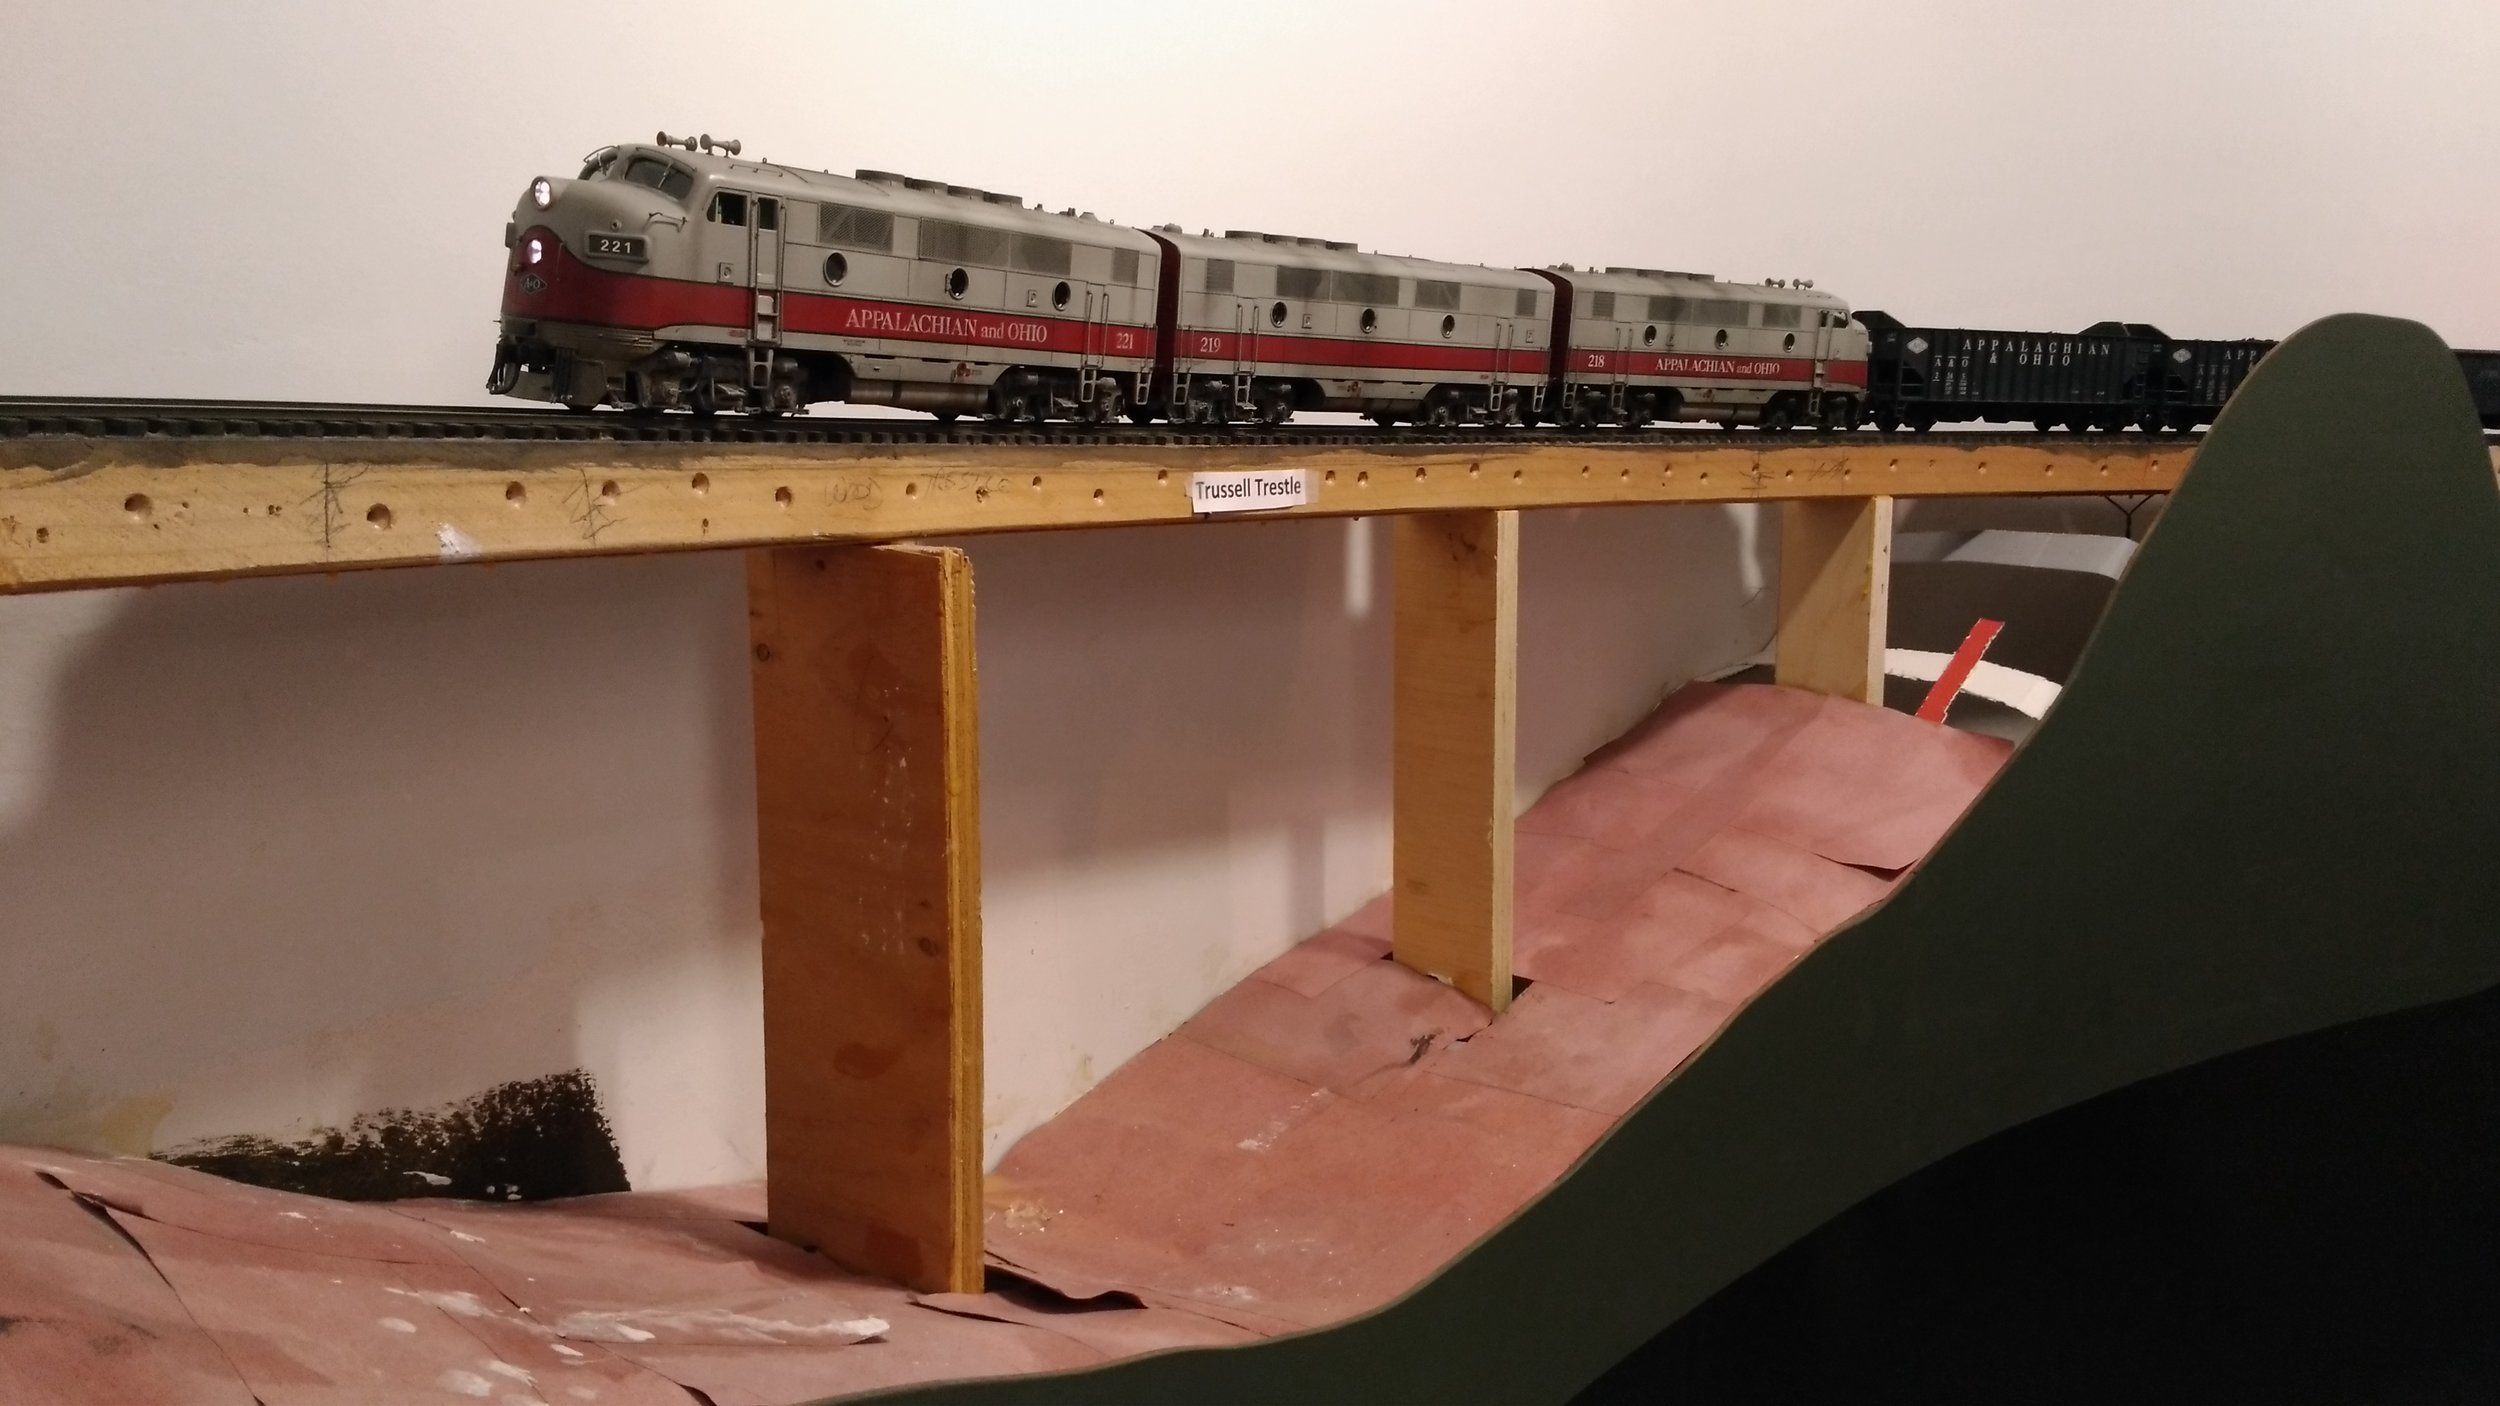
Passing thru another cut we come to Trussel Creek, so named for good friend Dave Trussel, planner and builder of the famed Colorado Model Railroad Museum in Greeley, CO.....a must see 5,000 sq' HO railroad.
A curved wood trestle carries the main across the creek on........Trussel Trestle.
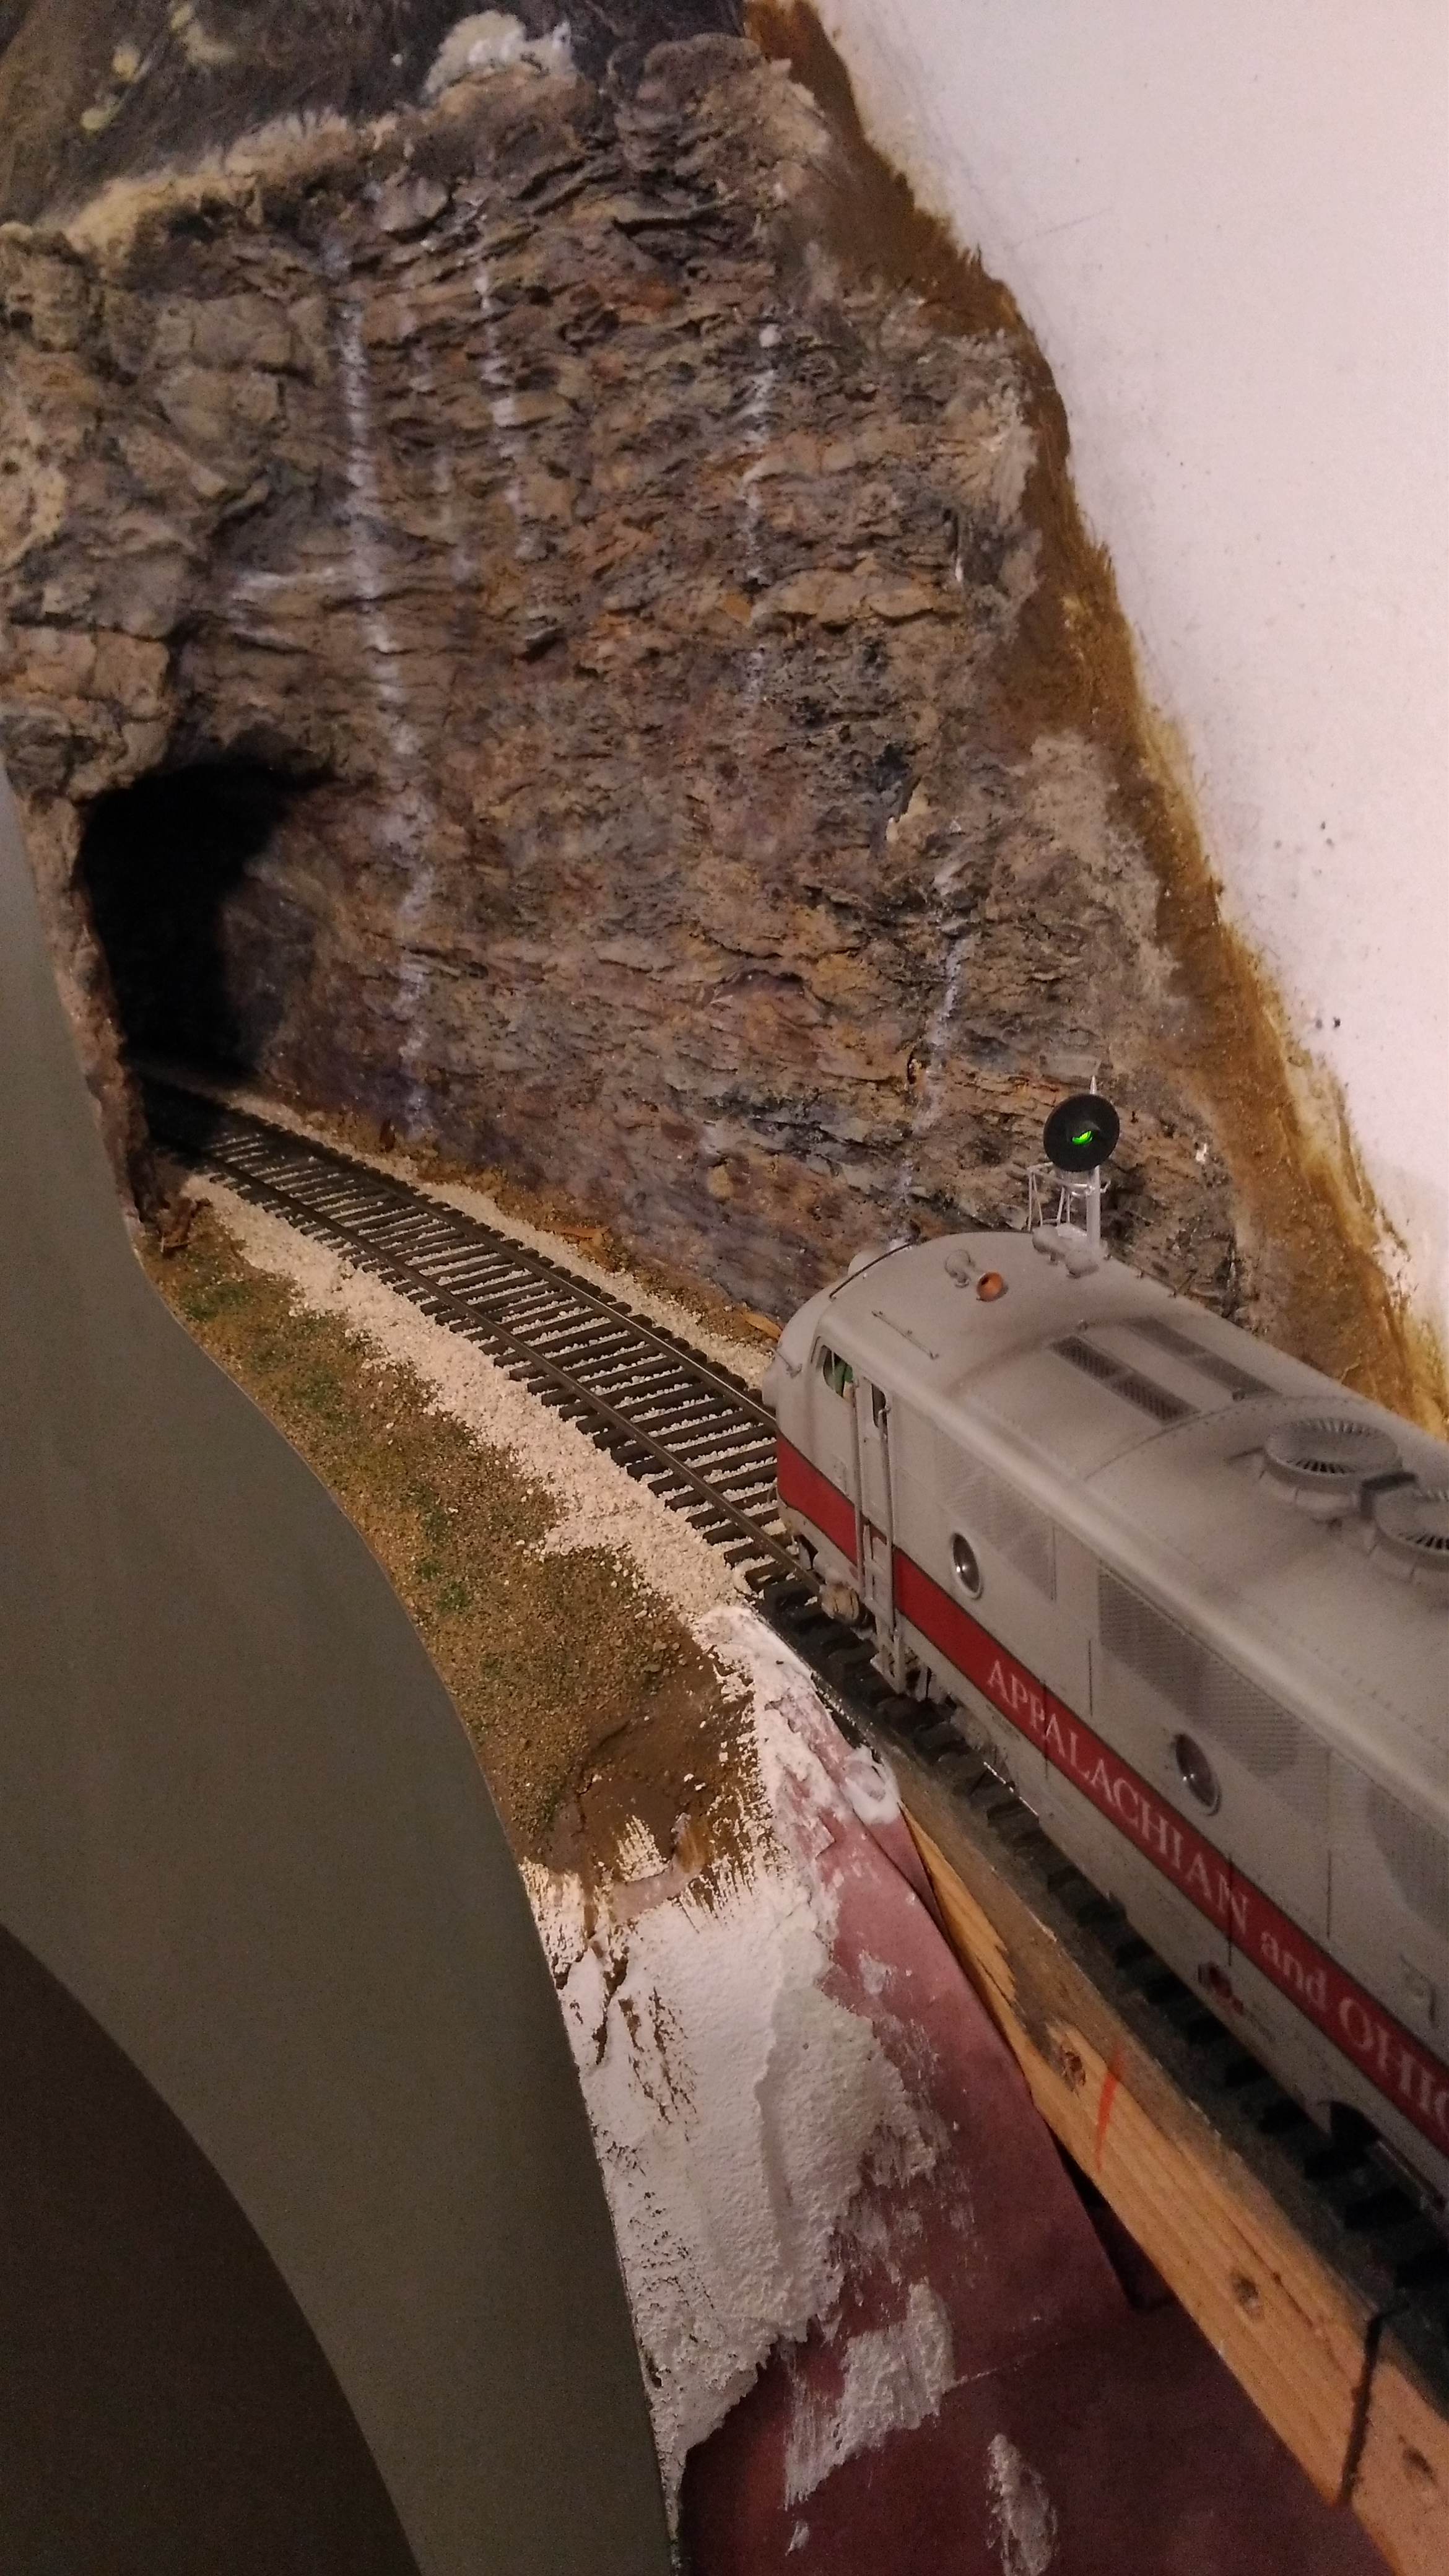
MacDonald Tunnel greets us as we cross Trussel Trestle. It serves as the scene divider at this end of Trussel Creek vignette.
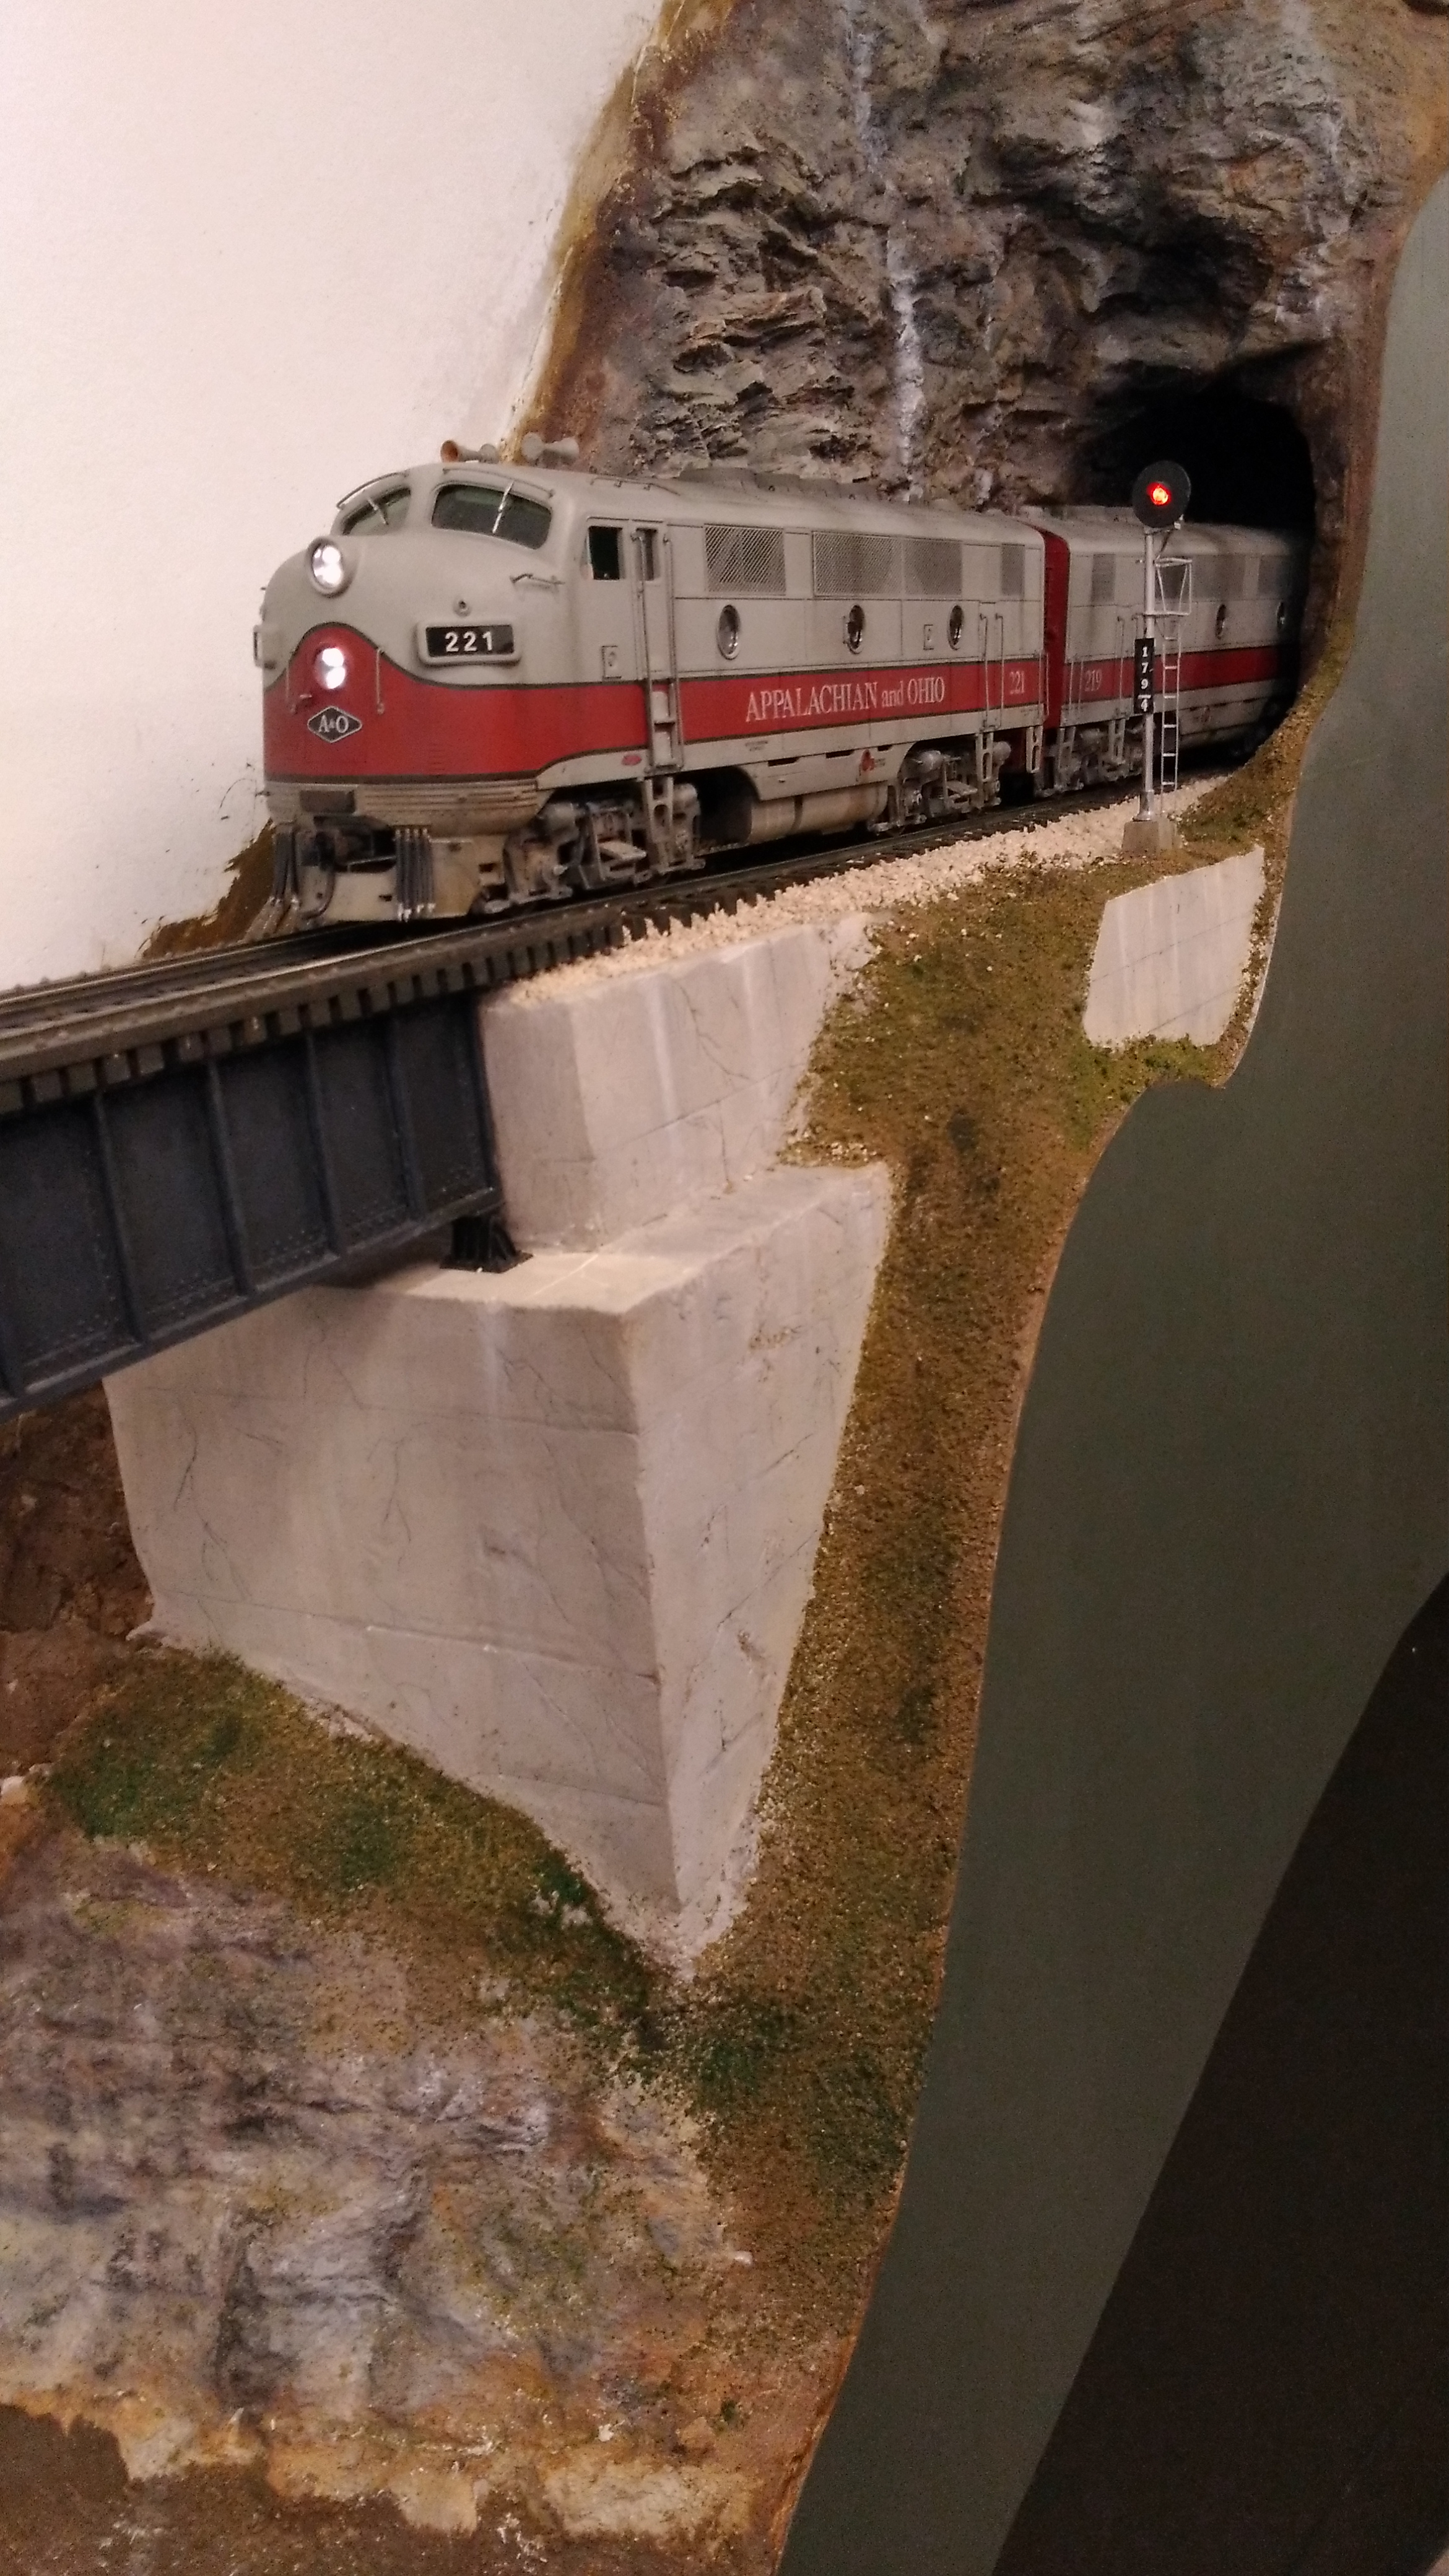
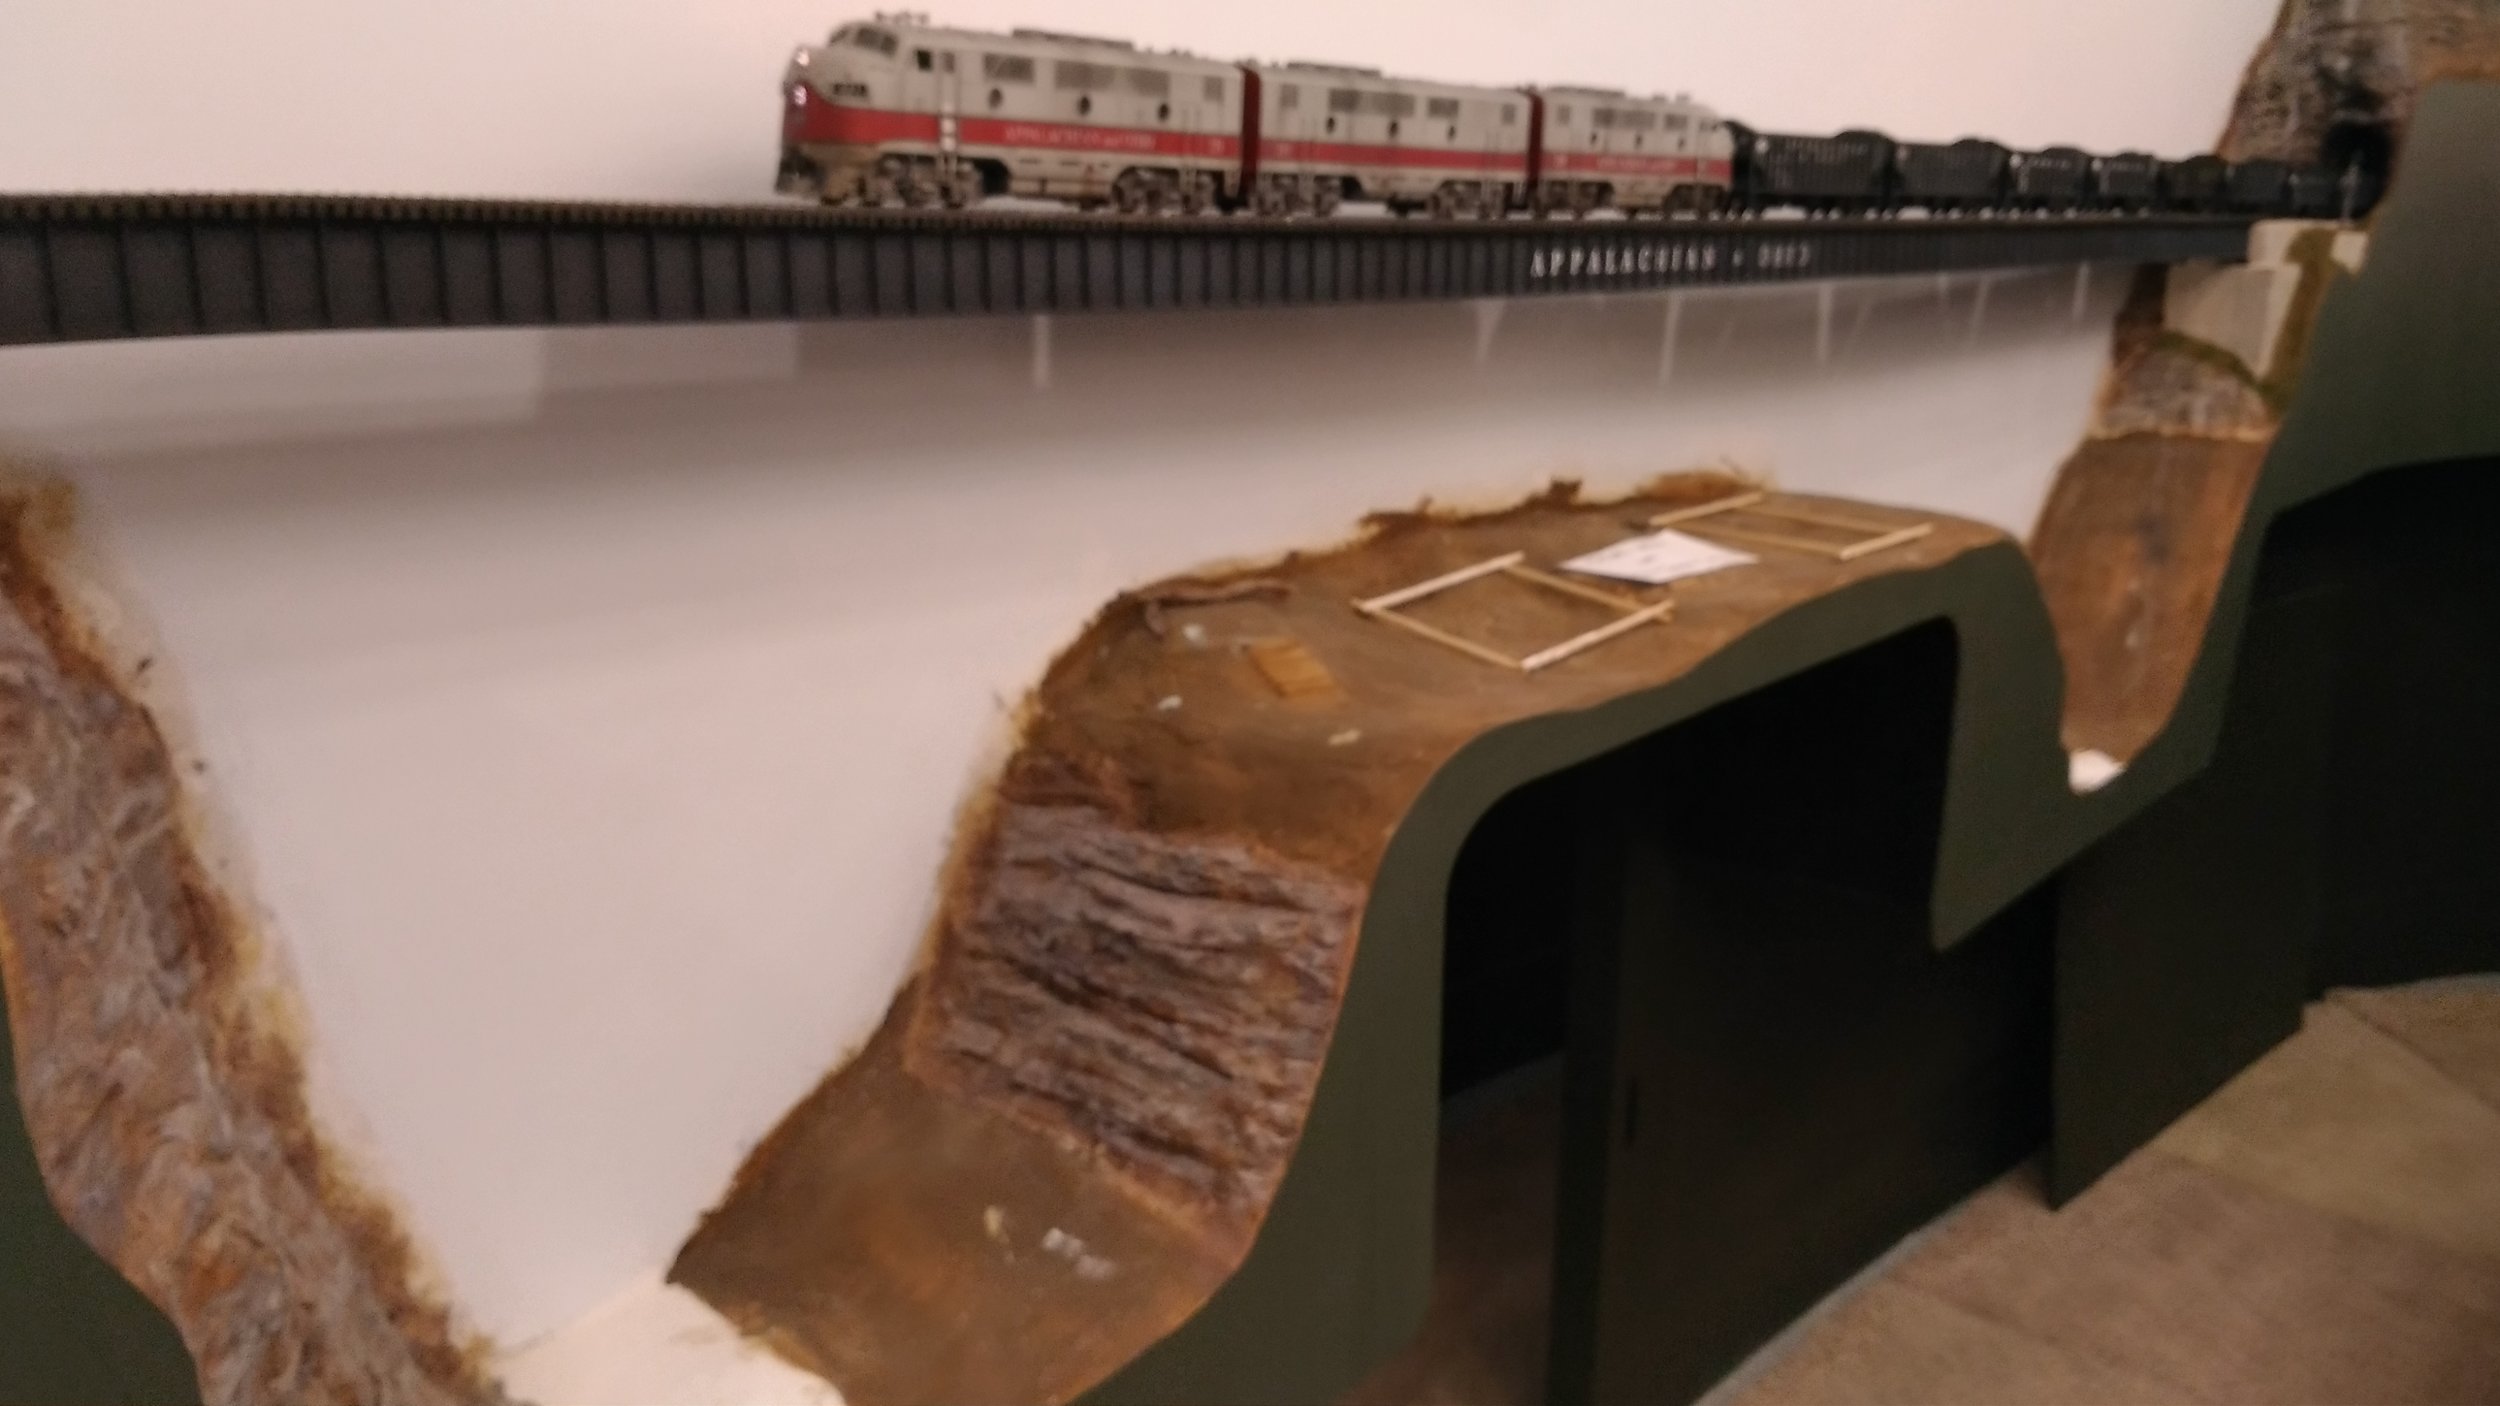
Exiting MacDonald Tunnel, the F's begin their tip-toe across the steel thread know as the Twin Creek Viaduct.
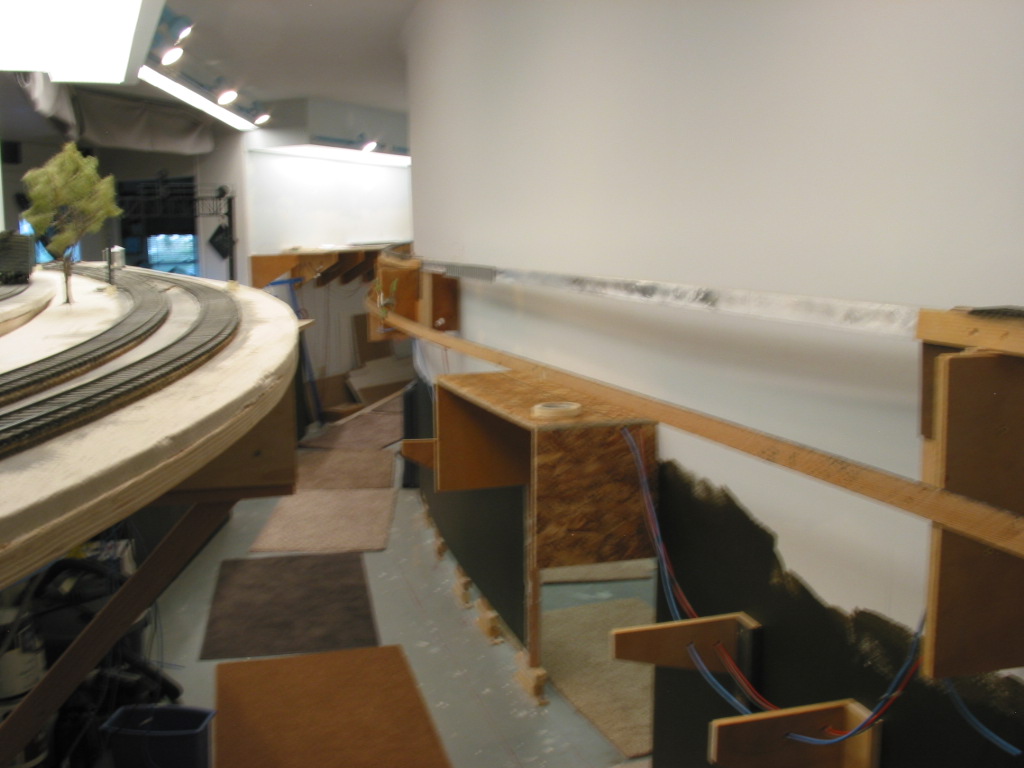
This bridge, like the Ohio River Bridge, uses an aluminum tube to form the rigid core of this steel trestle. The wide gorge is subdivided by an escape exit from the Kayford Branch on the other side of the partition wall.
On the left is the River Grade to the Ohio River bridge.
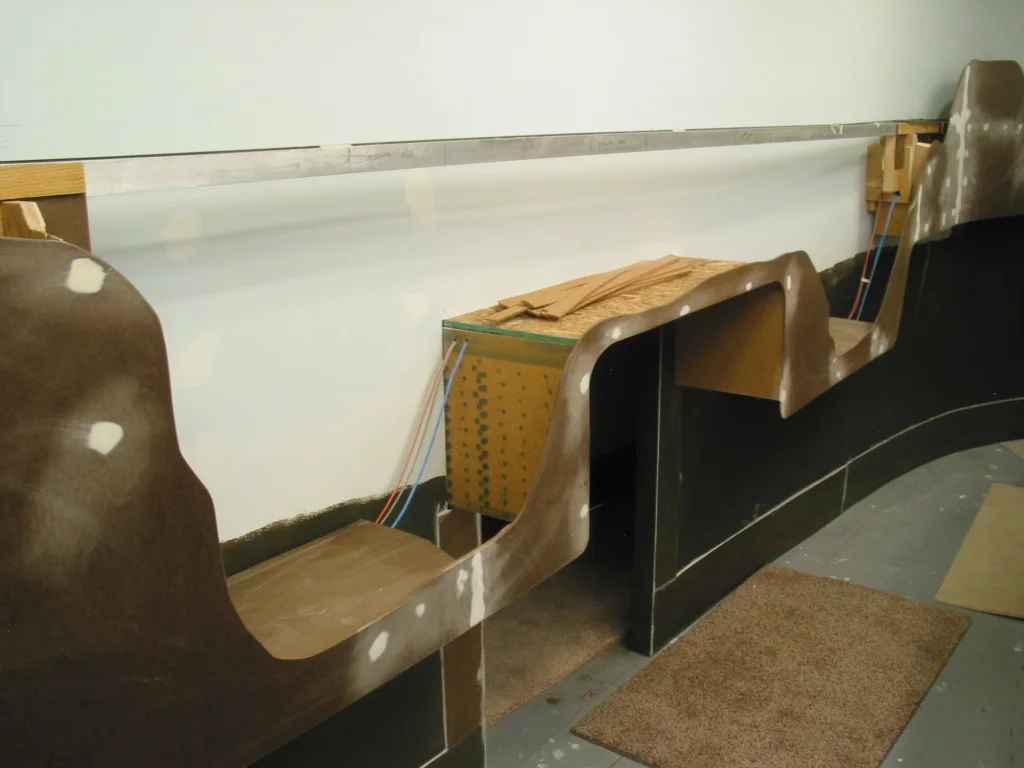
Further along in construction, the span is nestled into pockets at each end and stretches 10'.
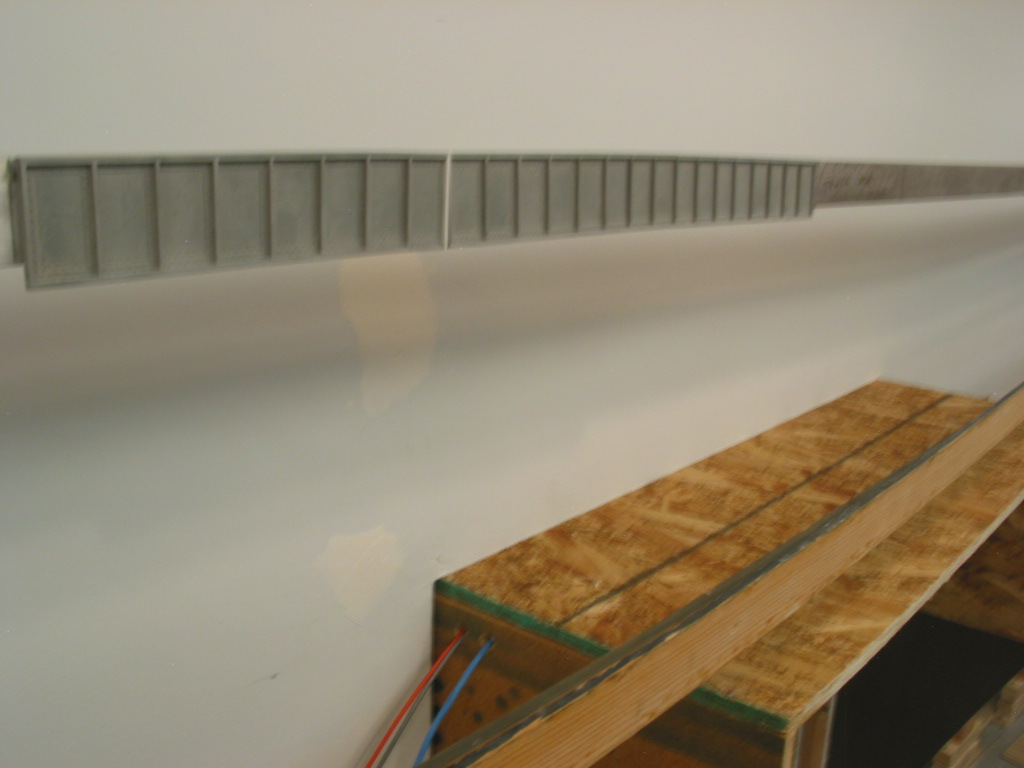
Deck plate pieces from Scenic Express were sectioned to form the proper spans on, and between, the four future towers. These were eventually glued to the aluminum tube.
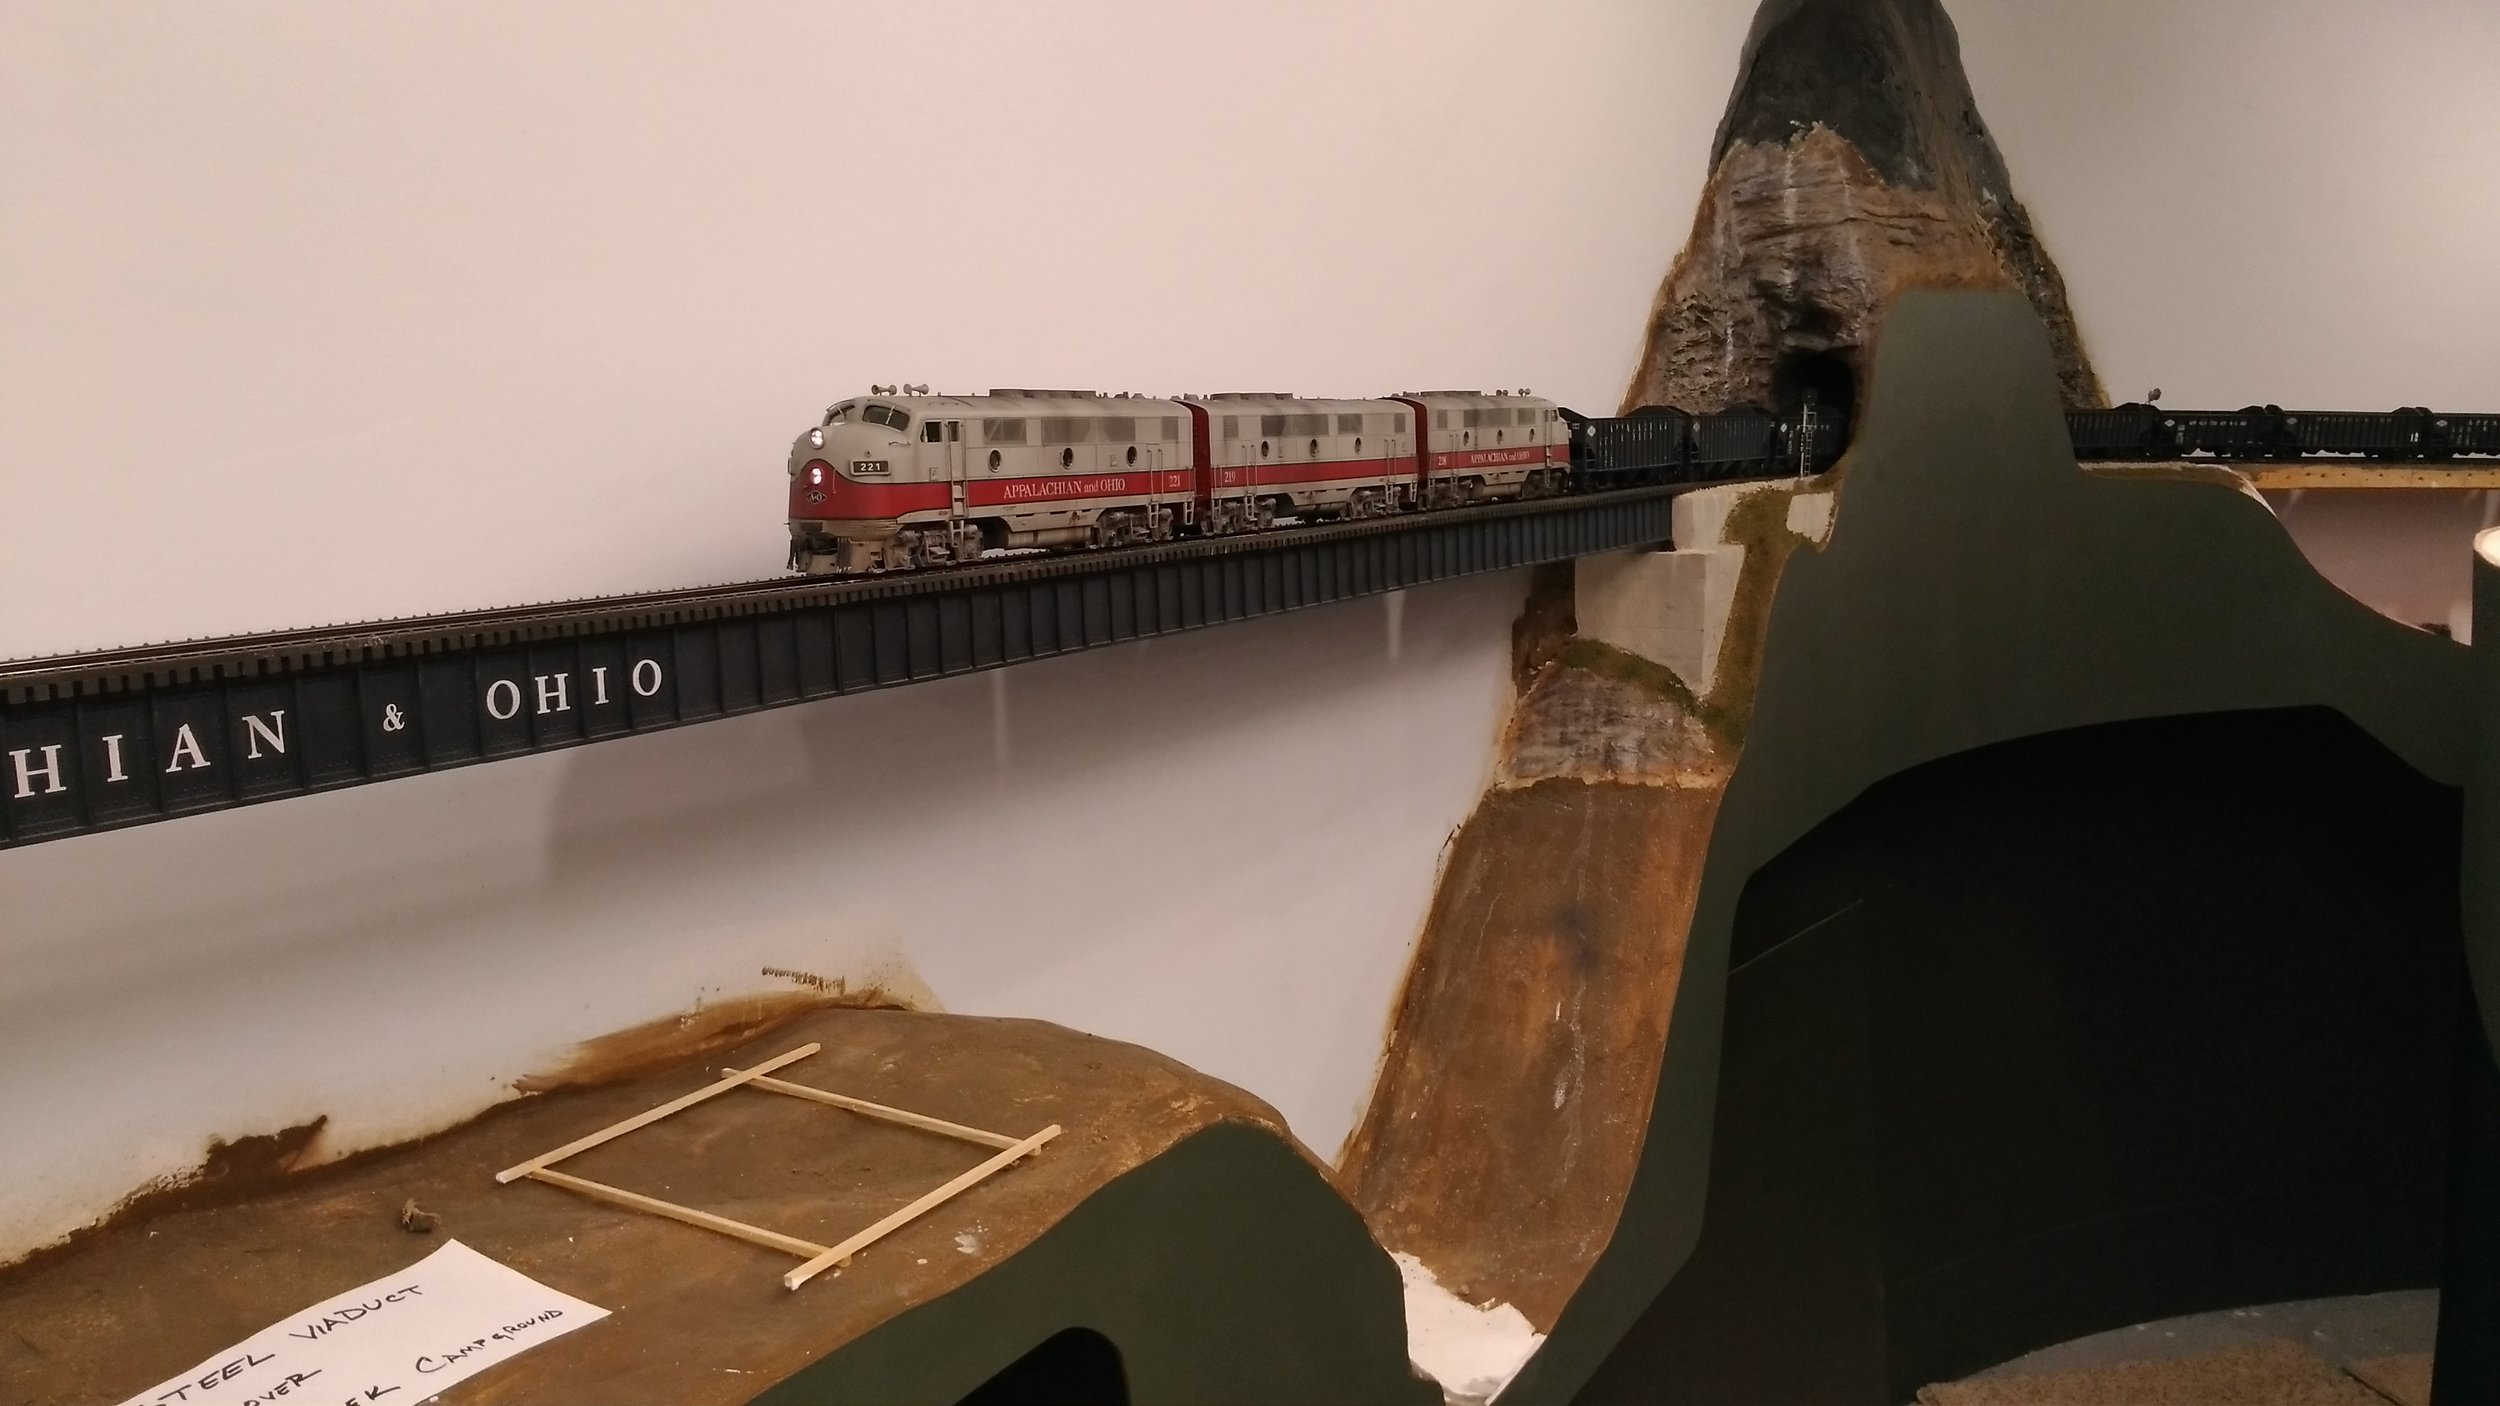
The stripwood rectangle identifies the location of one of the future support towers. The bridge is still removable at this point for doing the background painting.
Yes, there is a slight sag under the weight of O scale locomotives! The towers will be built of brass to correct this.
A WV State Campground is planned for the hump dividing each branch of Twin Creek (so named in honor of my twin daughters). Make your campsite reservations now as it should be quite a show from below.
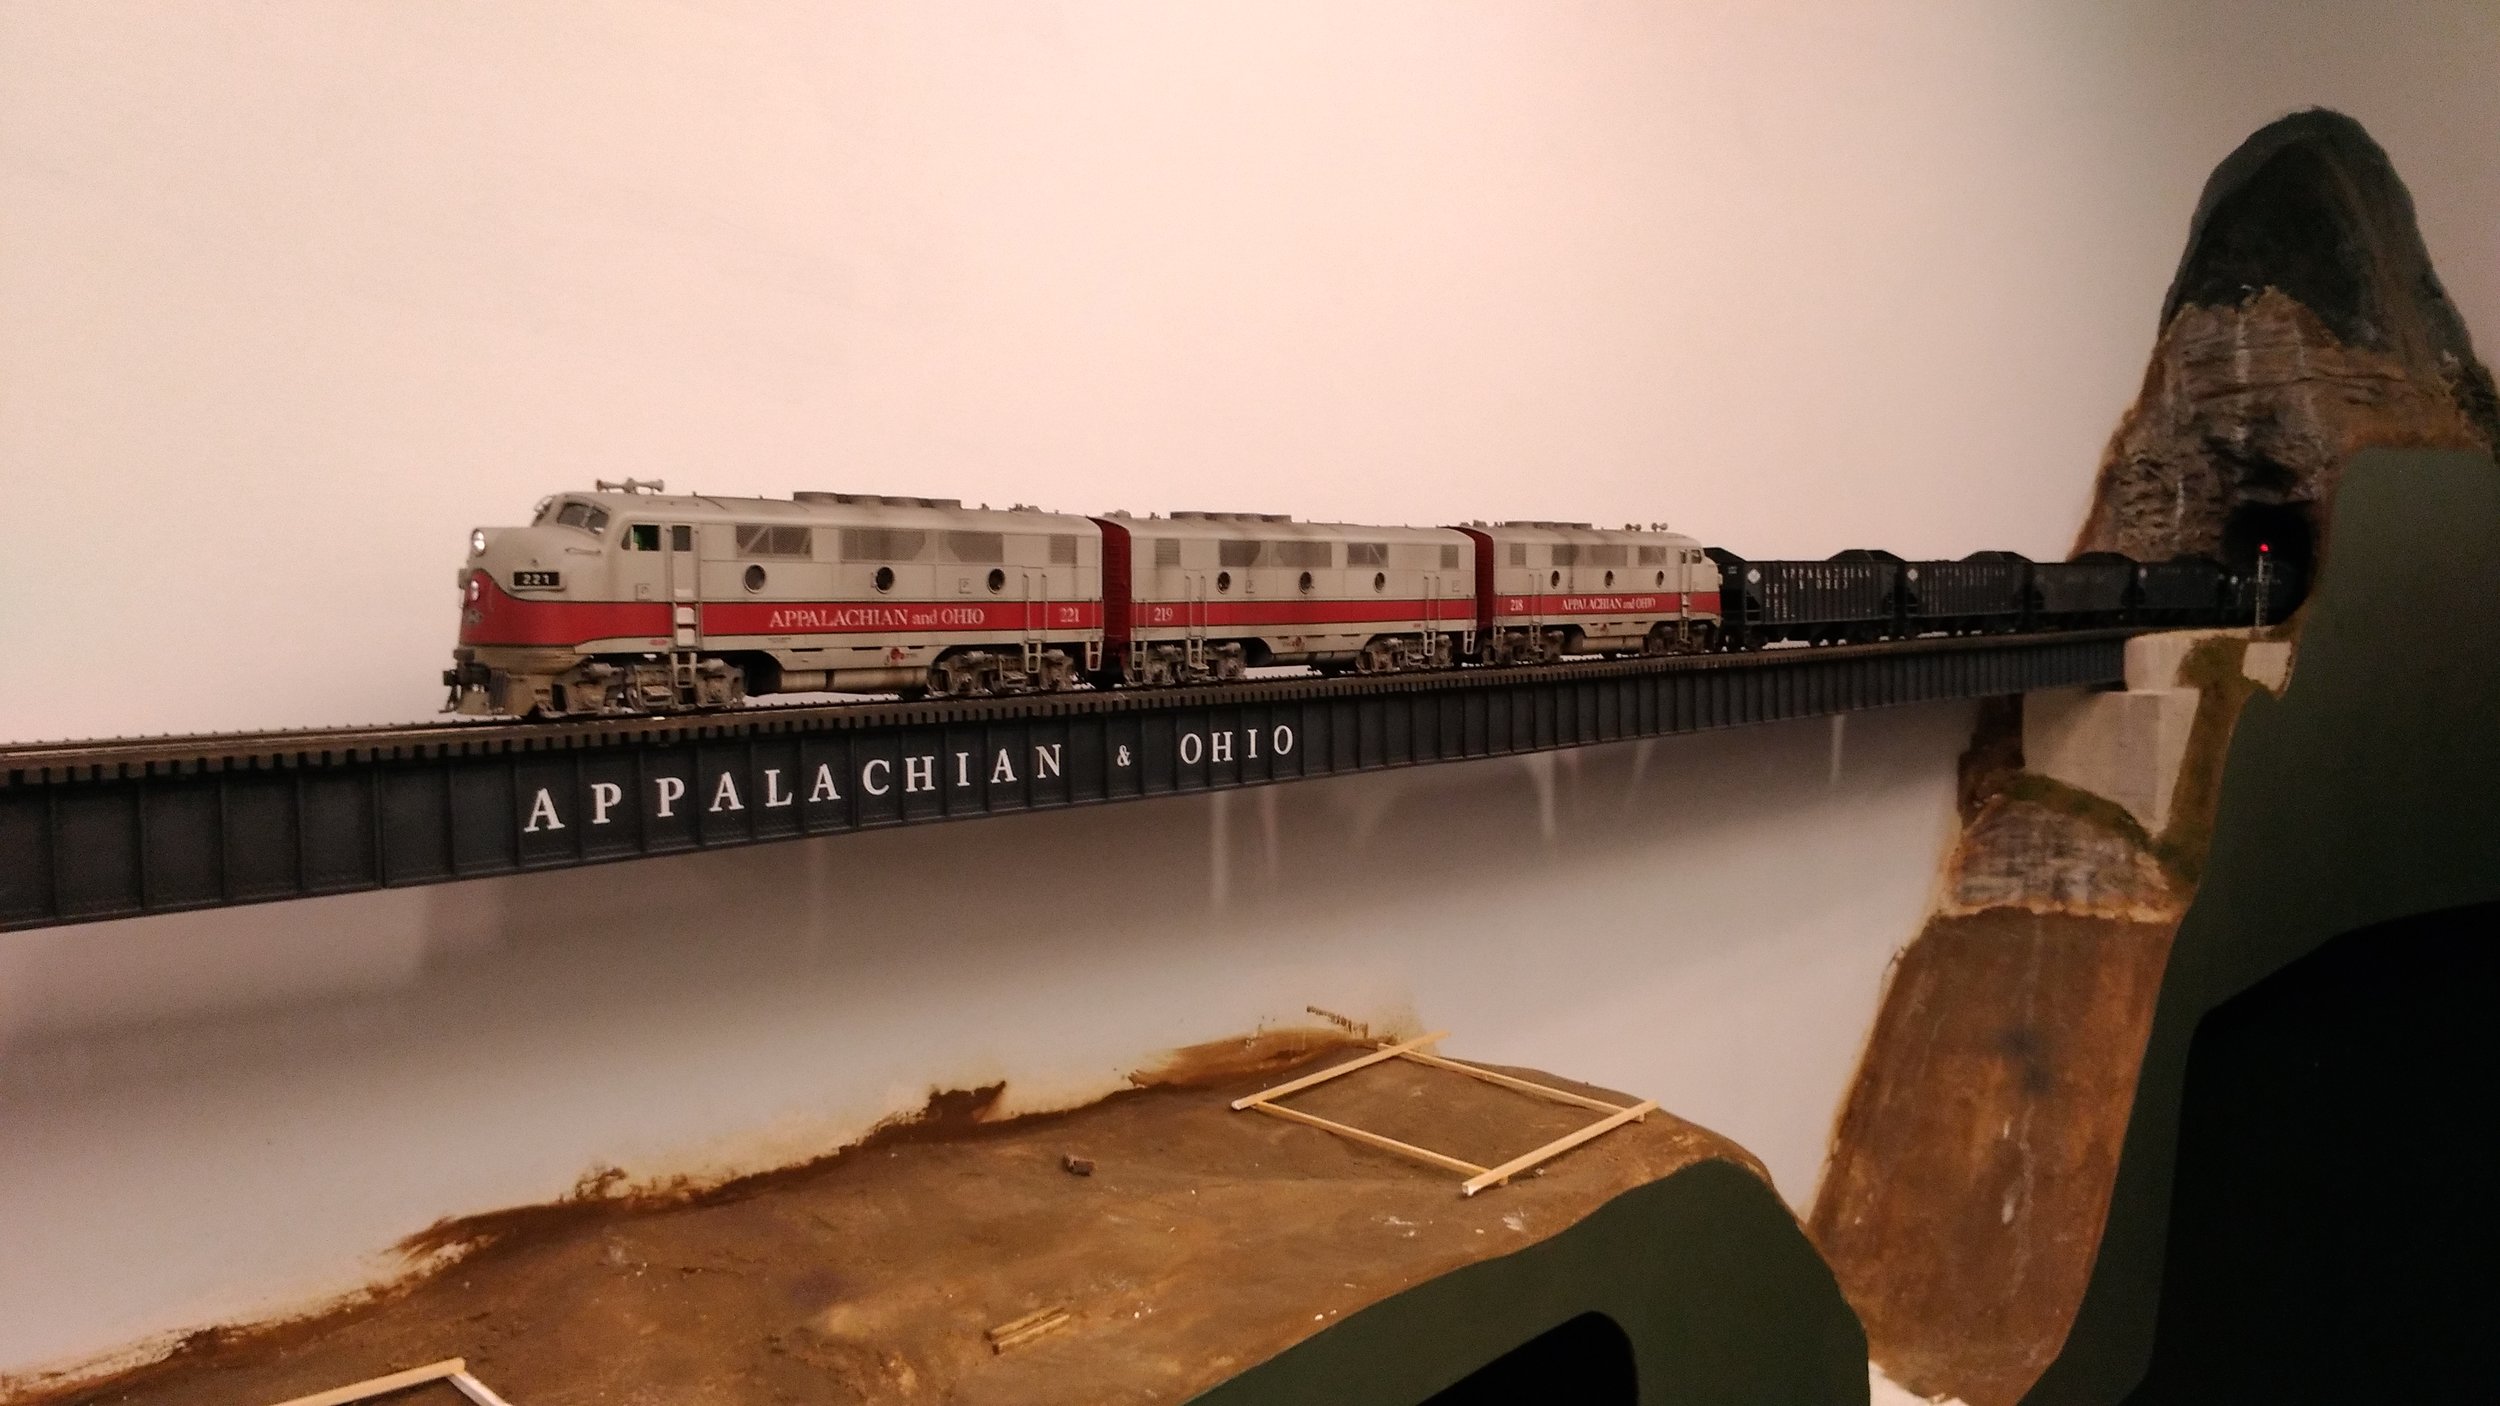
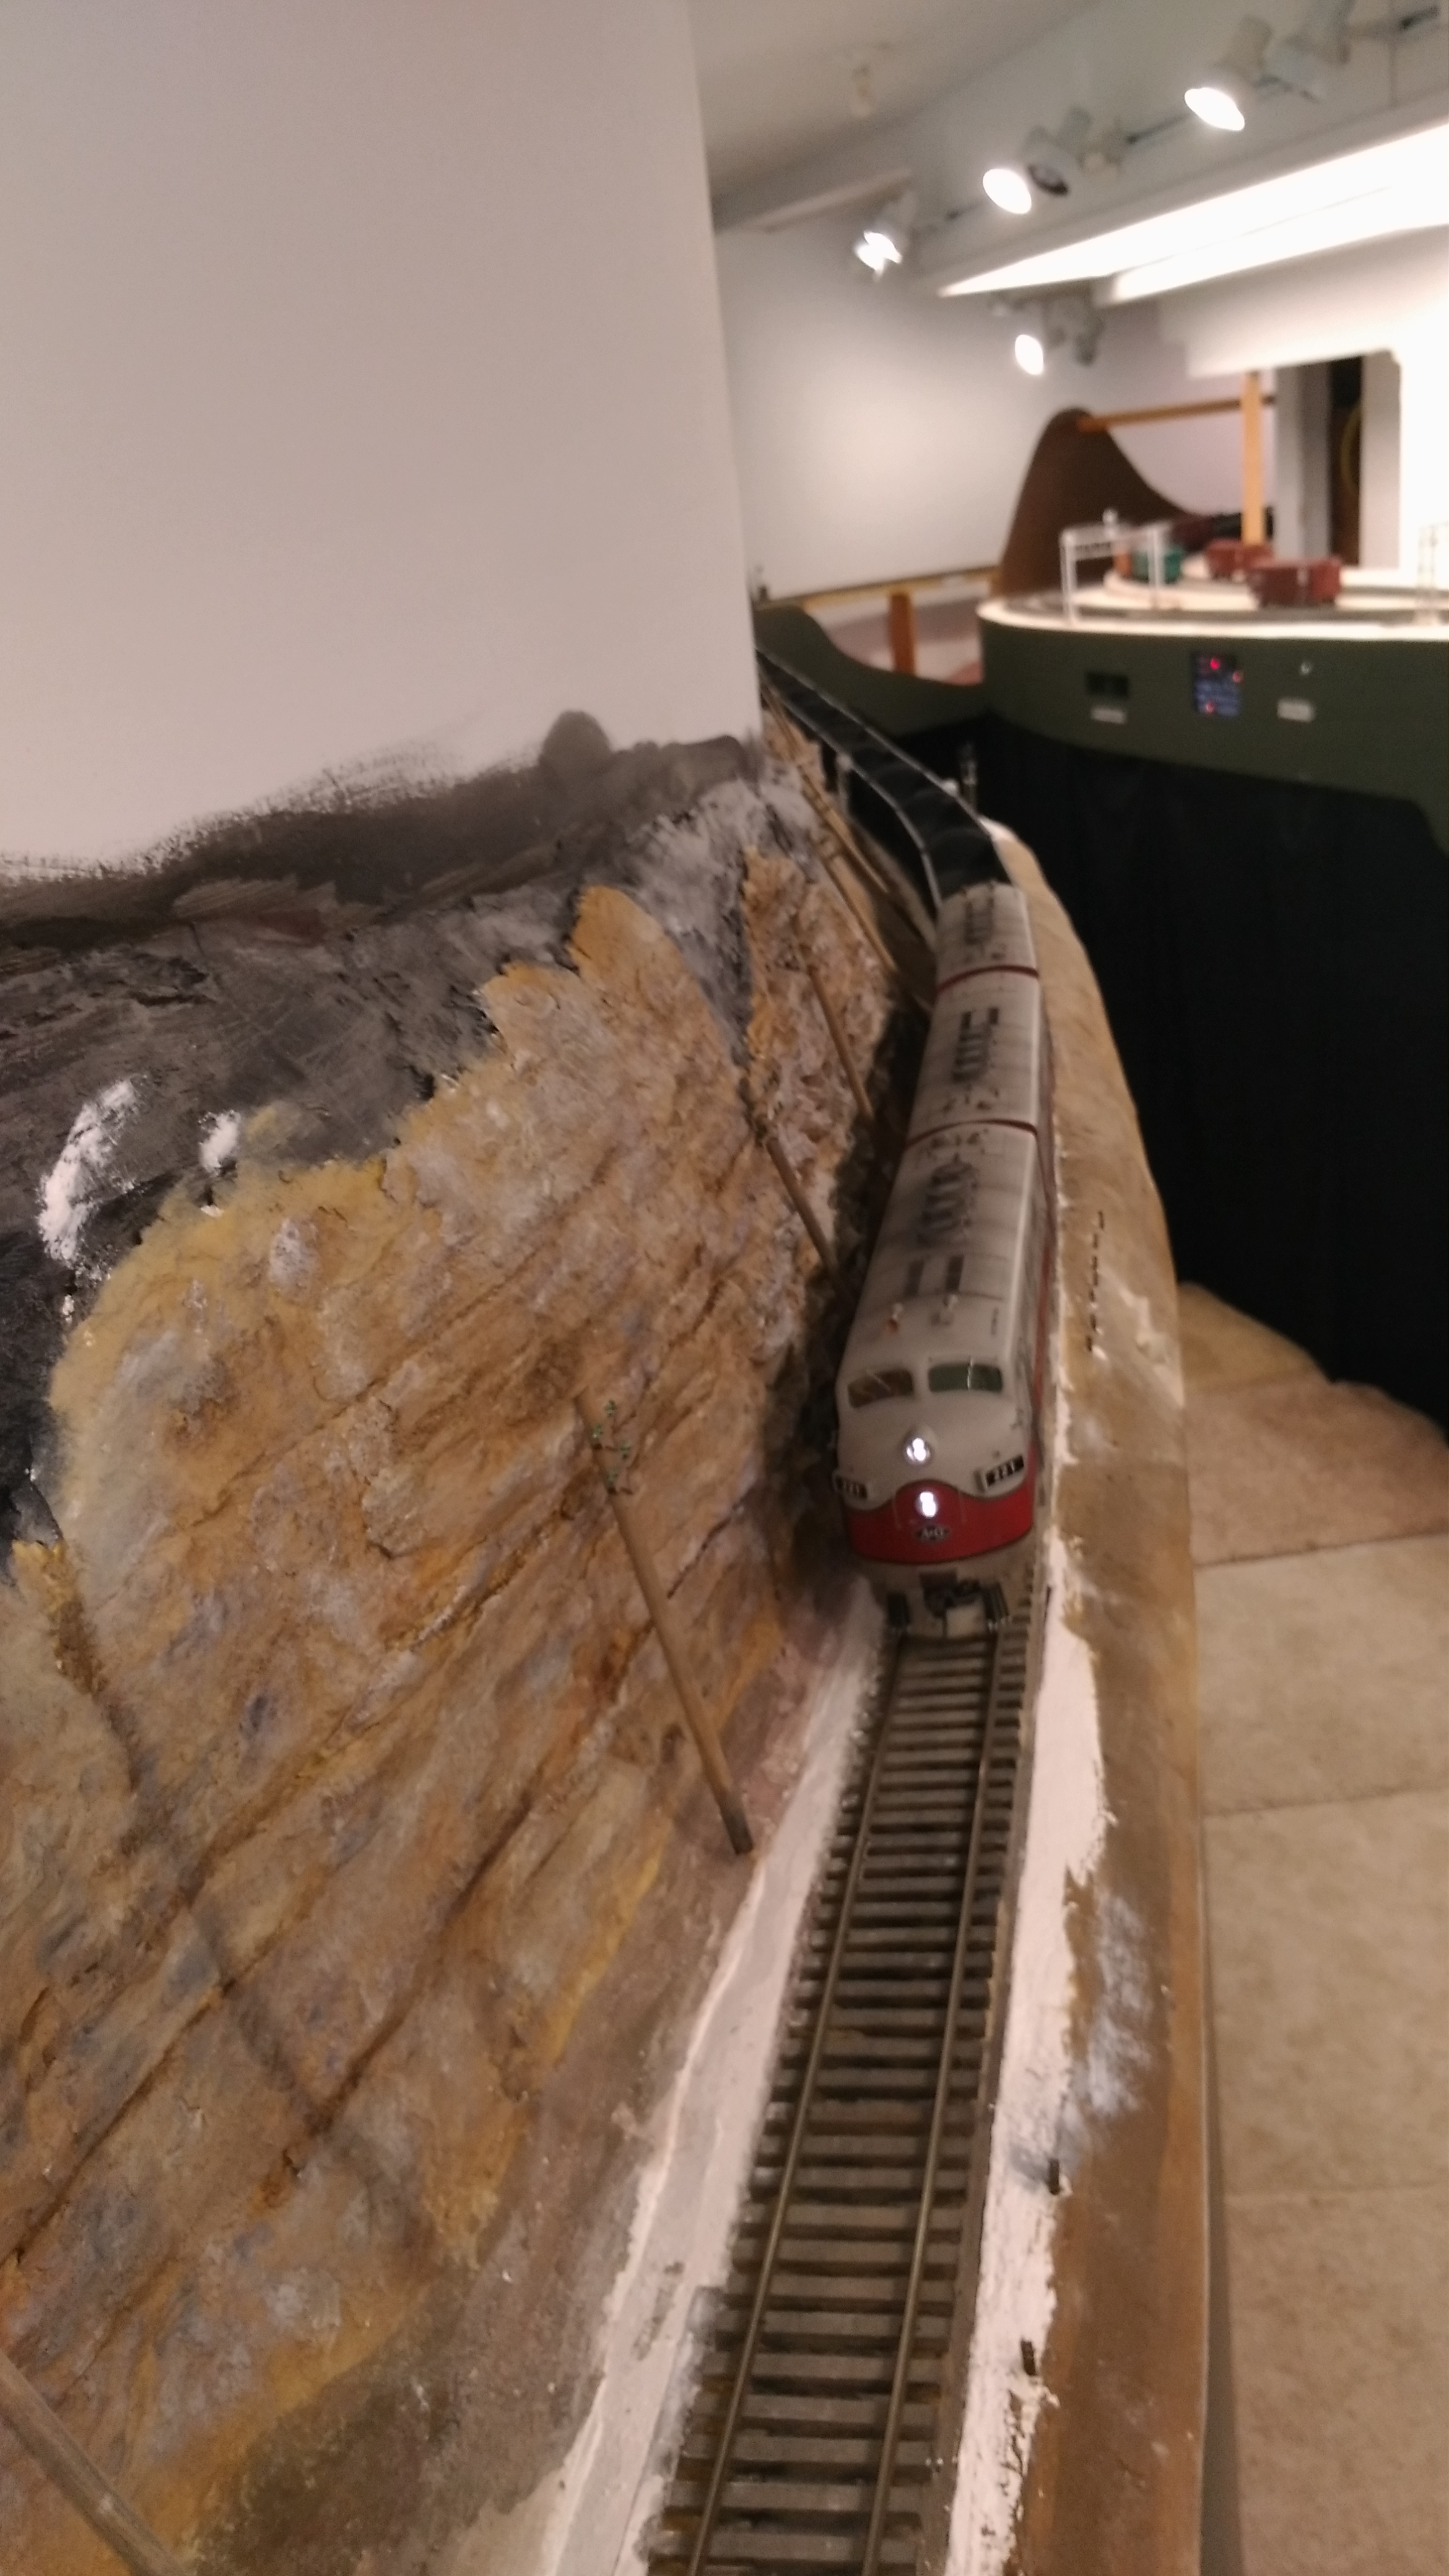
Leaving the viaduct, our train passes scenery in progress. Shallow but vertical, and at chin height. Grin.
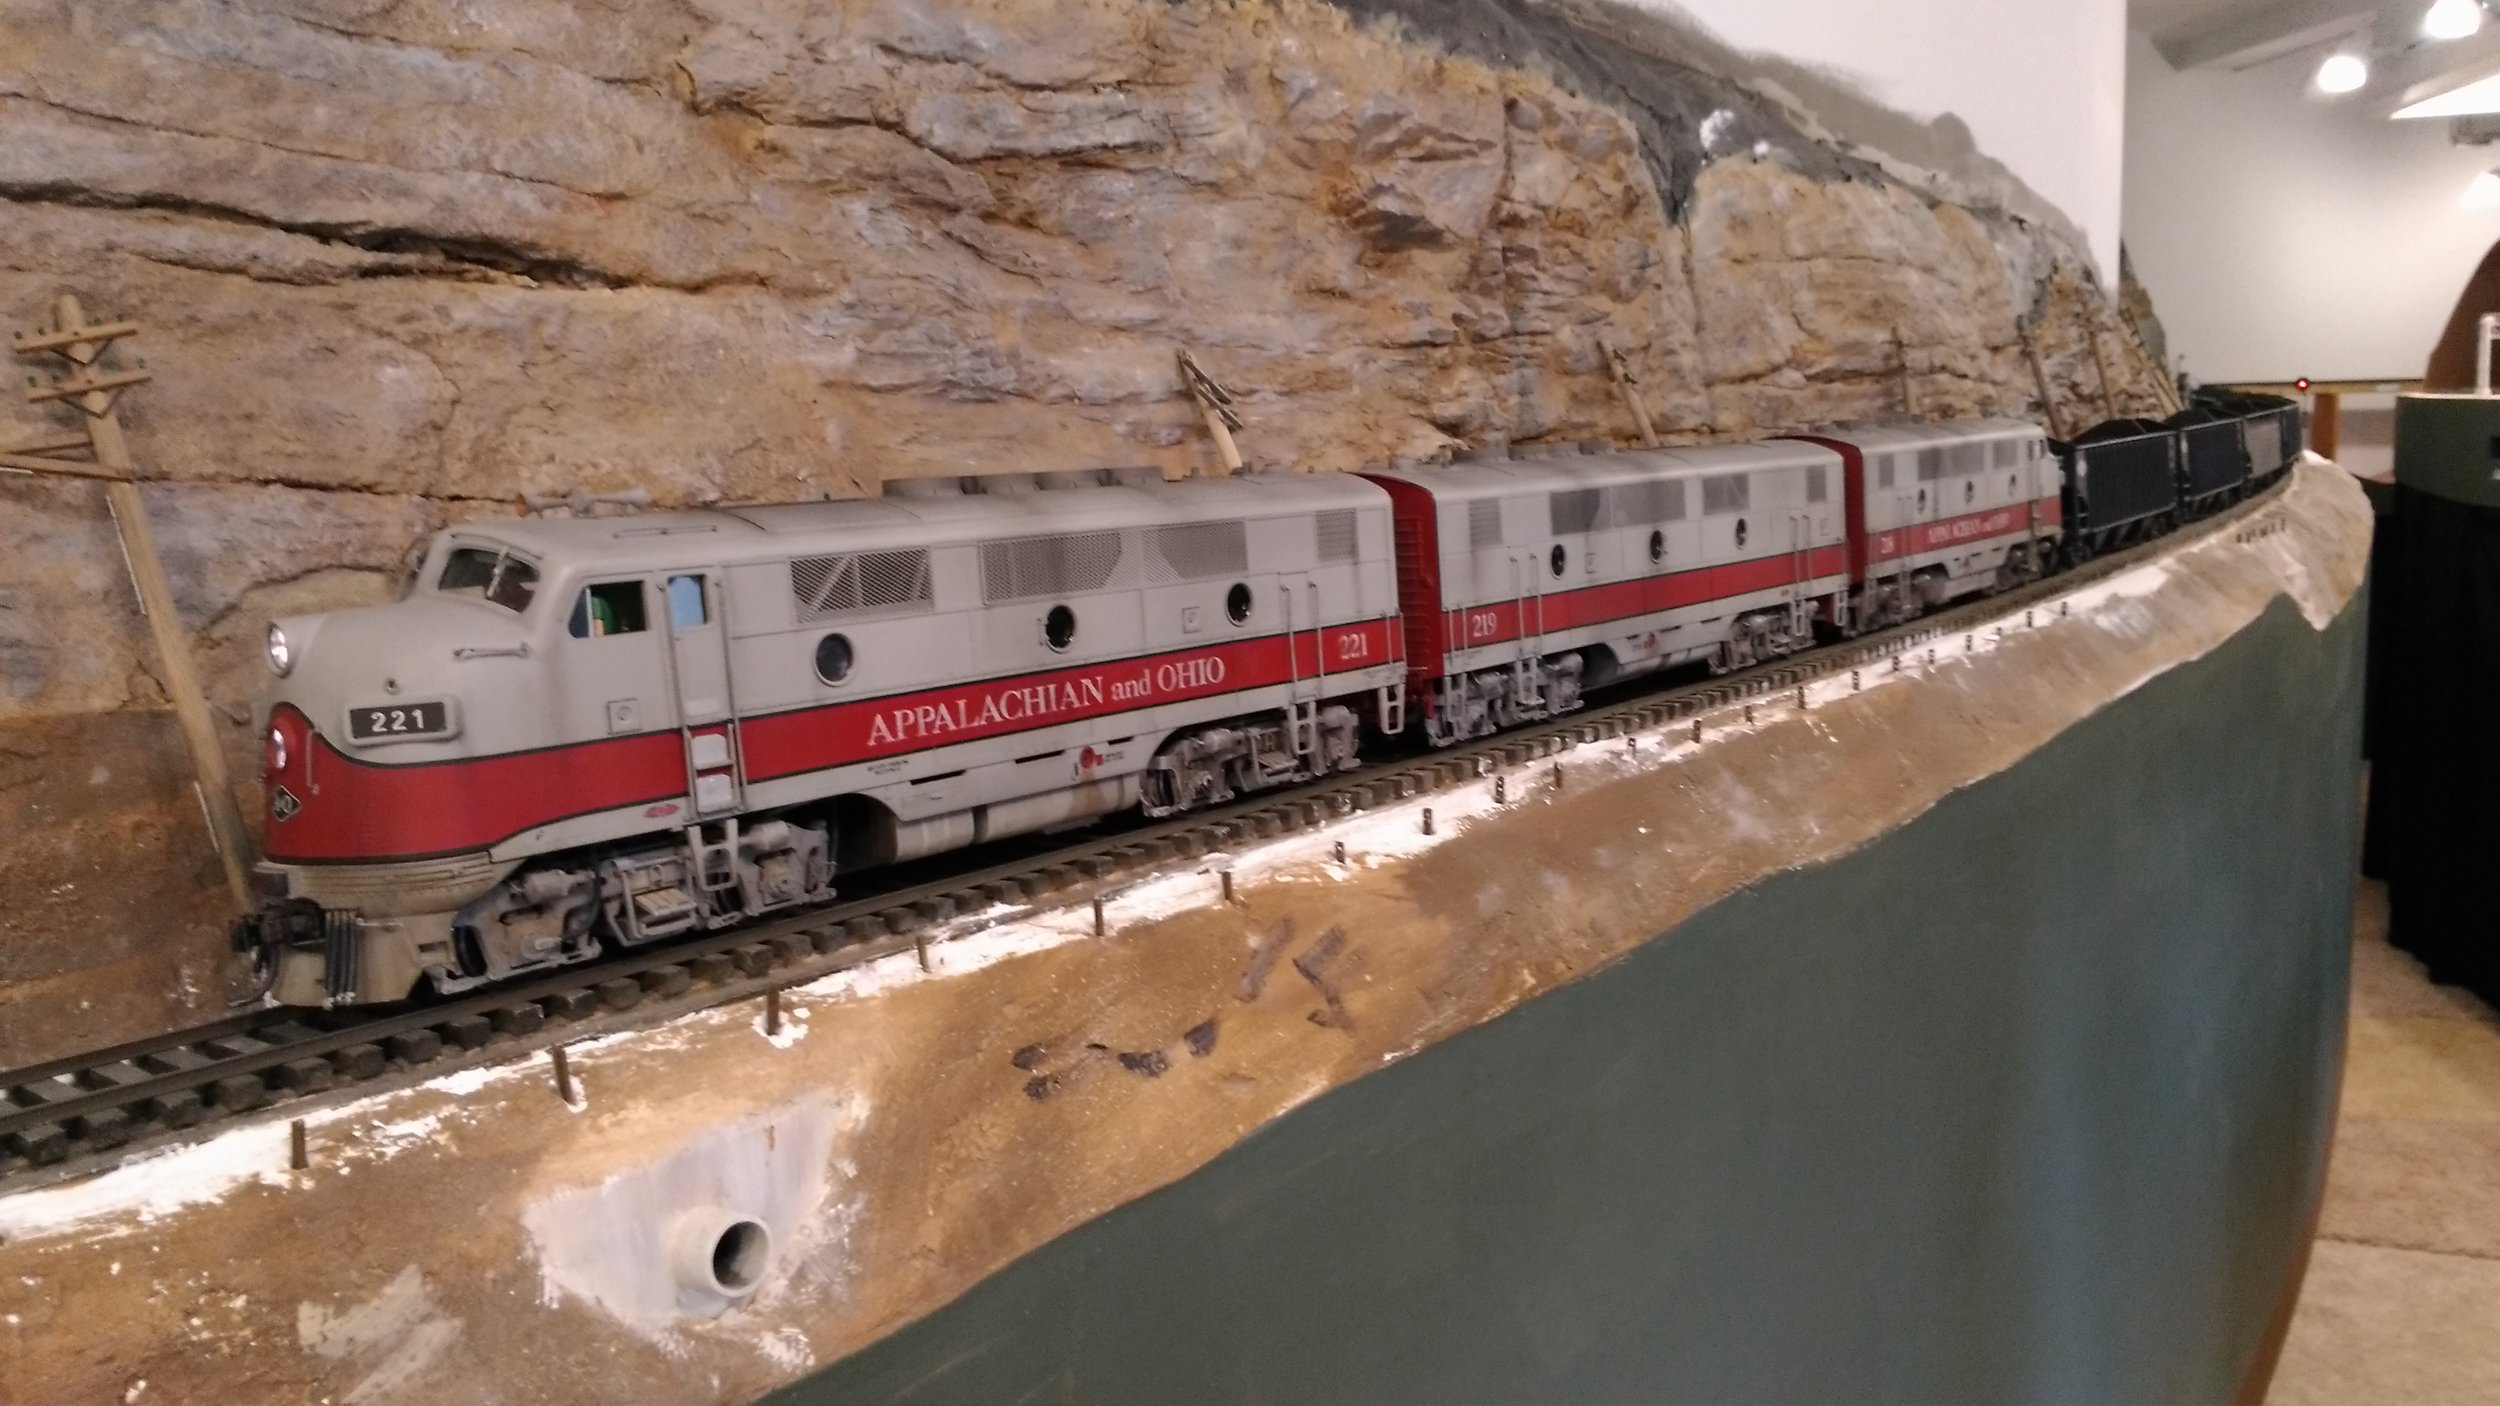
With the F's still roaring in Run 8, a gentle lean into the final curve allows us to summit the Coal Ridge Grade. Going the opposite direction, the dynamics are now beginning to whine.
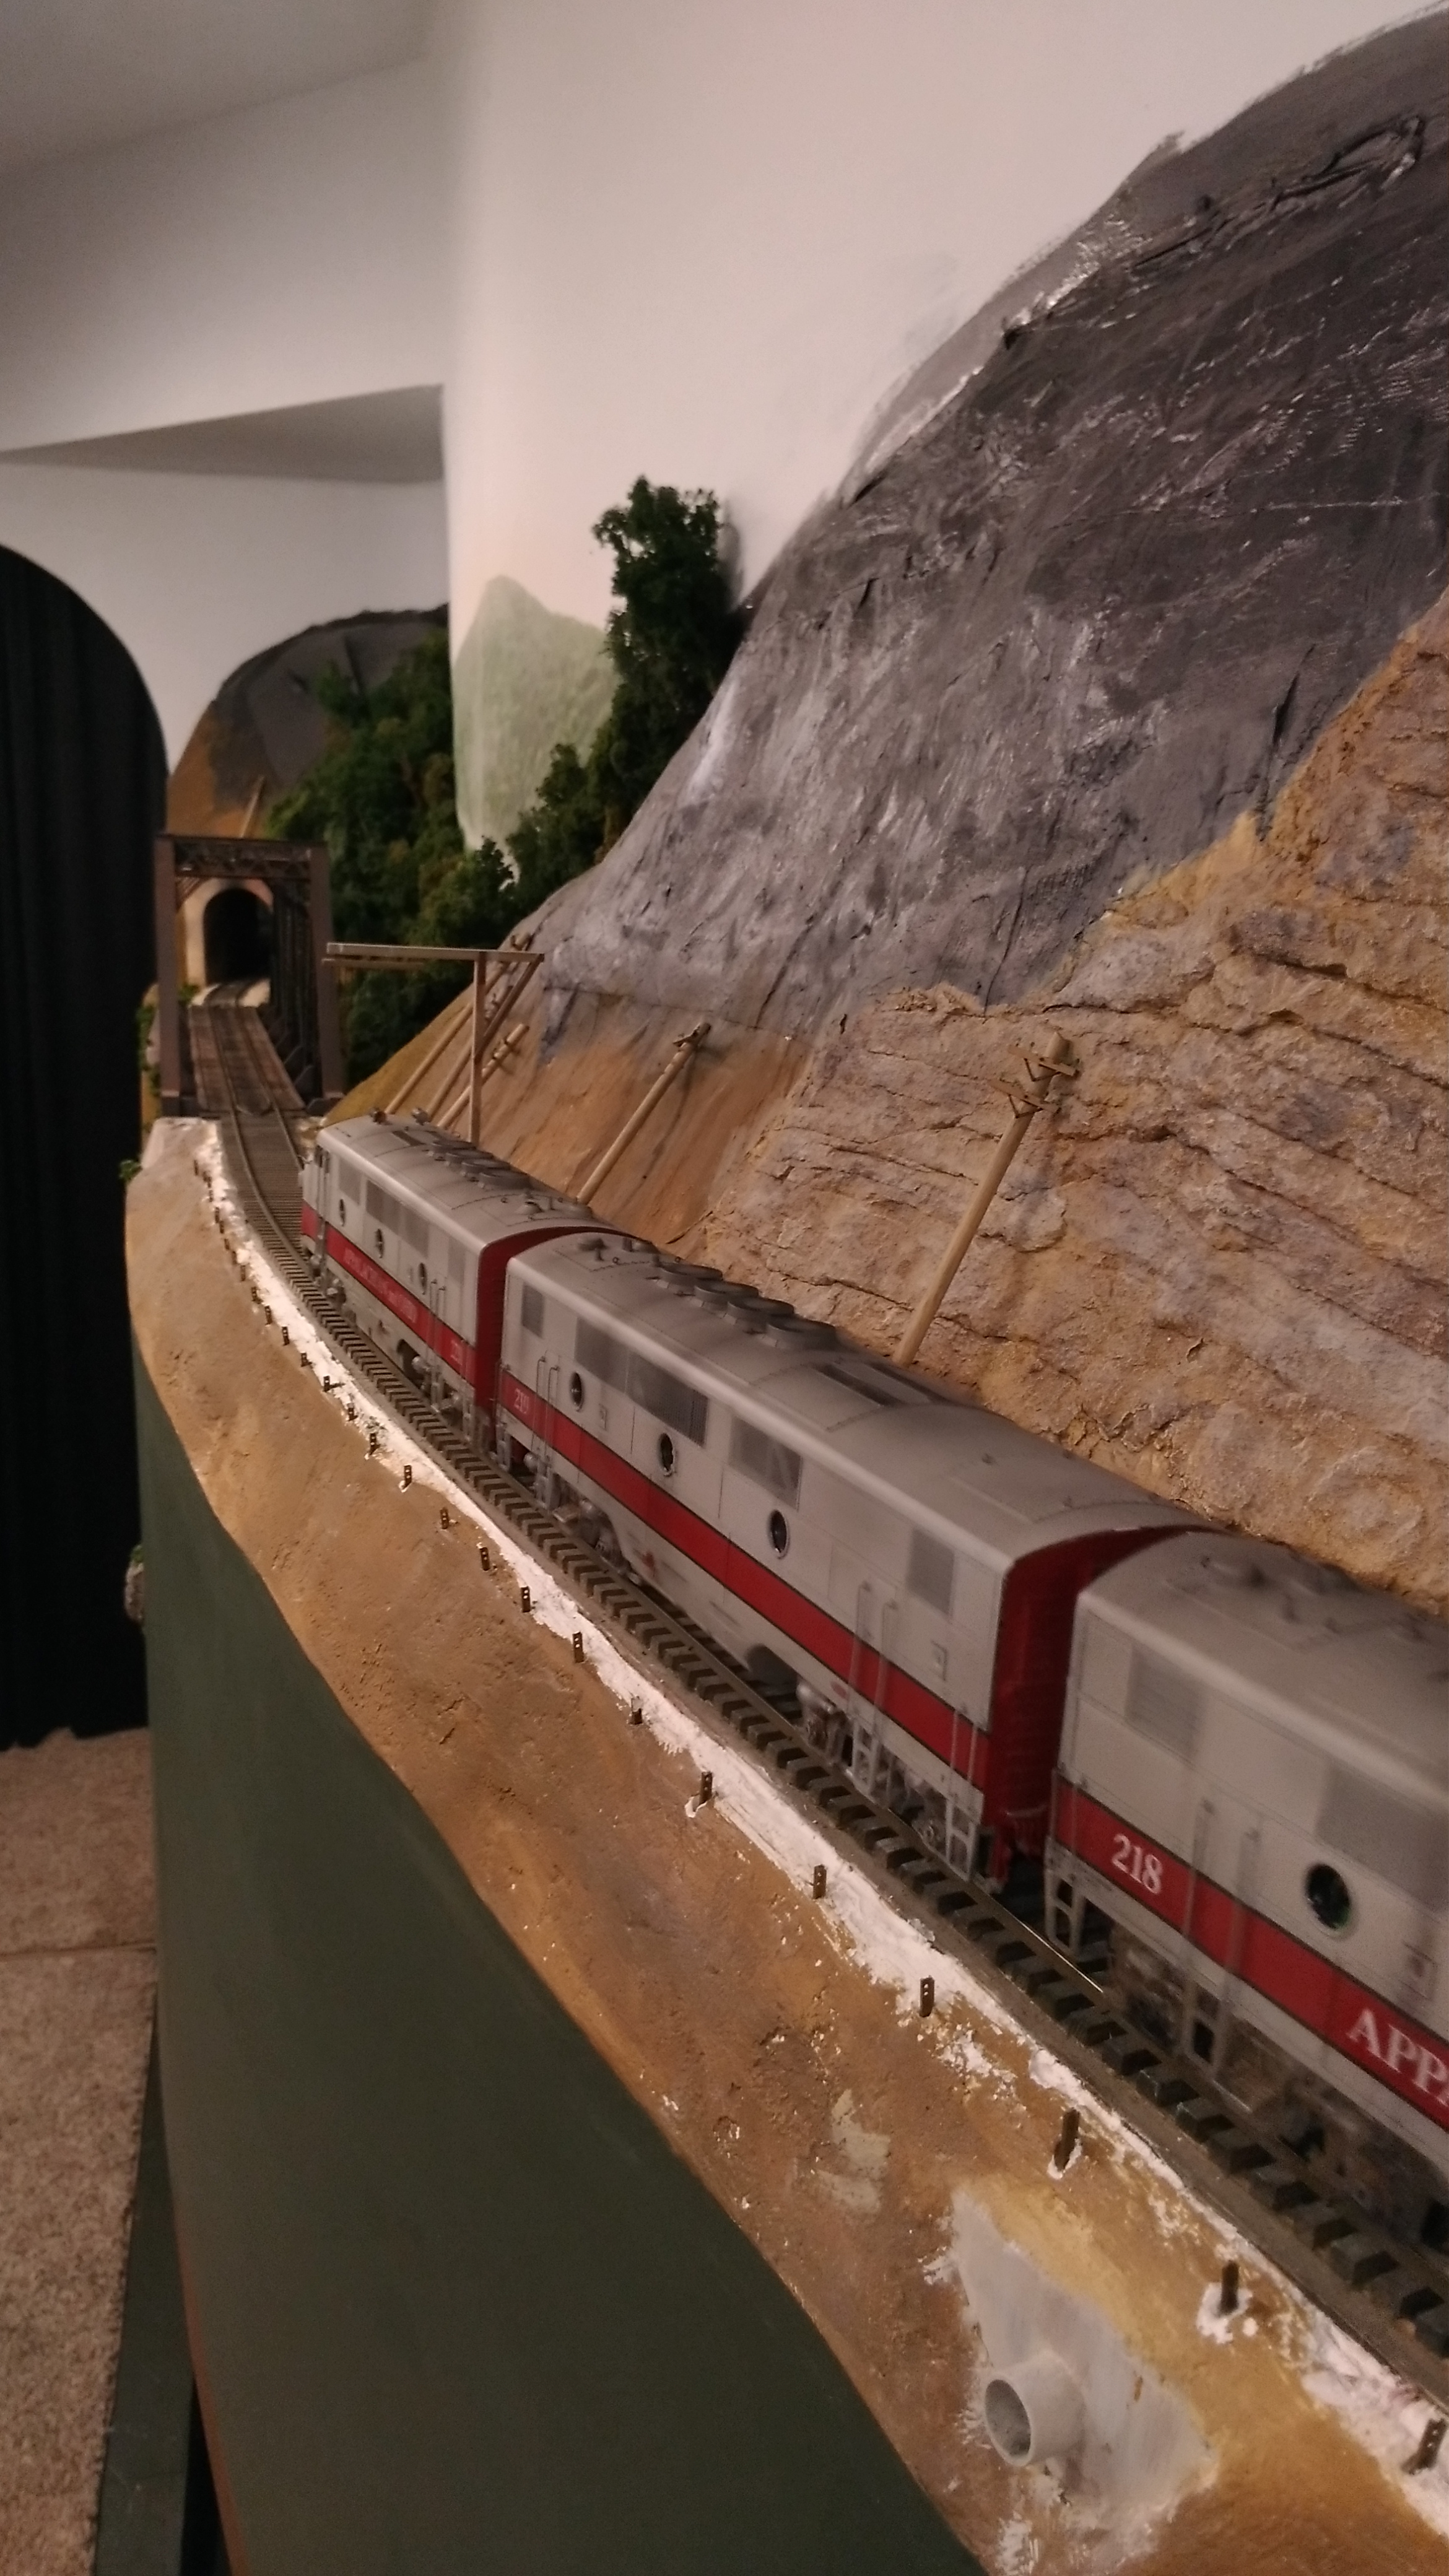
The curve and grade flatten as we approach the bridge over the St. George River. At this point the tracks are 61" off the floor. Even with unfinished scenery, this stretch has already become a favorite railfan spot on A&O 2.0.
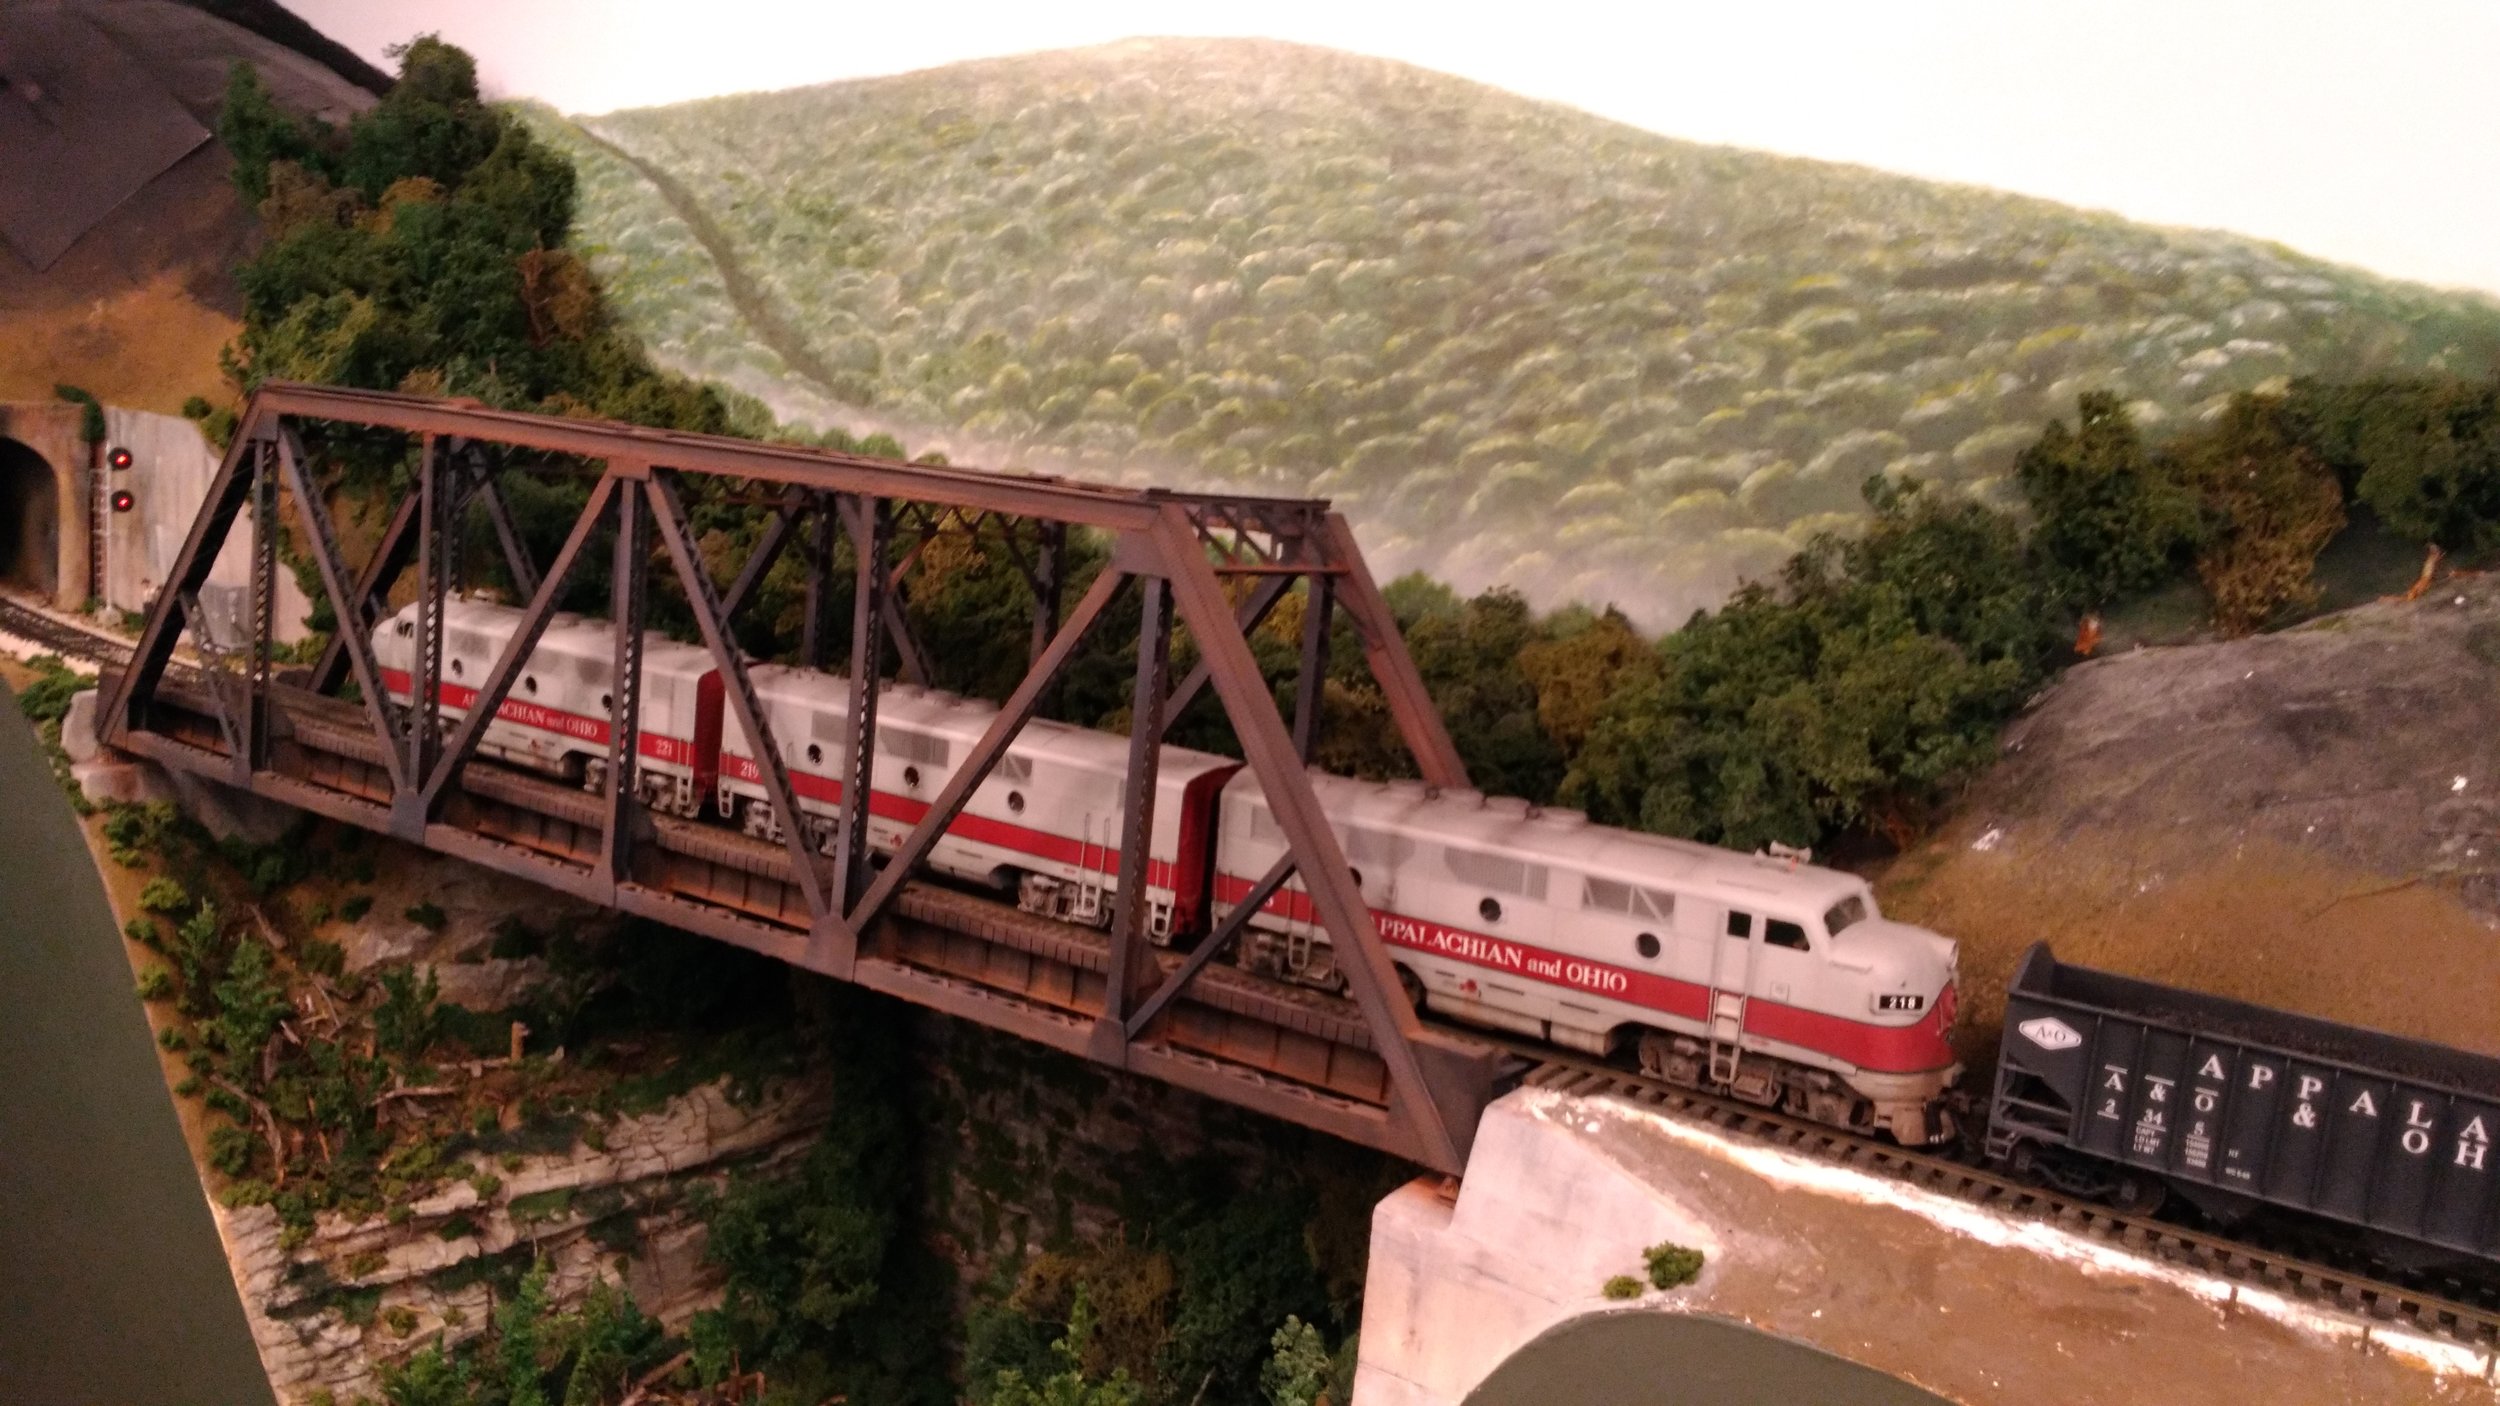
This must be a drone shot of the St. George Gorge bridge crossing. This is detailedAtlas thru truss.
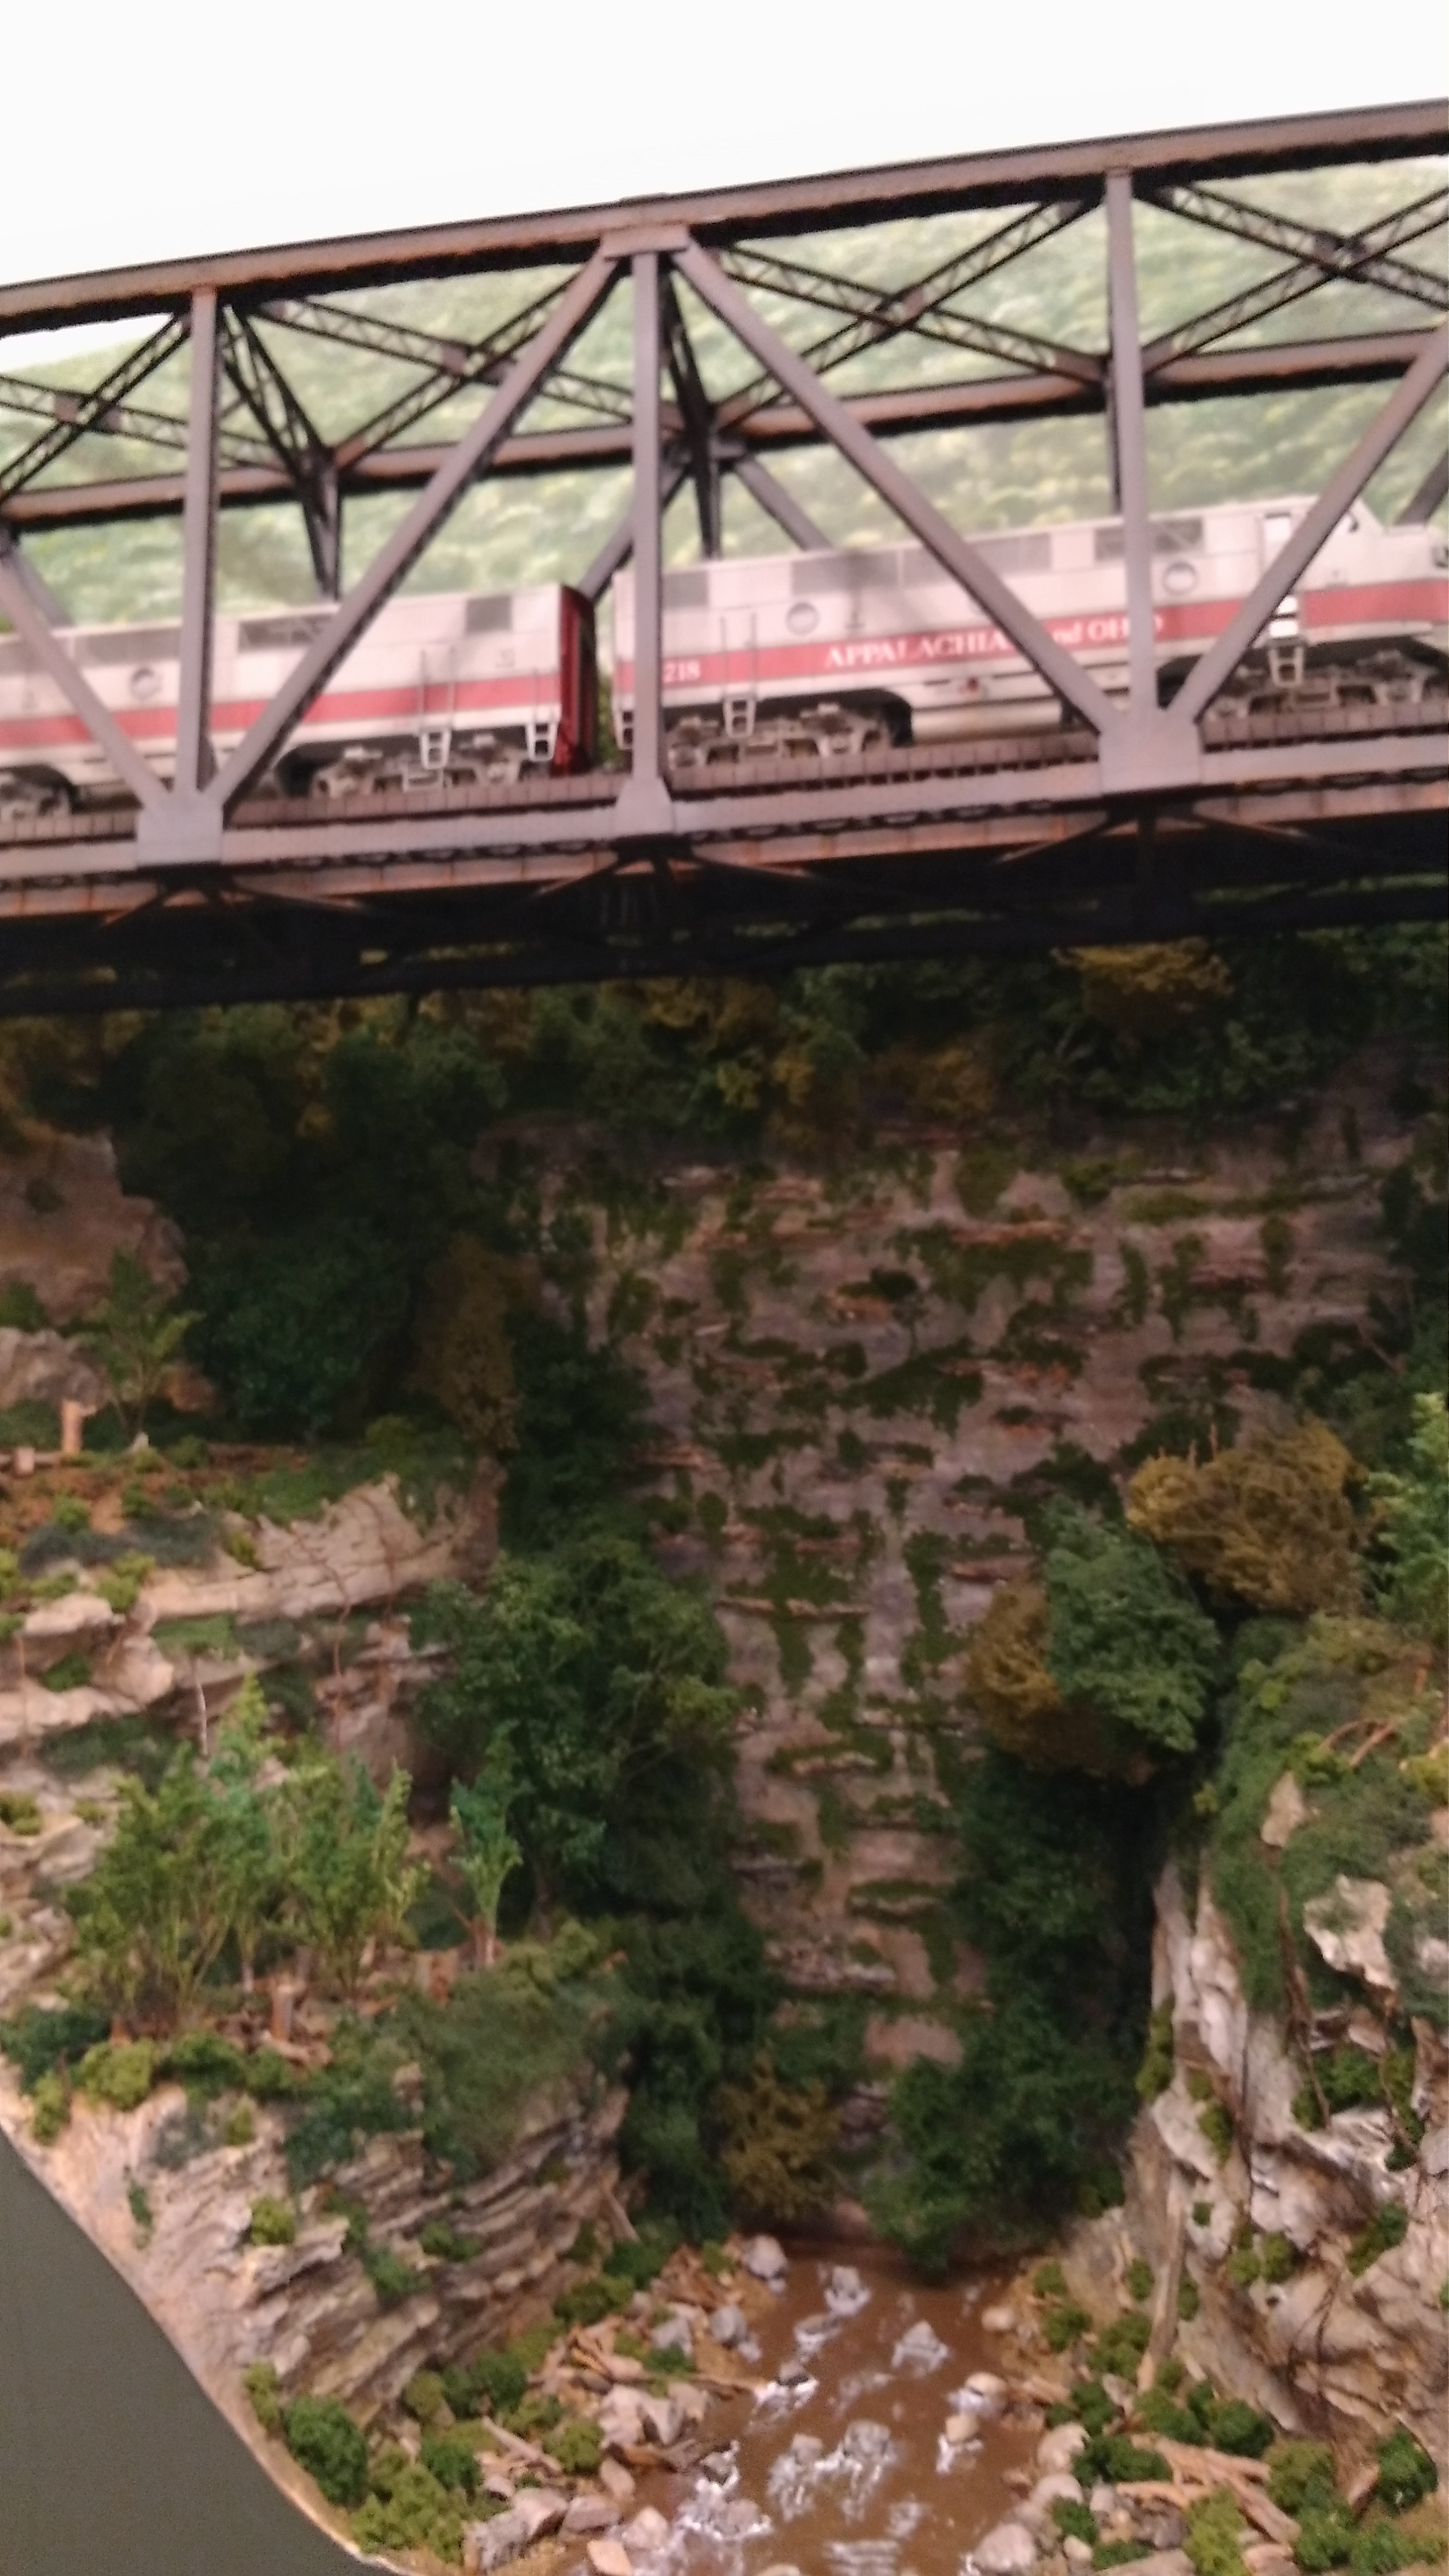
Seen from the riverbed, it's not hard to see why crews call this "Georgeous Gorge".
To help with the 3-D effect on the rear wall, I glued small rock sections of plaster onto the wall and then blended them with paint and vines.
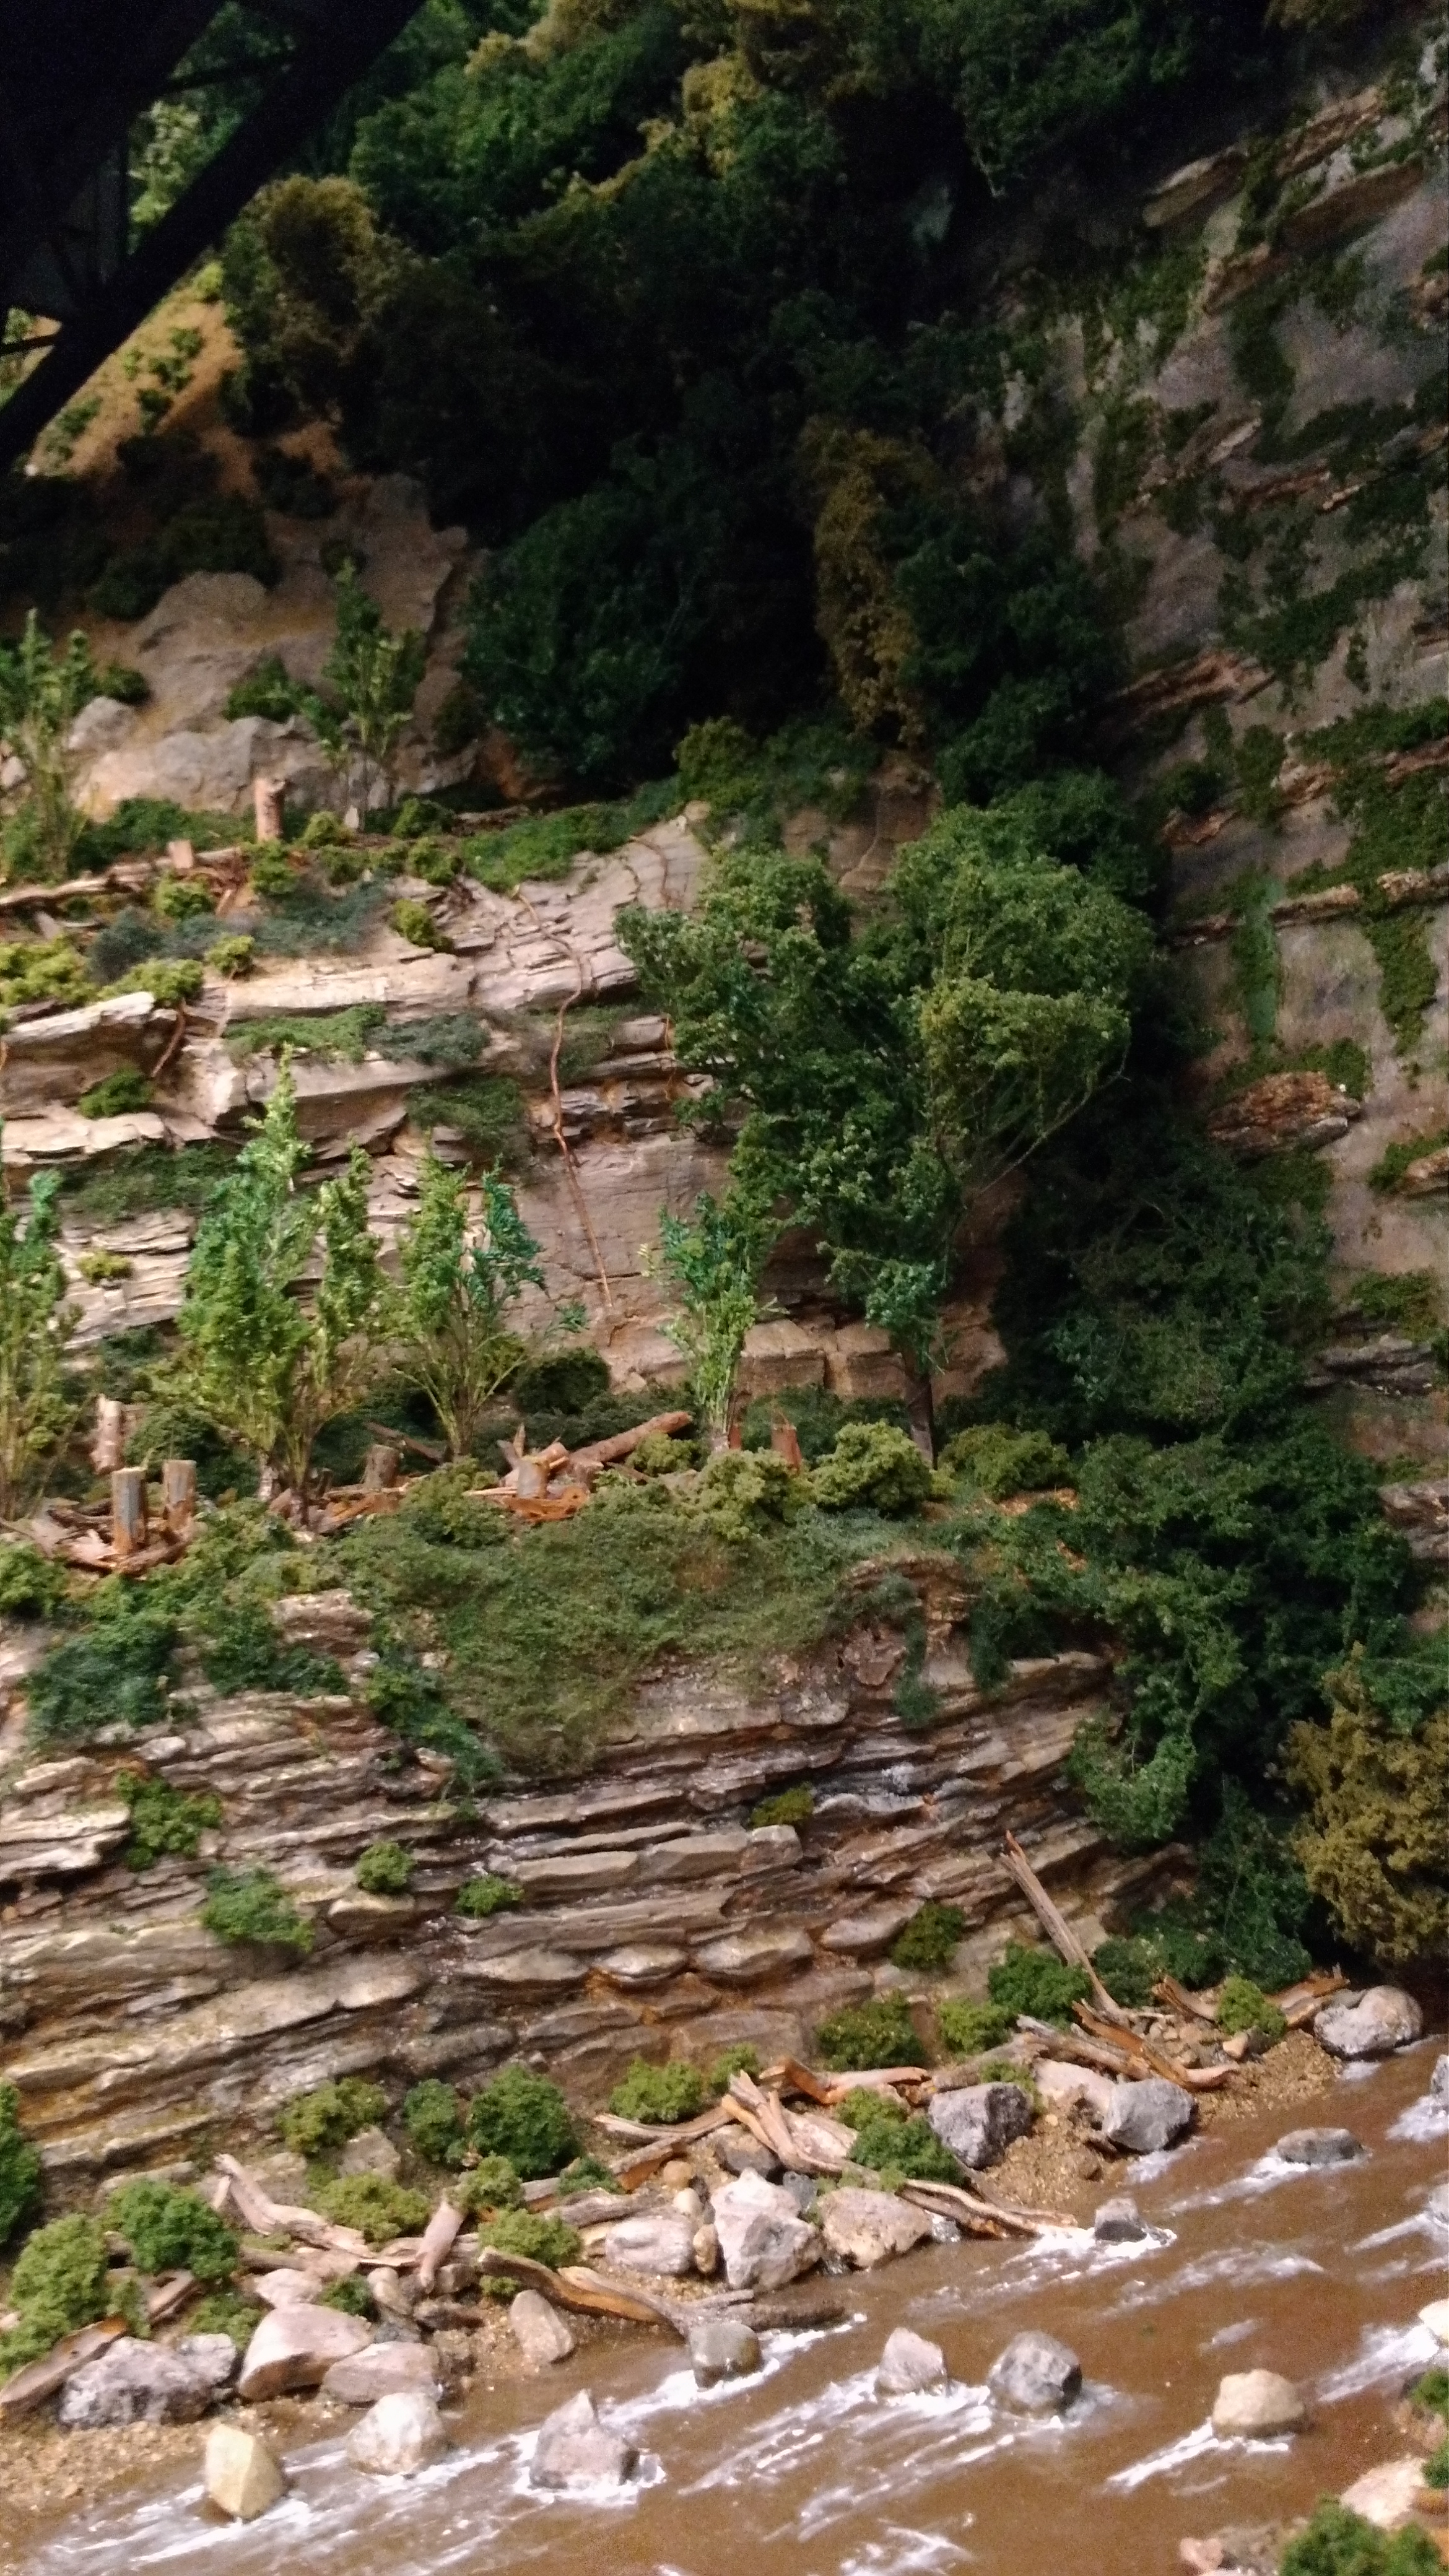
The flowing river sets its own pace, oblivious to the racket overhead.
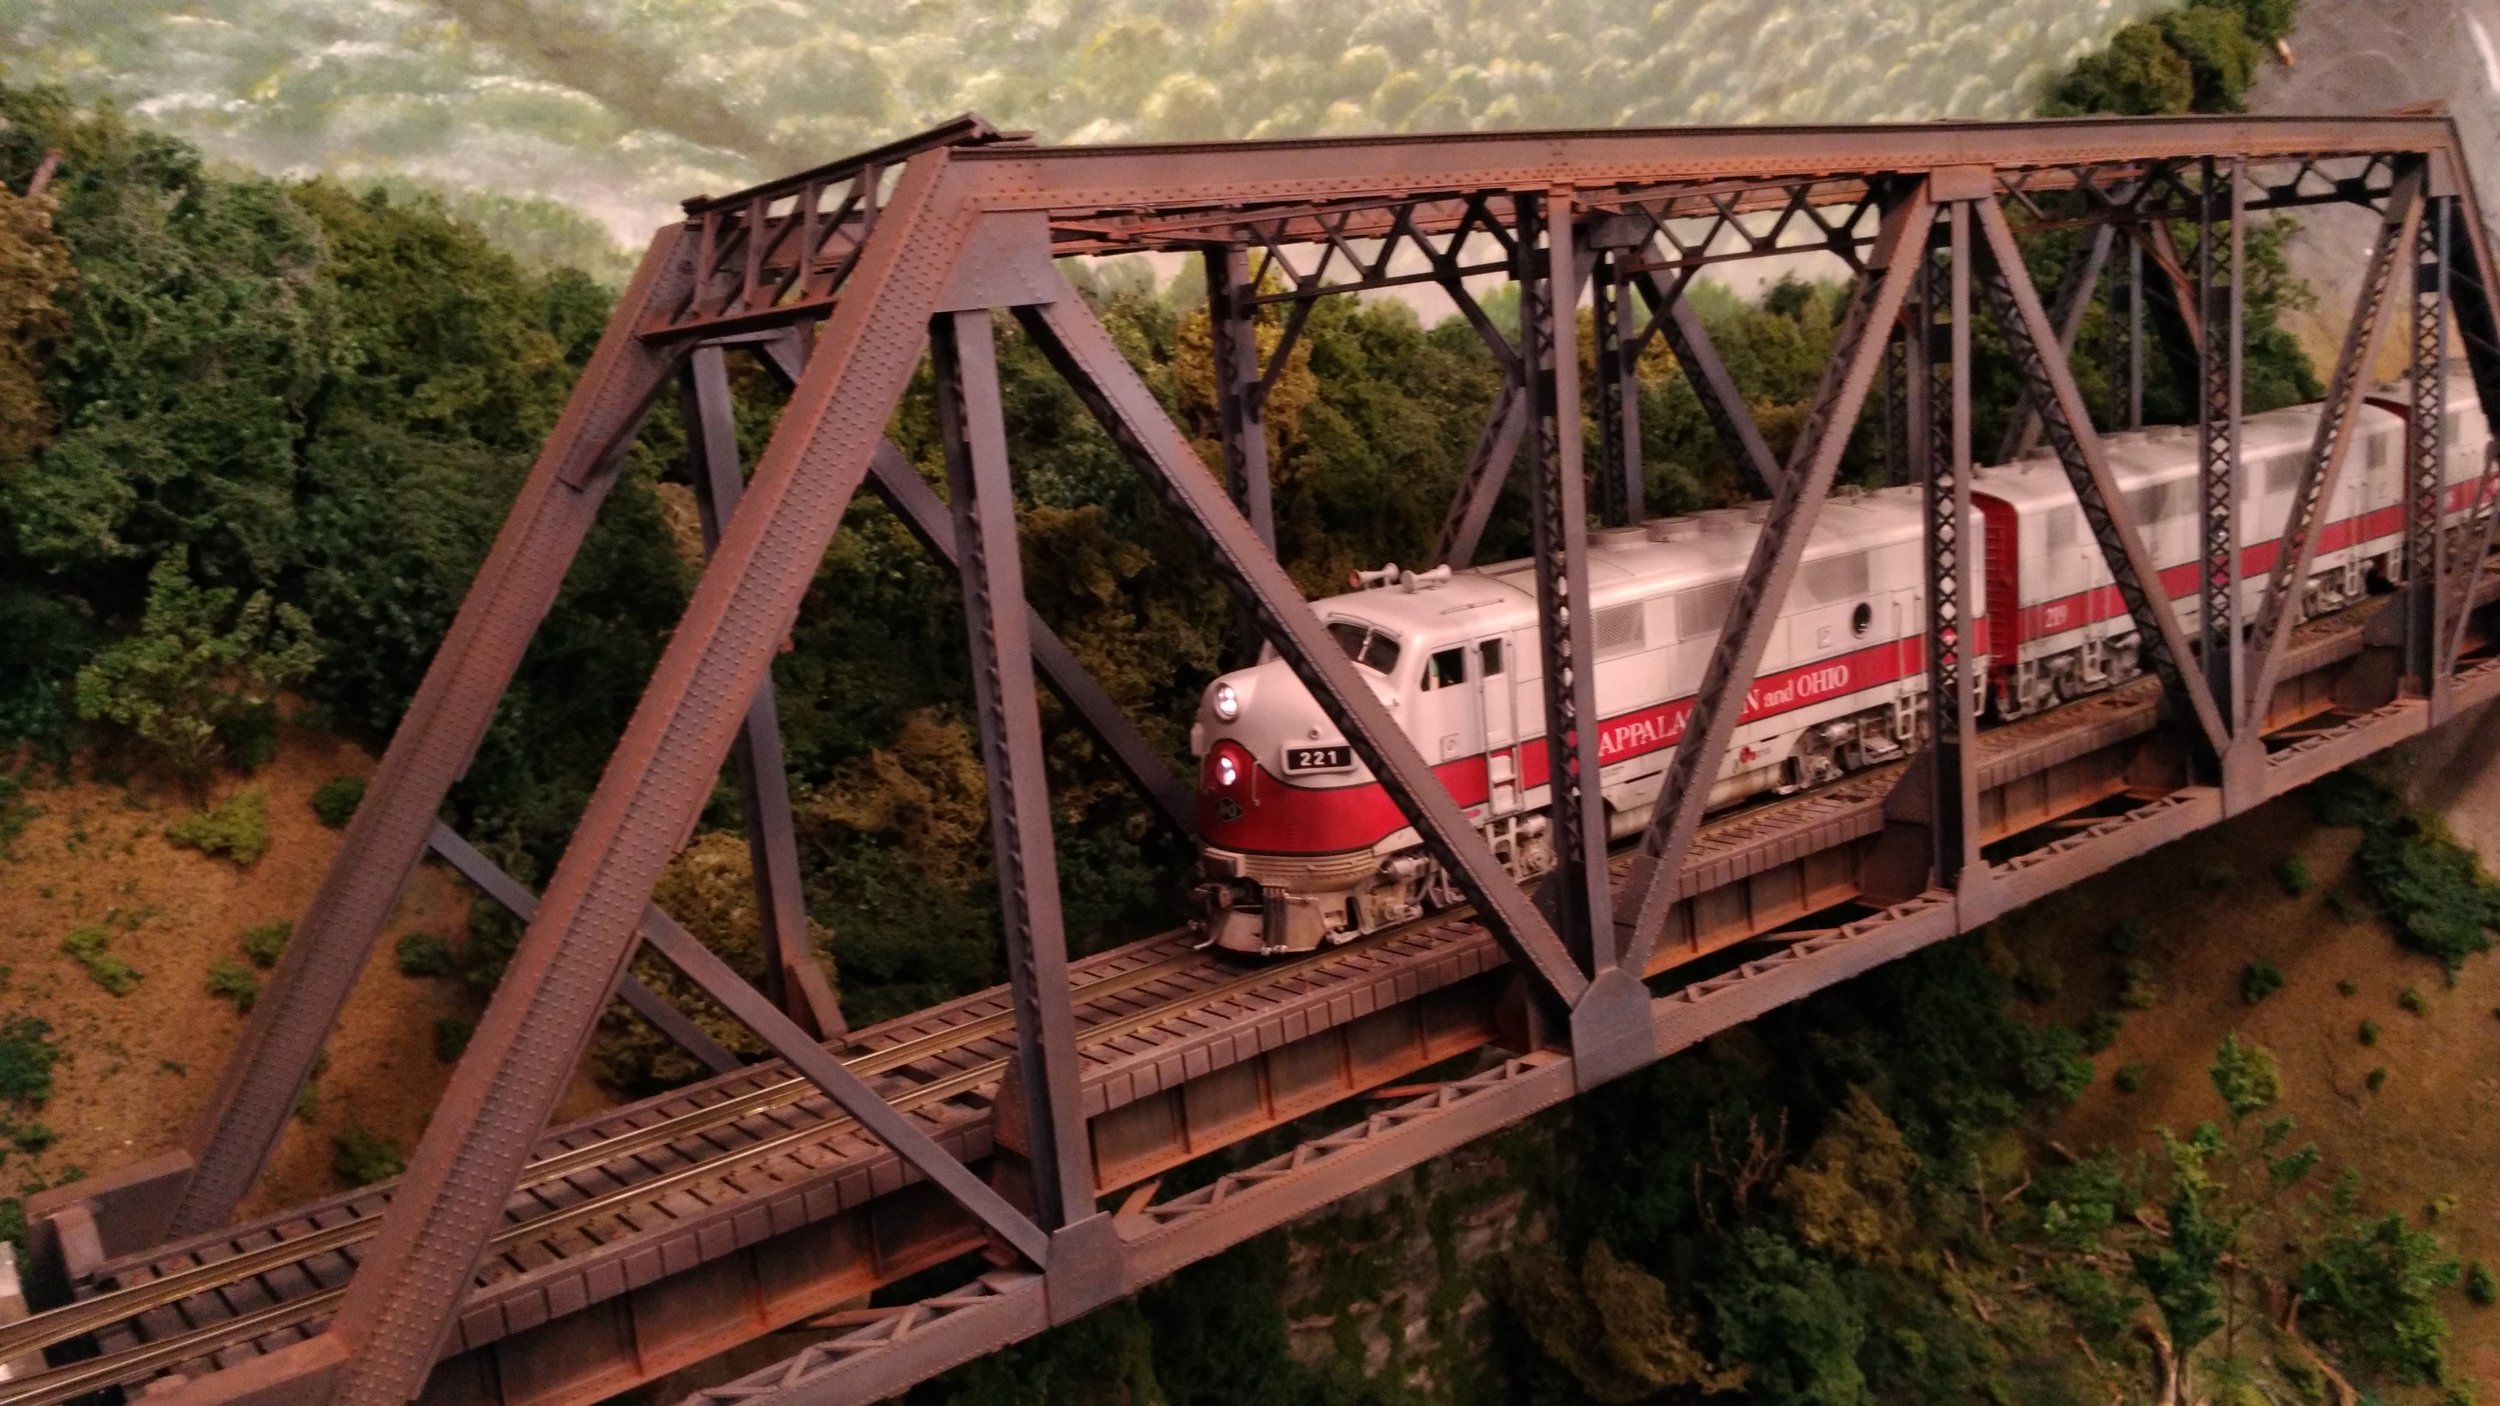
We rarely have to chide operators to "slow down". Everyone seems to savor the moment.
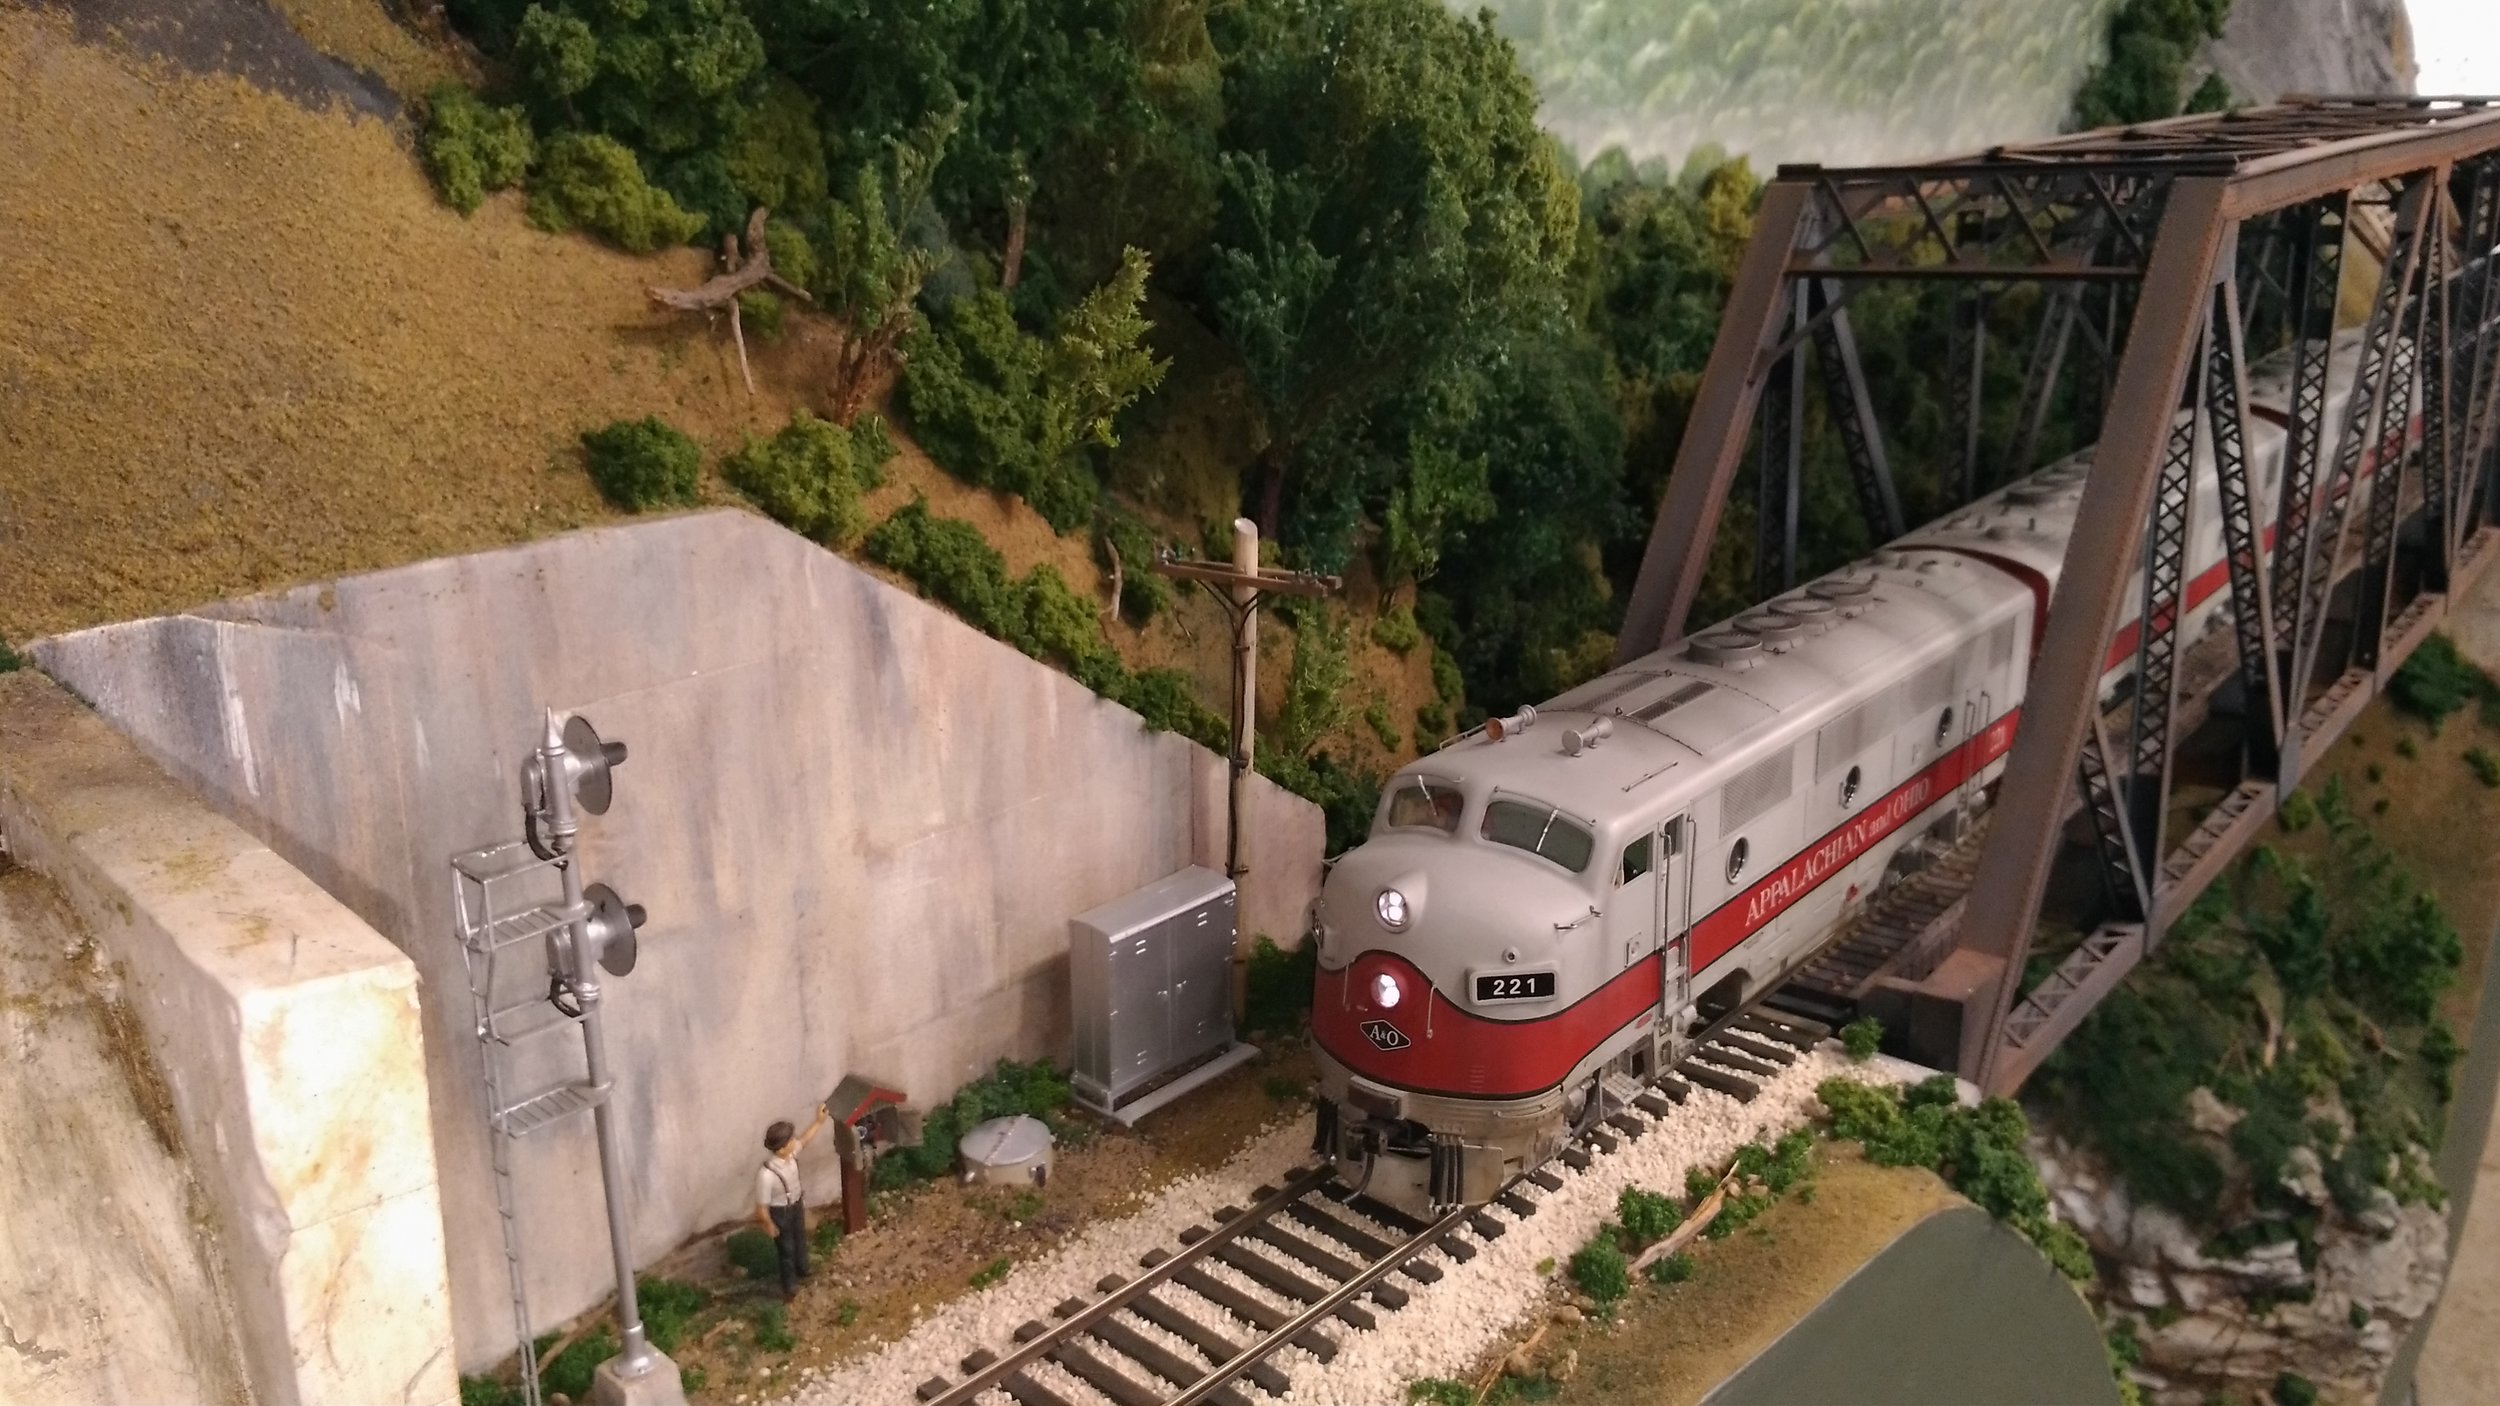
The train conductor finally tired of "Sitting on the Red" at OS Linnwood and has climbed down to check-in (whine) with the dispatcher.
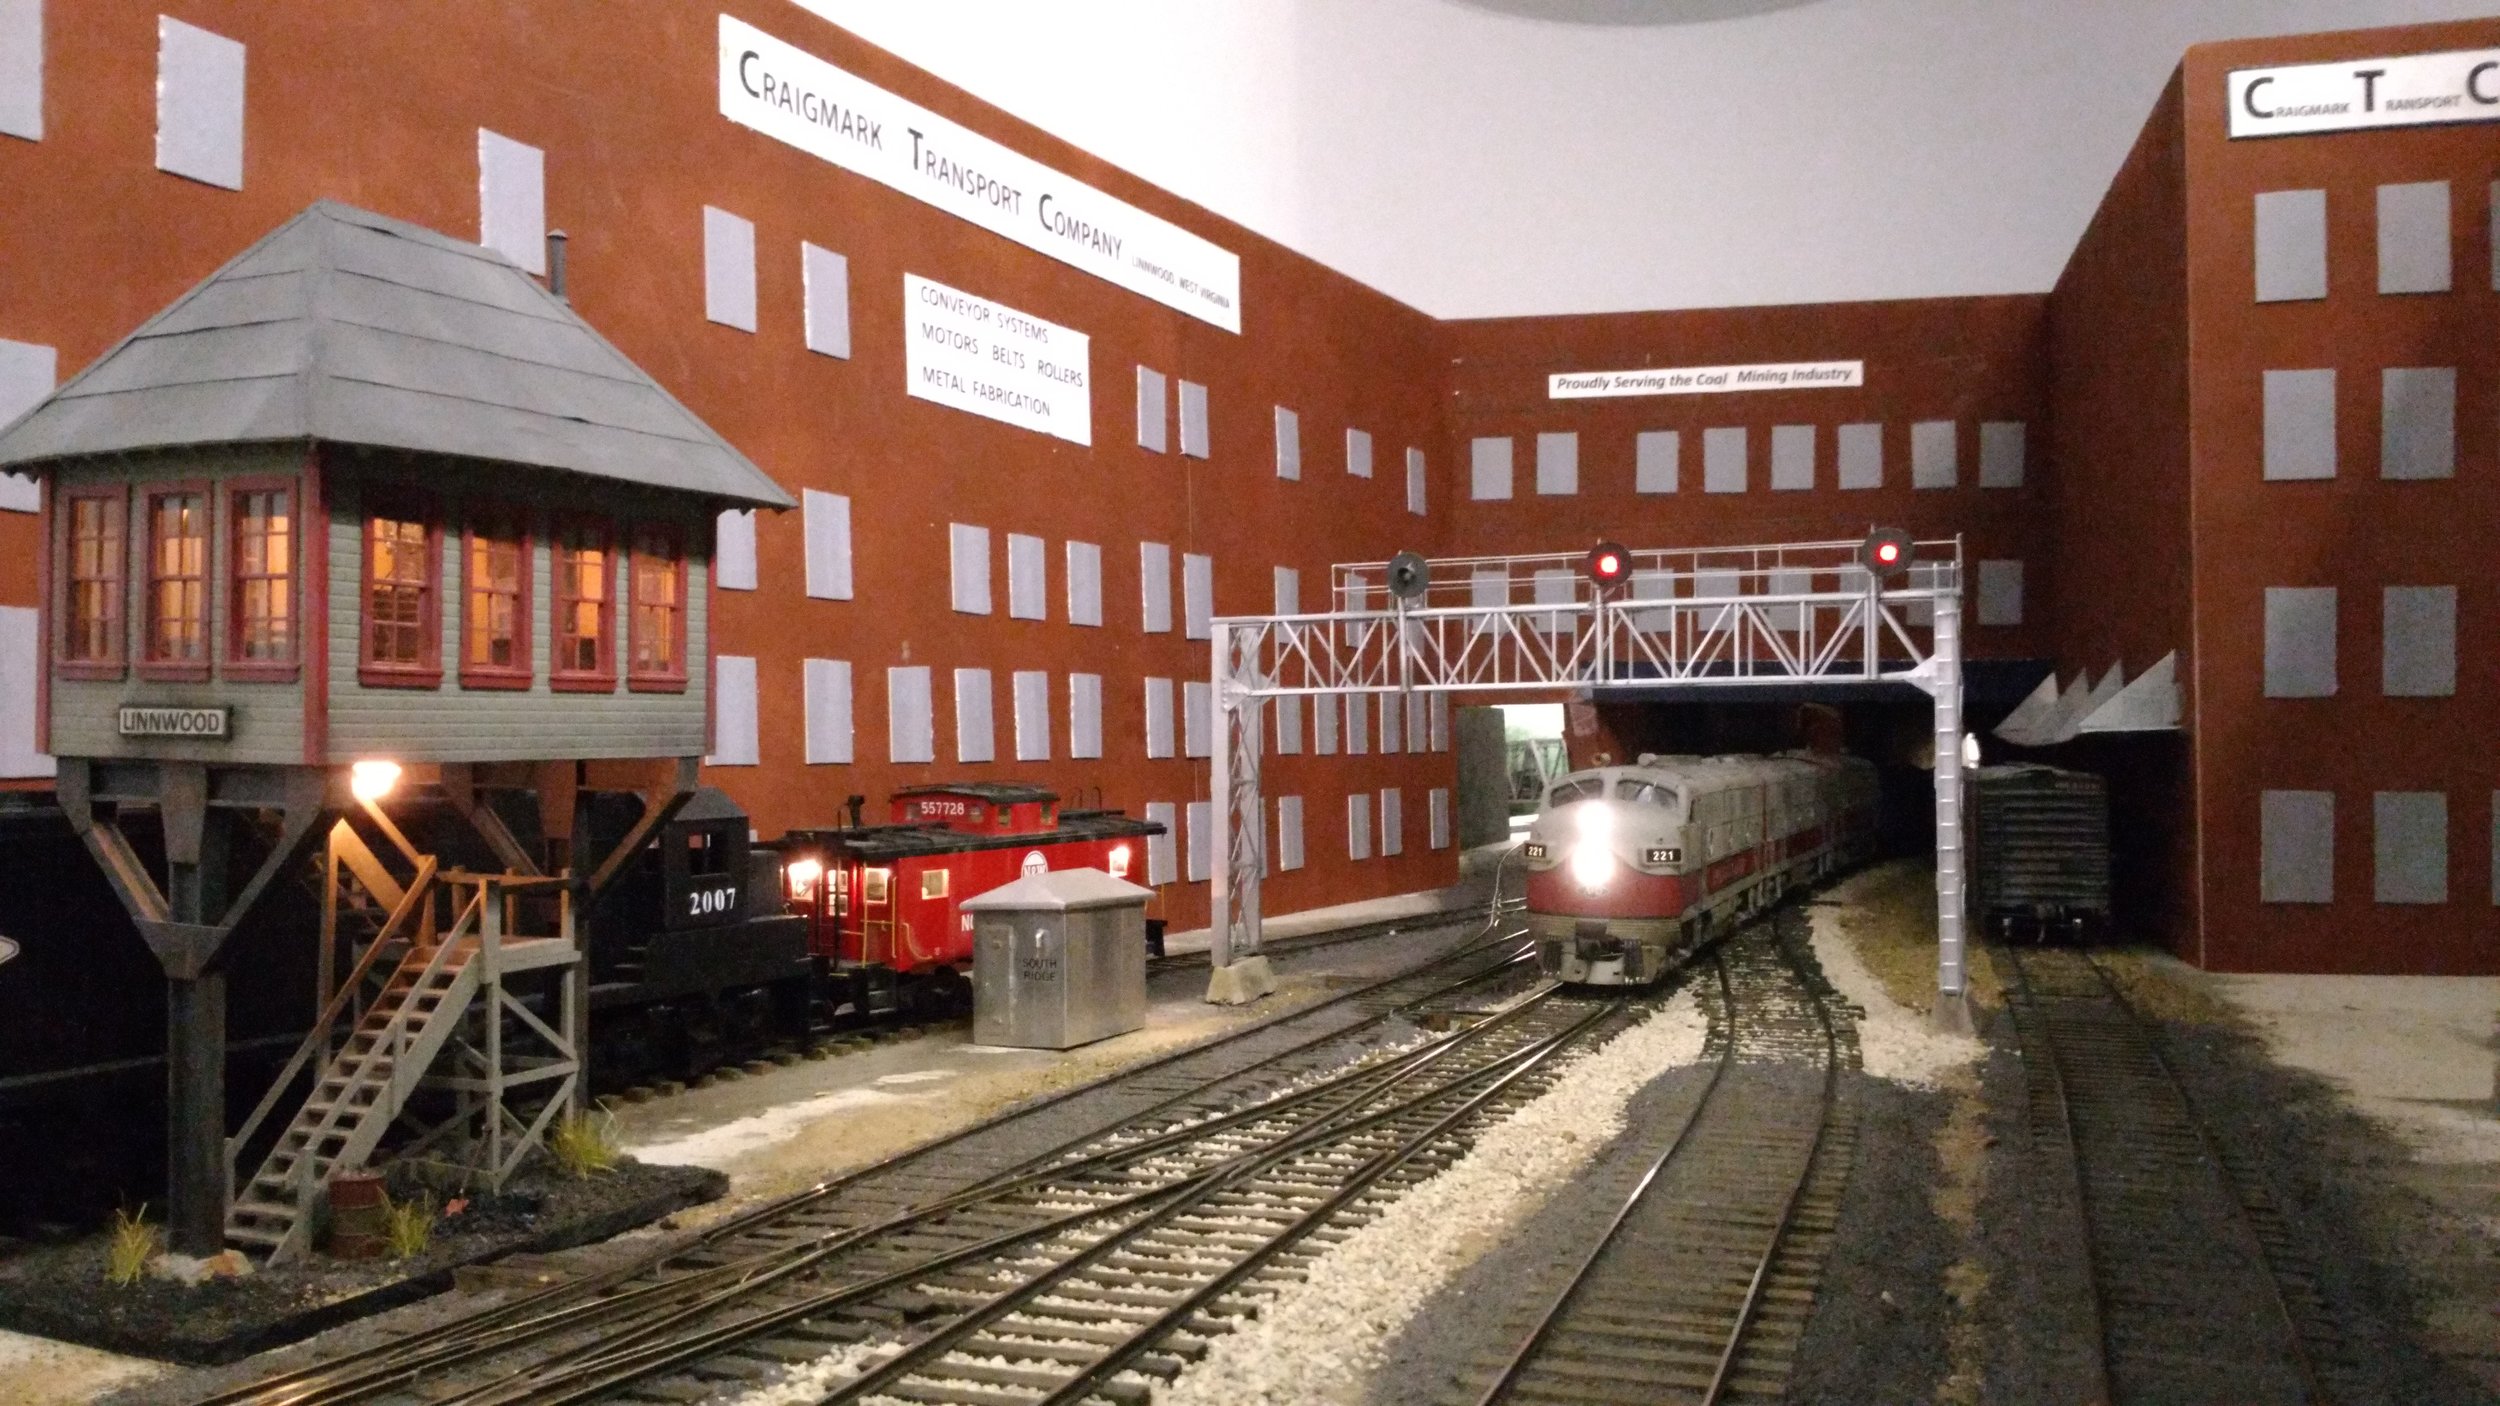
Finally. The train enters Linnwood, passing under a mock-up of Craigmark Transport Corp. (CTC :) This is the town where it's always raining,...and lightening, thanks again to the ingenuity of Bob Sobol.
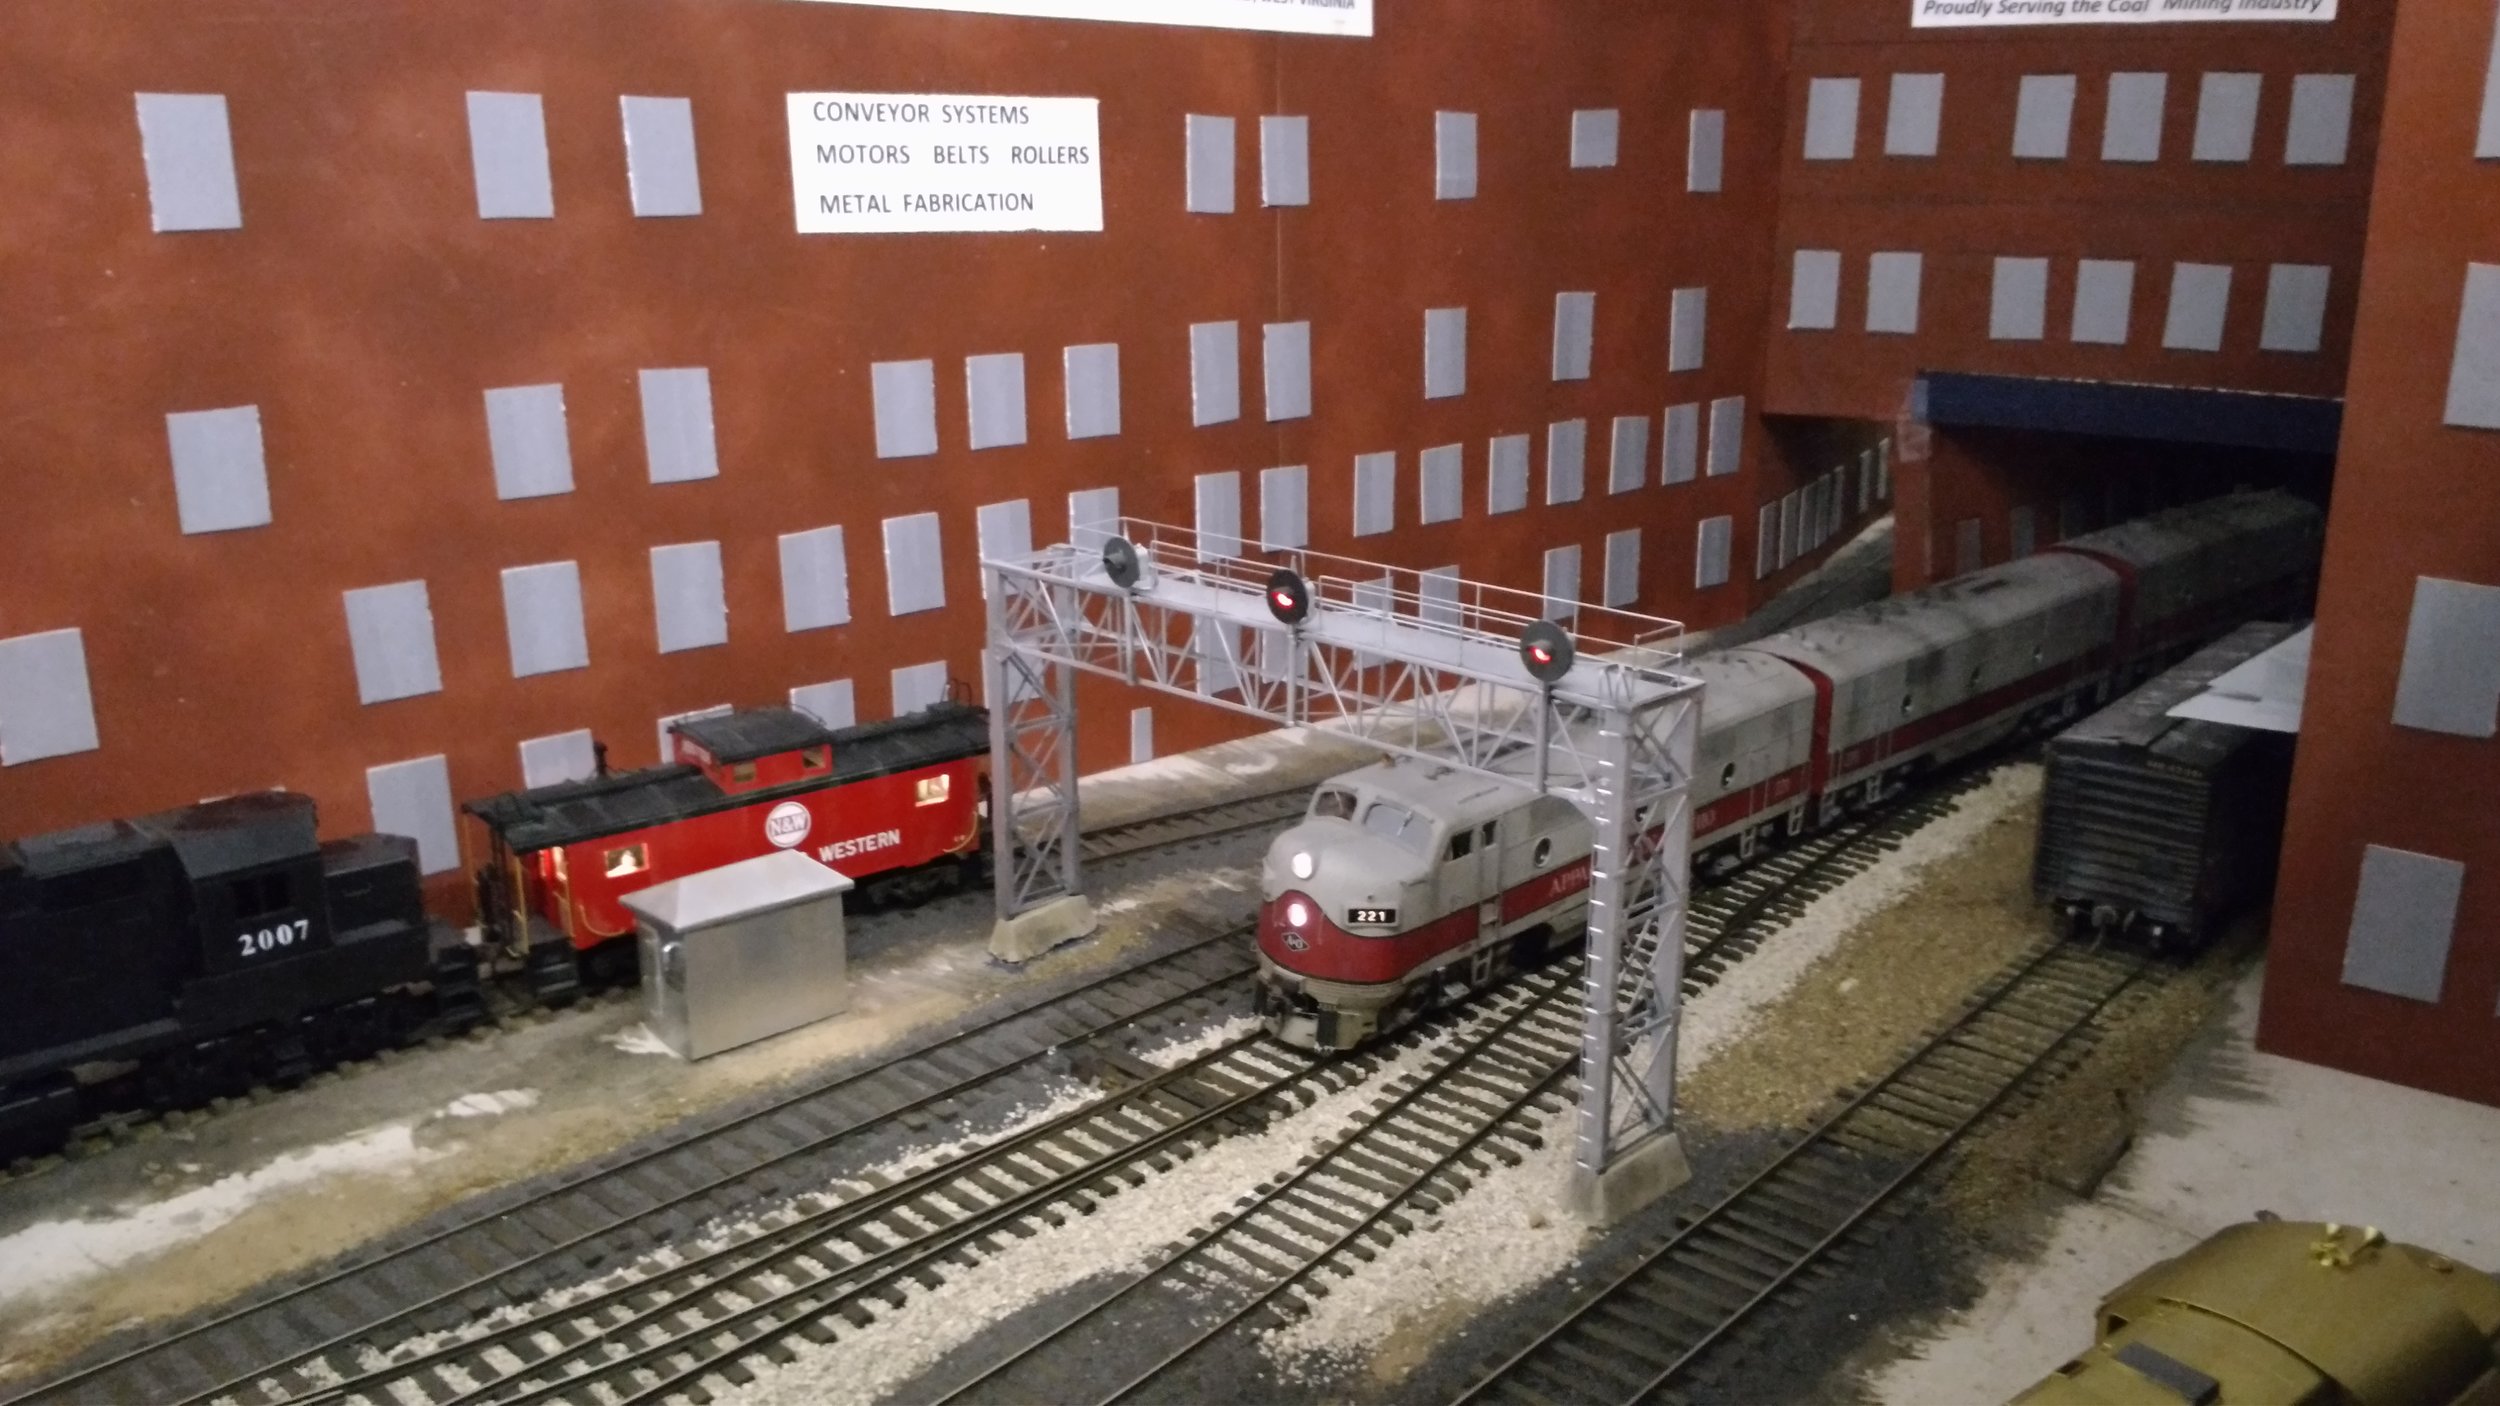
Here in Linnwood we observe that while one end of the main was the Franklin Tunnel portal, the other end exits under a walkway of Craigmark. Yup. Another "wormhole".
Similarly, the start of the Kayford Branch is through the "brick portal" just above the B unit. The far left signal head will be controlled by the Kayford Dispatcher to admit trains out of Linnwood yard and onto HIS railroad.
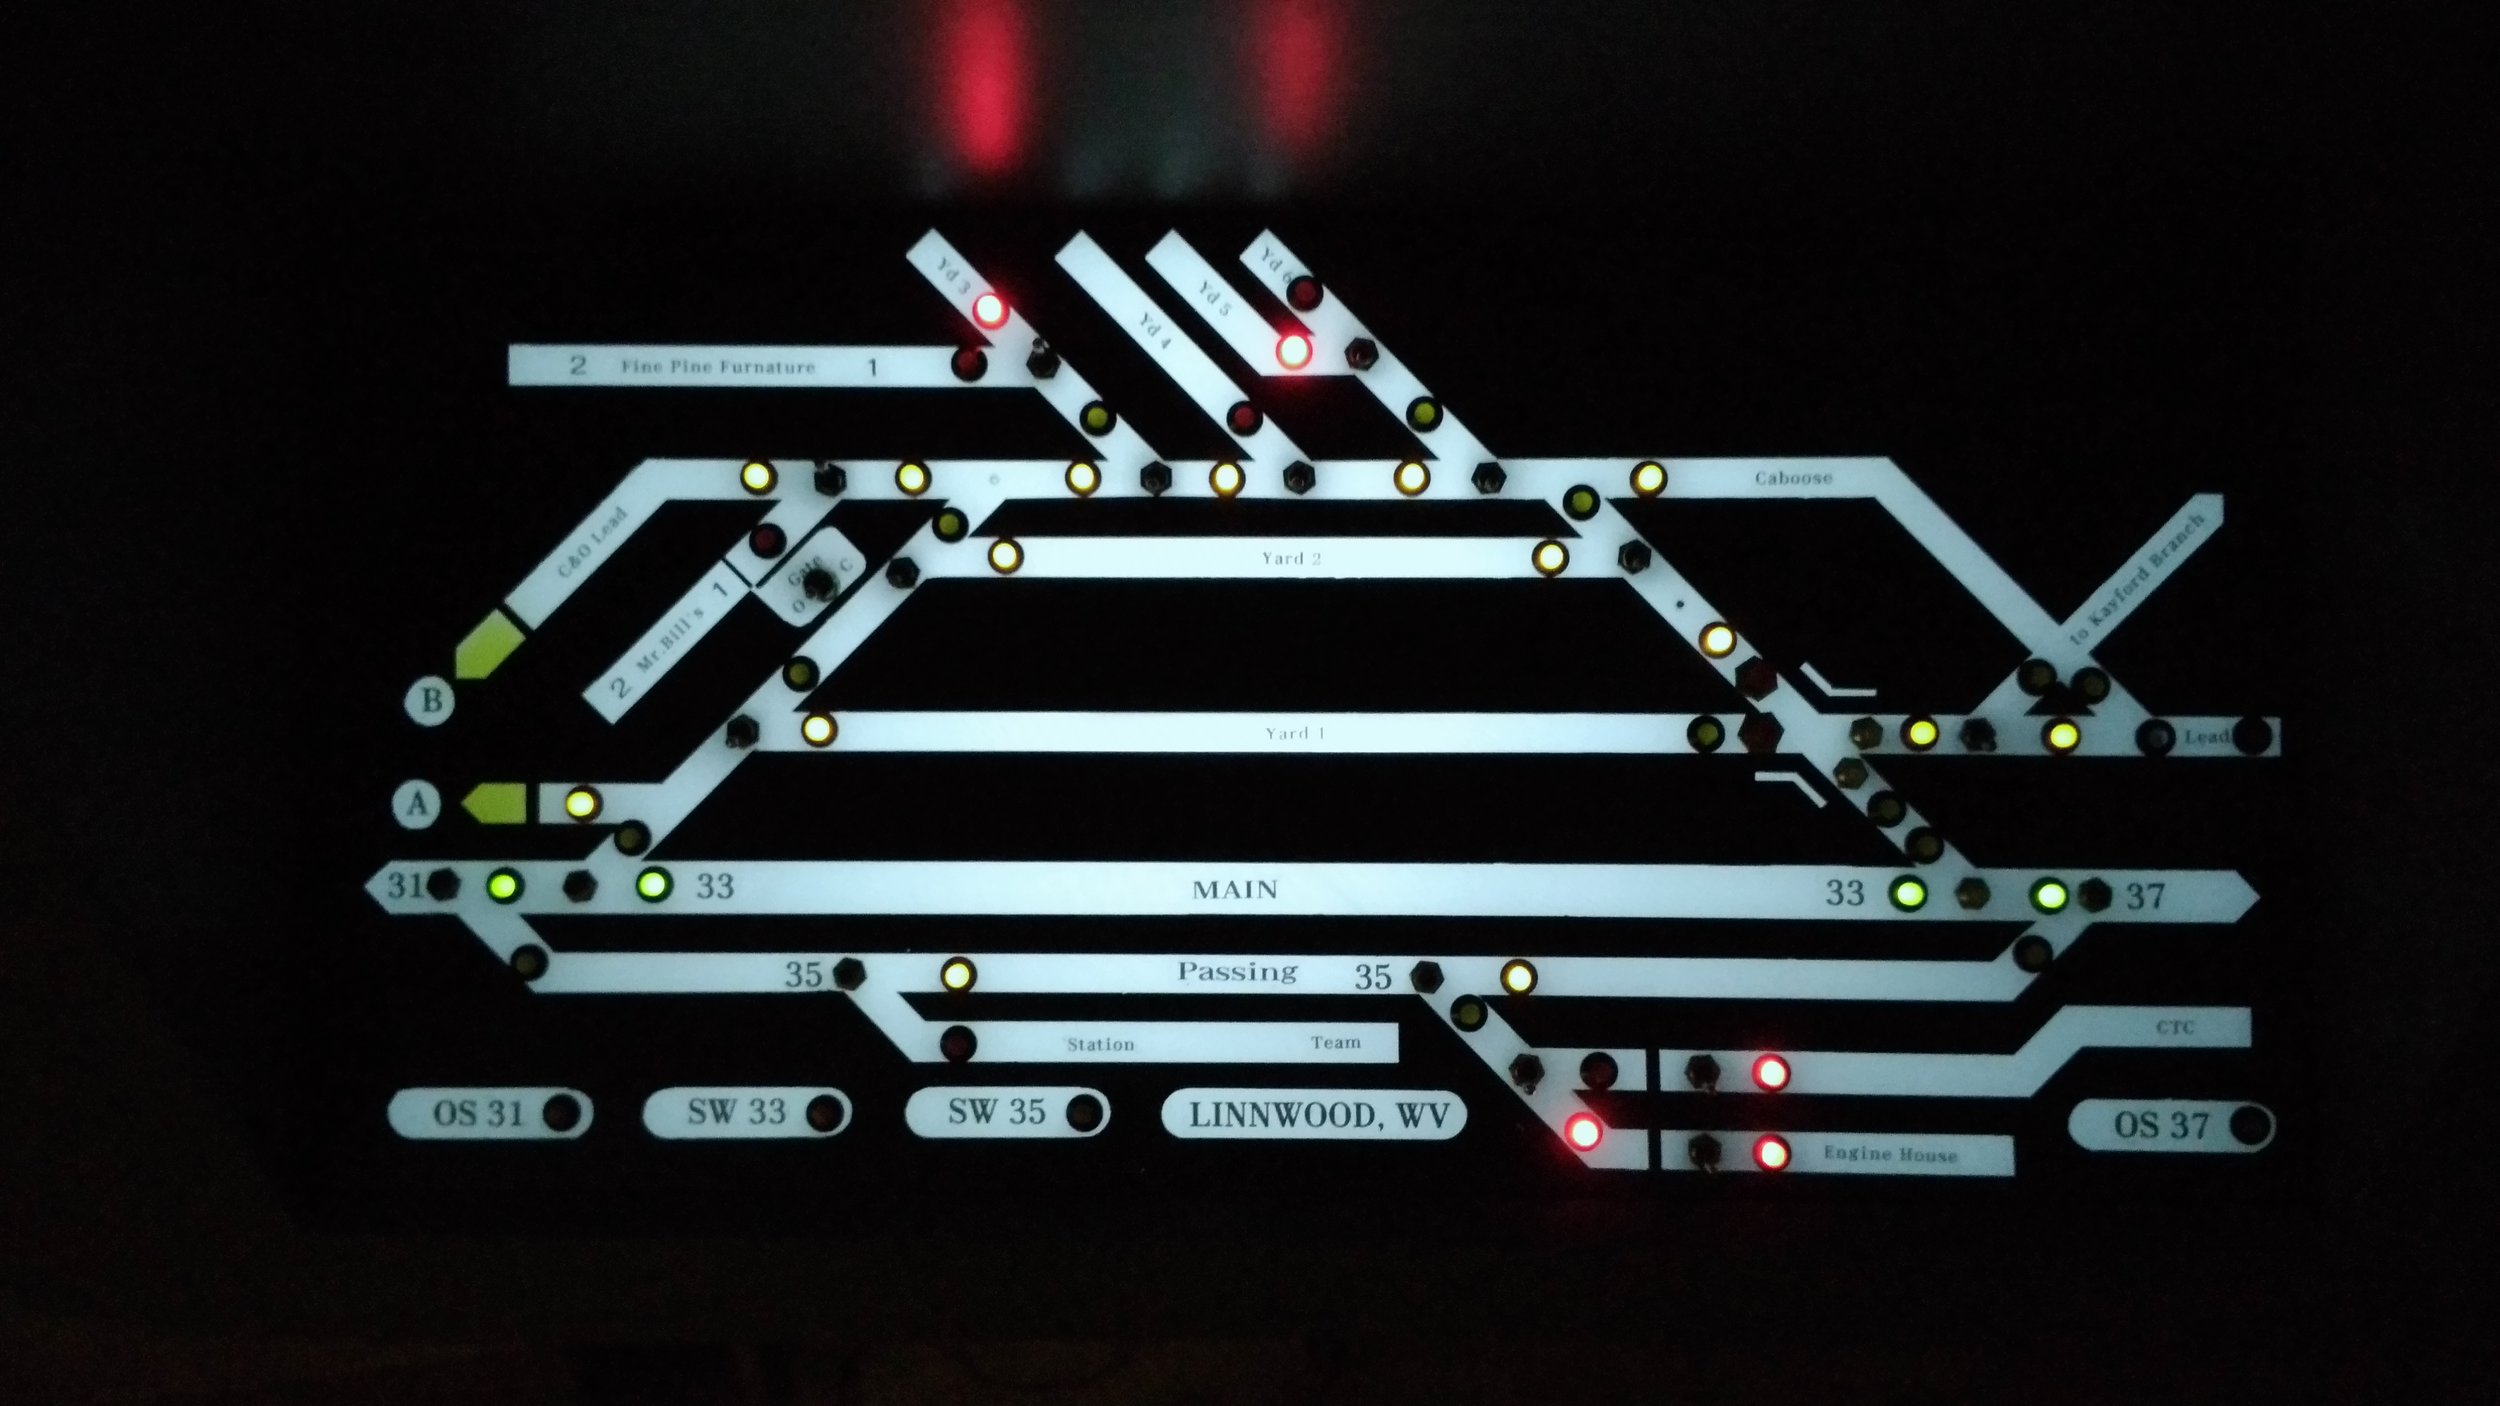
A glimpse of the Linnwood panel. The bottom row of OS and SW LEDs show how interconnected this town is with the CTC.
The "A" and "B" at far left are the connection points of this panel with the adjacent C&O panel.
In the darkened, rainy atmosphere of Linnwood, and Ridge, the back-lit panels showcase their worth.
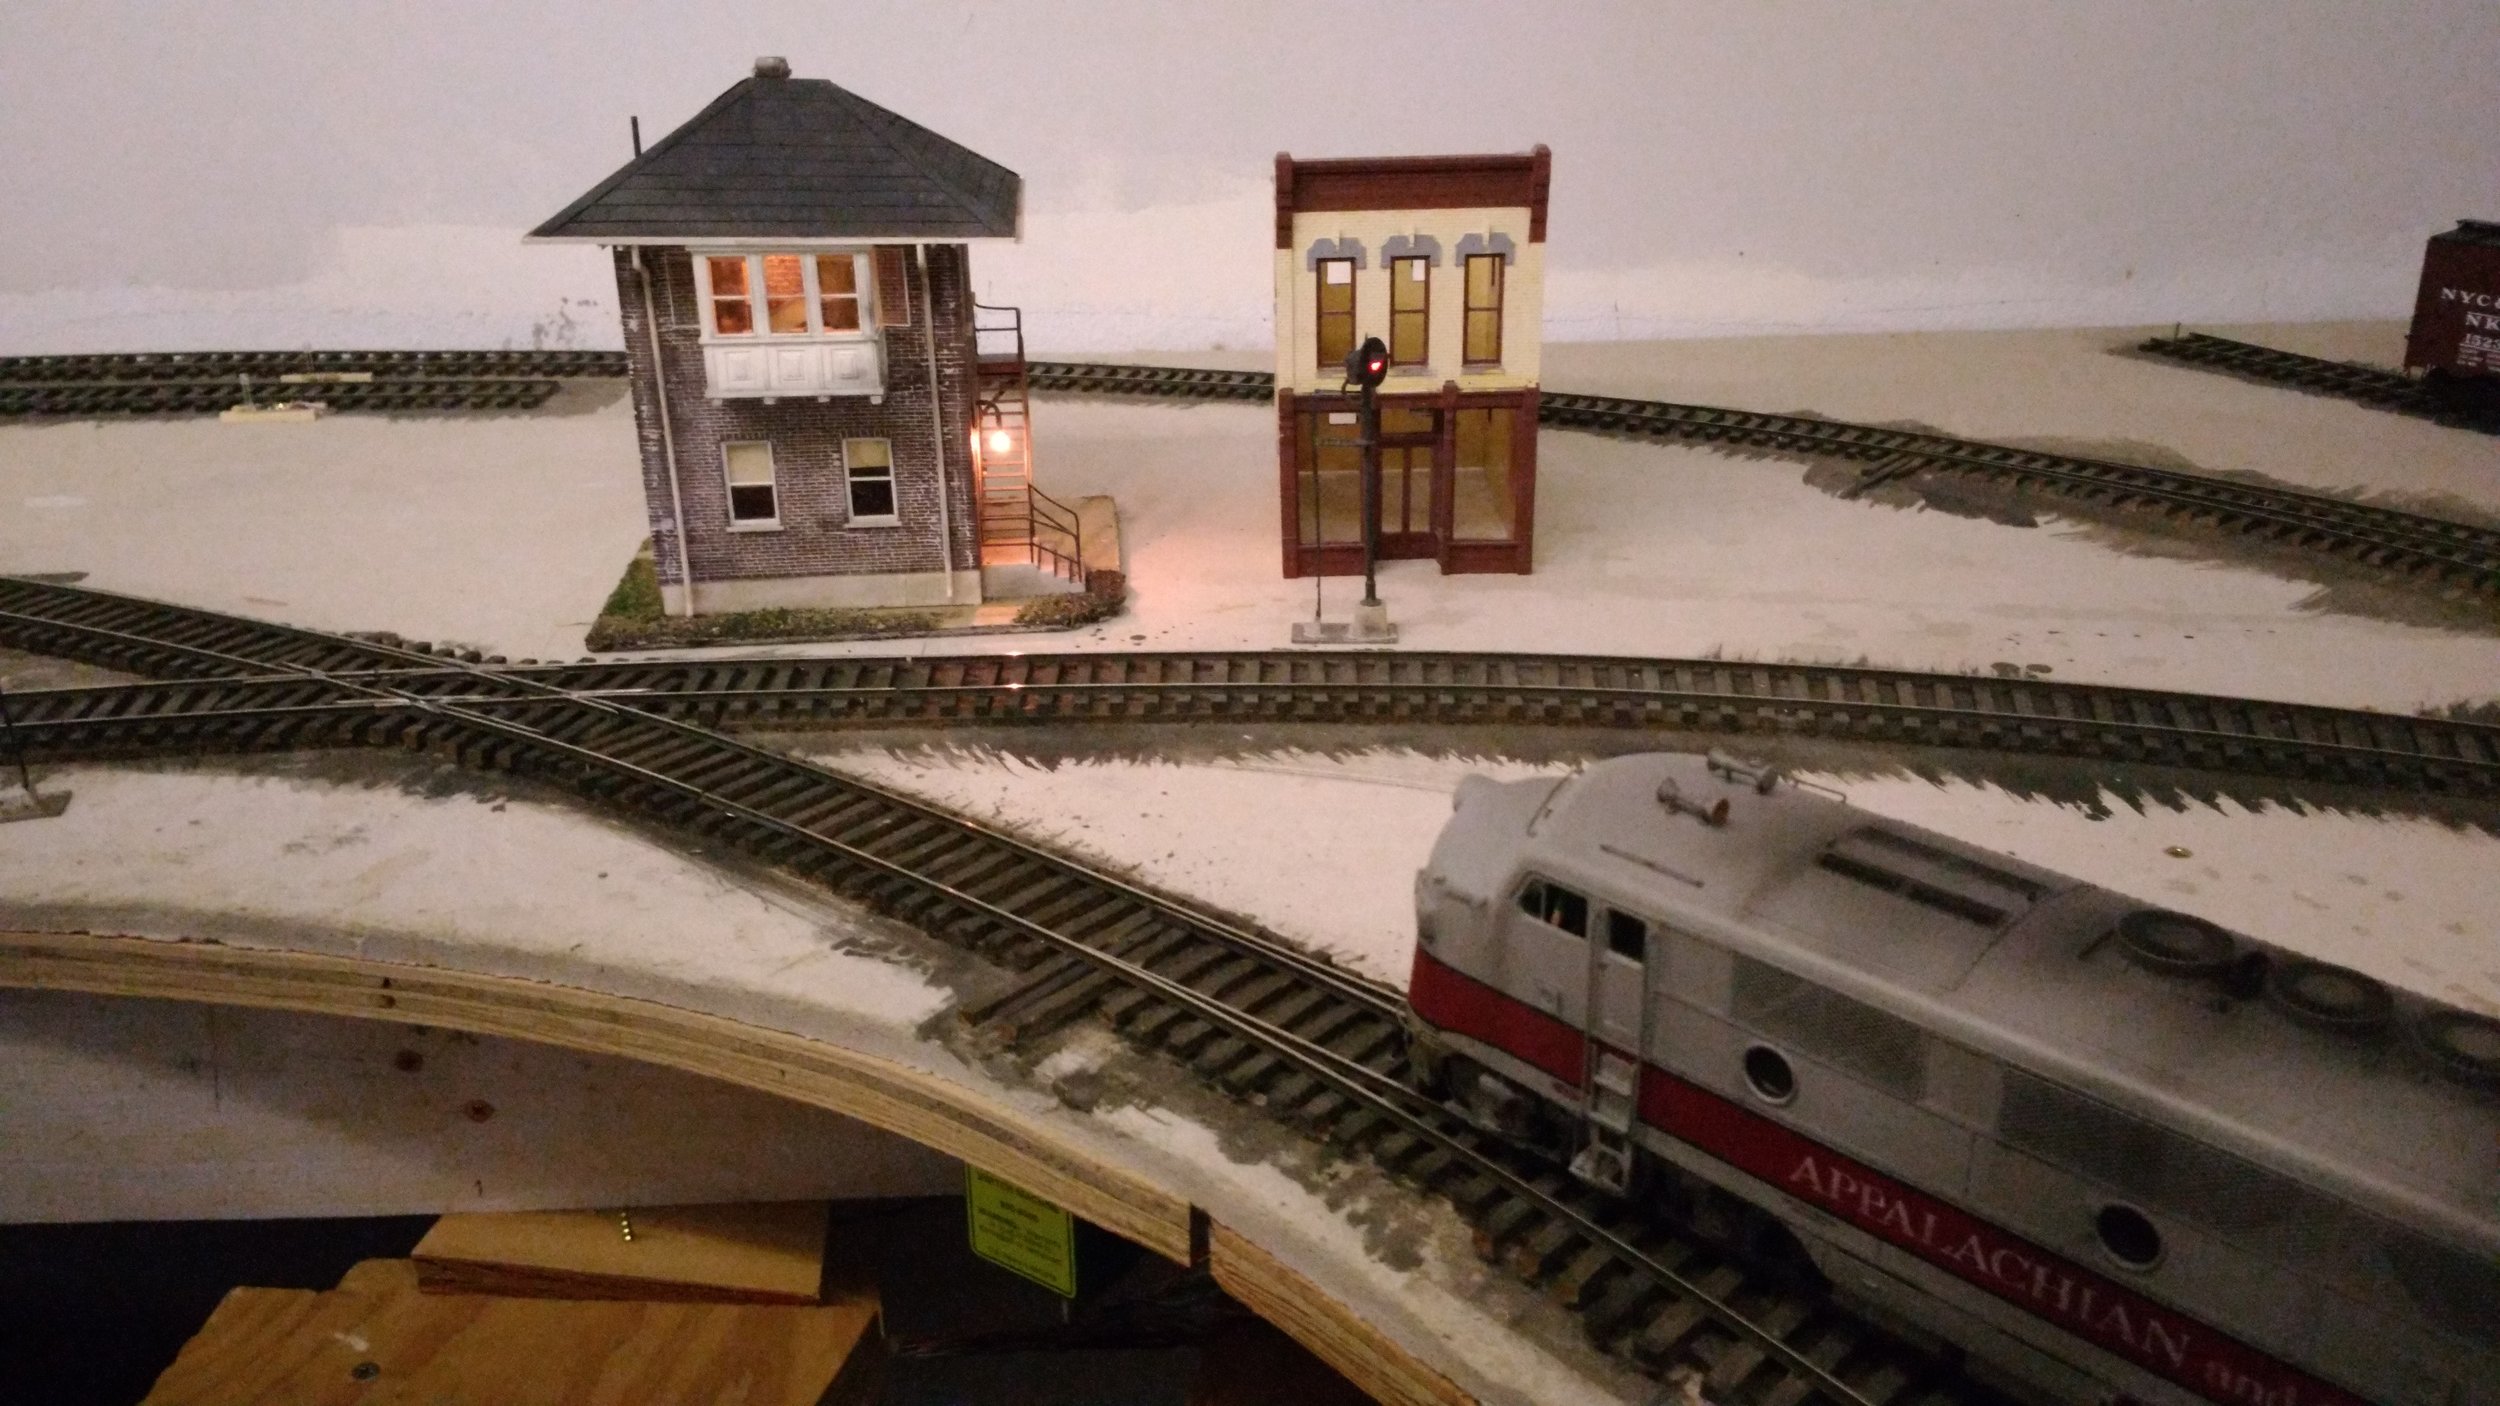
Linnwood shares the new "rain room" with Ridge. Here the A&O crosses the C&O's Huntington to Charleston mainline. RJ Cabin is a C&O "standard brick cabin."
Two staged C&O trains come into Ridge per session.
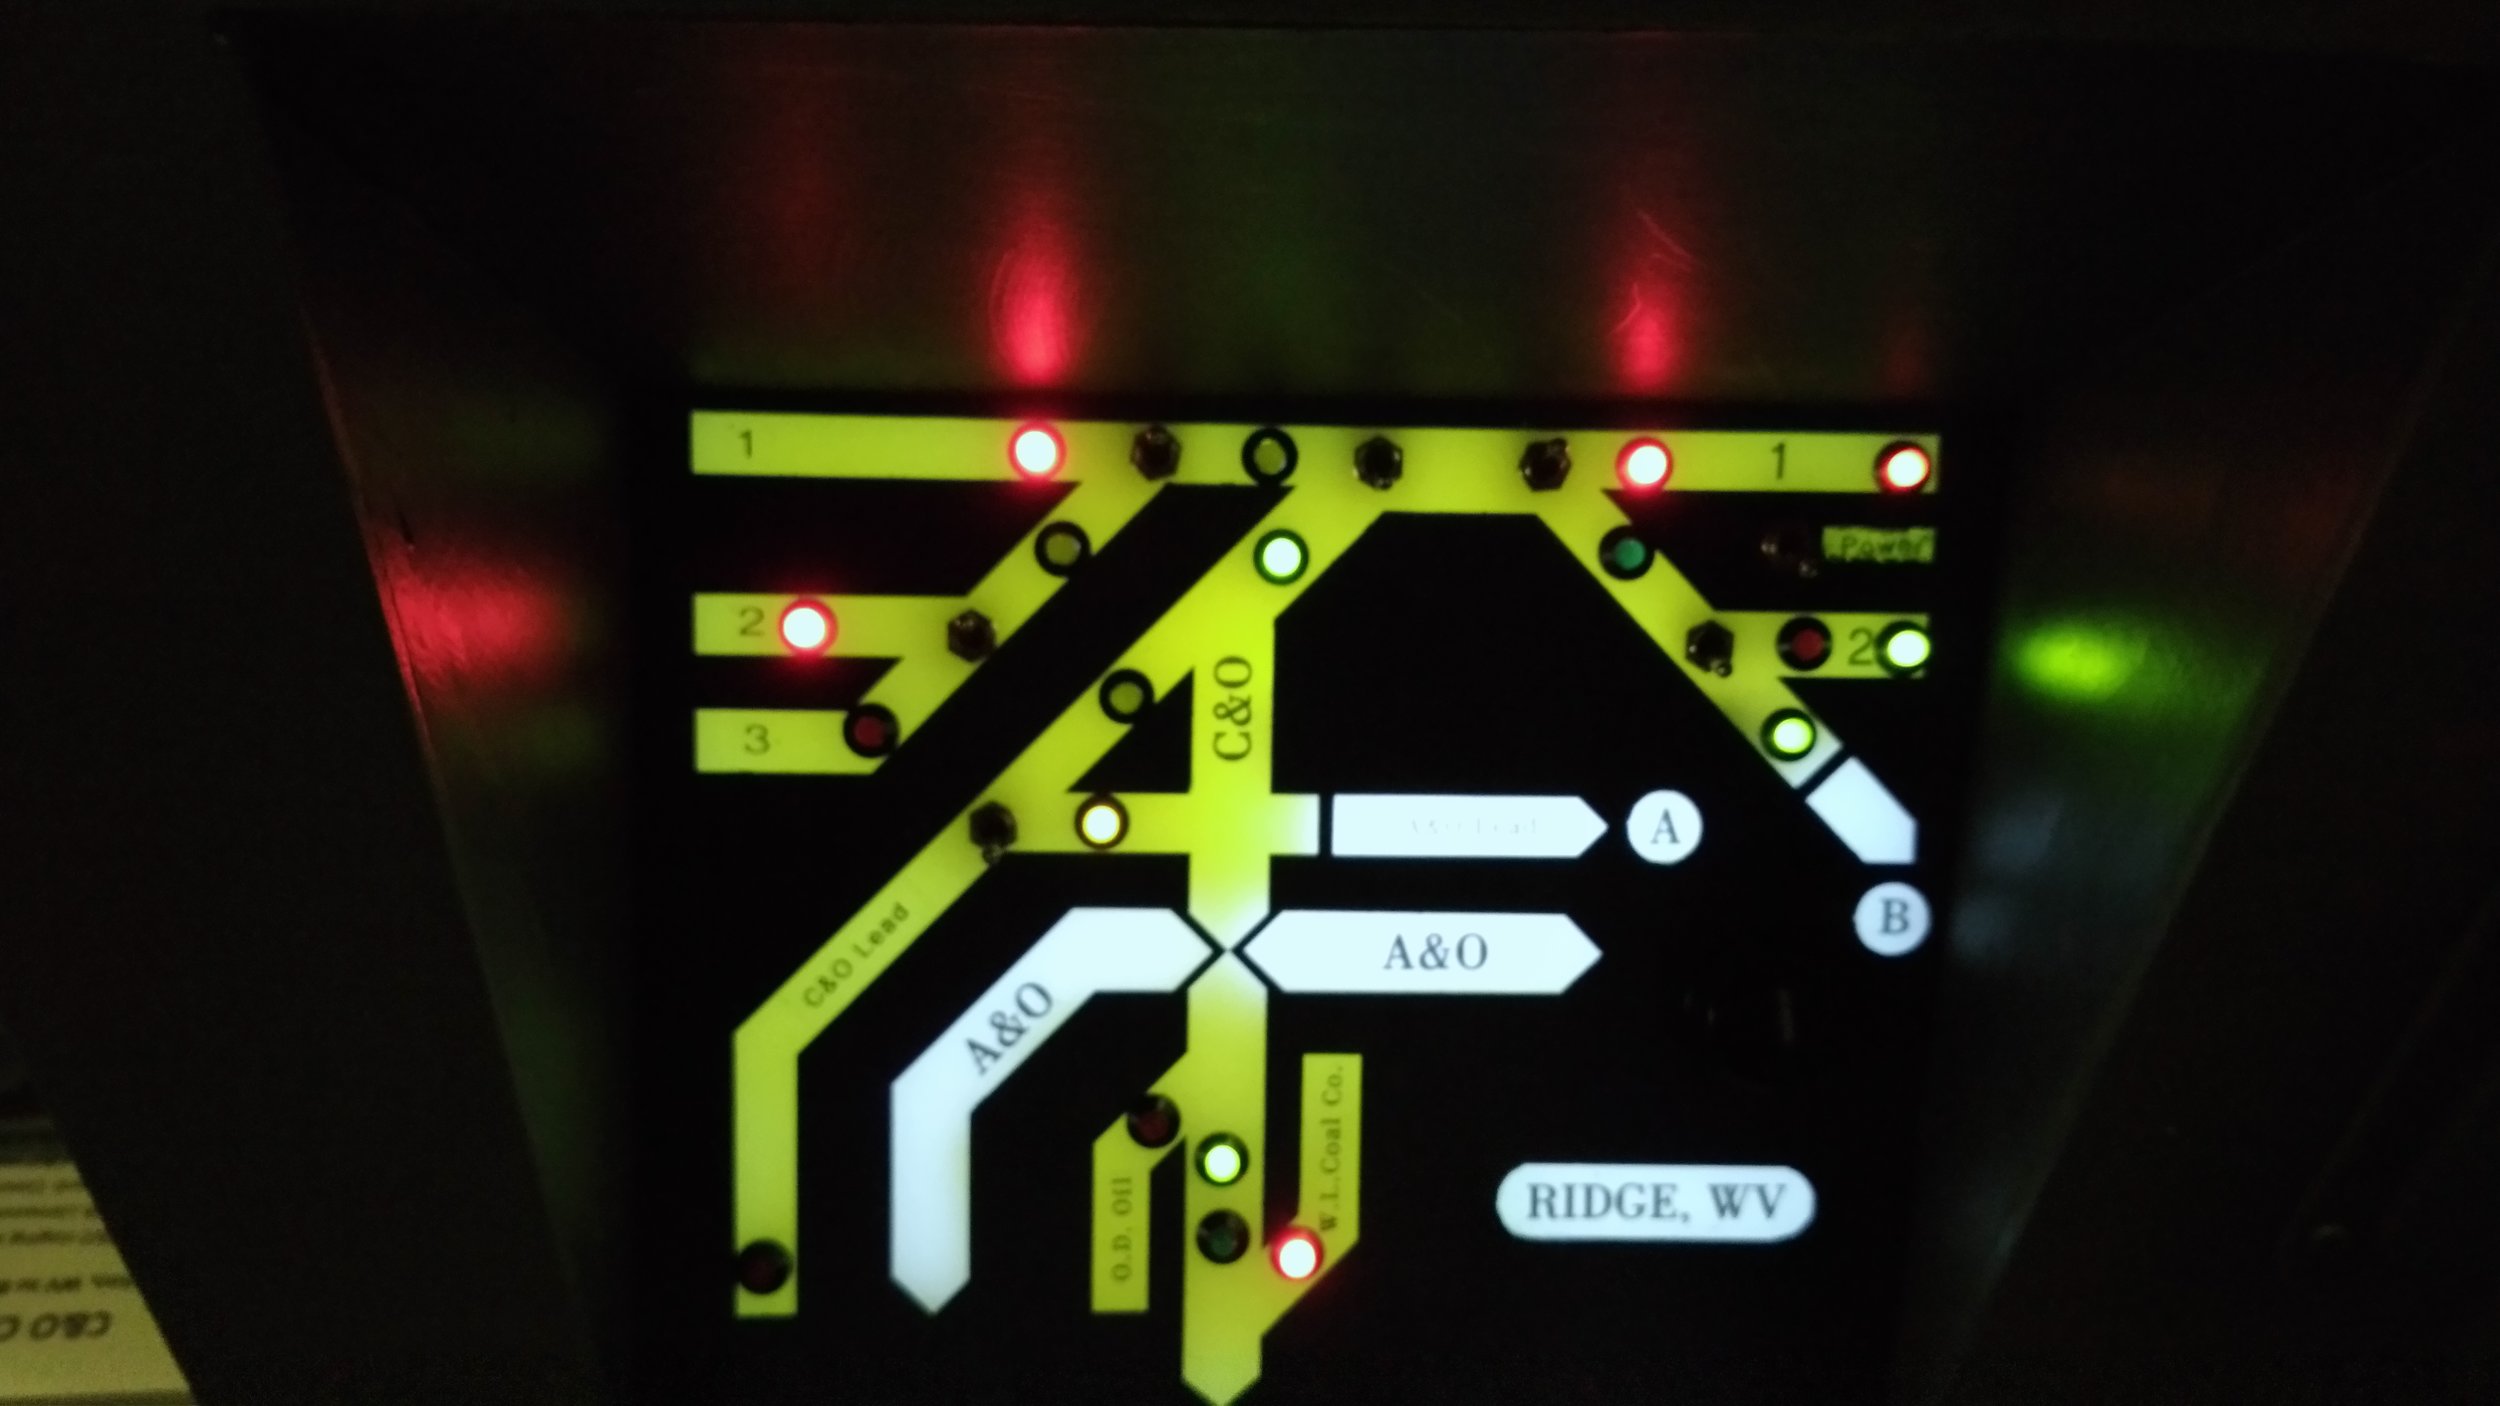
The C&O panel shows its 2 staging tracks, 3 industries (top left 1-3 are the Blue Ridge Brick and Block), and two connection points ("A" and "B") with the A&O (see Linnwood panel for connection.)
The C&O Connector switch job is a challenge since it's the "guest" in the busy Linnwood Yard.
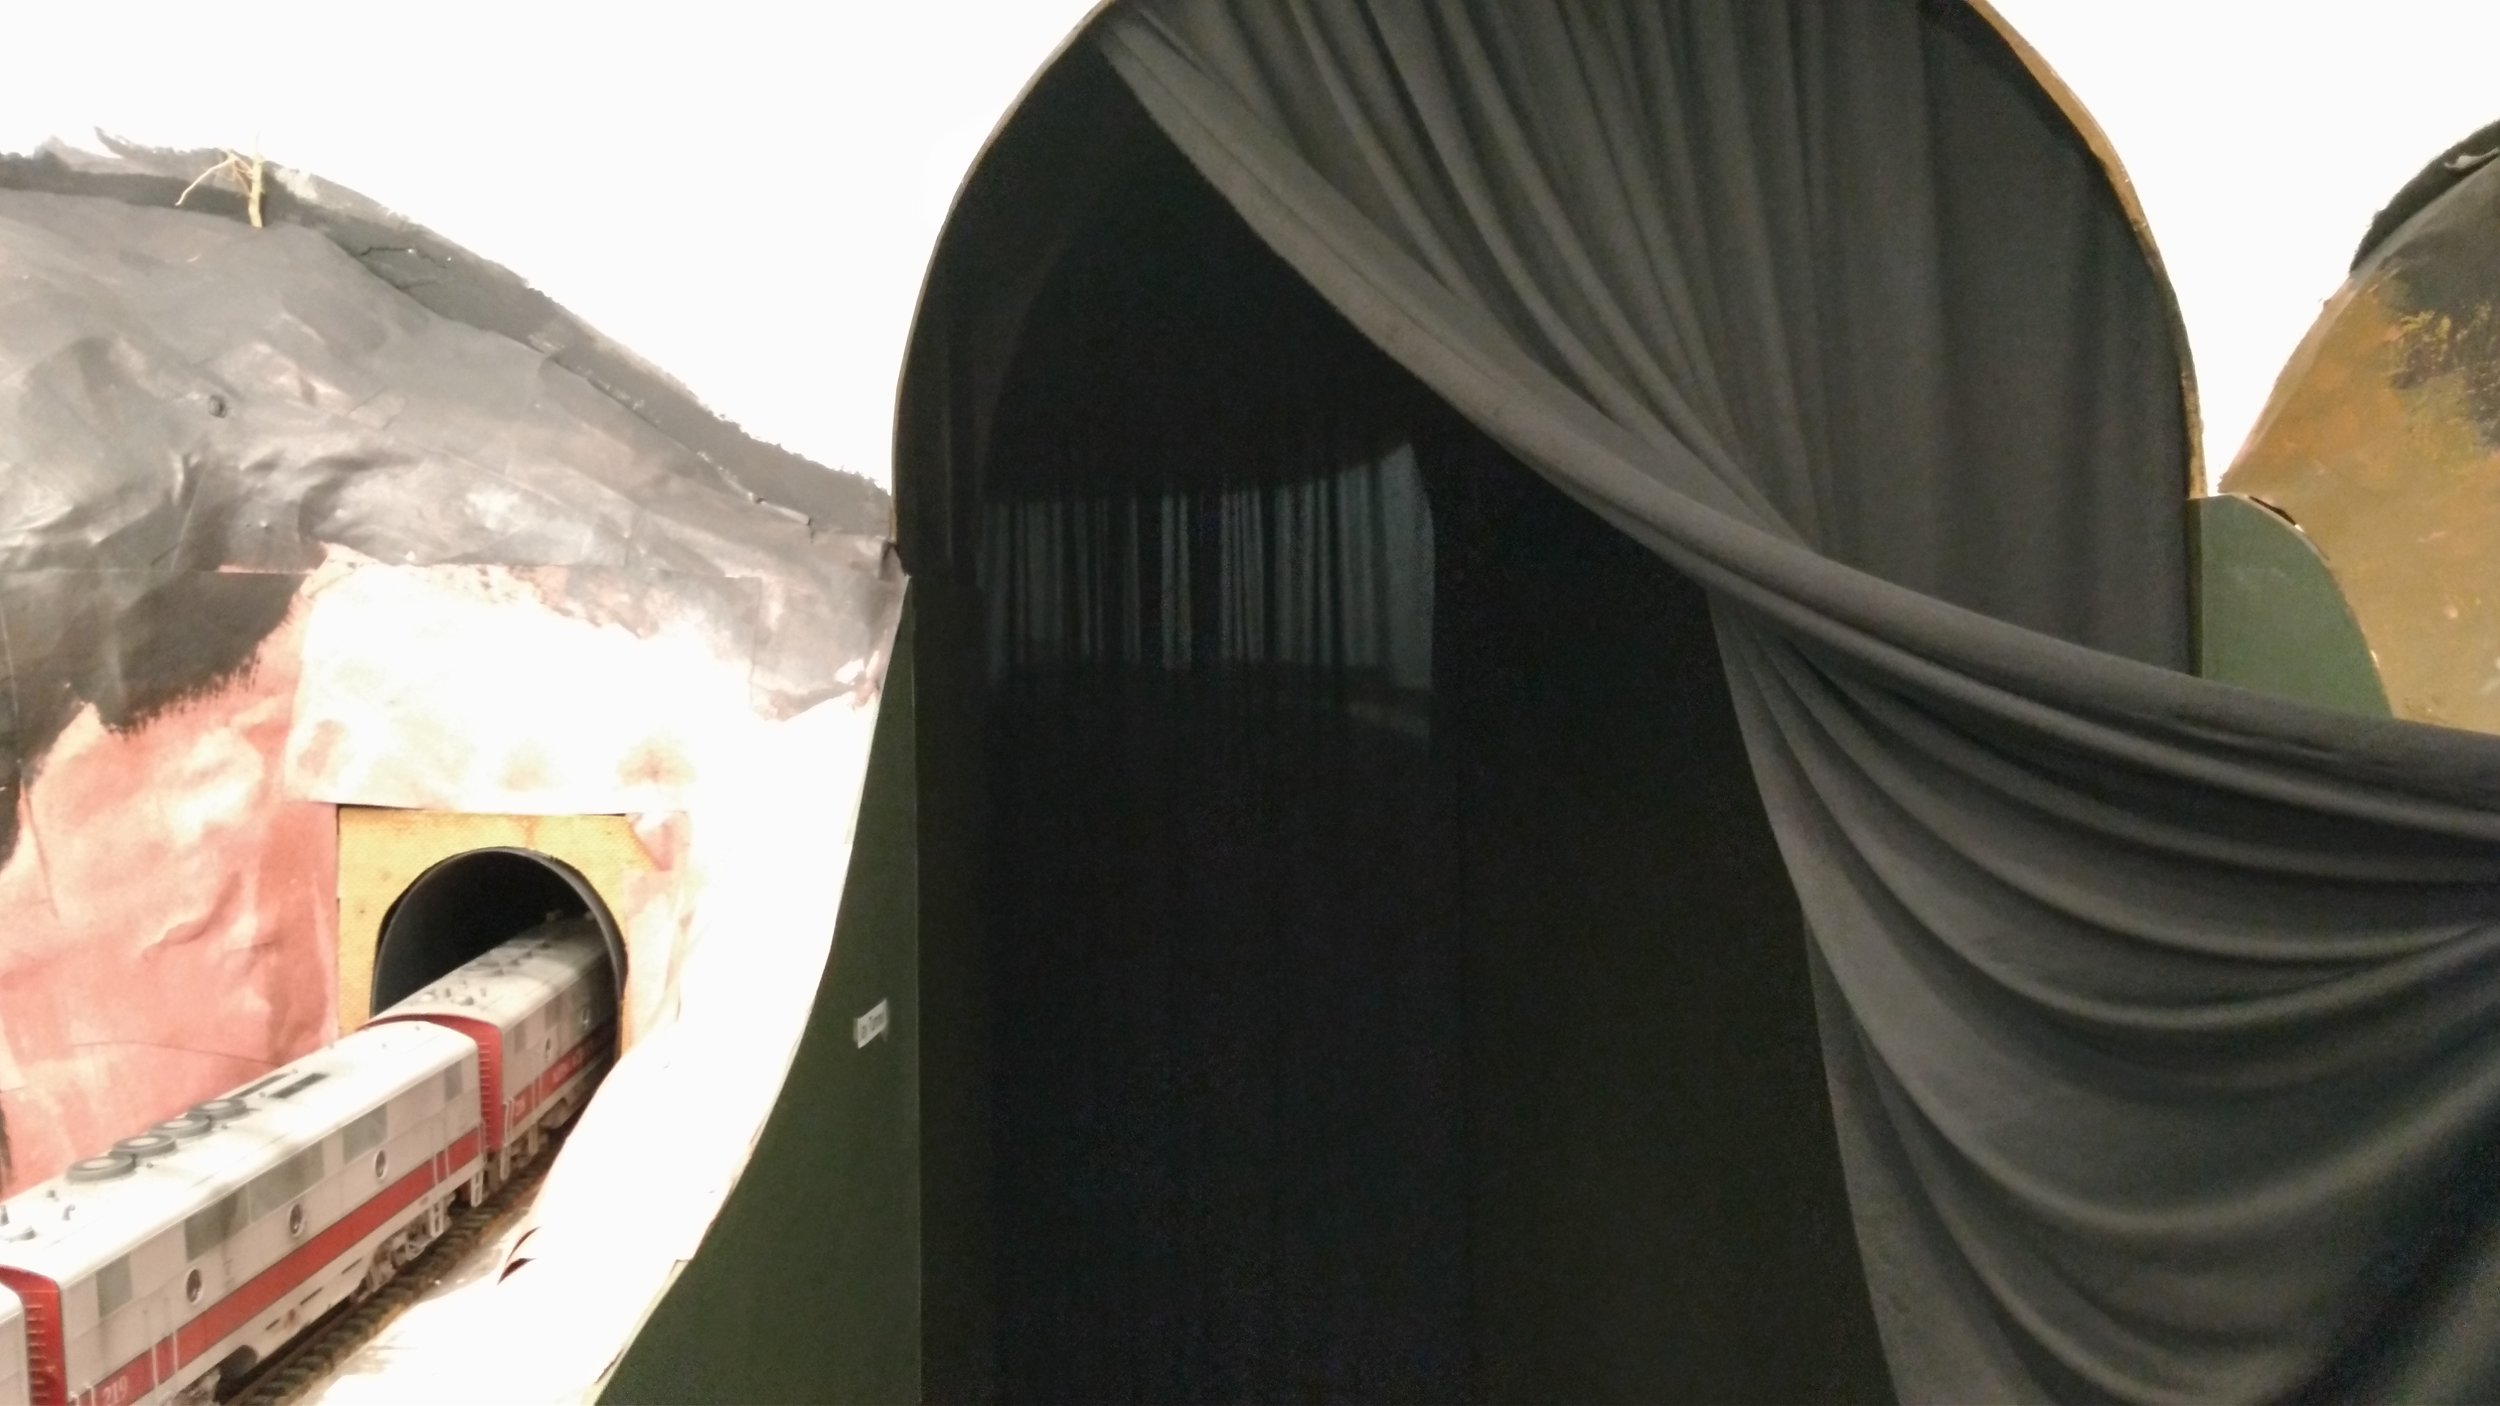
Leaving Ridge, our train continues northbound and exits Jay Tunnel at Jay.
To help with light pollution of the darkened rain room, a pair of curtains hang at either end of the dog-legged 5' operator tunnel. Since I model 1968, it's been suggested they should be replaced with hippie beads.
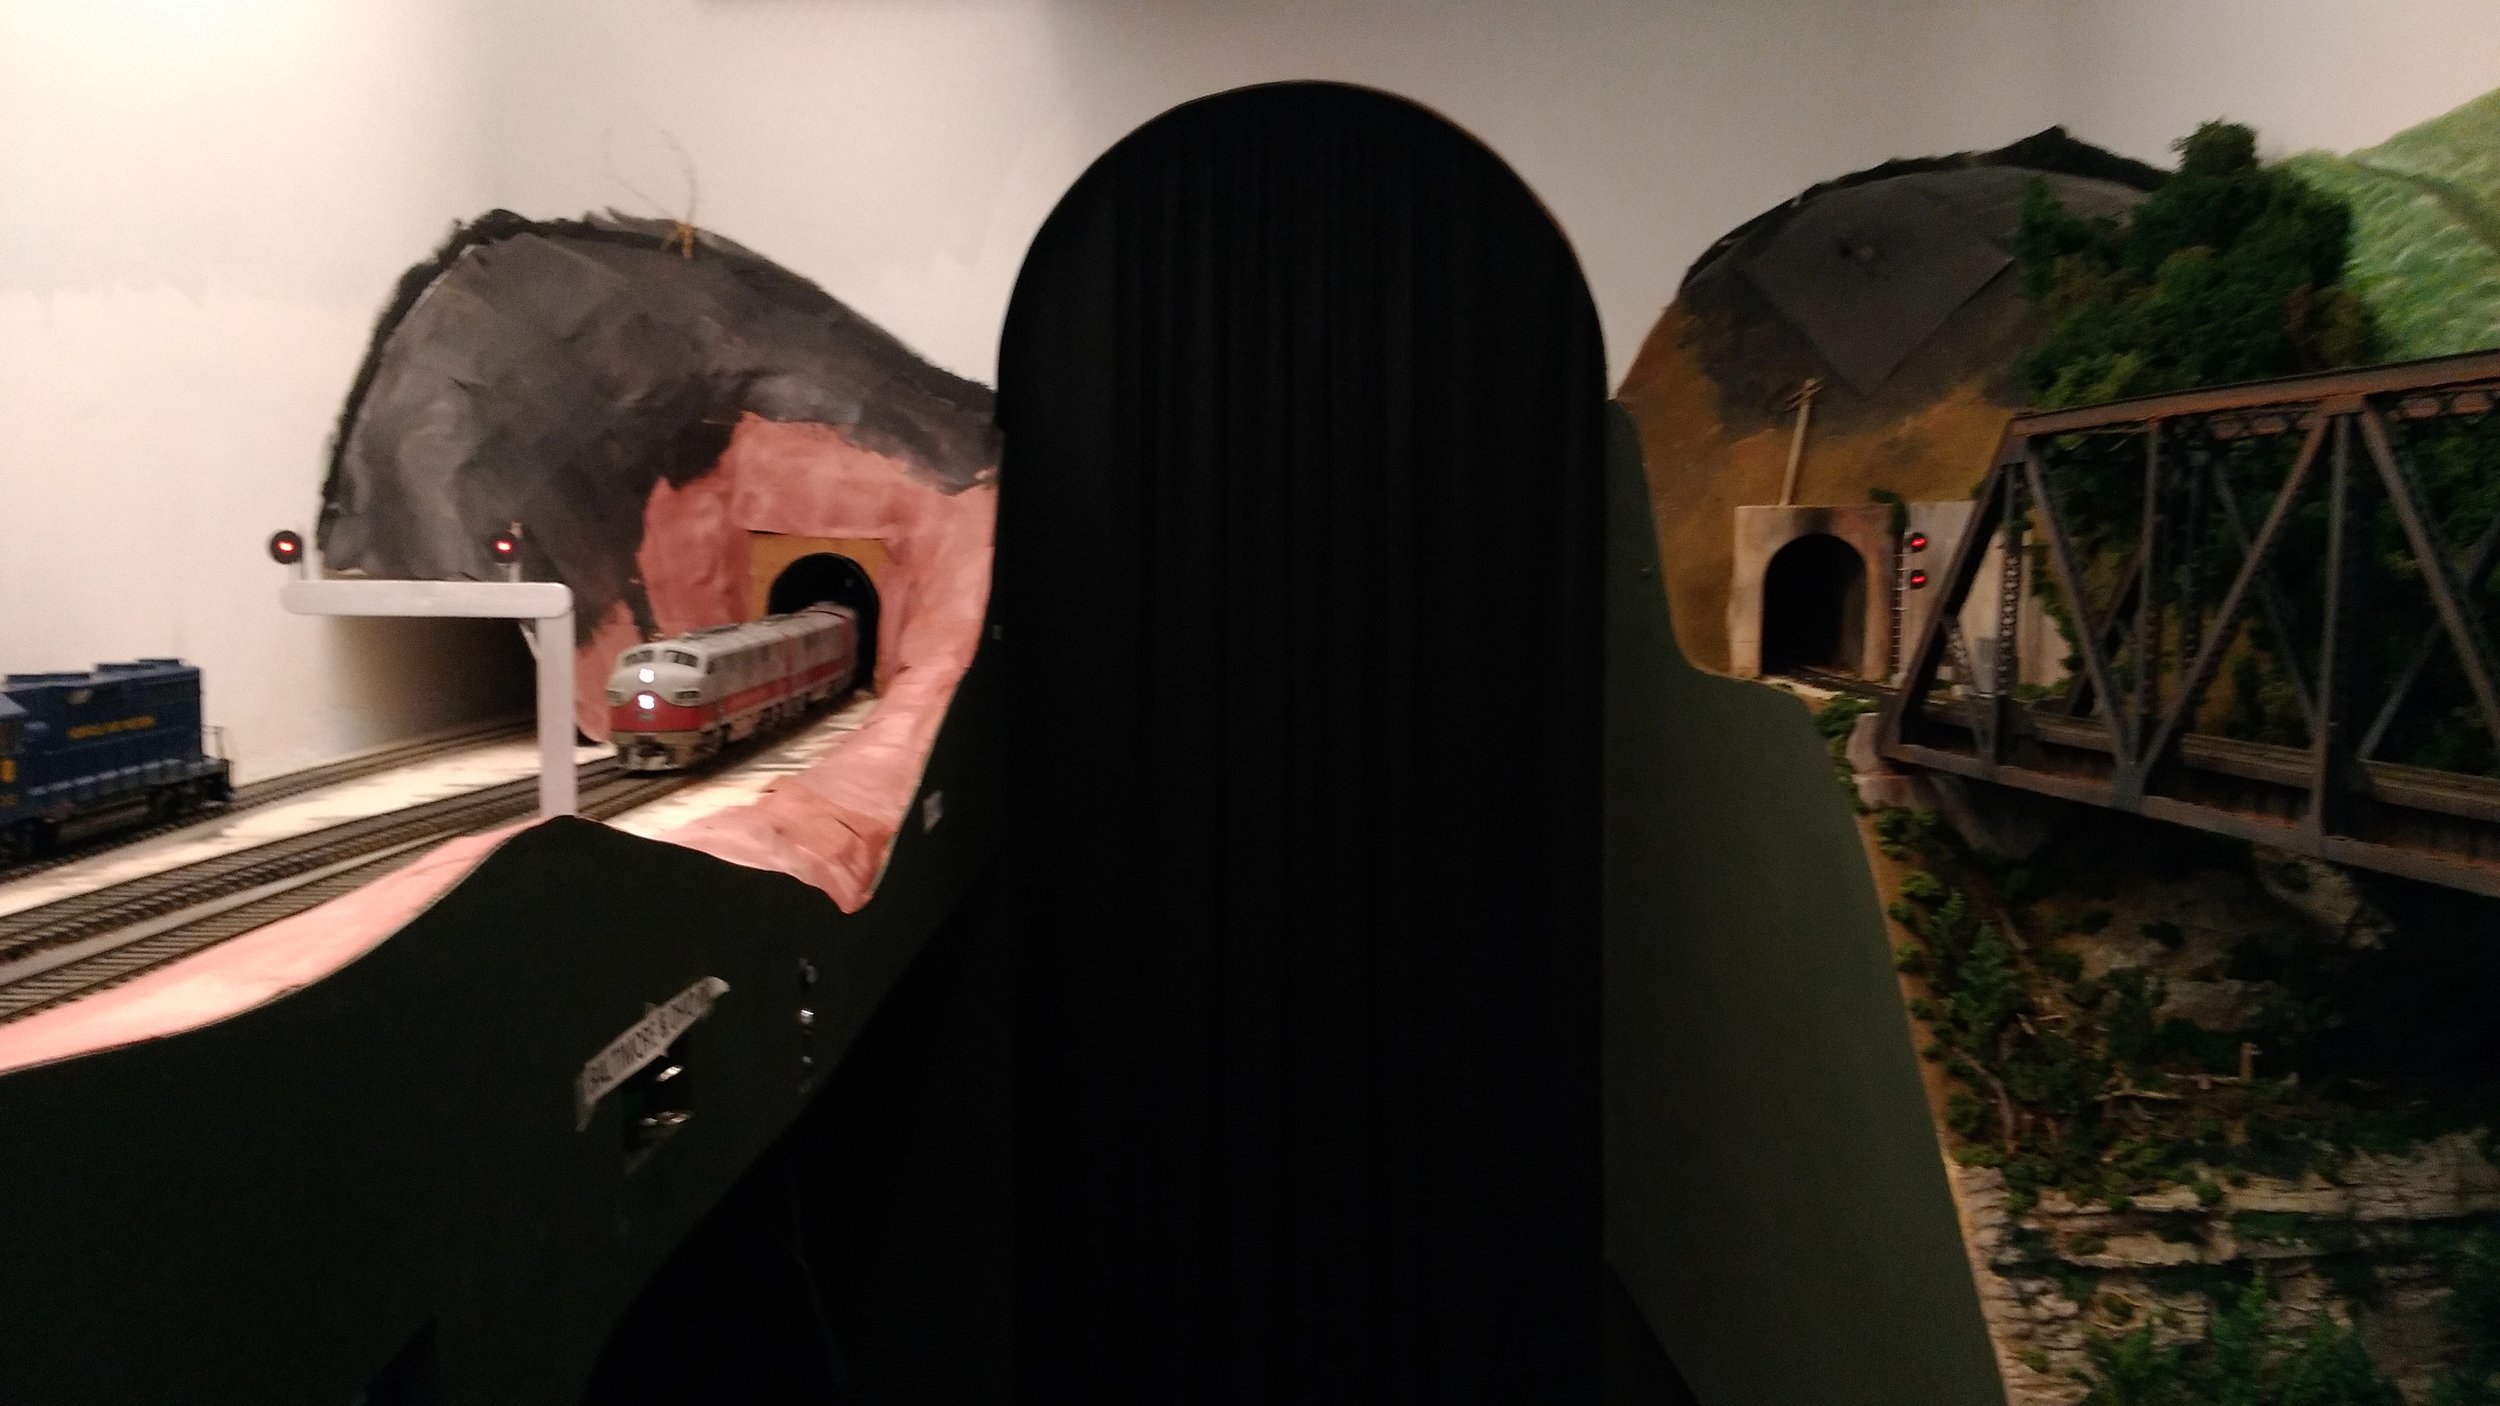
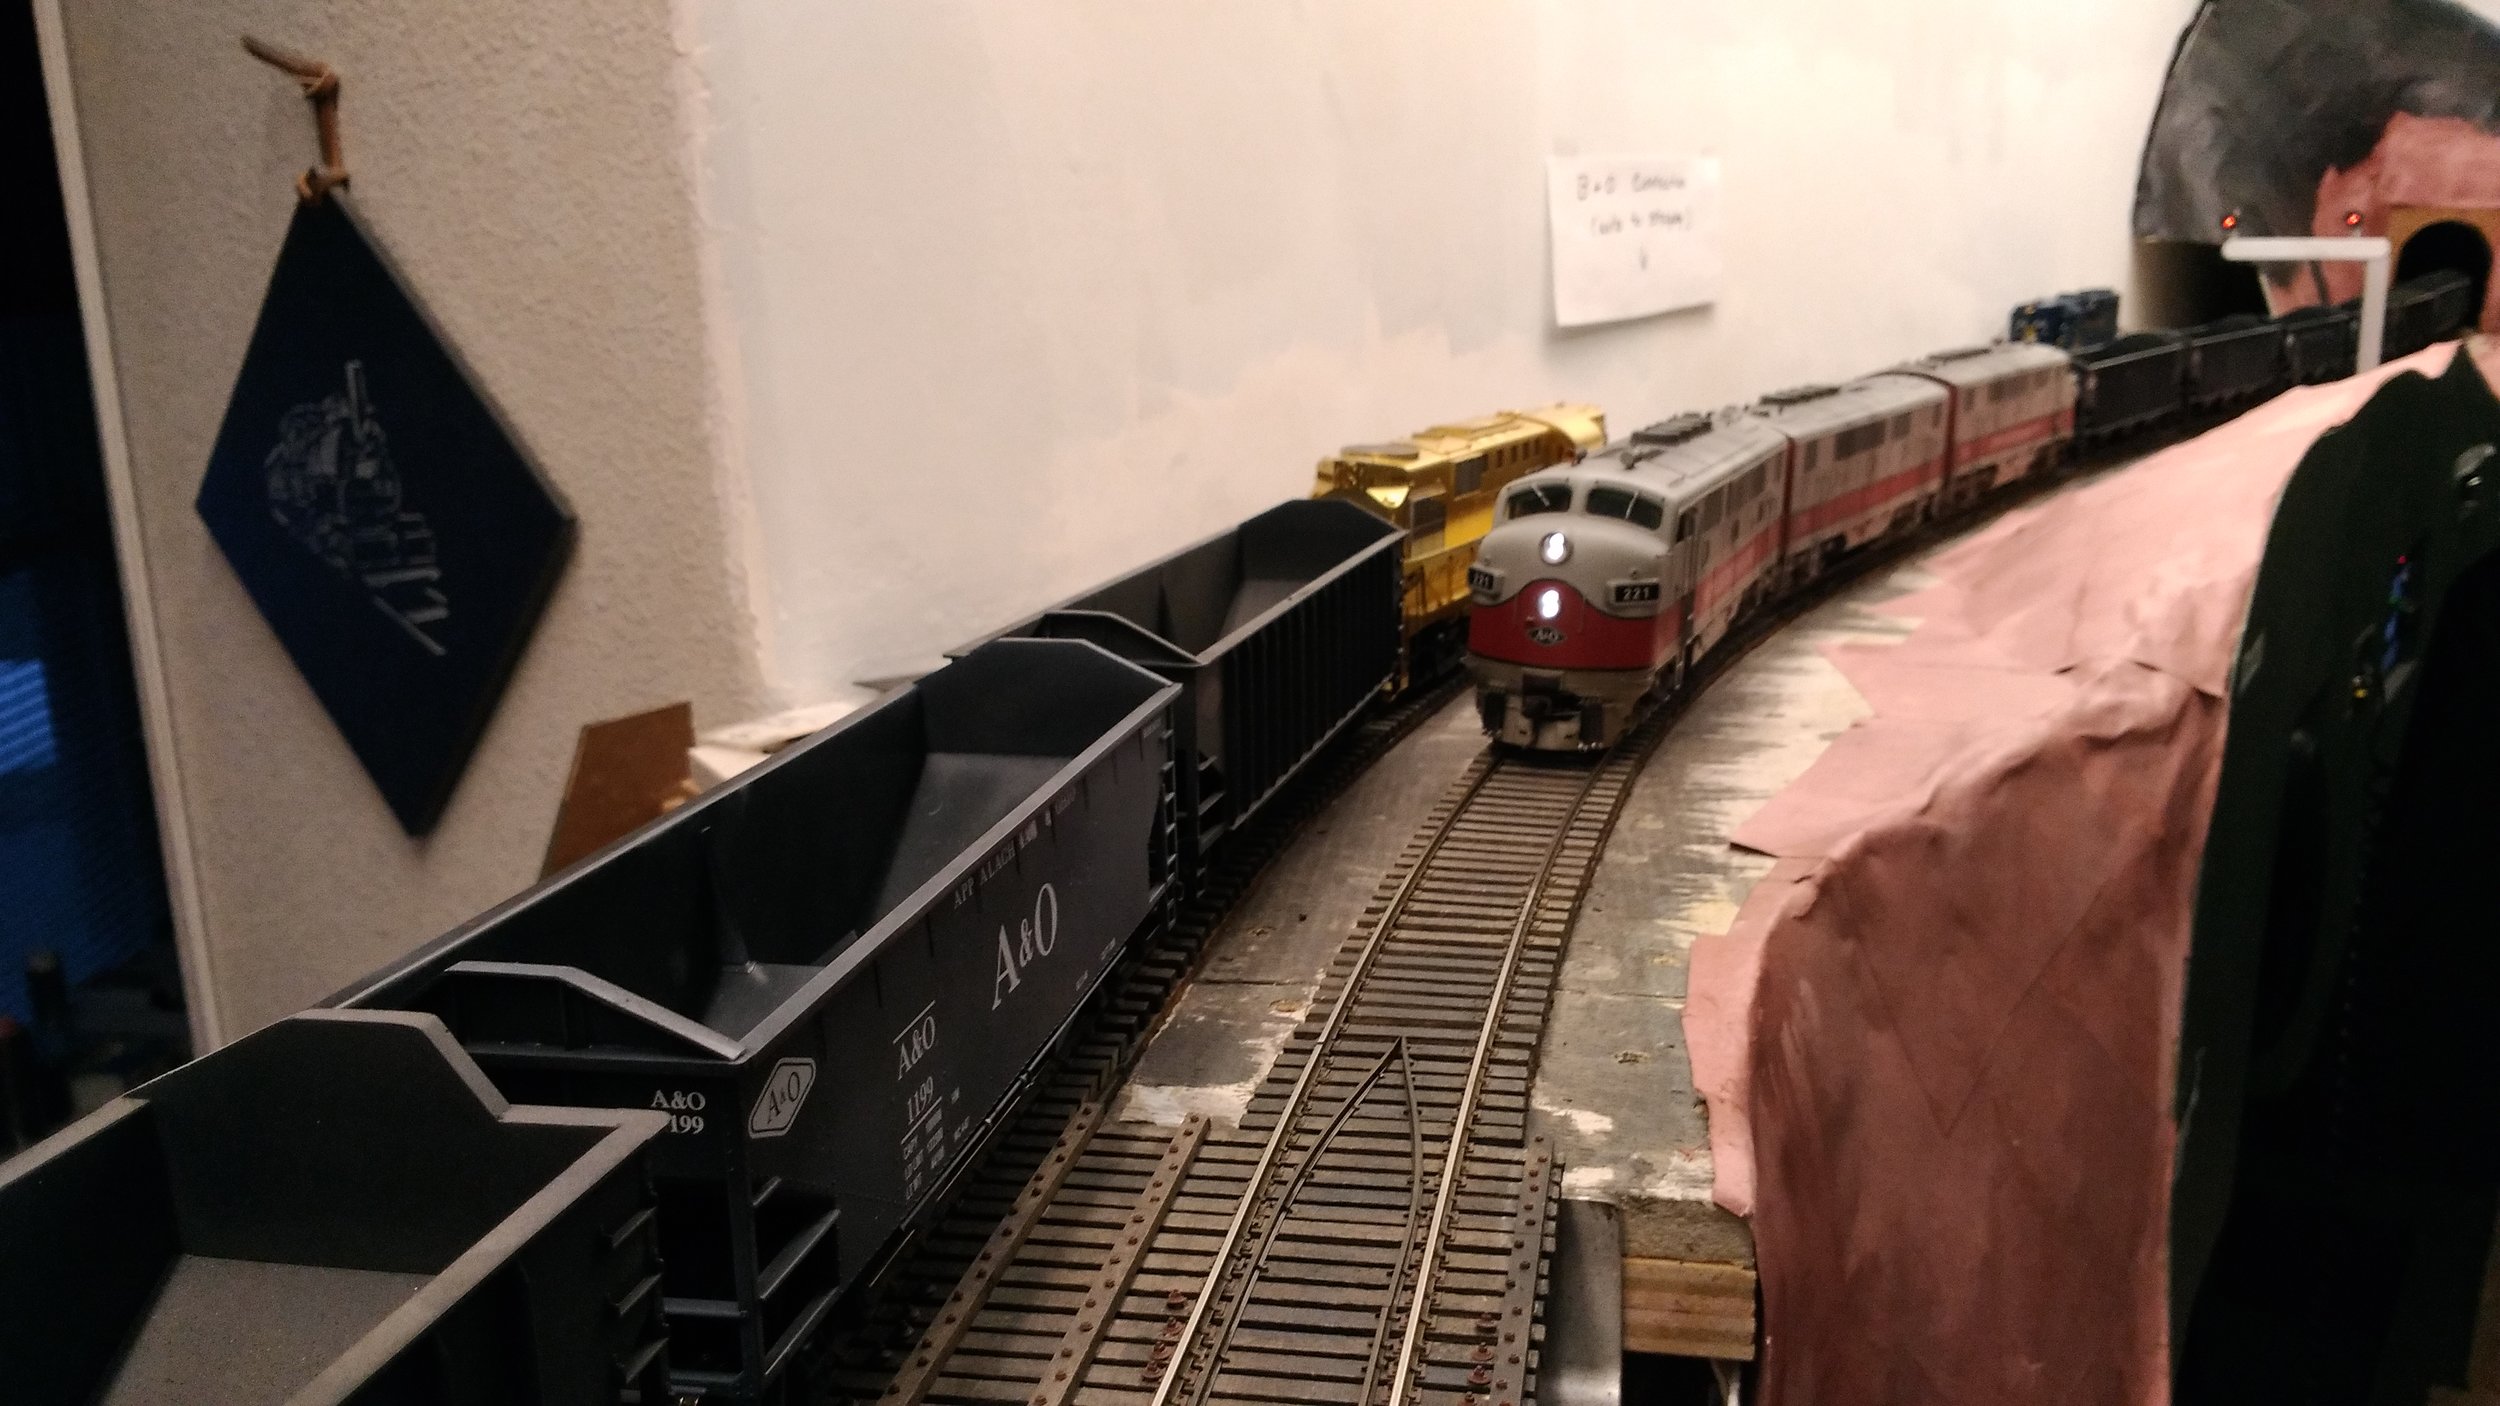
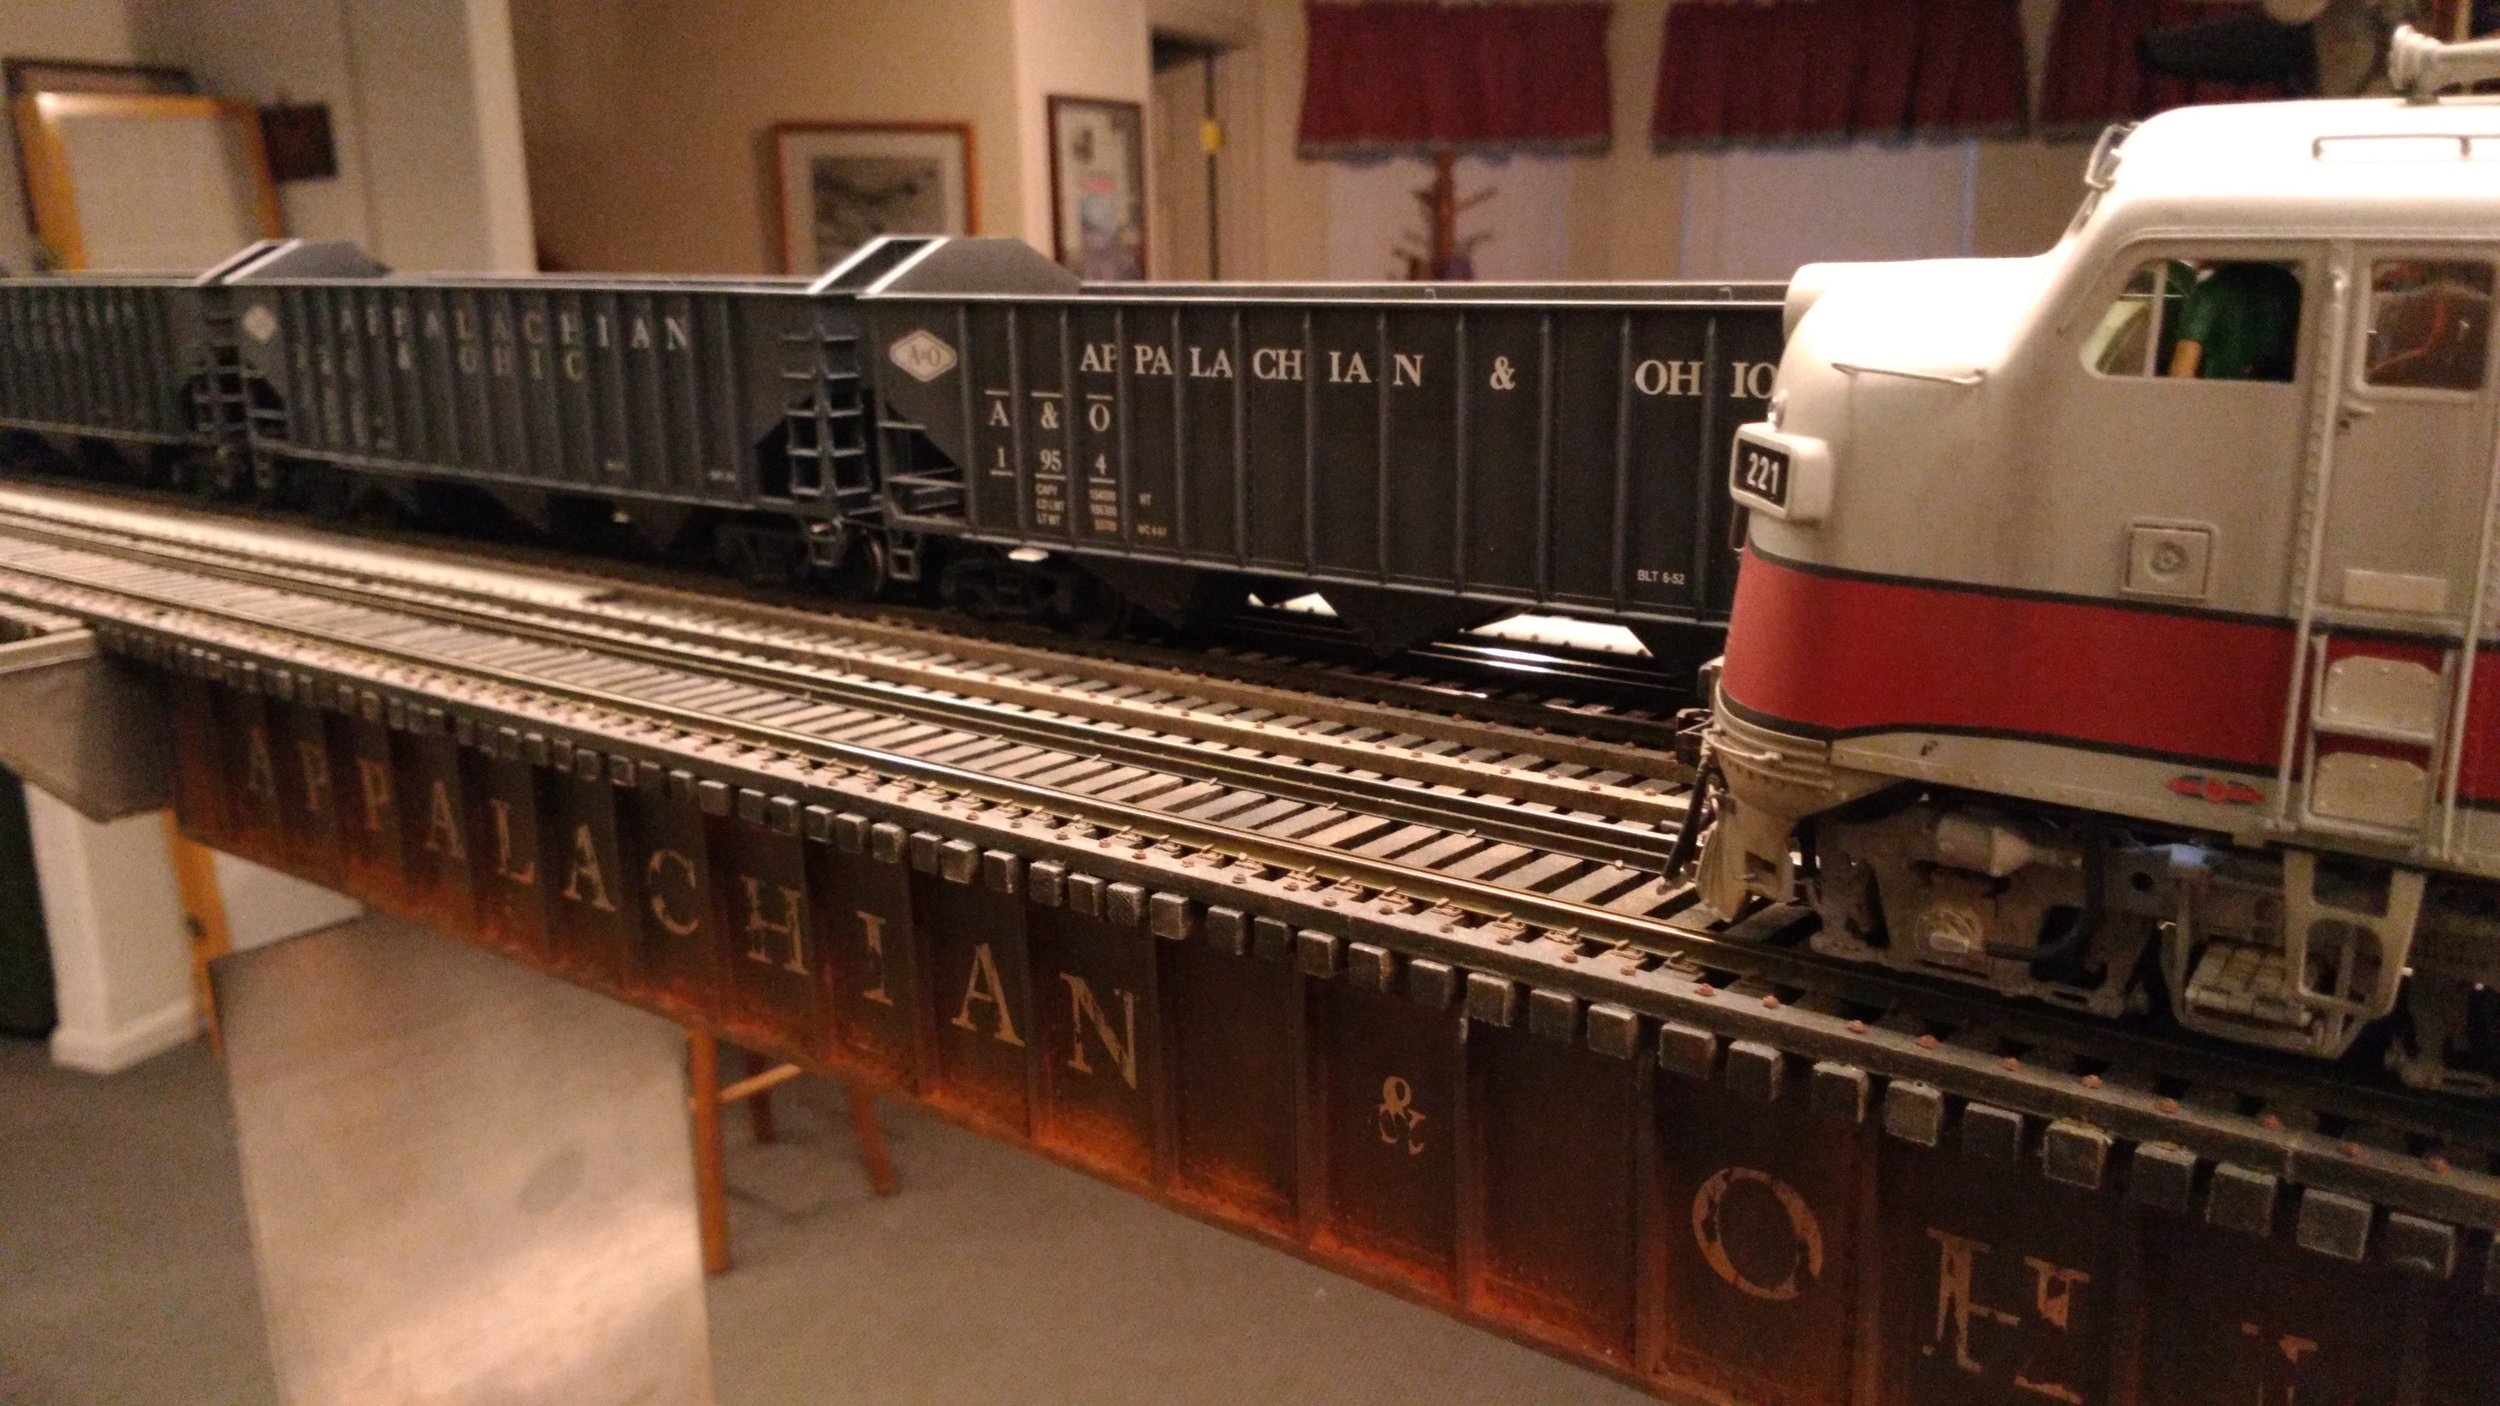
The start of the Ohio River Bridge, and good-bye West Virginia. Deck plates start us off.
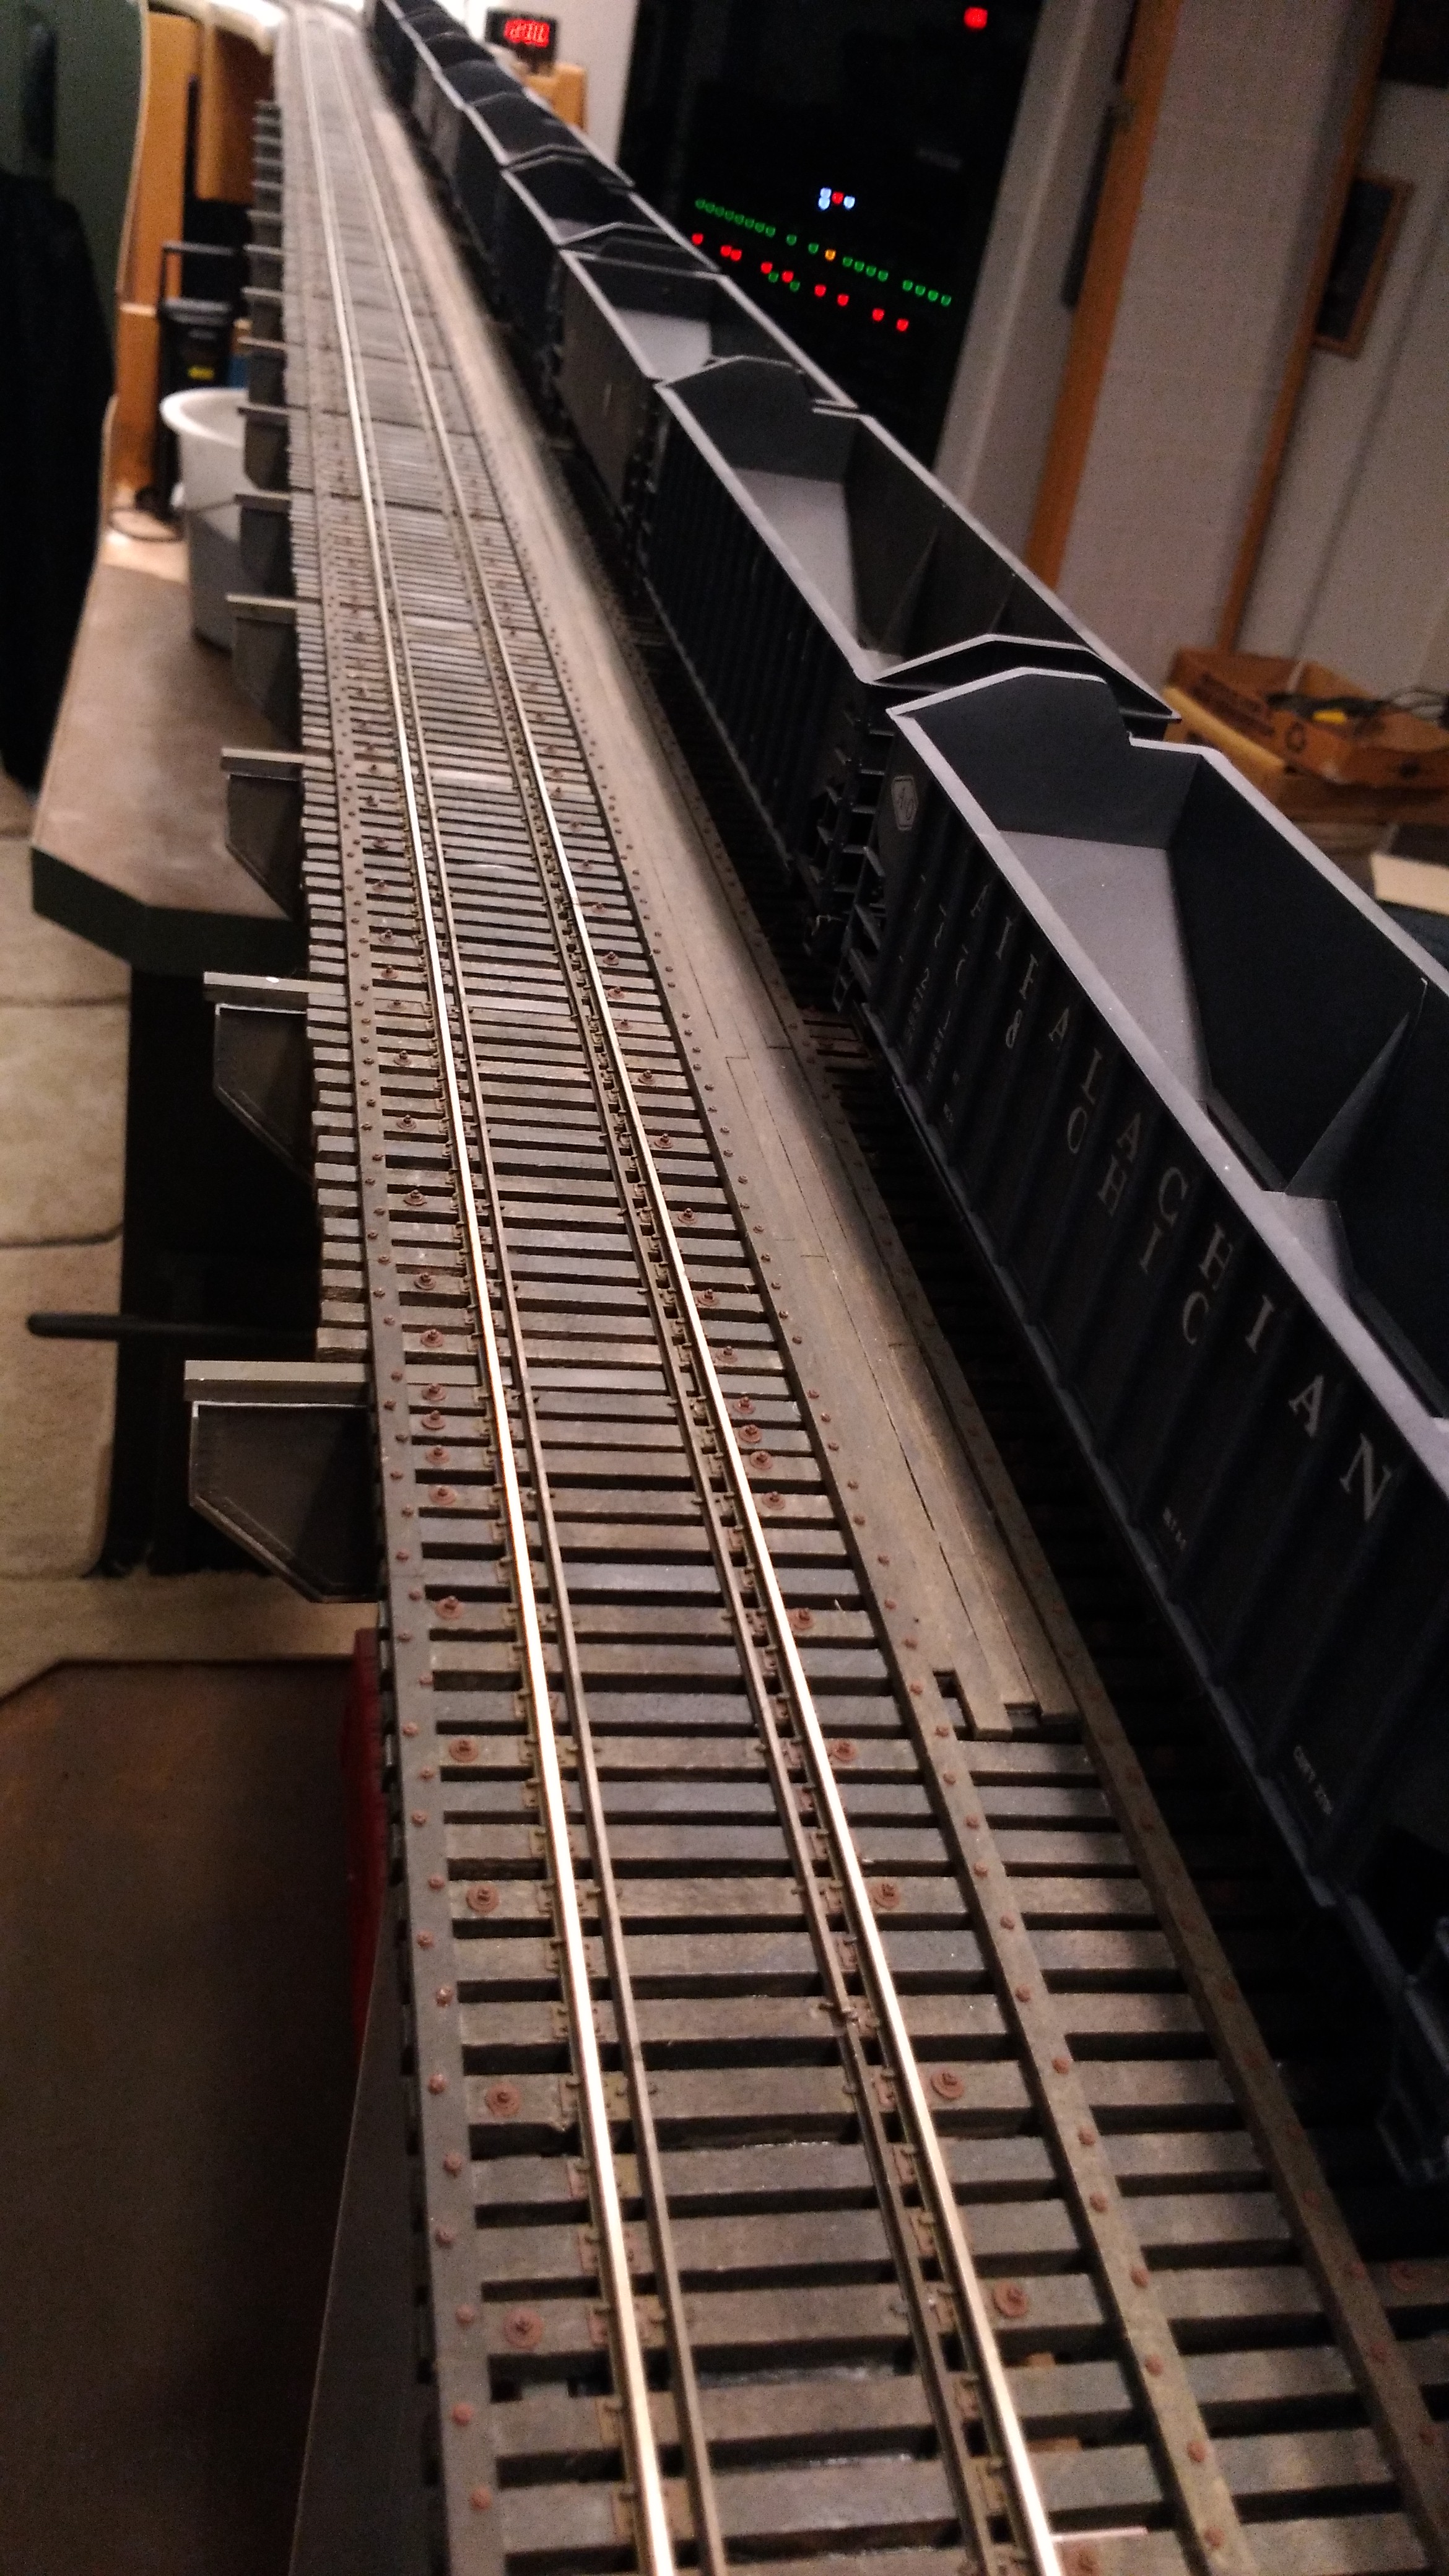
The Ohio River Bridge features full tie plate and NBWs as appropriate. That means 4 spikes per tie. This WAS a project.
For pictures of the magnificent arched thru truss Vince is casting/building, see the Forum page under "Crew Logs".
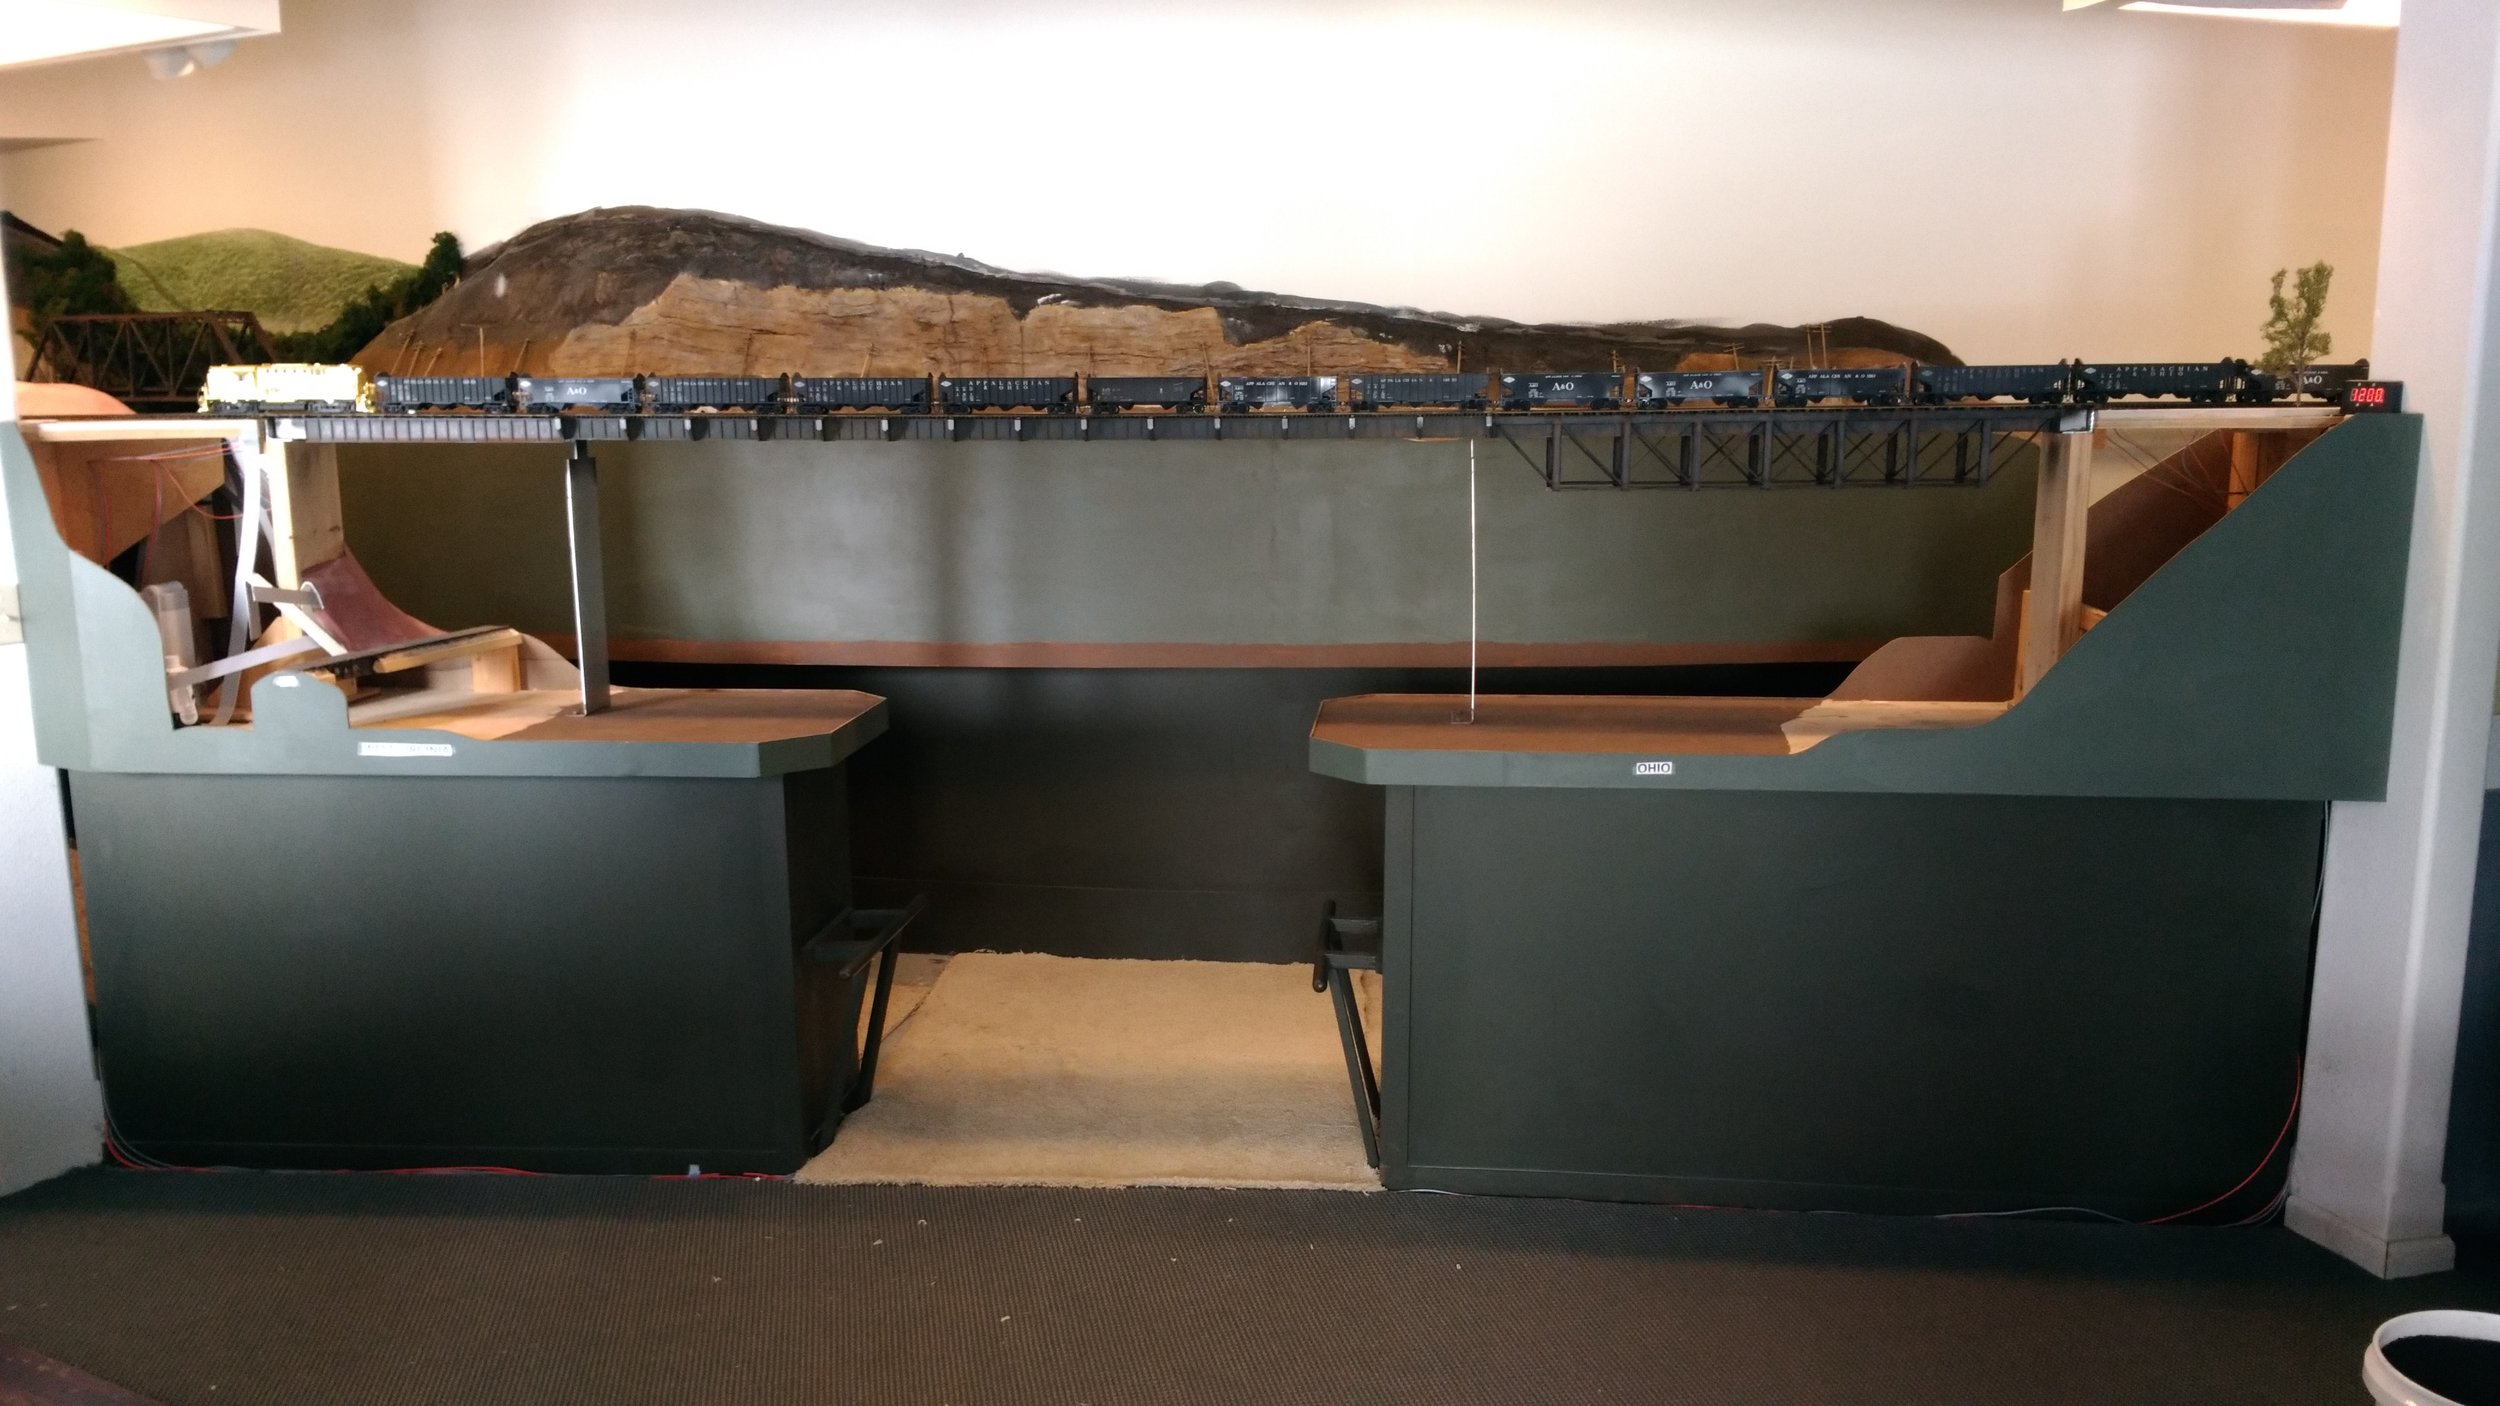
A finished look at the layout entry point. WV on the left. The Buckeye State on the right.
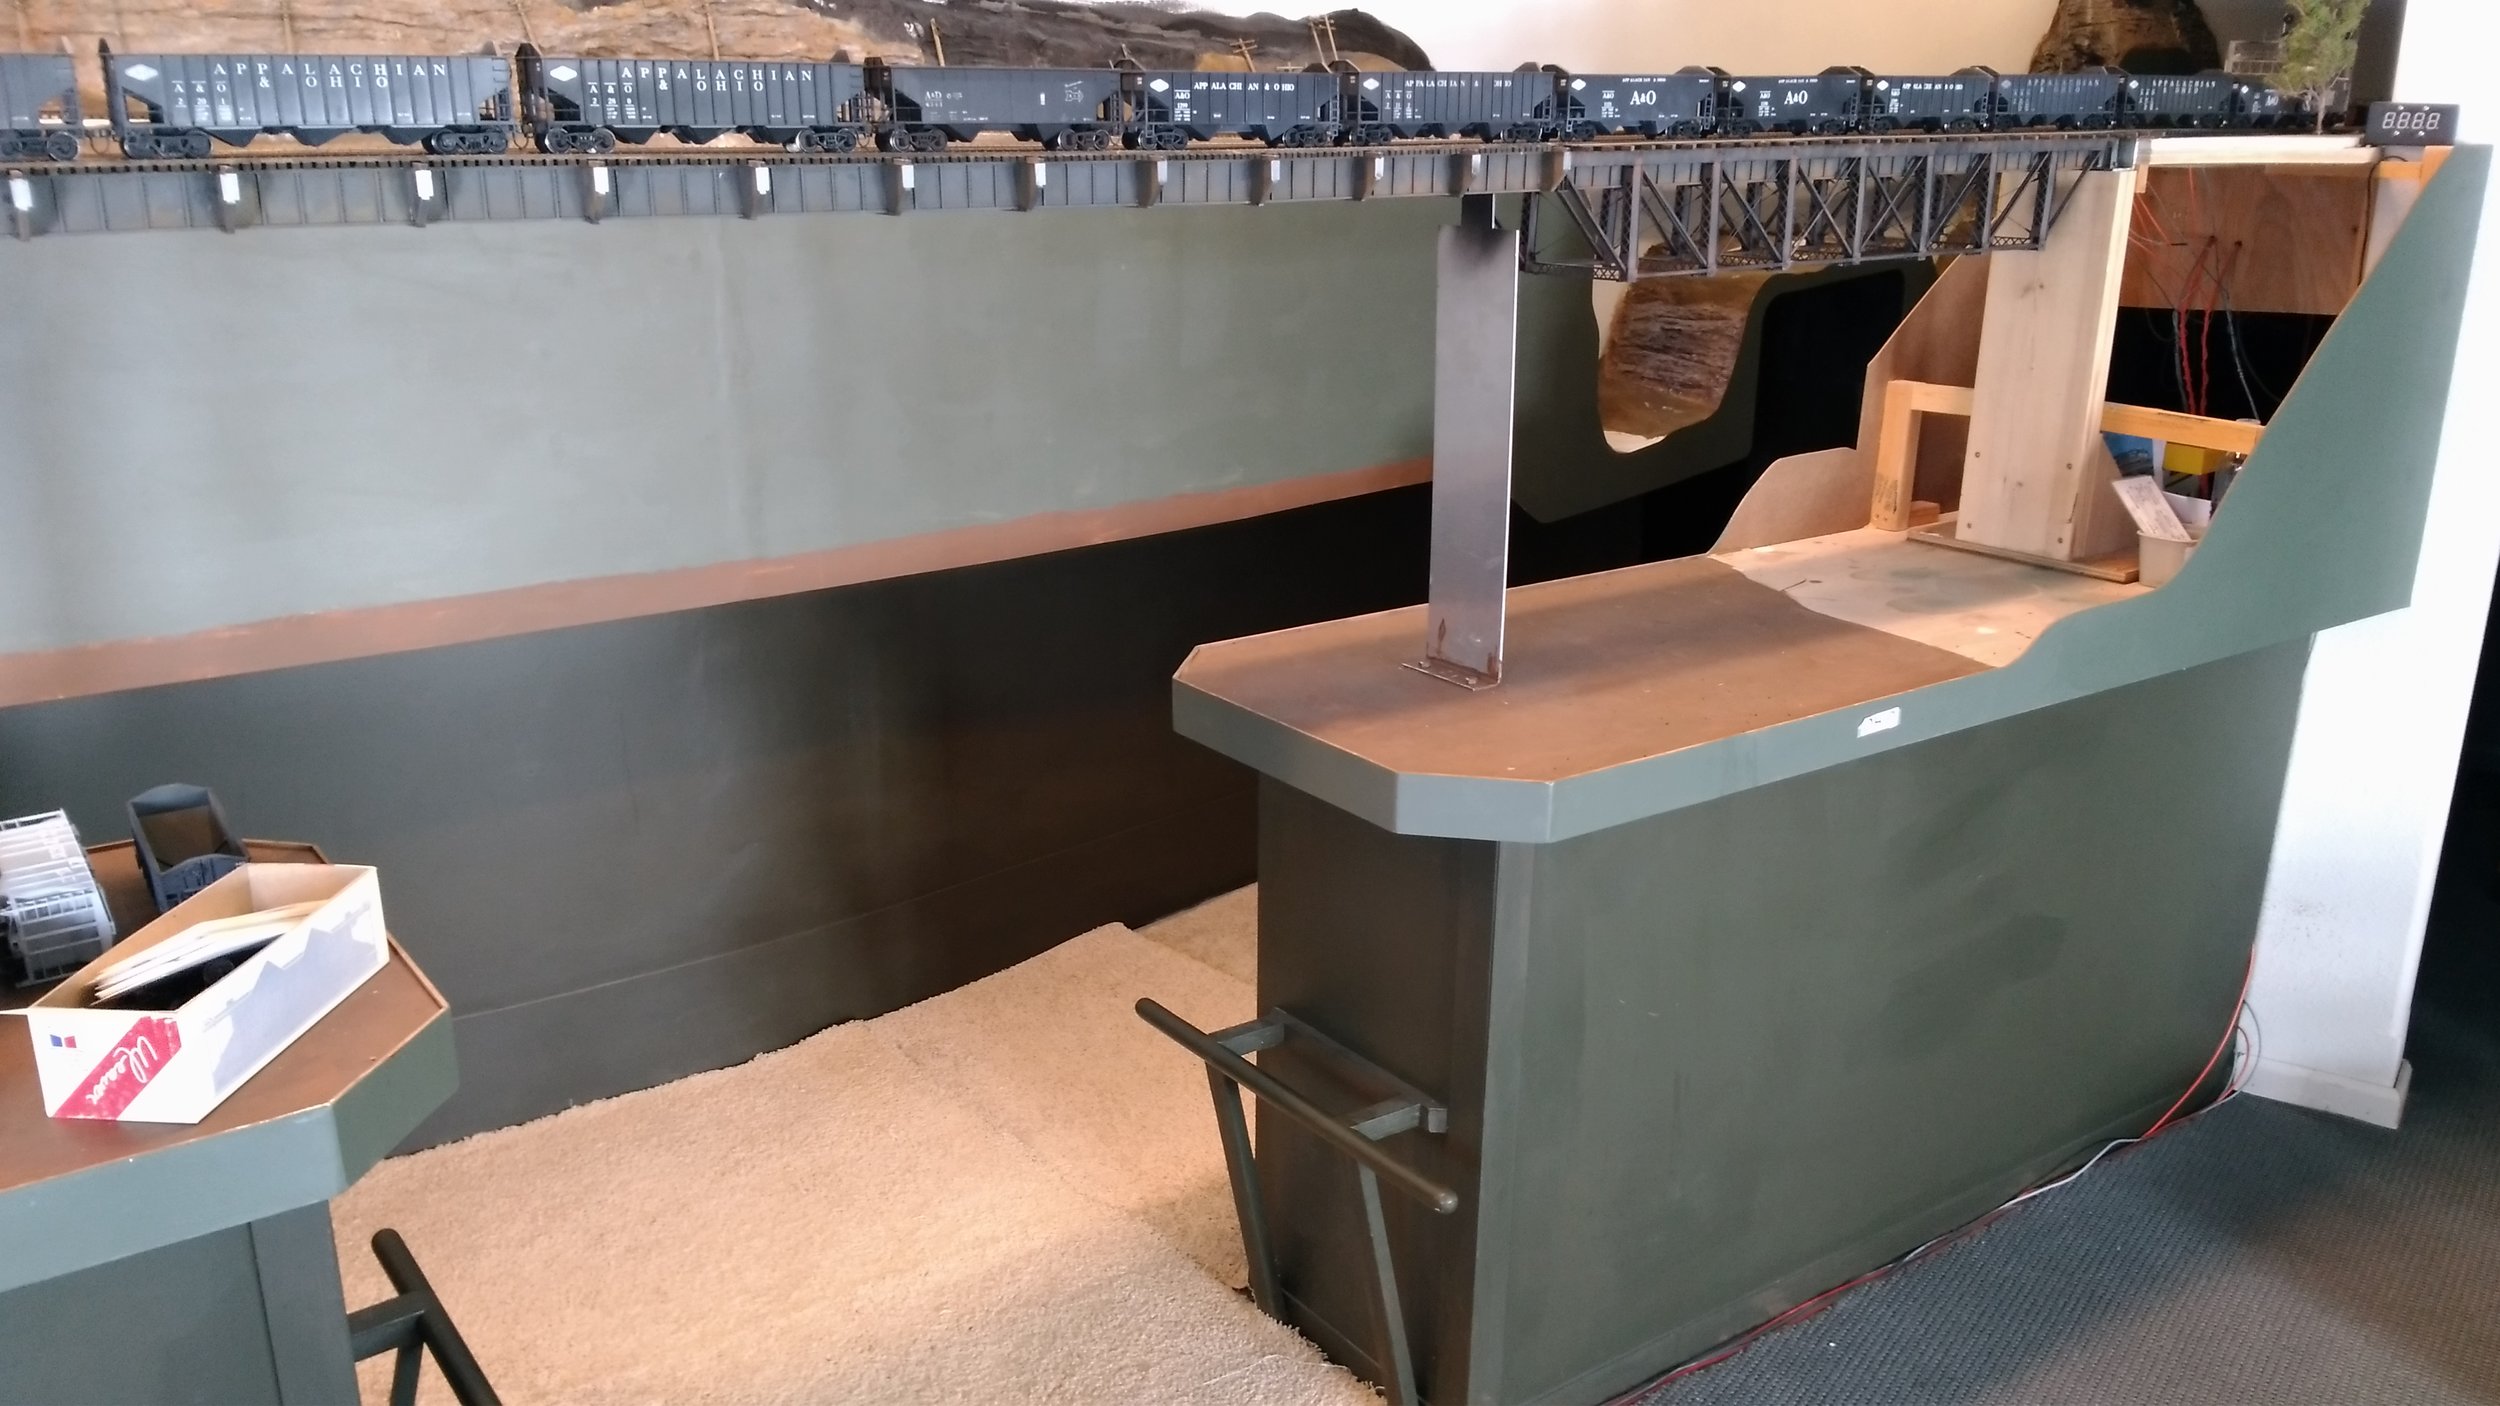
To assure no one bumps into the bridge as they part the waters and walk thru the Ohio River, there are a pair of handrails on each side of the river. Merely sliding your hand along the rail ergonomically insures no one will hit the bridge.
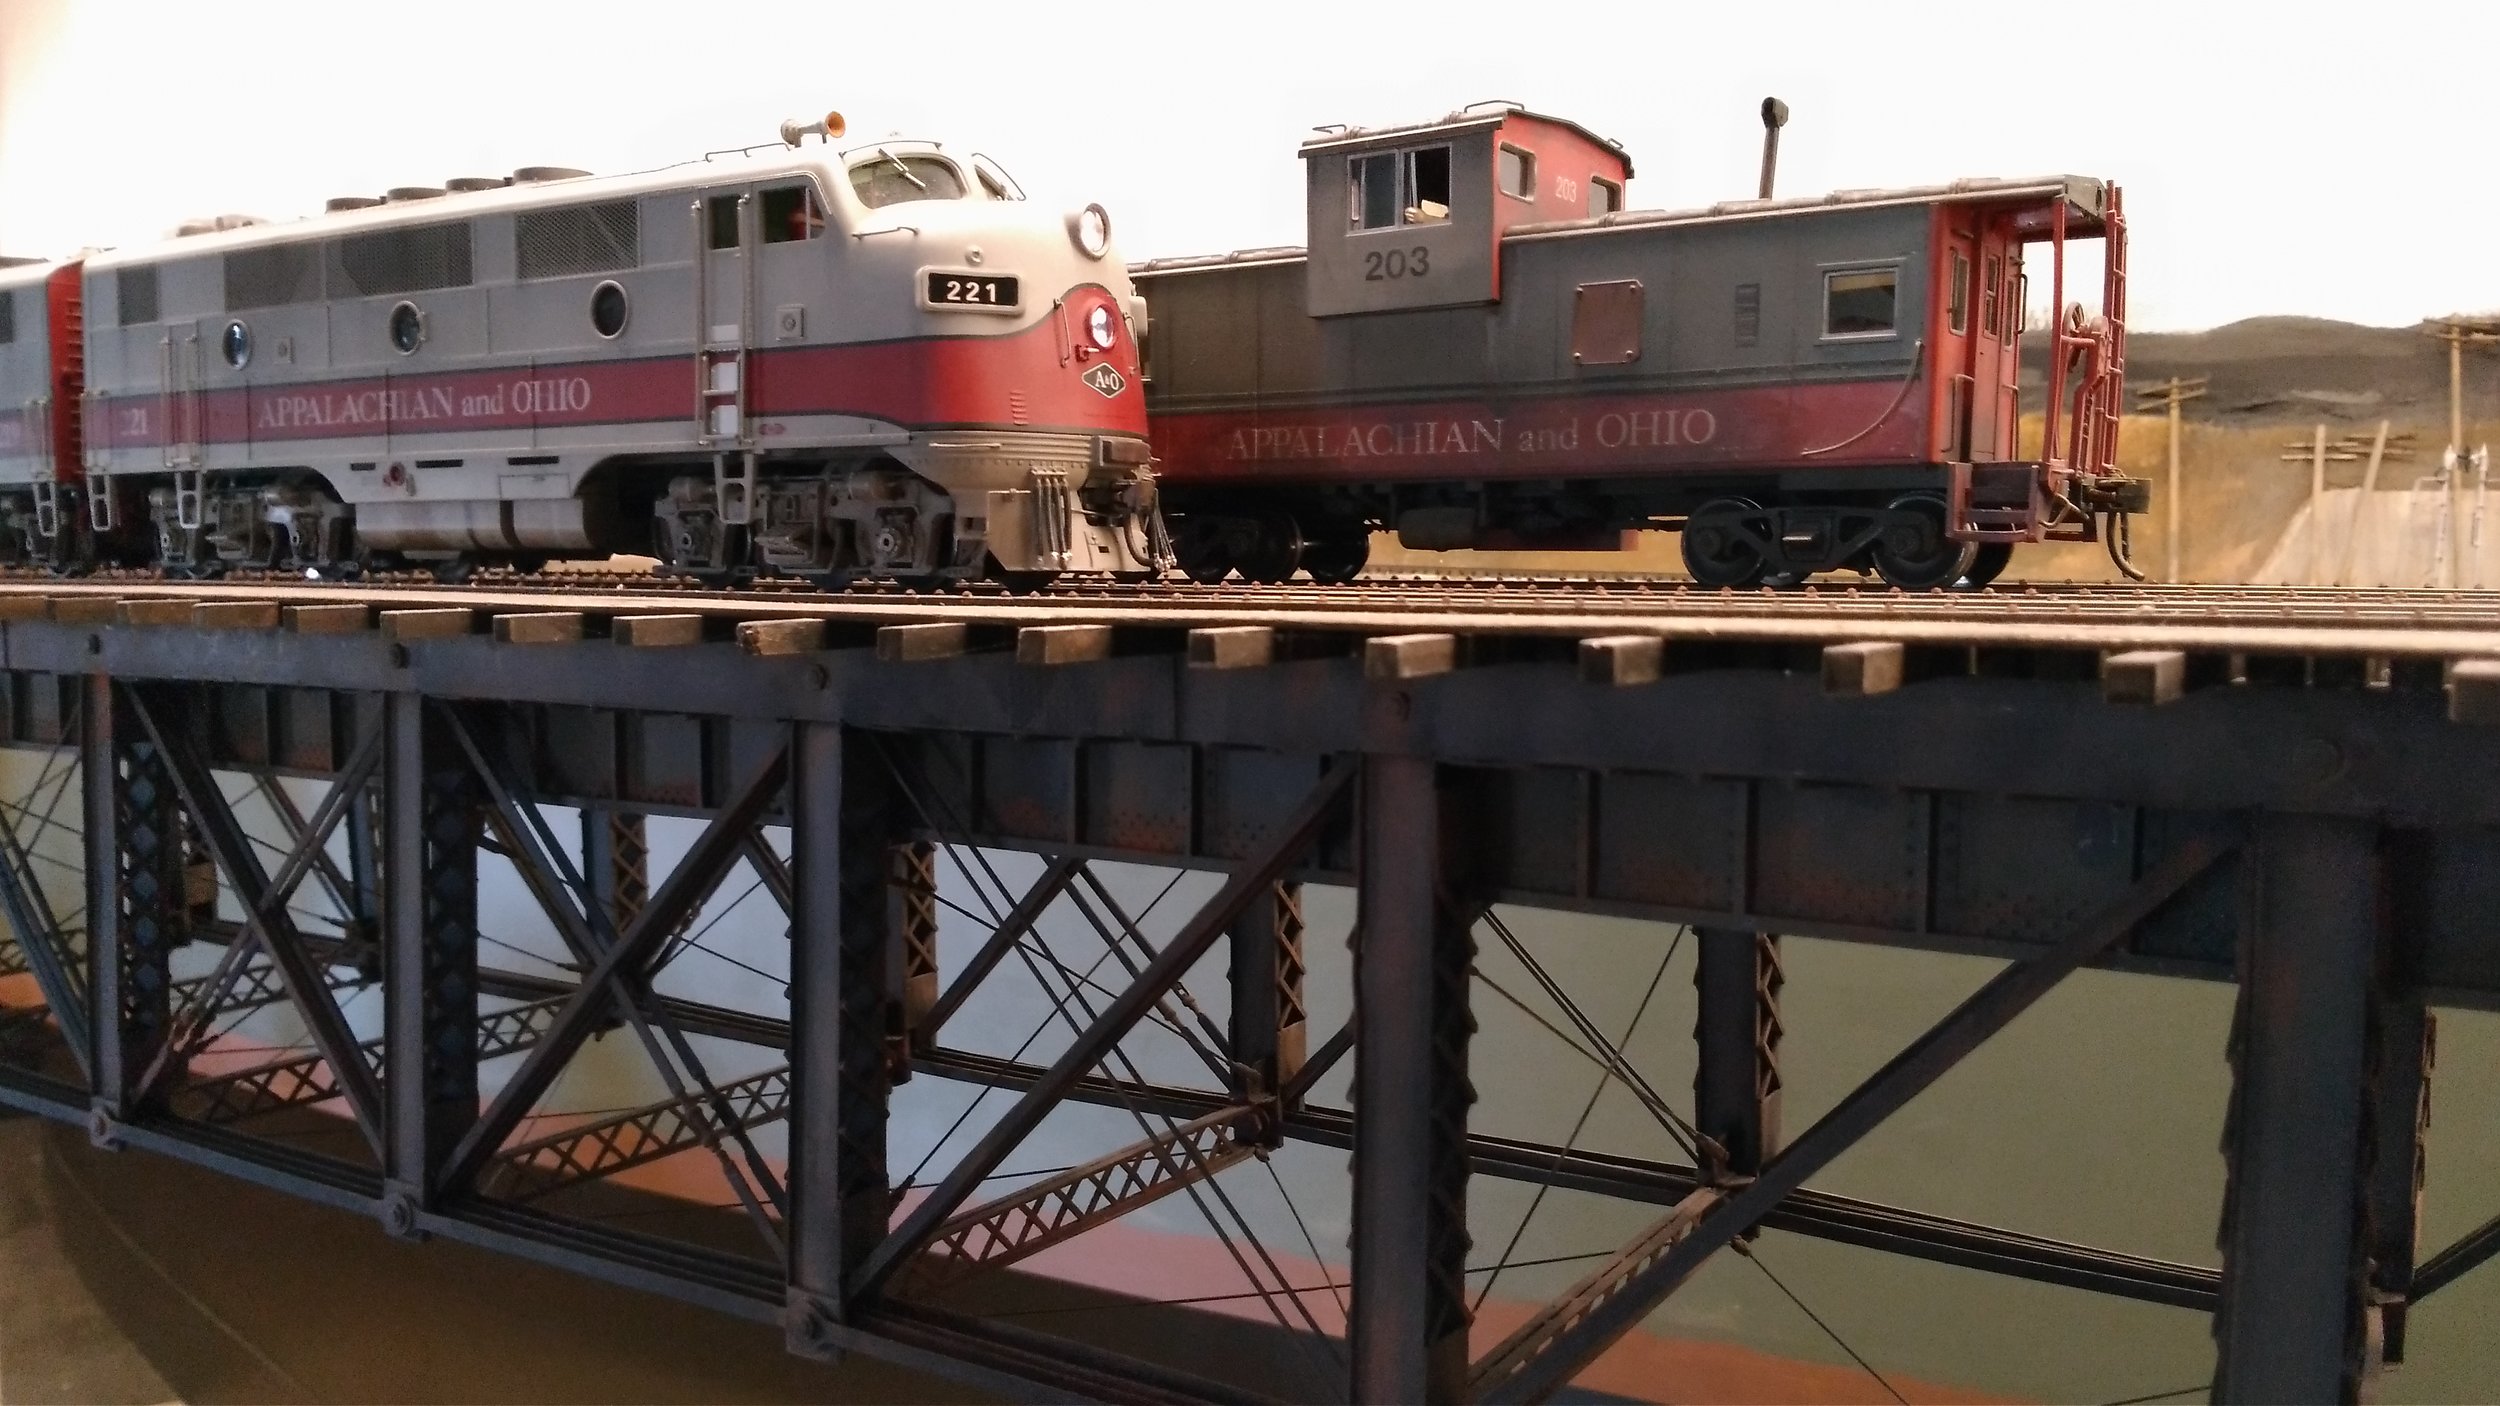
The dispatcher is holding a train at Jay as we cross the bridge, not an uncommon sight. This gives us a chance to pause and appreciate Vince Griesemer's beautiful scratch built deck truss. (And yes, we have a couple later photos, putting our train on the North Main.)
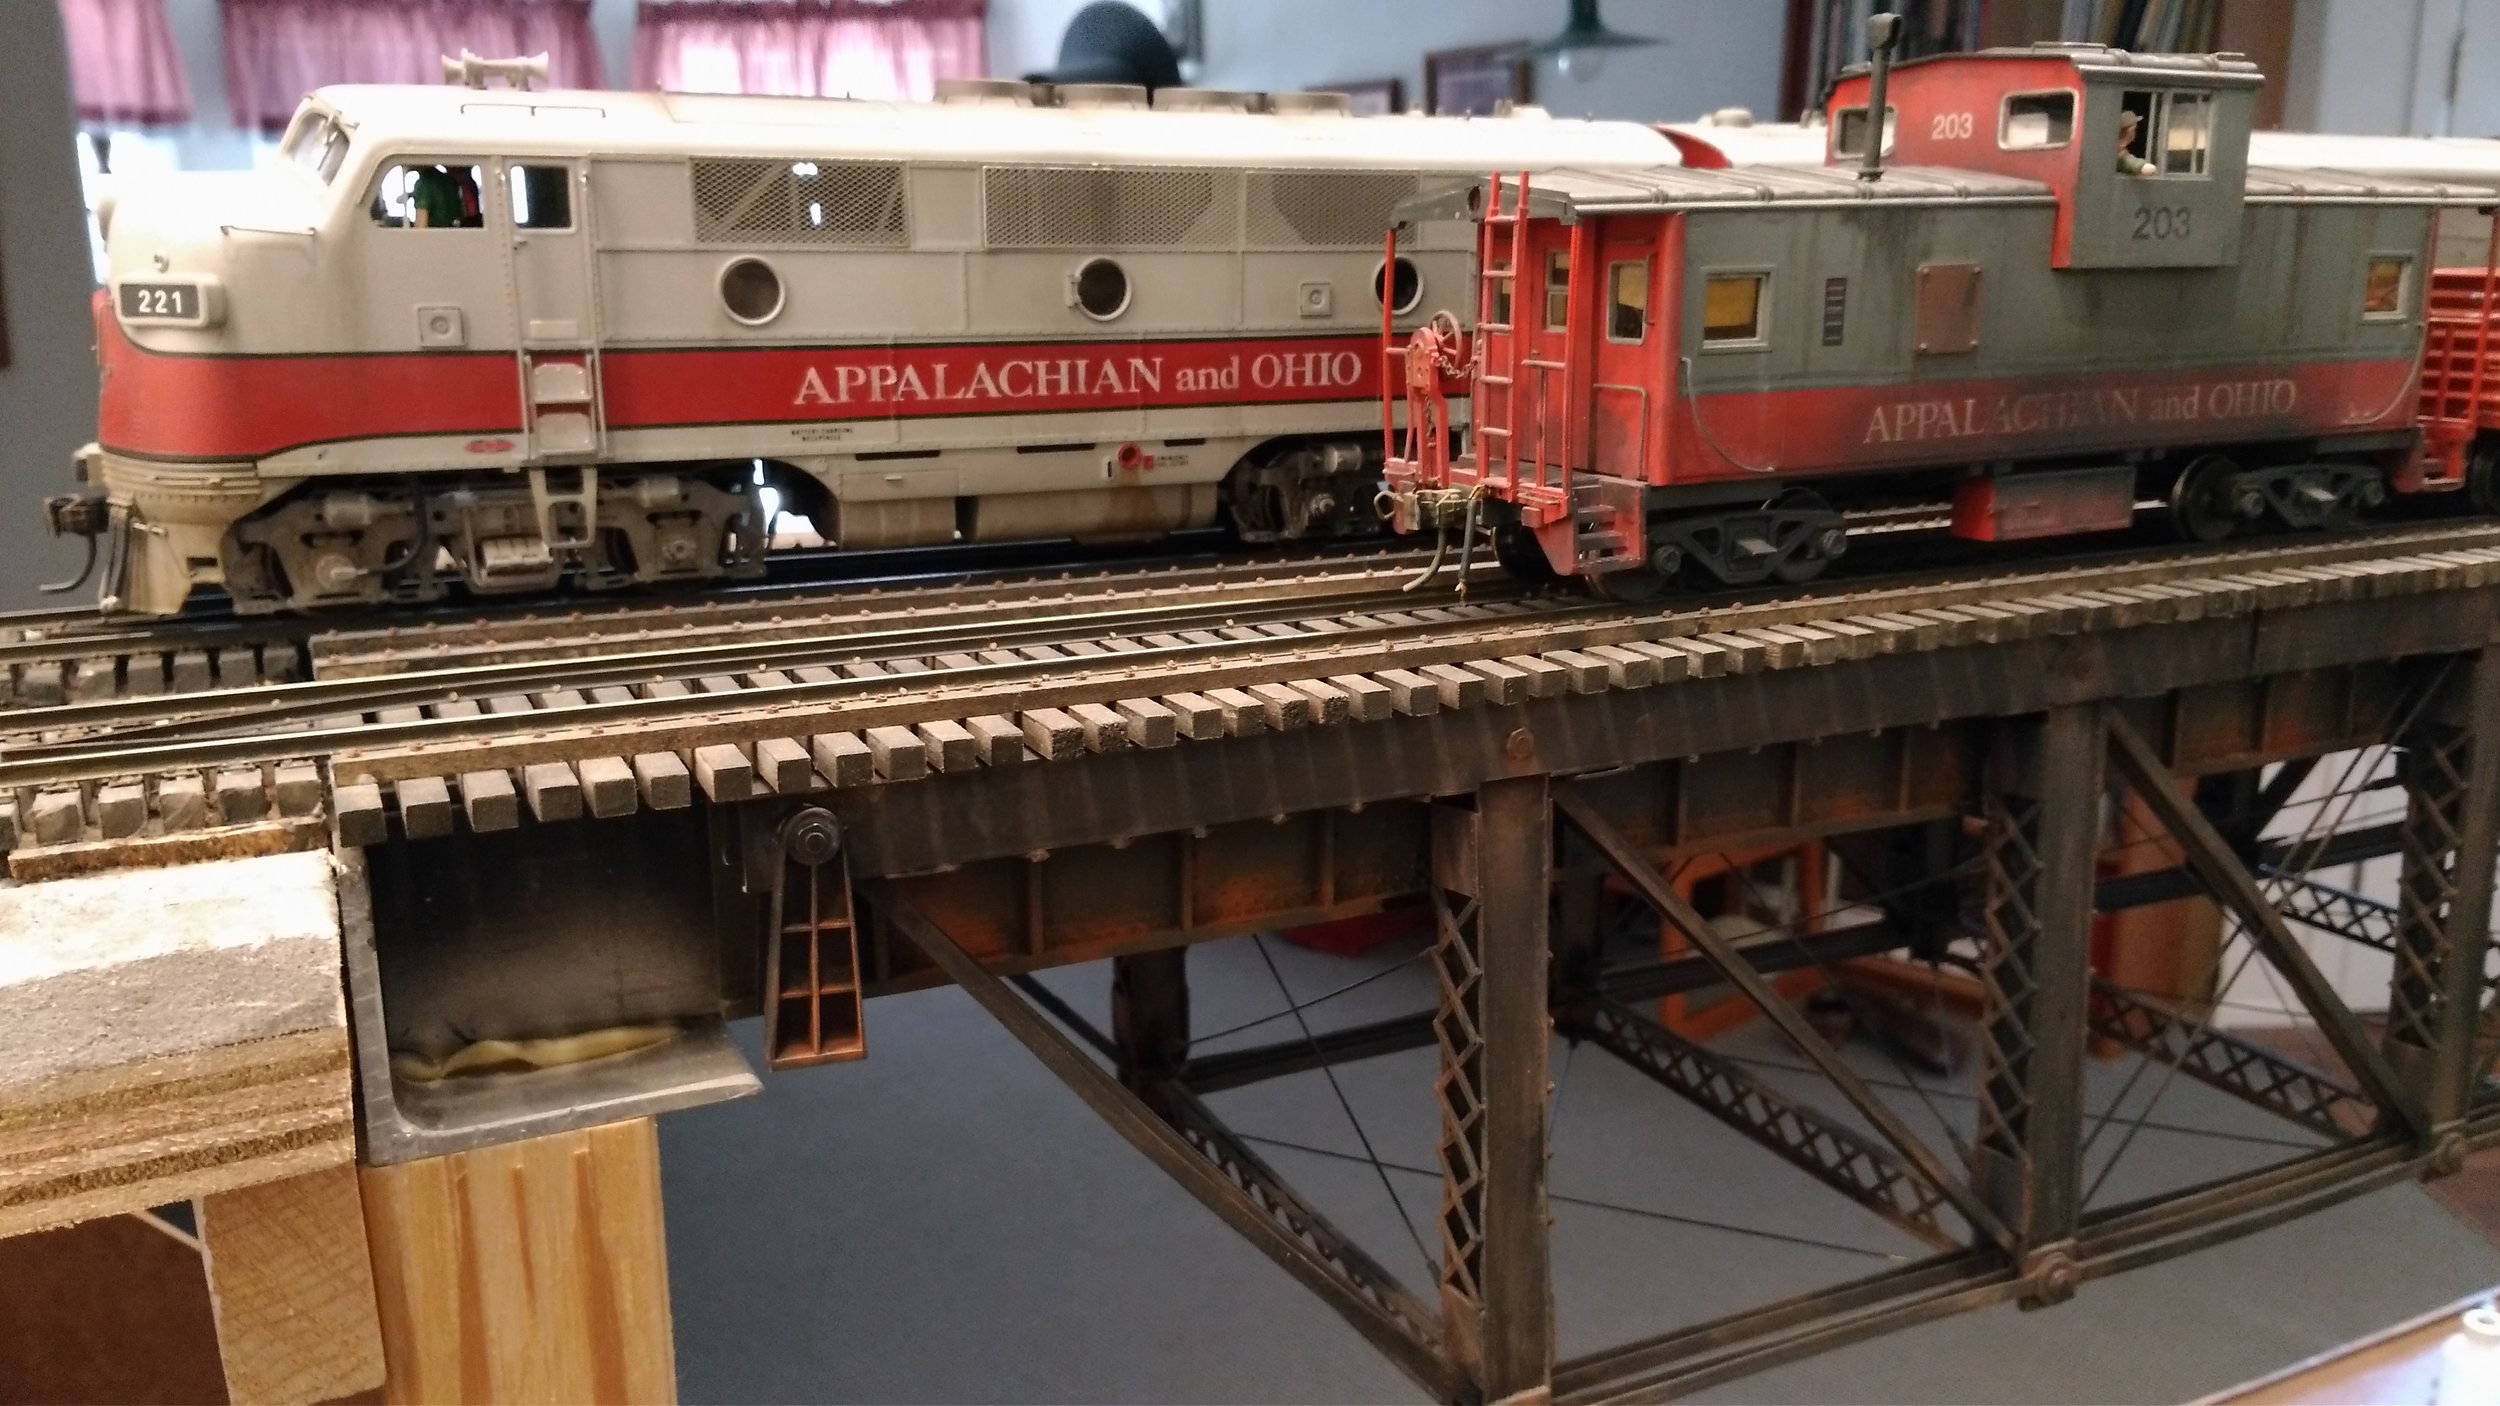
Our F's step foot into Ohio as they leave The Bridge. Vince's girder detail is sure to burn plenty of pixels.
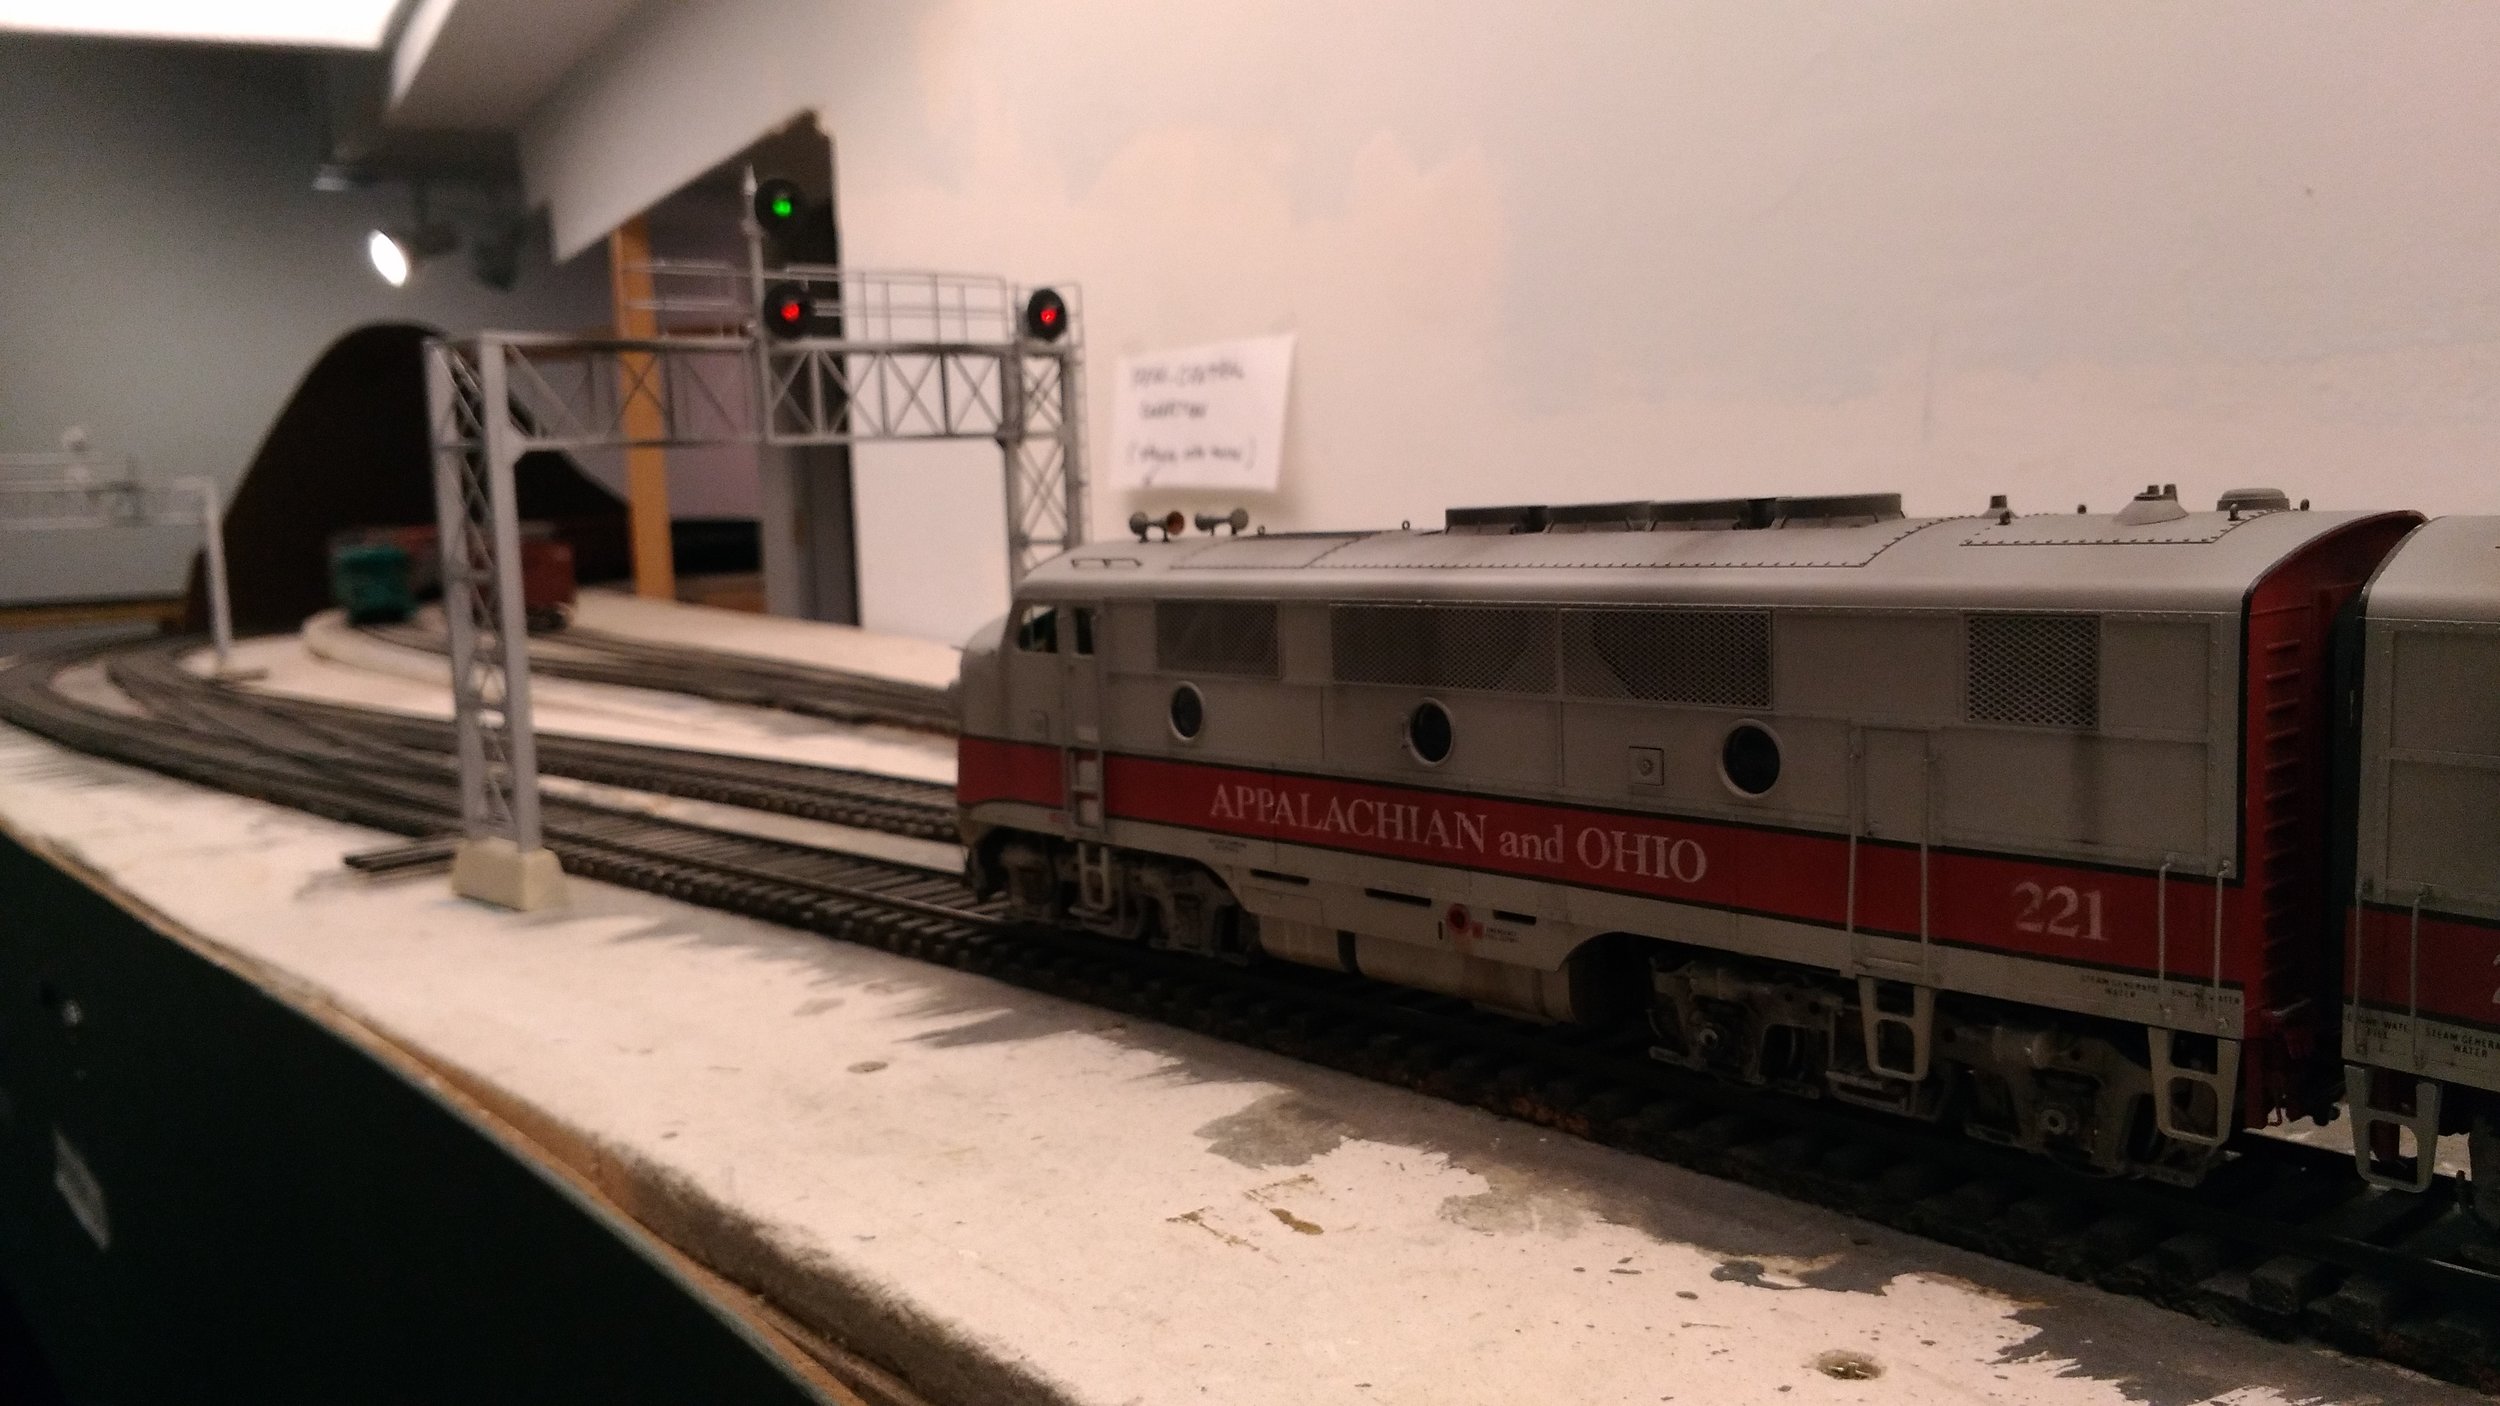
(Back to the South Main) Our F's approach Jackson, Ohio. Once again the dynamics start their whine for the brief, but stout 2.75% grade to Glenn Forge, O.
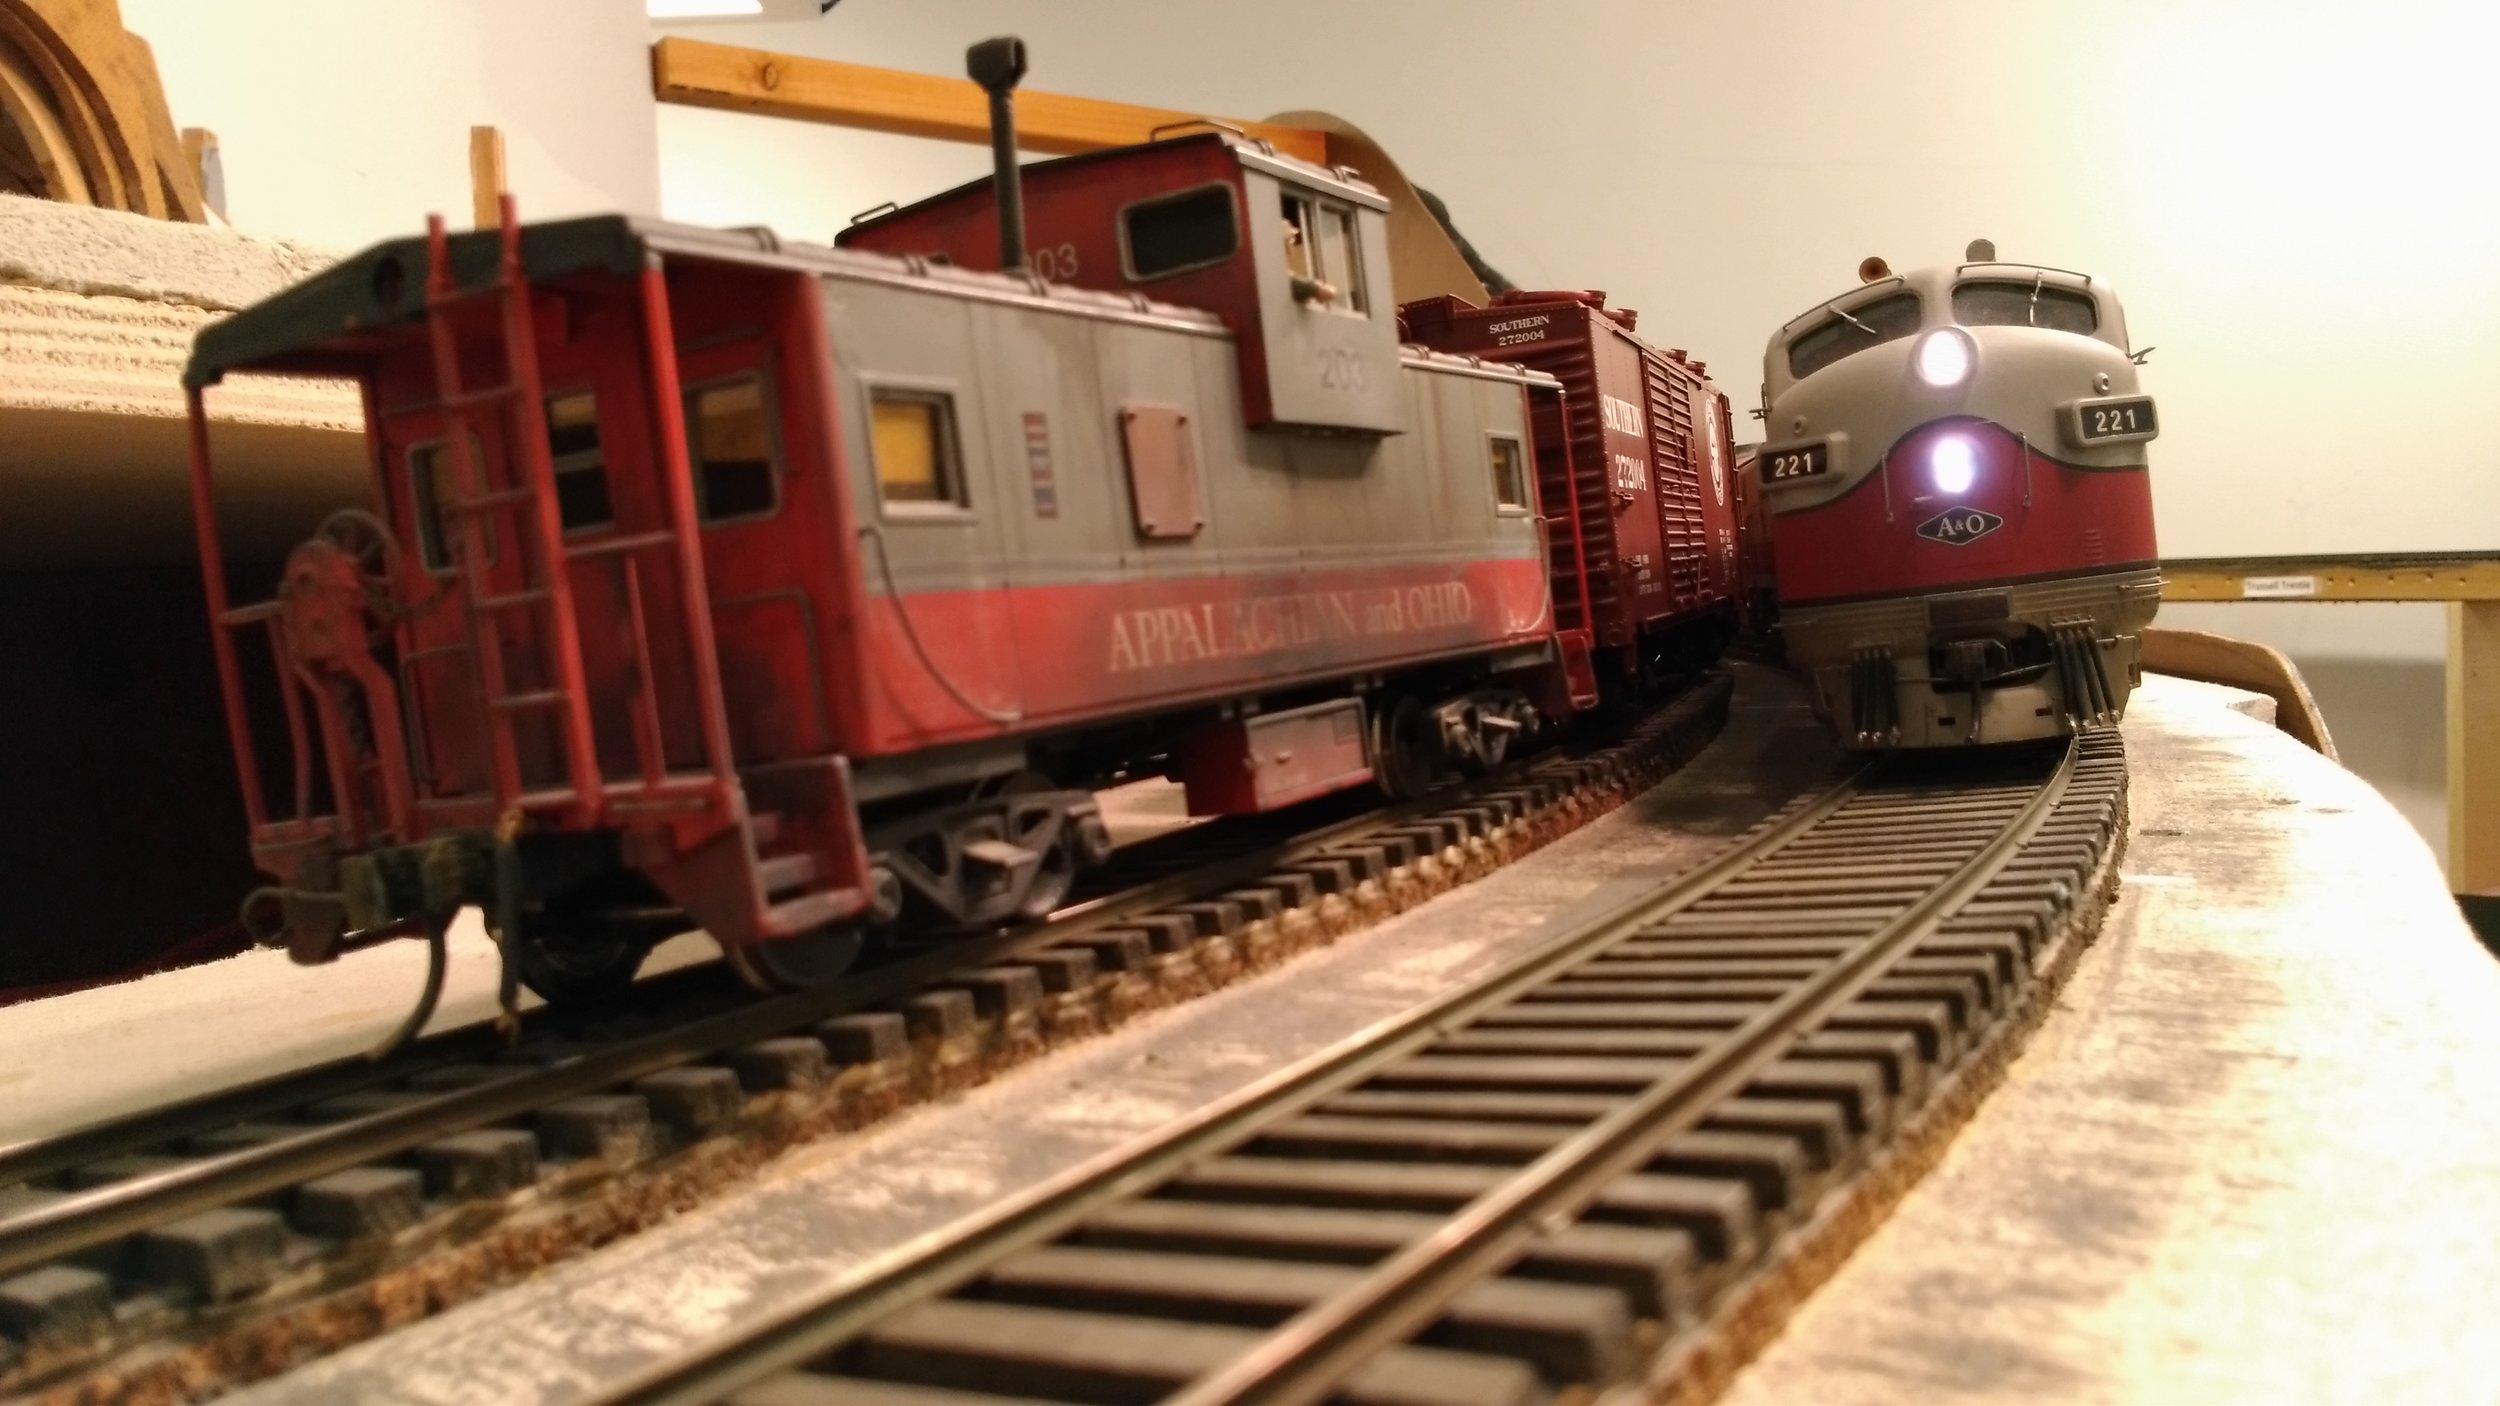
This double-tracked River Grade with its super-elevation makes for fun railfanning. A hillside will conceal the Penn-Central staging tracks visible in the upper left corner.
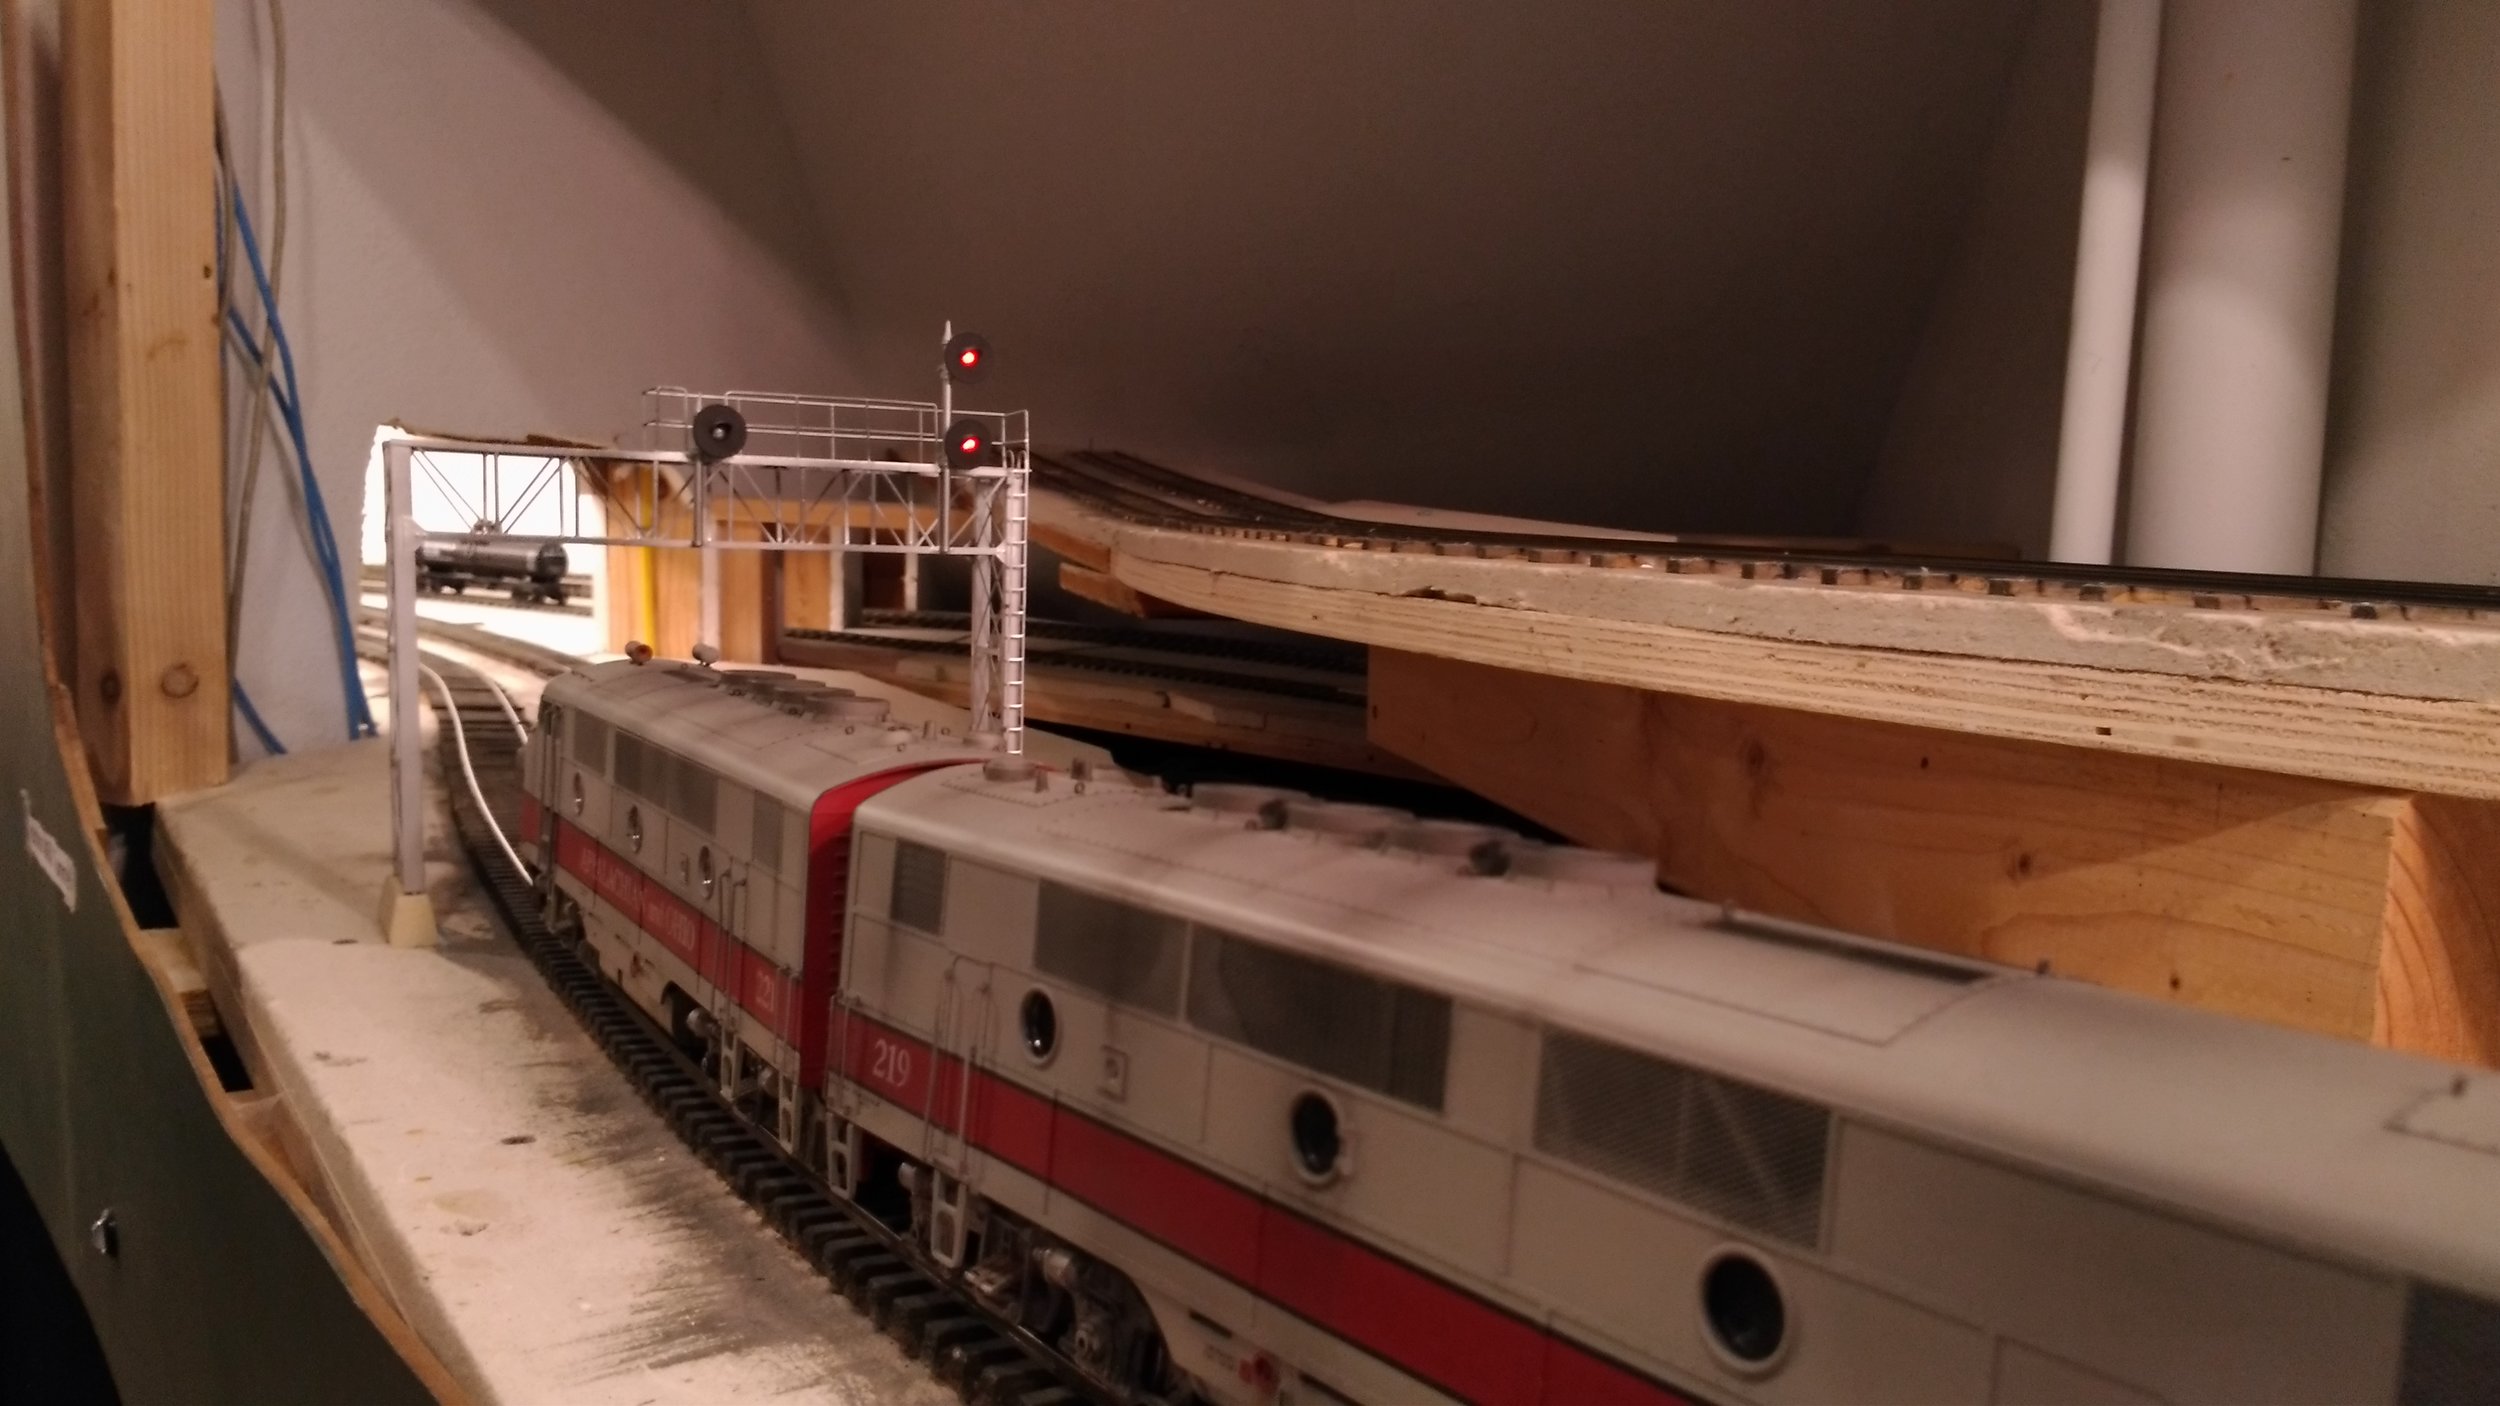
A flashing red greets appropriately greets us at OS Glenn Forge South. We proceed at restricted speed. We're taking these loads to the Hatfield rotary in Glenn Forge.
Dobbs Mill Tunnel will be on this side, exit between building of the Whirlpool Appliance Co. on the other. Can you say "Flux-Capacitor"?
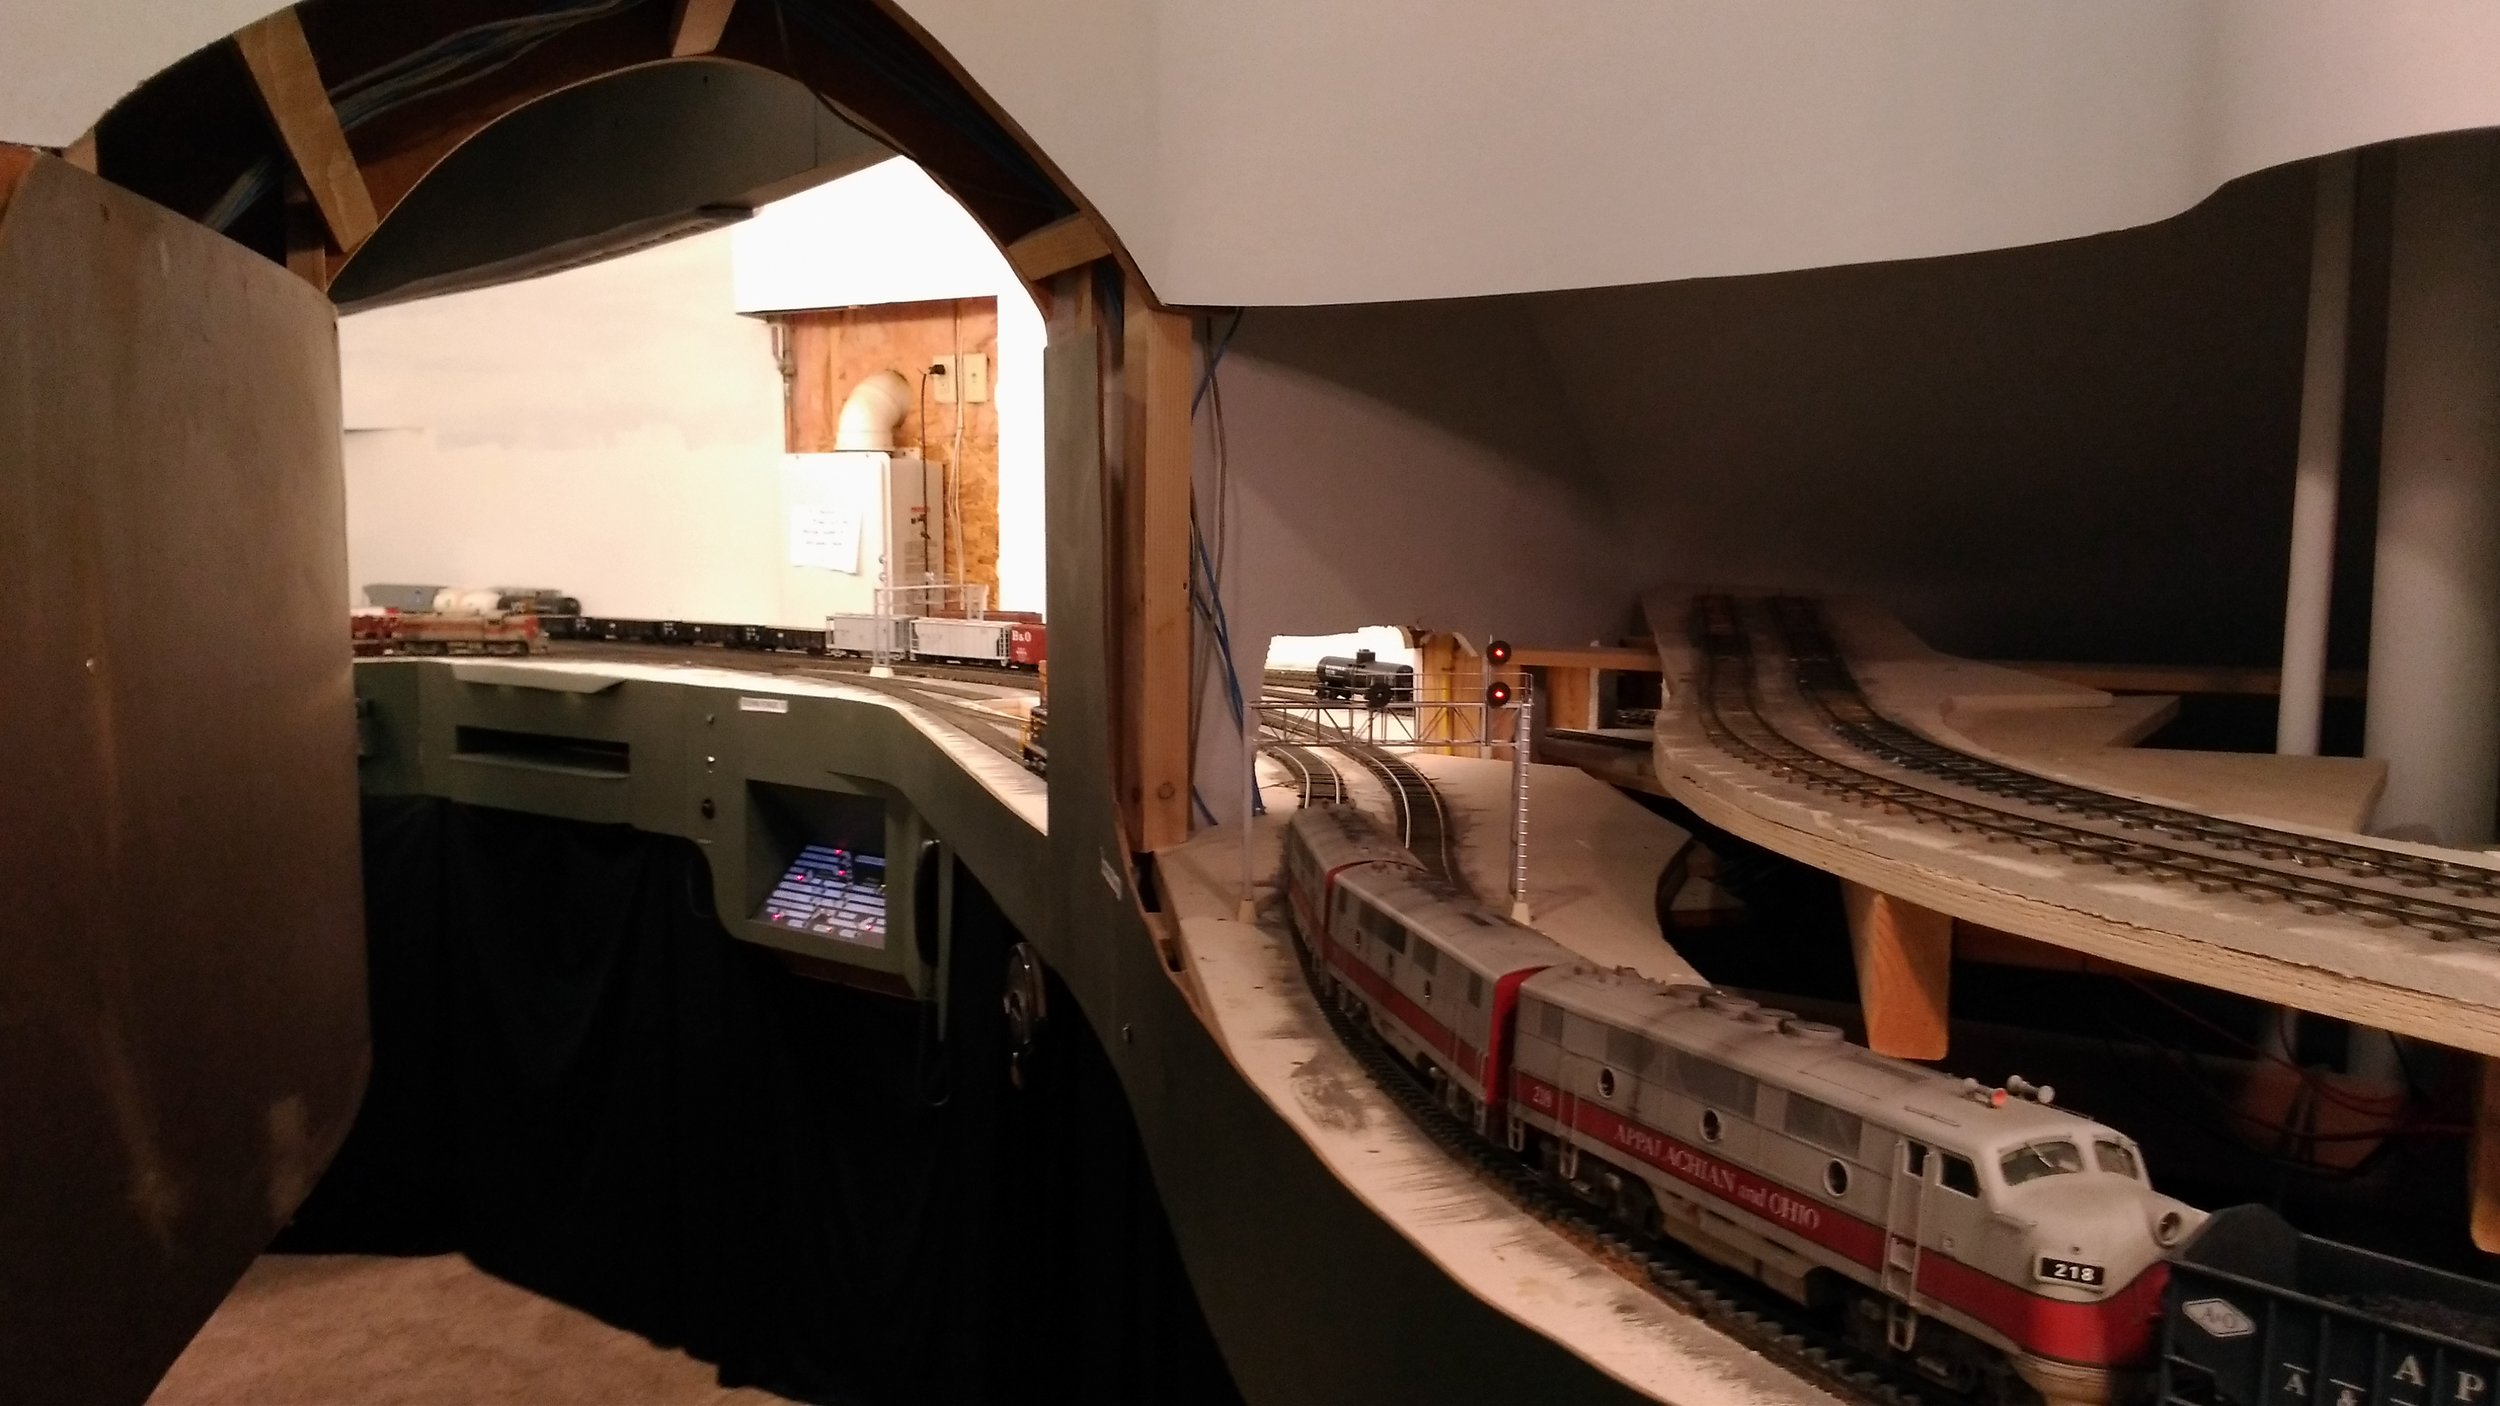
Another operator tunnel carries us from our rural scenery immediately into the industrialized Ohio River valley. First stop, Glenn Forge, O.
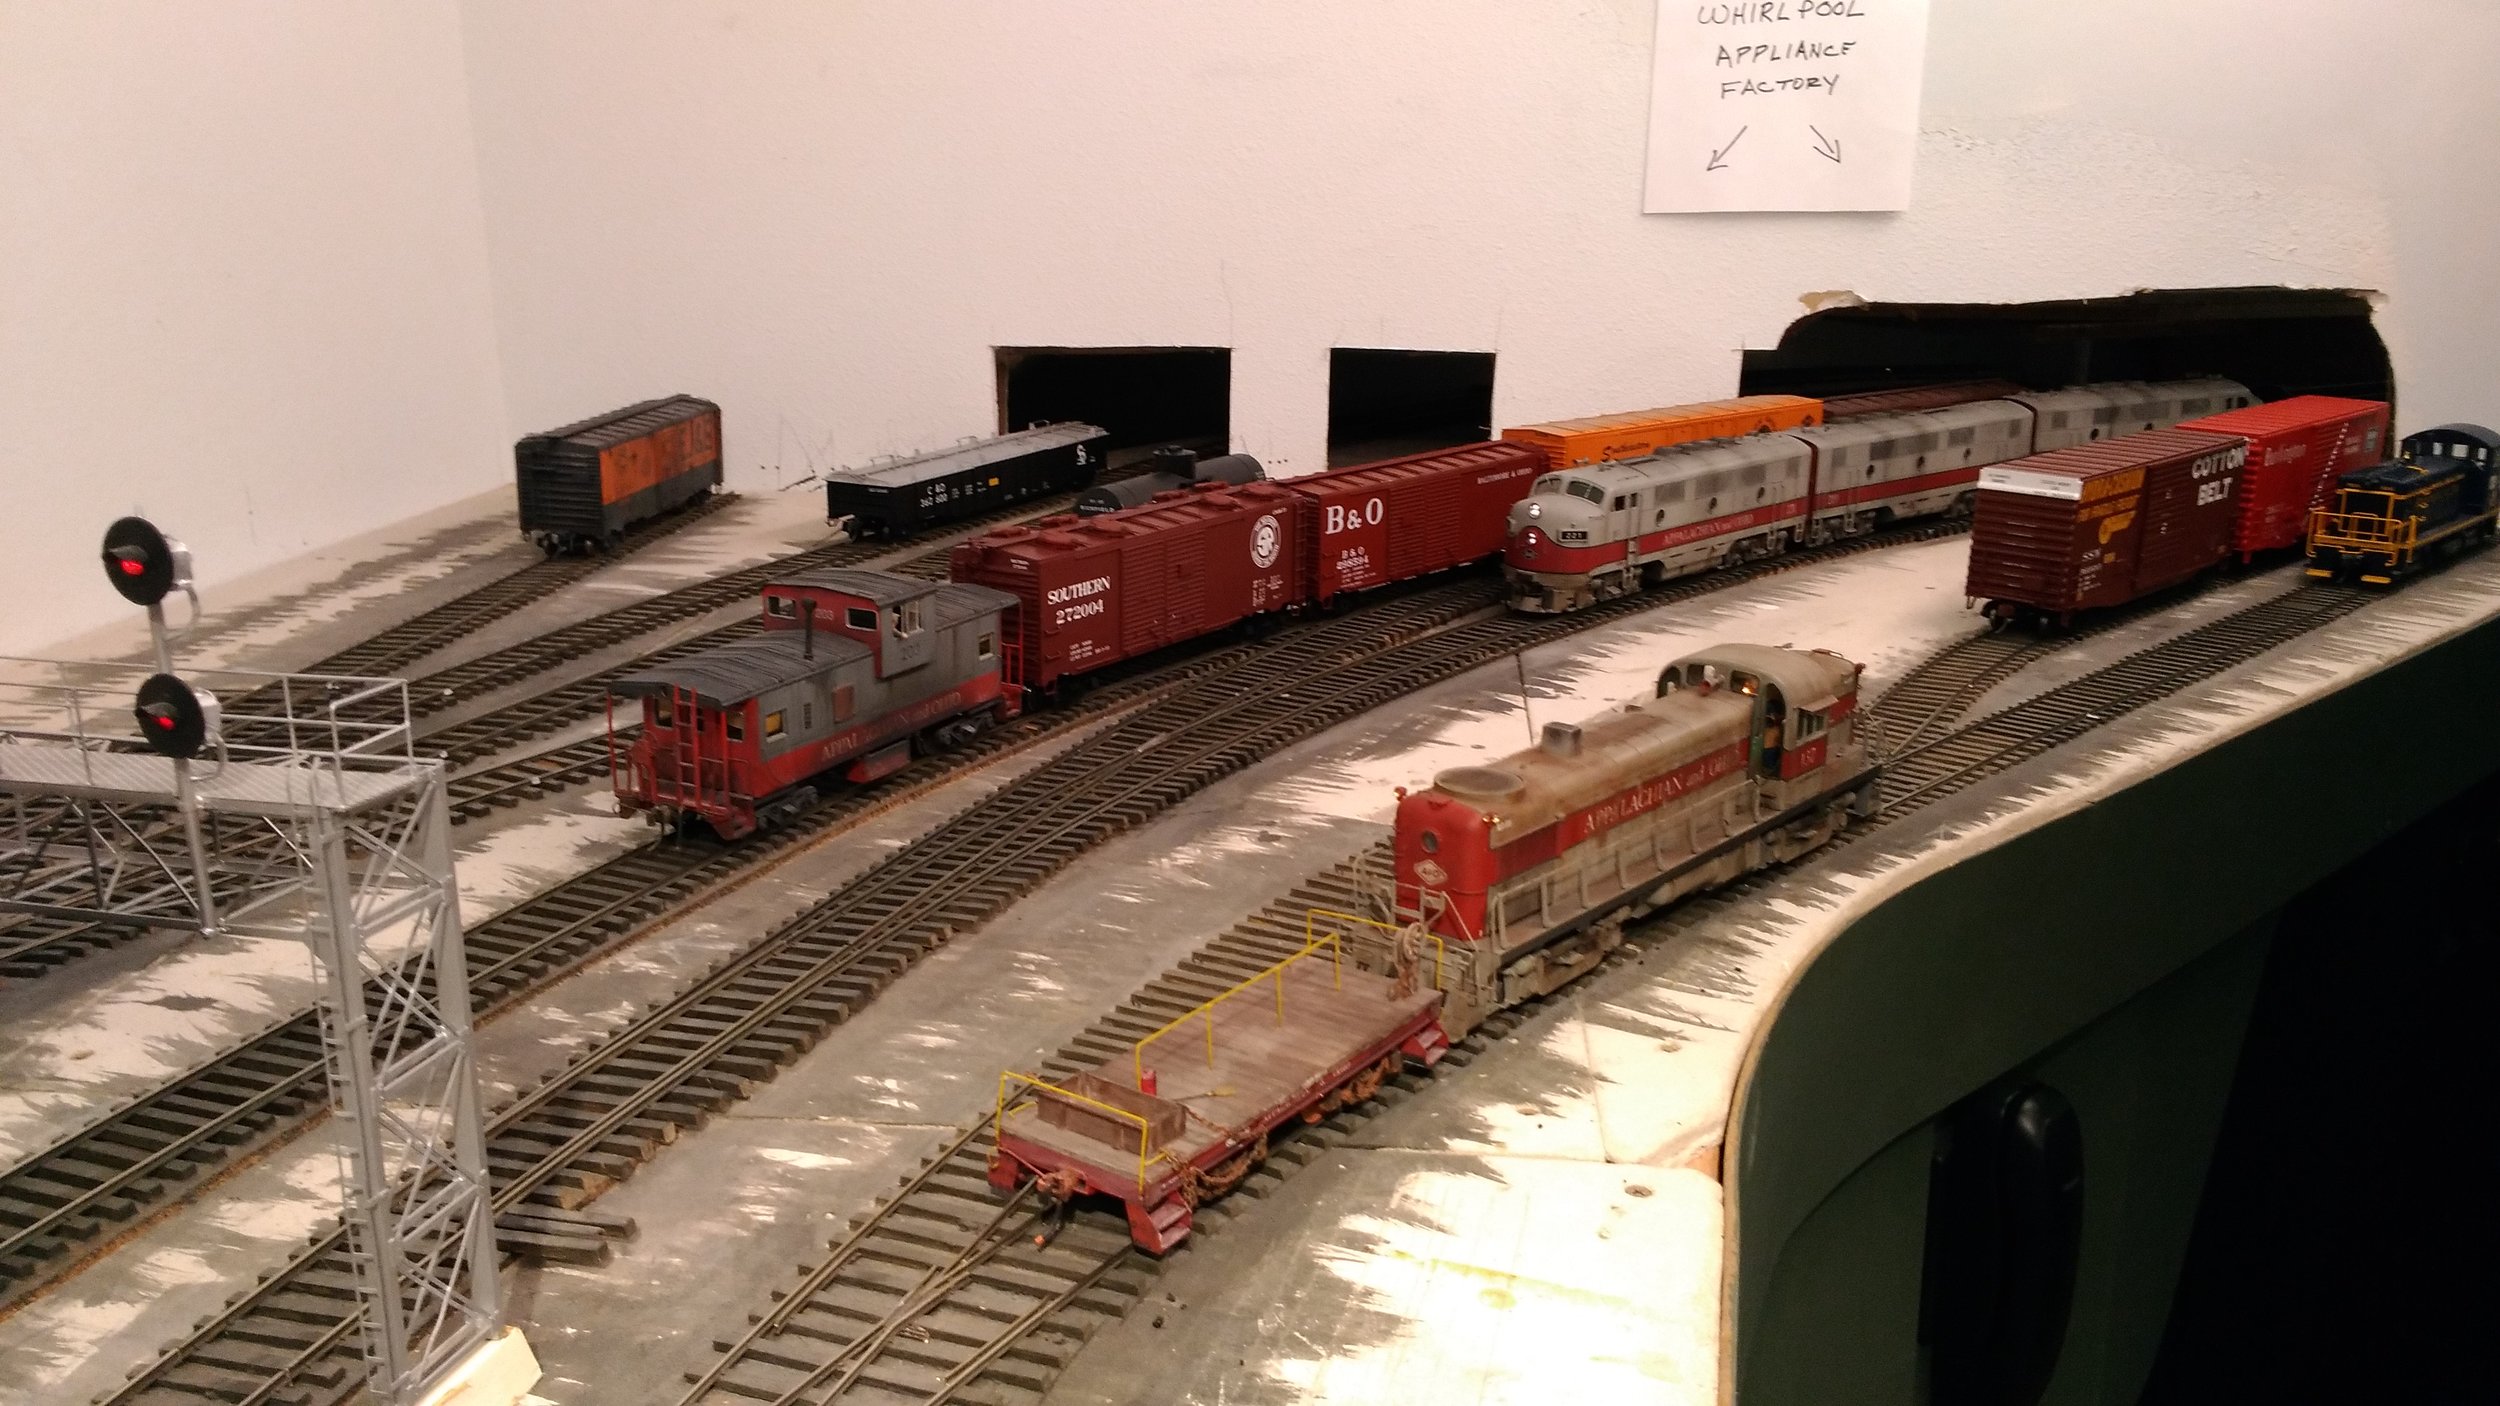
Indeed, we enter Glenn Forge, O. from under an overhead walkway of the Whirlpool plant. An RS3 with rotary idler car awaits our arrival. He'll carry out the put 'n take dance with the dumper.
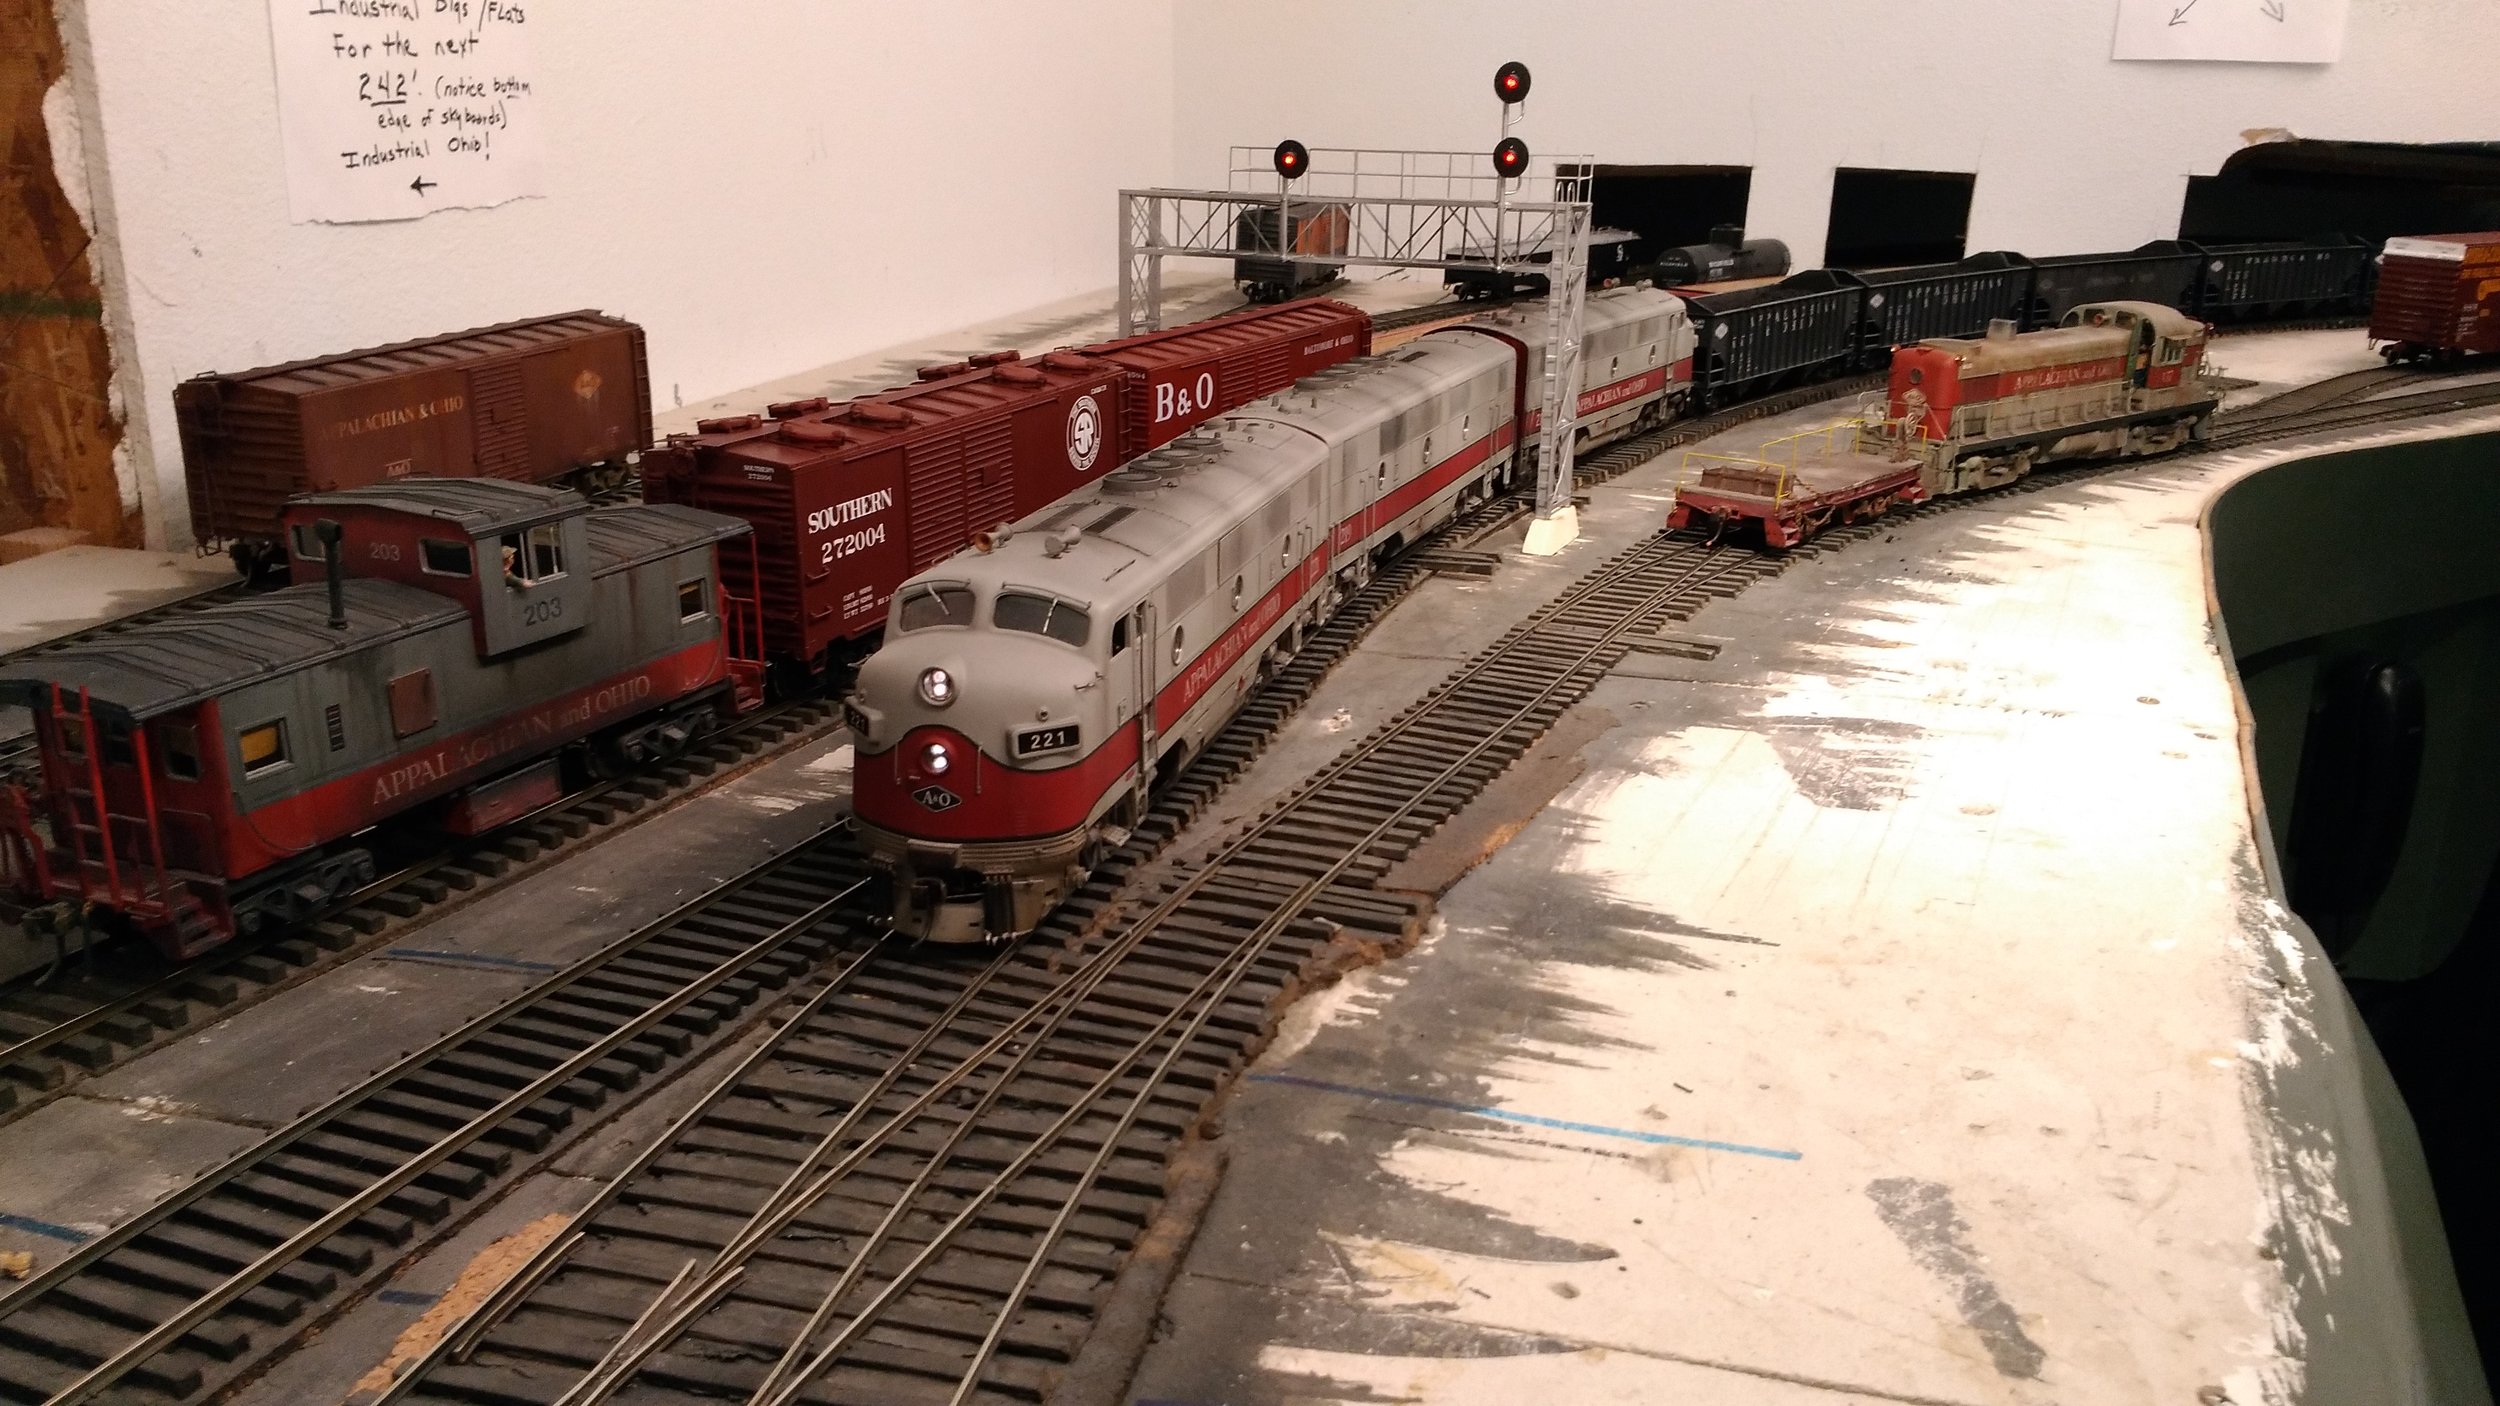
Stopping short of the switch, we call for unlock of SW 15 and then leave the South Main, entering the Coal Arrival/Departure track. A reset of SW 15 and call to the dispatcher; we're off his railroad.


