Basic Landforms
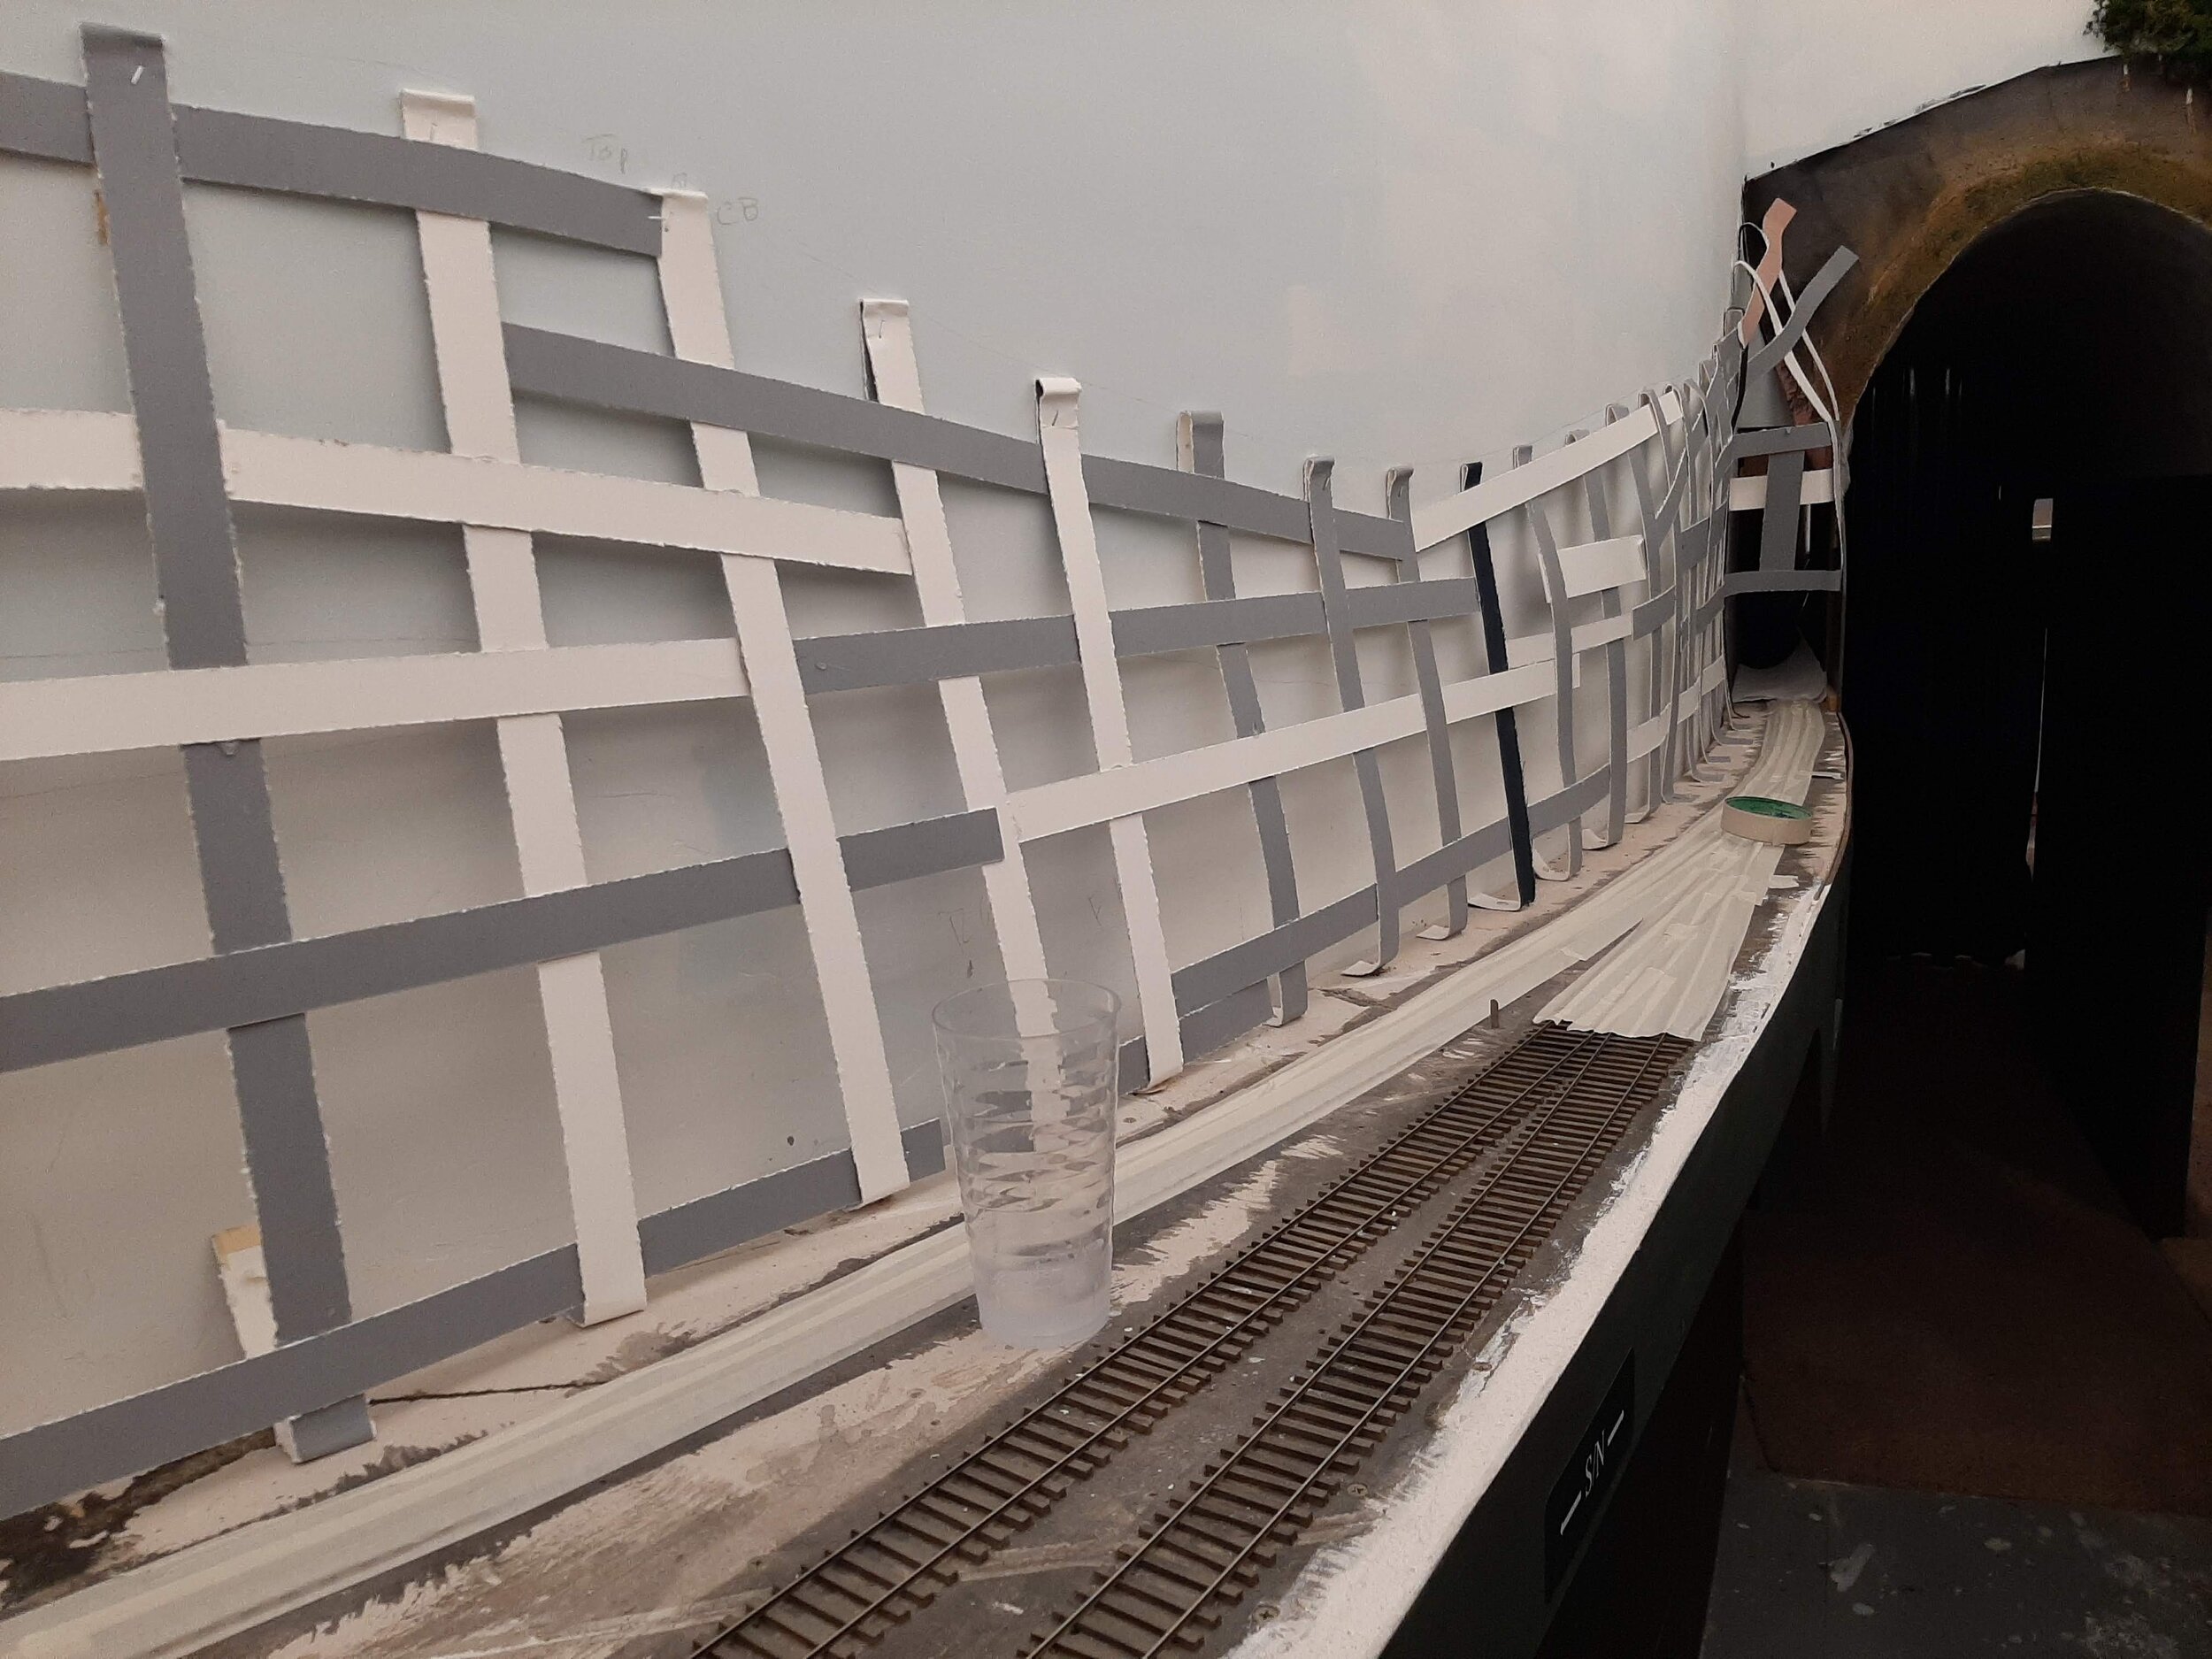


Landforms begin with a weave of heavy cardstock, stapled and hot glued into place. Using my table saw and an old blade, I cut photo matboard obtained (saved for me) from picture framing shops. Just ask in advance :)
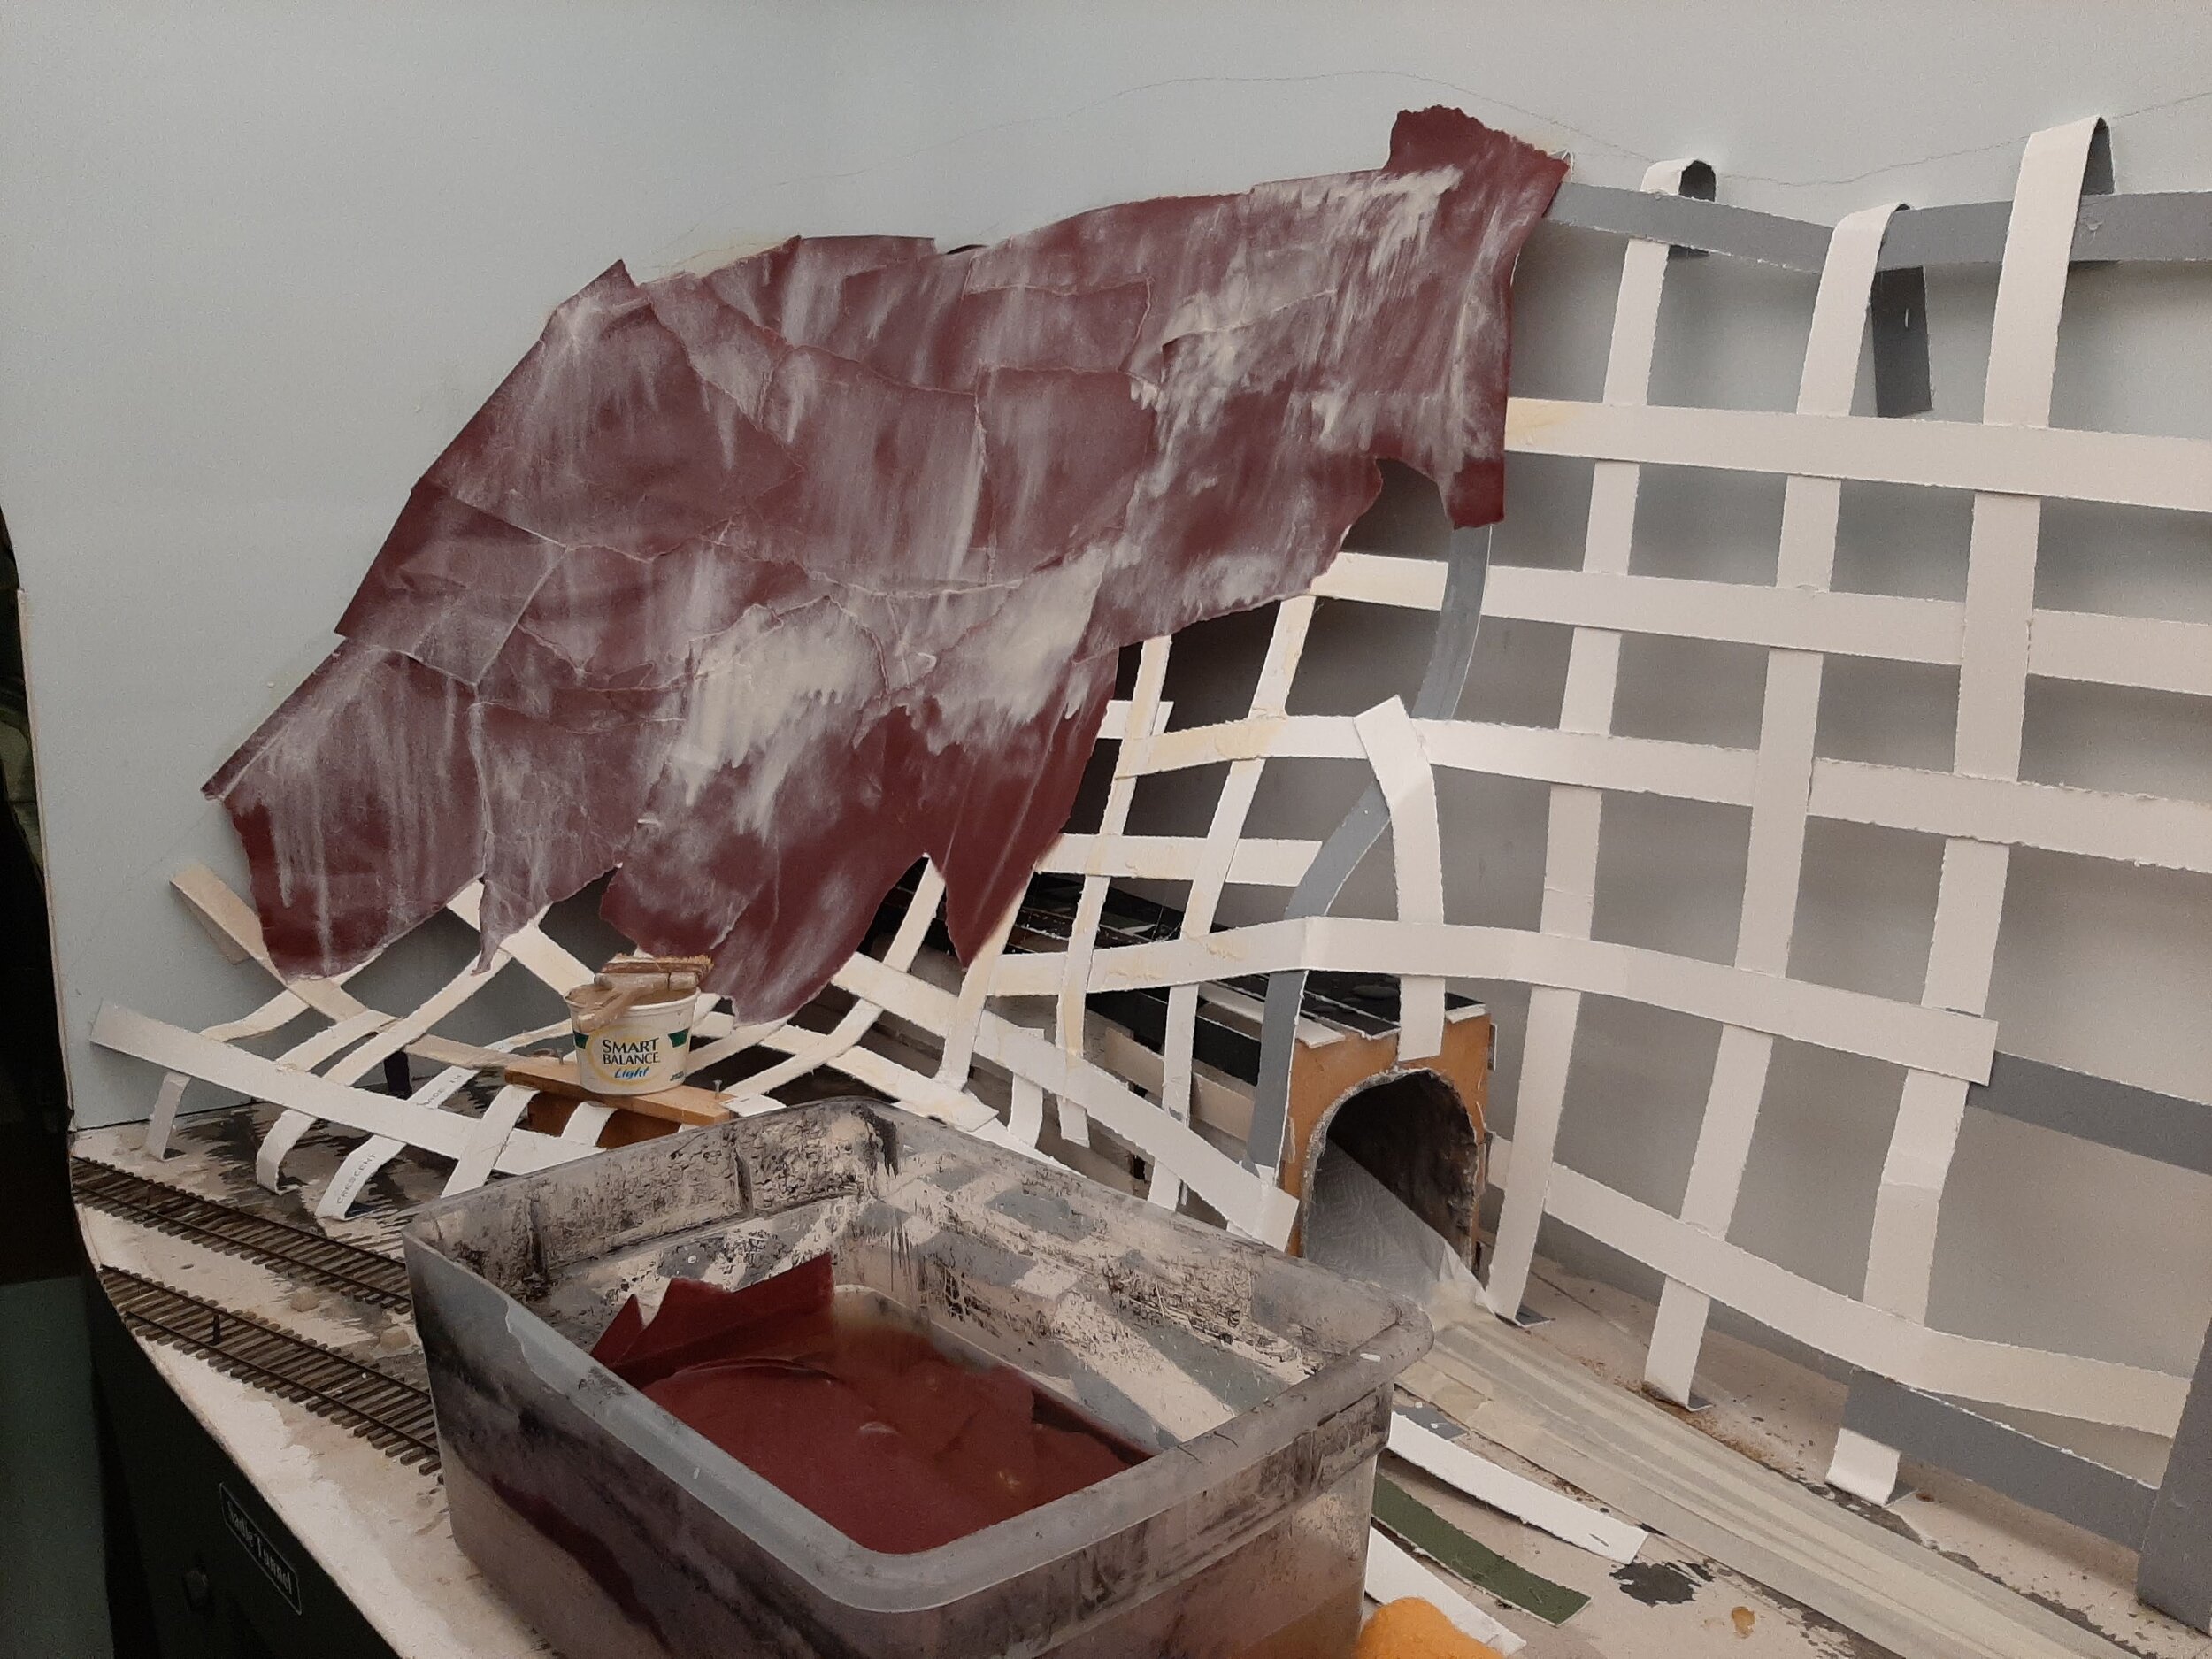
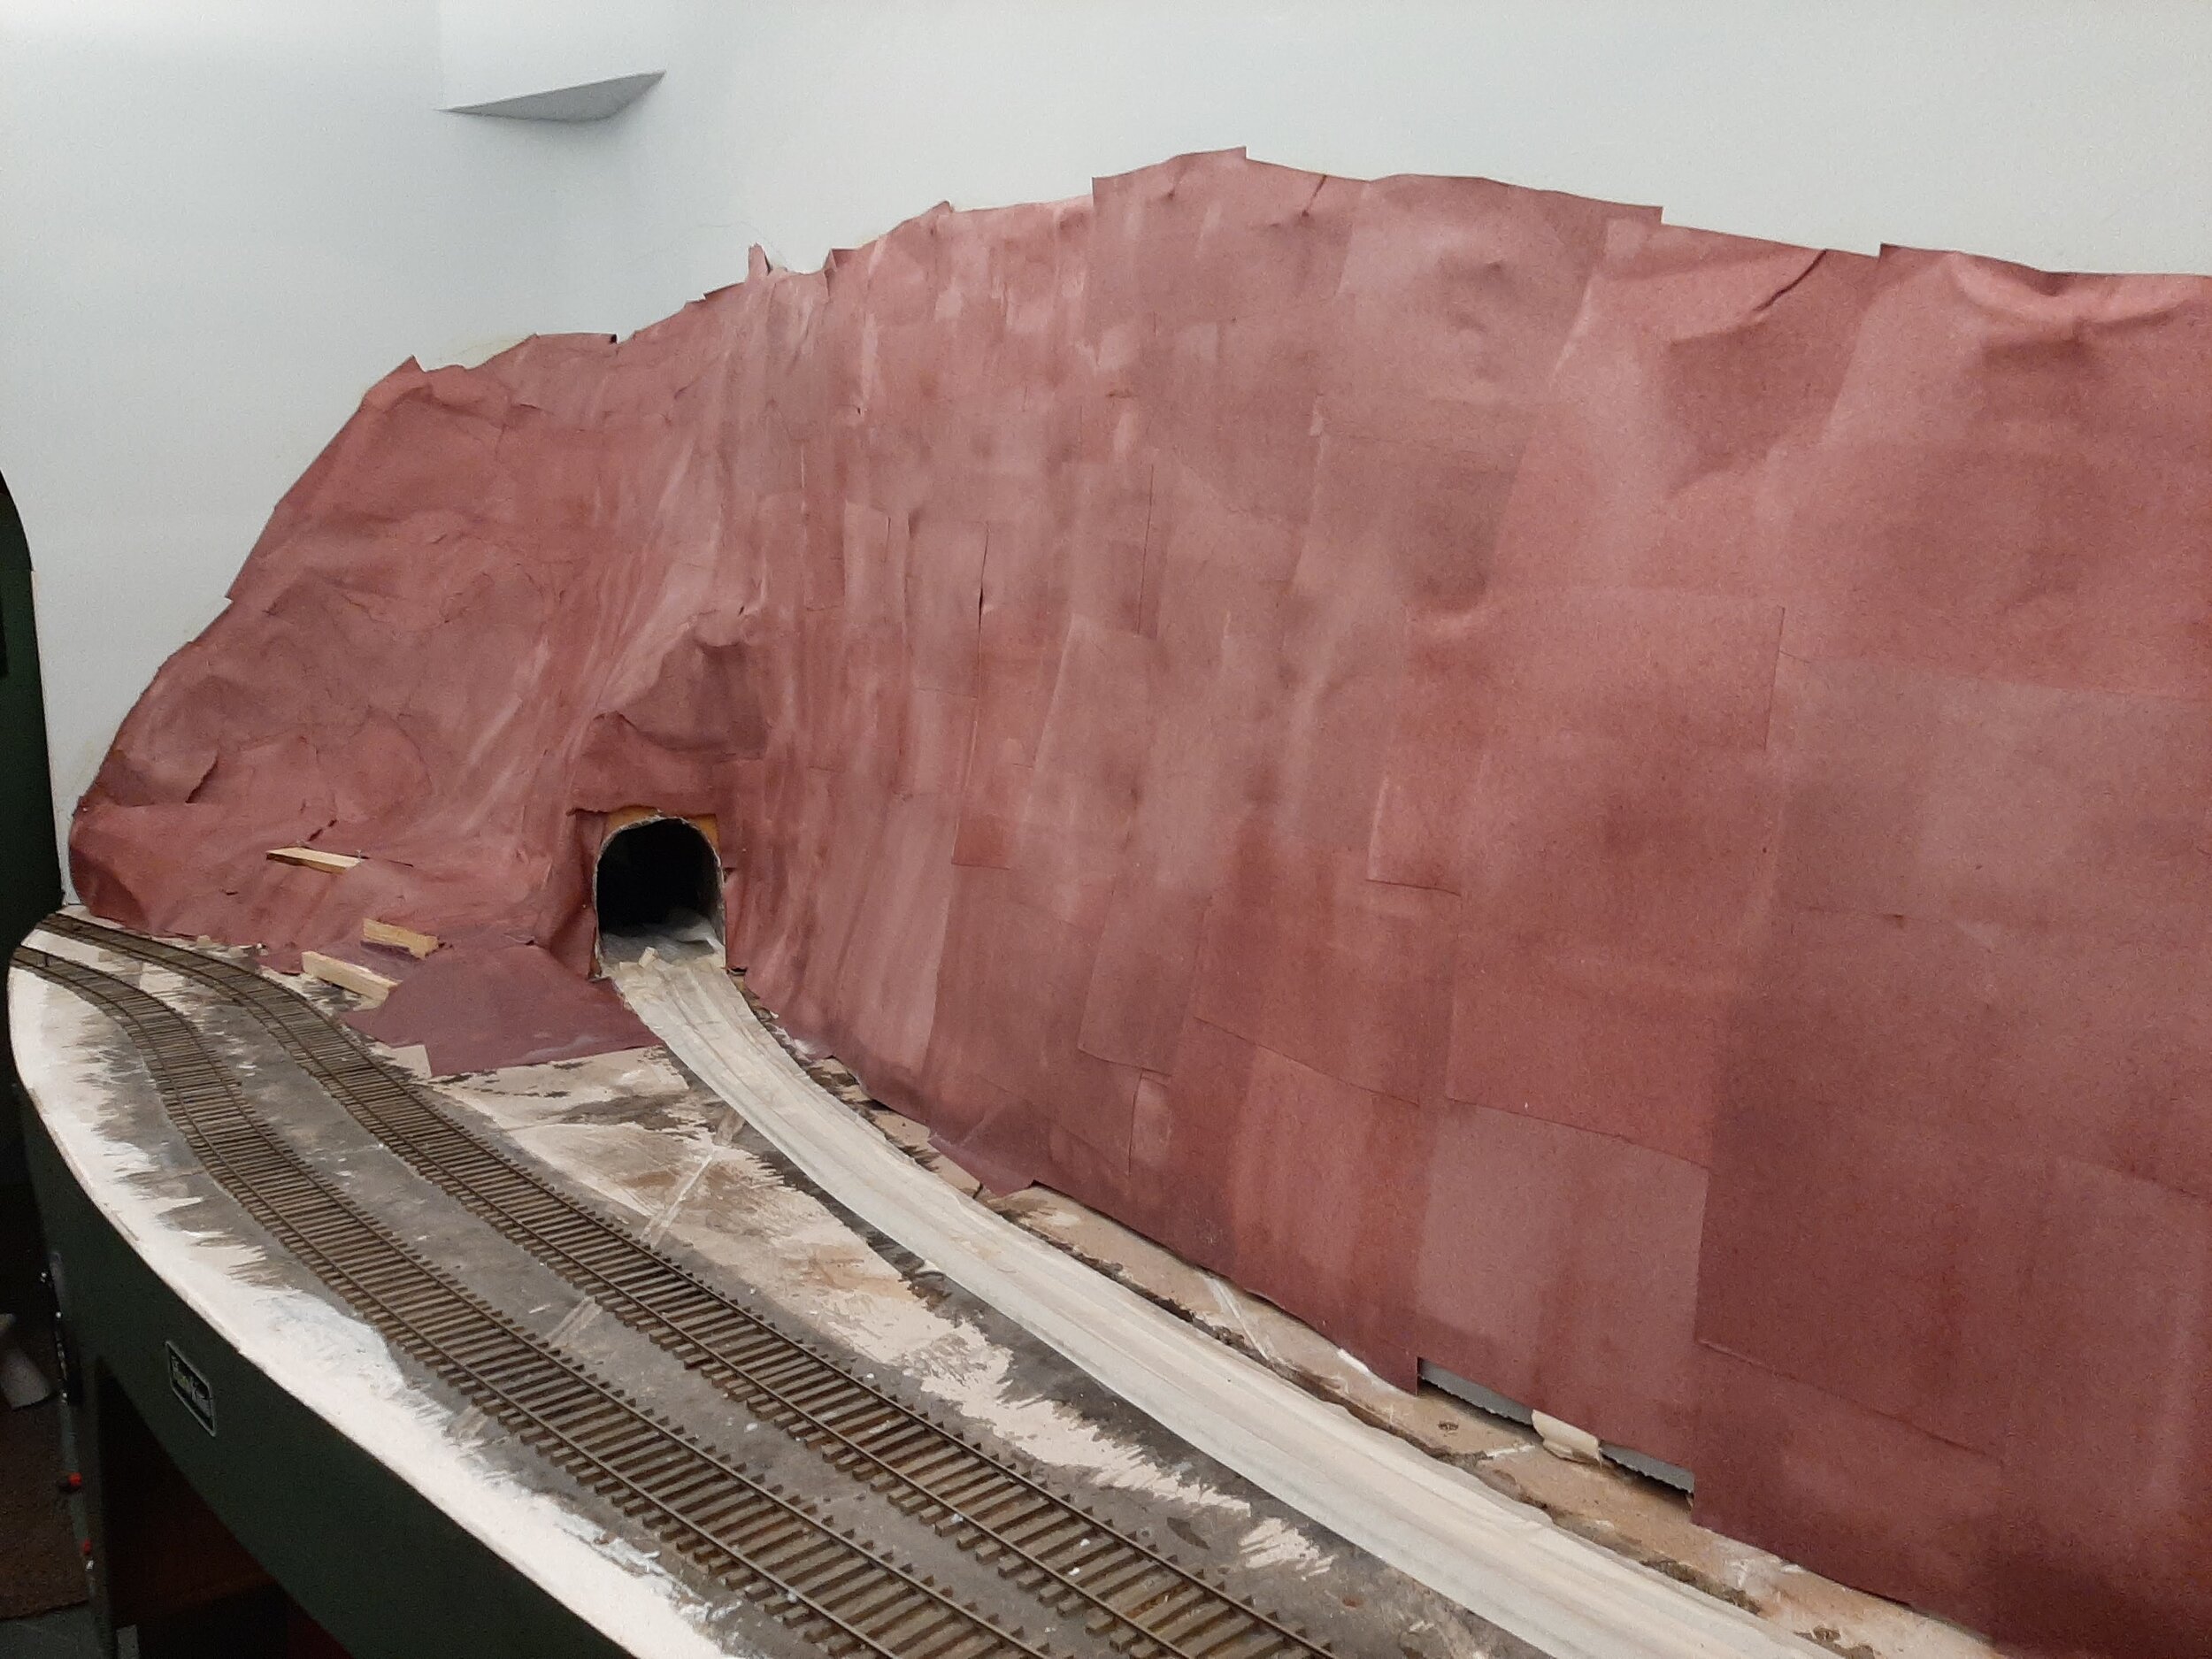
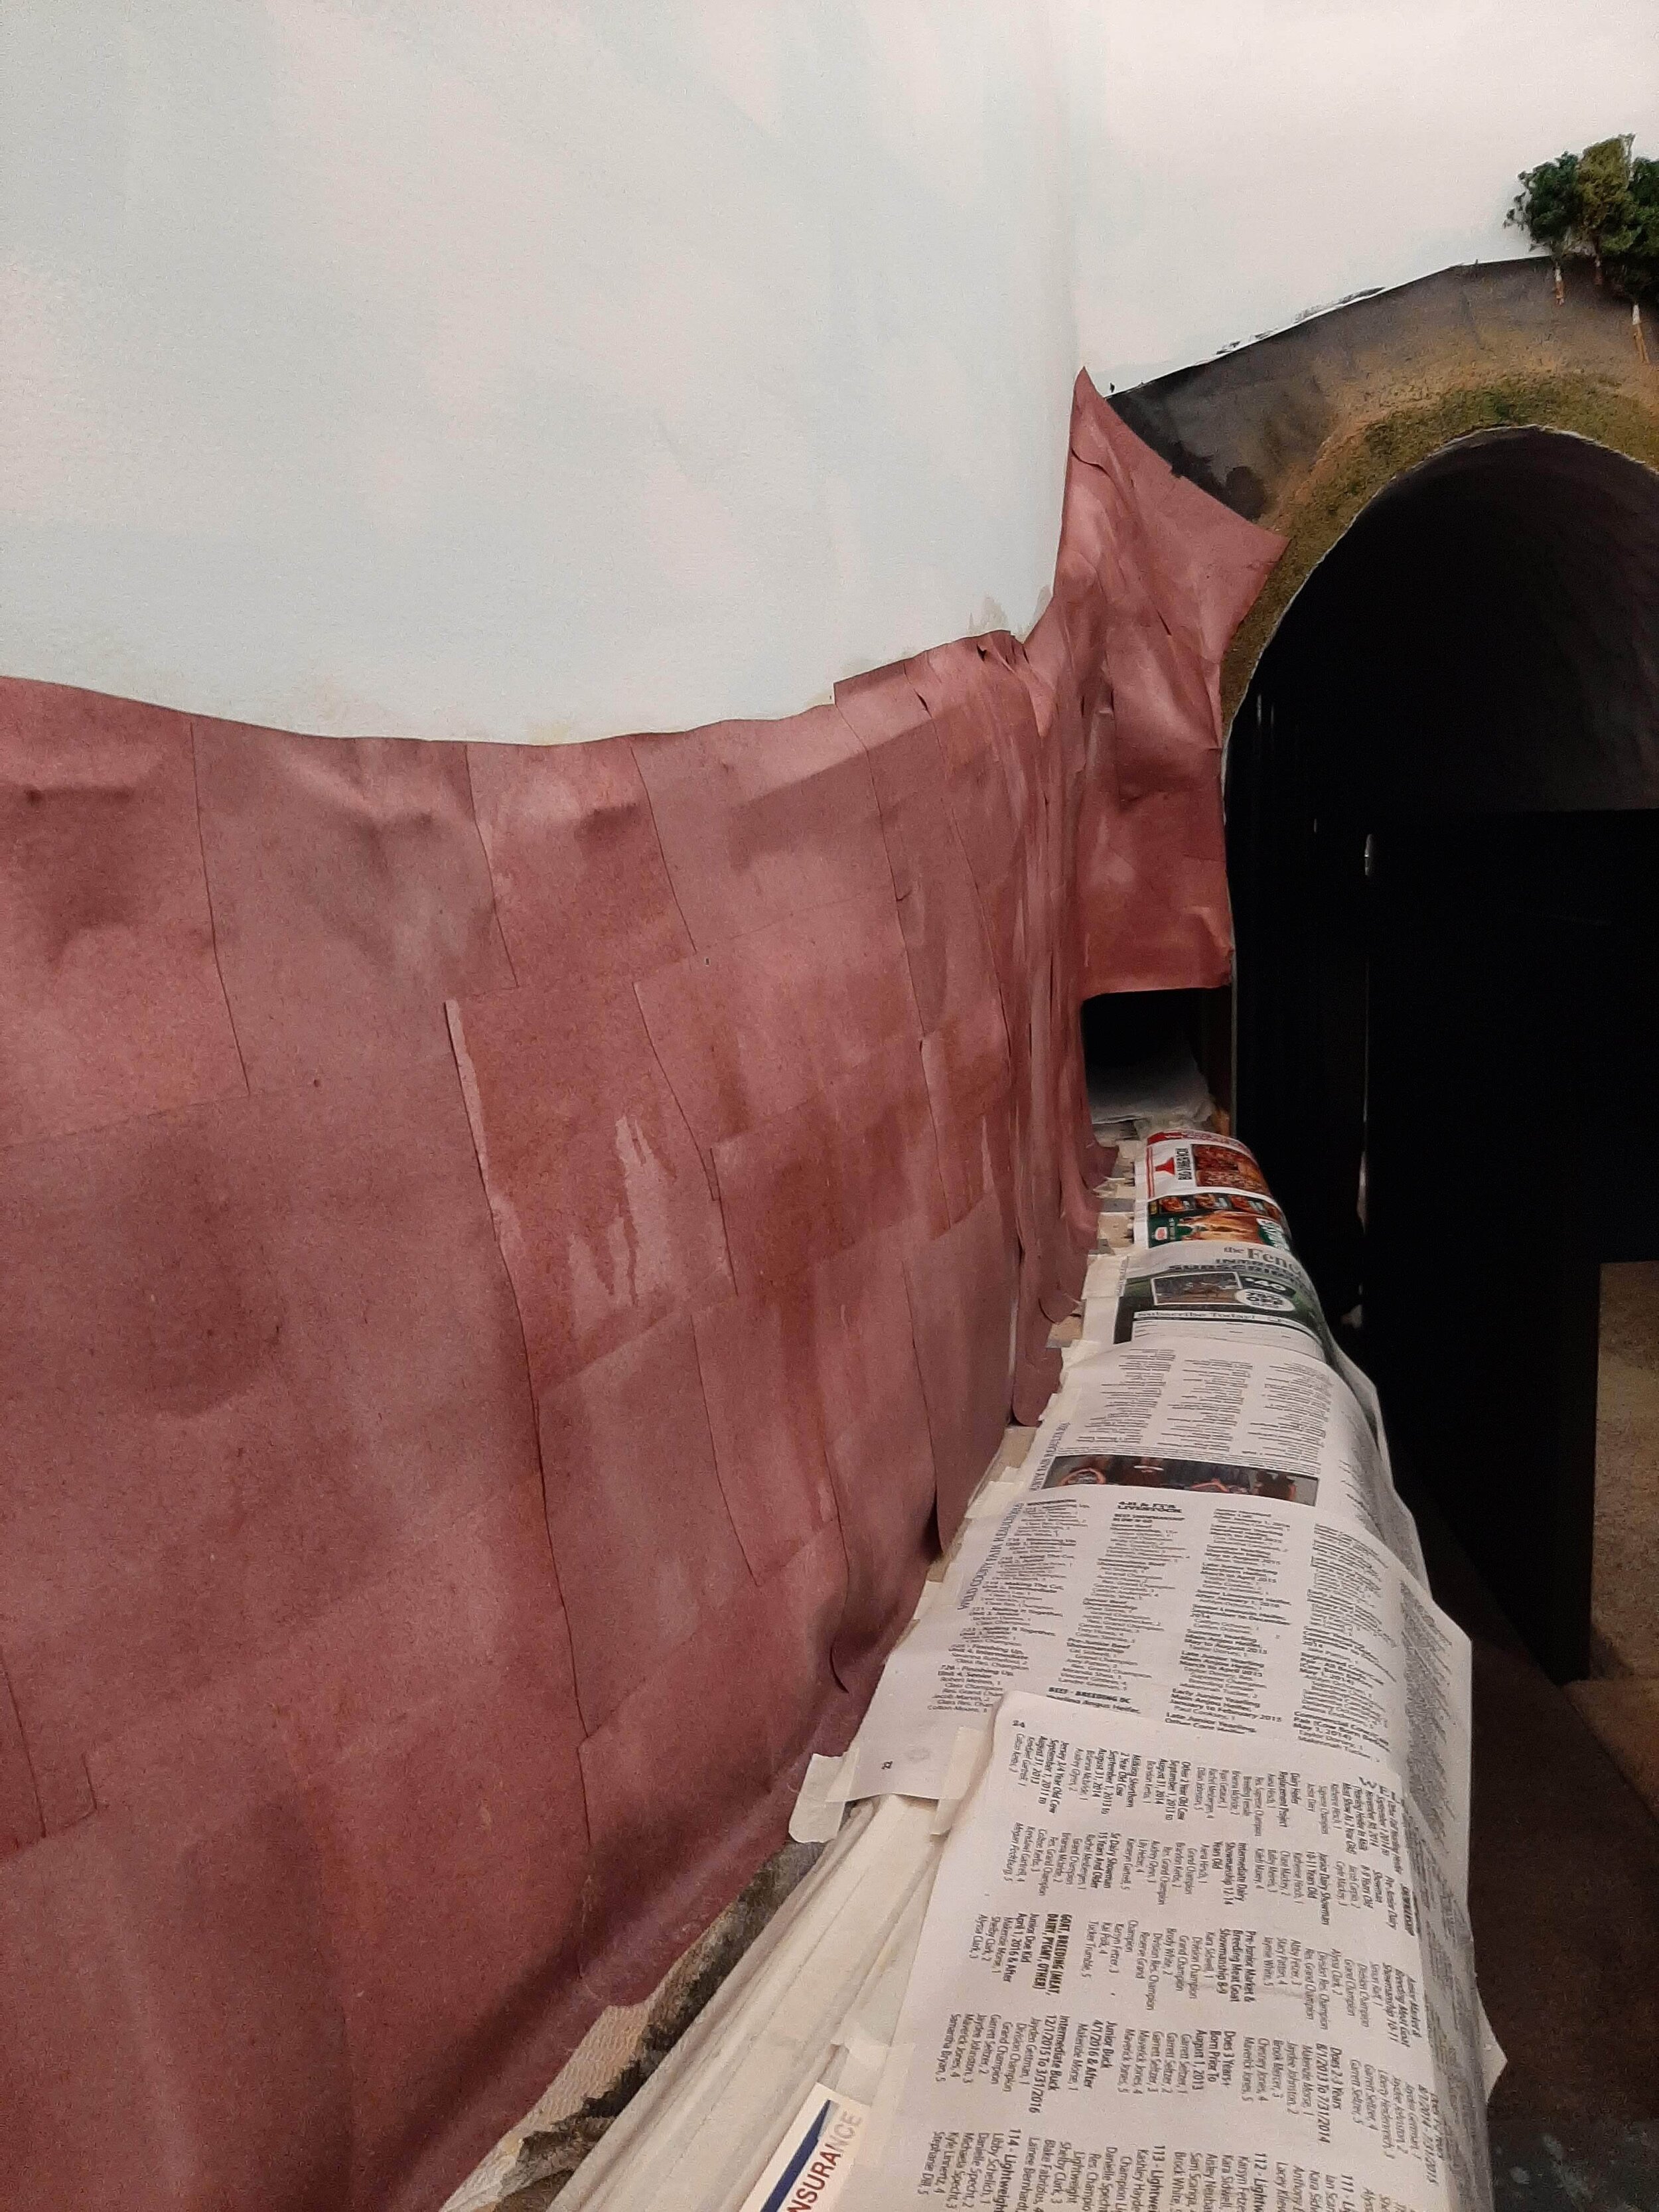
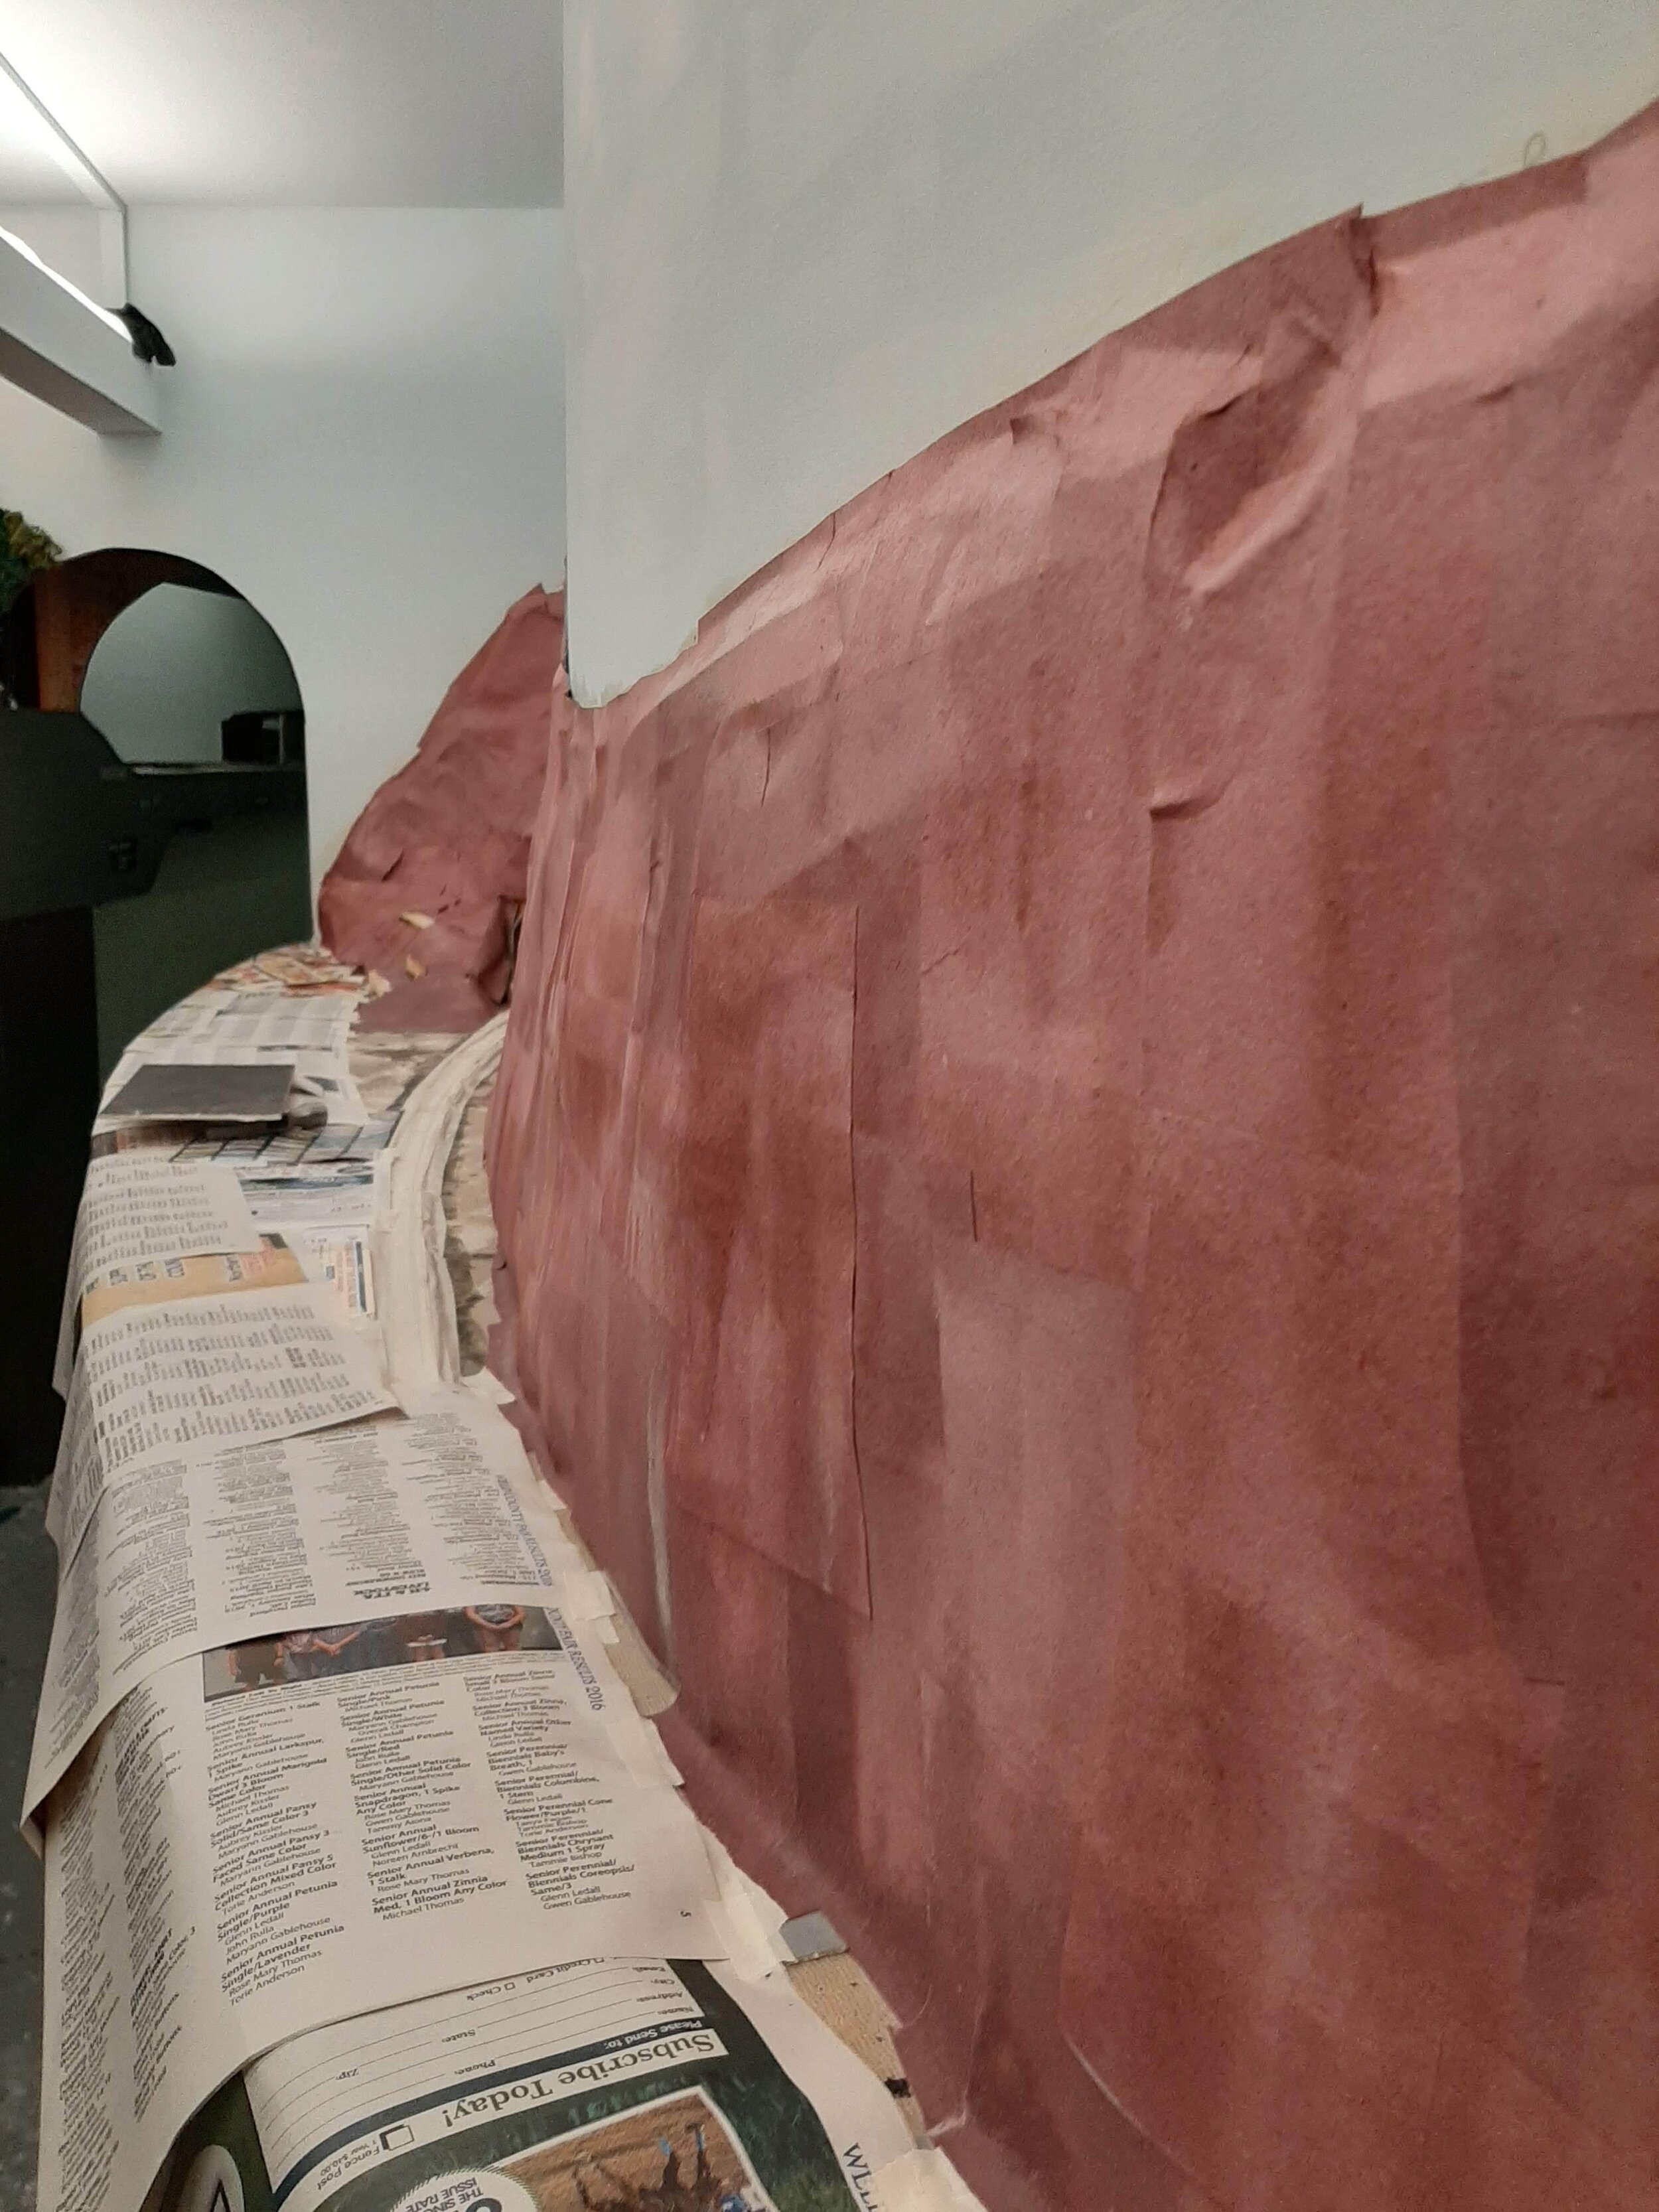
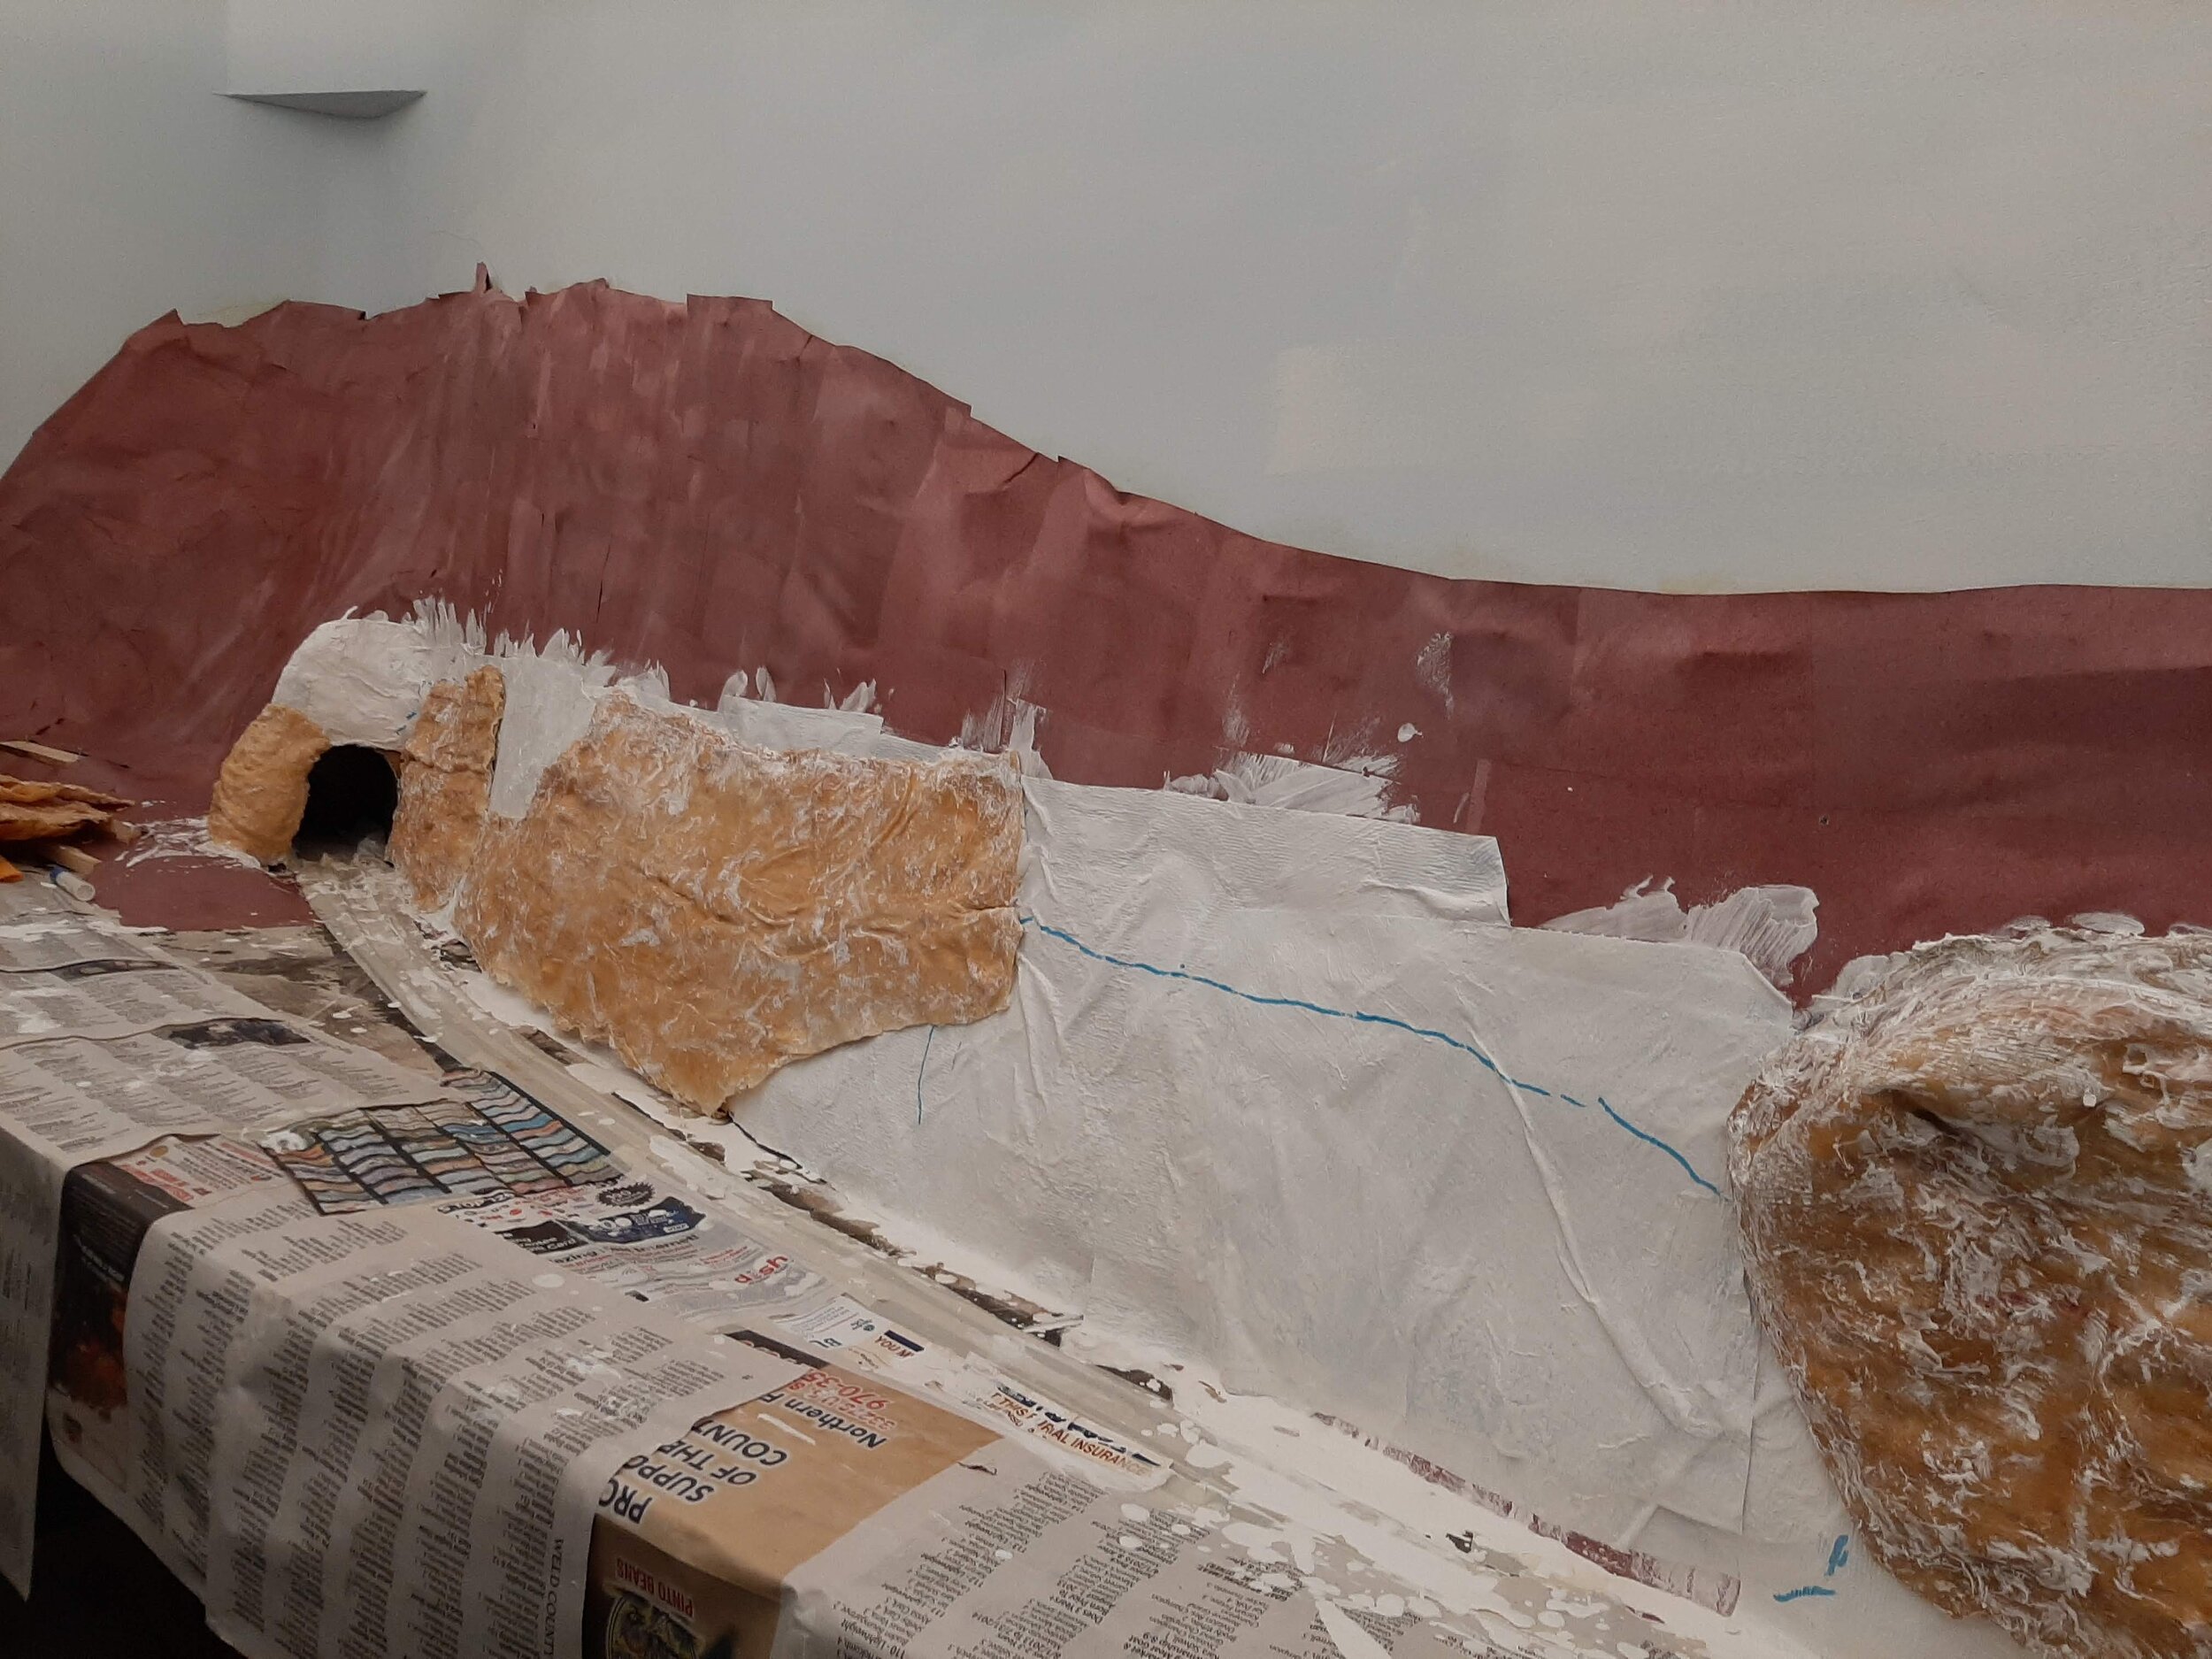
Over the weave was added red rosin paper, available at big box stores. Torn into various sizes, I soak them in water first to make them pliable. Yellow glue is slopped onto the cardstock strips, the rosin paper applied, and then then repaint with glue. Immediately add a second overlapping layer of rosin paper and more glue. Neatness here is not a virtue.
Is this Appalachia or Utah? Tunnel construction is on another page.
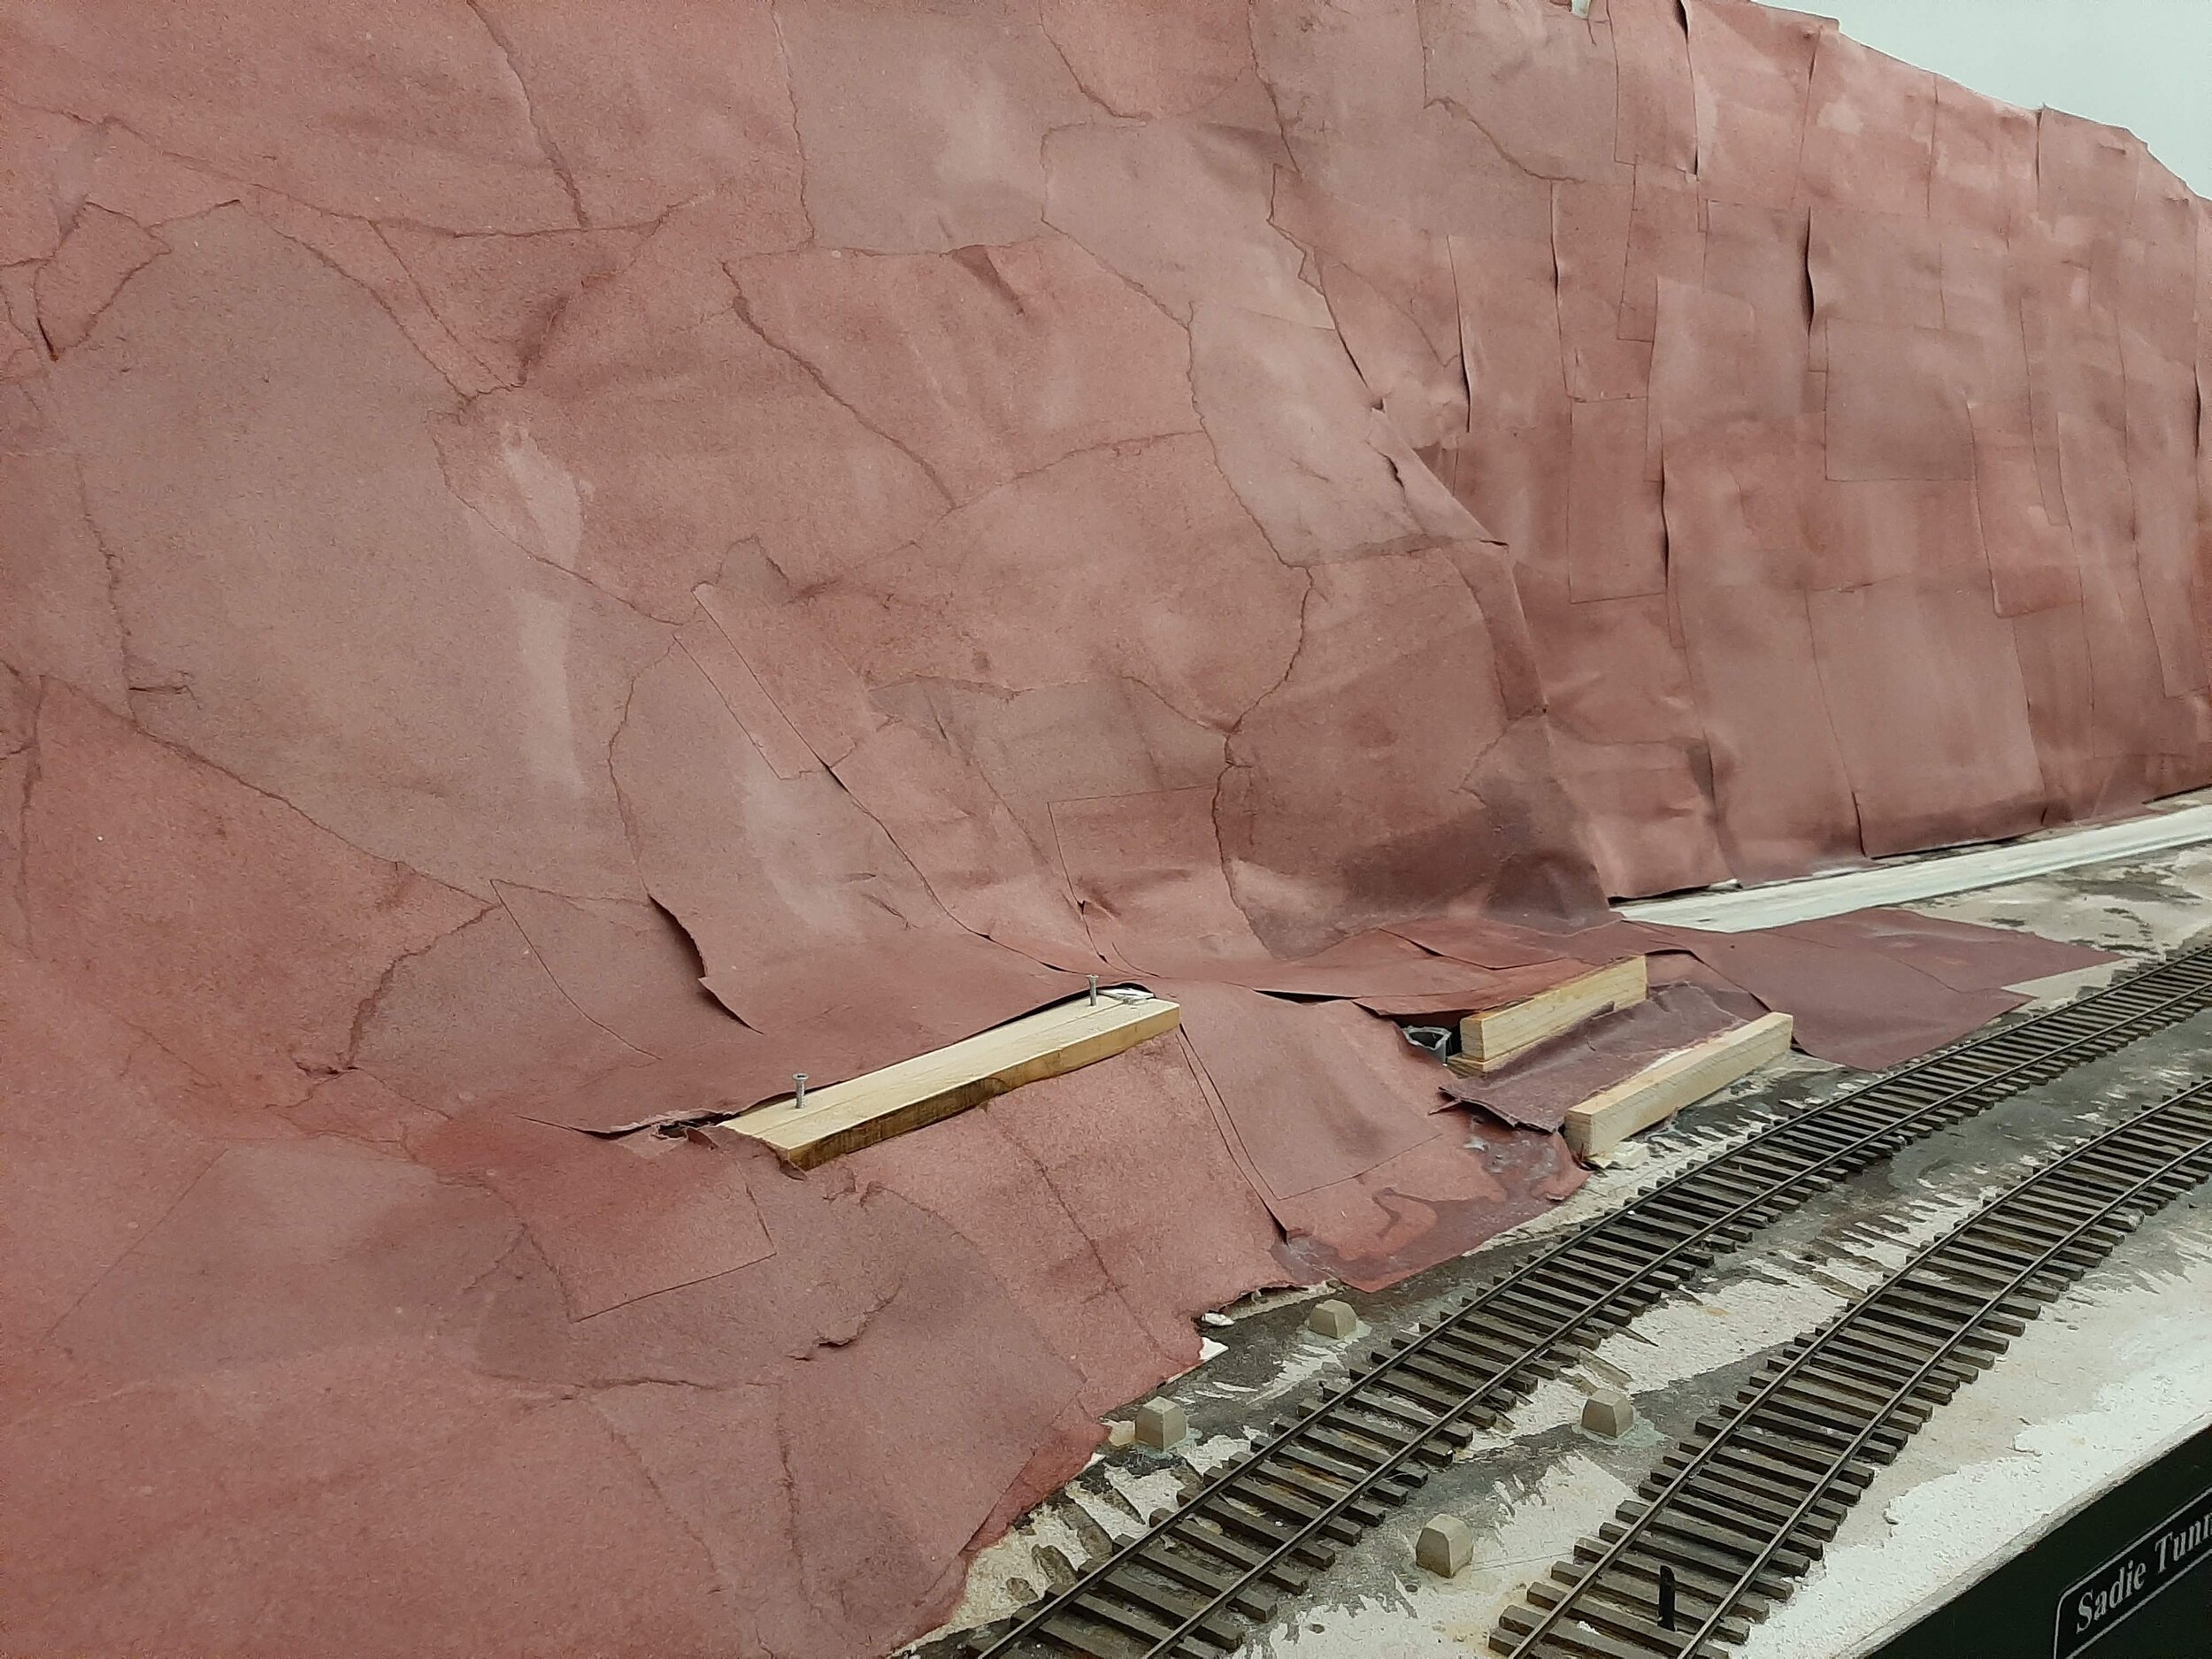
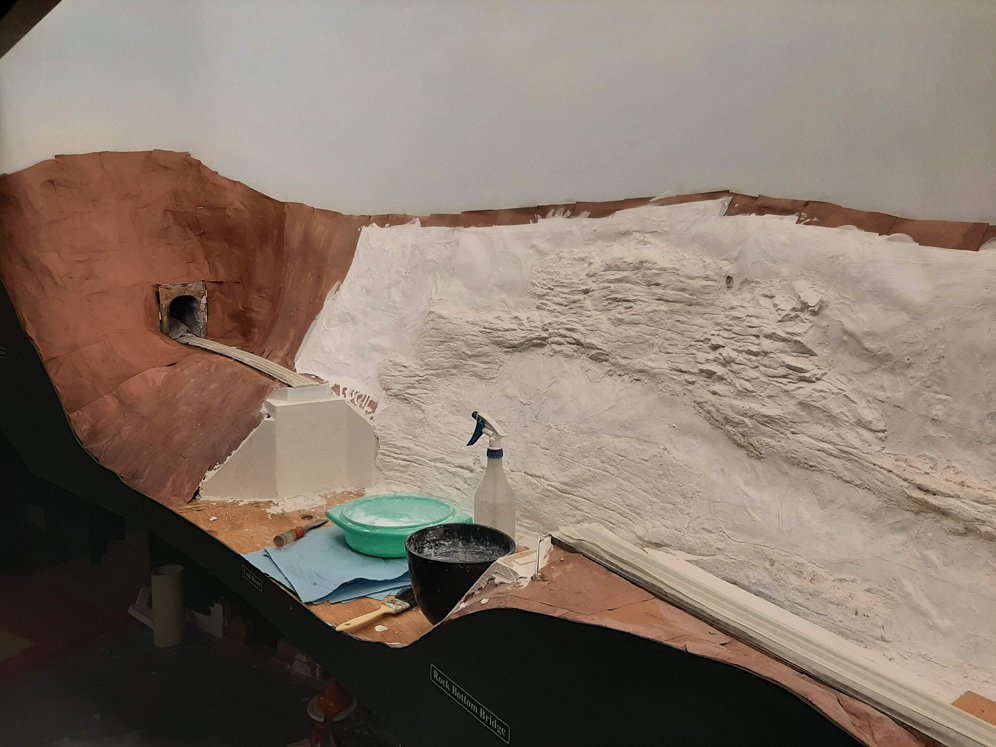
The wood strips are eventual foundations for the Hawkins Loadout located on the Kayford Branch. I also added tubes to carry wires for the eventual lighting that will be part of the scene. The photo also reveals that I relocated the loadout spurs so they terminate into the layout edge. This greatly improved the overall appearance of the scene.
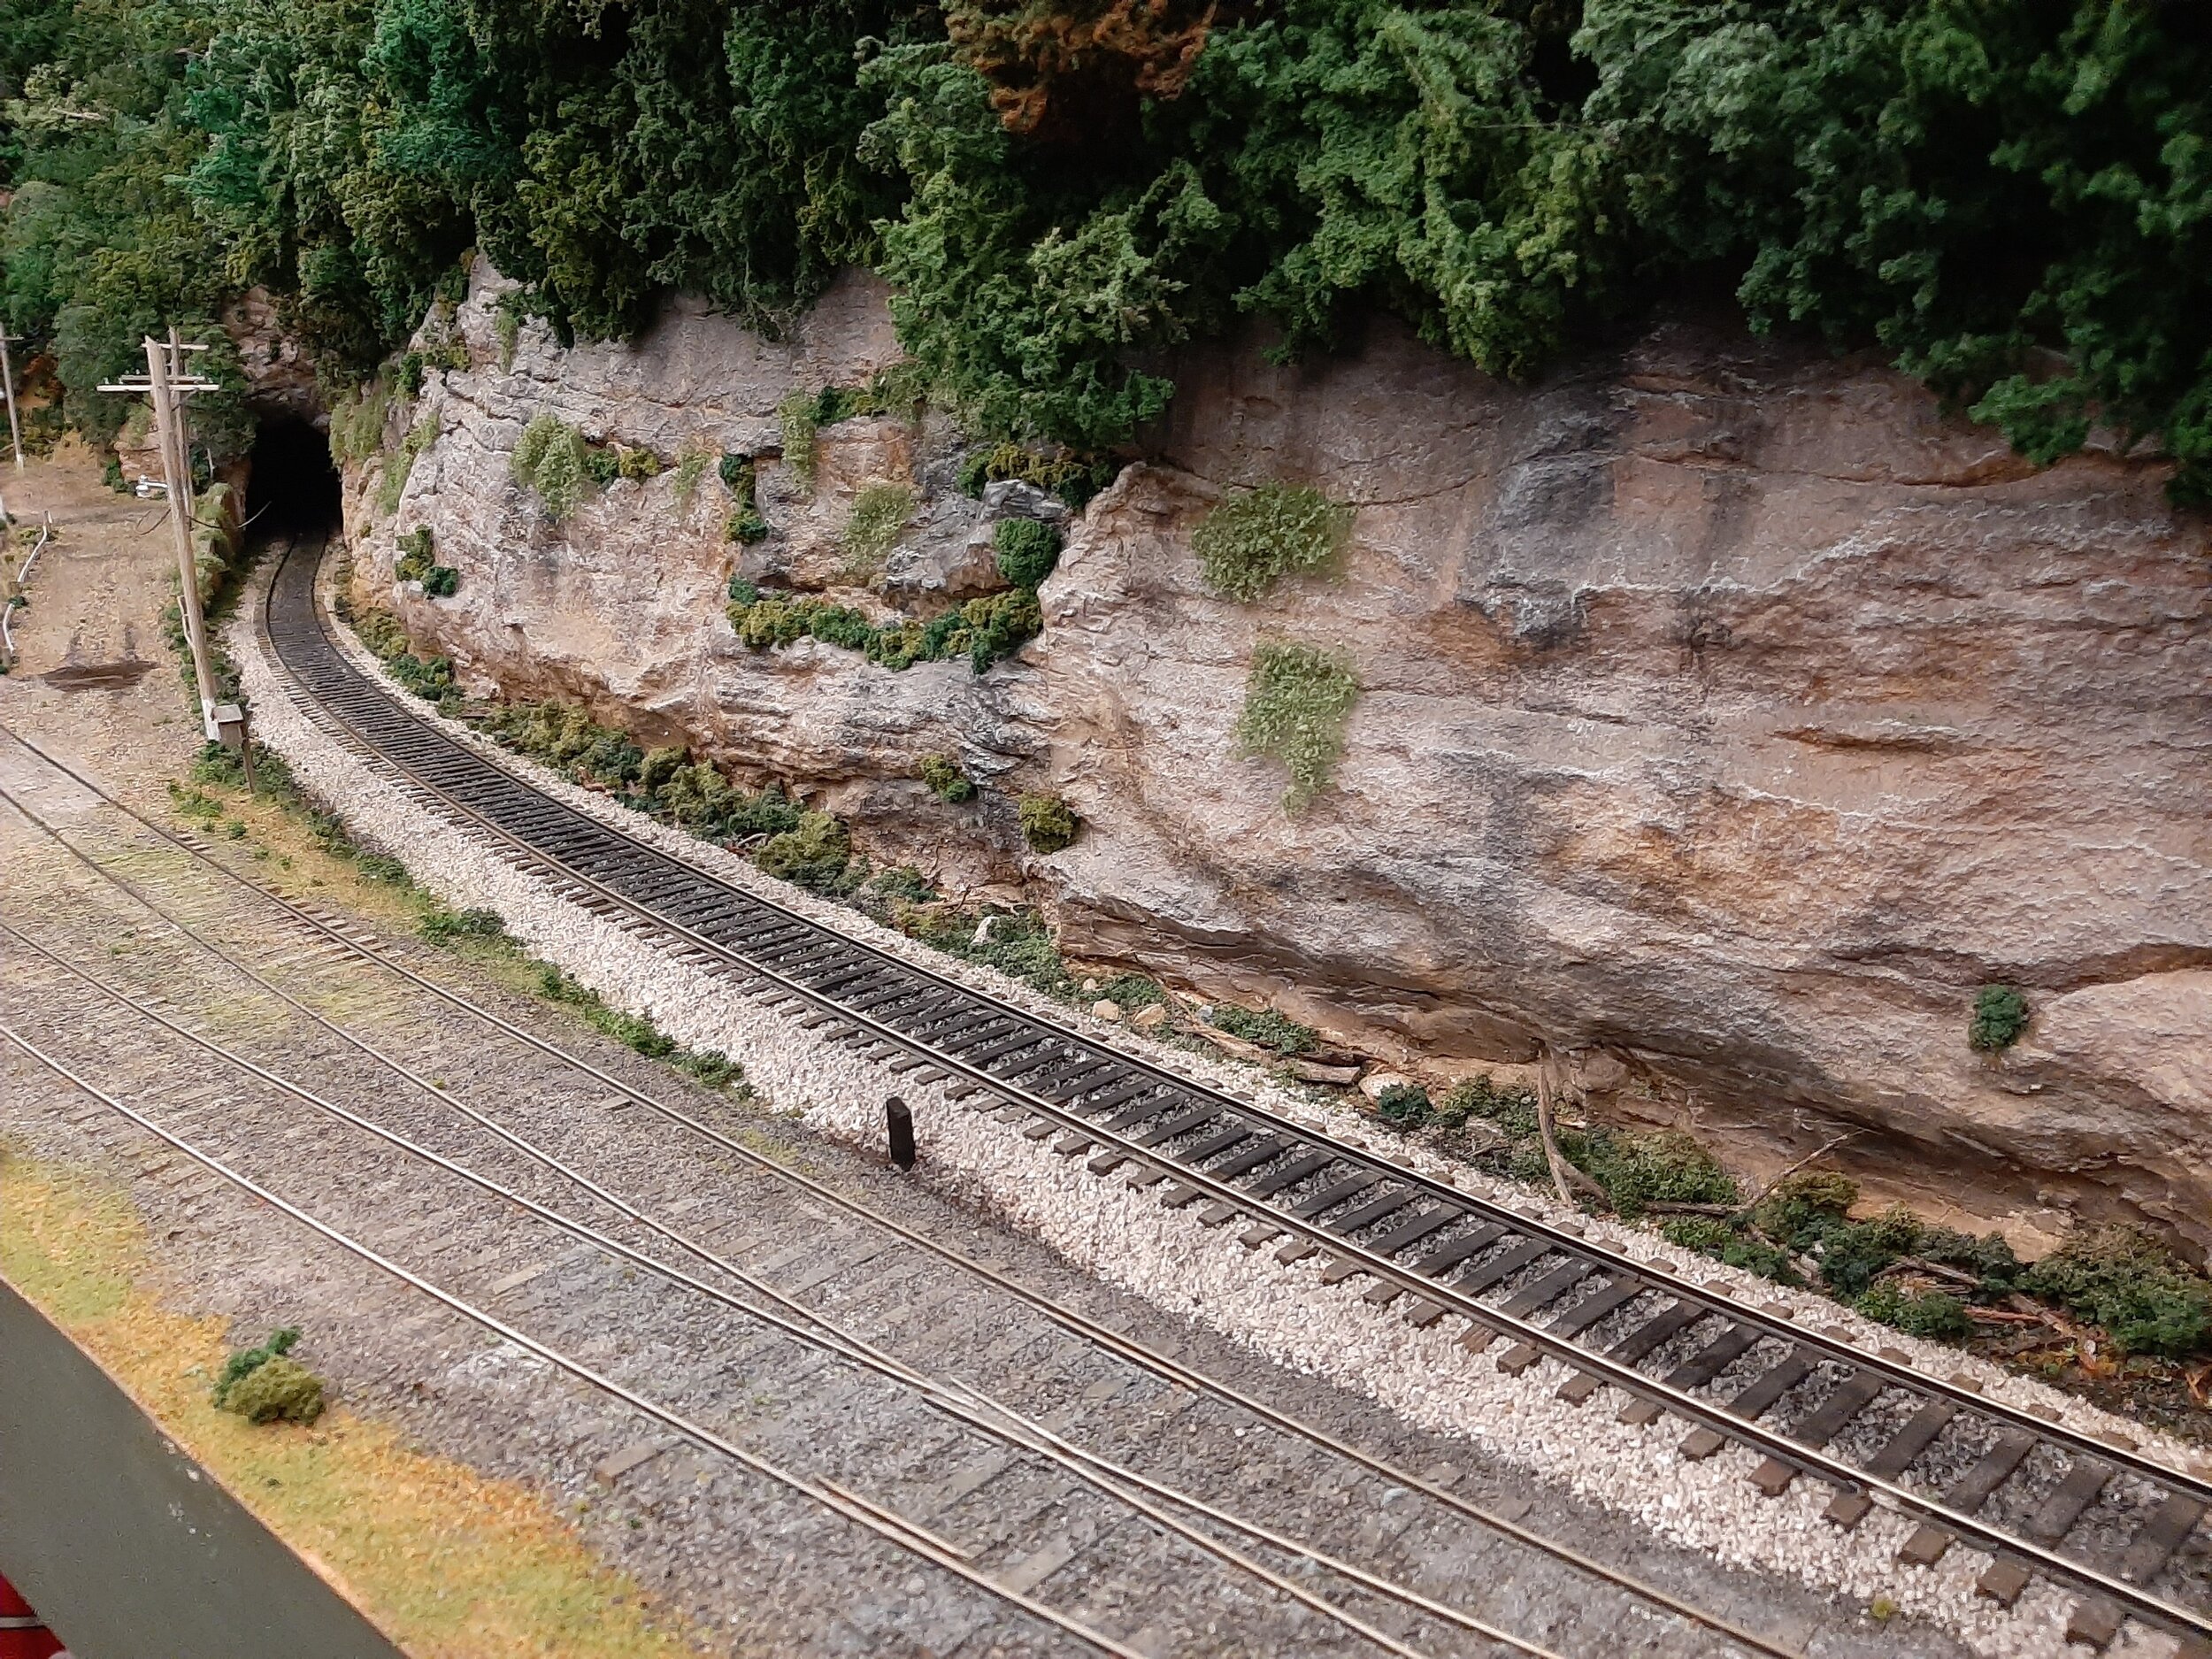
Looking toward the long “People Tunnel” on the Kayford.
Looking from the opposite direction at Hawkins. Vertical scenery? Just wait.
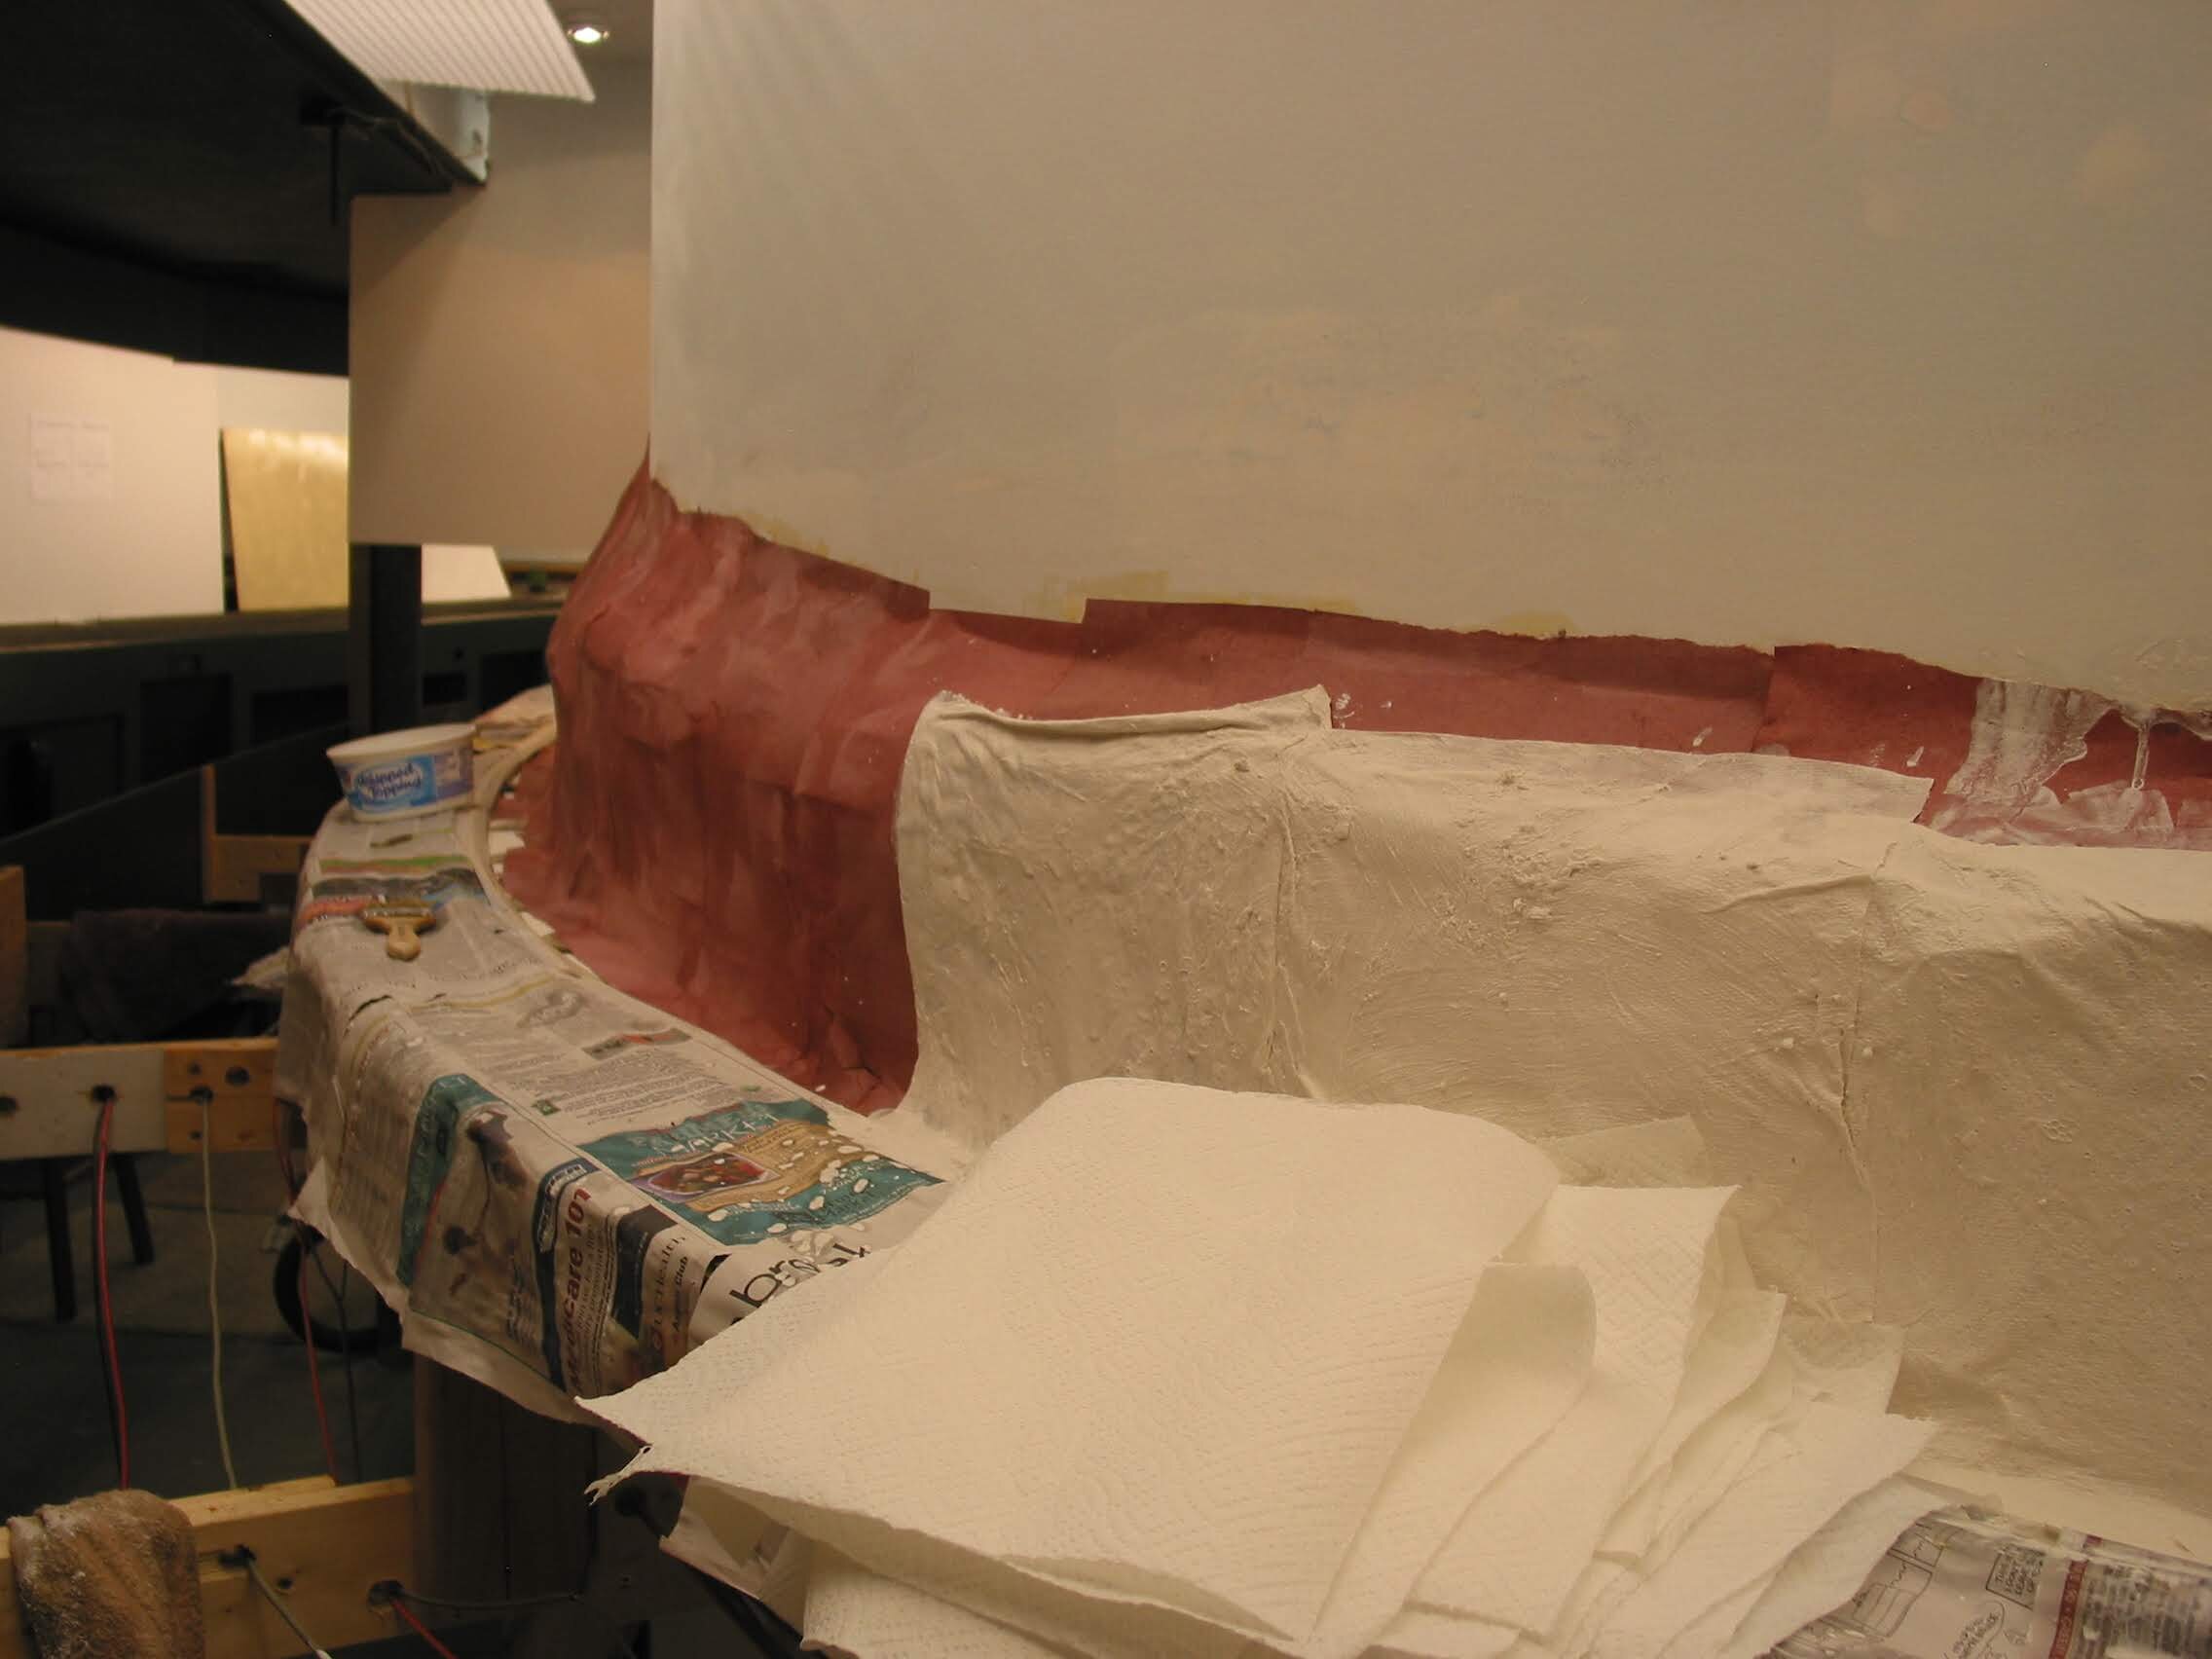
Where rockwork is to be added, paper towel dipped in a slurry of Hydrocal is applied over the rosin paper. A couple overlapping layers does the trick. This scene is the beginning of scenery work at Mt. Union, WV.
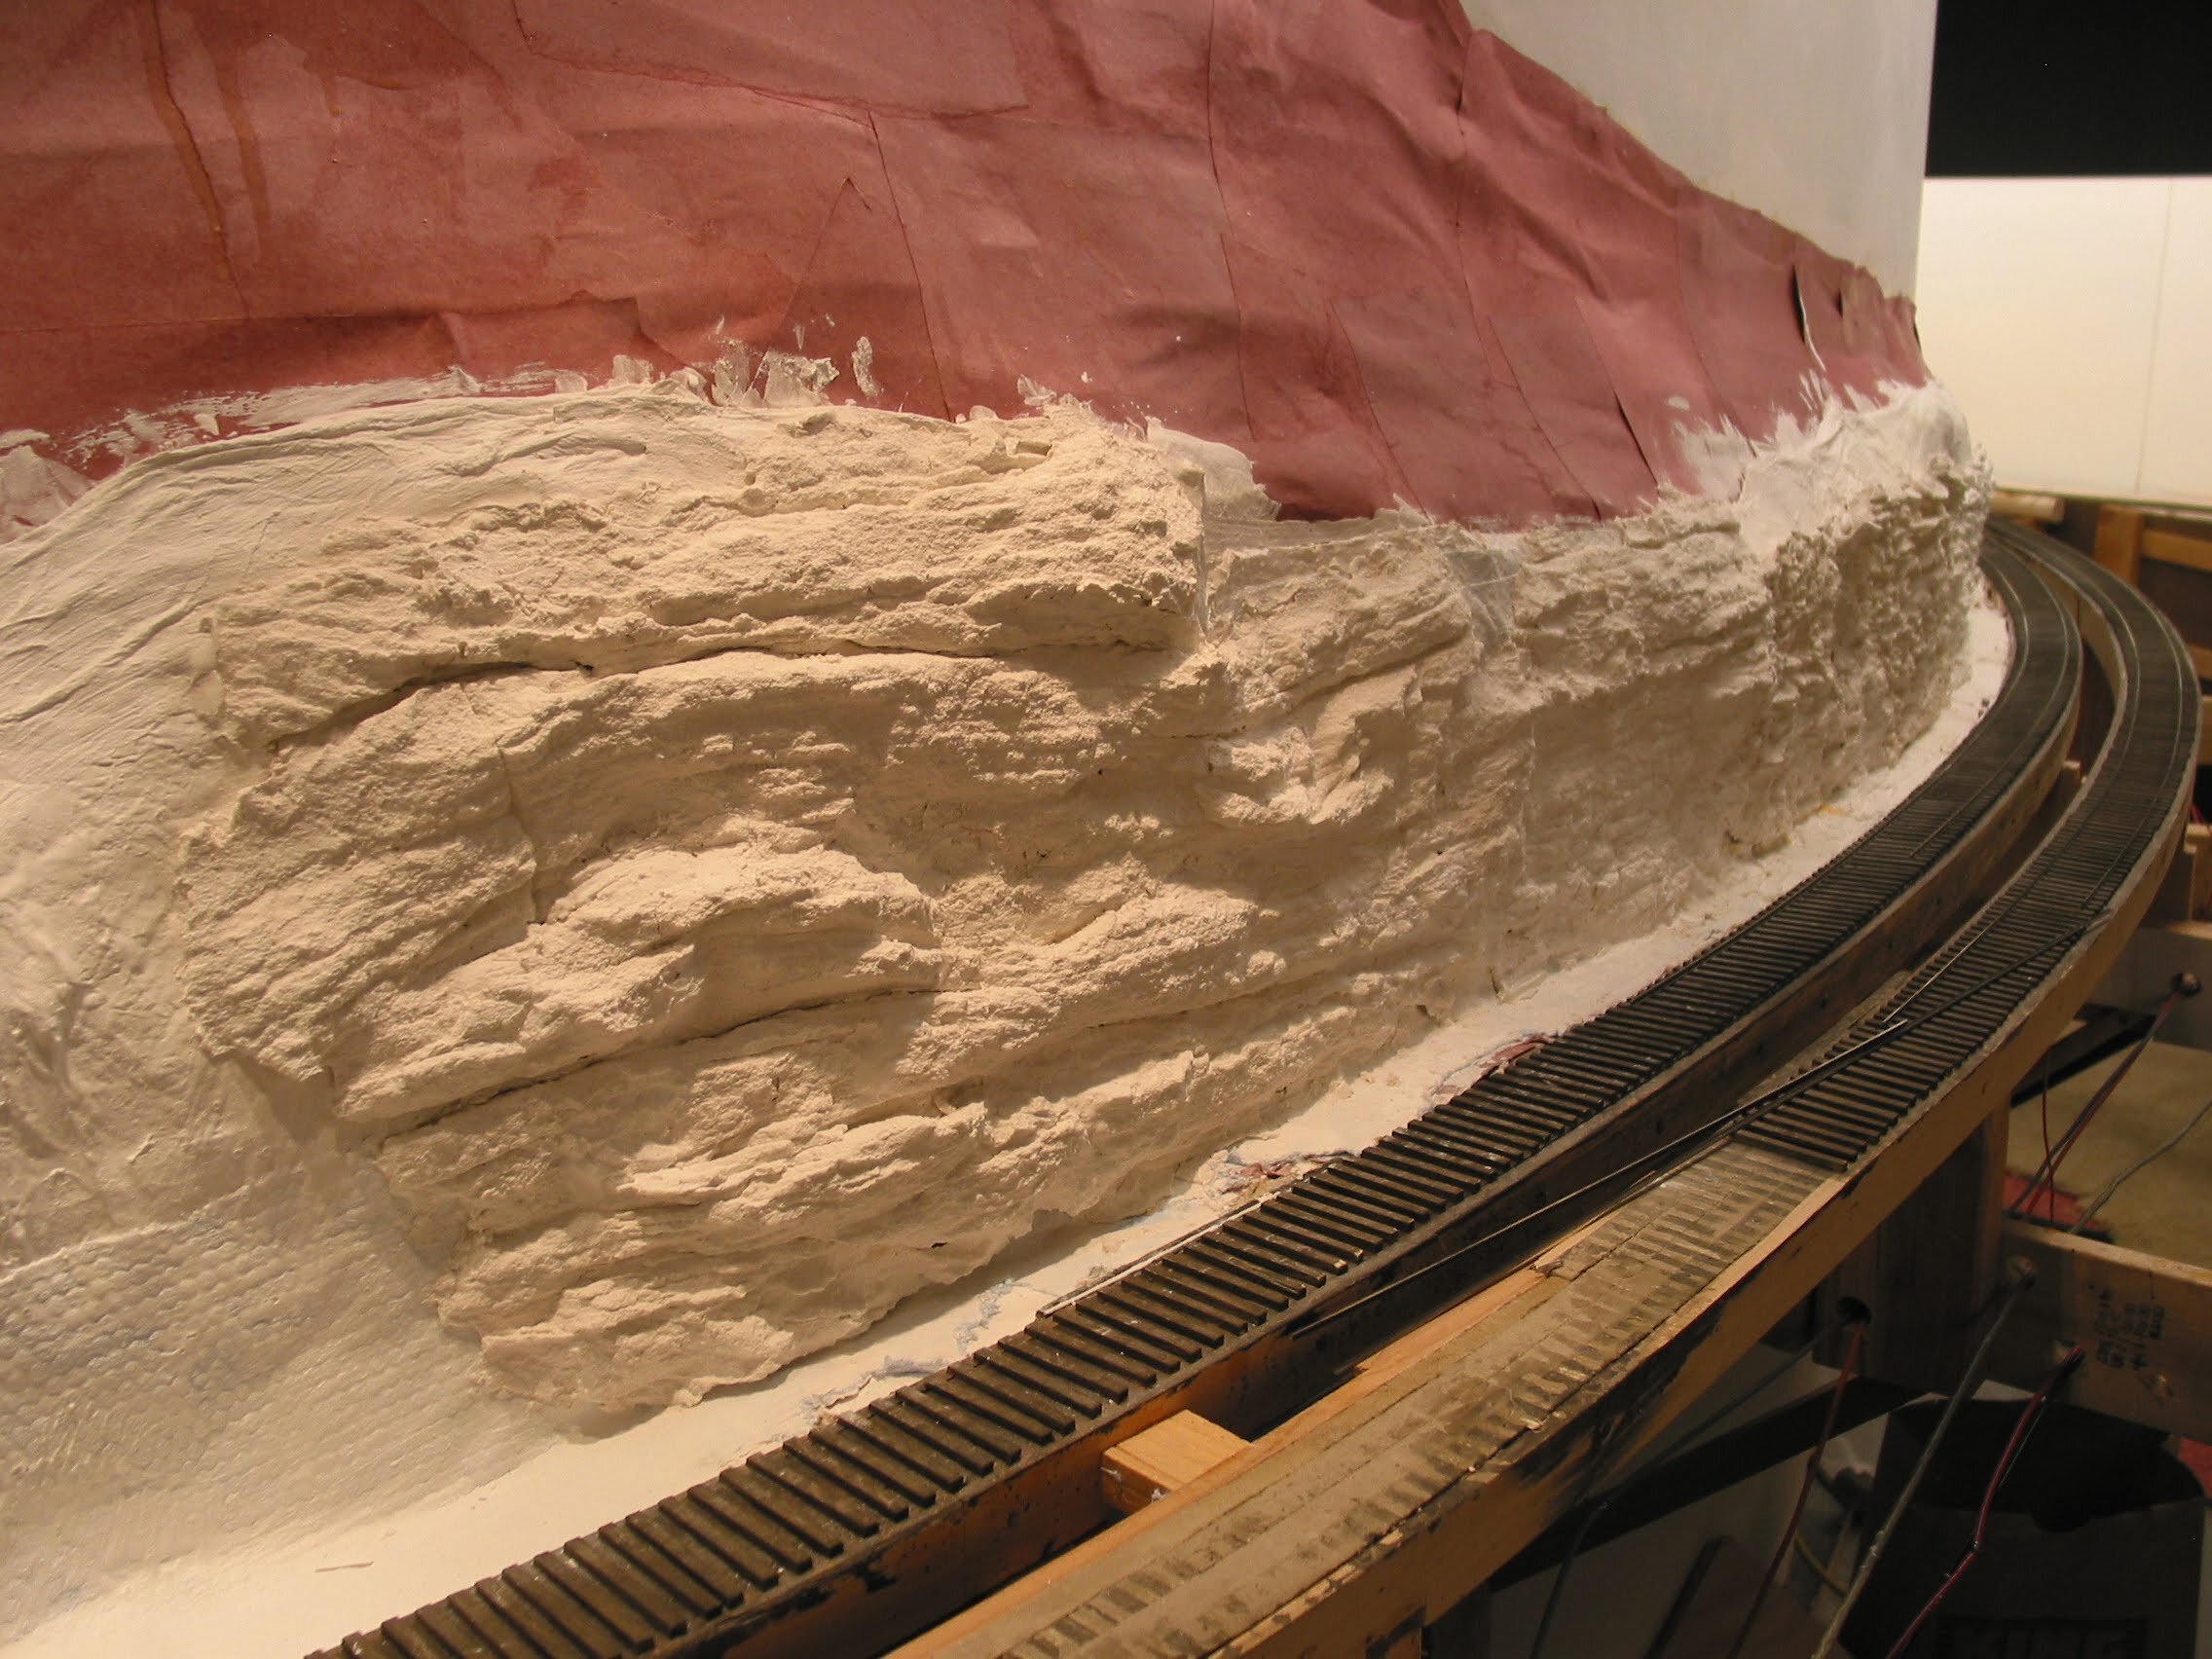
Back at Hawkins area, rubber rock molds have are being applied to the Hydrocal. I made the molds with liquid latex rubber, a sunny day, and permission to use my neighbors landscaping rocks :). The plaster is mixed to a soupy consistency, everything sprayed with water, and then put/held in place until the mold gets warm and the chemical setting reaction is proceeding. Three to five minutes or so..
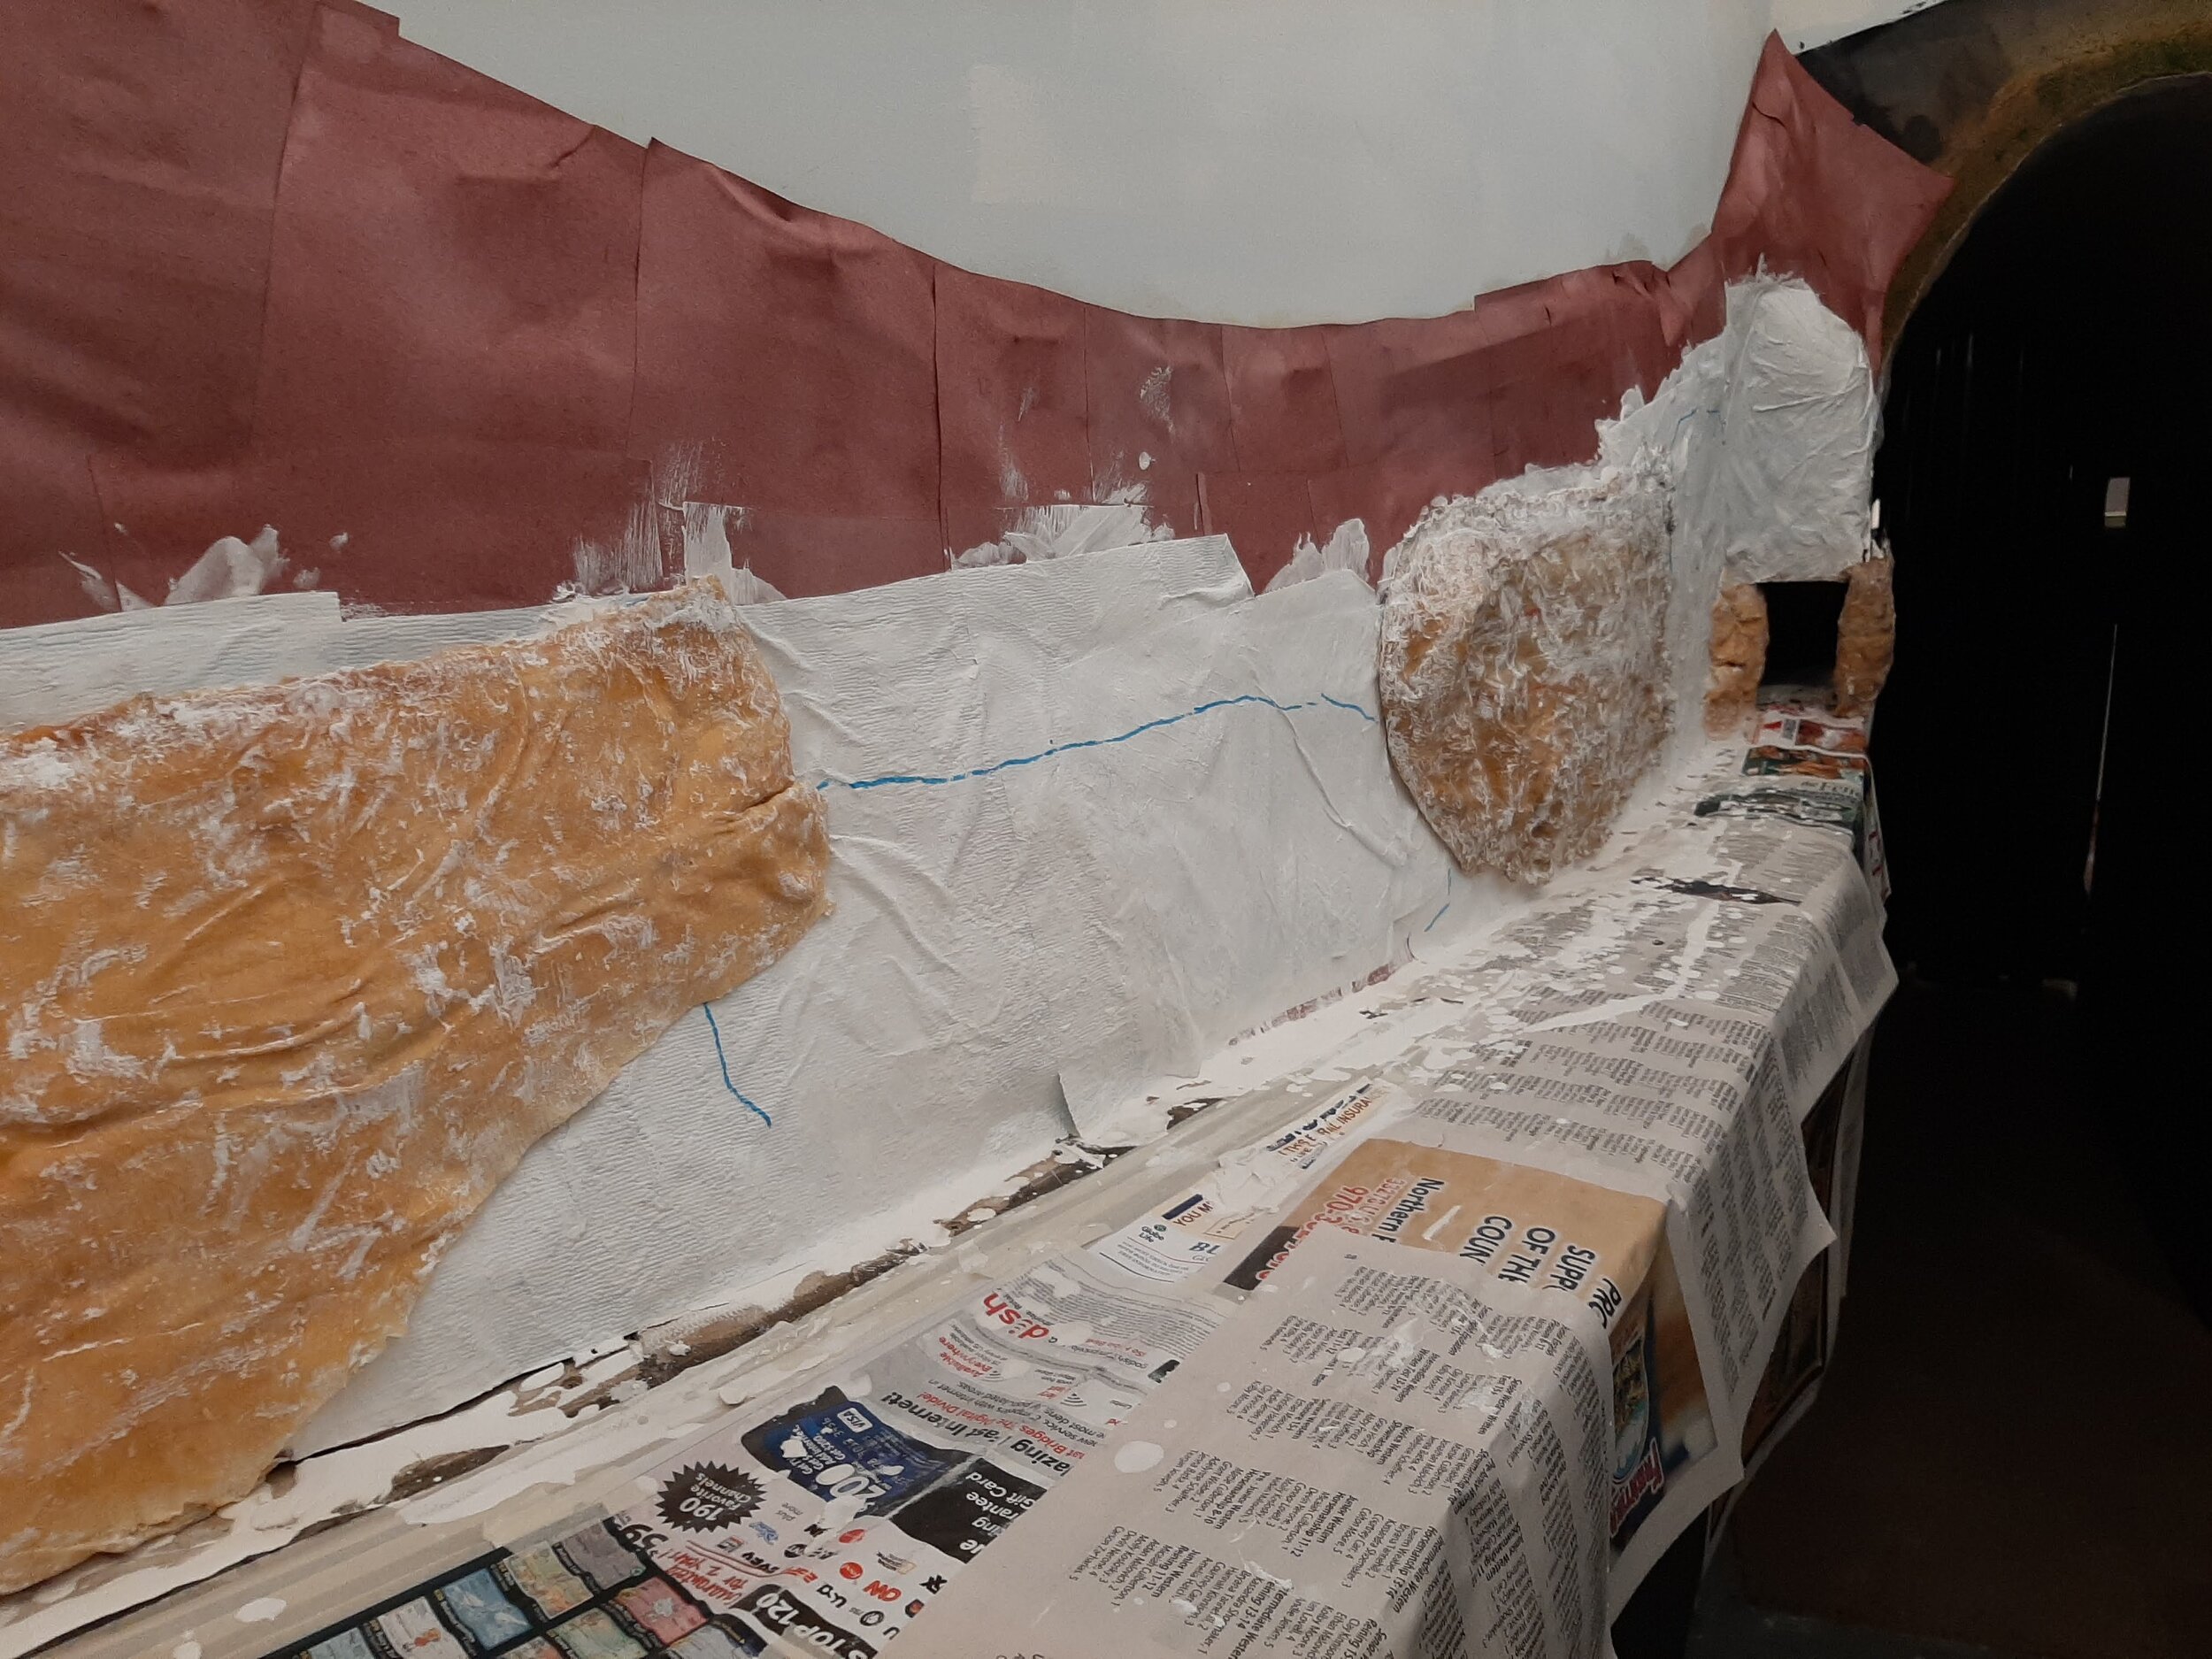
Here several molds are curing at once. The tunnel is a rock bore which is actually a space saving choice I use a lot. The blue line indicates where the tree line will start. Thus, the large mold does not have plaster in it above the blue line.
Back at Mt. Union molds have been removed after several hours of curing. Overlapping and a bit of “carving” with hammer and chisel has them ready for painting.
One final mold to finish off Mt. Krumpet :).
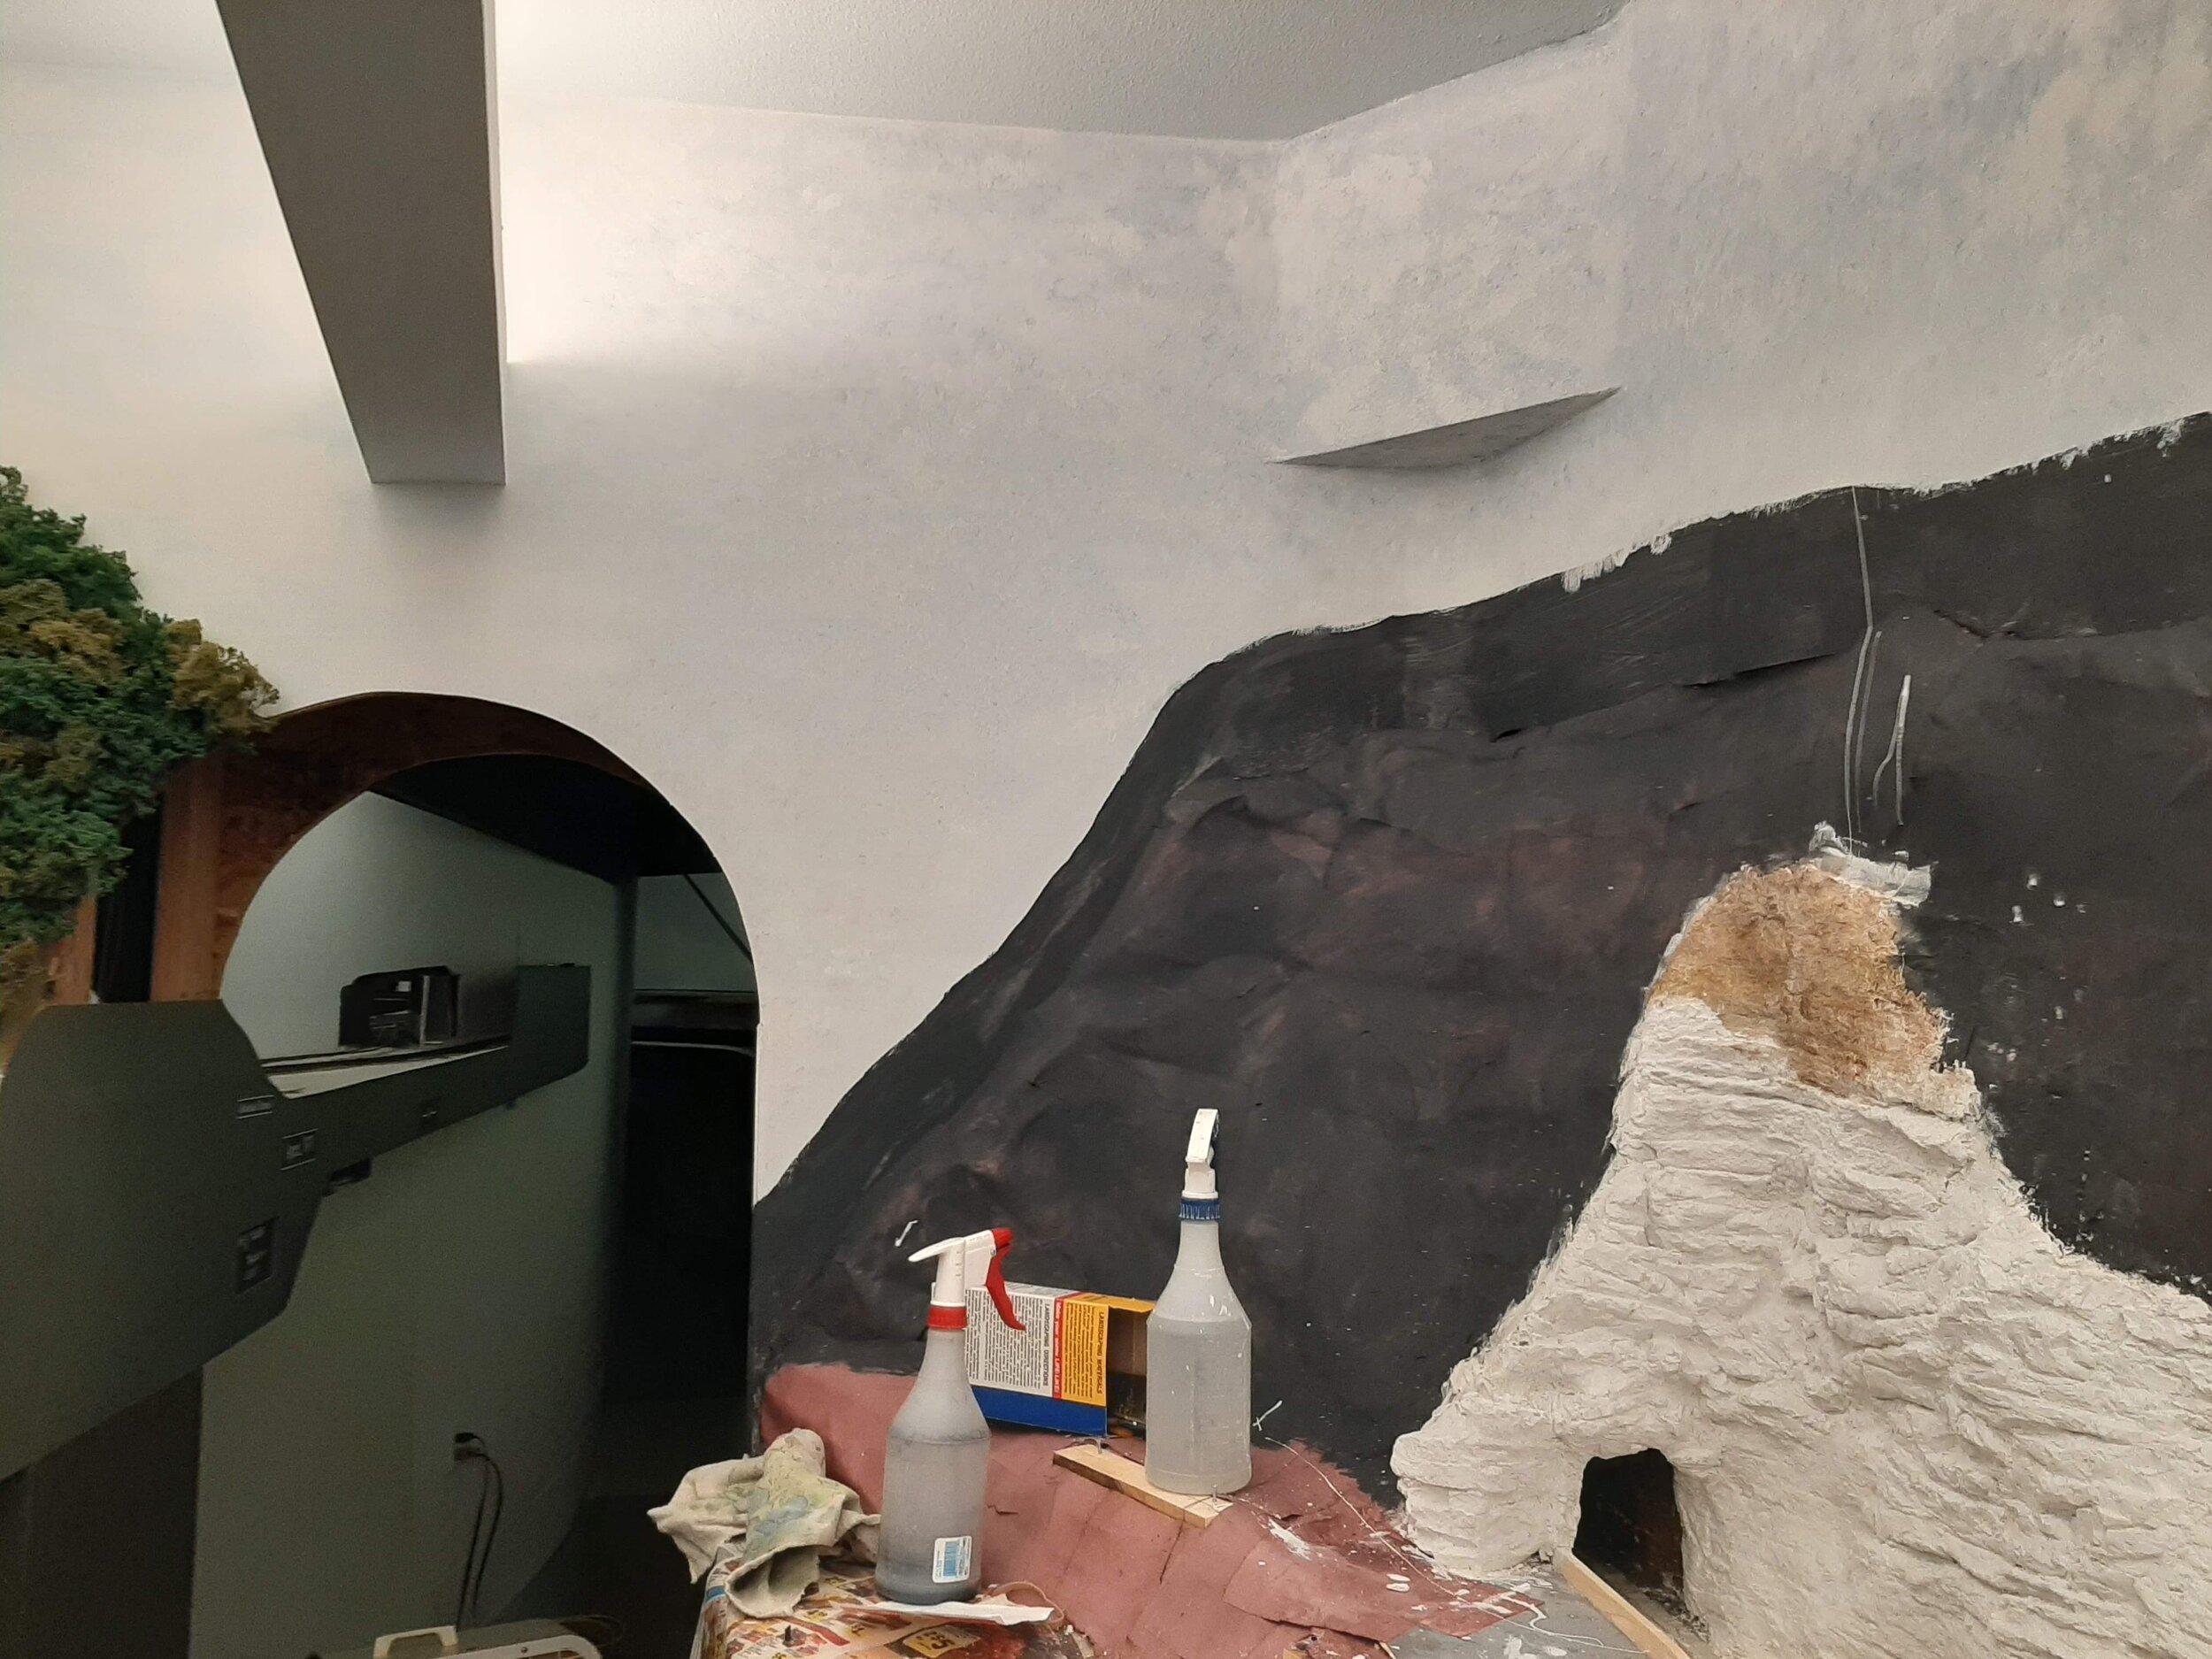
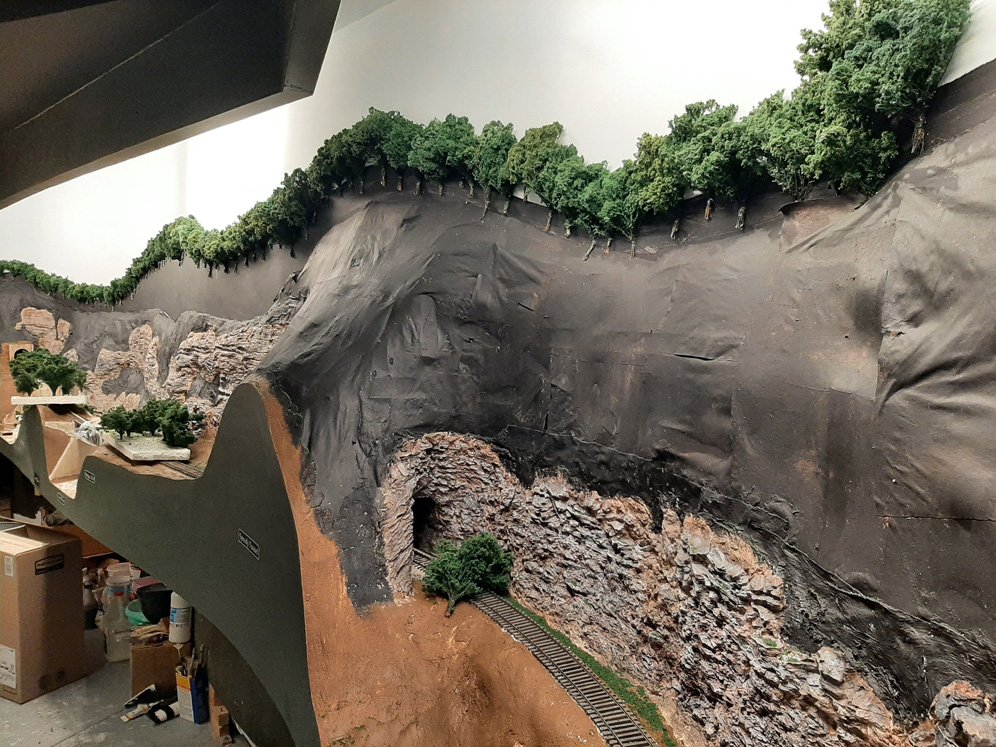
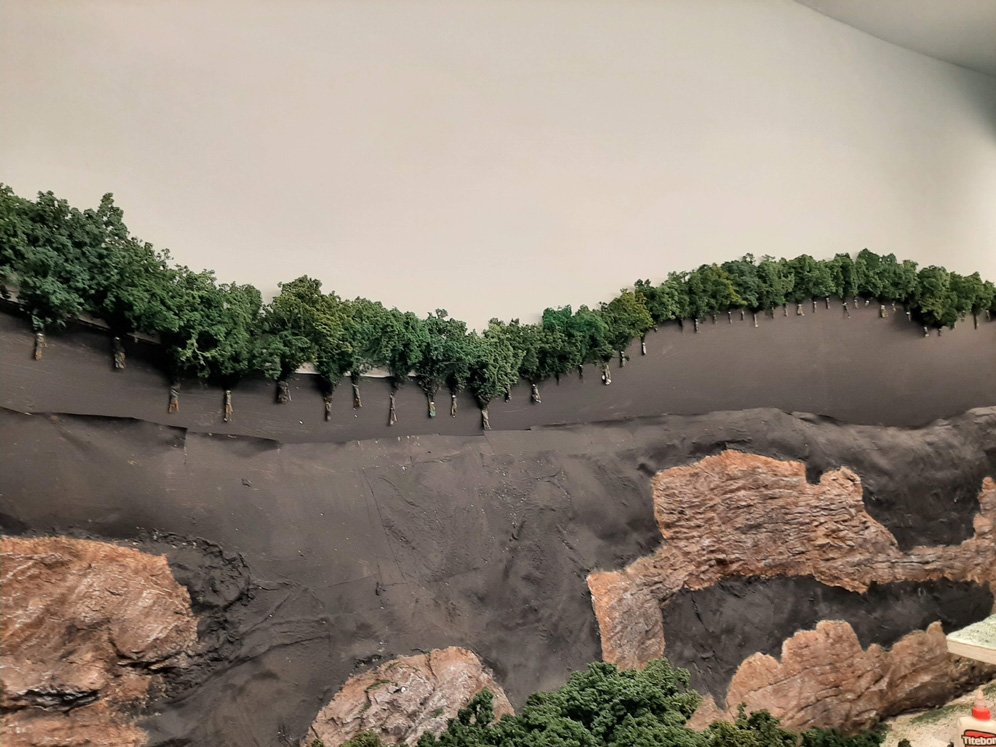
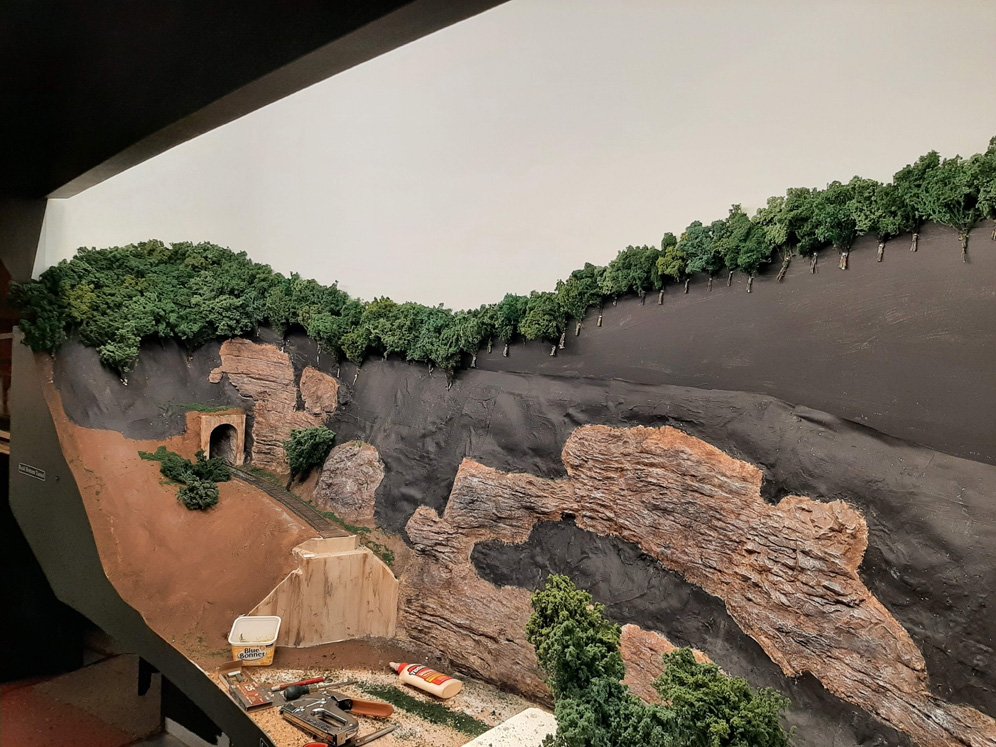
The rock bore is complete. Of note is that the rosin paper has been painted a flat black.
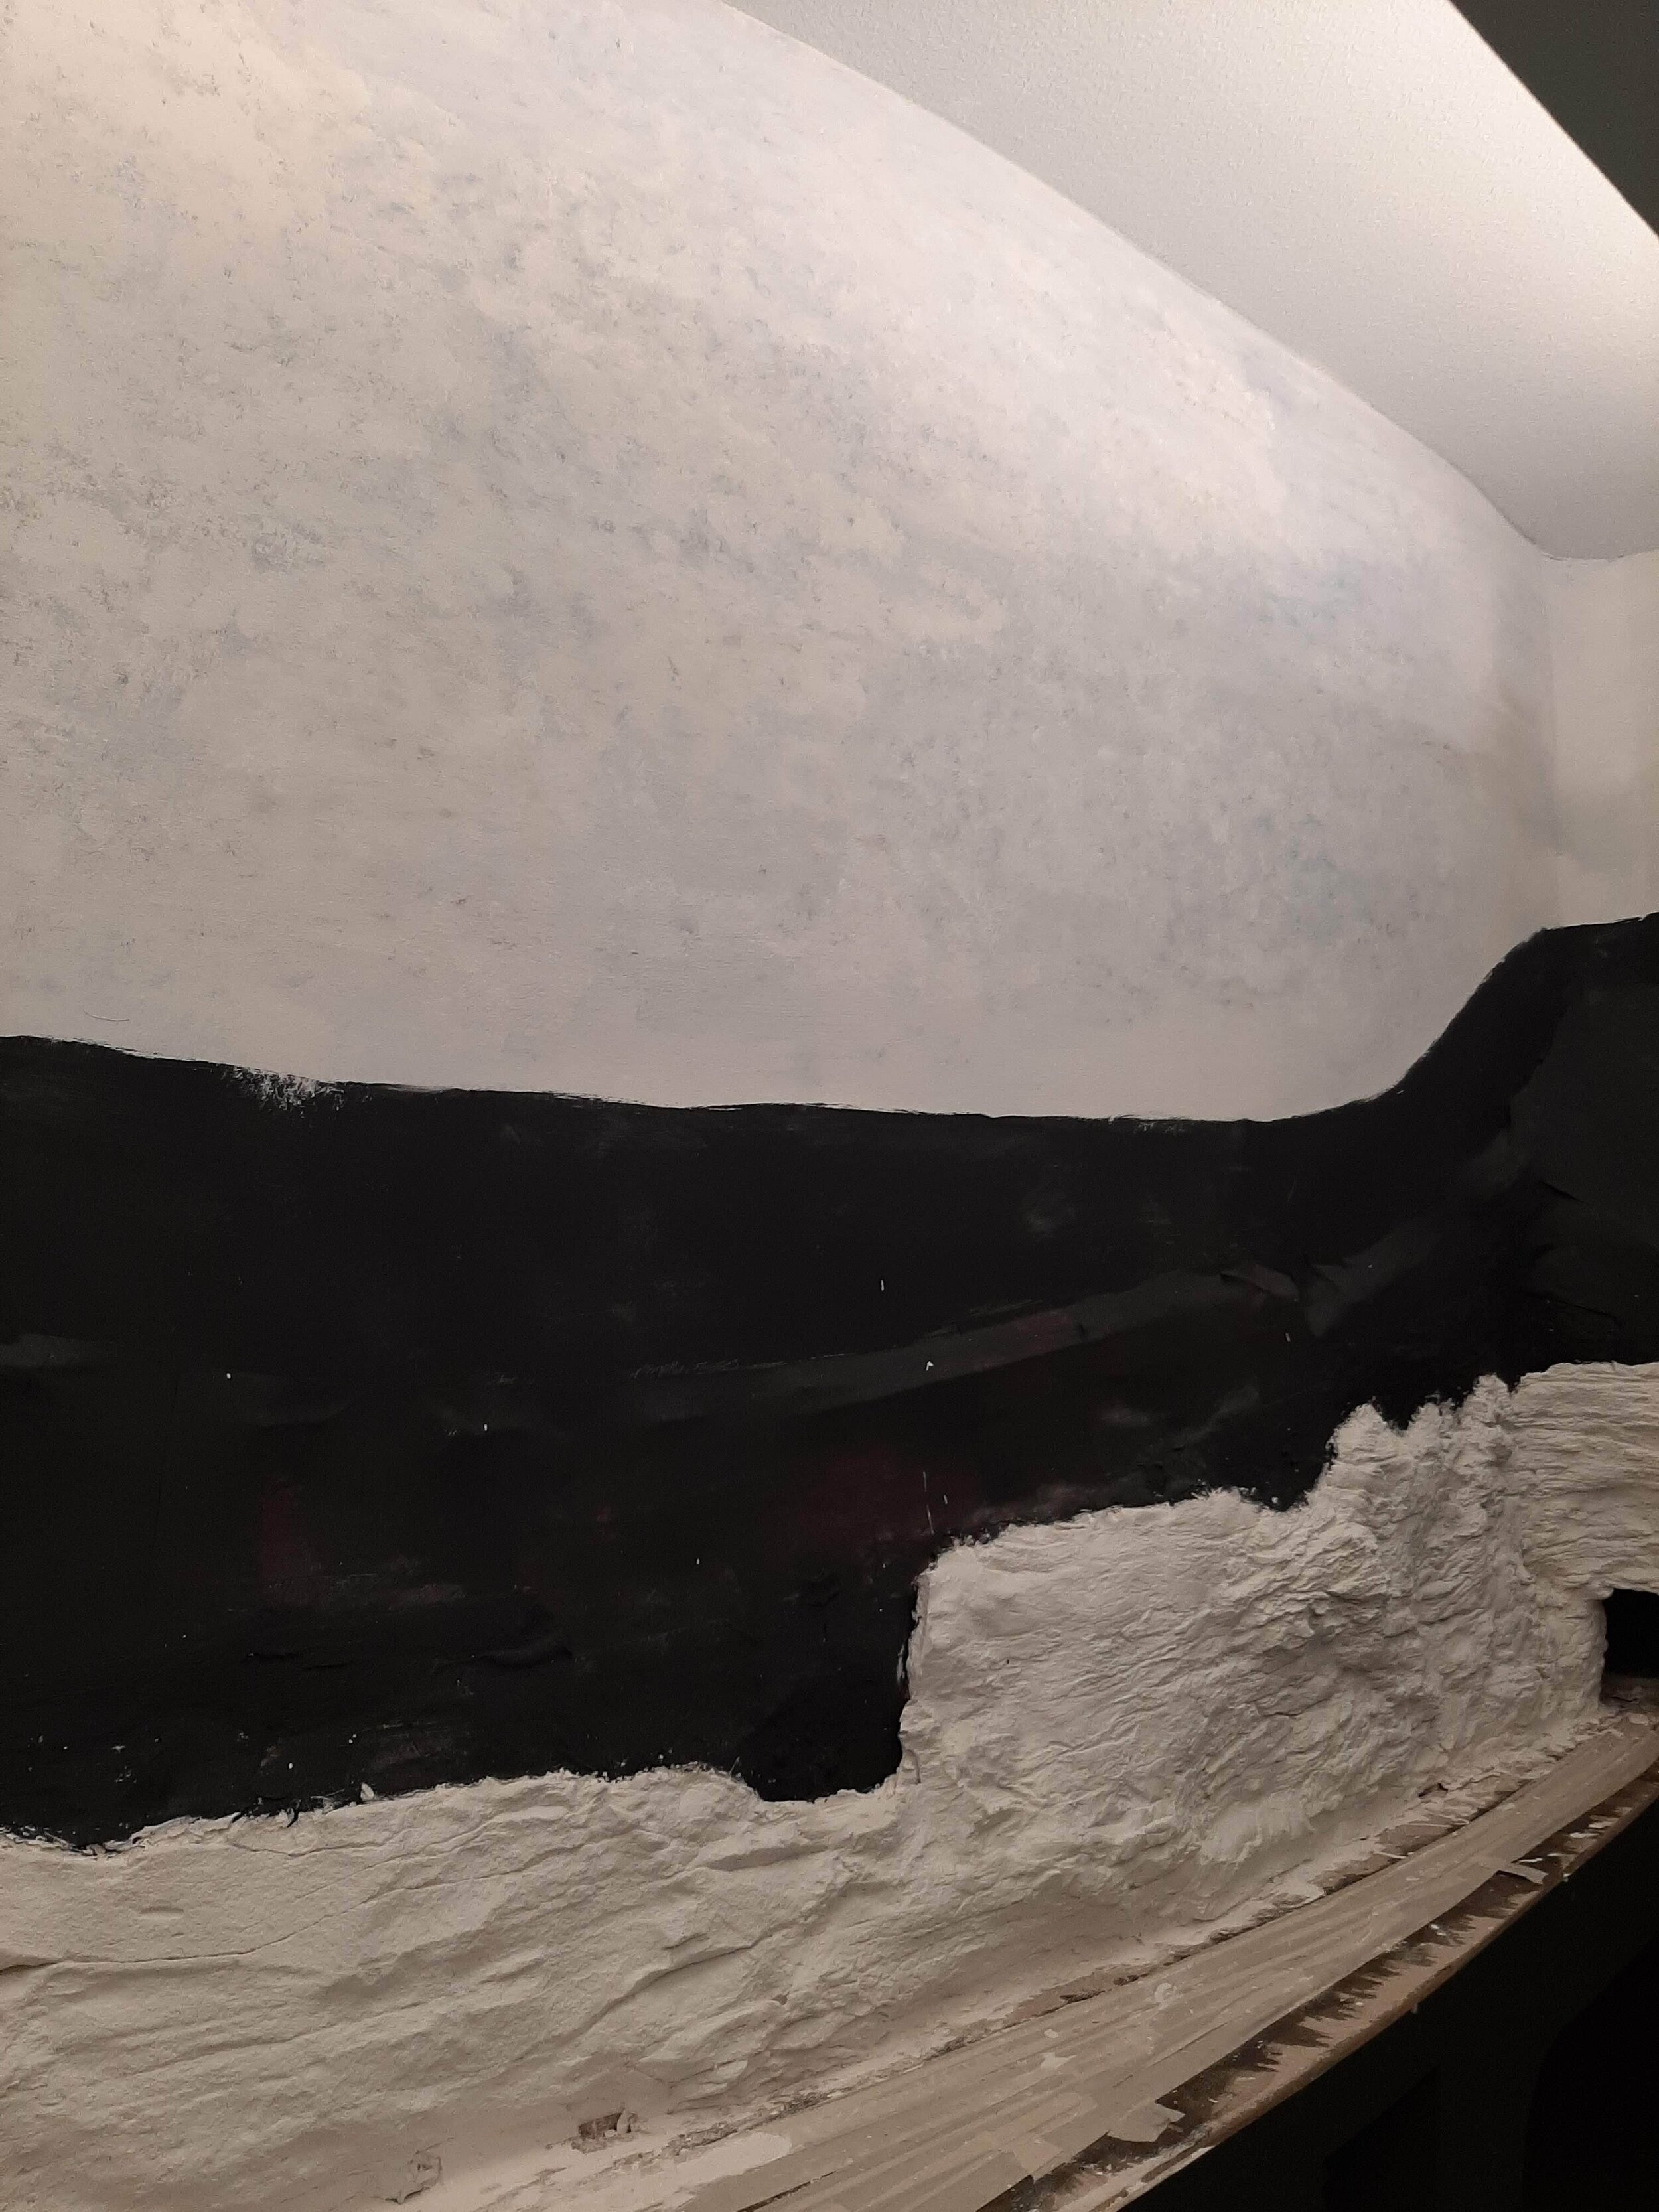
I paint all my landforms that will eventually be covered by trees flat black. This will look like shadows under the trees, and thus disappear.
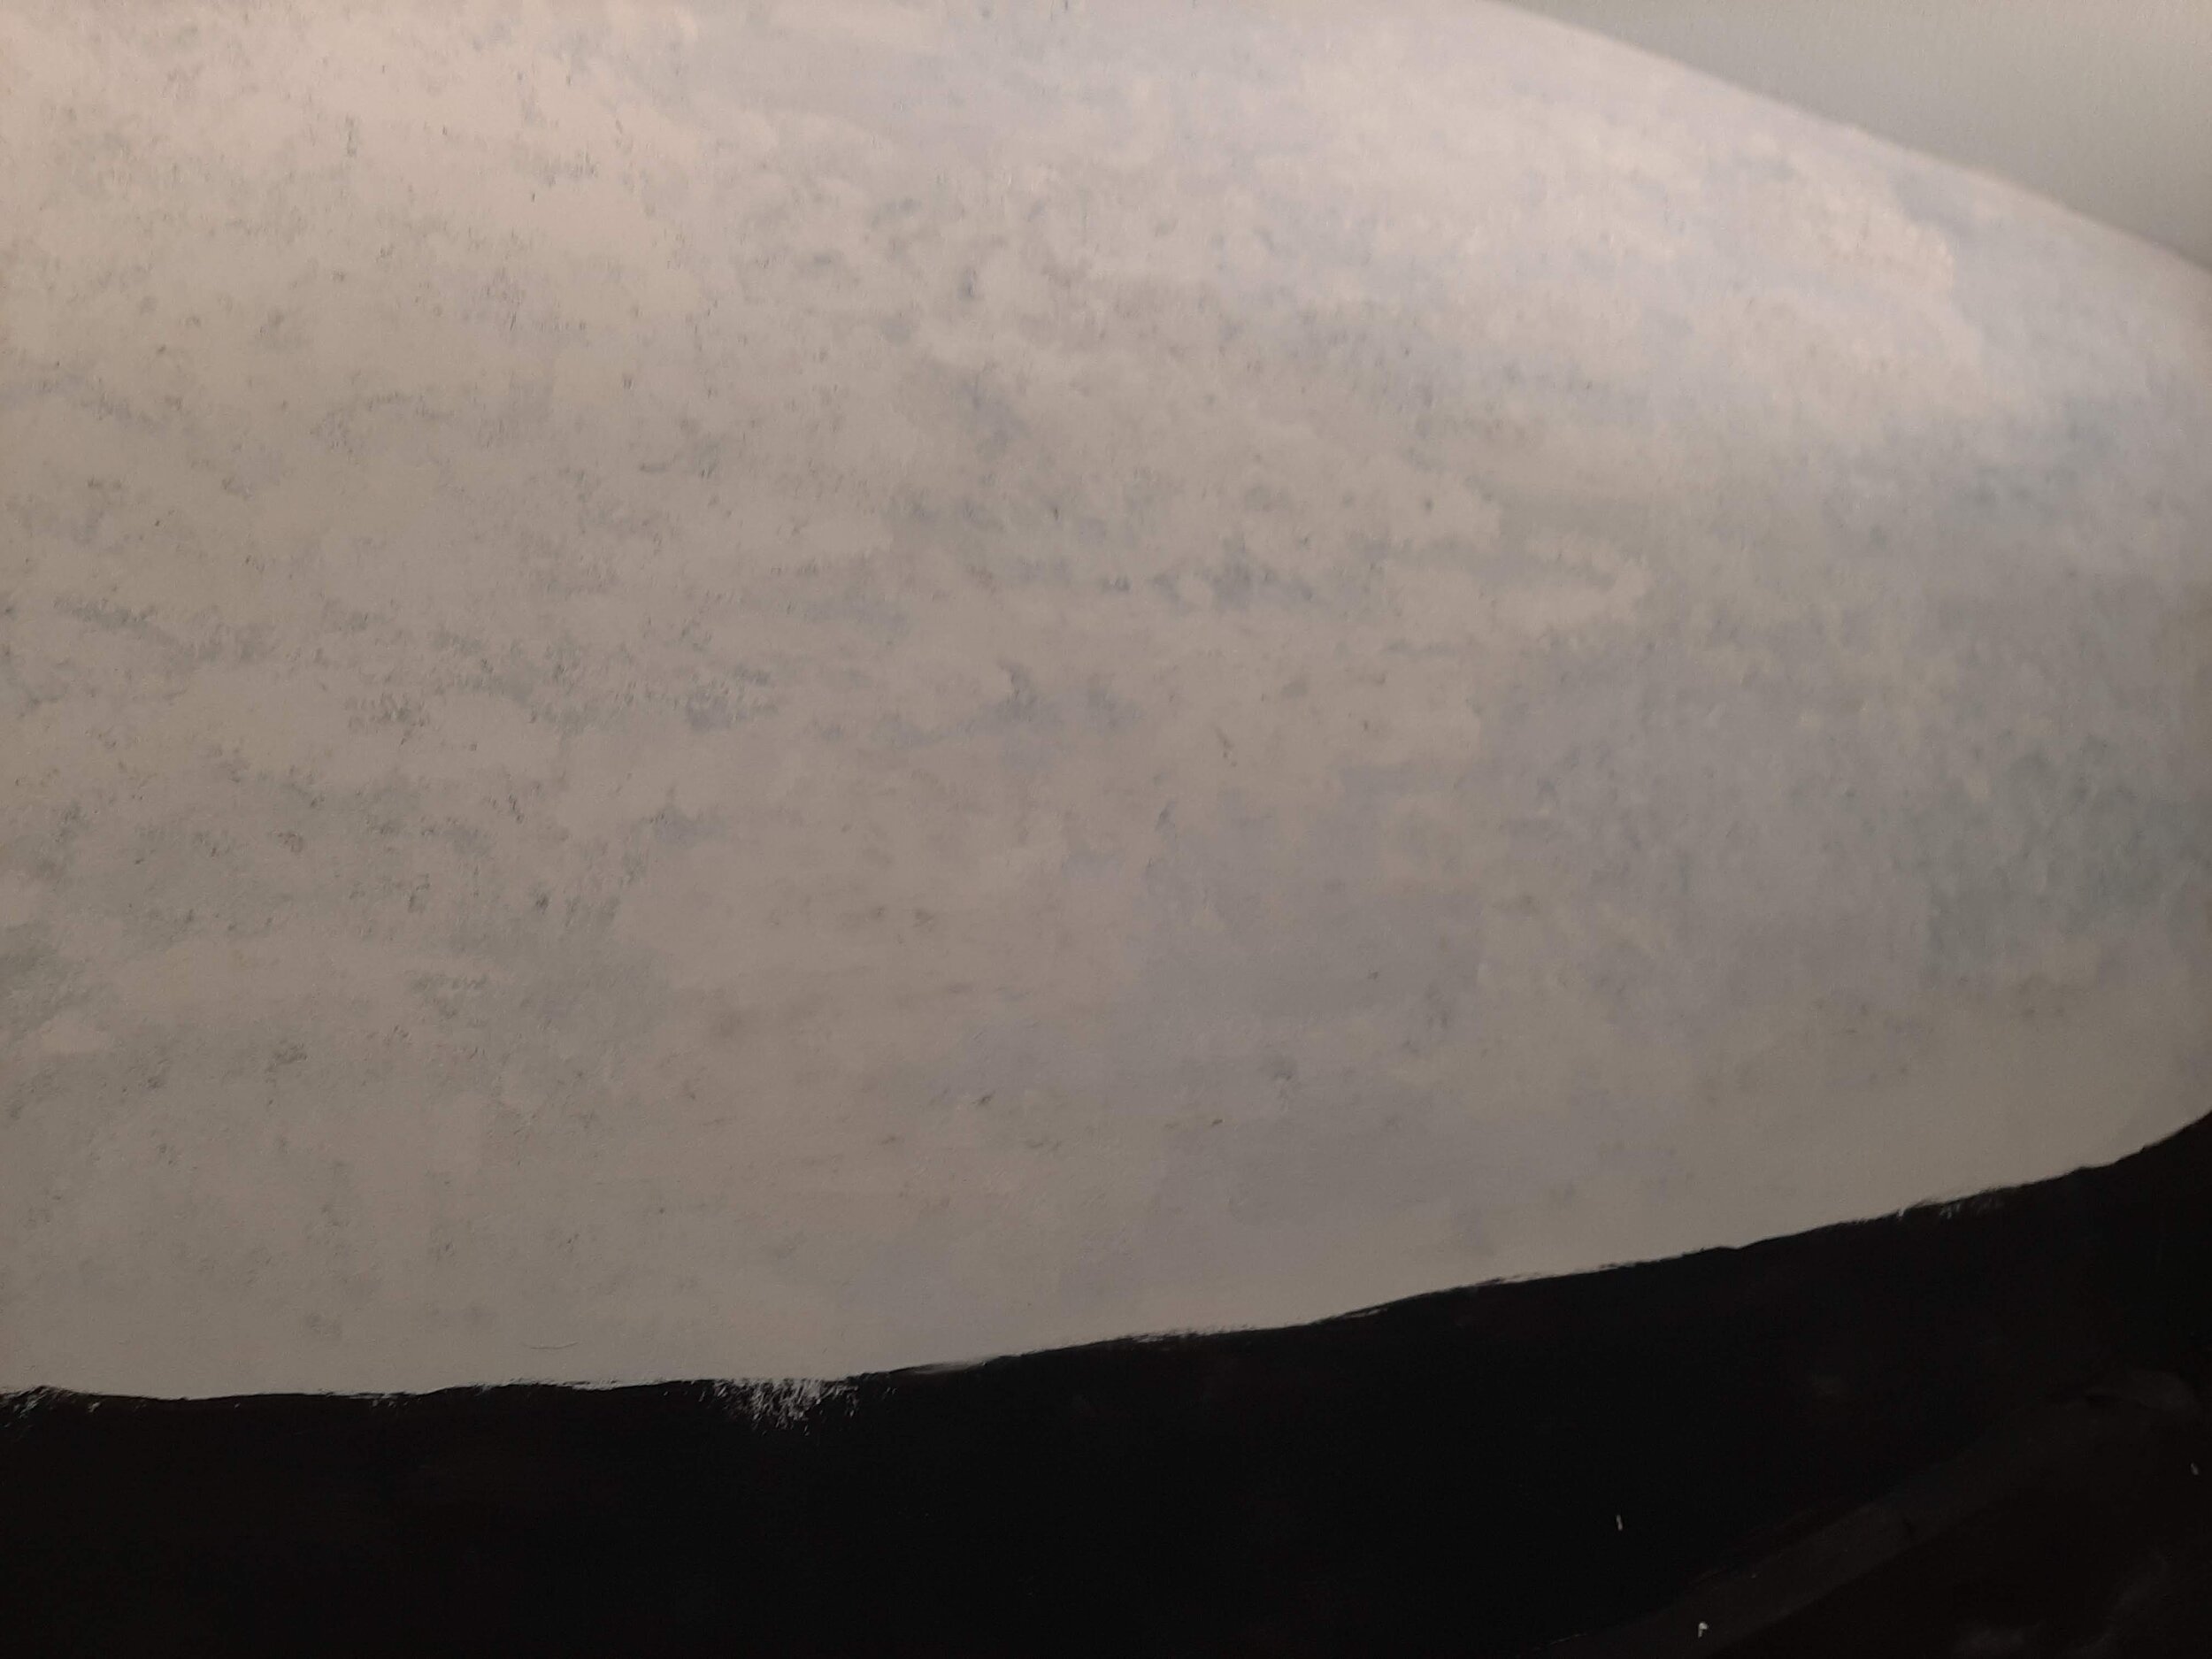
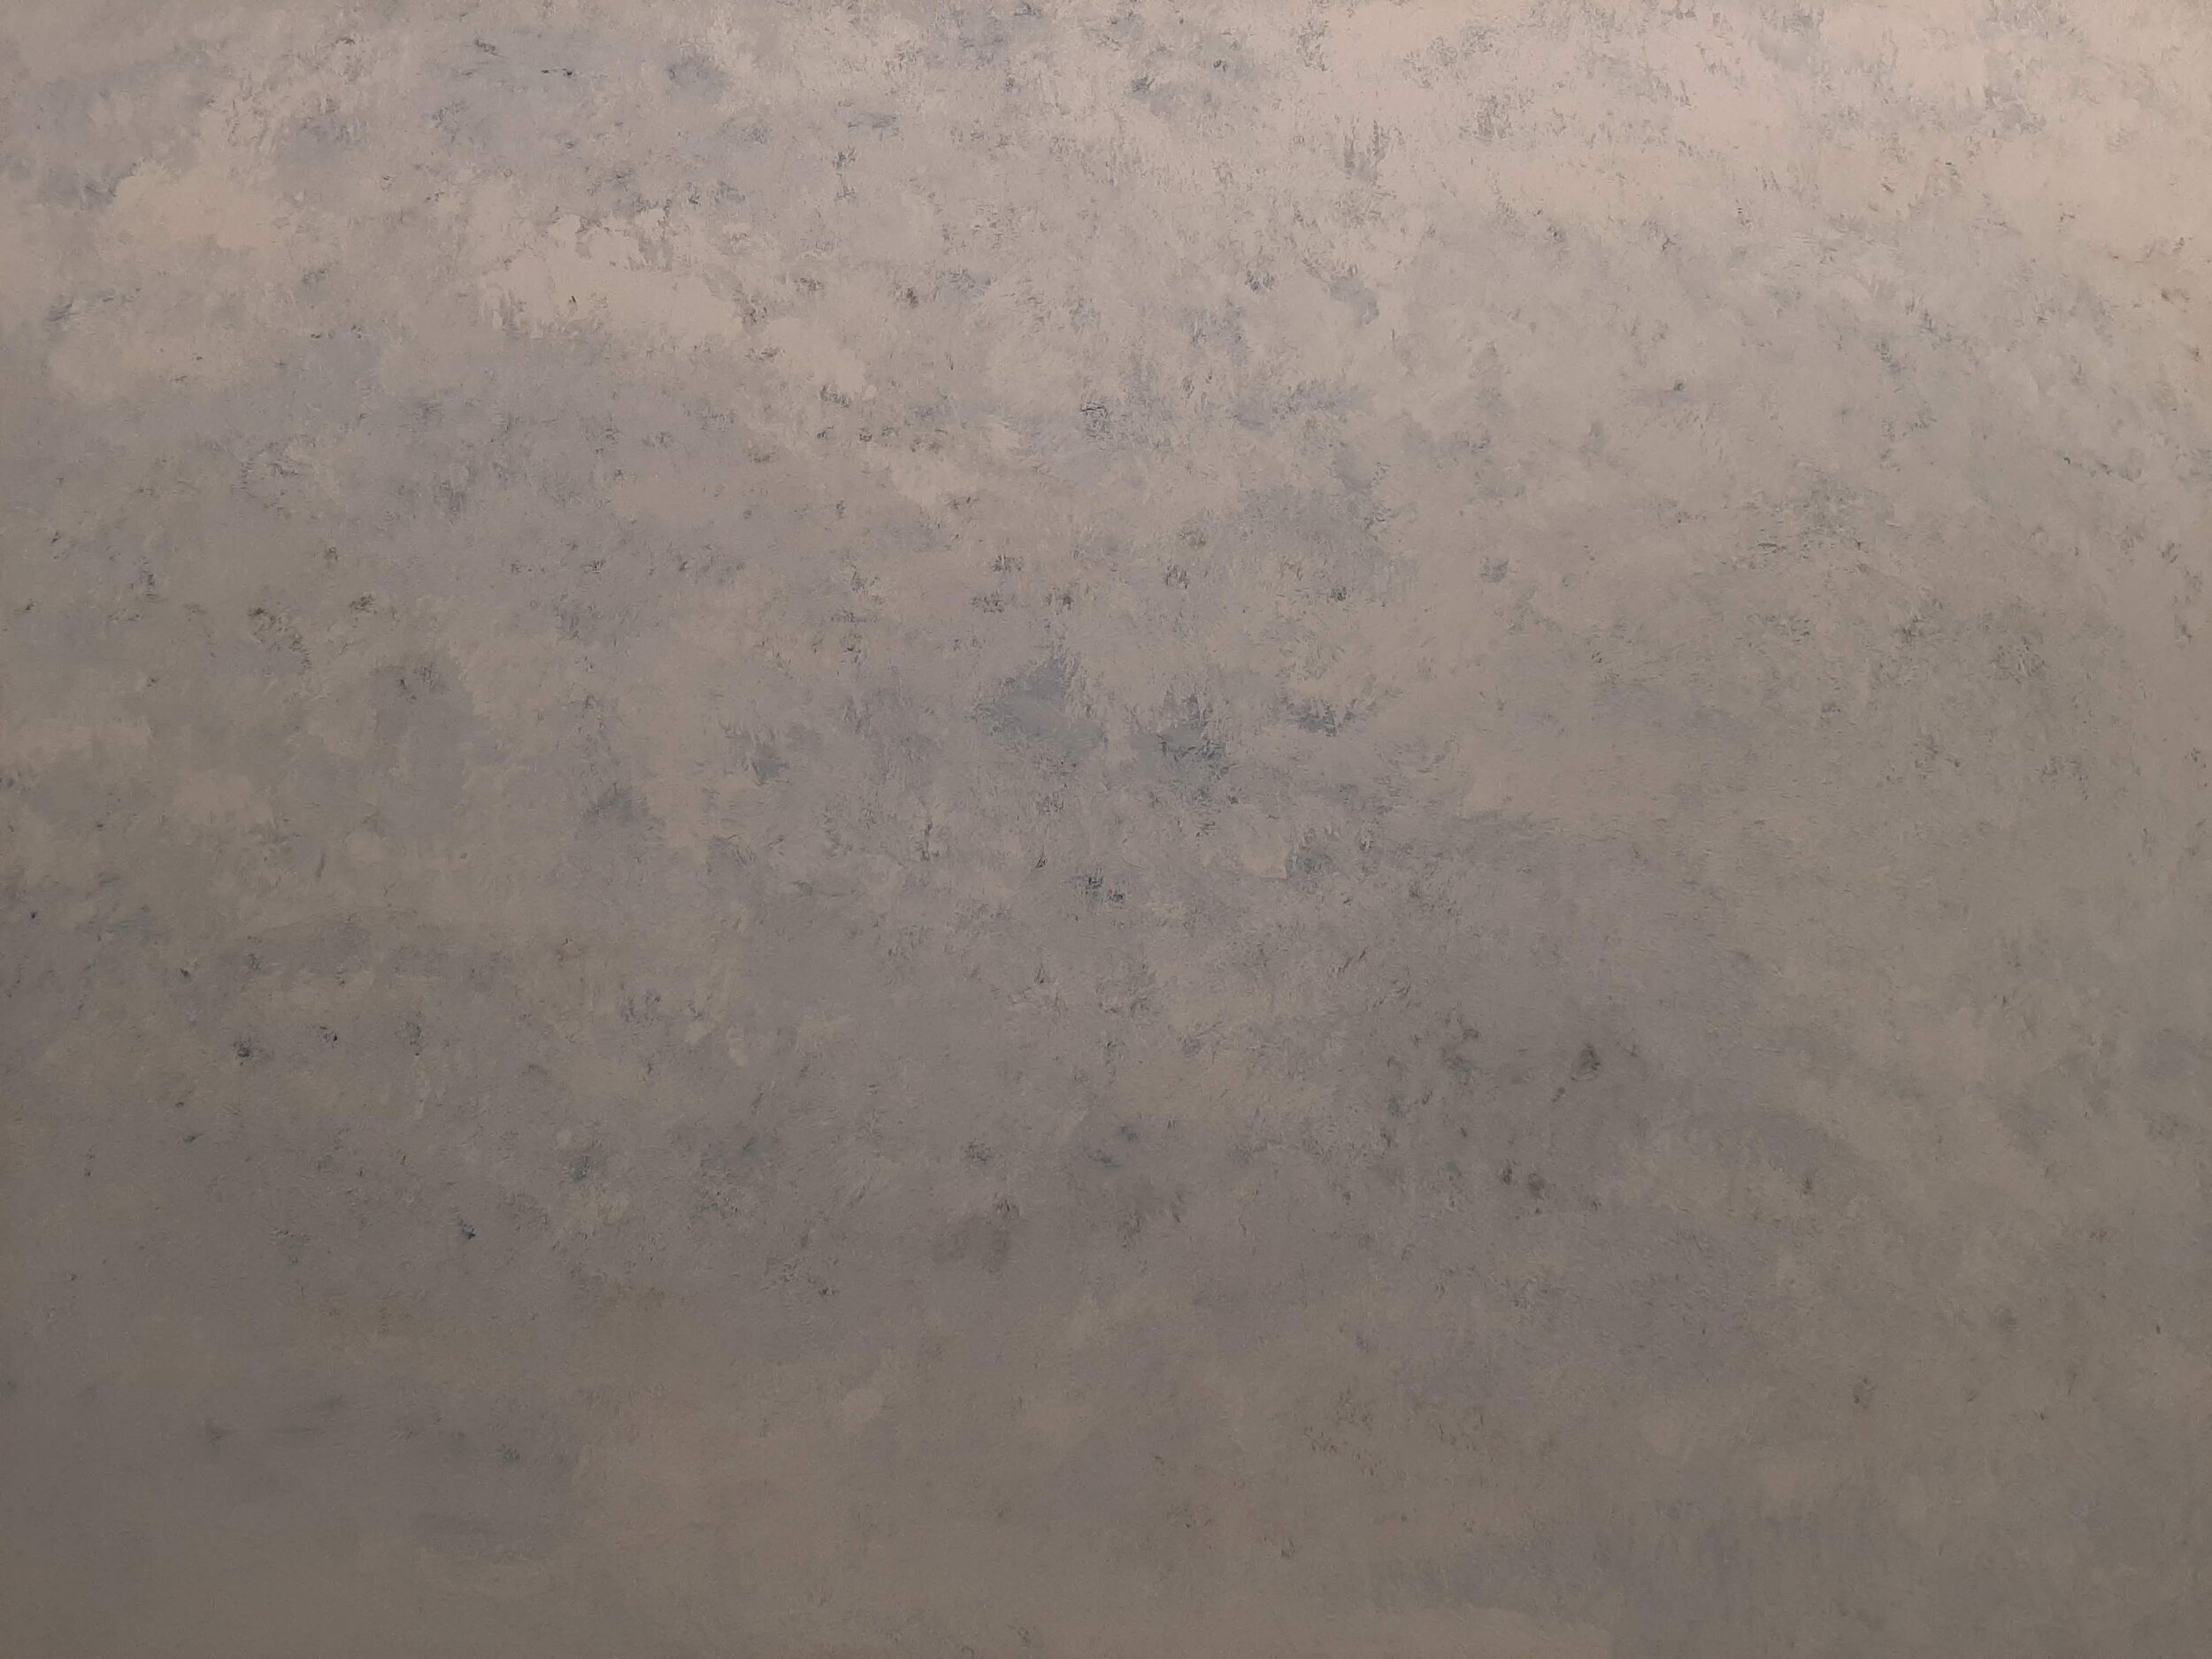
Hawkins is in middle Kayford where it’s rained and now is a misty morning. The blue sky was painted over with a blotchy, dappled mixture of flat latex white, neutral gray, and Paynes gray.
Painting consisted mostly of using a small, stiff round brush and stabbing the wall. Trying to not make it all look the same was the idea. I was looking for a mottled sky appearance.
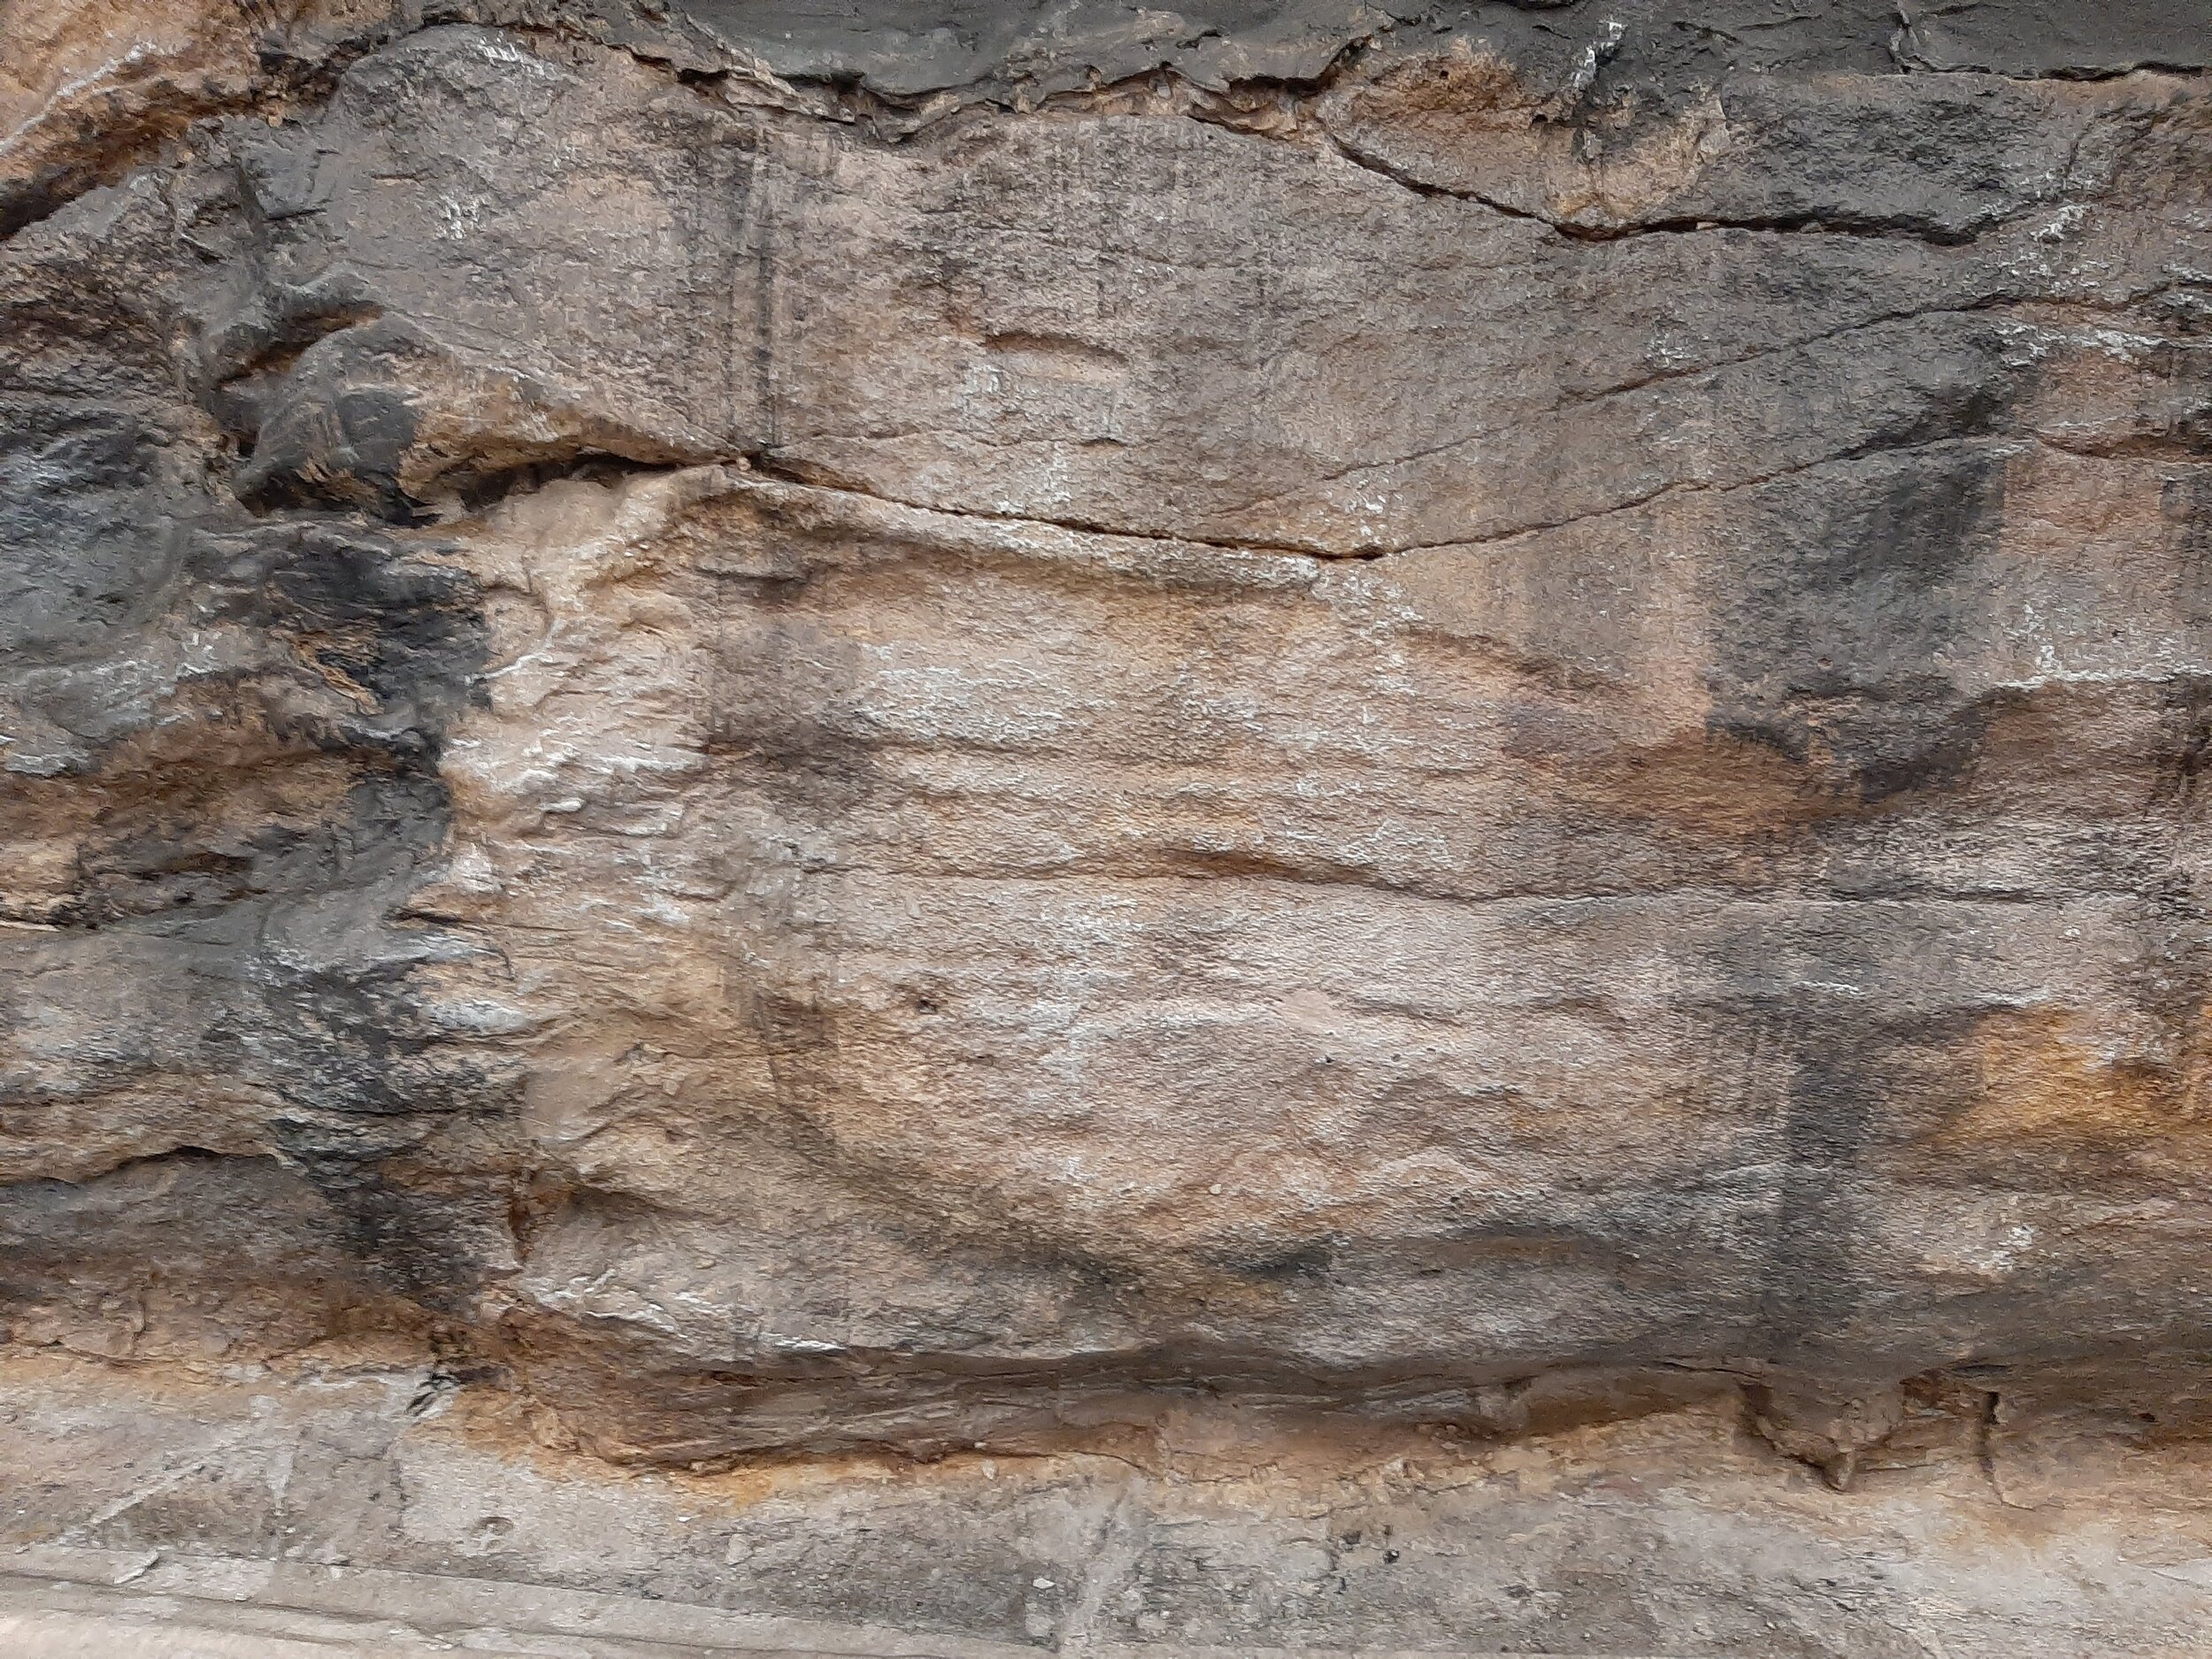
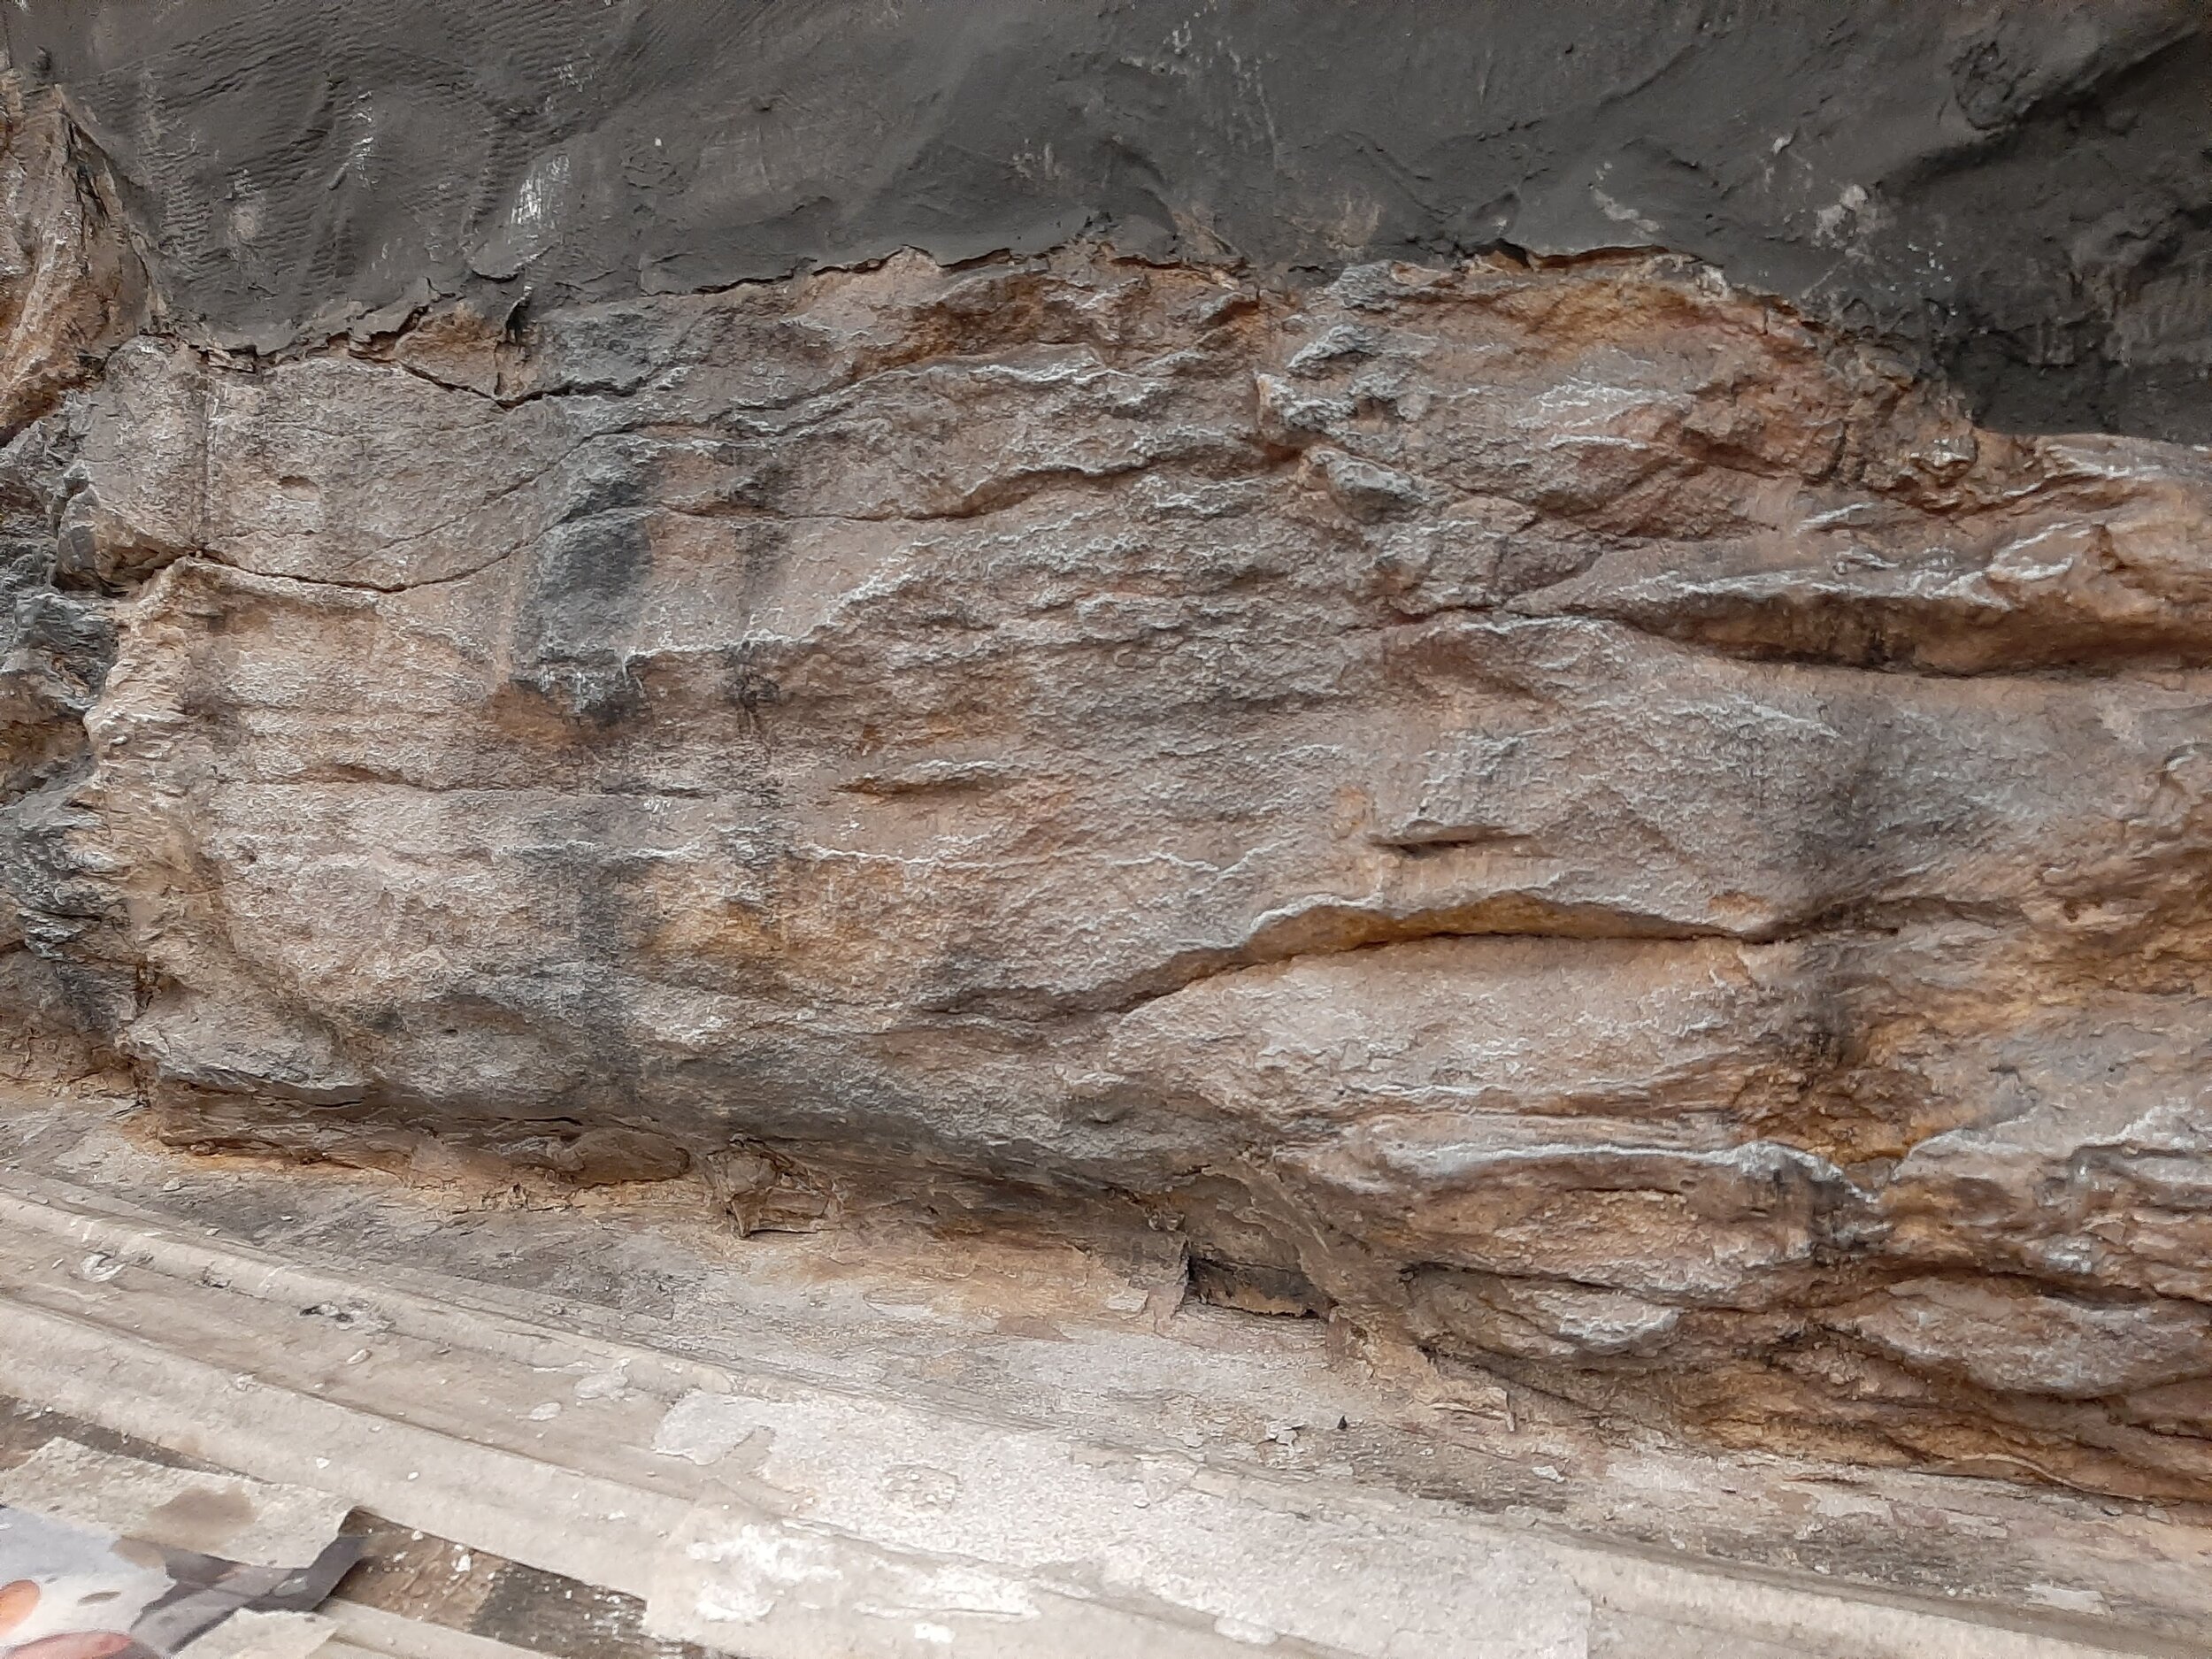
Time to paint rock. I begin with a dilute white latex paint over all the rockwork. This seals the Hydrocal and evens out any differences between the mold pours. You want the rock to take the color the same throughout.
Spray/soak all the rock before painting. Colors are washes of acrylics- Burnt and Raw Siennas/Umbers, Yellow Ochre, Neutral Grey, and Mars Black. I’ll apply color straight from the tube and then water-wash it around, blending/thinning it with other colors until I’m satisfied. It will dry to a lighter shade overall.
I spray a thin wash of India Ink to provide relief and shadows. If you don’t like your finished product, paint over with white and start over. Experience speaks.
Where there is a steep hillside it is not uncommon to have rain deposited back decayed vegetation wash on the face of the rock. Mars black time. Finally, highlight the rock edges with a drybrush of Titanium white. The effect is startling.
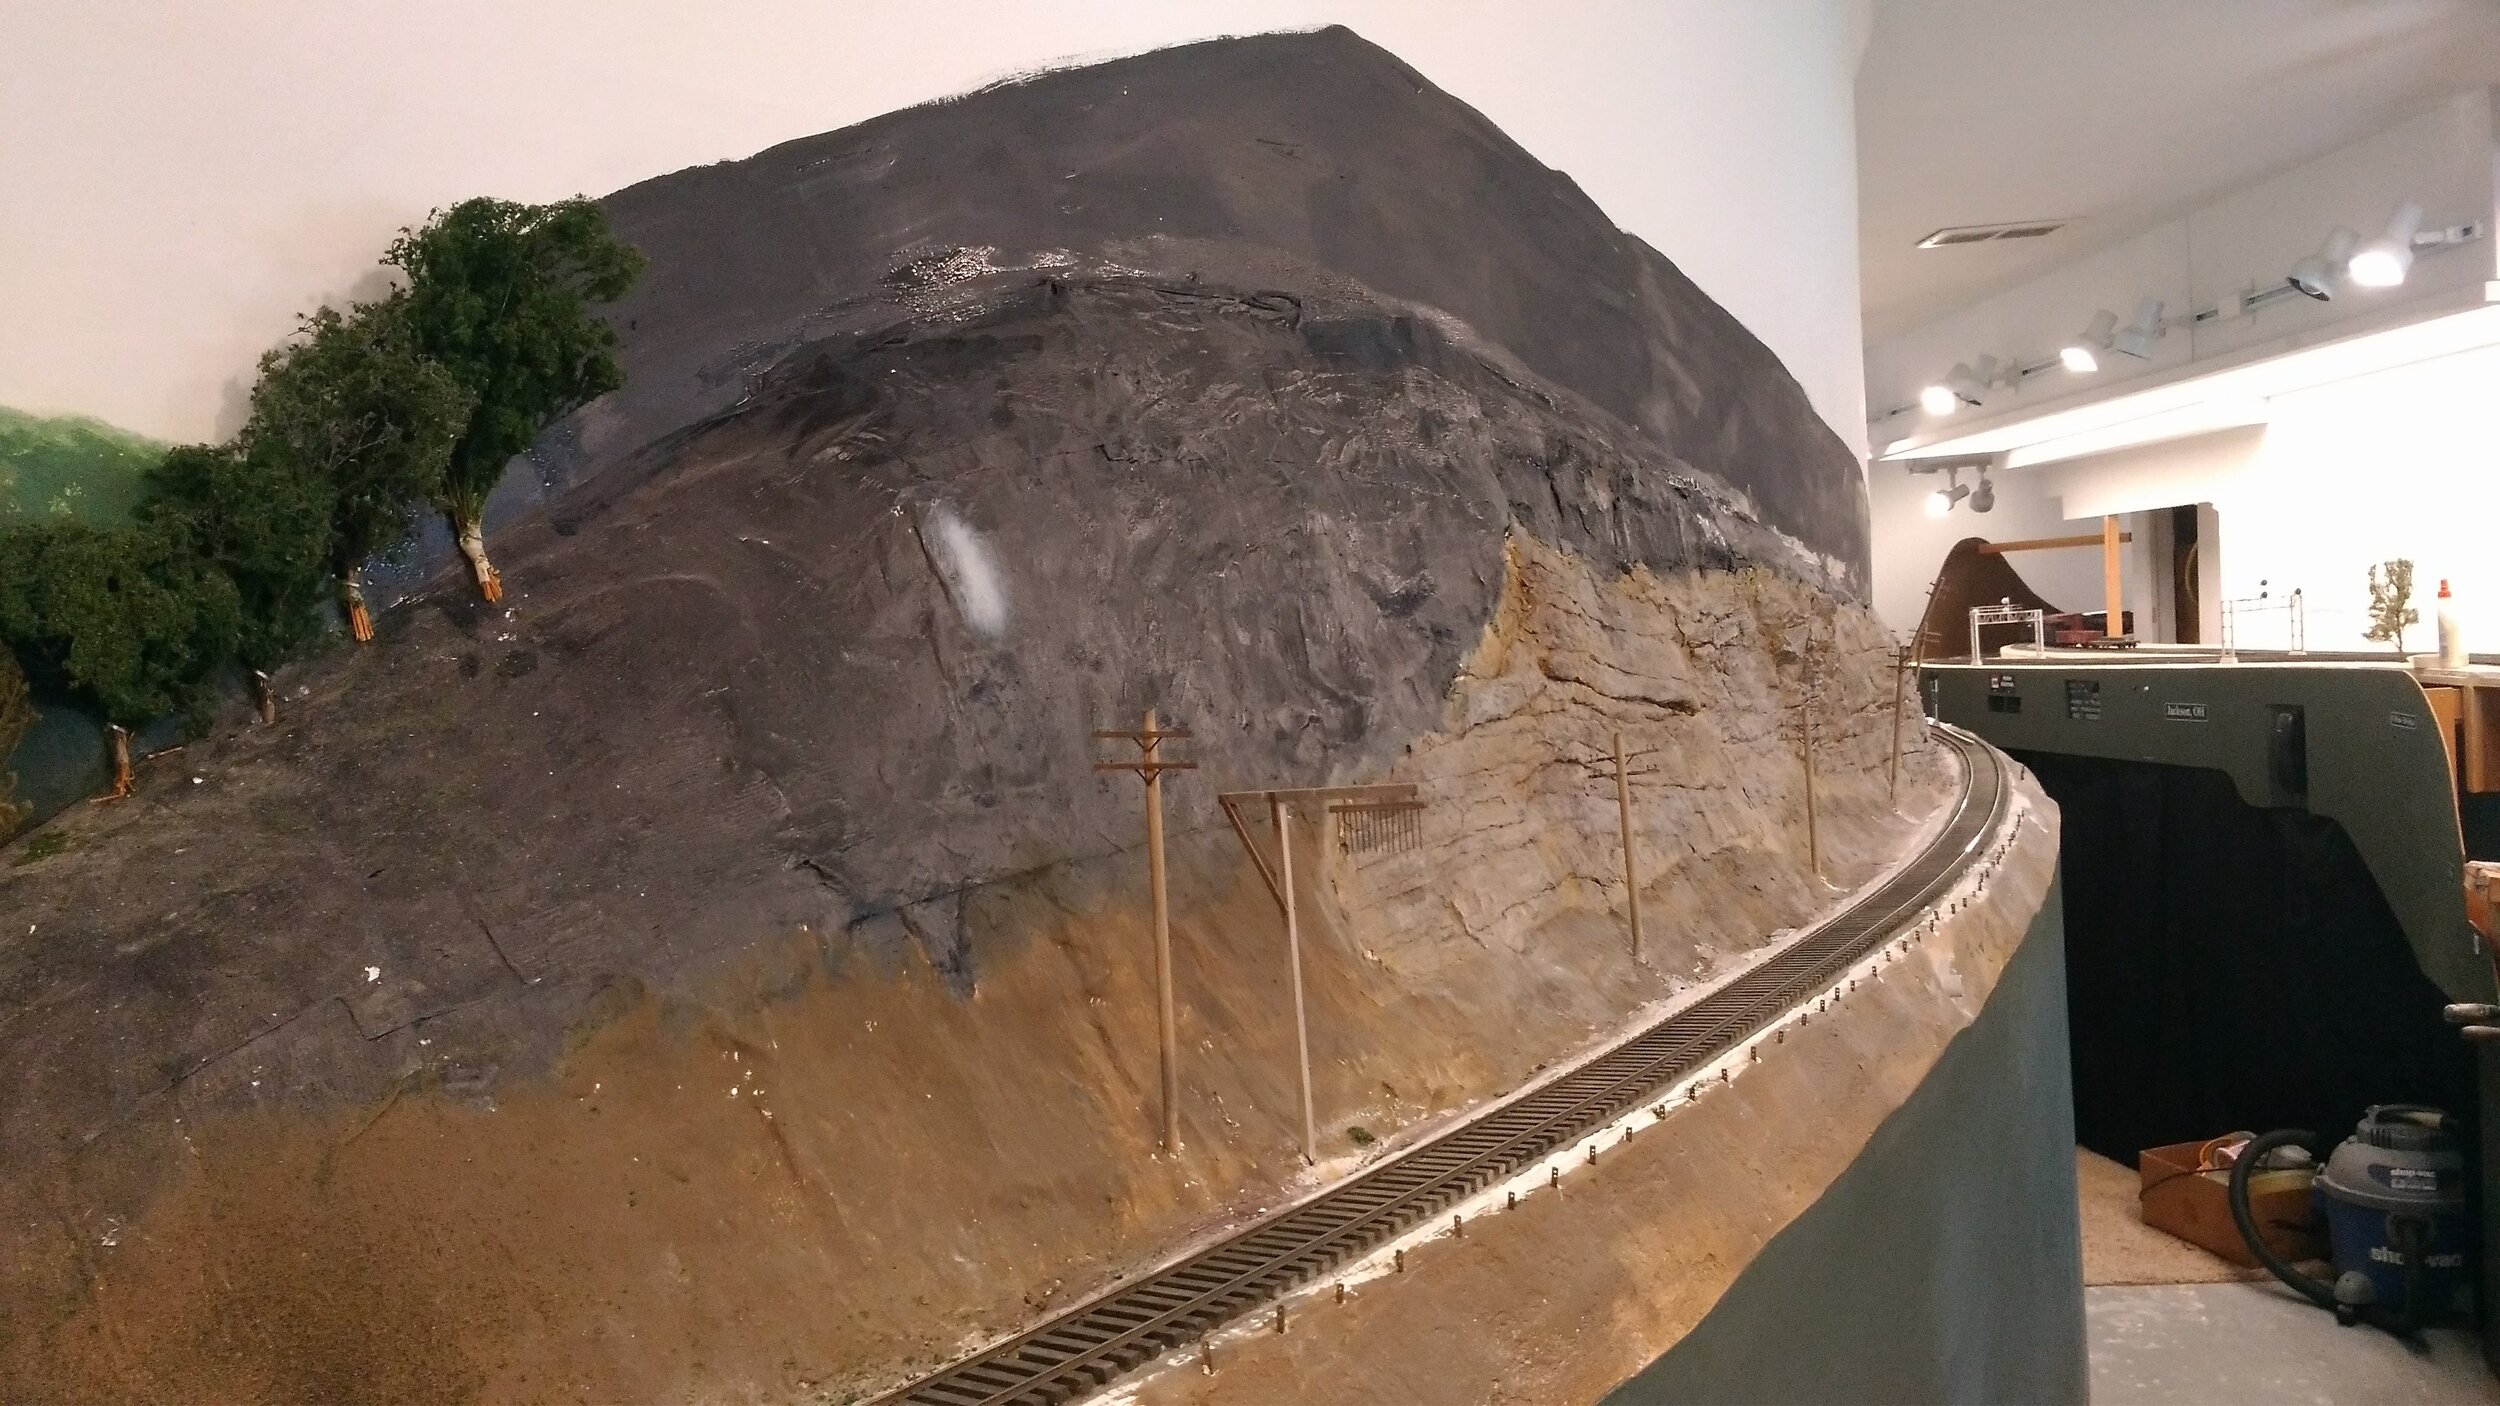
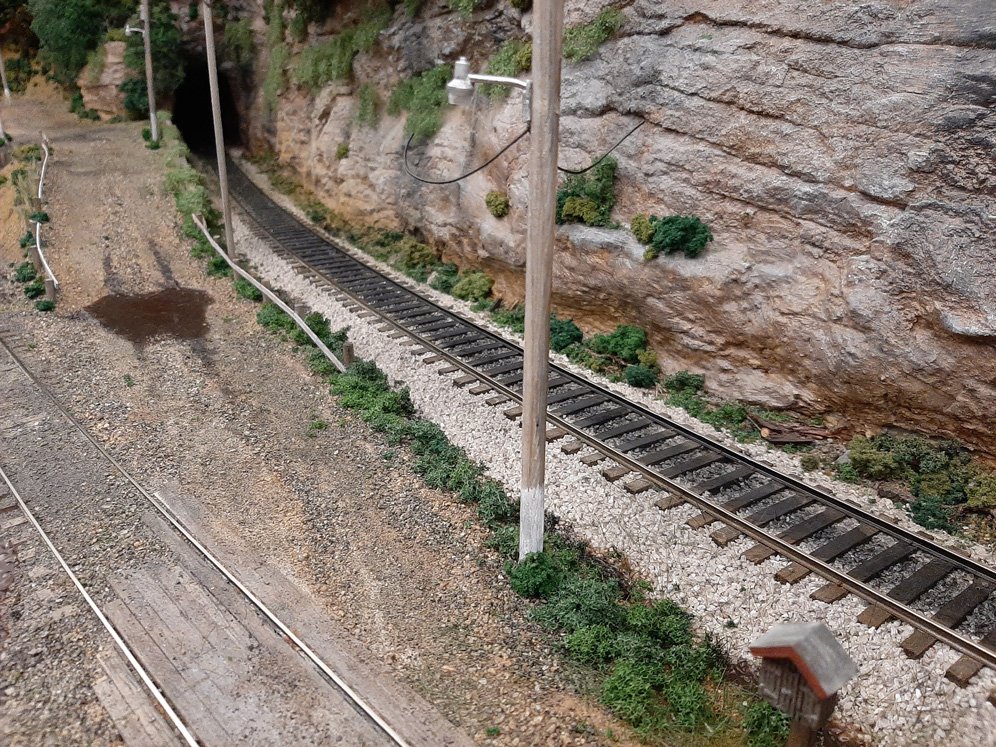
Nearing the crest of the Coal Ridge Grade, scenery is taking shape. Oh note is that I chose to drop the top of the fascia below track level. Though only 2-5” to preserve aisle space, it allows the trains to pass thru scenery on both sides of the track. And it greatly improves viewing and photography. A line of vertical rail pieces driven along the roadbed protects against slope erosion. And adds eye candy.
Yes, the black paint encroaches on the backdrop. See the Trees page about this.
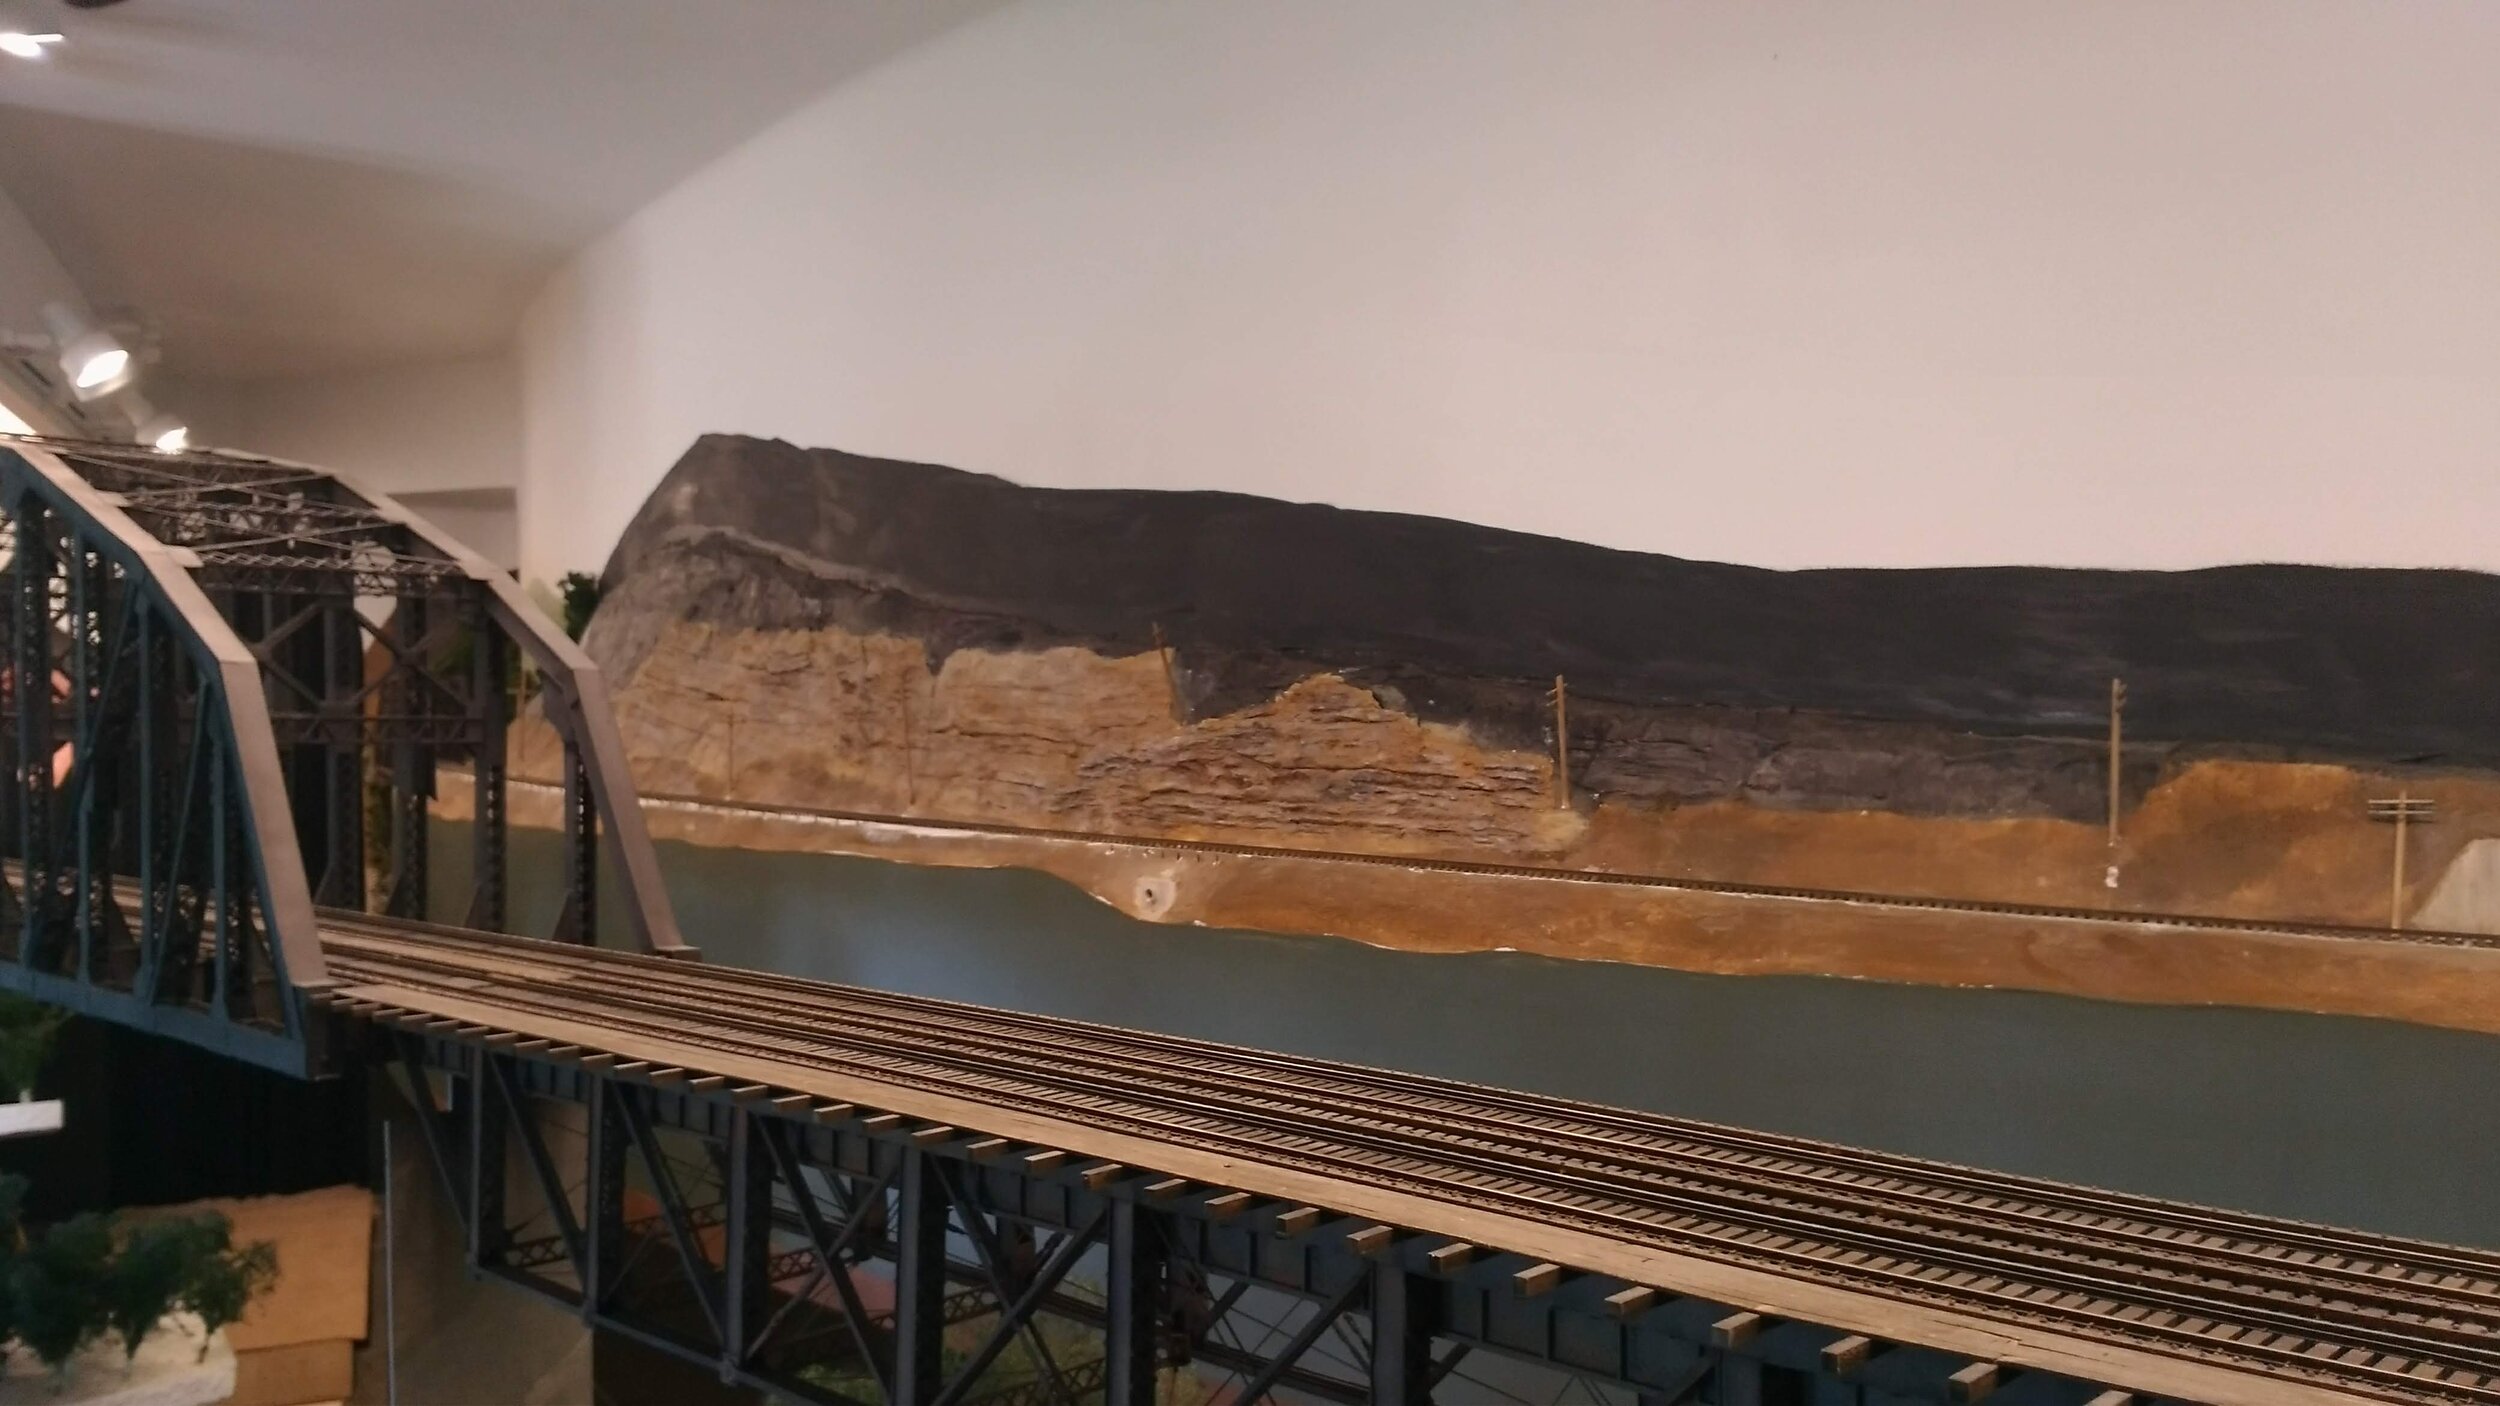
Looking across the Ohio River Bridge we see that line pole placement planning is taking place. .Where ground cover will be added the plaster is given a coat of brown latex. And yup, more black paint on the backdrop wall.
A finished scene in Kayford at the Hawkins loadout. Of interest here is that a “phony ballast slope” was created to simulate an appropriately elevated mainline from the siding. Though in reality all trackage is at the same height, the effect was achieved by carving the slope into the Micore with a utility knife. As the tracks diverged I removed more Micore from near the siding and thus eased the slope to bottom of the ballast. It totally fools the eye.
The post indicates the location of a grade brake (see Electrical page under Construction.)
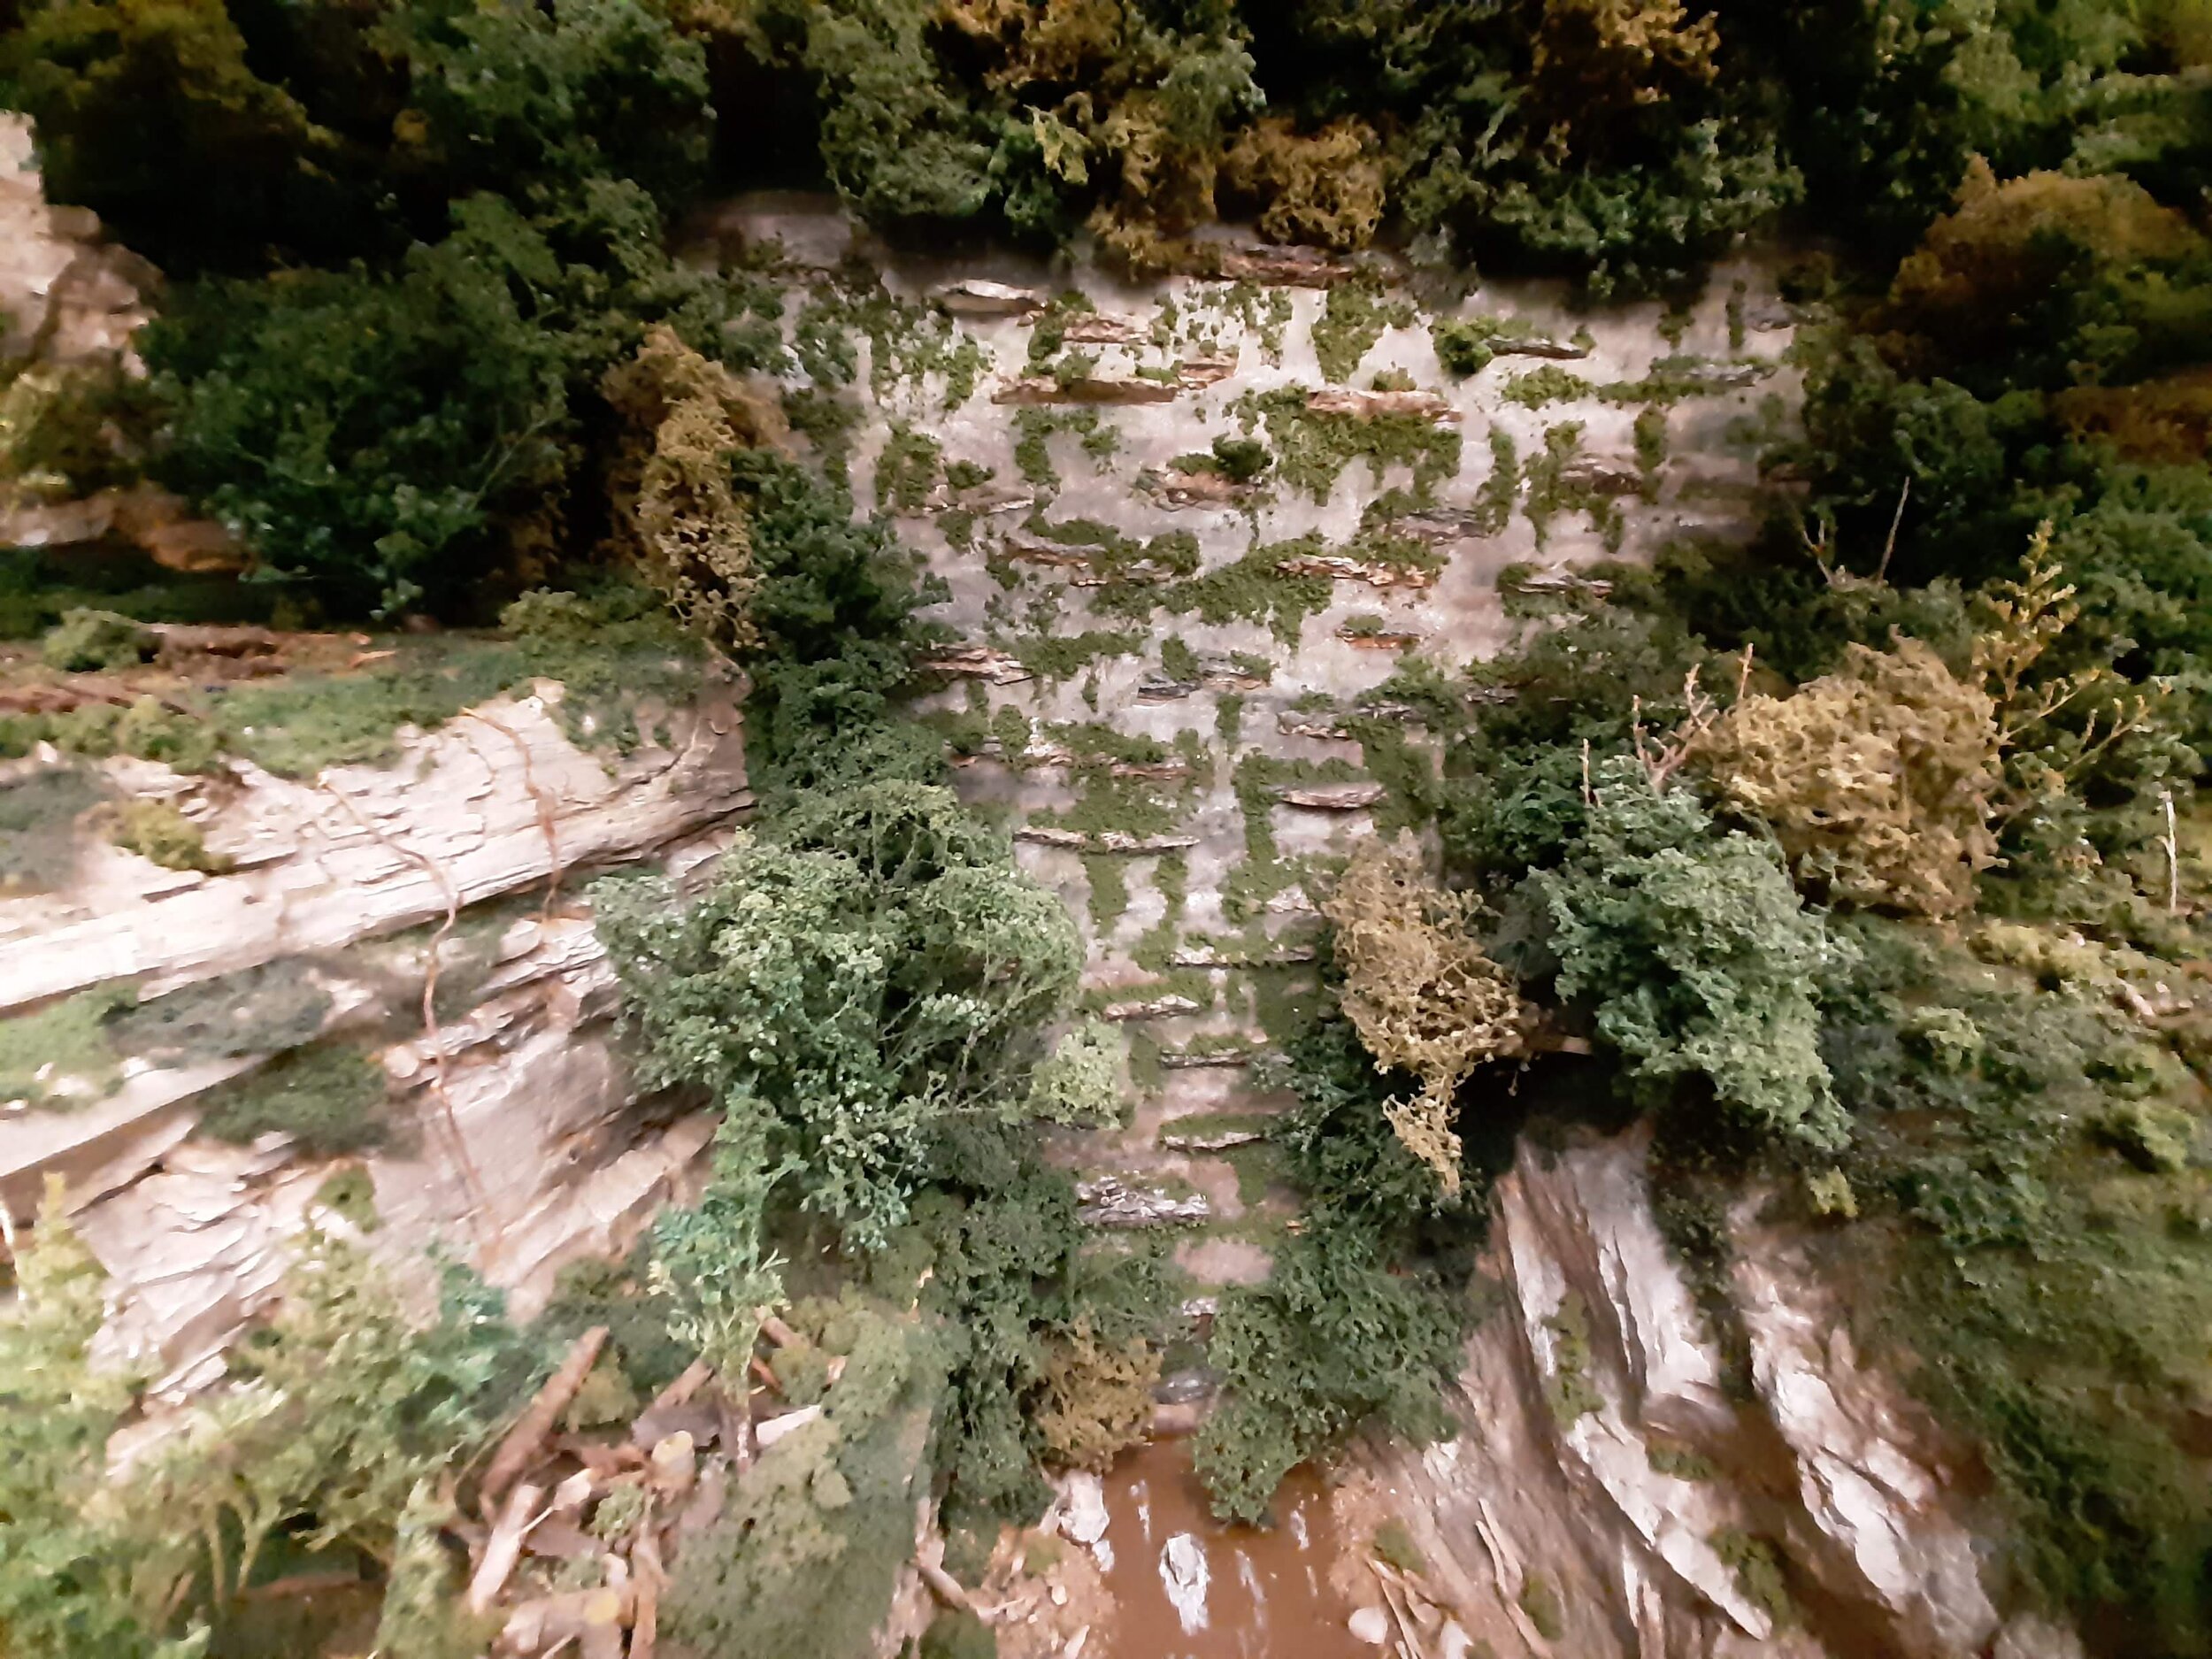
The St. George River runs straight into the wall. Ouch. To help cope with this all too common reality I sought to fool the eye by narrowing the gorge front to back. I also made sure the colors progressed from light to dark.
The wall was painted matching colors and mold pieces were glued to the wall. Add abundant foliage and the seam disappears.
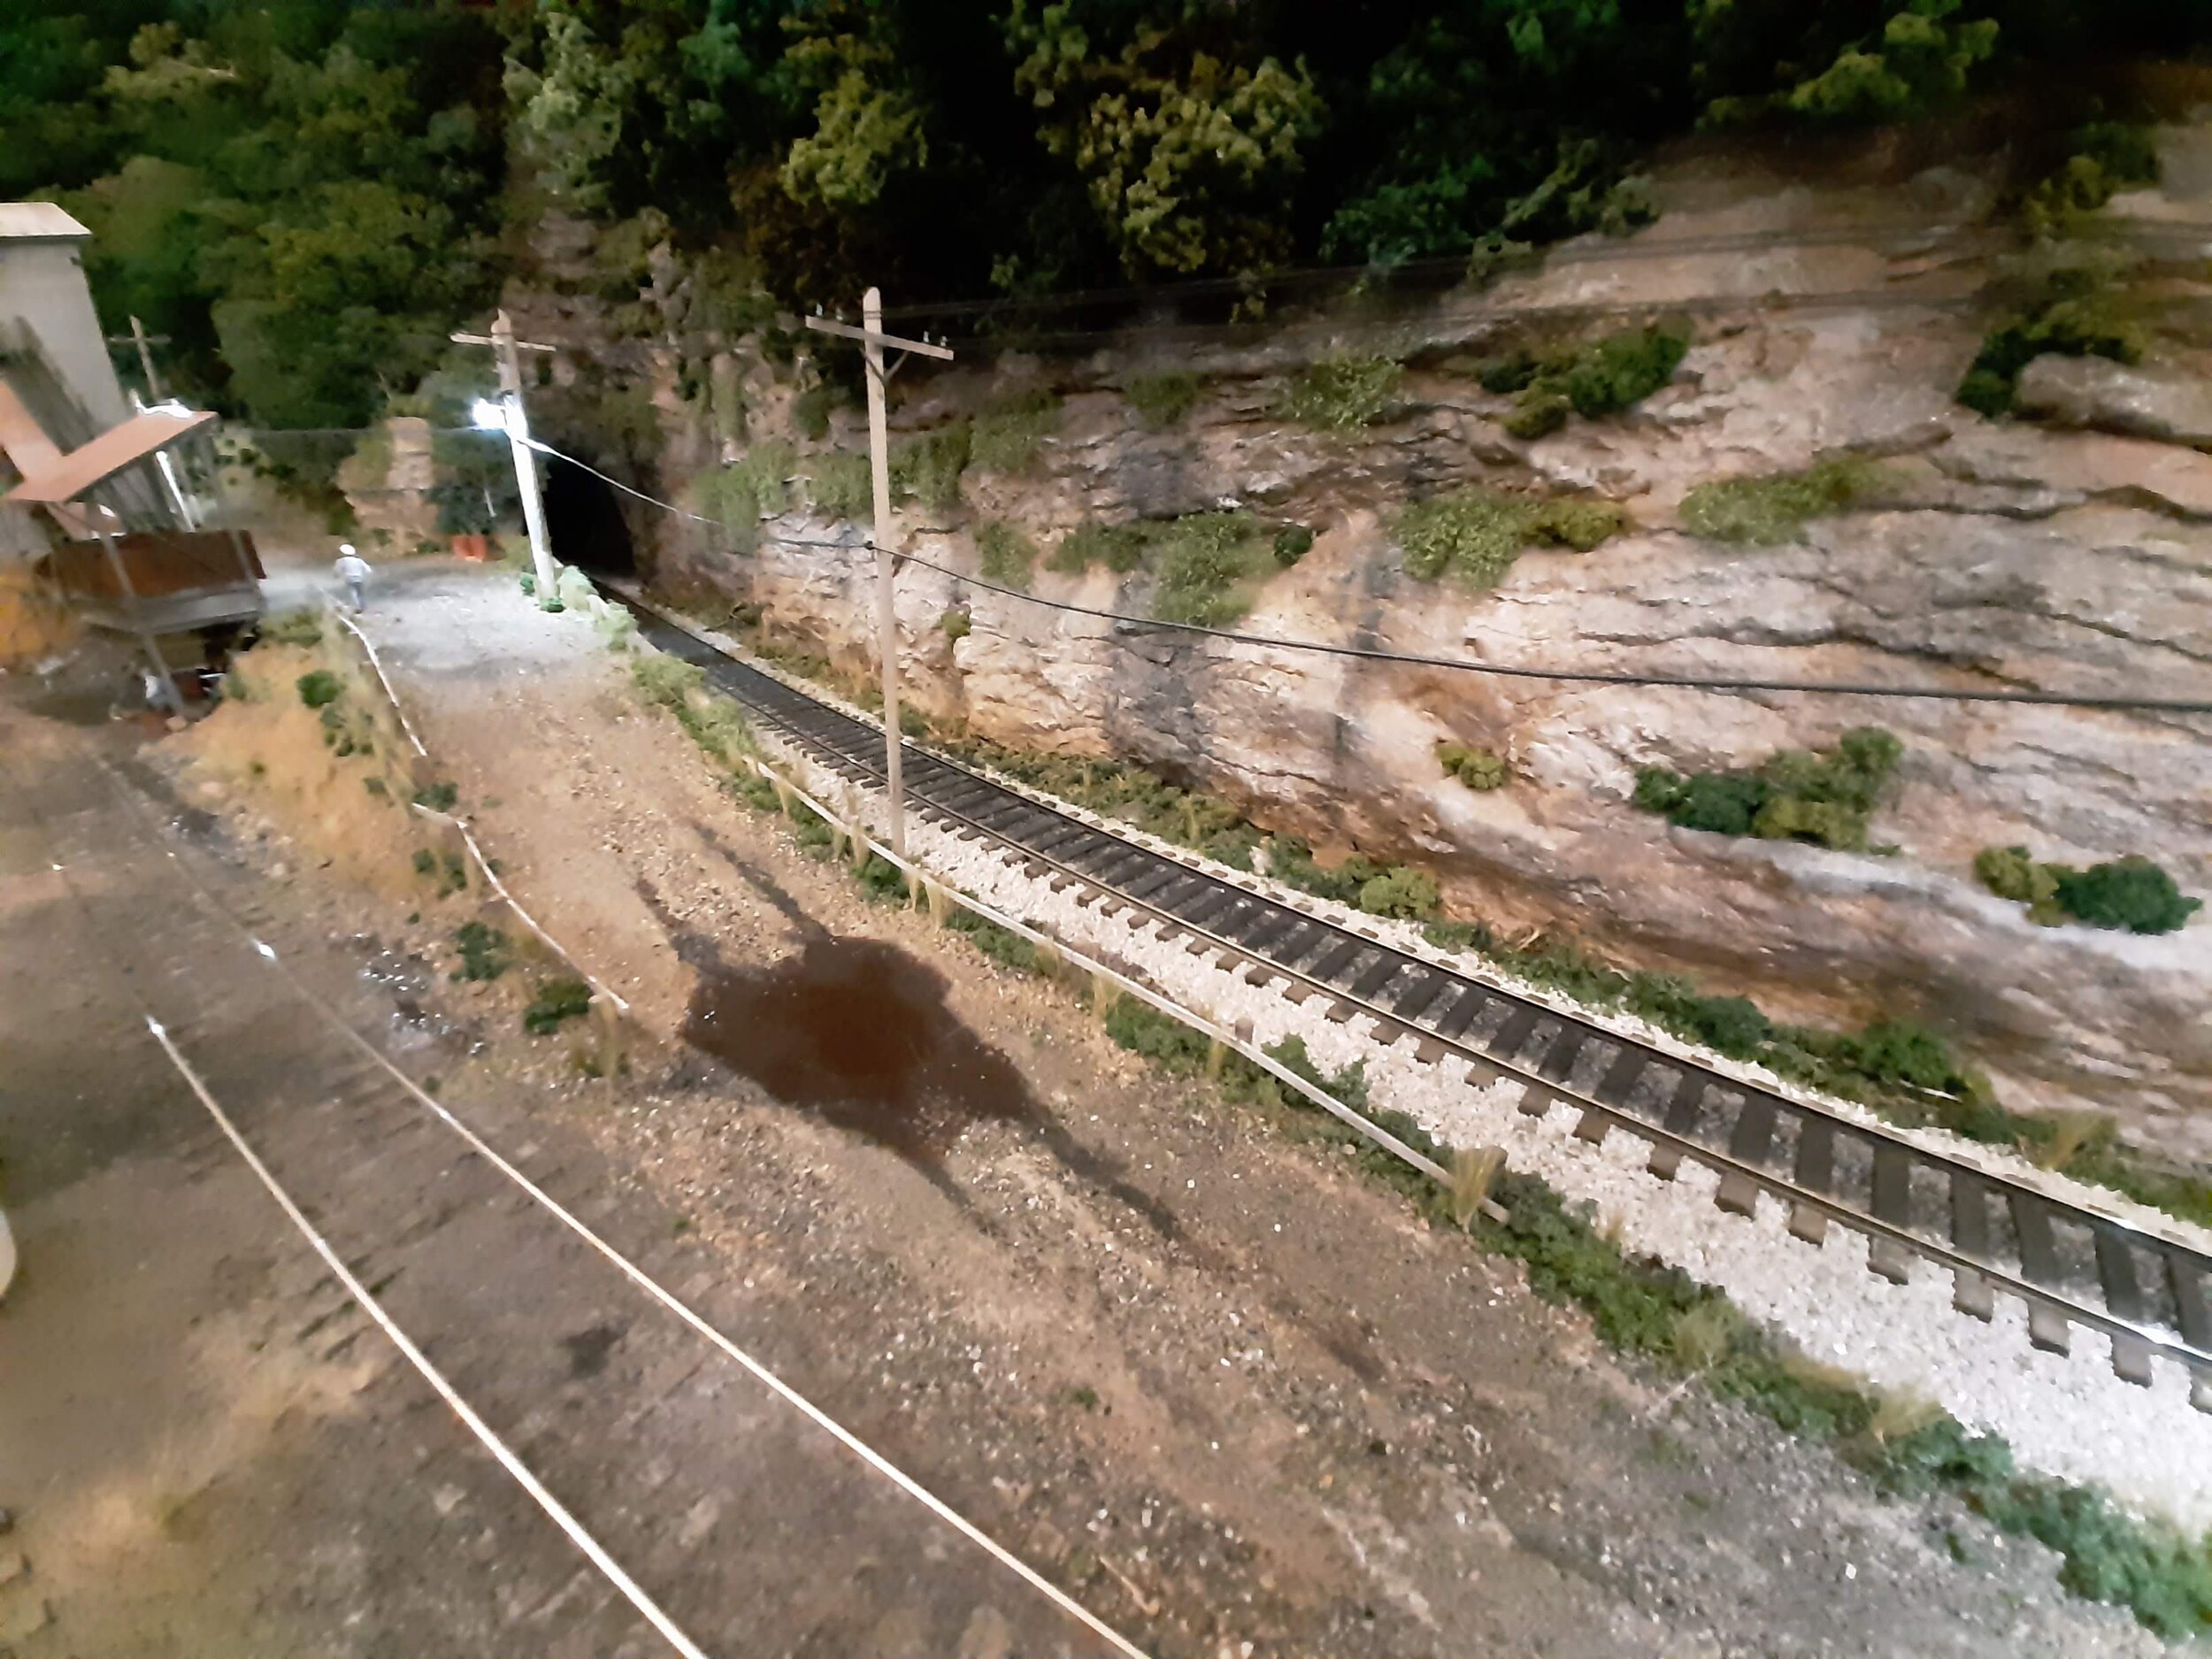
Back at the finished scene at Hawkins in the Kayford, the early morning rain has left a mud puddle at the bottom of the truck slope. How to do that? Next slide.
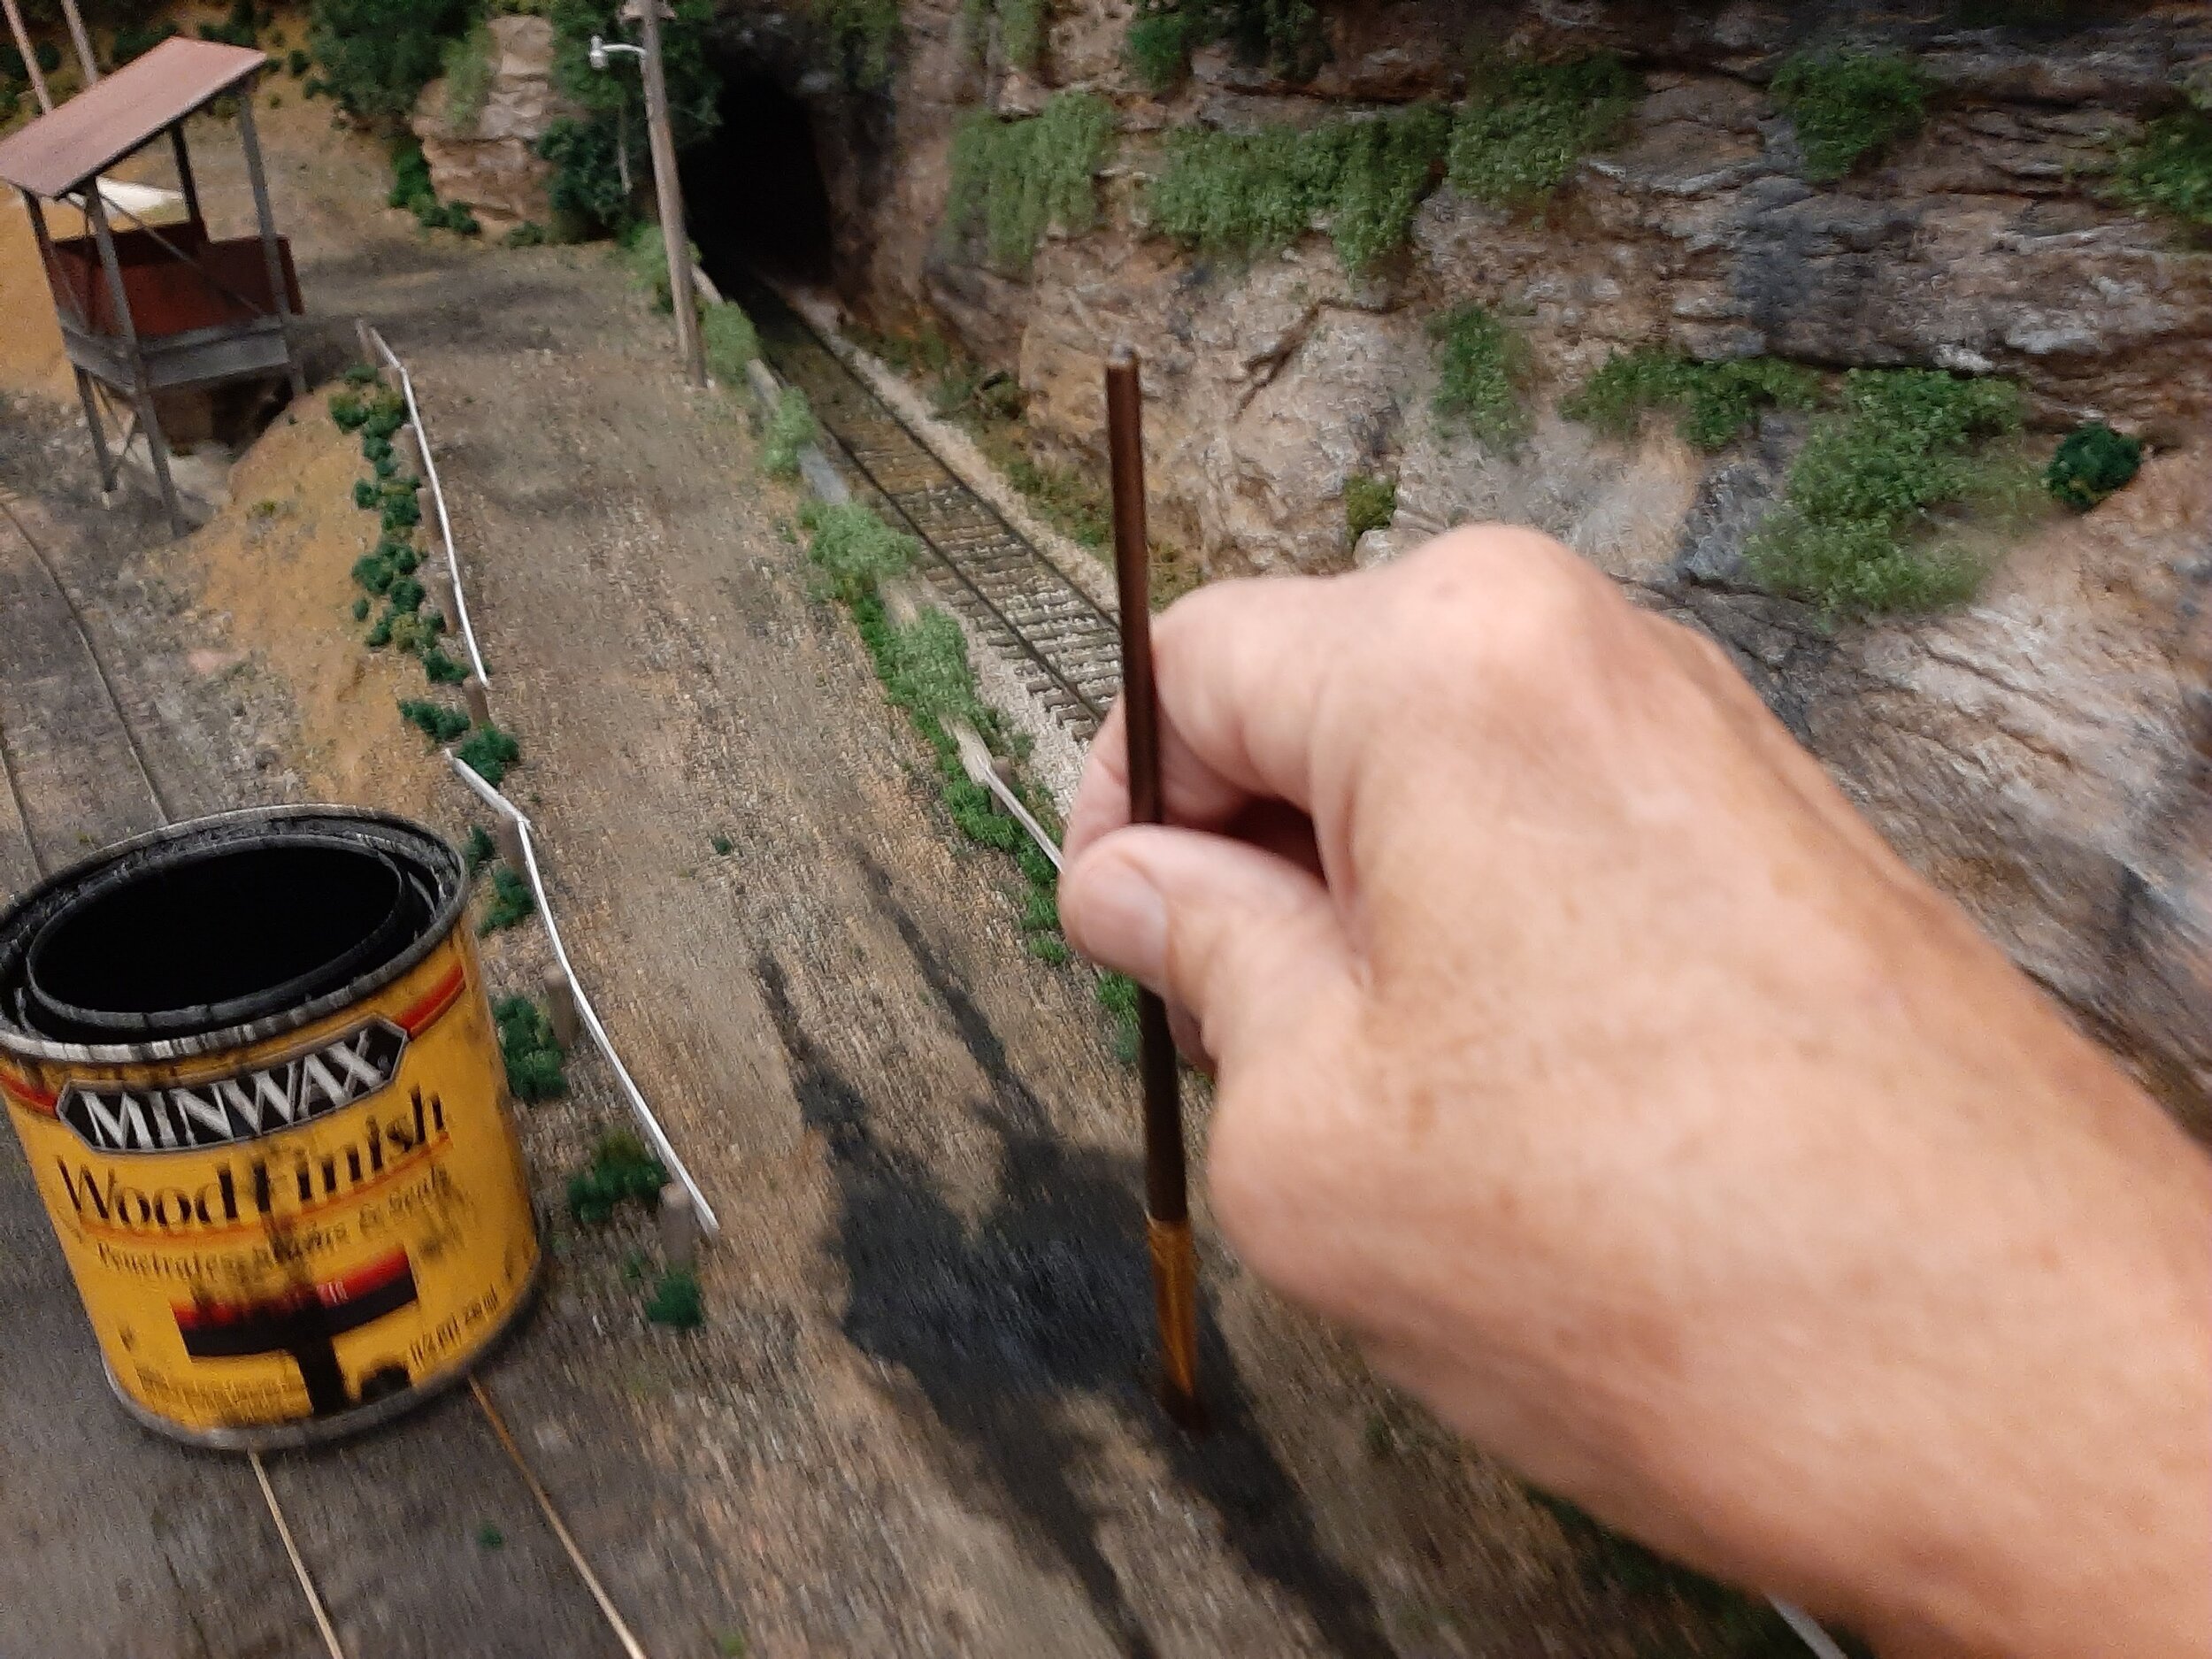
Minwax Ebony stain is applied to the puddle and “wet track” areas.(During earlier scene planning I had removed/sanded the “Bowl” for the puddle into the Micore.). This also works on rock faces to simulate weeping water.
Next seal the area with Gloss medium and let dry. Then I used Vallejo “Still Water” for the puddle. Apply in this in increments and allow to dry in between. A seldom modeled life reality!
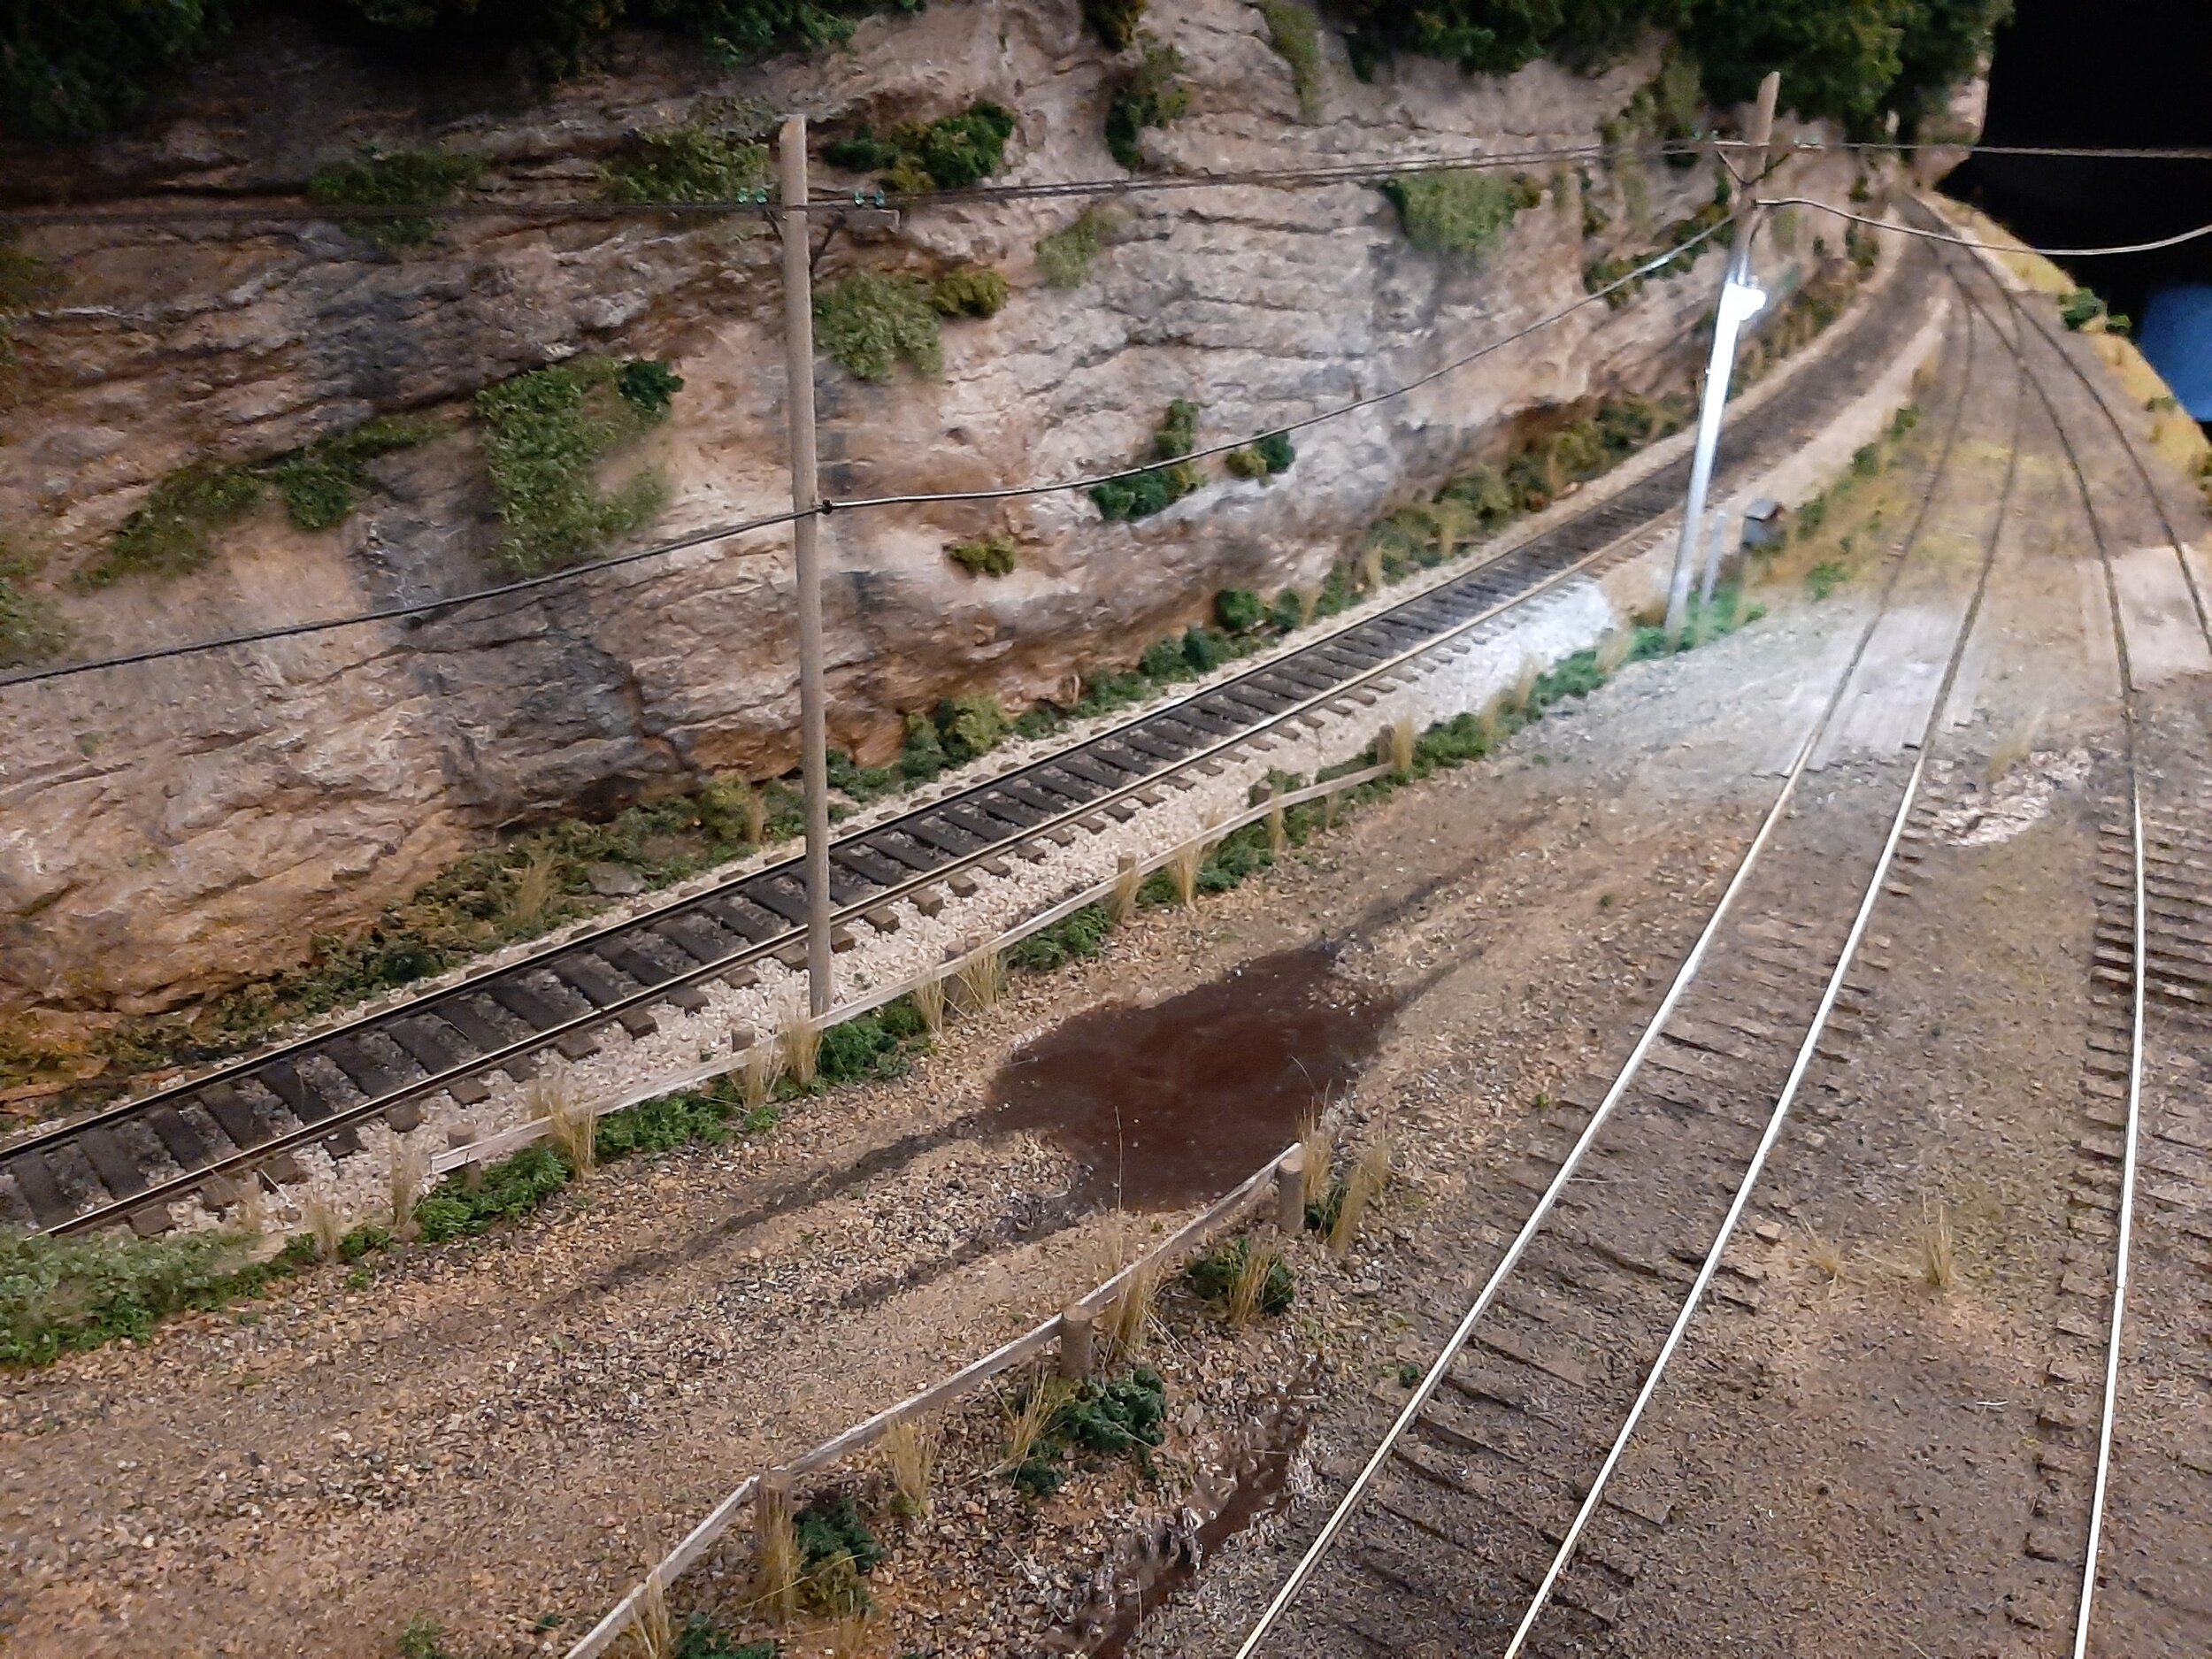
The road leading to the Hawkins Loadout on the Kayford Branch.
This photo shows how this very depth-challenged scene barrows depth from the air above the track/scene to create a deceiving sloped hillside. Shazam.
A closer look at the deception achieved by carving a ballast slope into the flat Micore and sanding a more gentle slope on the left up to the ballast. Shazam II.
On near eye-level trackage it’s always good to leave a bit of aisle side foreground for a few trees/shrubs to let the trains play Peek-a-boo with the viewer. This also creates a sense of distance.
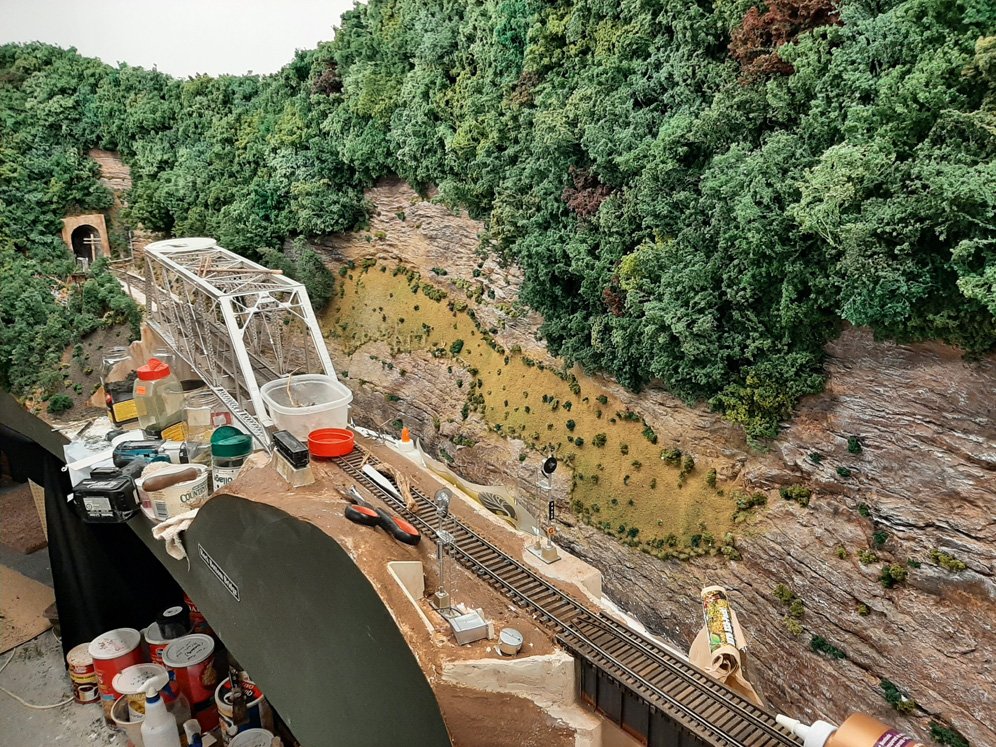
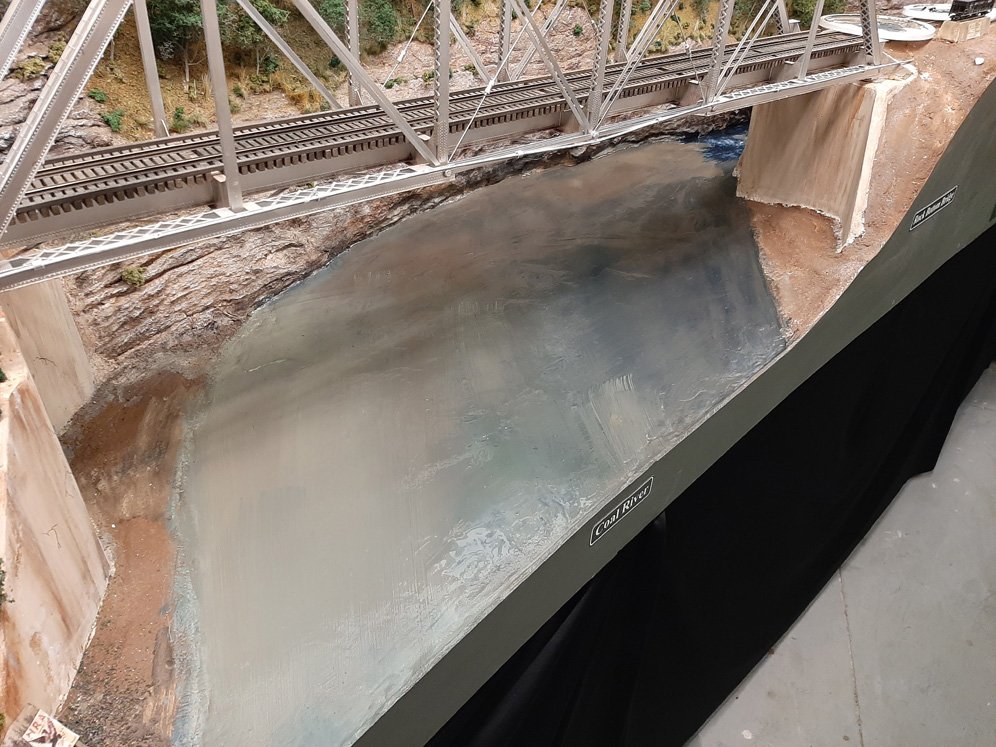
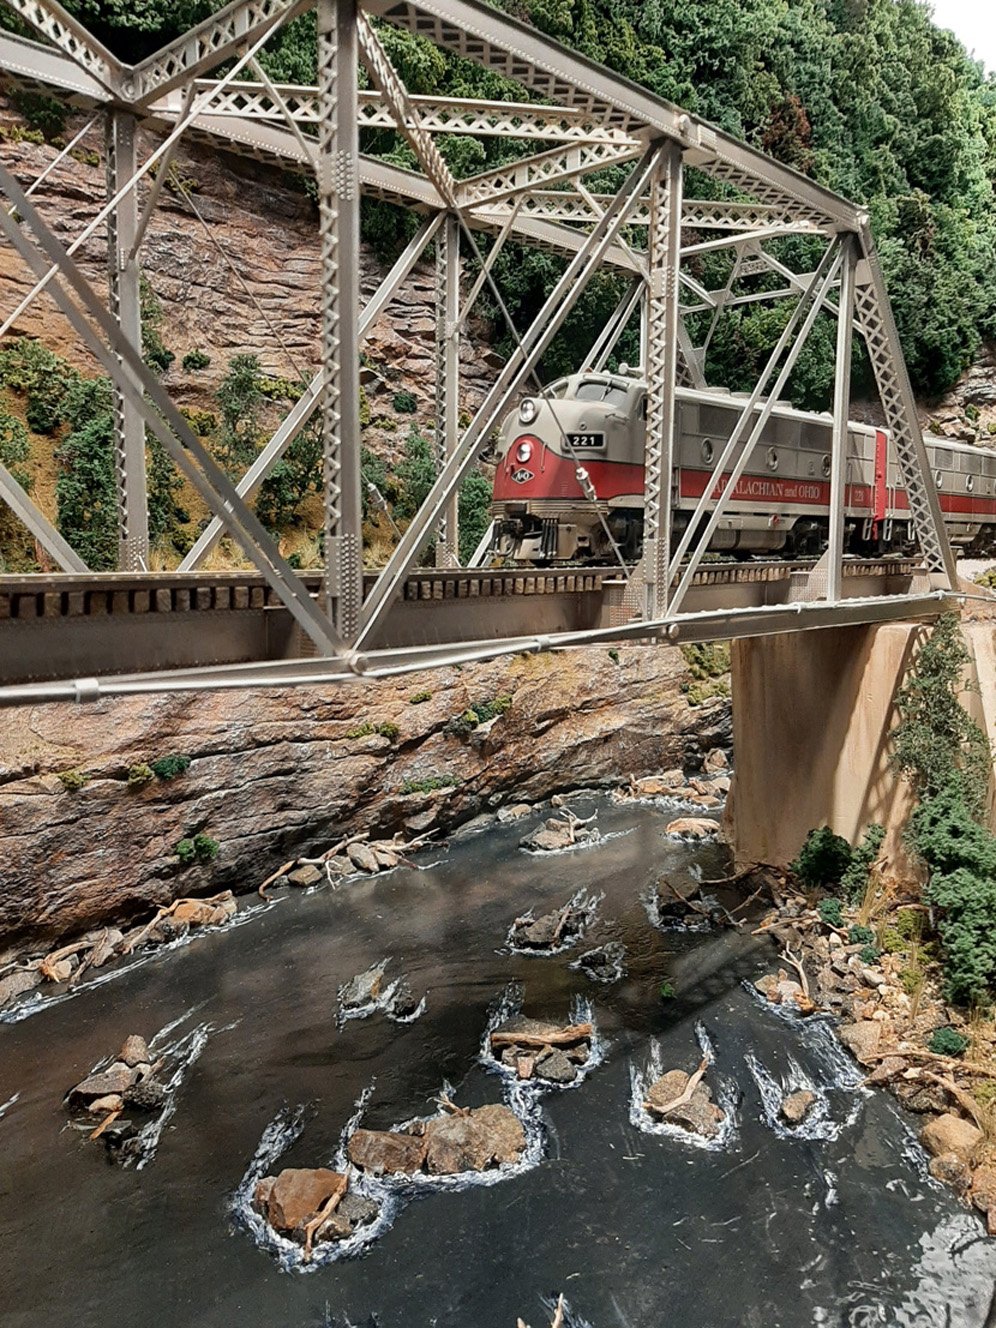
Time to scenic the Coal River Gorge. The tracks jump across the river on a pin-connected thru truss. The bridge abutments were first crafted in cardstock, then to was used as template to make the abutment from leftover 1/4” sheetrock. Joint compound, sanding, repeat, and it makes for very believable concrete work.
The mainline jumps back across the river on a plastic-wrapped deck plate bridge. Lott of plaster molds are now in place and the remaining hillside is painted black for tree placement. Note again how the gorge height extends above actual formed hillside. Trickery!
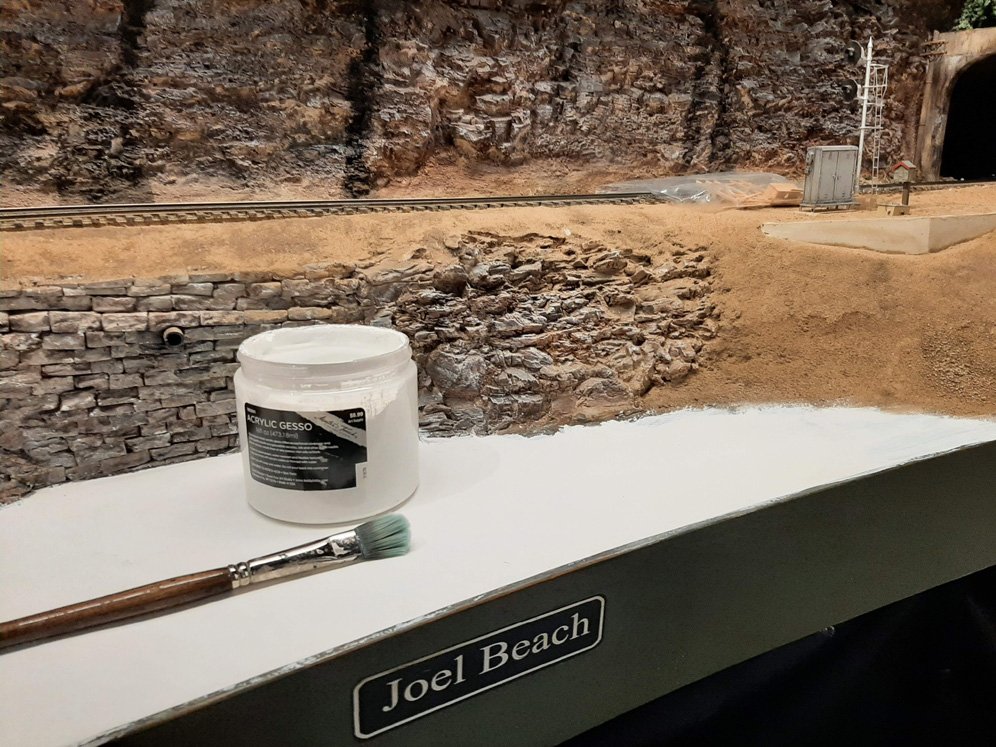
Looking over the scene-dividing ridge of Speedy Tunnel we see the rockwork of the future county swimming hole, Joel Beach. A cut stone retaining wall with drainage pipe is at the center of this scene.
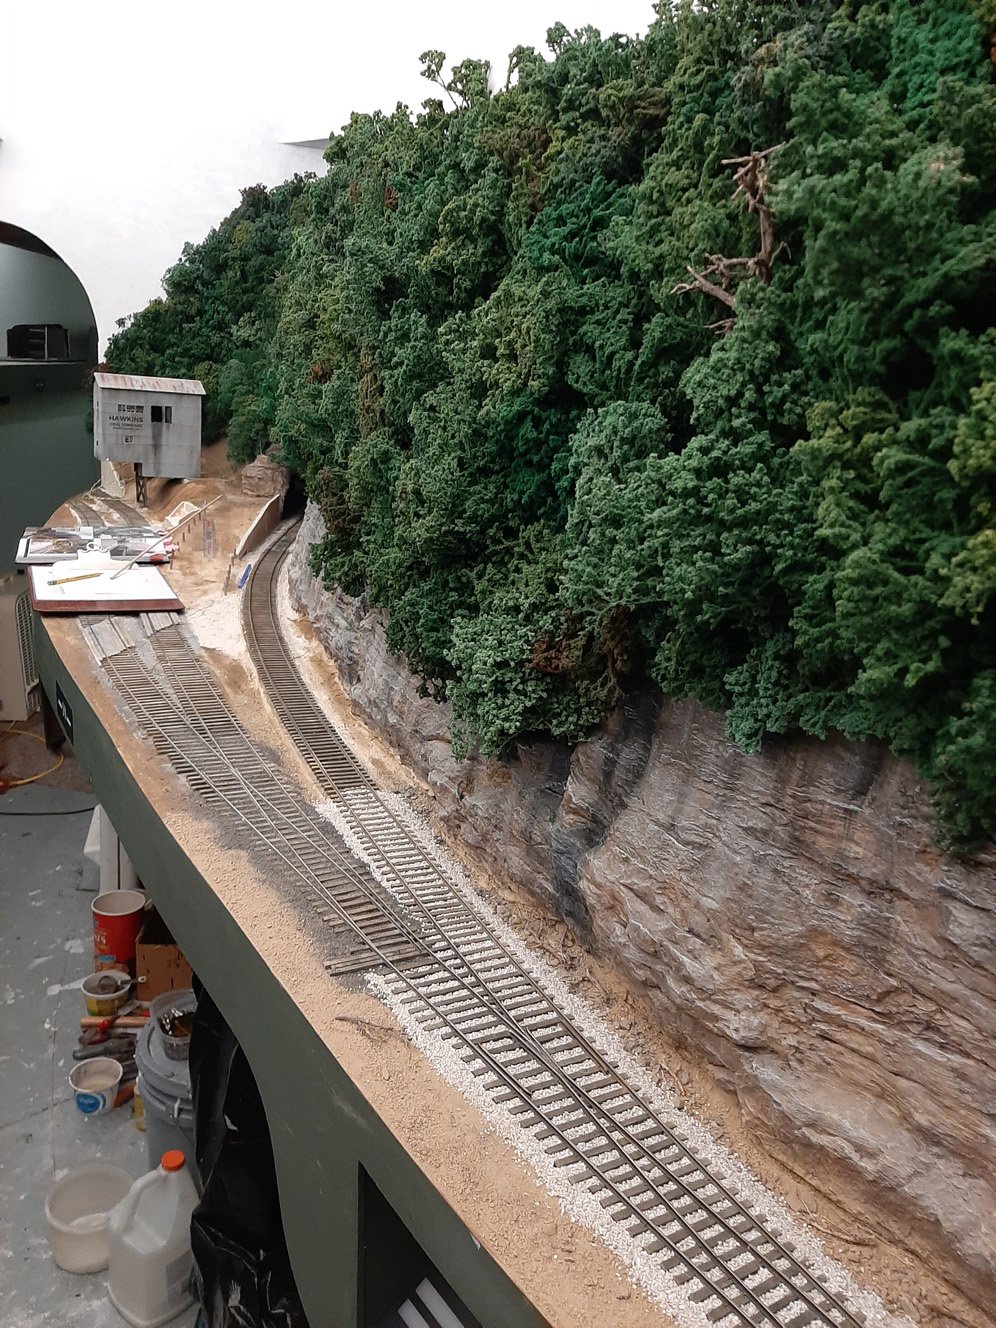
Here come the tree pallets. Time to green things up.
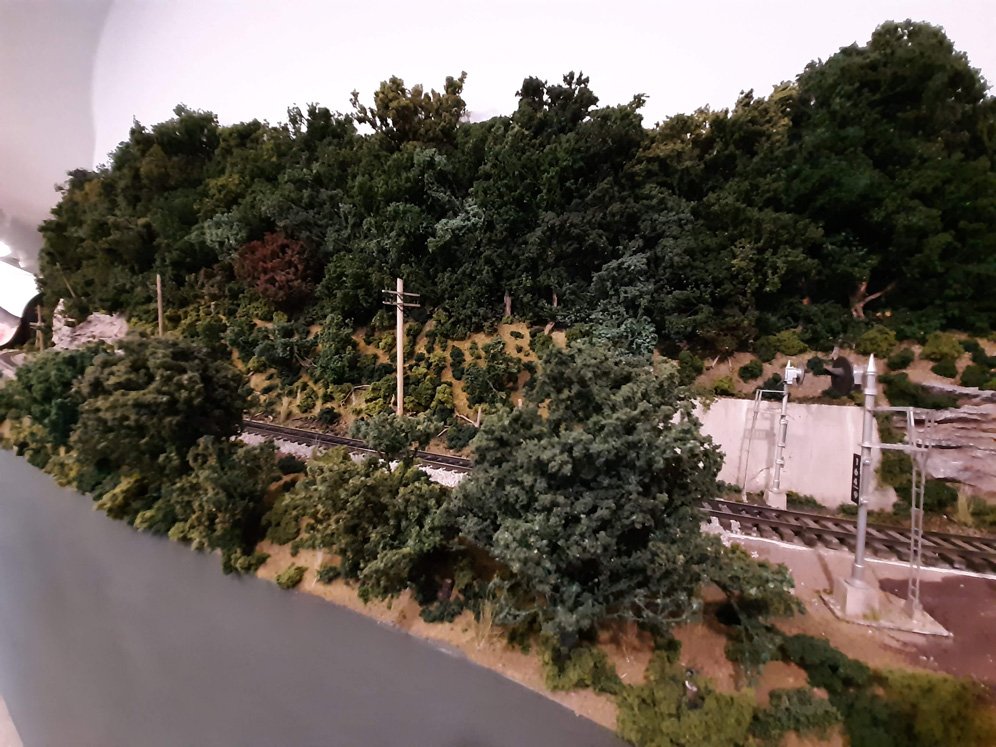
The rock work has been colored and the trees are being stapled to the ridge line. Small trees of various shades of green help create the illusion.
Whew, this 25’ aisle takes a LOT of trees. Who designed this thing anyway?
Yikes.
Joel Beach is getting its attention.
Finally the verdant hillsides are done. Time to focus on that brief bit of hillside that breaks up the exposed rock on the gorge wall. Start with some ground cover, shrubs, and weeds.
Now for the water. I drilled a number of holes in the plywood river bottom (???), then closed the holes from the underside by screwing up plywood scraps. Caulk was added around the holes from the underside prior to attachment. Why this? The random holes provide anchors for the soupy plaster so it doesn’t buckle. Be sure to seal with caulk EVERY joint/seam or you’ll a soupy floor!
Finally, paint the surface with artist’s Gesso.
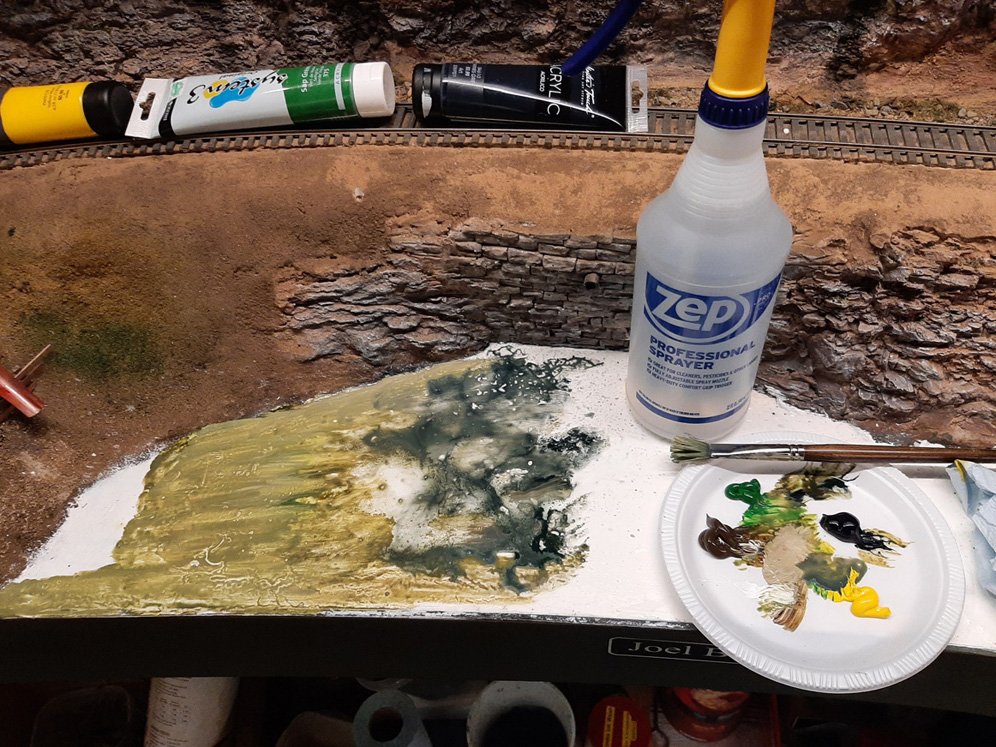
Joel Beach has both shallow and deep areas. Mixing acrylics and water allows you to create this allusion.
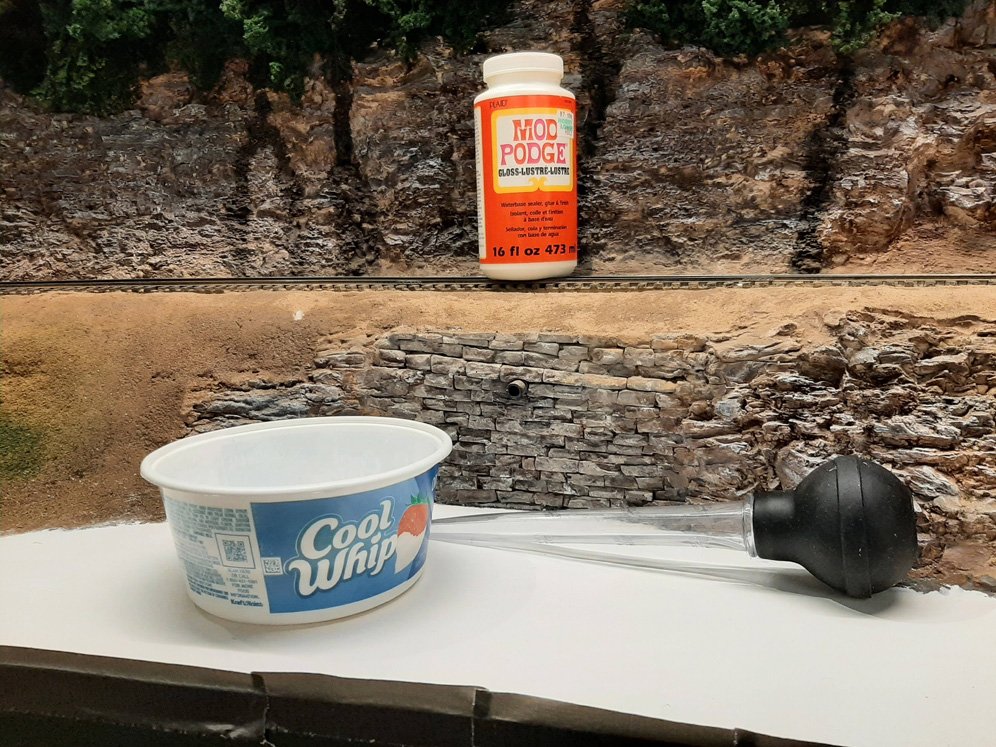
Mod-Podge diluted 3 or 4 to 1 dispensed with a Turkey Baster forms the water surface. It can be tinted if desired, but I usually prefer to do the coloring first on the riverbed that way I know how it’s going to look.
Similarly, the broad portion of the Coal River got a blending of green-brown to Paynes Gray to simulate varied depth.
Don’t like the way it’s turning out? With the slick Gesso surface you can quickly wipe it off with a wet sponge and start over. And how do I know this? :)
Jumping ahead, ahem, rocks were added along with the required ground cover before finally pouring the water,….Mod Poge diluted 3-4 to 1 with water. I used a Turkey Baster to slowly dispense the "“water” around the rocks and debris.
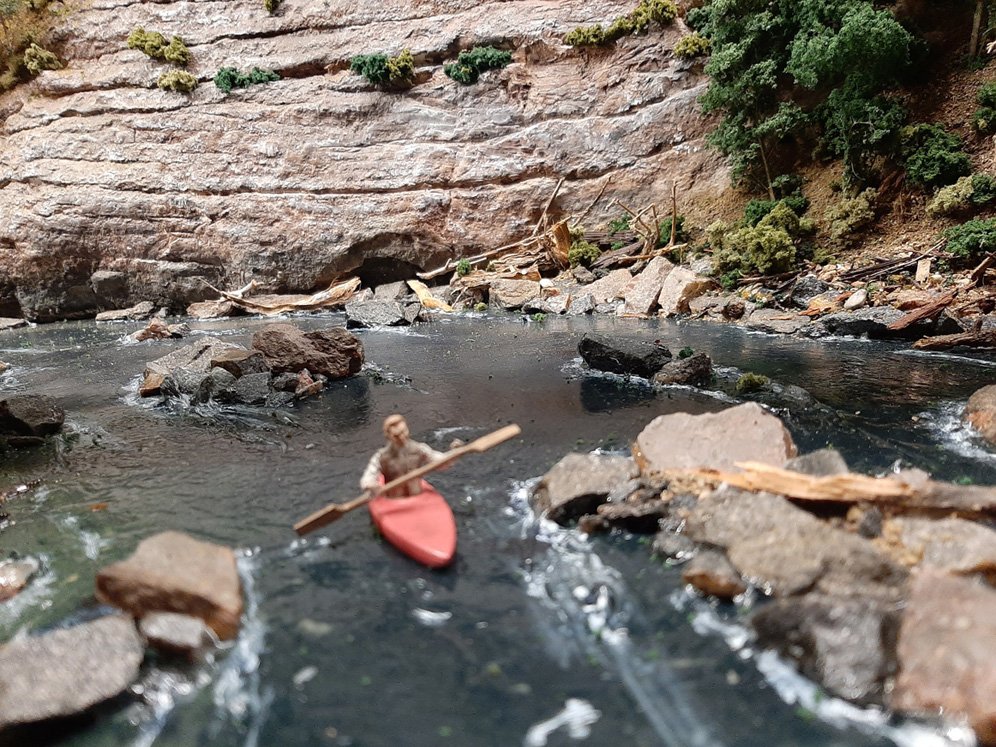
The finished scene makes for good kayaking.
The surging water around the rocks was made with Woodland Scenics Water Affects, touched up with white acrylic when dry.
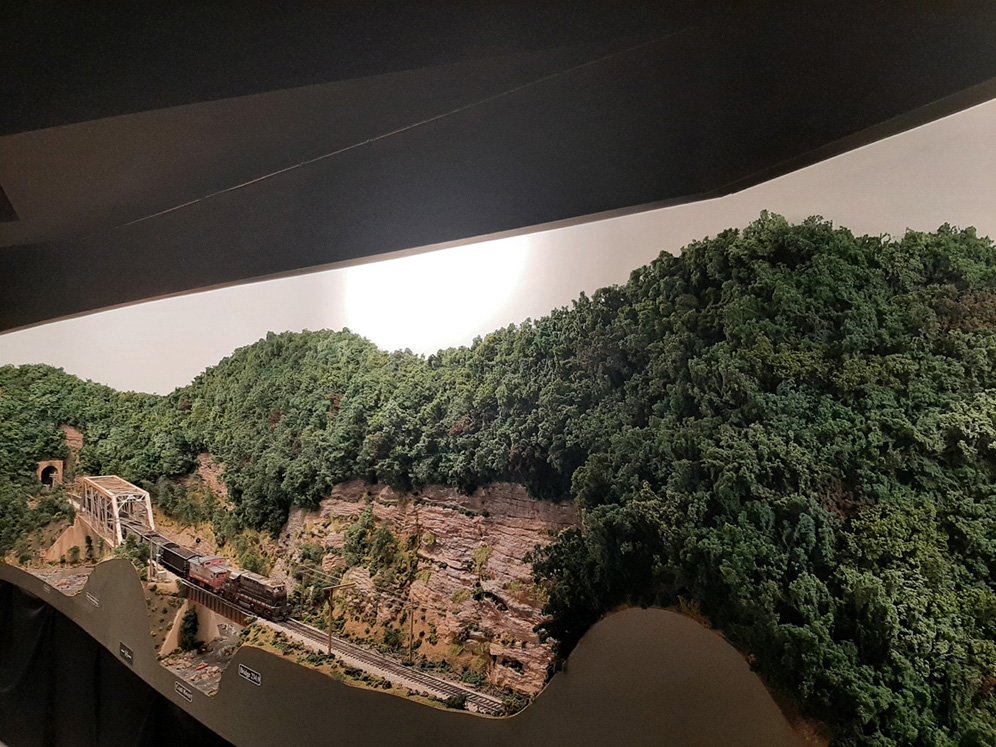
A partial overall view of the finished new gorge scene on A&O 2.0. Whew.