HAWKINS LOADOUT
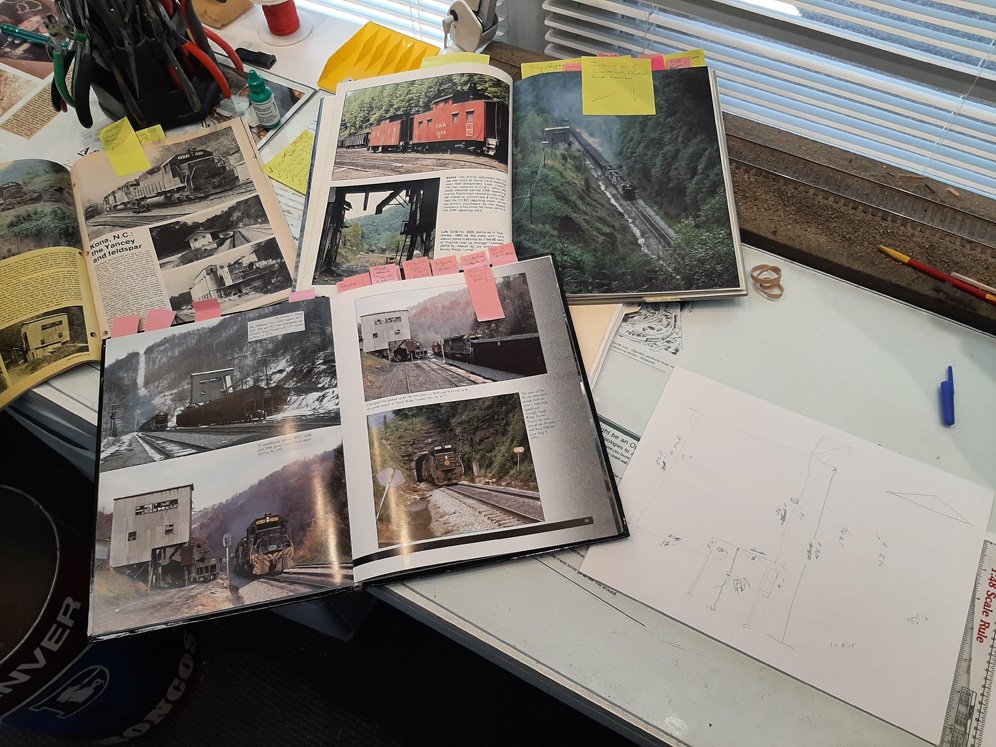


A loadout location on the Kayford Branch had been drawn on the trackplan, but nothing specific was planned beyond that. The Covid shutdown motivated me to figure out what I wanted to do in this location, so I began scouring my Appalachian coal books for something suitable.
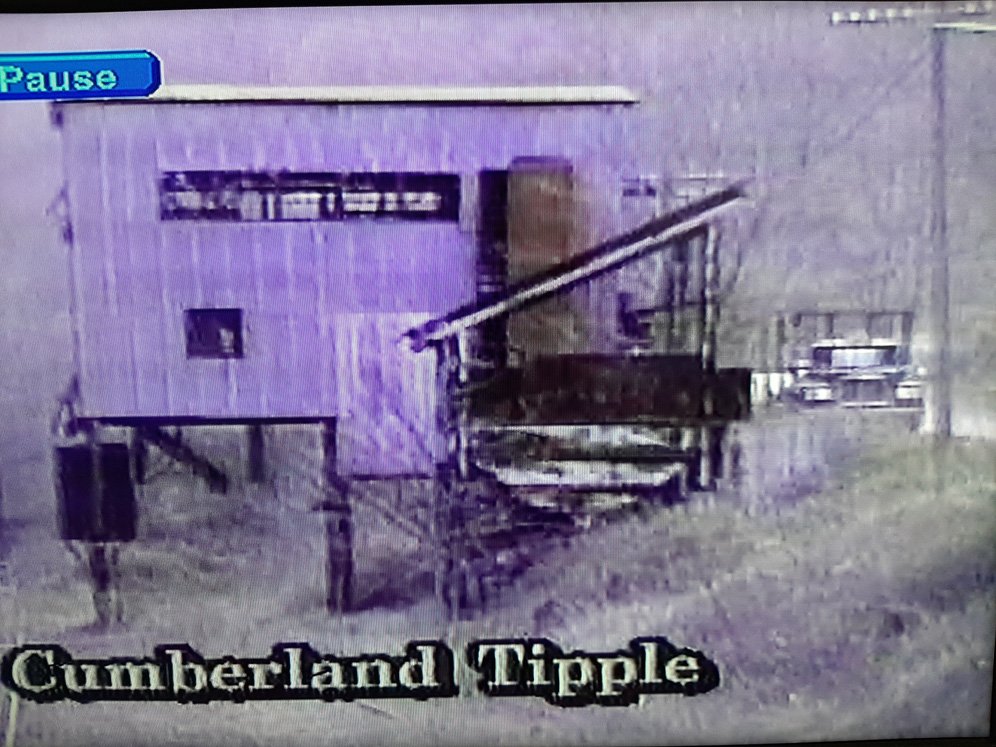
The Cumberland Tipple on the Clinchfield just past Sandy Ridge Tunnel is an iconic structure, recognizable to most all Appalachian railroading fans. Would that work?
I studied the tipple from every angle I could find- photos and videos. If I was going to model it, it would have to be accurate!
The structure itself seemed simple enough, and I liked it.
Plus, it featured one of the most recognizable of all coal loadouts in Appalachia, a covered truck dump.
A secondary office type building was nearby, with simple lines.
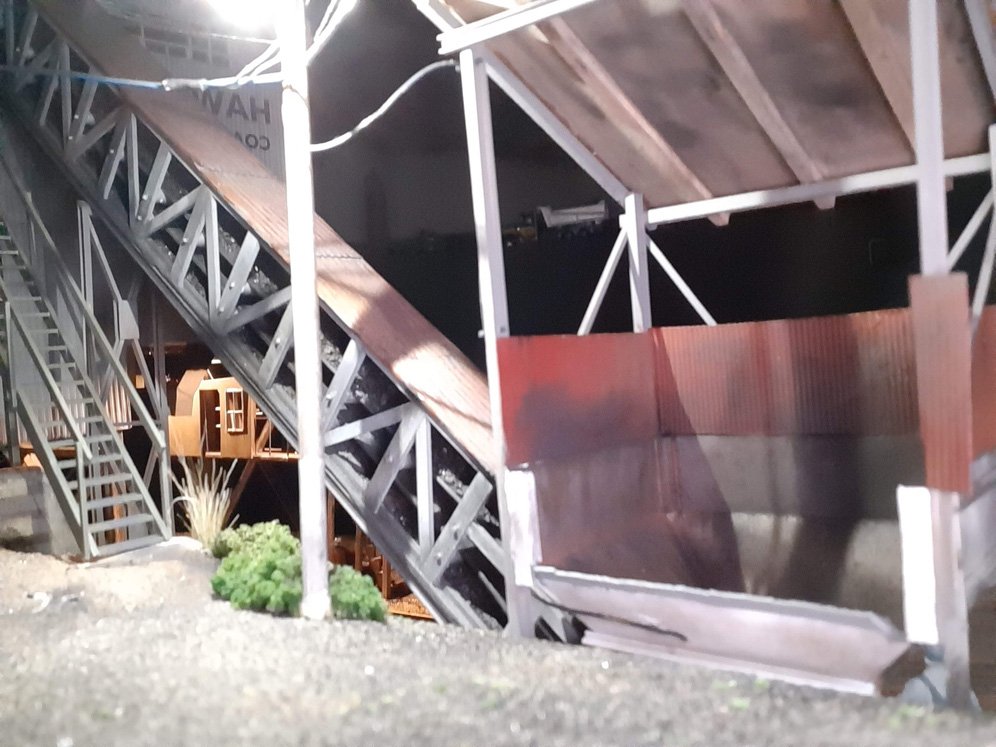
The conveyor from dump pit to crusher was also a visible attraction, and screamed coal loading.
Plus, the Cumberland tipple featured a signature elevated operator’s station, one unlike any other. Both shape and coloration just had to be modeled.
Loadouts/Tipples can be funky, each unique, as if thrown together following a bad pizza. This one fit the bill.
It was now a quest. Make Cumberland fit my shallow location in the Kayford.
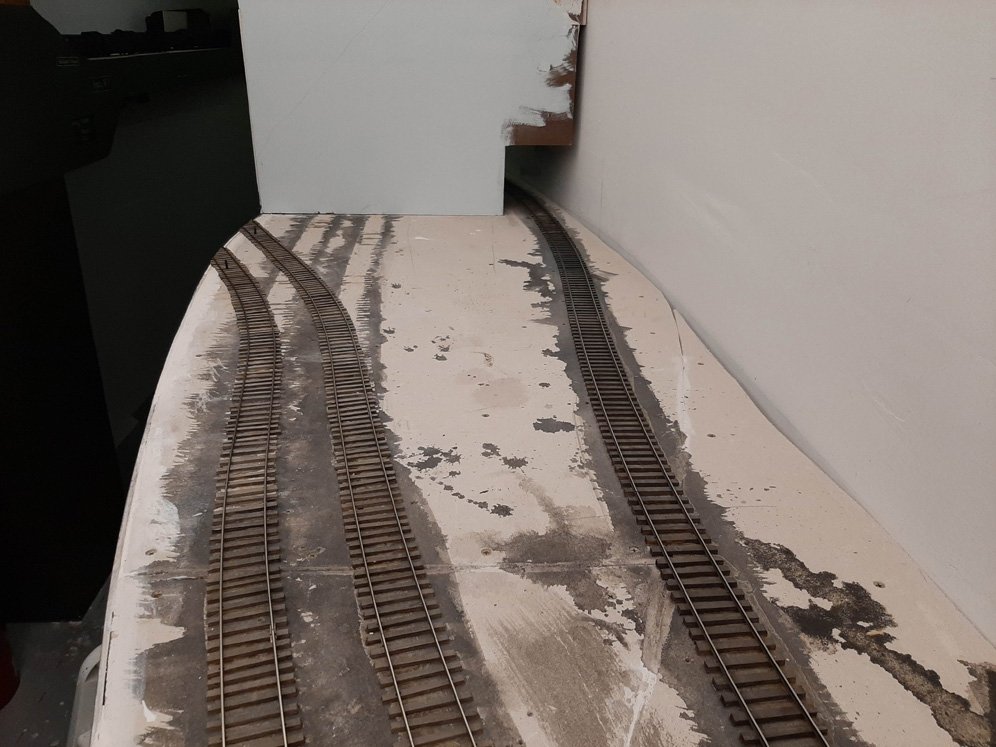
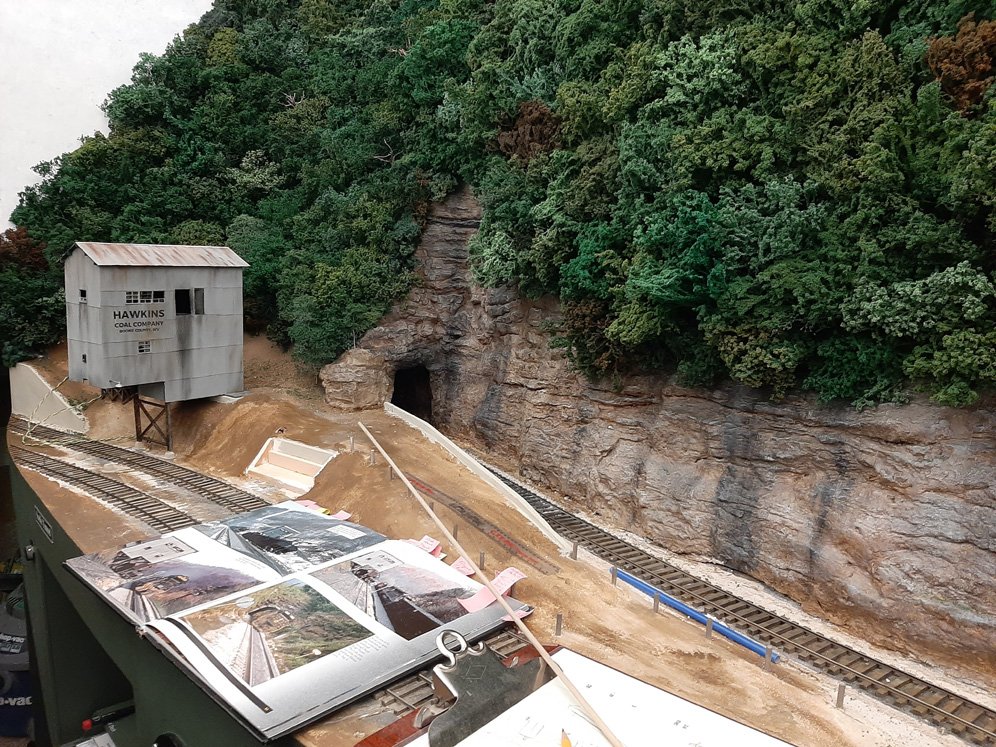
A view down the Kayford aisle with the future loadout to be on the right. Across the aisle is the site of the future D&K Dock.
I had laid the loadout rails abutting straight into the backdrop wall thinking that would work out. Nope. To fit in the Cumberland, the tipple had to be angled, a much more visually pleasing design anyway. So, up came the rails and down went new ties, carrying the rails, and the imagined valley scene, into the aisle. Good.
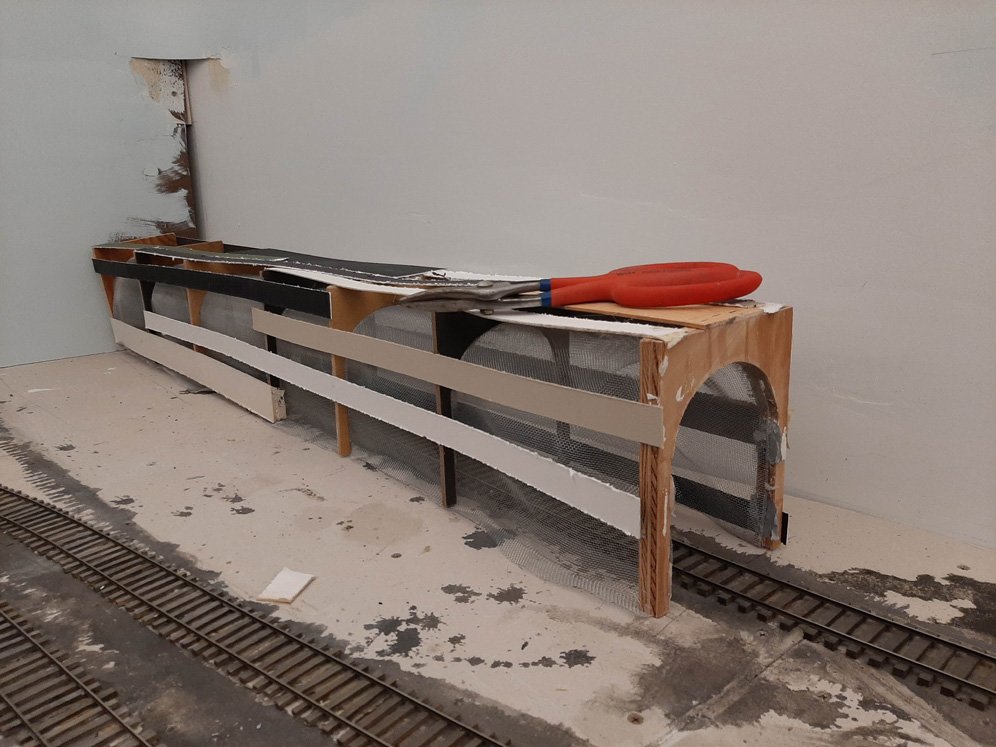
The branch line passes through the scene and needed a tunnel to exit the scene, so one was constructed. (See “Tunnels” page for this.) I glued the tunnel in place and evaluated it some more.
No matter how I tried to sketch/envision the scene, it wasn’t working out. I needed a road to rise up and service the dump pit. No fit’em. Harumph. Then it hit me, make the tunnel shorter and blend it in with rockwork such that it quietly exits the scene. All of a sudden things were falling in to place.
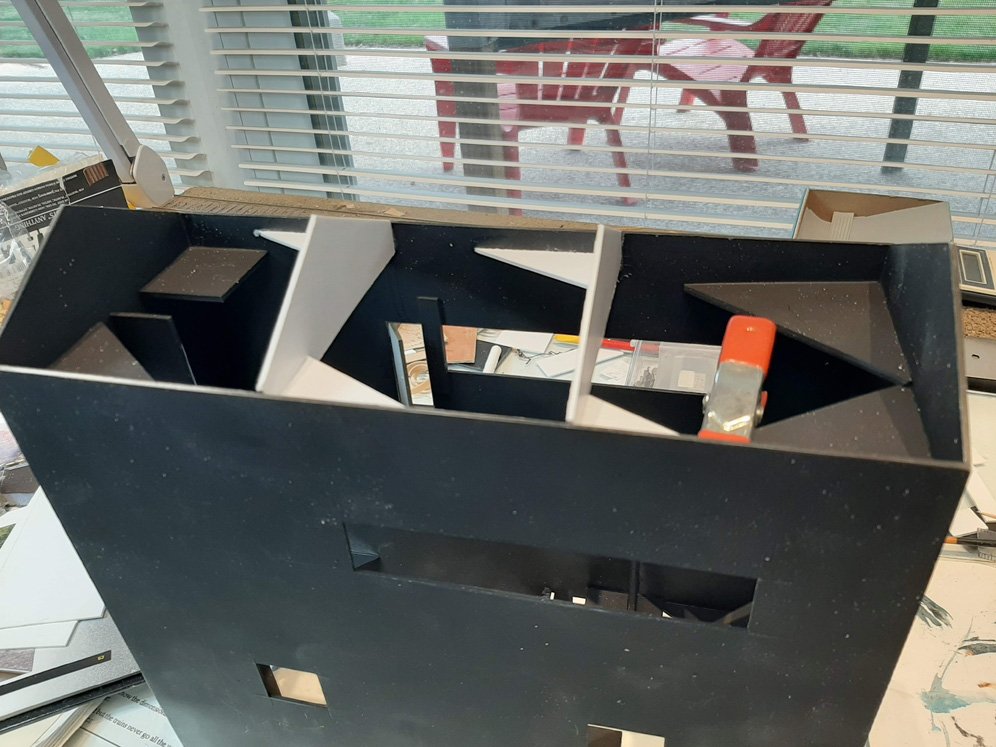
Okay, time to build the structure. Styrene and spray it black, inside and out.
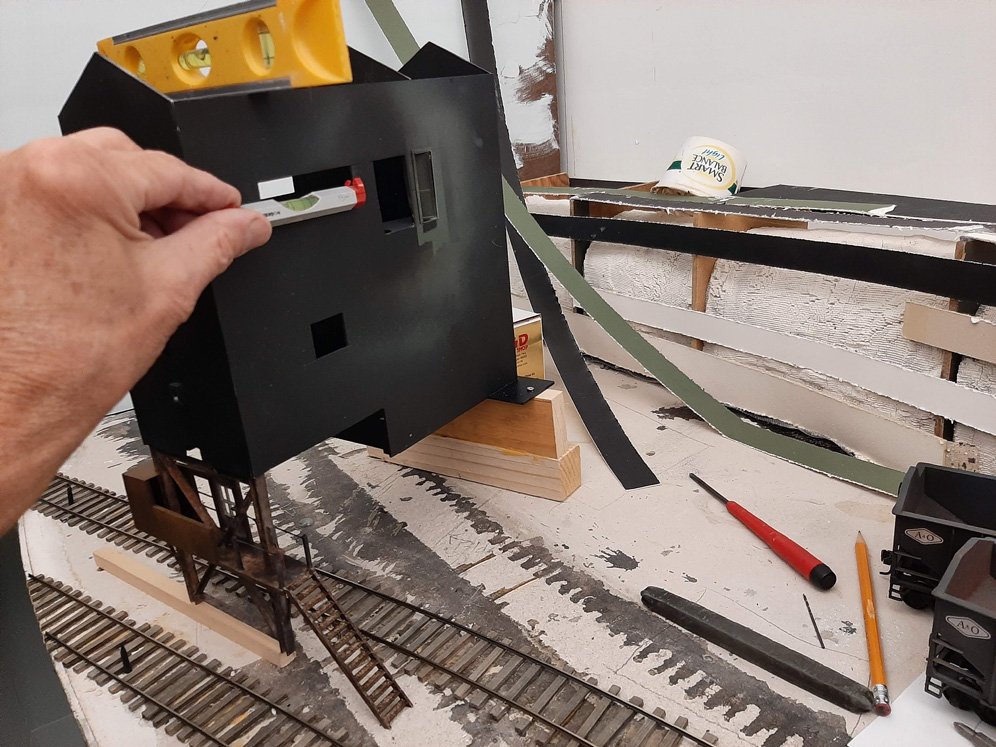
The signature X-braced legs were made of various styrene shapes and painted to resemble the prototype’s funky mottled black/gray/whitish look.
Back to the layout to establish plumbness of the structure by making “concrete” foundation pieces where the prototype had them. Lots of cutting, sanding, redoing :(
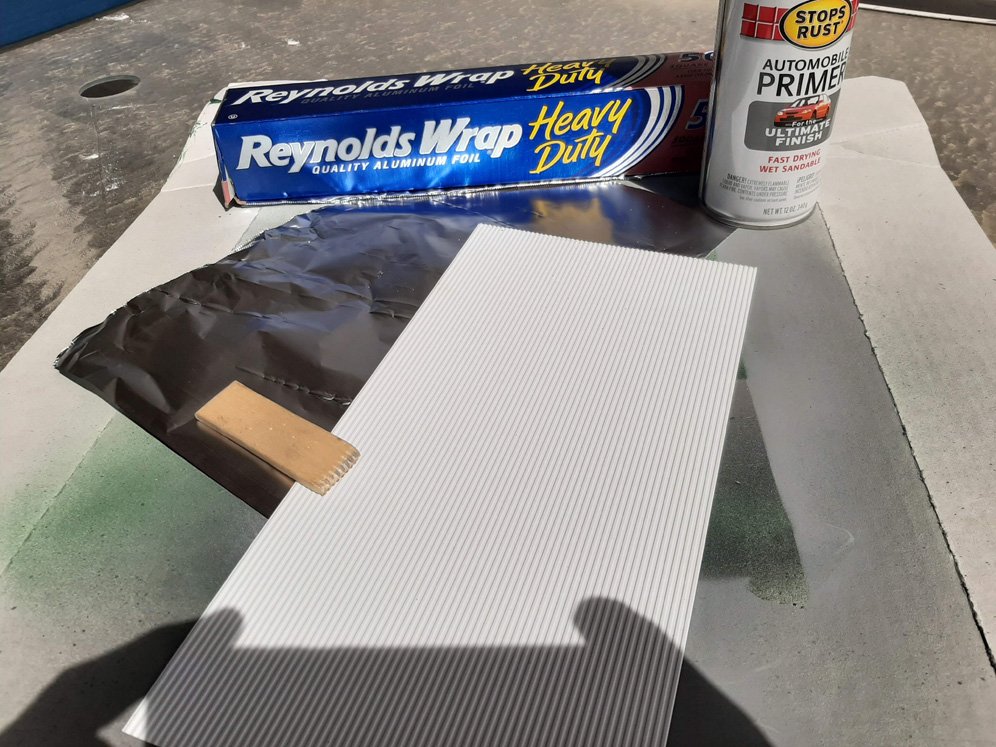
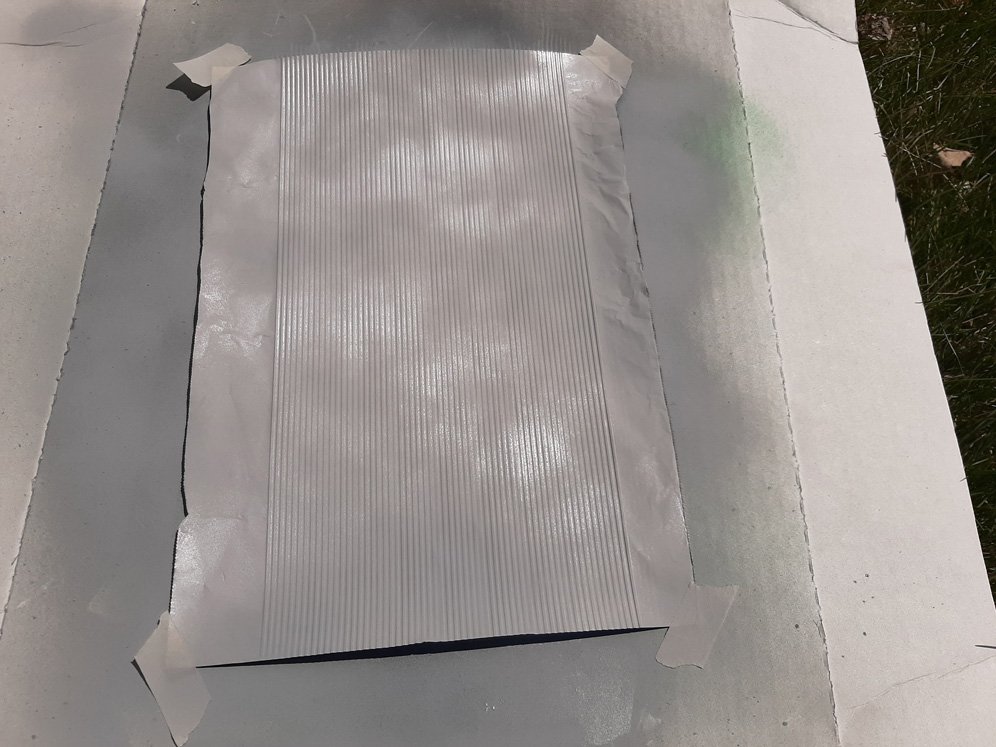
Back to the structure building. The corrugated sheet metal sides was made of Heavy Duty Aluminum Foil laid over an Evergreen styrene corrugated sheet. A wide stick of soft balsa rubbed down the aluminum embosses the shape into the foil.
You’ll discover that mistakes can be easily corrected by just repressing the foil.
I made a few sheets and then sprayed them with flat gray autobody primer. It’s amazing how this seems to stiffen the foil. It can be good to spray both sides. Finally cut the foil into 4×8 sheets, or as needed. Rubber Cement is used to attach the foil to the styrene. Look at pix and copy what you see.
Commercial windows could have been used, but I happen to have some urethane cast windows on hand, some of which were built to be tilted open, as was the Cumberland’s. I also busted out many windows, just like the prototype. Fun.
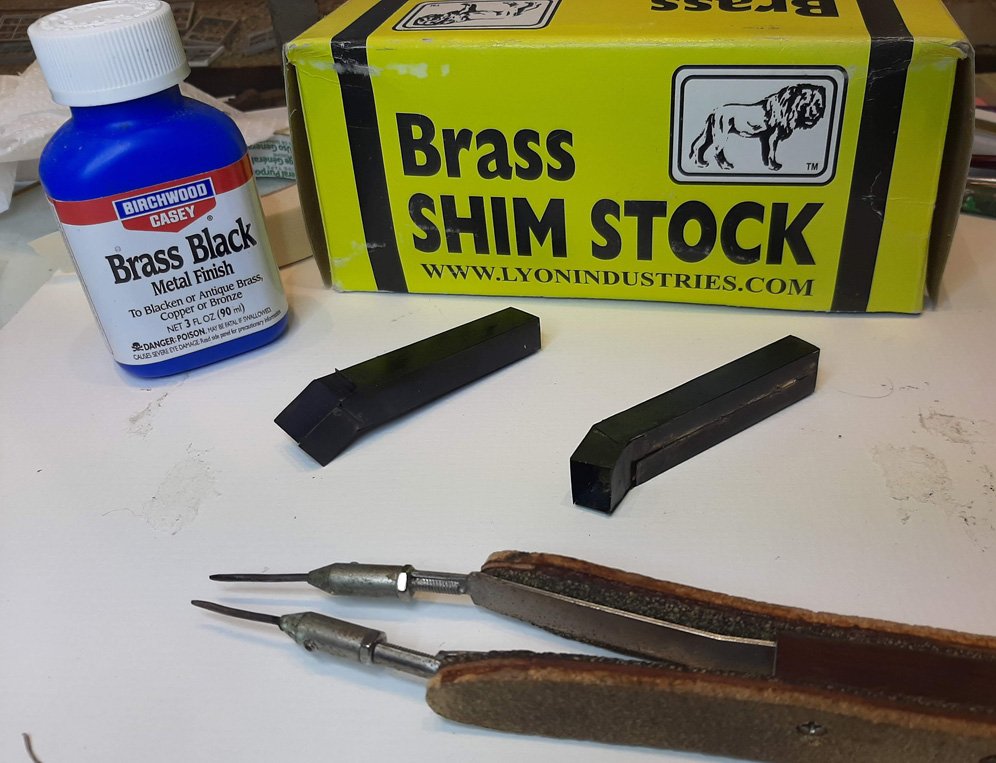
With two hopper loadout tracks, two coal chutes were needed. Some .010 brass was cut and soldered into shape. I just happen to own a resistance soldering kit (tweezers in pix), but that isn’t necessary. Several applications of Brass Blass takes care of the coloring.
I decided to name my loadout Hawkins, since it sits in front of Sadie Tunnel. (Corny, I know.) Once again Bob Sobol made up some decals on his Alps Printer from my sketched artwork, and the Hawkins Loadout became official.
Many pieces of wood were crafted for the various concrete footings and retaining walls required. Then the truck dump, conveyor mechanism, and personnel staircase could be built and fitted in place.
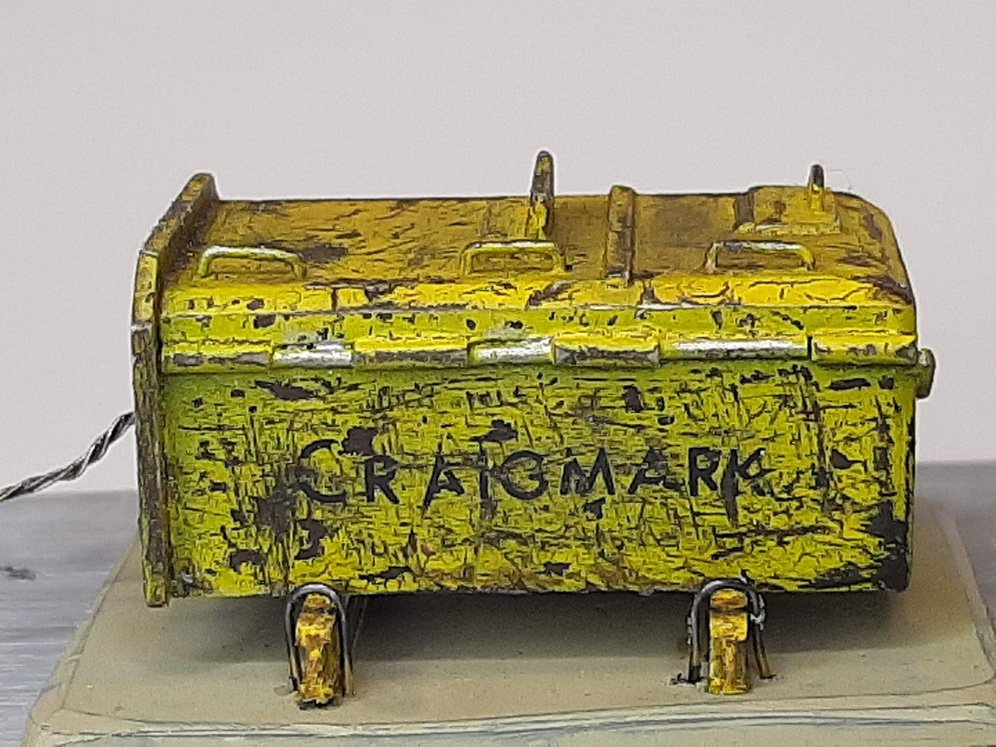
The prototype features a car puller, so does Hawkins, of course.
The Craigmark (yes, that’s for Craig and Mark Linn) car puller has taken some abuse, but it has earned its keep.
Behold, Cumberland, er, Hawkins Loadout.
Hawkins is of course a “static” loader, meaning that between sessions I fill the set-out empty hoppers with coal, awaiting pick-up by #400, the Scarlet Shifter (part of a plum job on the A&O.)
An outhouse and junk pile add some eye-candy to the scene.
Note how the branch line quietly exits the scene, descending into the rockwork and behind the truck ramp to the dump pit.
The Hawkins vignette begins at the right from the Seven Arches Tunnel and exits at the…
tunnel behind Hawkins. It’s another encapsulated scene of its own, the major design criteria for the A&O. You can only be, and see, one place at a time.
Because it rained during the night, there’s still standing water and mud puddles here and there. The lighting at Hawkins is diffused and reflects a pretty dreary, cloudy sky. (See Scenery page)
Okay, just another picture. And the outhouse.
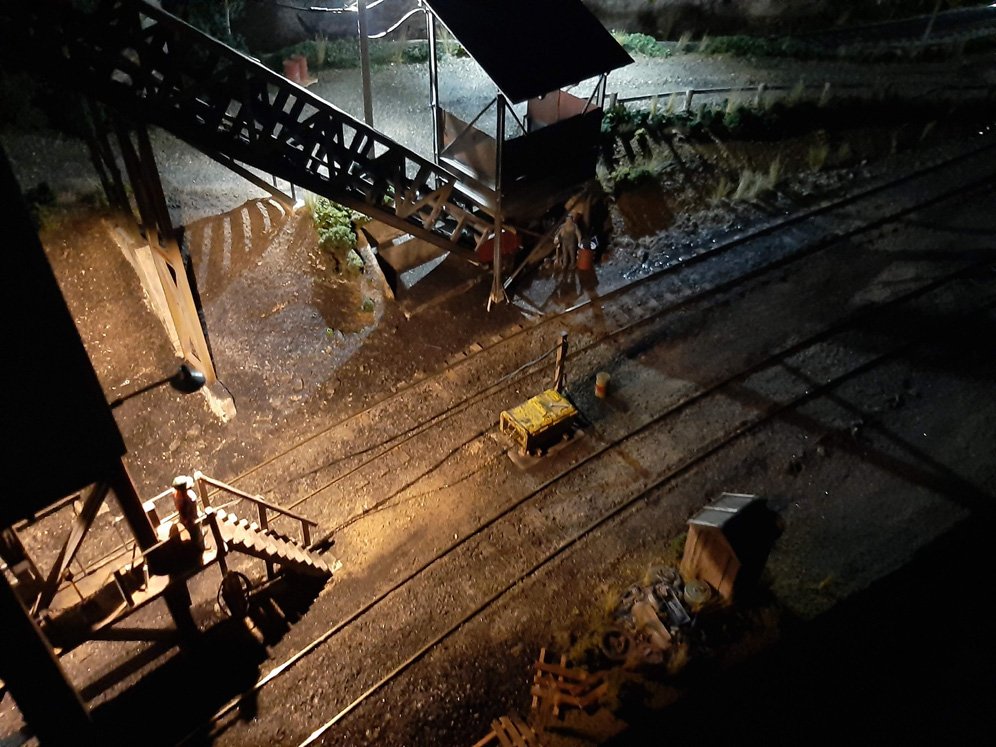
Night ops reveal all the necessary lighting to handle a second shift.
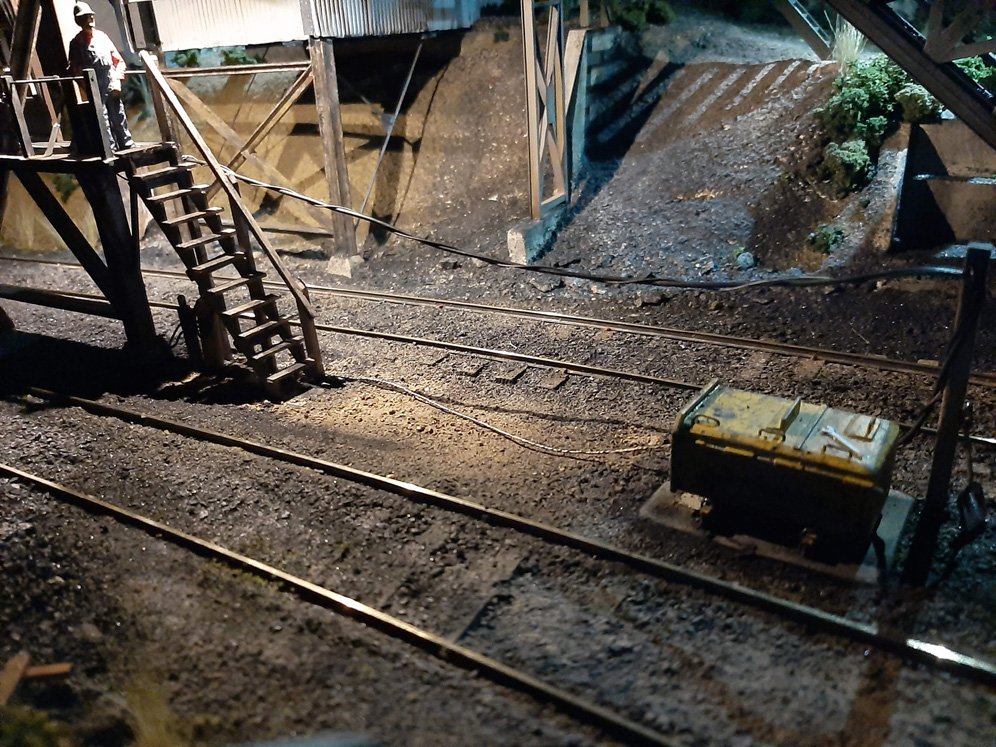
The Craigmark car puller sits idle, but only for awhile, then Scotty on the platform will put it to work.
A ground timber limits the backup of coal trucks, fortunately.
The difference in color temperature of the LEDs is easily seen in this shot. The bluish white mercury vapor lamps on the light poles, so ubiquitous in the 60’s, and after, as opposed to the yellowish incandescents over tracks. Cool beans.
Awaiting the night delivery of hoppers for the morning shift. I’m particularly pleased with the operator’s shanty as it captures the prototype quite accurately.
And last but not least, my favorite photo, and also my computer’s screen saver. For those who love coal loaders, (largely Appalachian modelers), Hawkins/Cumberland rocks.