Trees
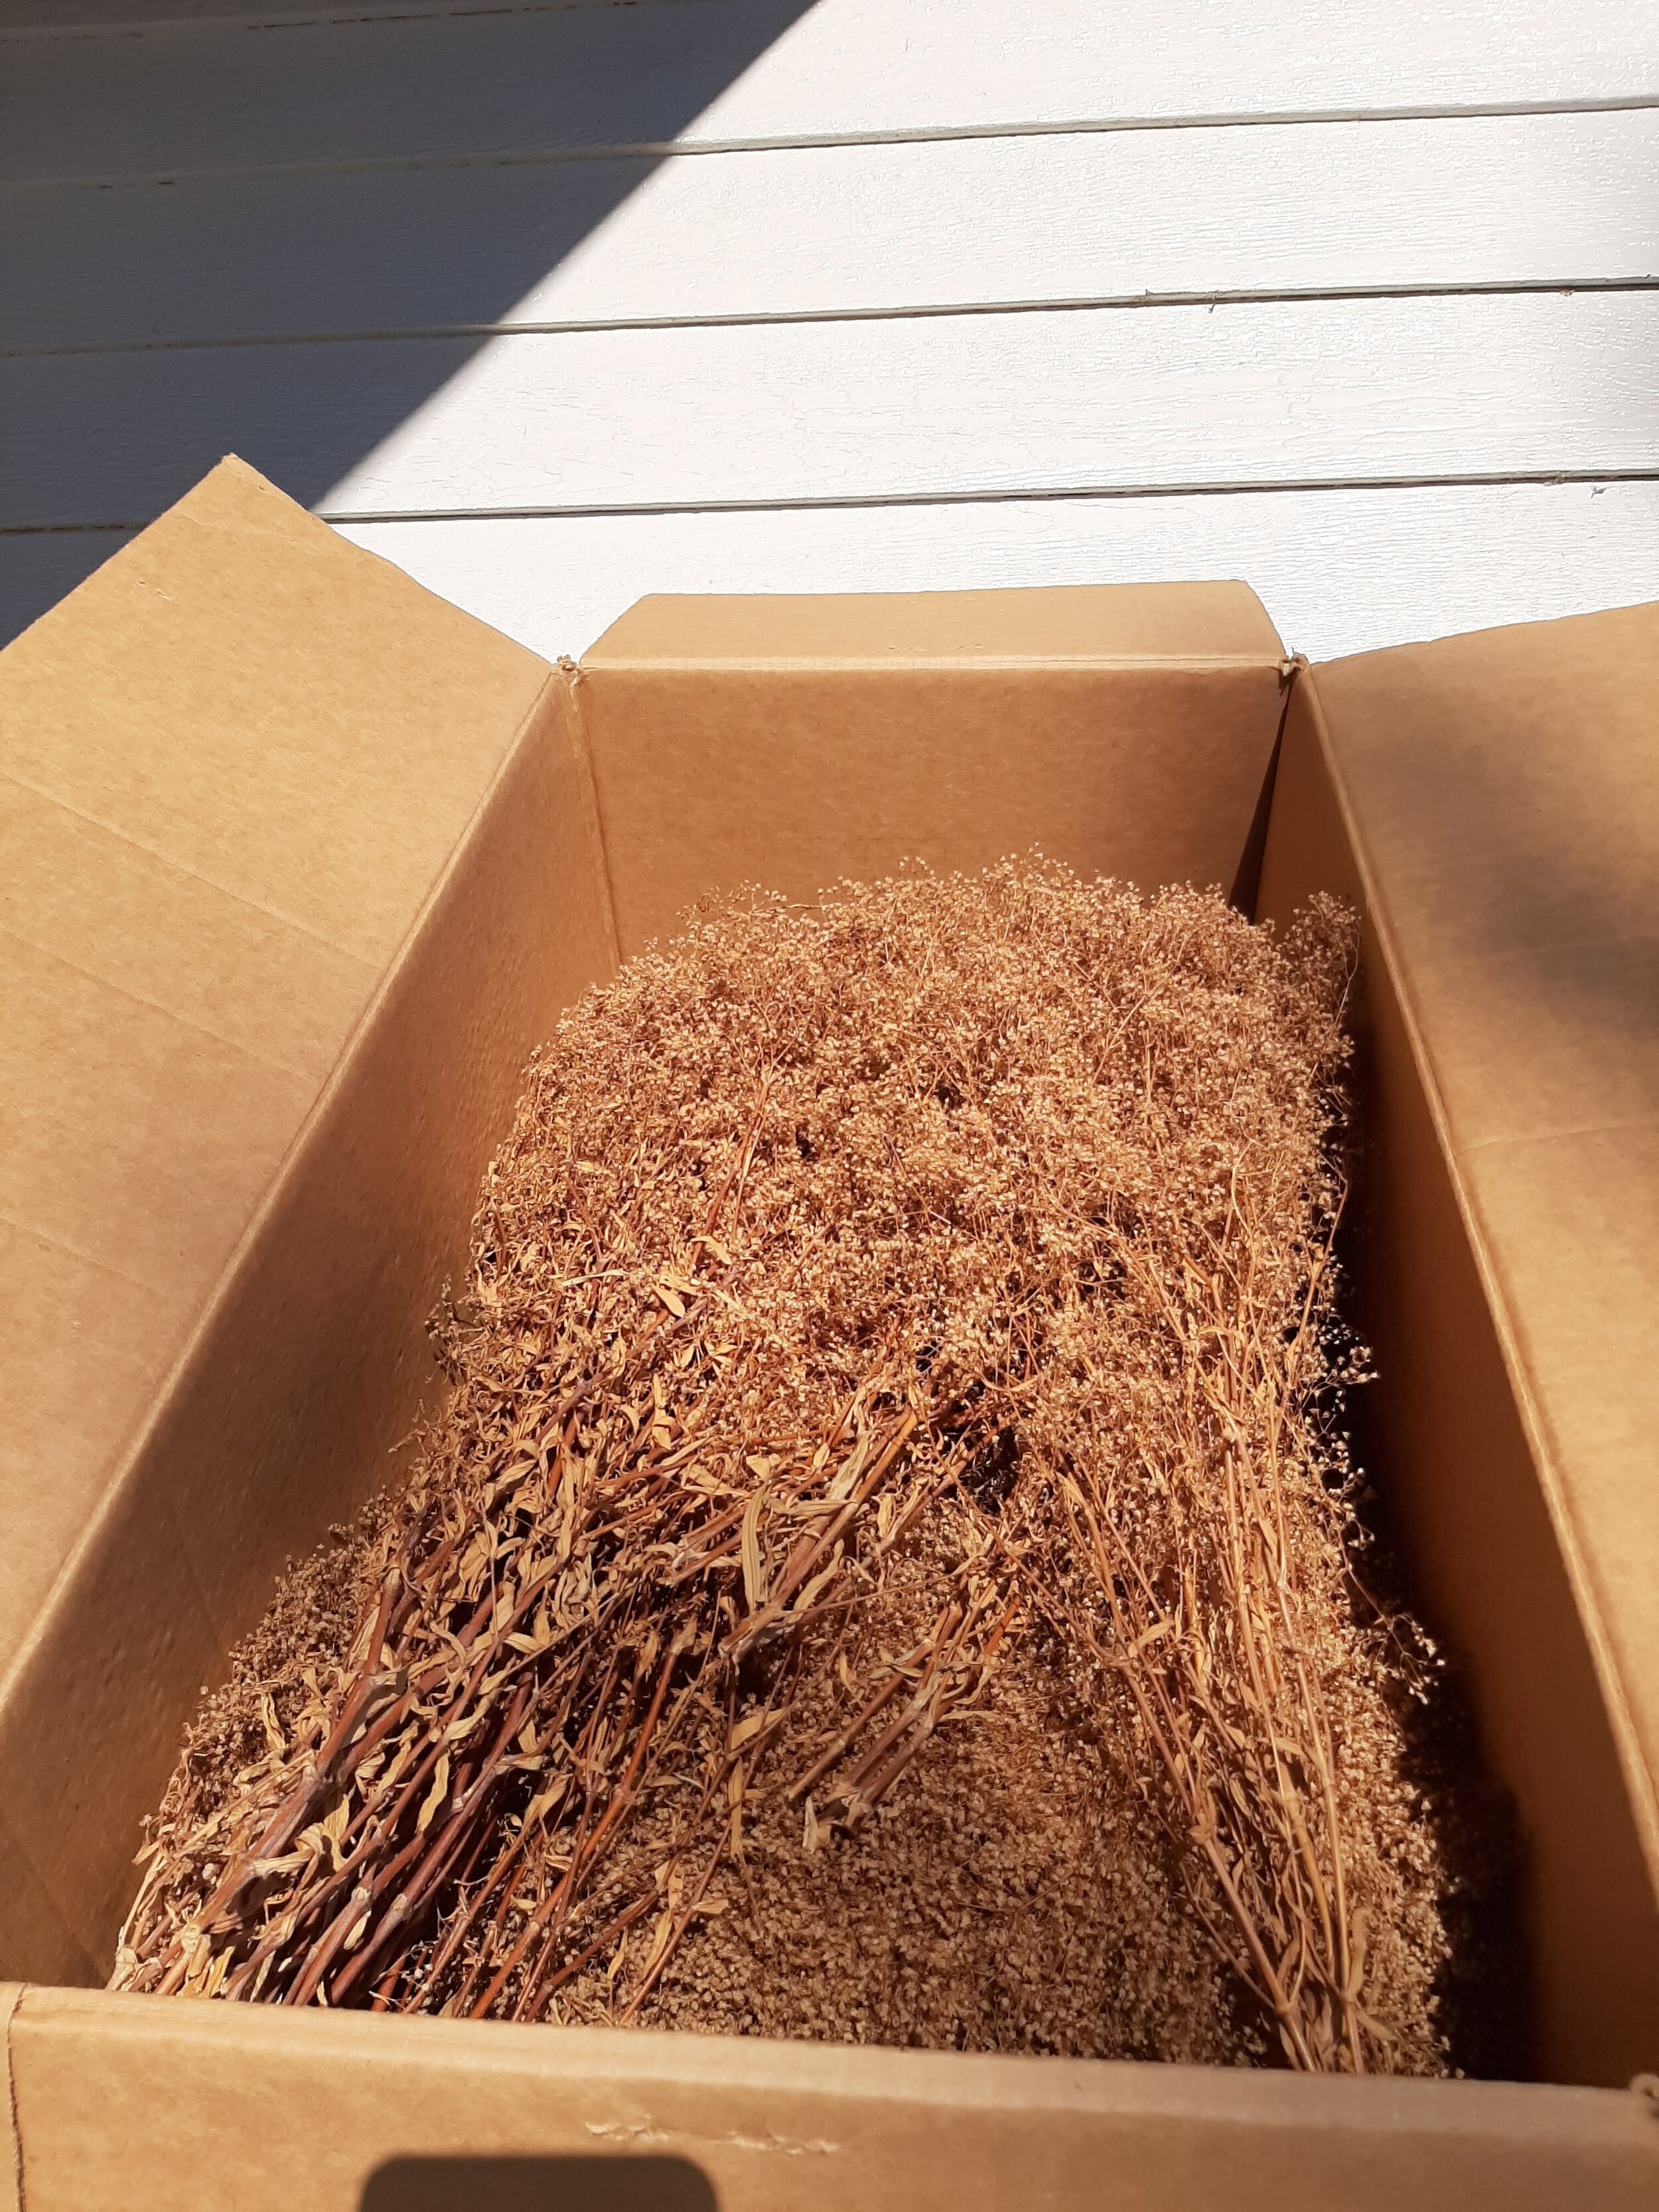
The vast majority of A&O trees are Golden Gypt a/k/a “Baby’s Breath”. I bought 10 boxes direct from the grower in the mid-90’s. They came preserved via glycerin. LOTS of trees per box. This preserved weed can be bought at craft stores, or perhaps ordered in bulk by them, or from the grower.
These trees are intended as background/hillside trees, and not stand alone trees where branch structure is required. I’m looking for tree canopy, not tree copy.
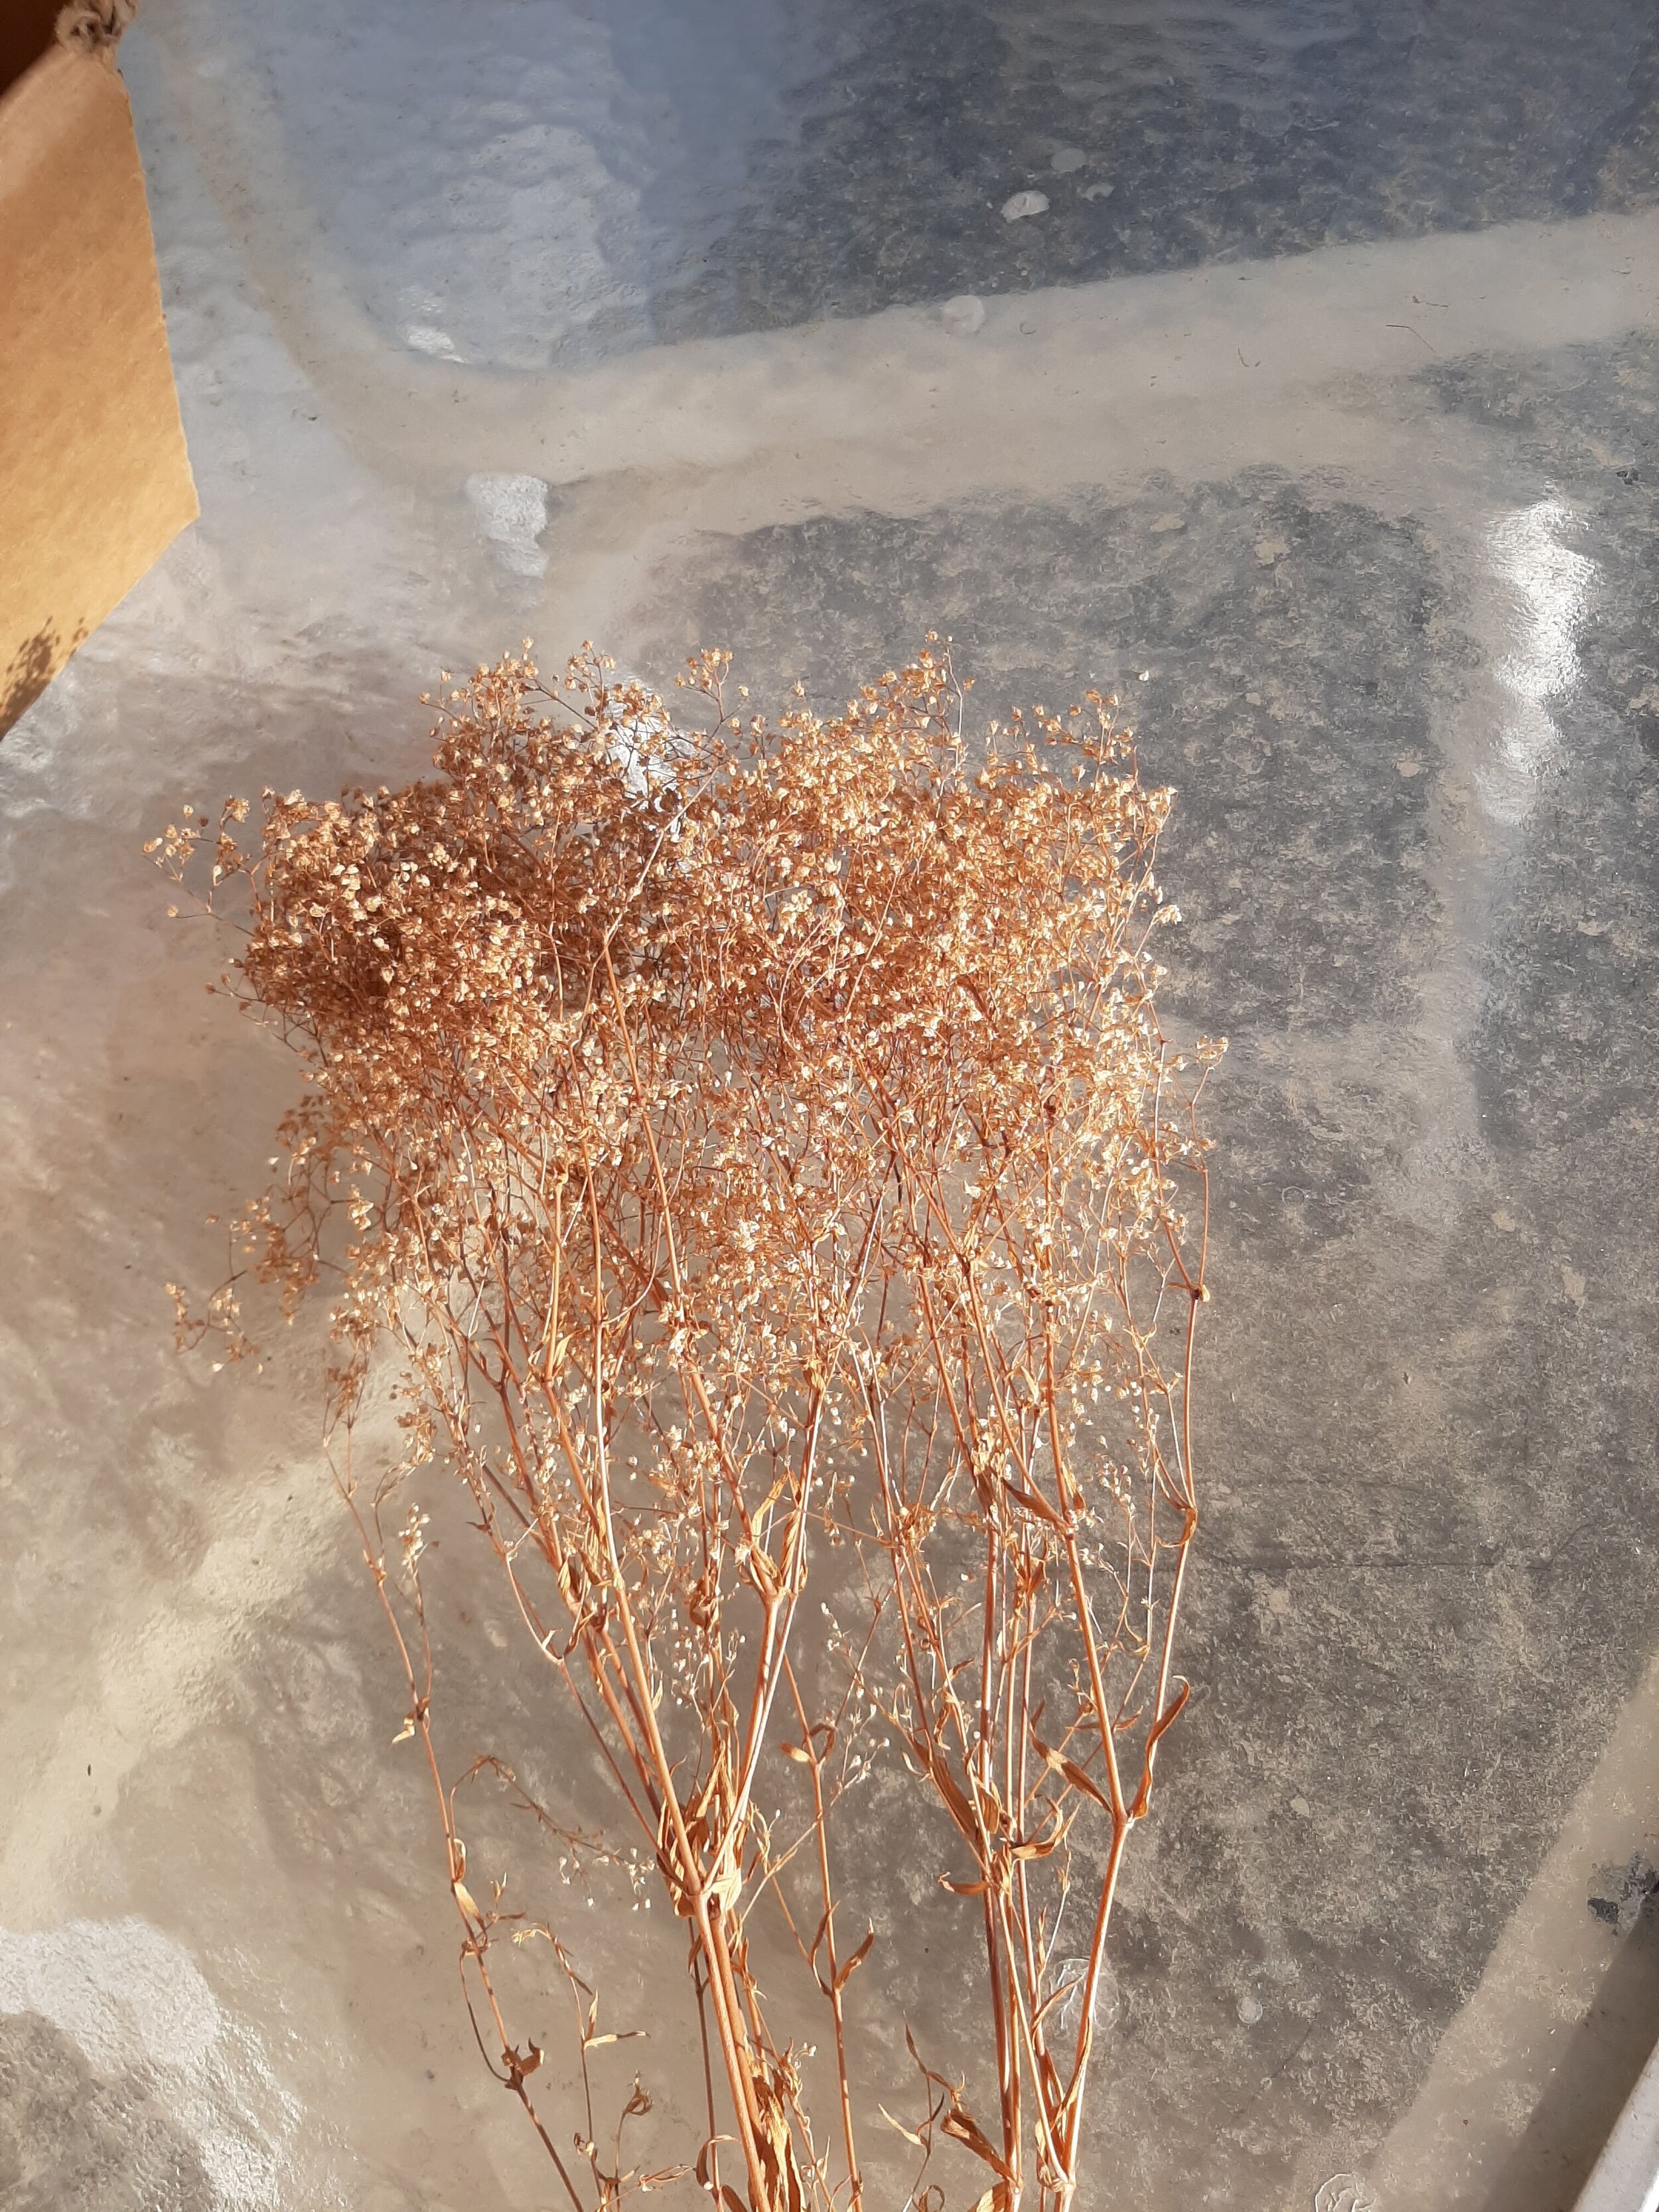
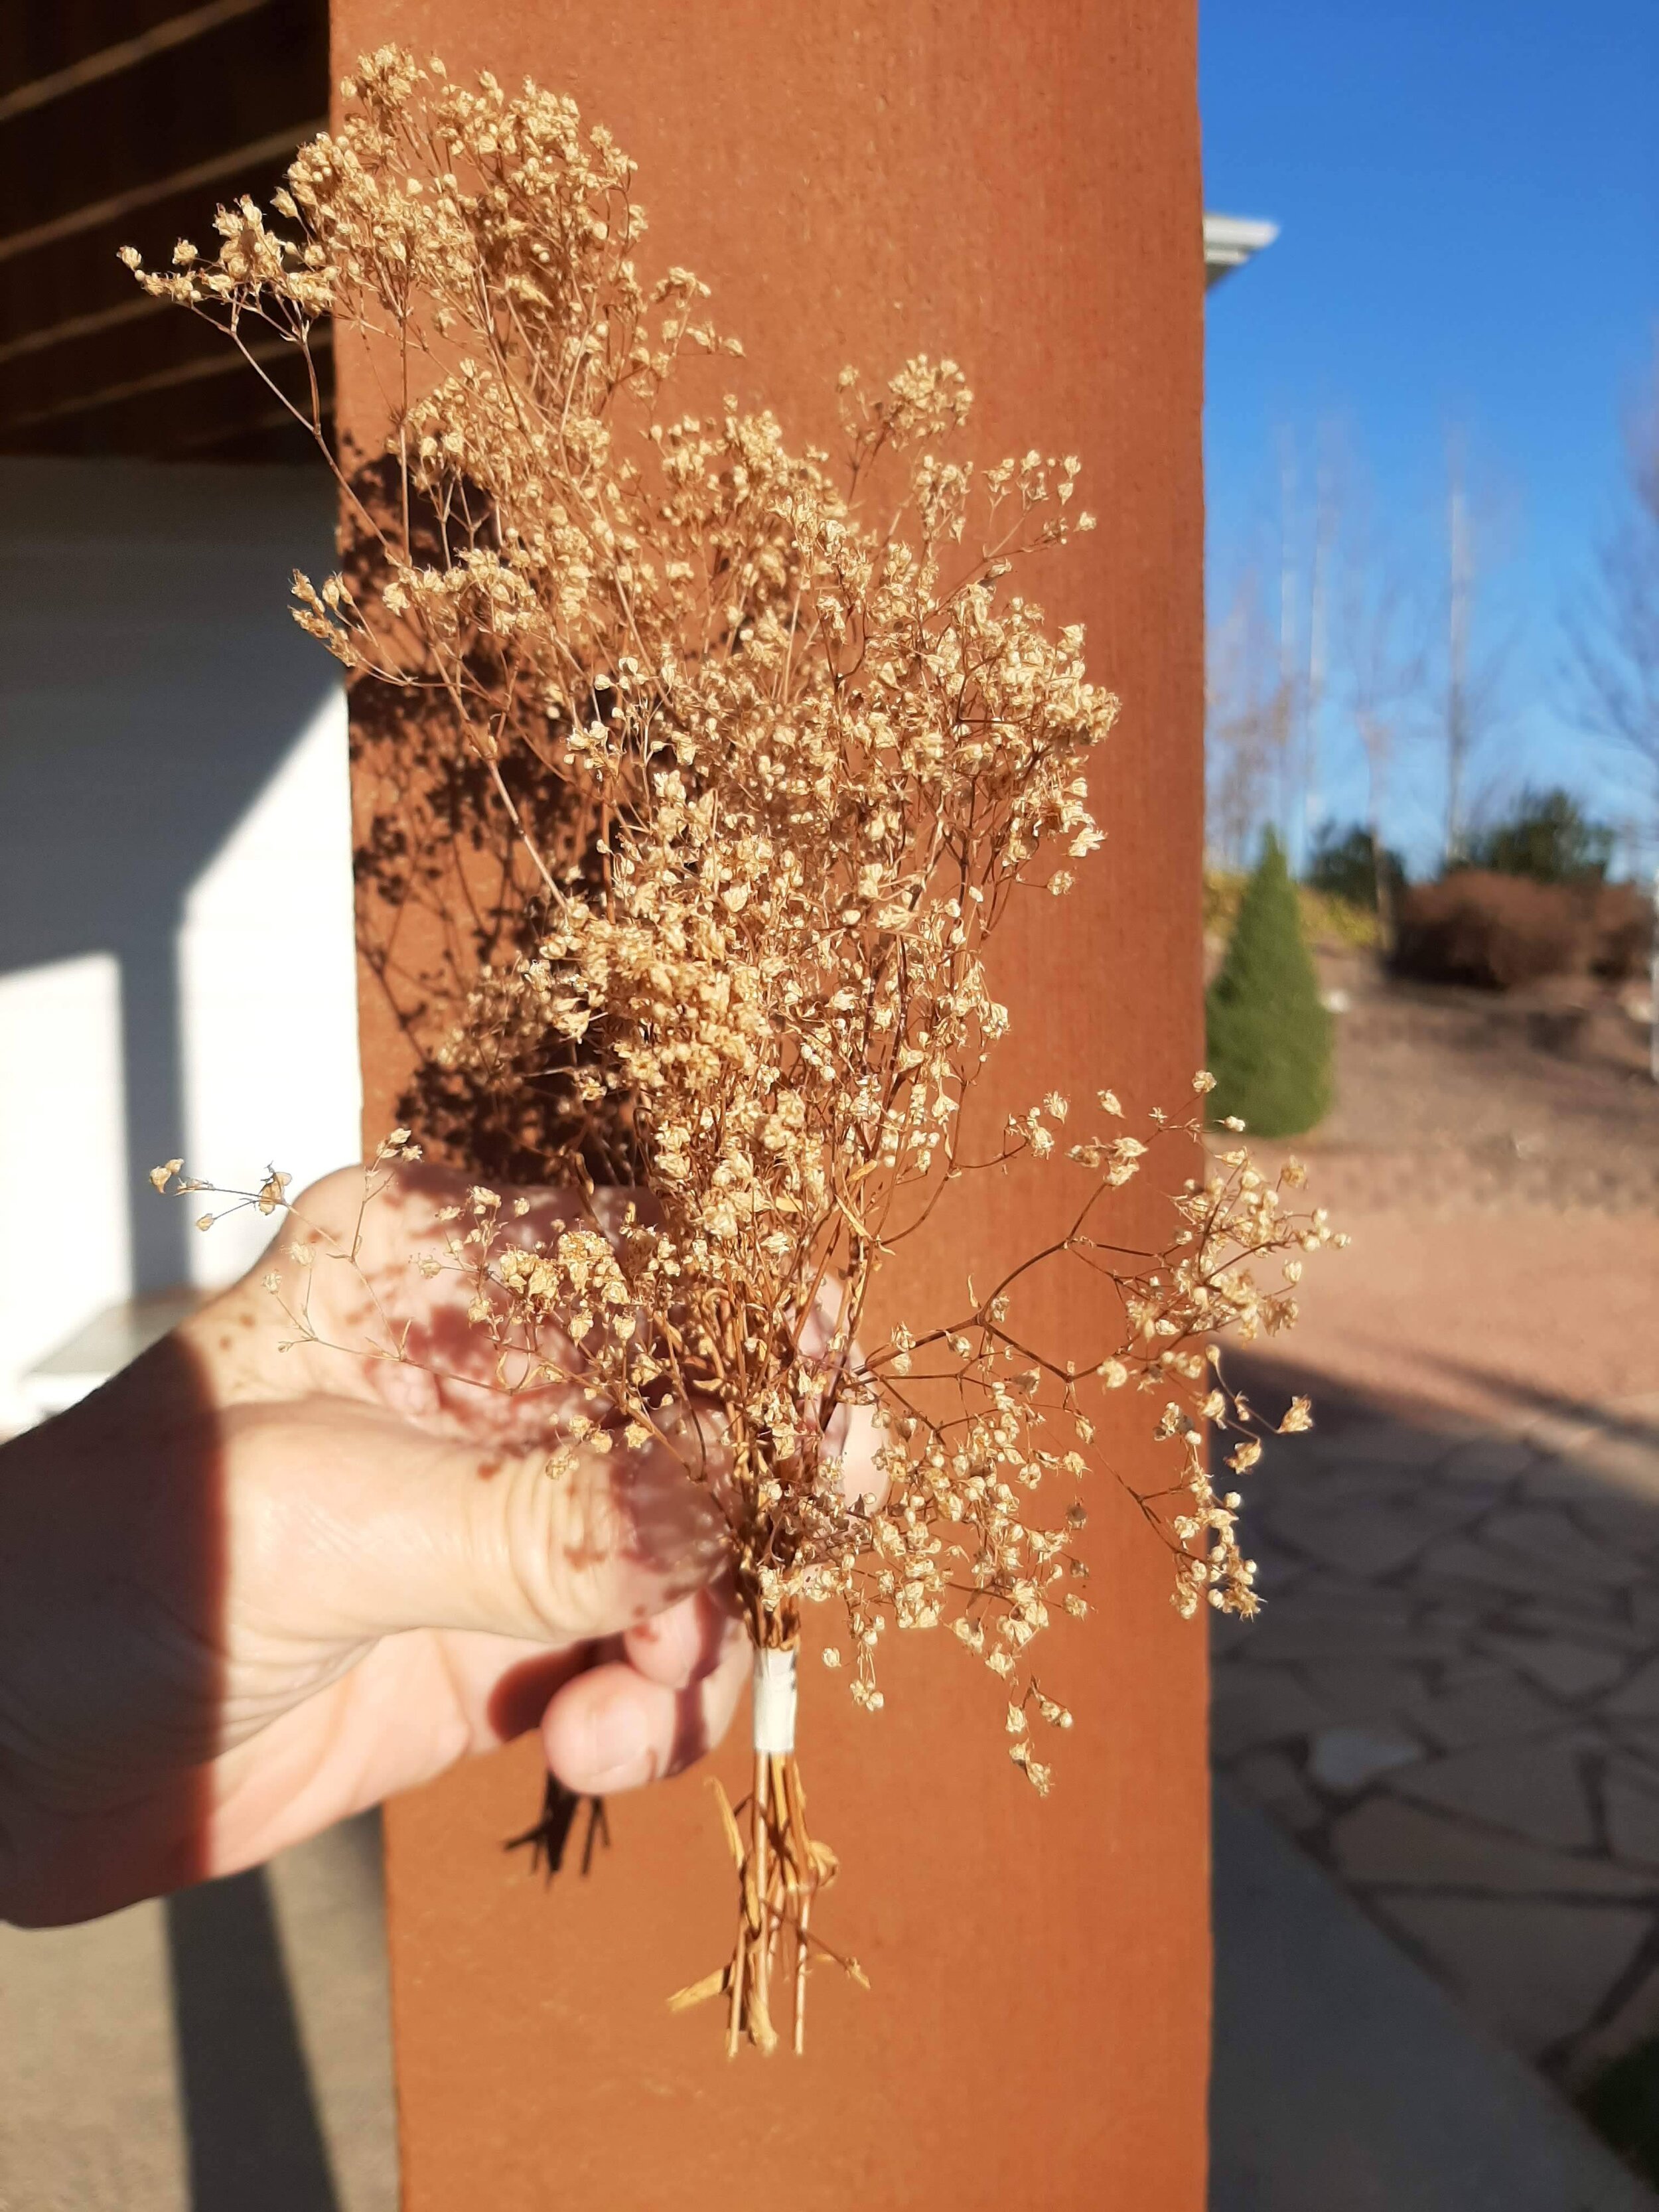
The first step is to separate out one stalk from the bundle.
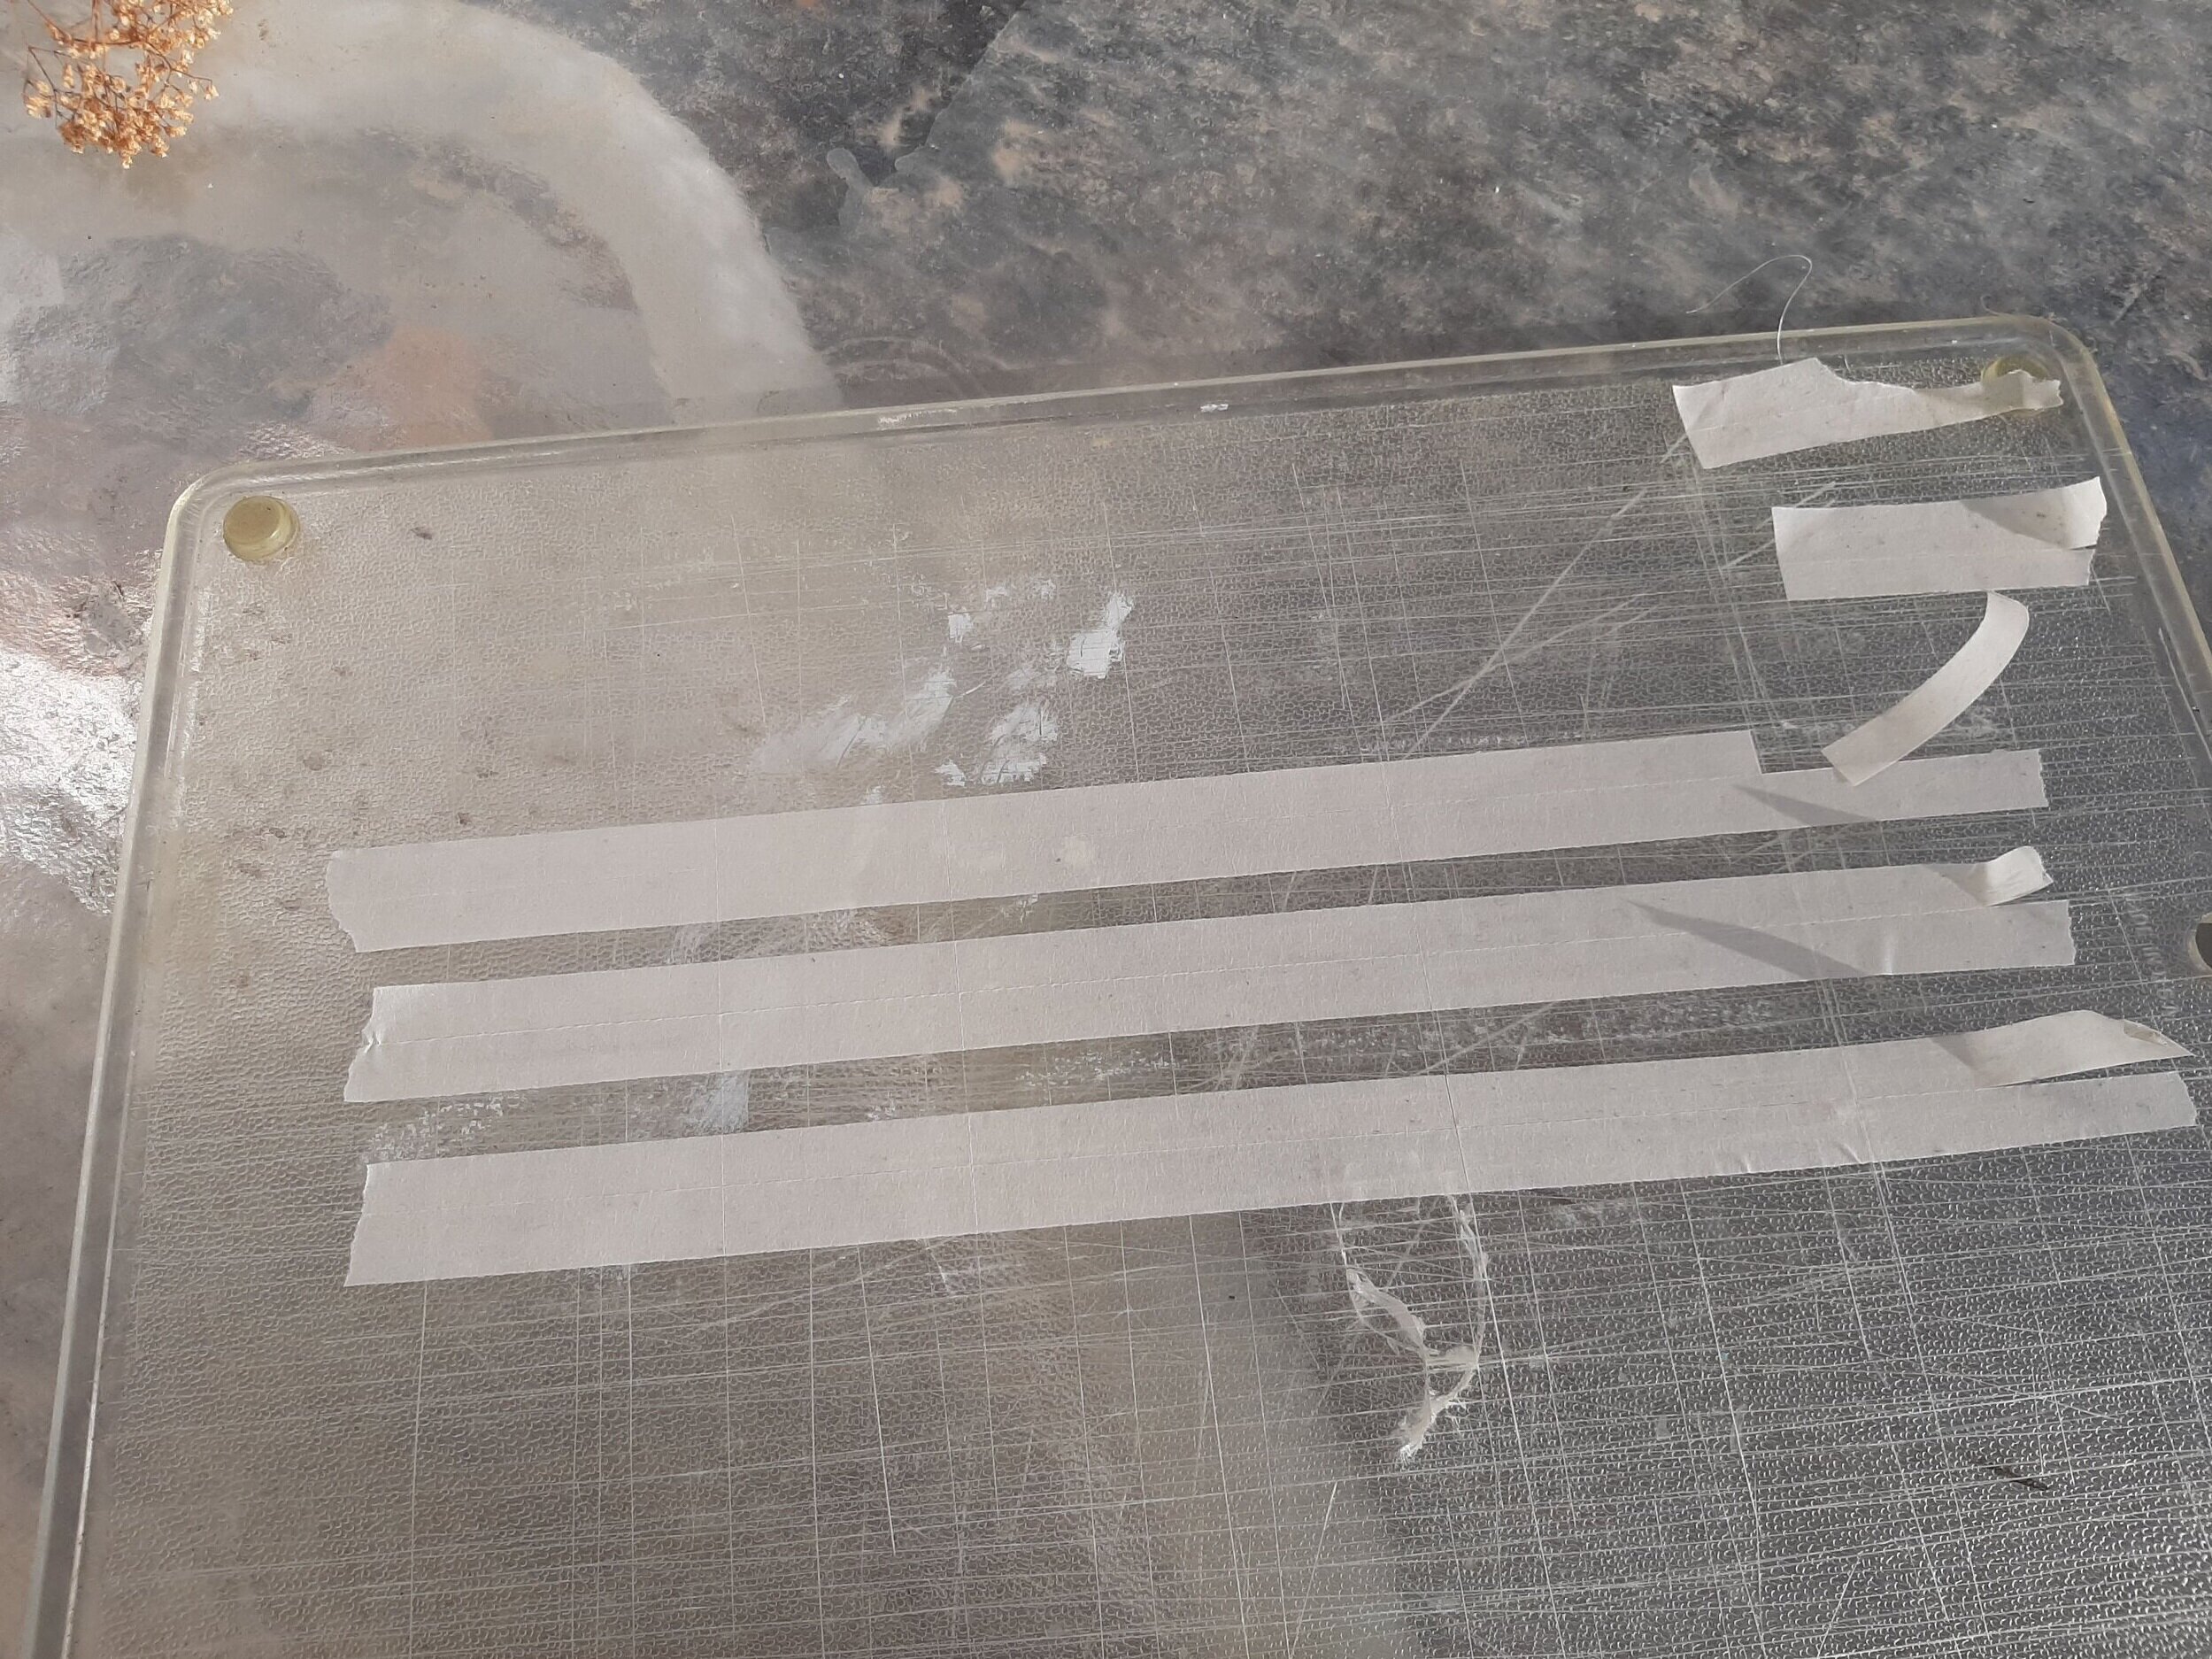
Masking tape is cut into smaller width strips with a straight edge and then crosscut to make smaller “tape wraps.”
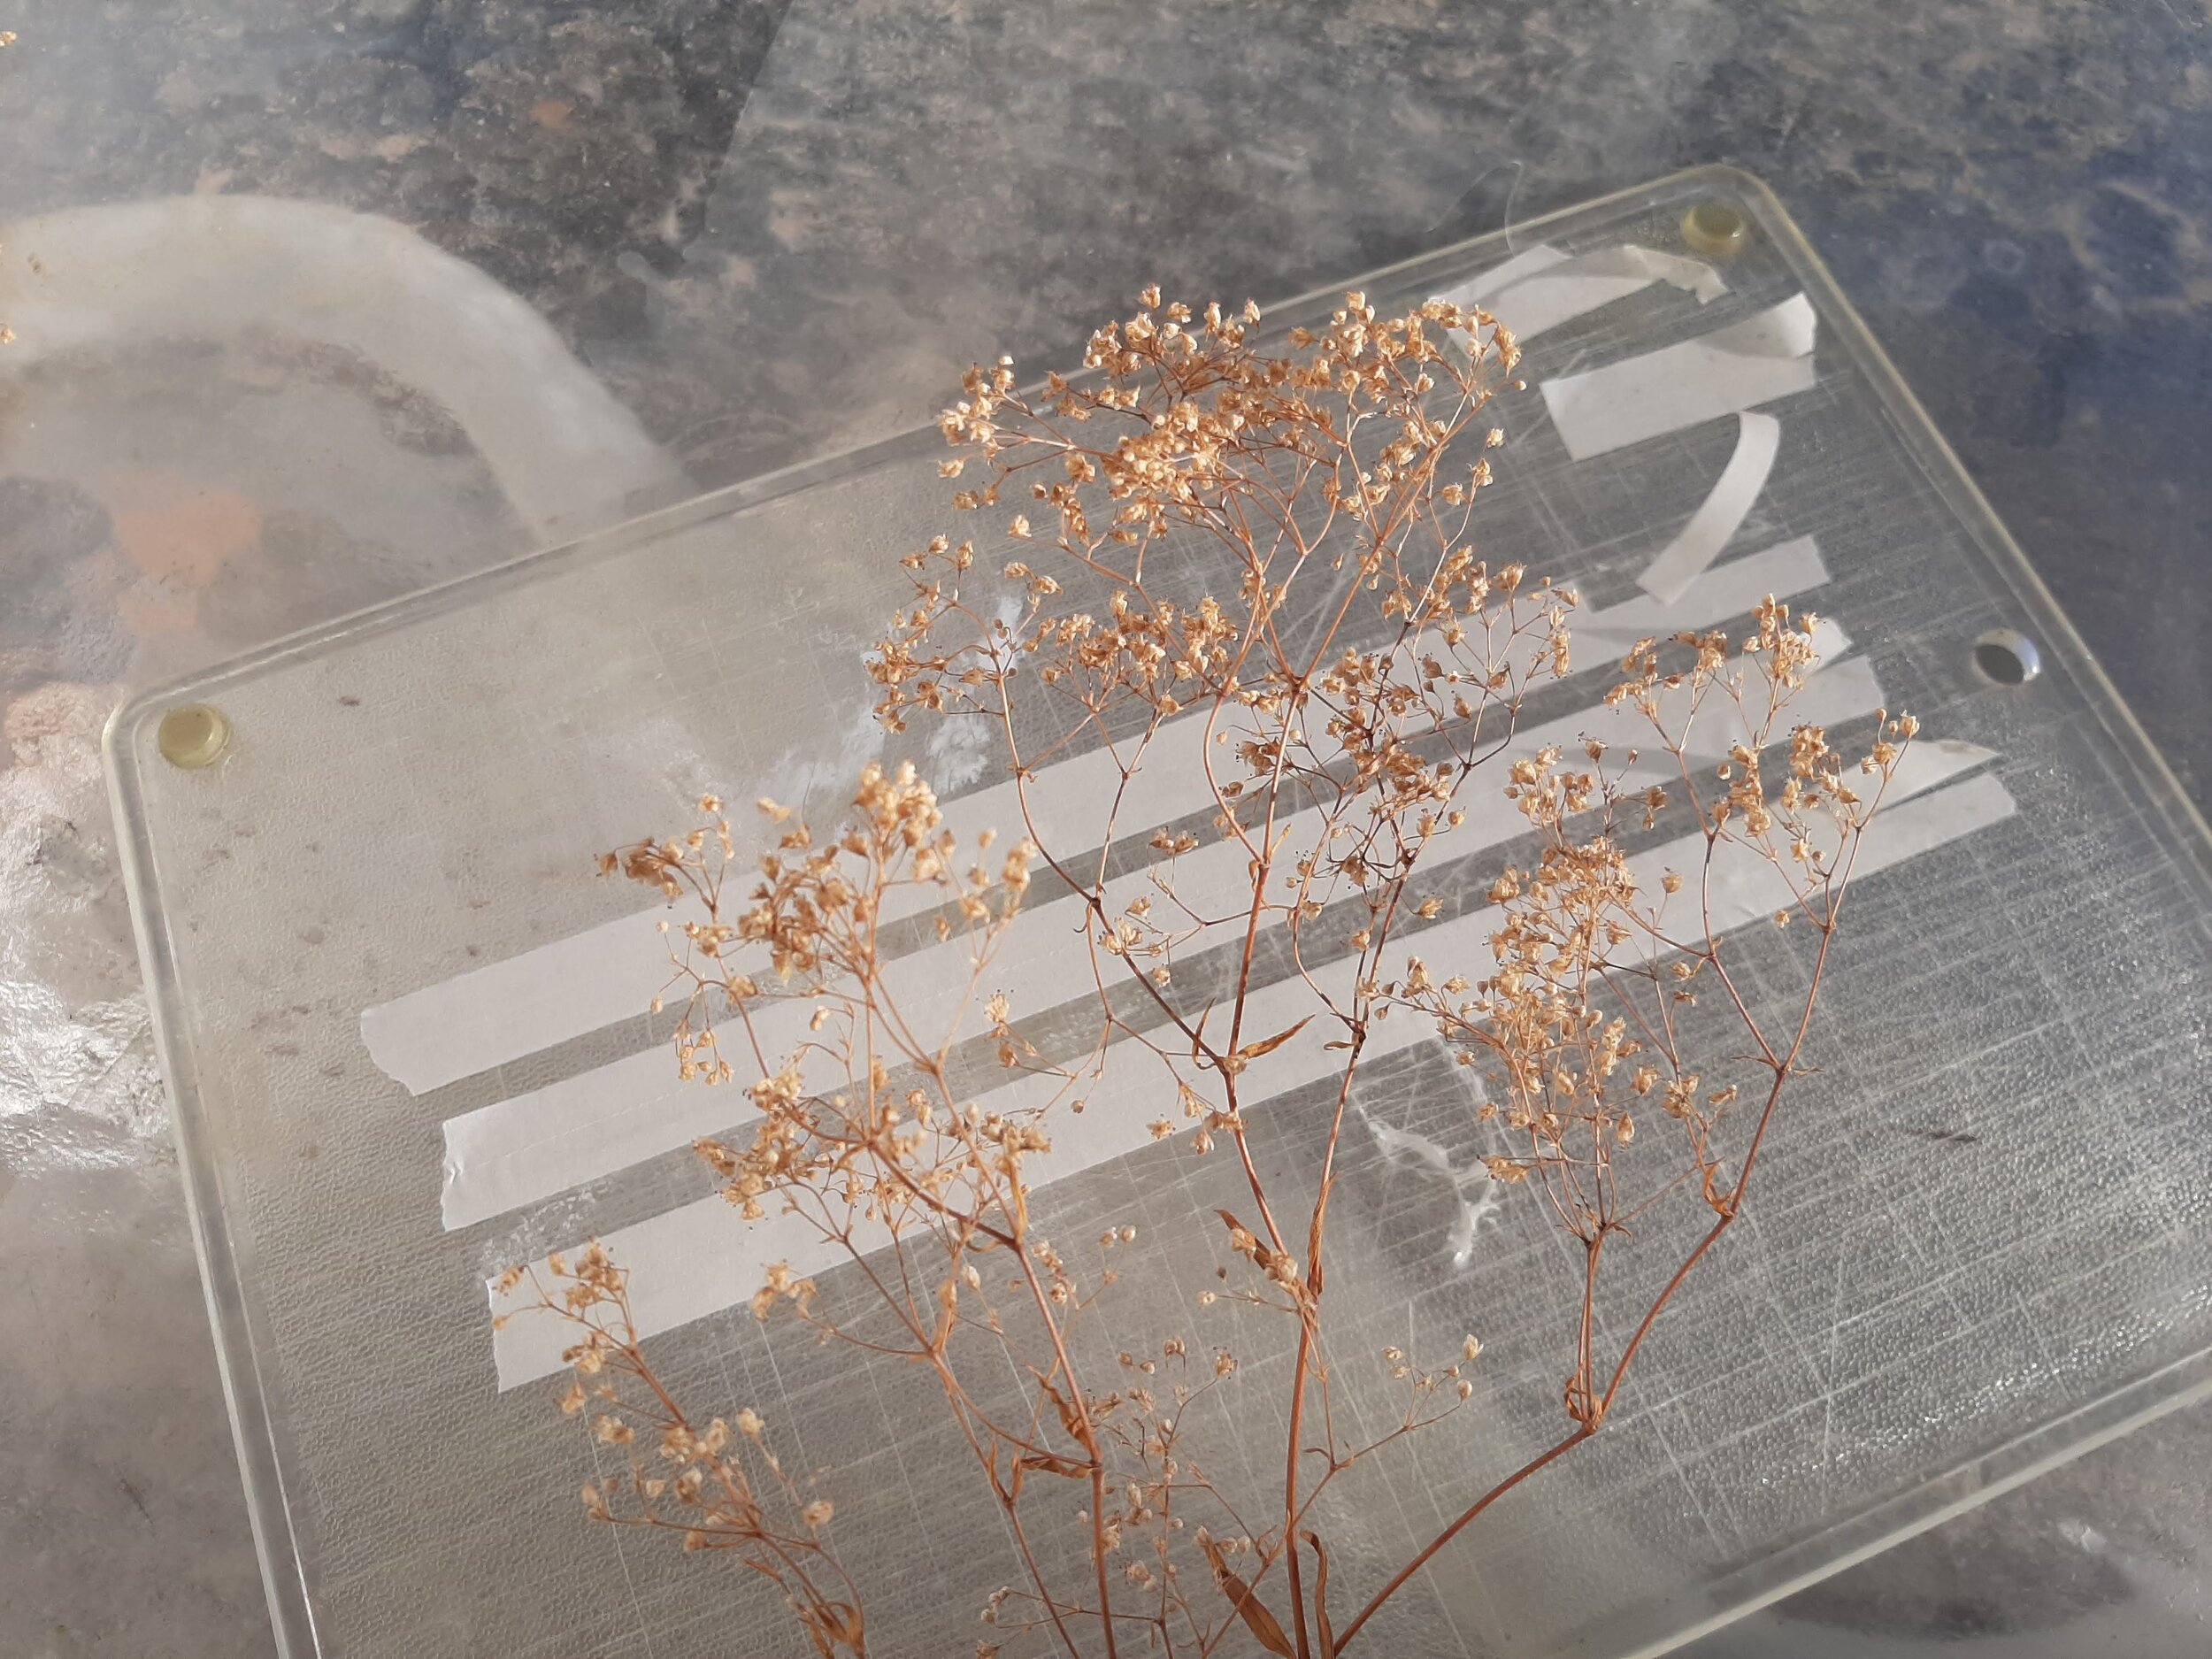
A separated stalk looks like this. Break off the individual “branches” forming a bunch. I do this part of tree construction indoors watching TV, making up many many tree bundles to be stored in a box until time for outdoor work.
Here’s a finished tree with the masking tape wrap around their lower branches. Leave about an inch below the tape for potential later planting need. I trim it off square at the bottom to make it easier for standing in styrofoam pallets. I make some trees large, and plenty of small ones for “filler foliage” as well.
Given these are background hillside trees, I usually build them with a front/aisle side. It should also be noted that since I model 1:48, these trees are generally vastly undersized. But planted on raised mountainsides helps hide this deficiency. And no one seems to notice.
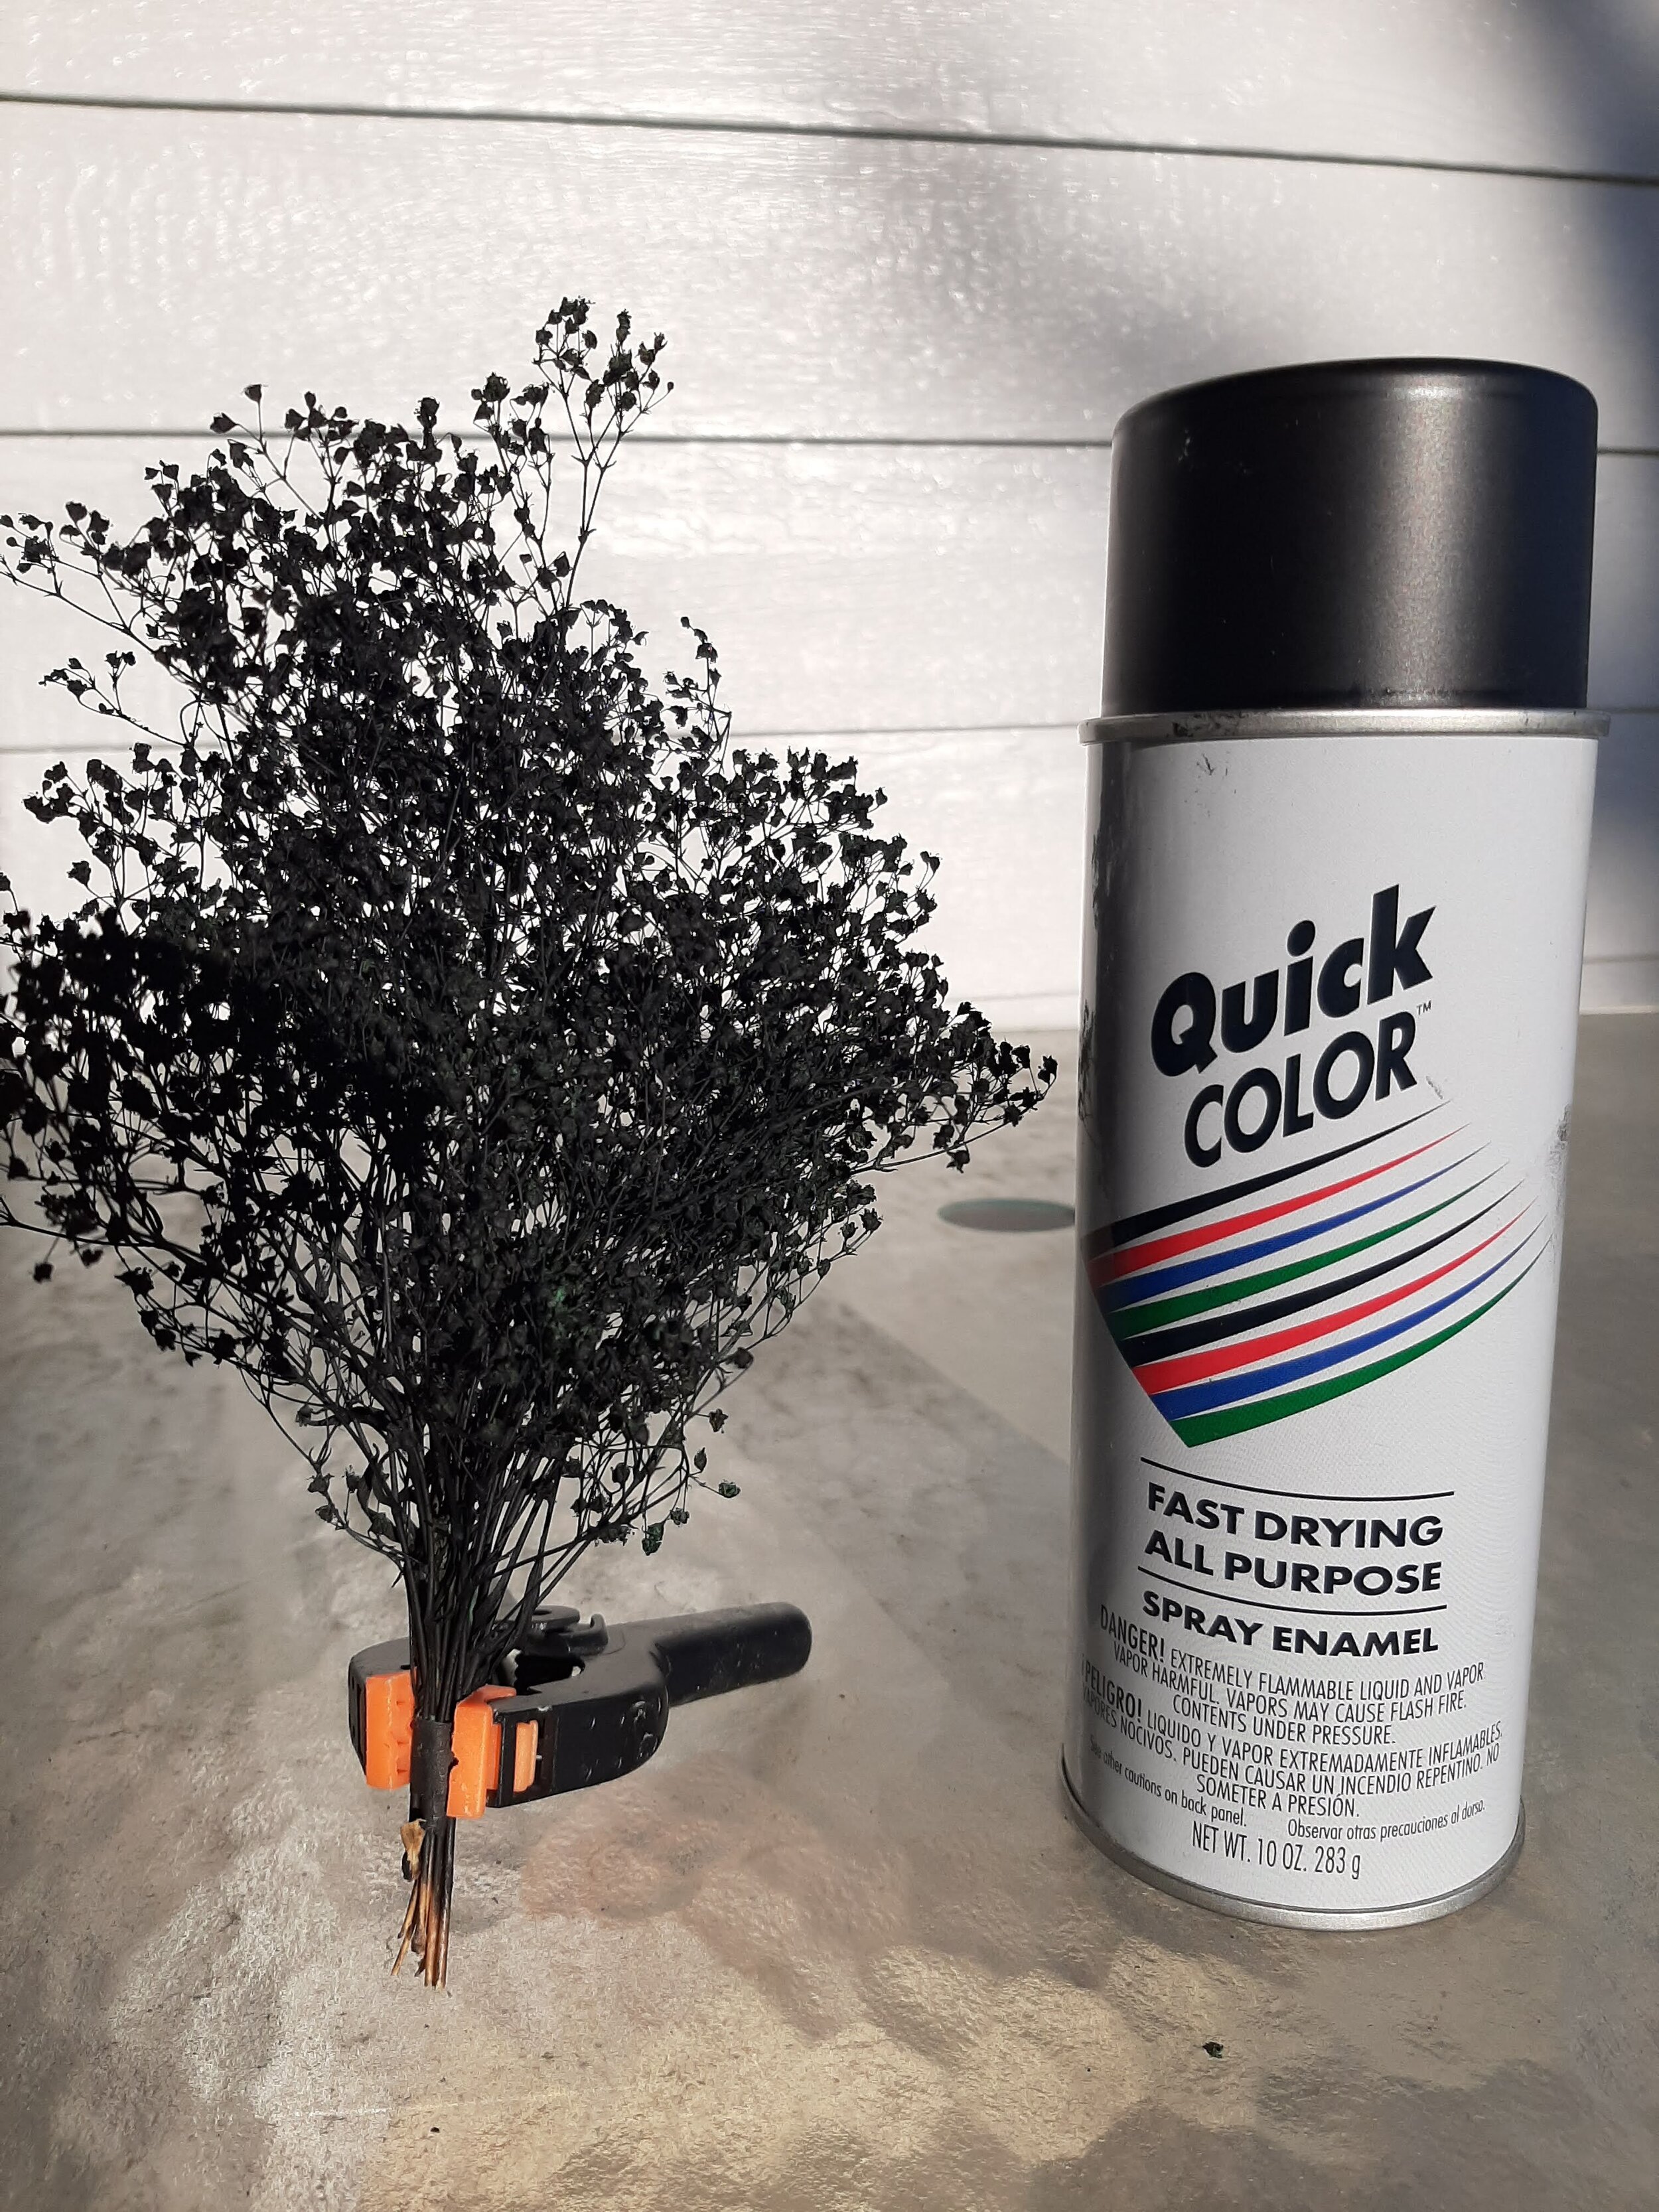
Next I spray the tree bundle flat black, making sure to spray the tape too. I buy the Quick Color at Home Depot for $.98 a can, and I buy it buy the 12 pack case!
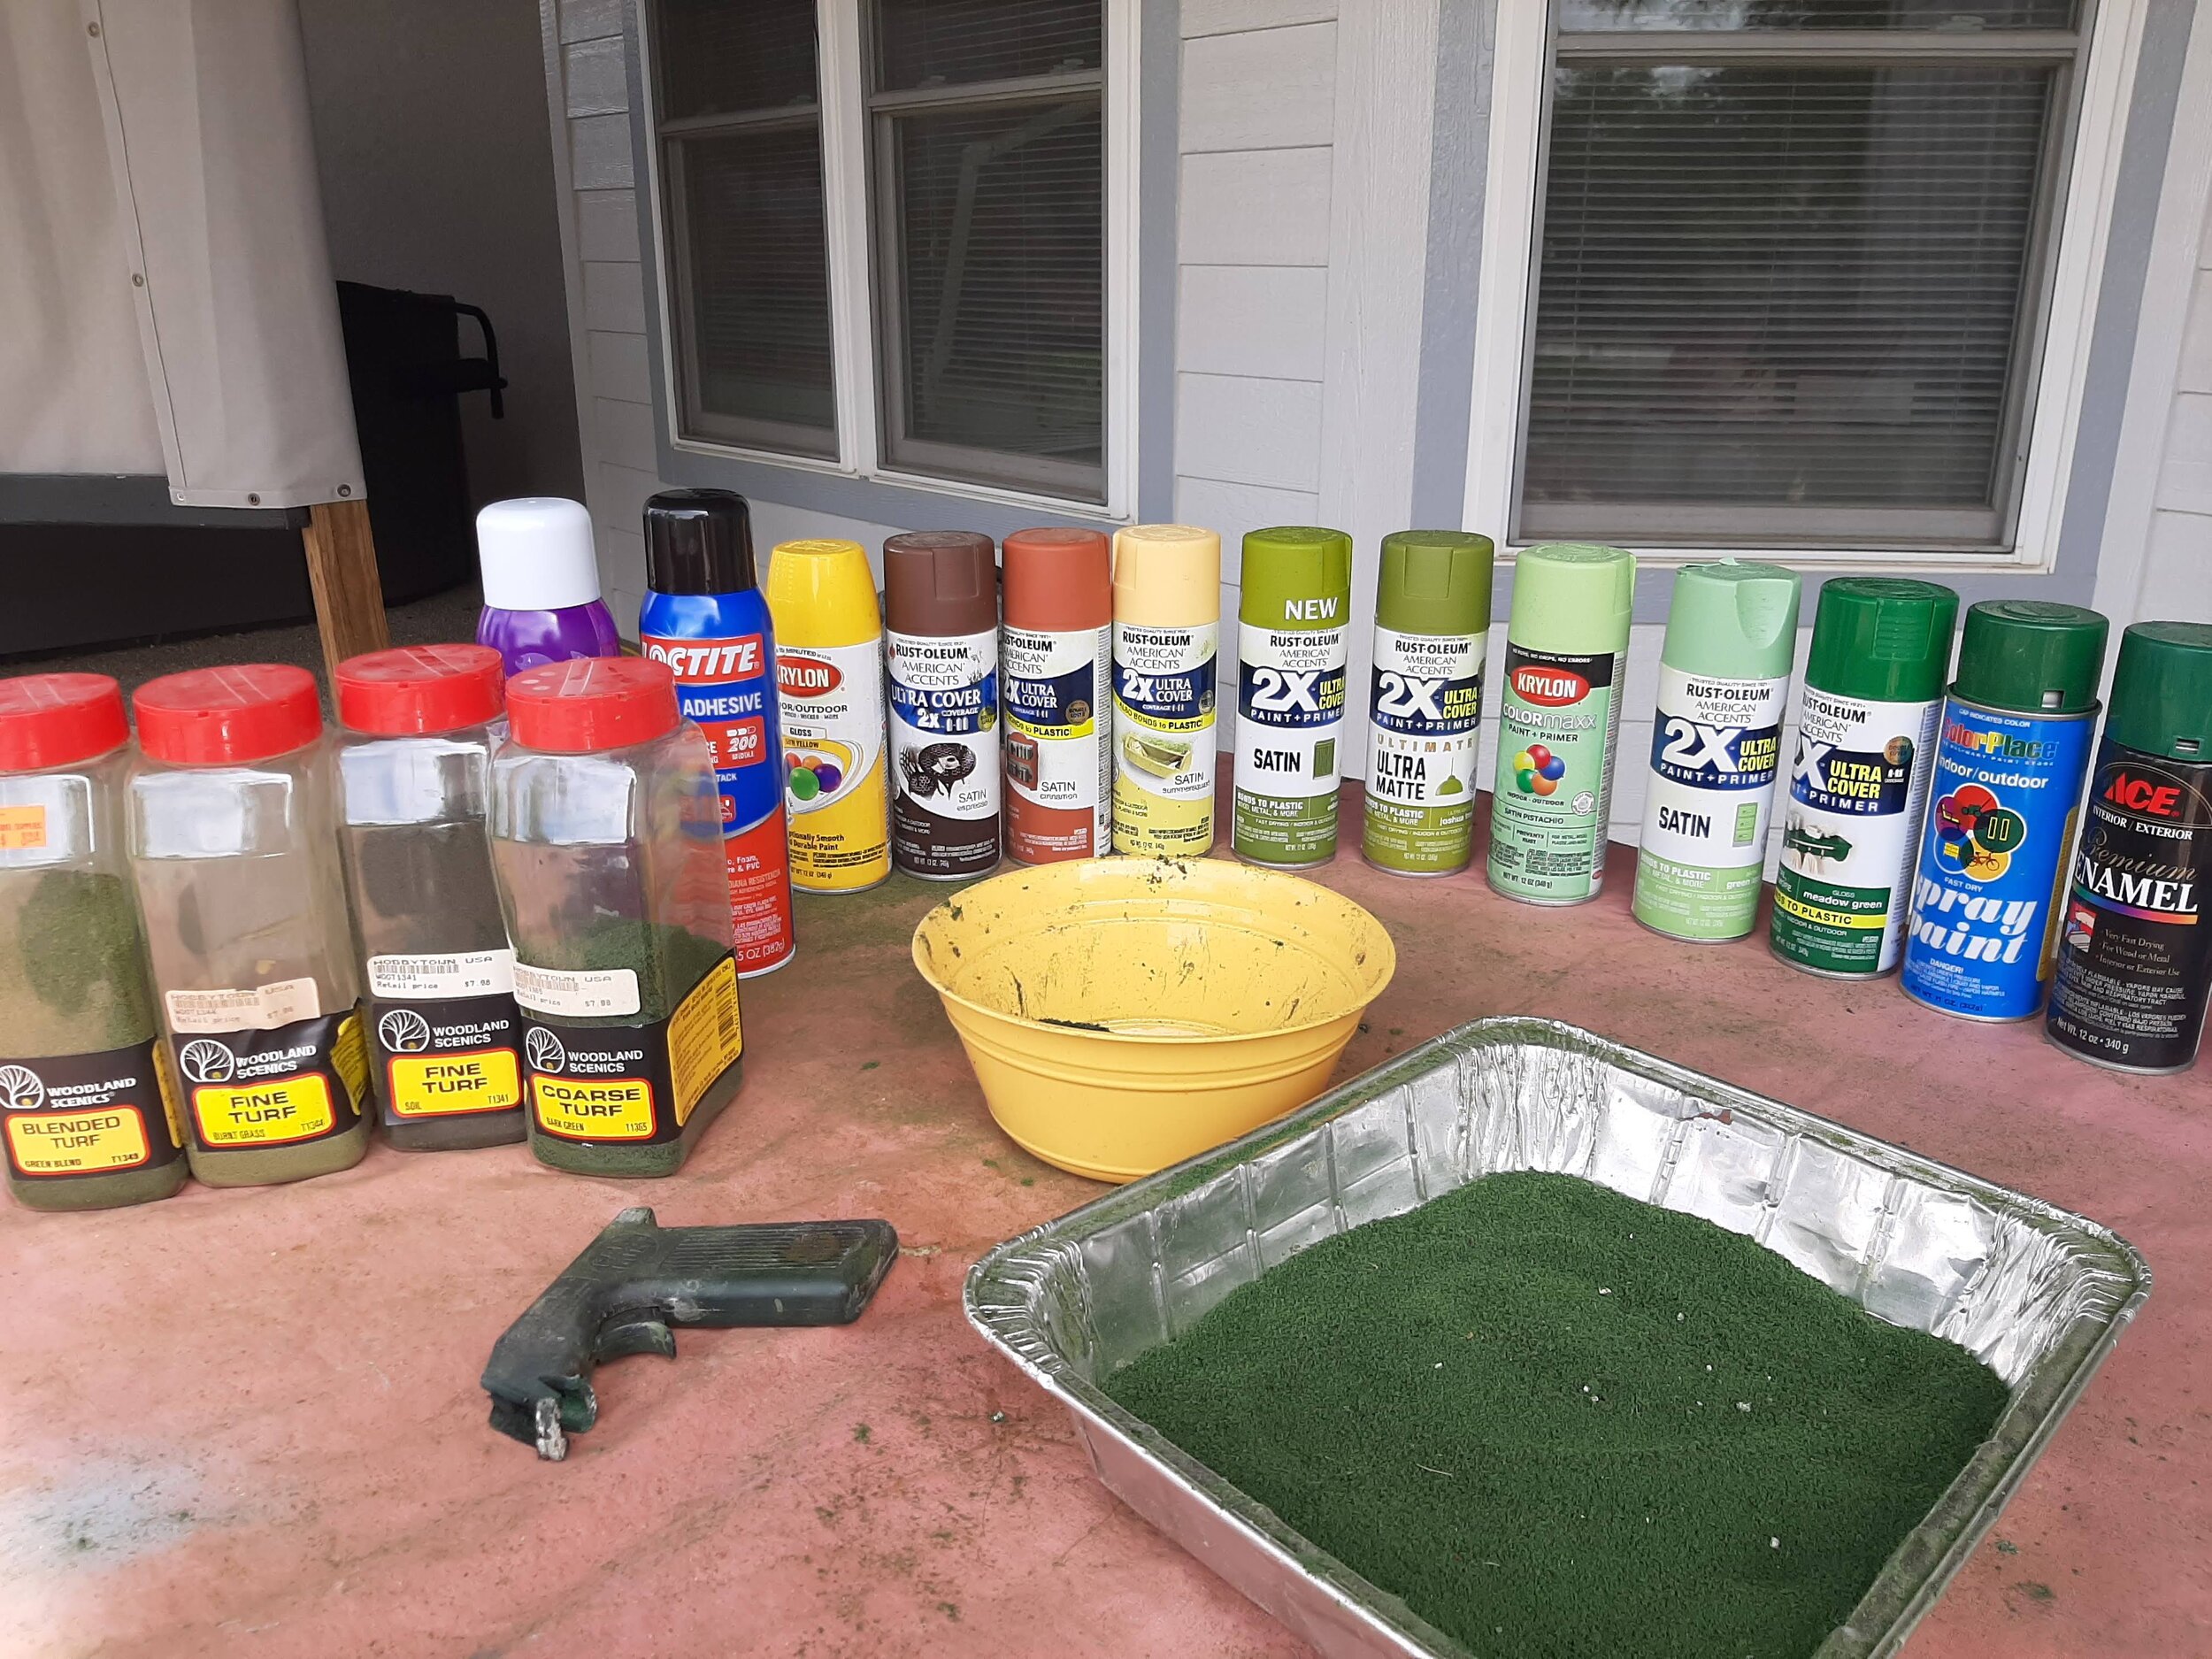
Upon an old plastic tablecloth sits the rest of the makin’s. Loctite spray glue. Cheap Superhold hair spray. A wide variety of spray paints. Woodland Scenics T65 ground foam bought in bulk. A few other colors of ground foam.
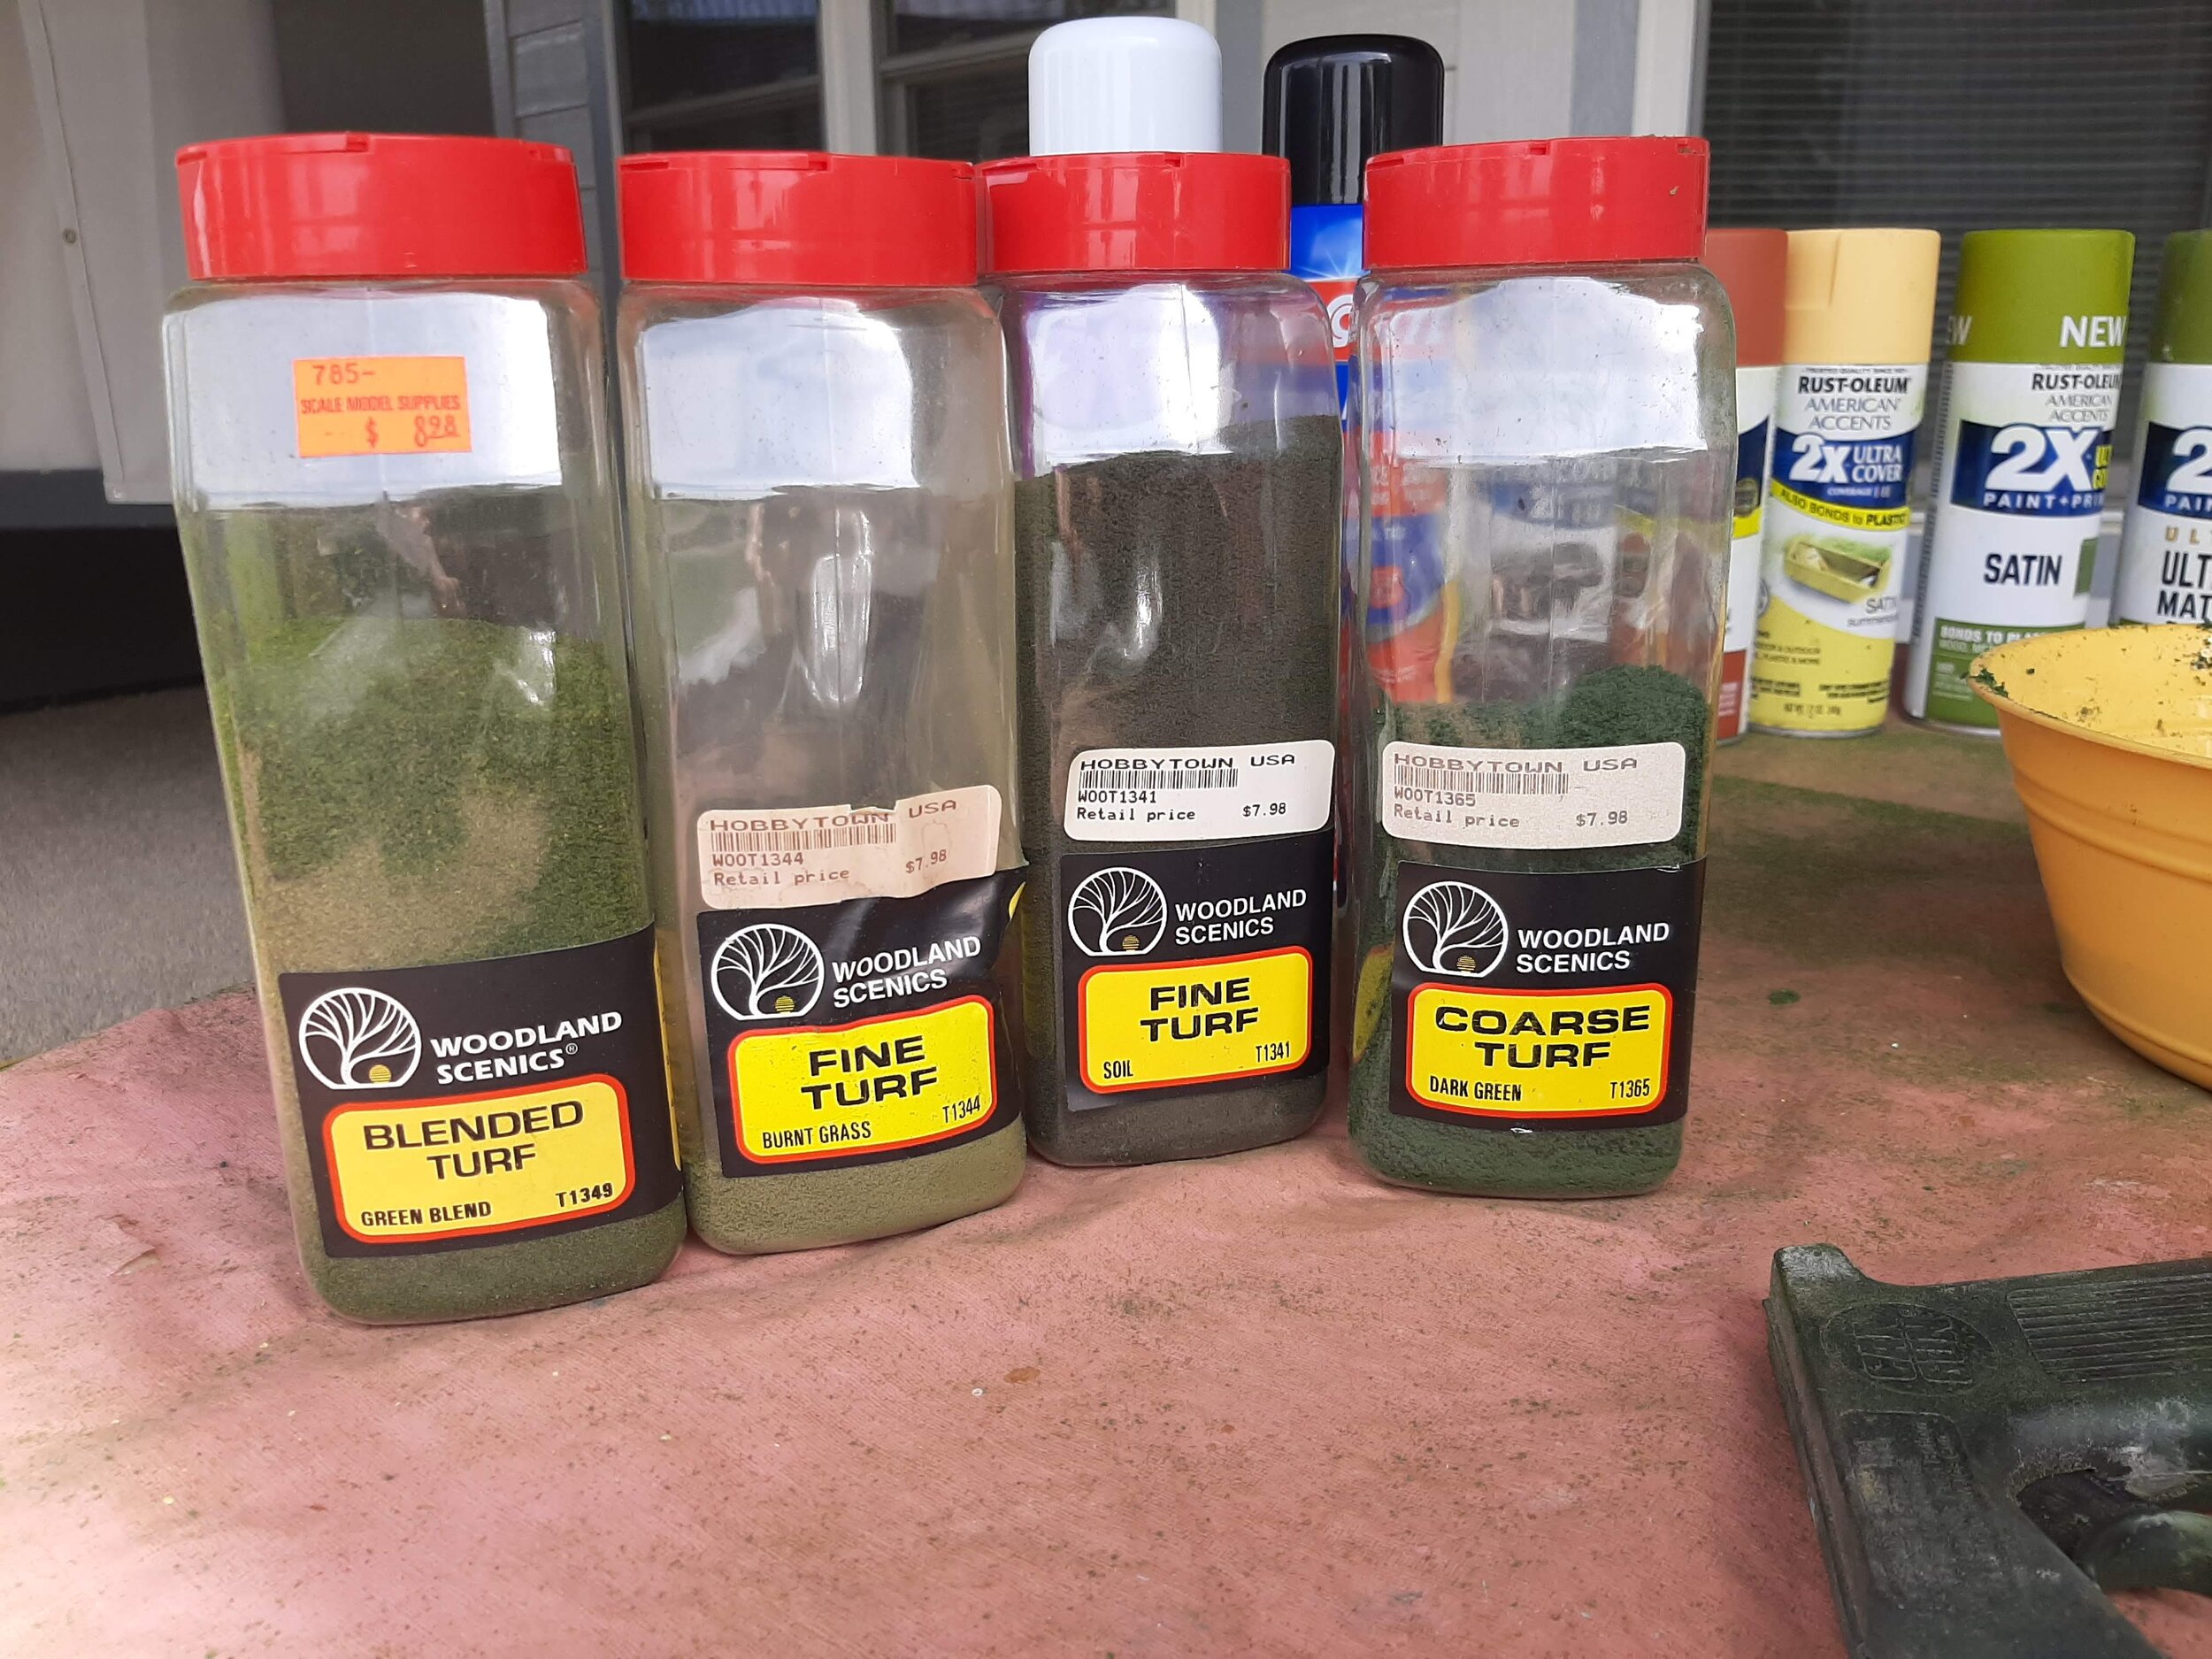
A closer look at the foam colors.
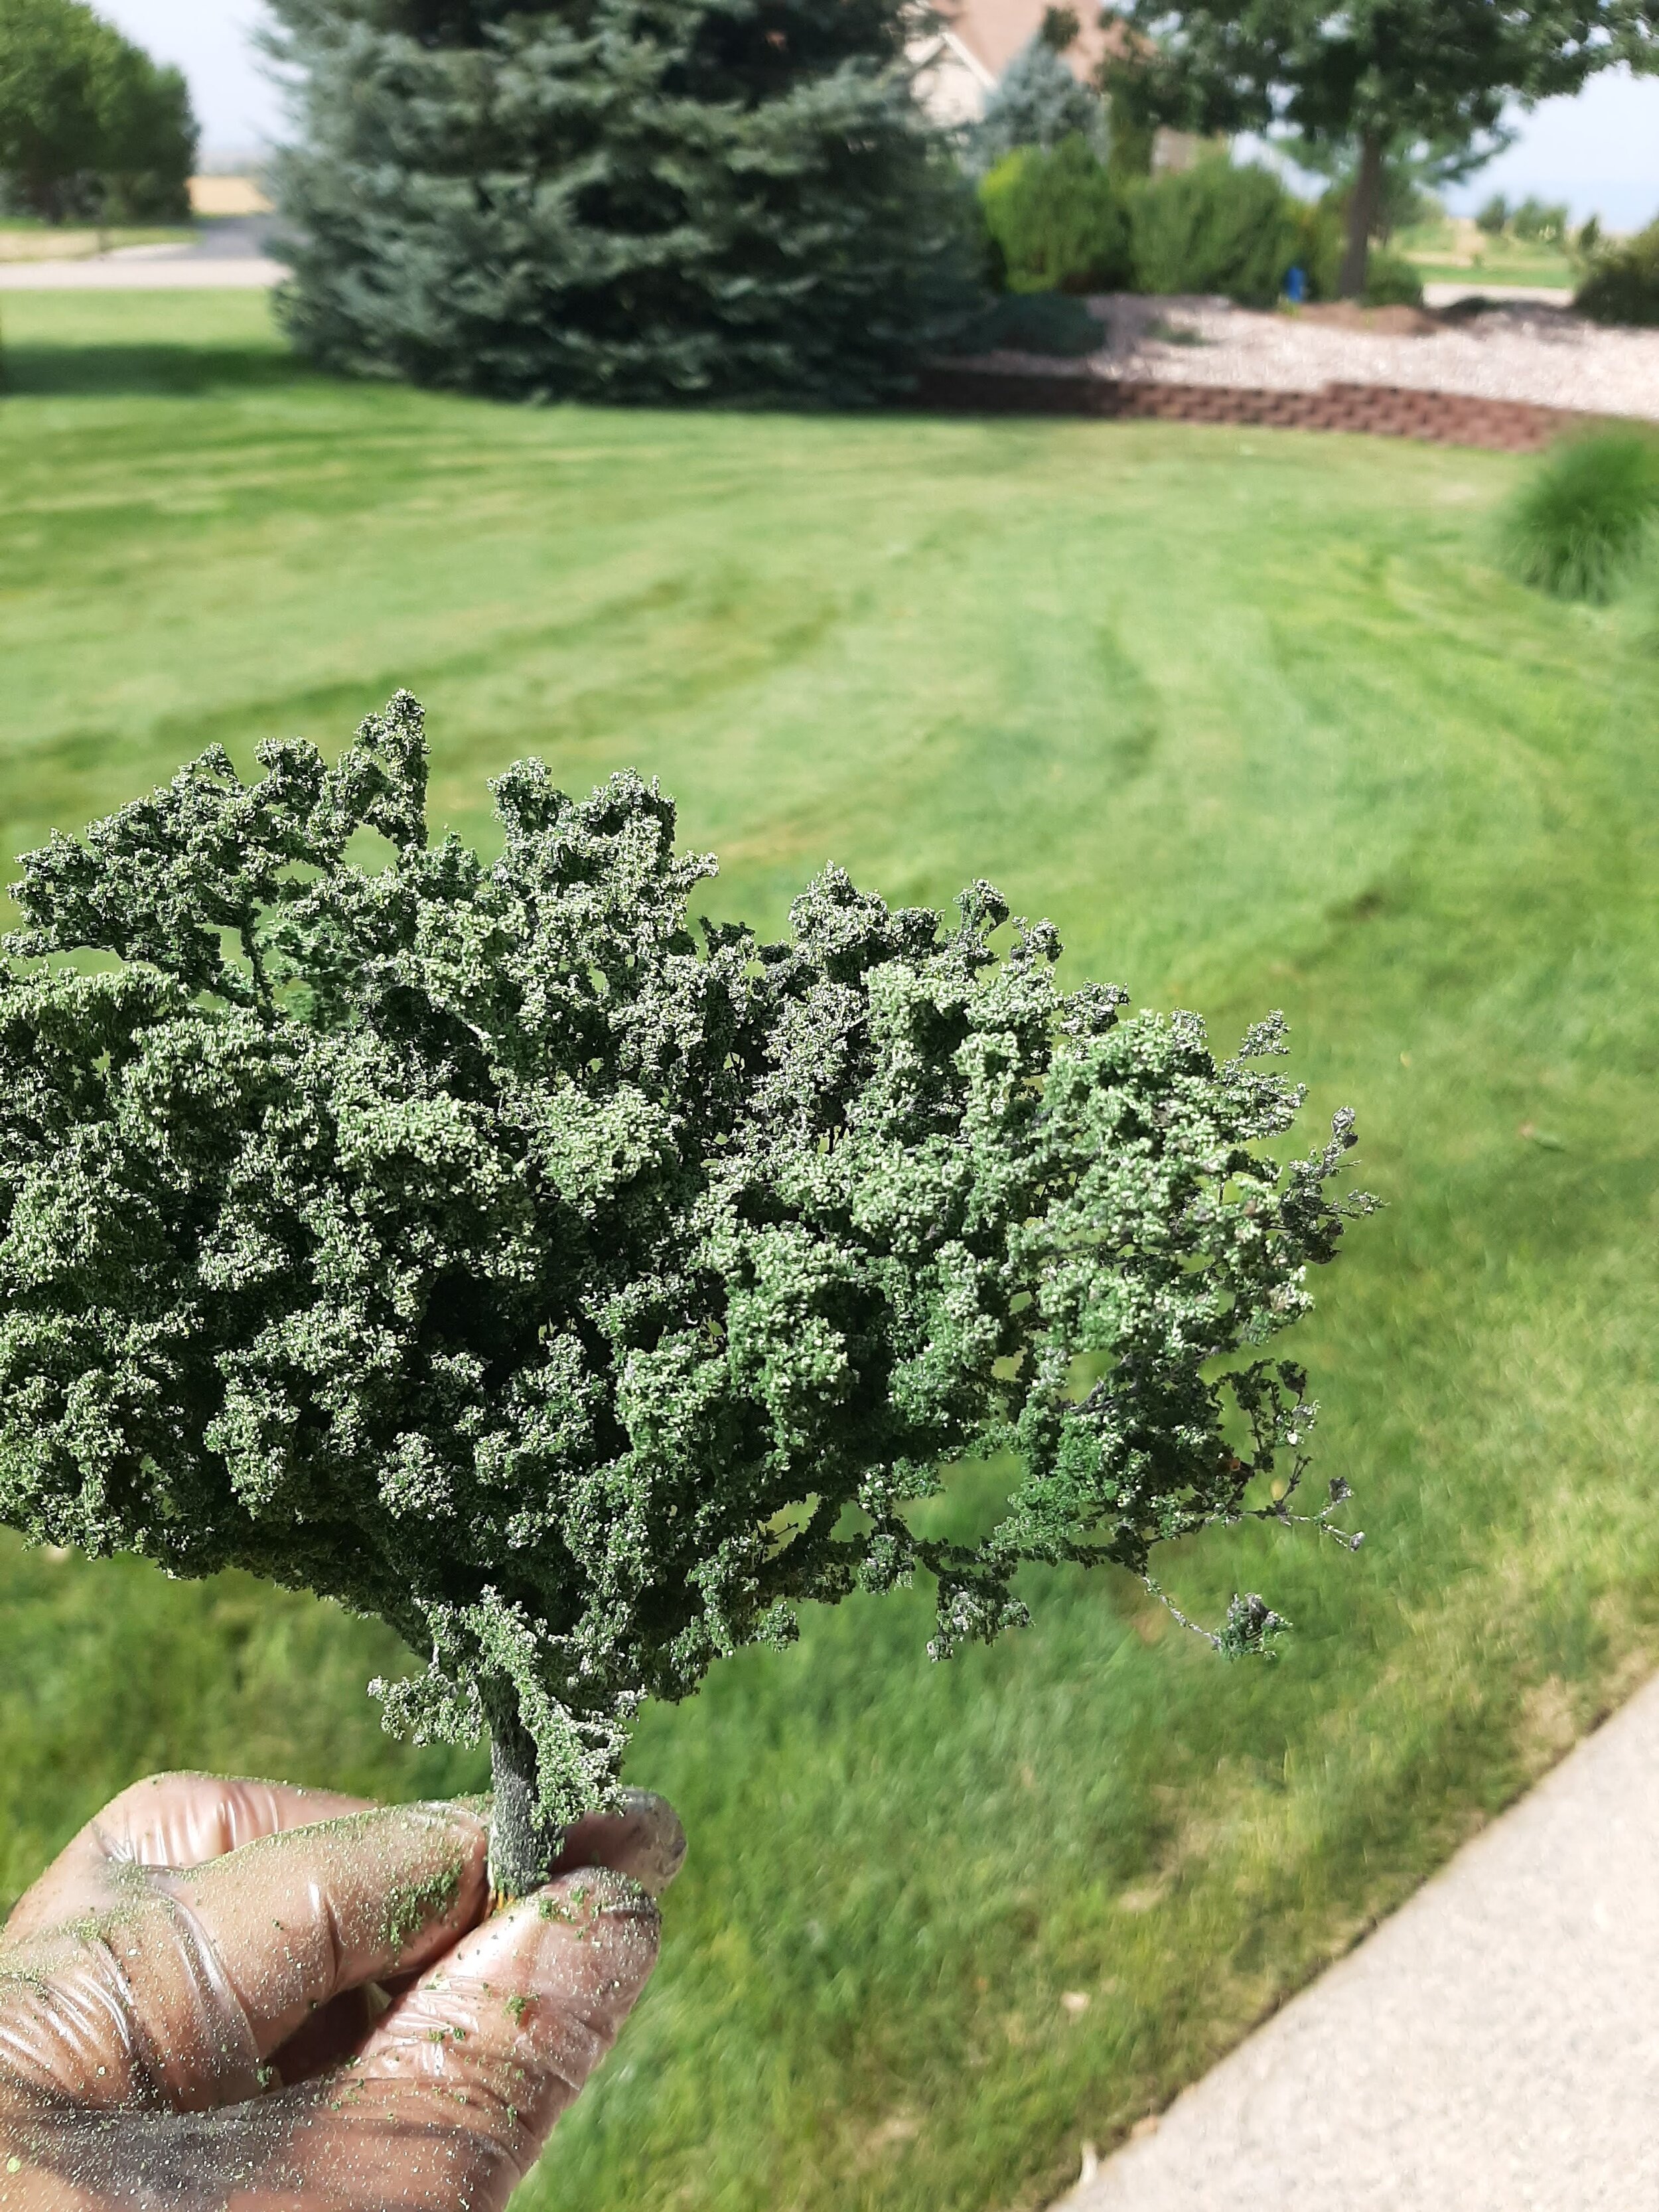
Note the latex paint glove!!
First spray topdown the spray glue. Immediately dump the T65 foam over it. Drench with hairspray. Done.
Alternately, now spray with one of the different greens and/or a light spray of yellow to simulate light. Or, sprinkle on some alternate color of foam, or…… The idea is to make your trees separate from one another when planted and slight variations in color and texture will accomplish this.
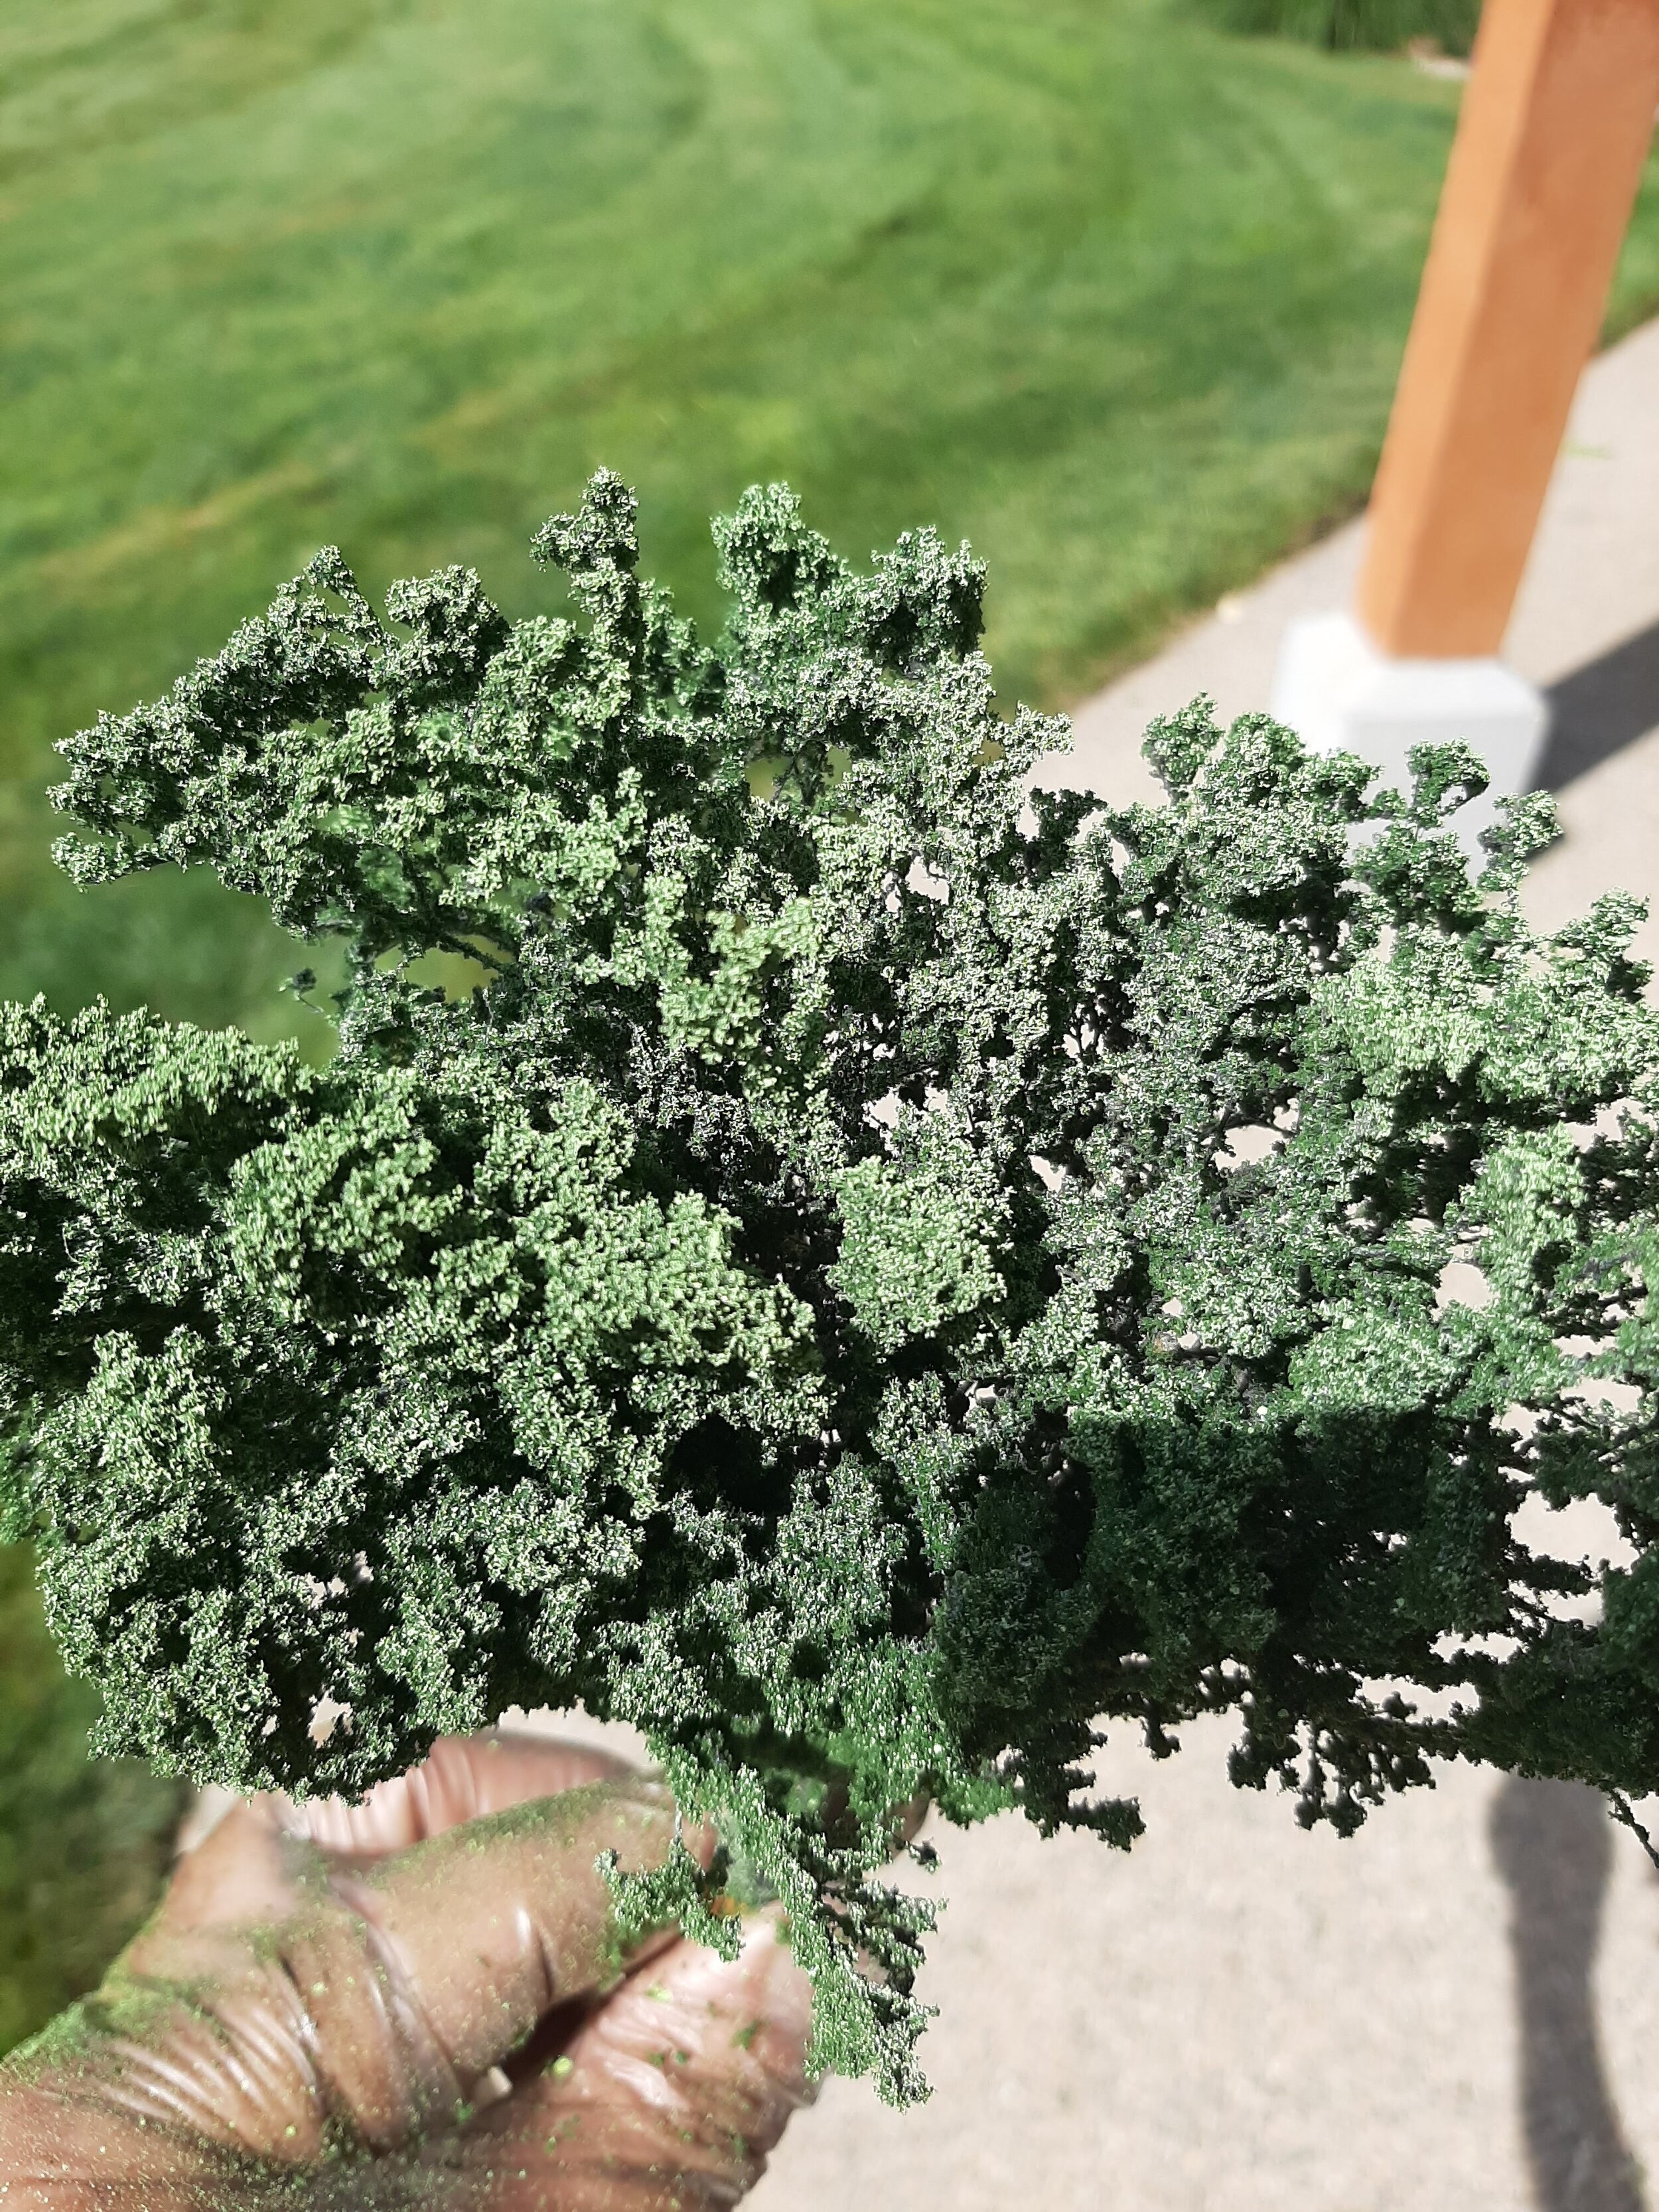
The Golden Gypt buds will form small “leaf” clusters as this process goes along. Again, these are background tress so no need to be too fussy.
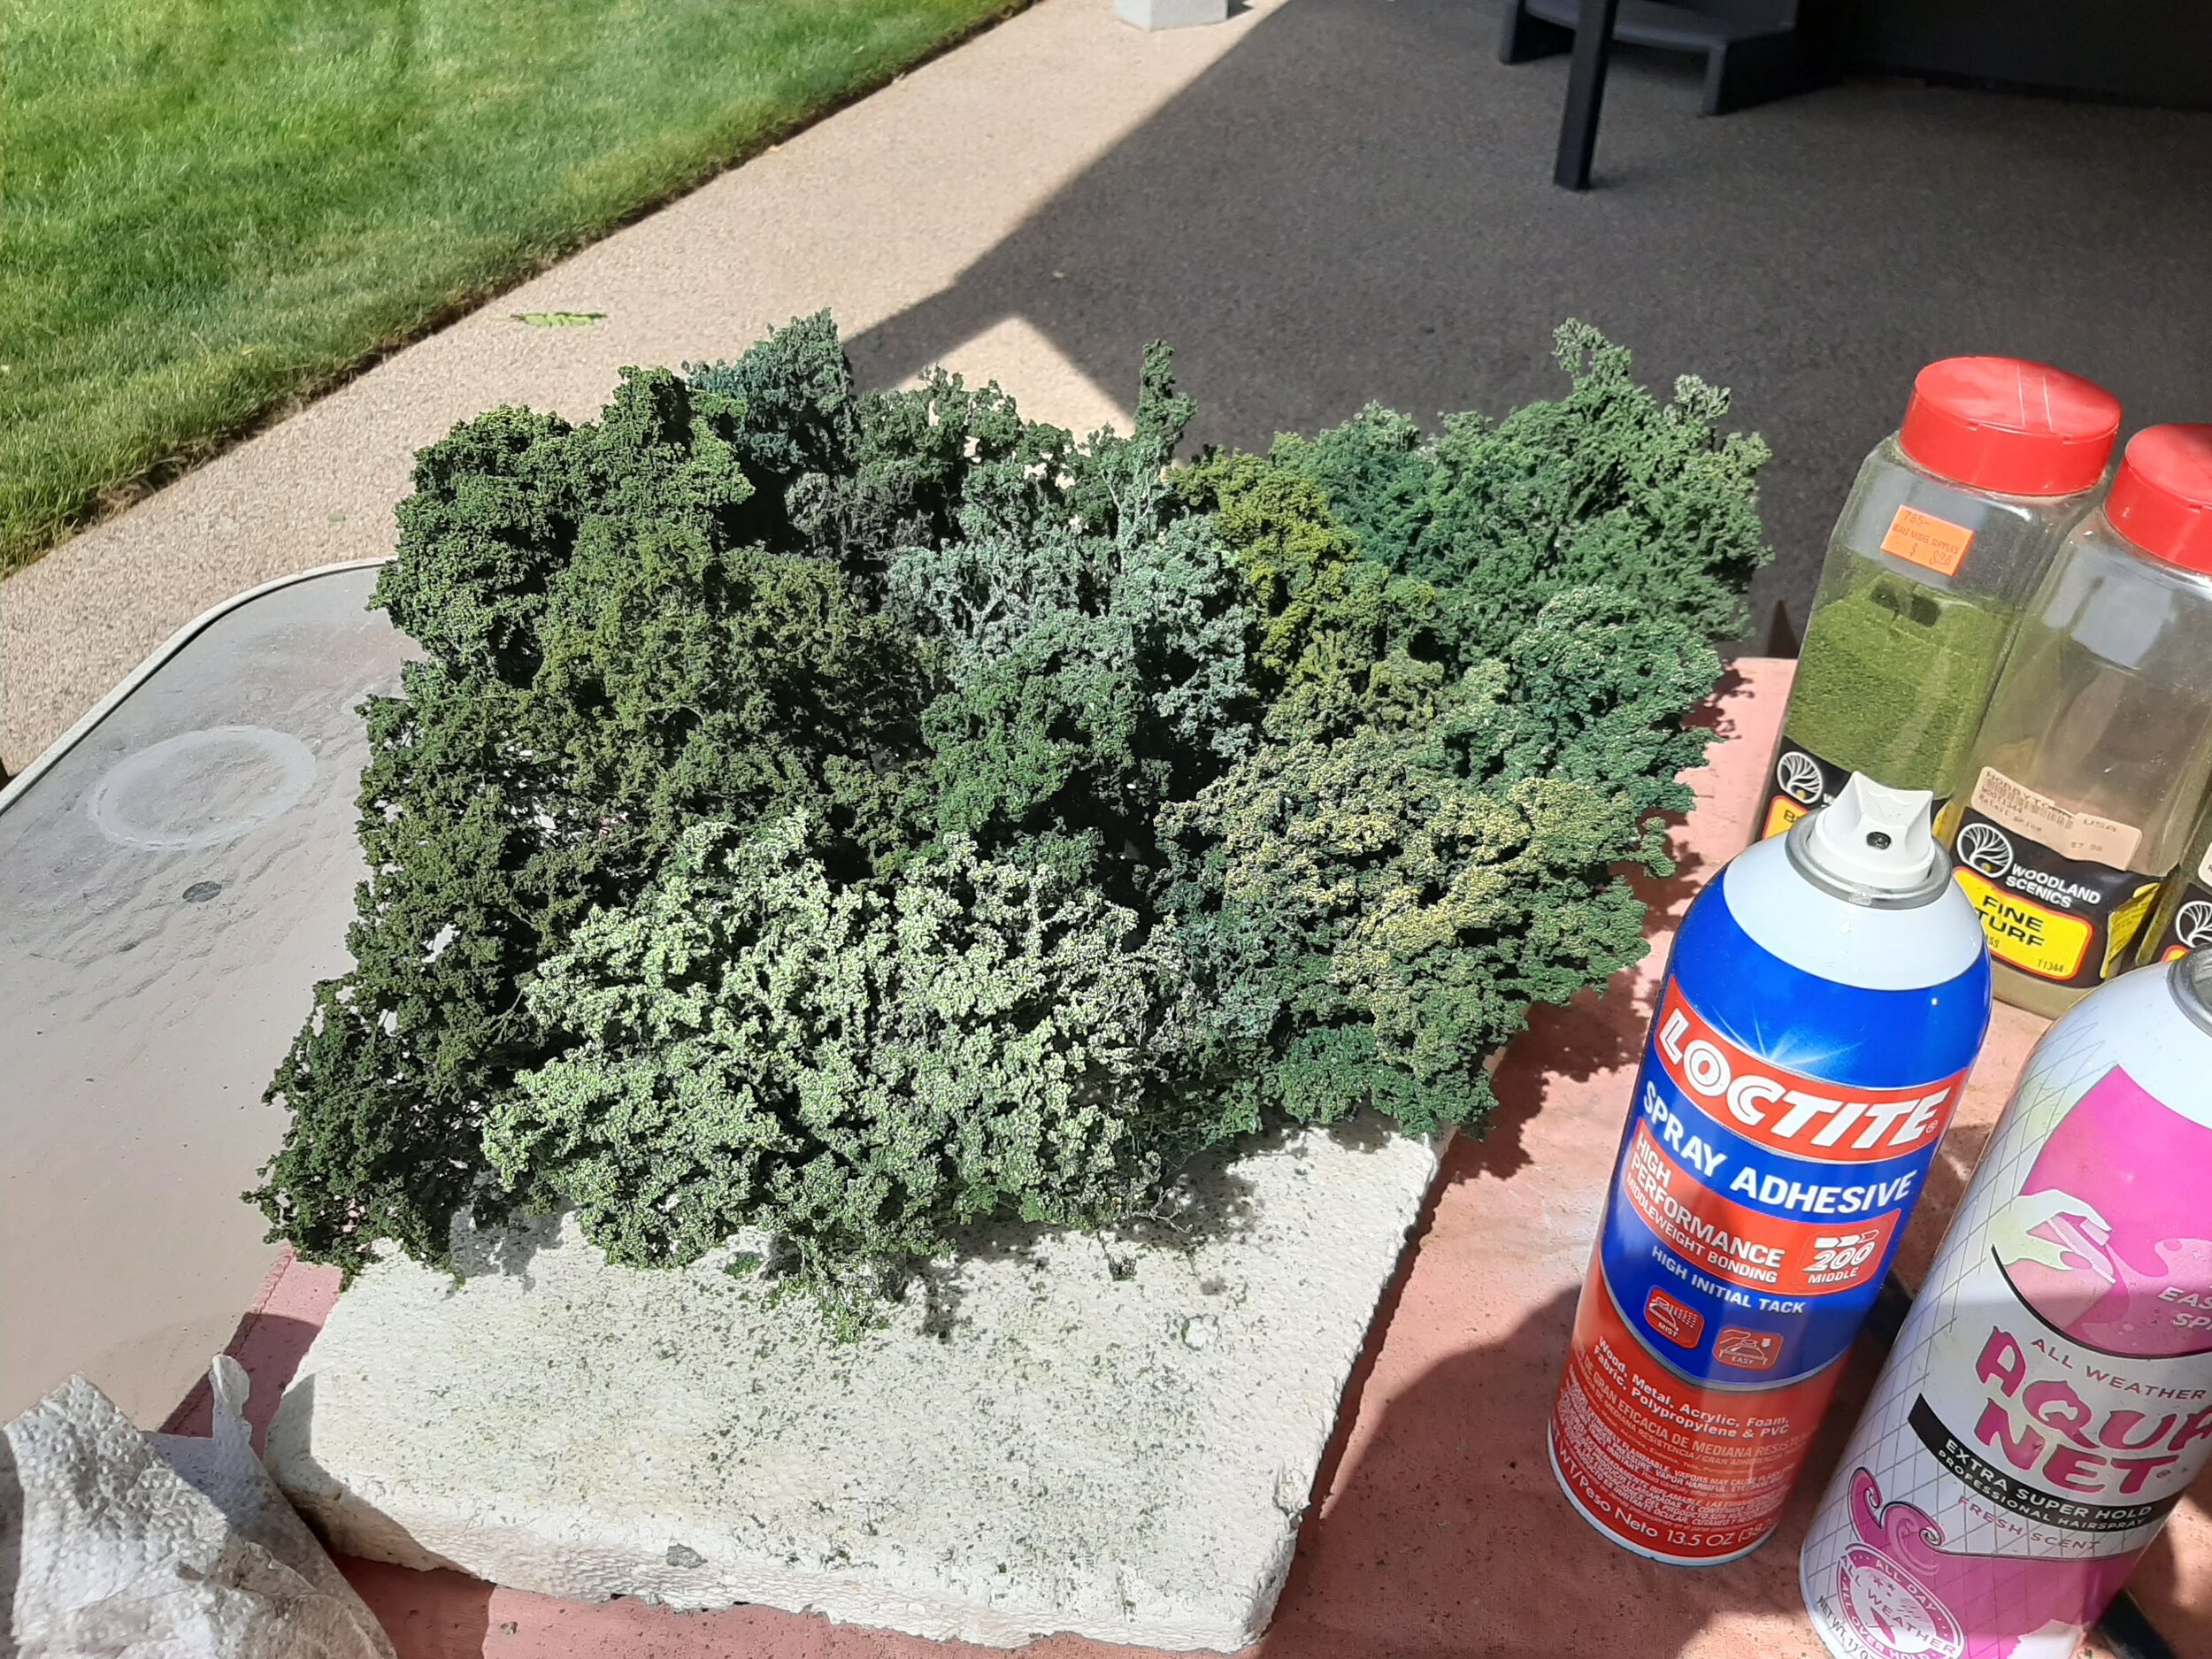
Styrofoam pallets fill up with a forest in the making. A good afternoon will yield a hundred trees or more. It goes quickly. Generally I’ll build up trays of small, medium, and large trees, and in various shades. When planting I can thus pick from a specific pallet to fit the need.
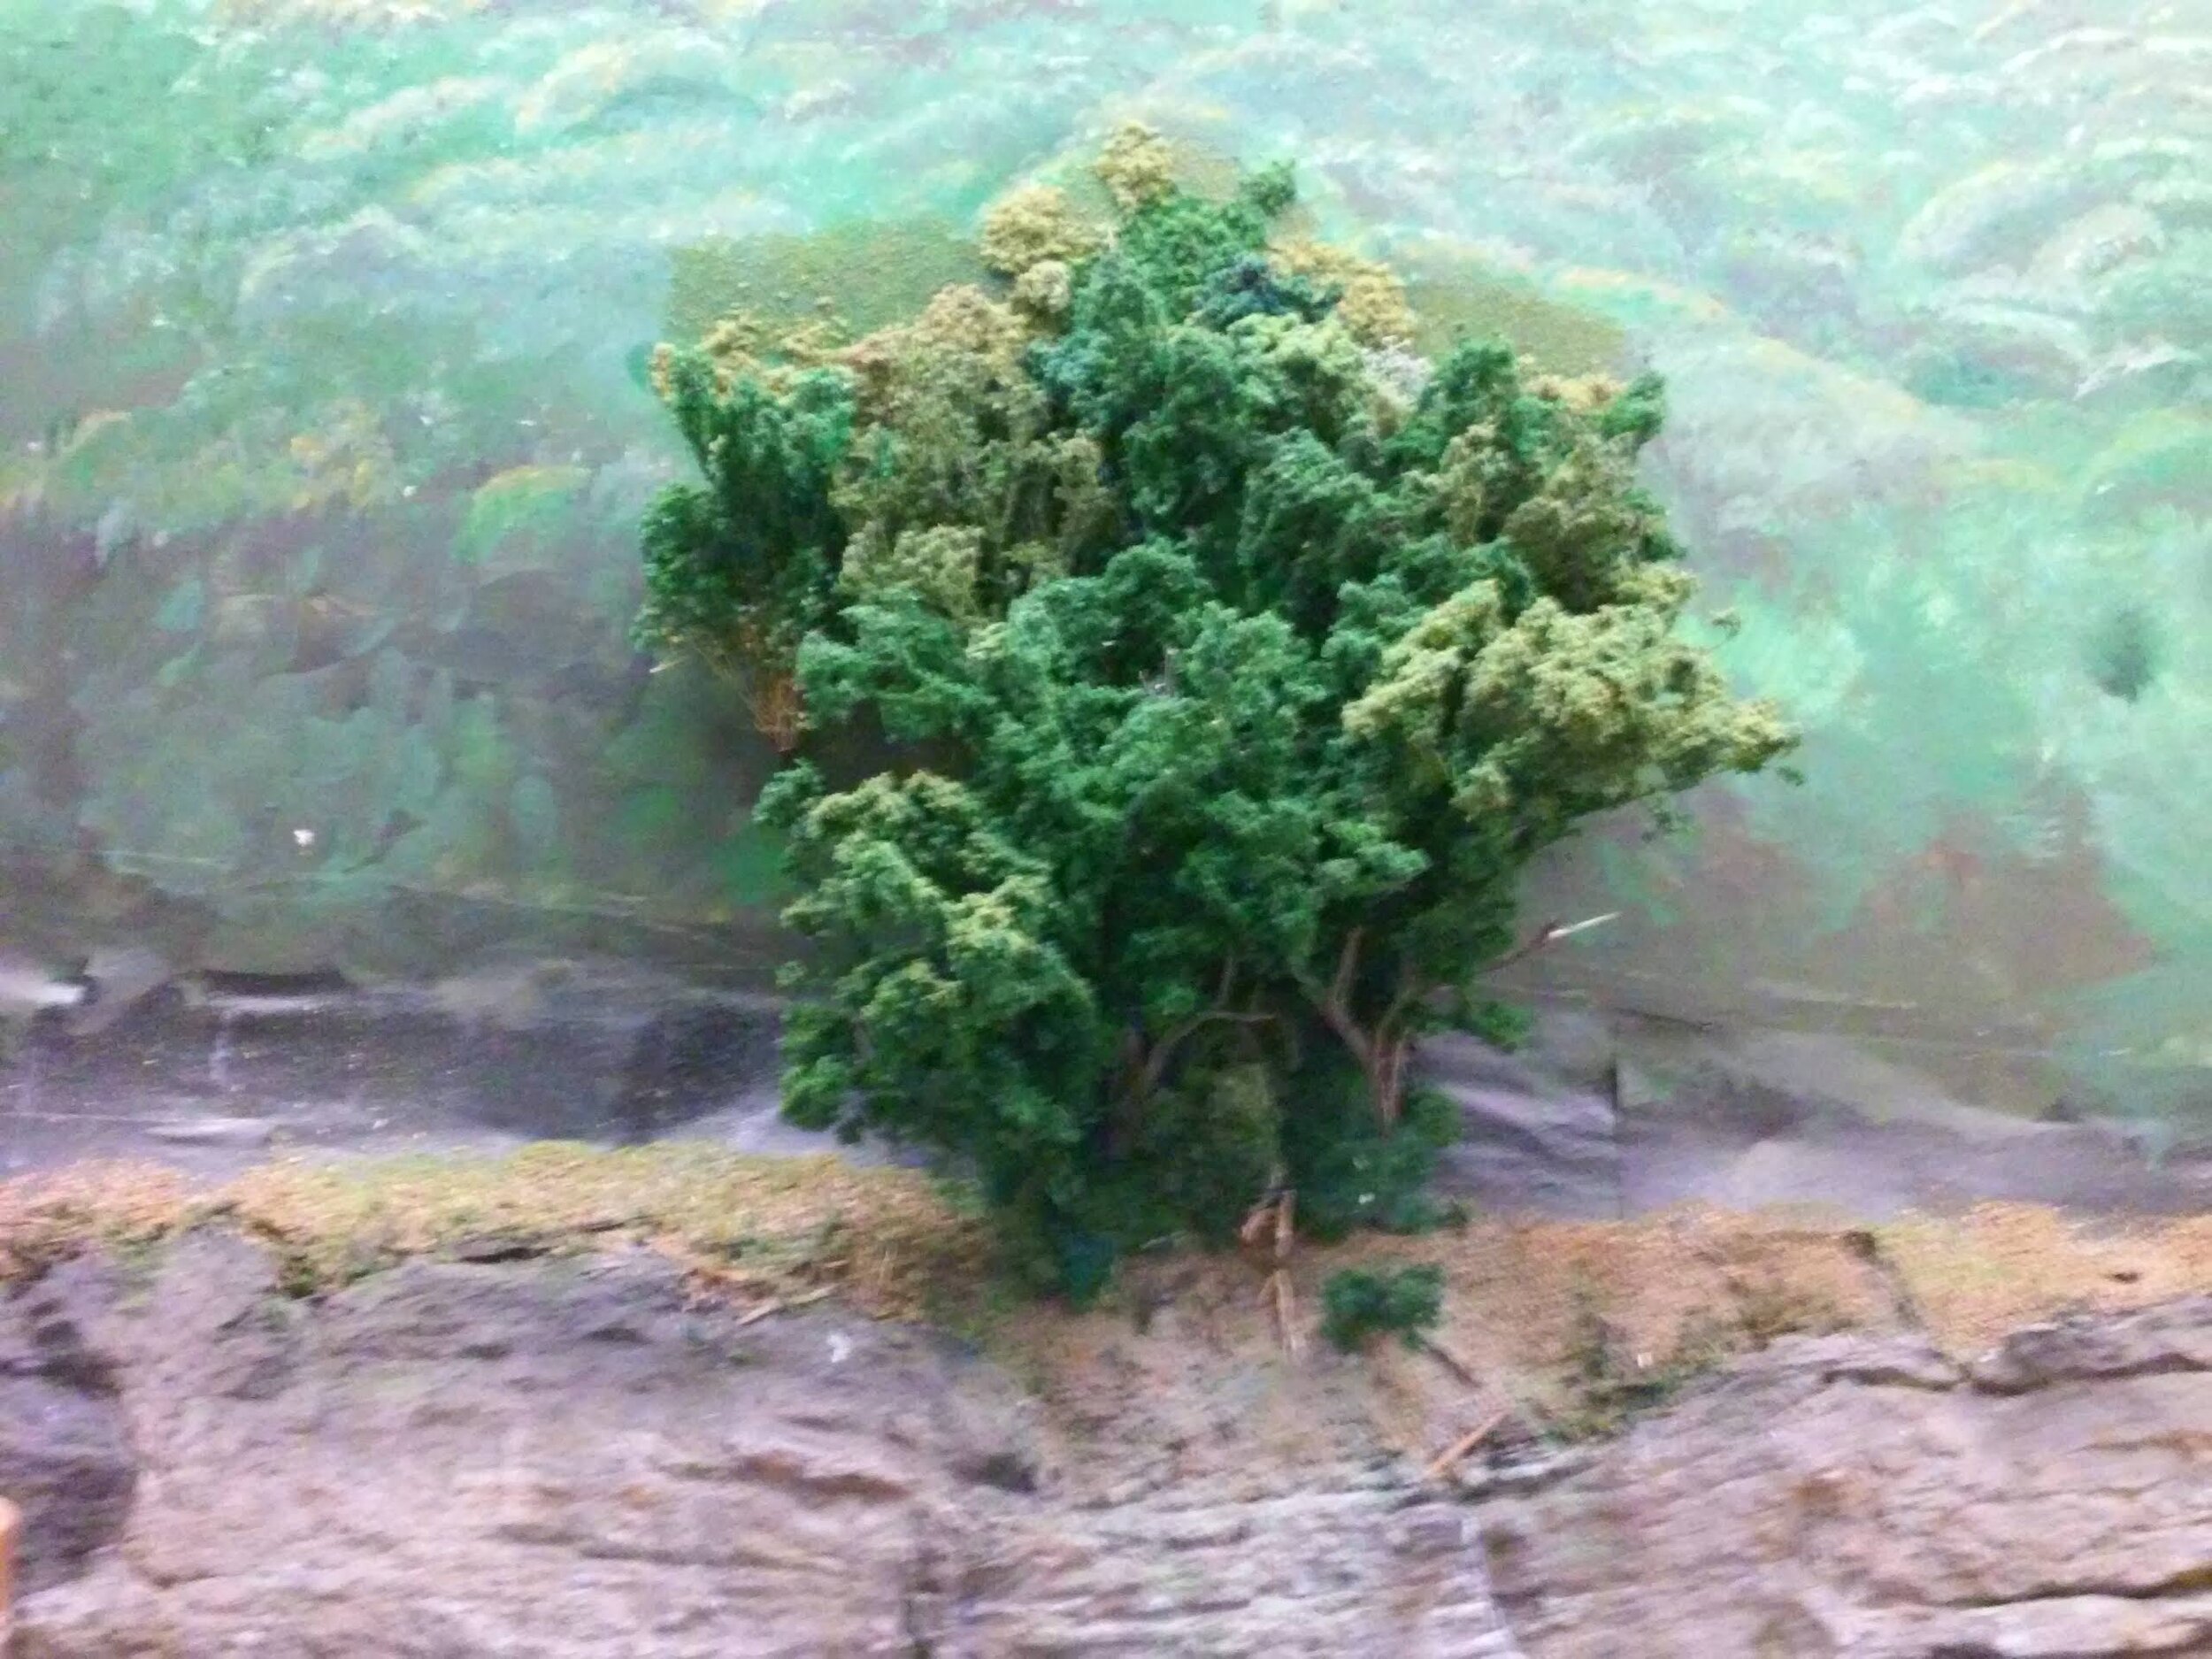
Here a smallish tree is being planted onto a painted backdrop. Trying to make it blend in is a challenge! I glued some tree color foam to the backdrop before attaching the tree.
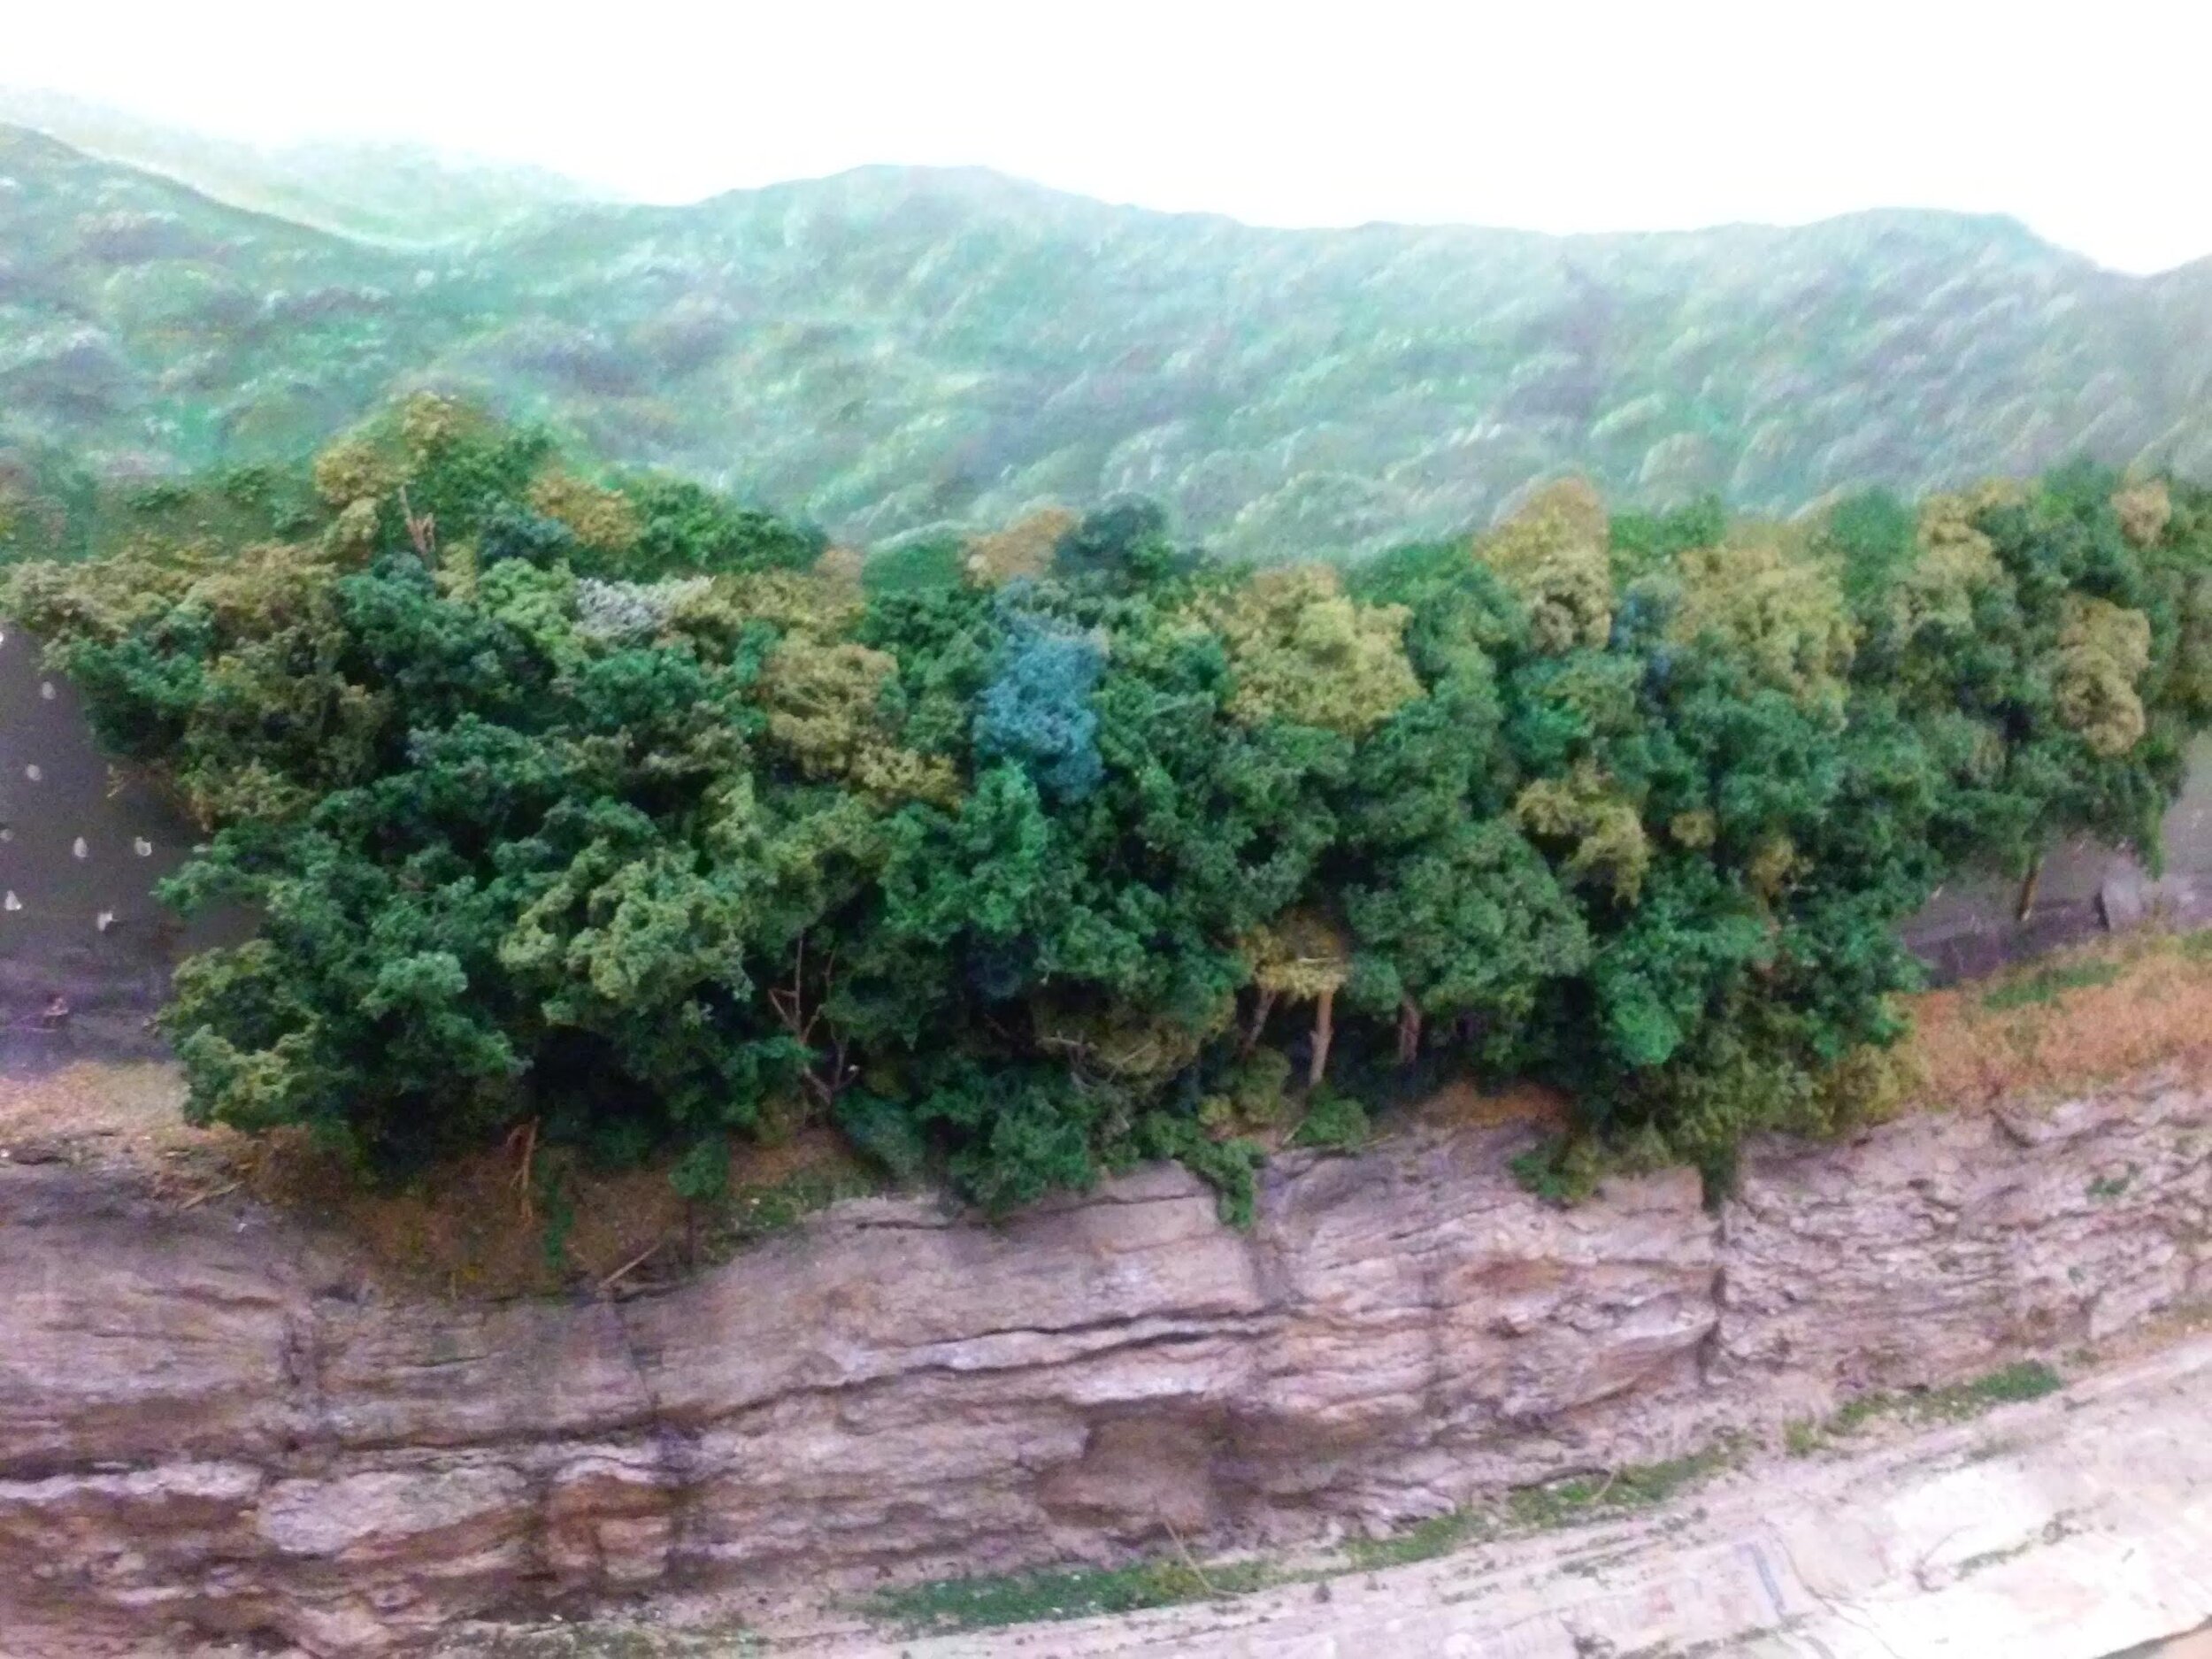
The trees grow, along with their foam halos. Note that some trunks and other branches were added below the canopy.
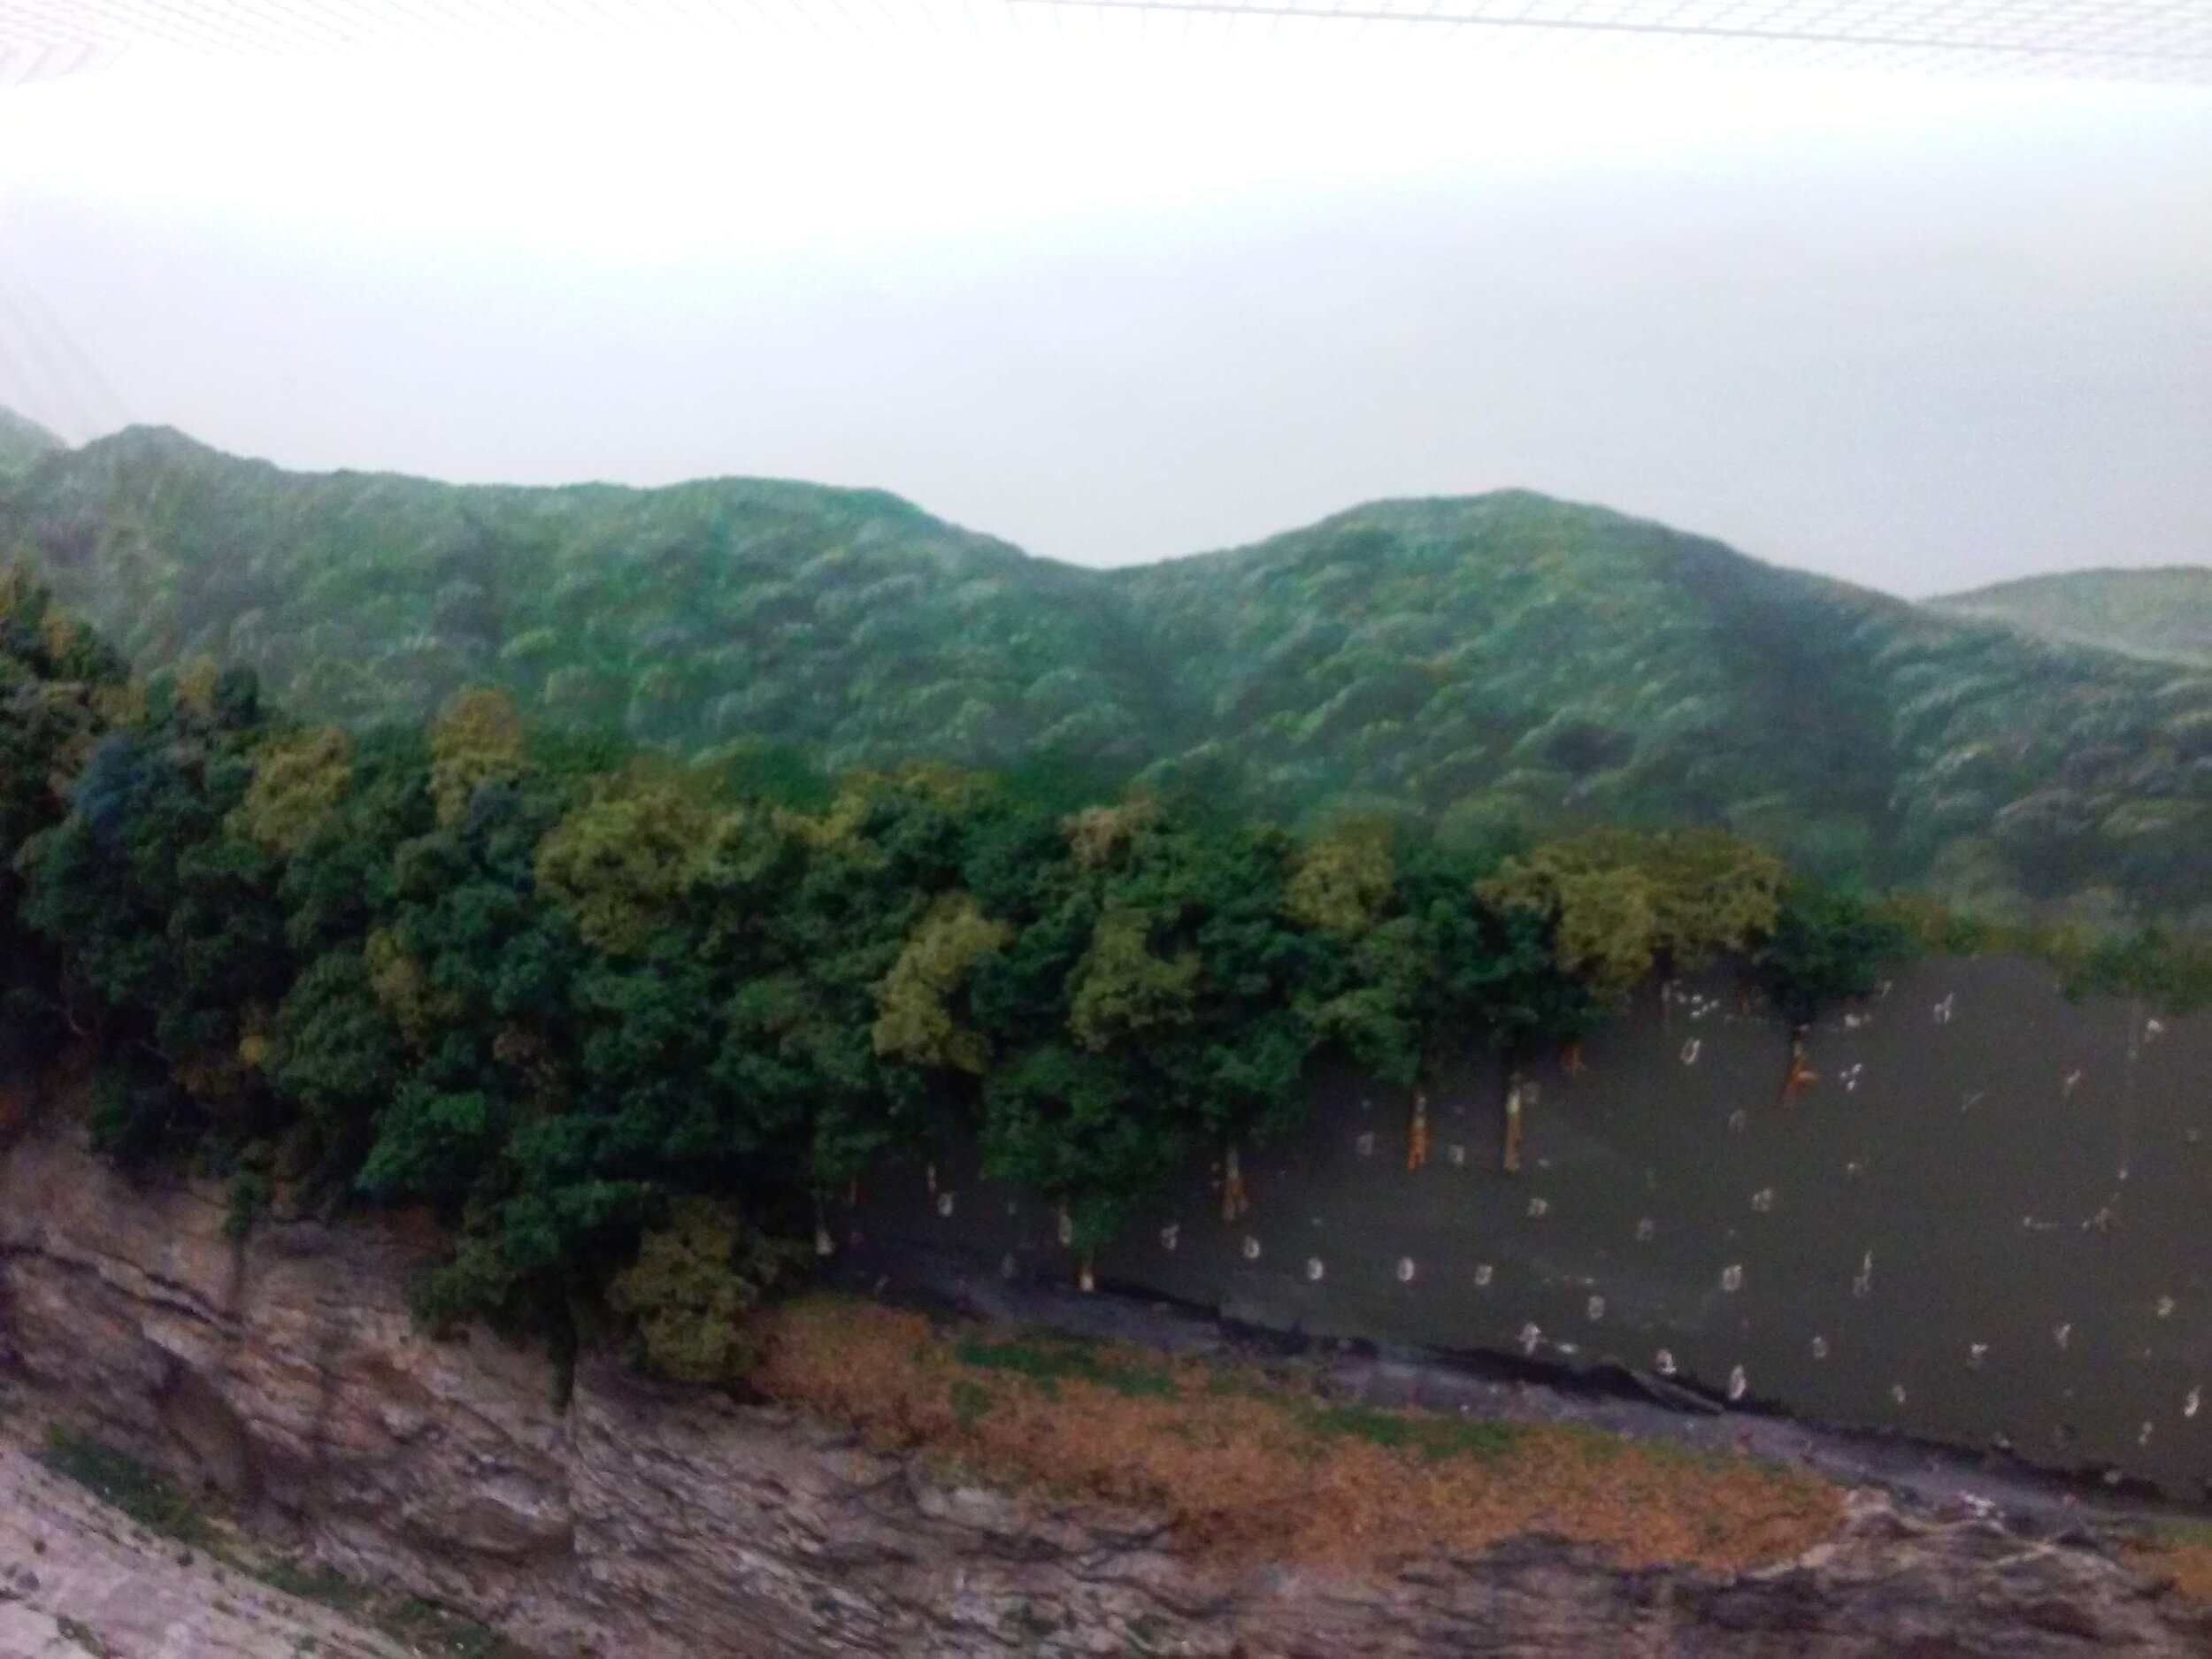
Initially I drilled holes into the backdrop to stuff the trees into. No need. A wiring staple gun that shoots a U-shaped staple around the bundle trunk makes it a quick plant. Notice how shallow the scene depth is, but the trees effectively hide this fact.
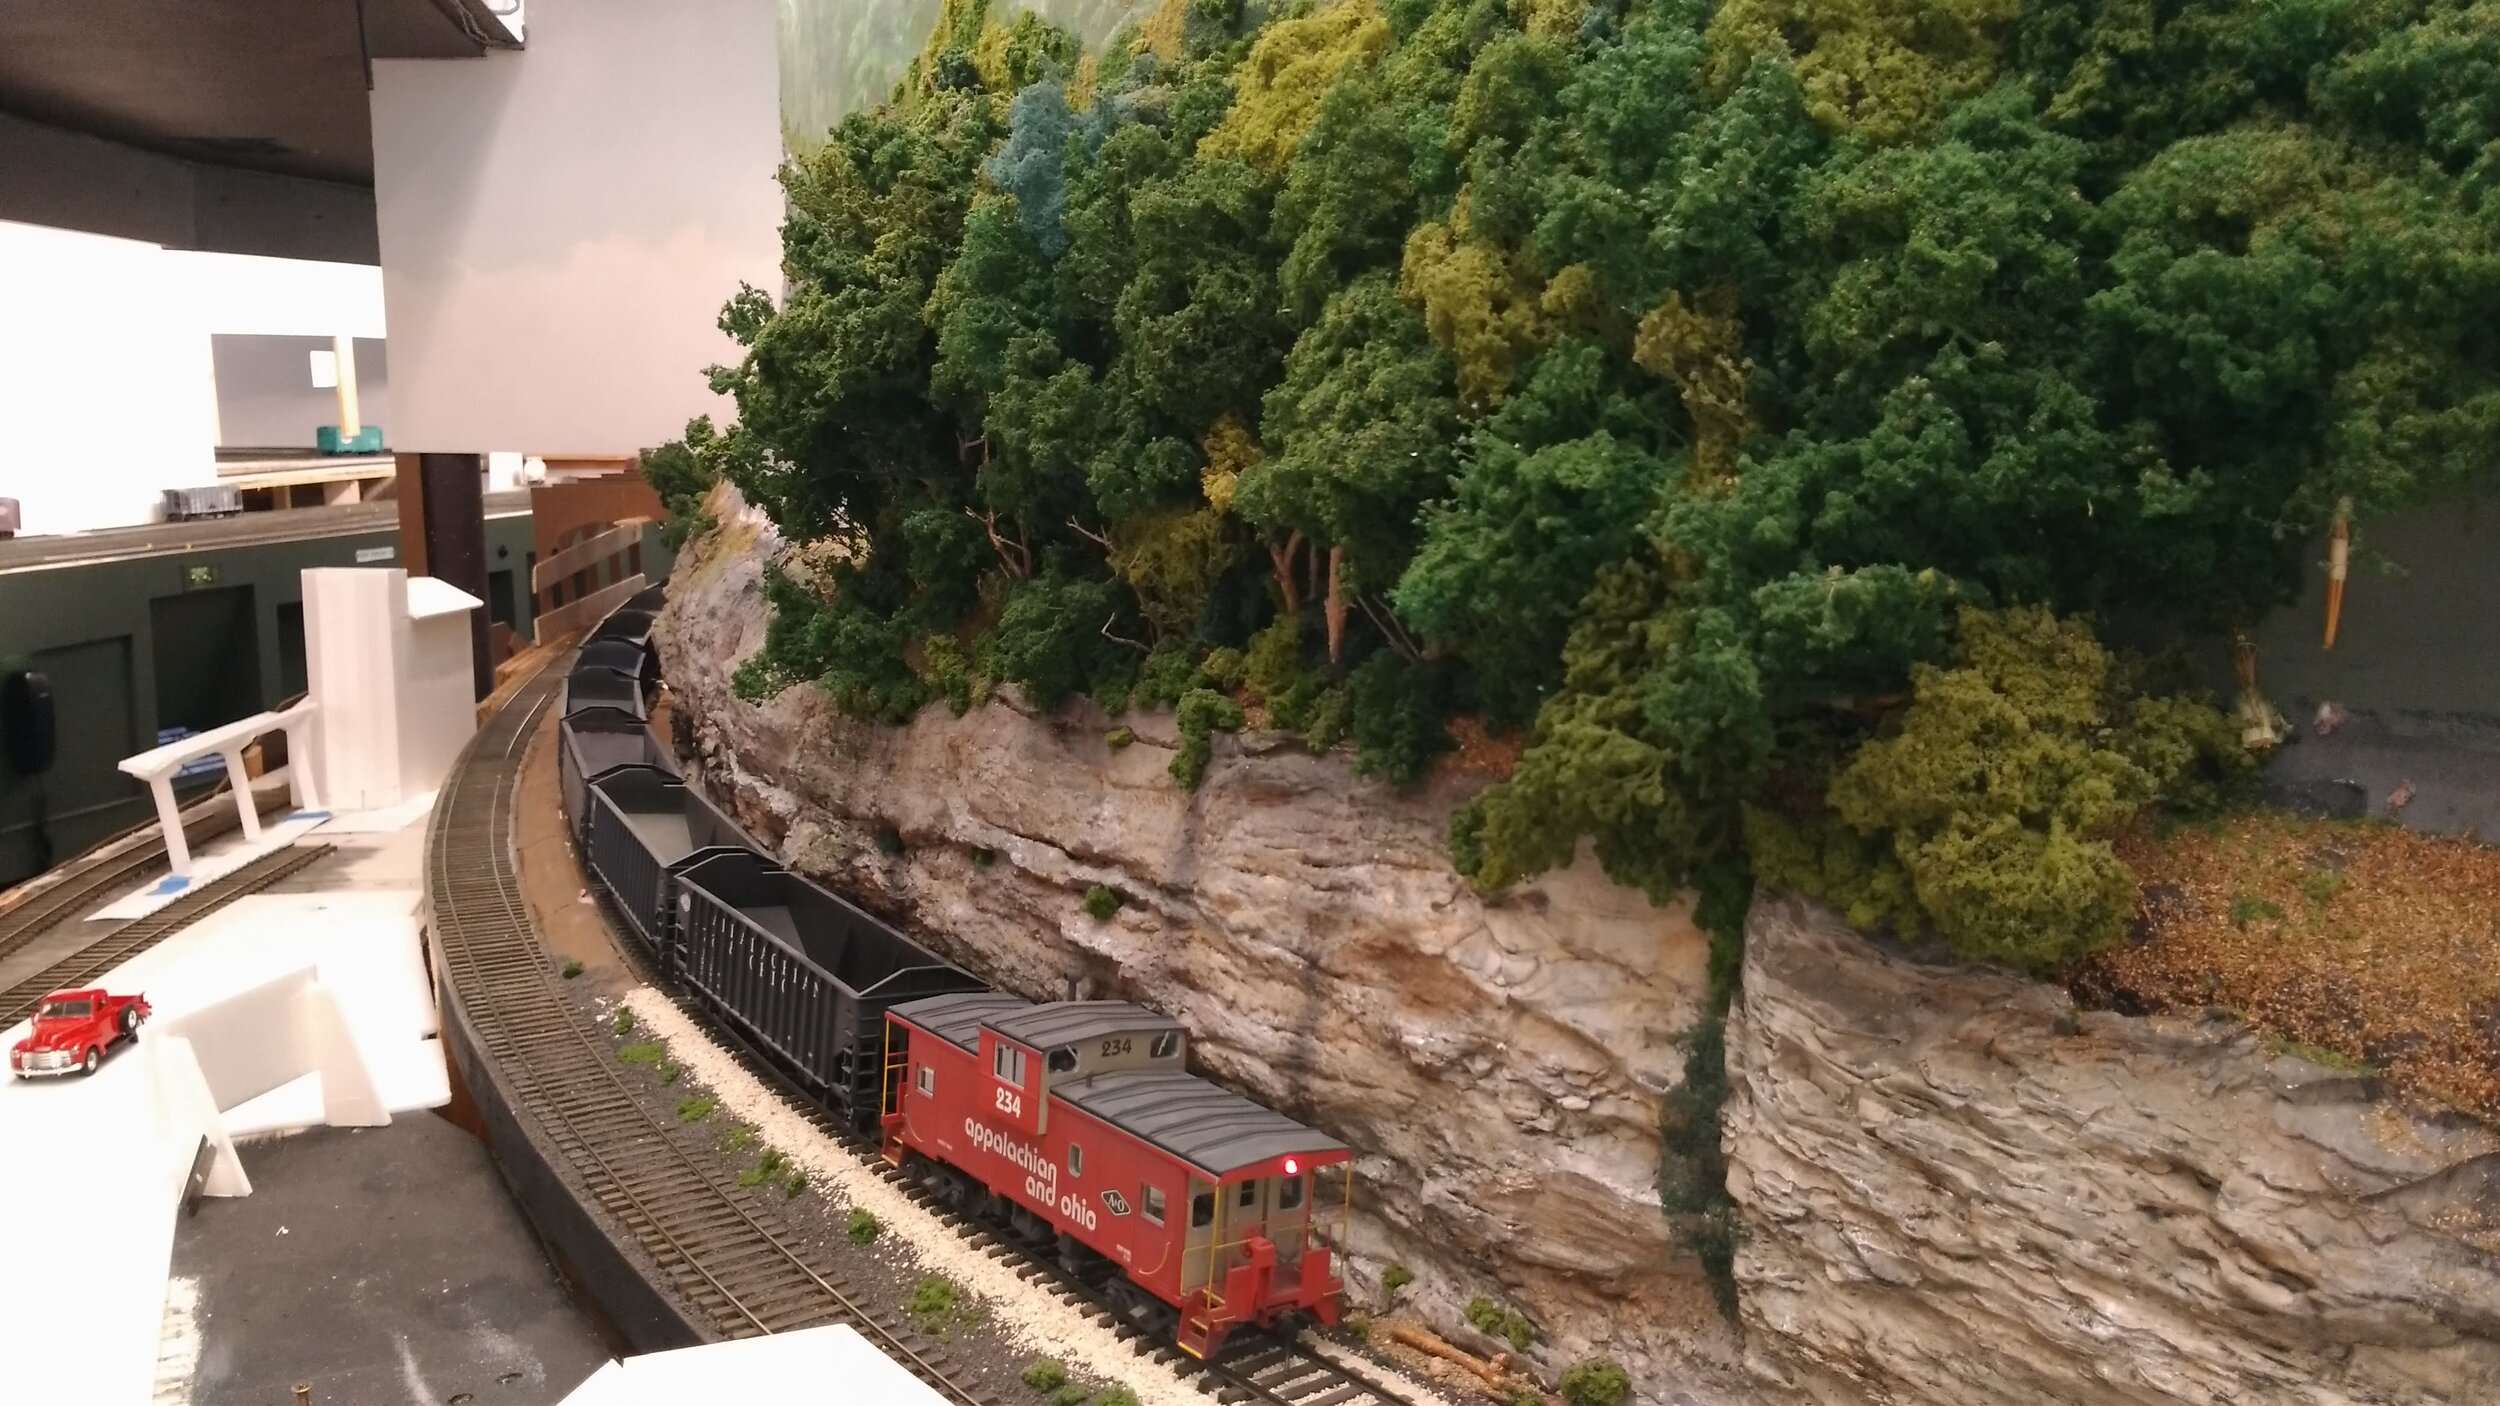
A string of empties passes thru Mt. Union.
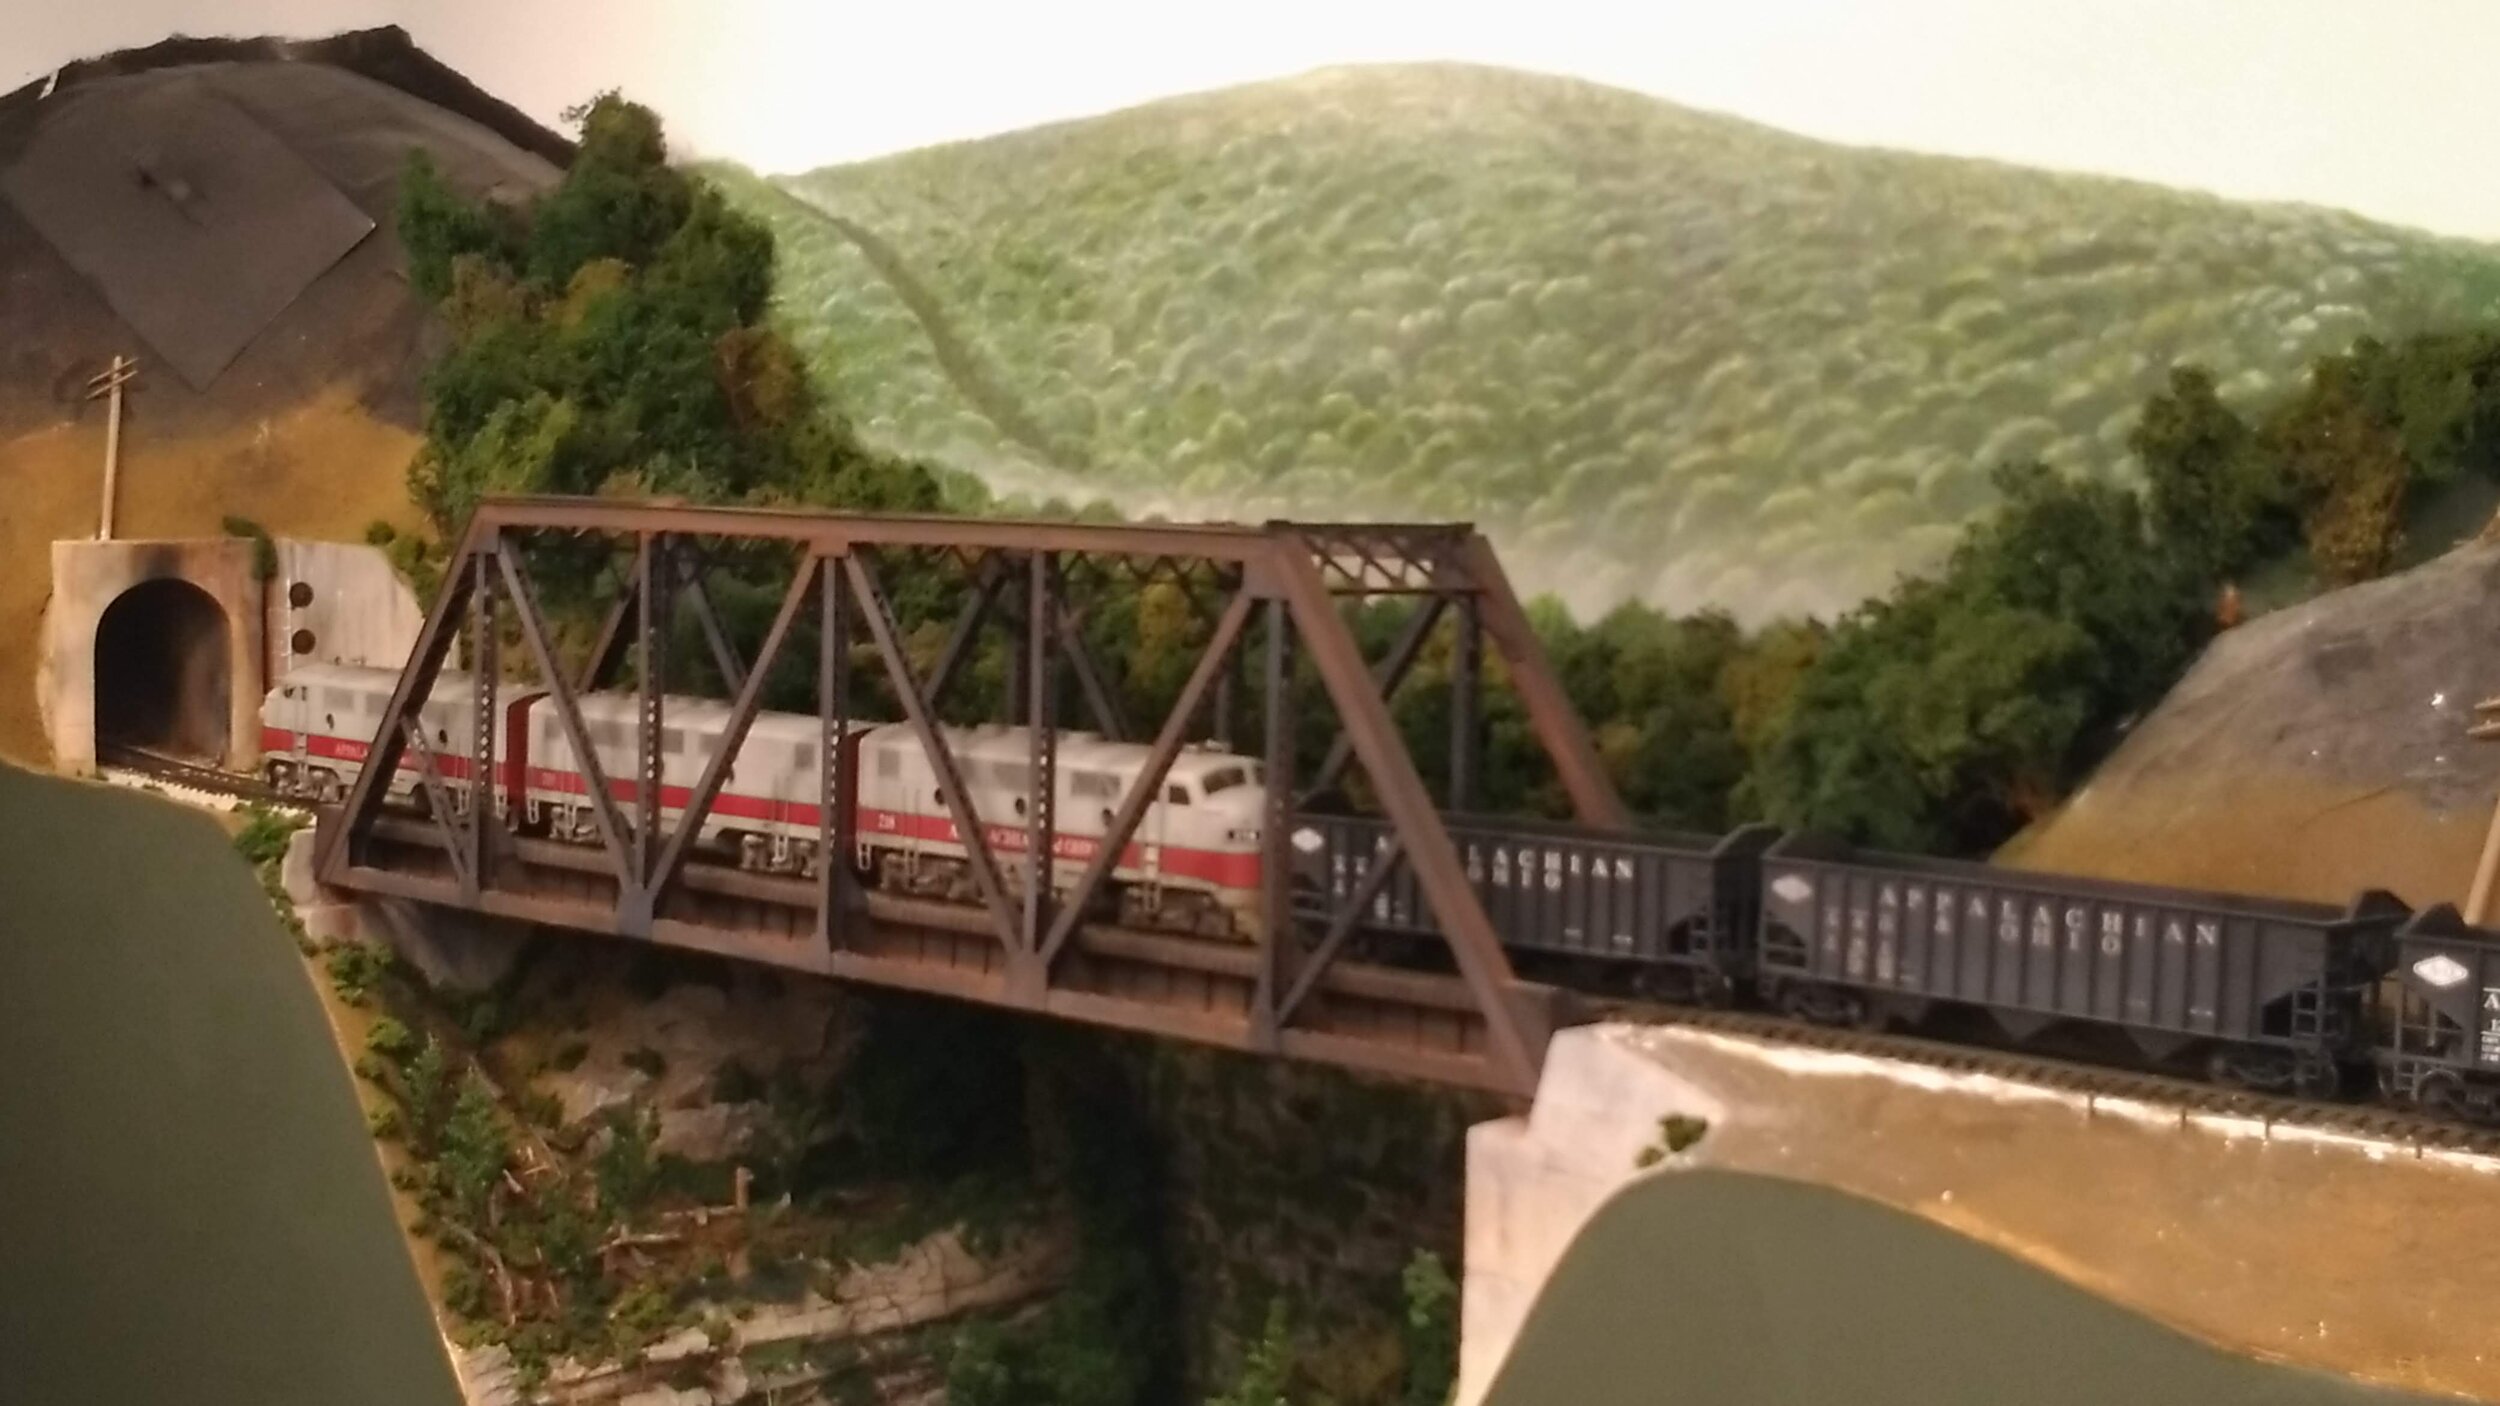
A photo of three F’s crossing the St. George River gorge reveals a pair of techniques.
1) Where a distant valley scene abuts the trees, add a list mist line before planting the trees.
2) Access to trackage inside the mountain is accomplished by a removeable cardstock lid, complete with lid handle. Trees glued to lid leave it still removable, but hidden.
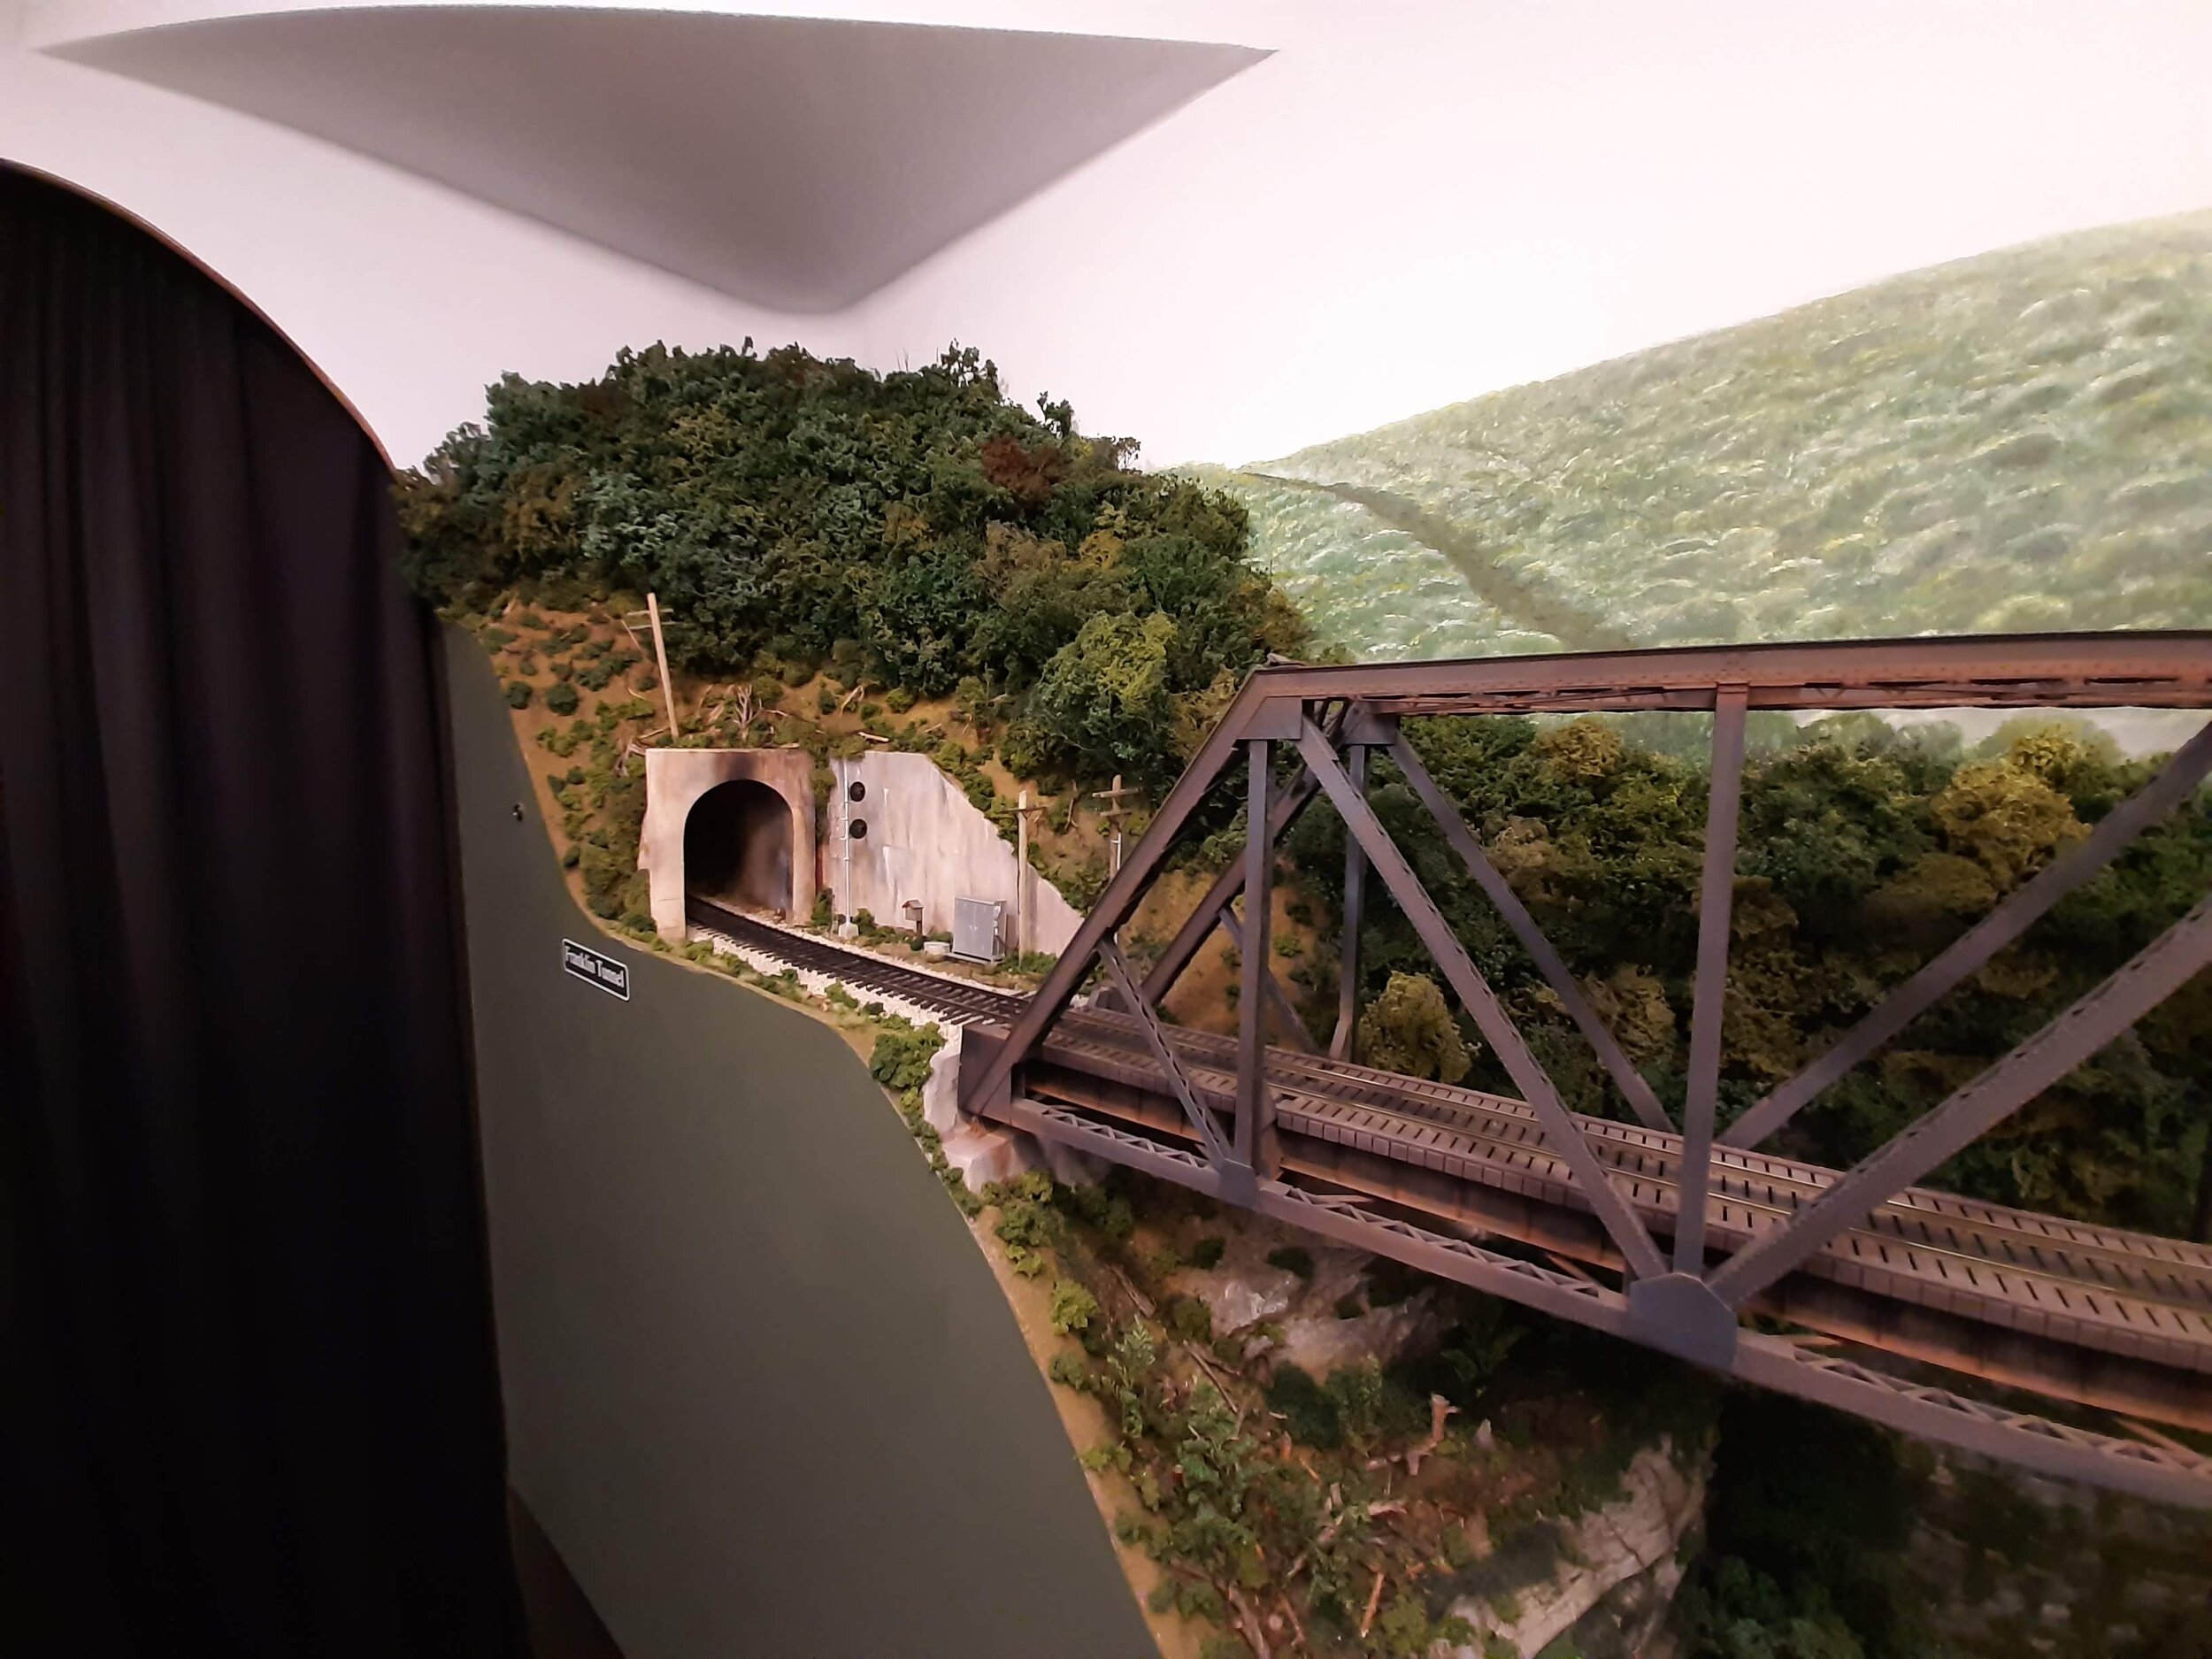
The hidden access hatch, now covered by trees.
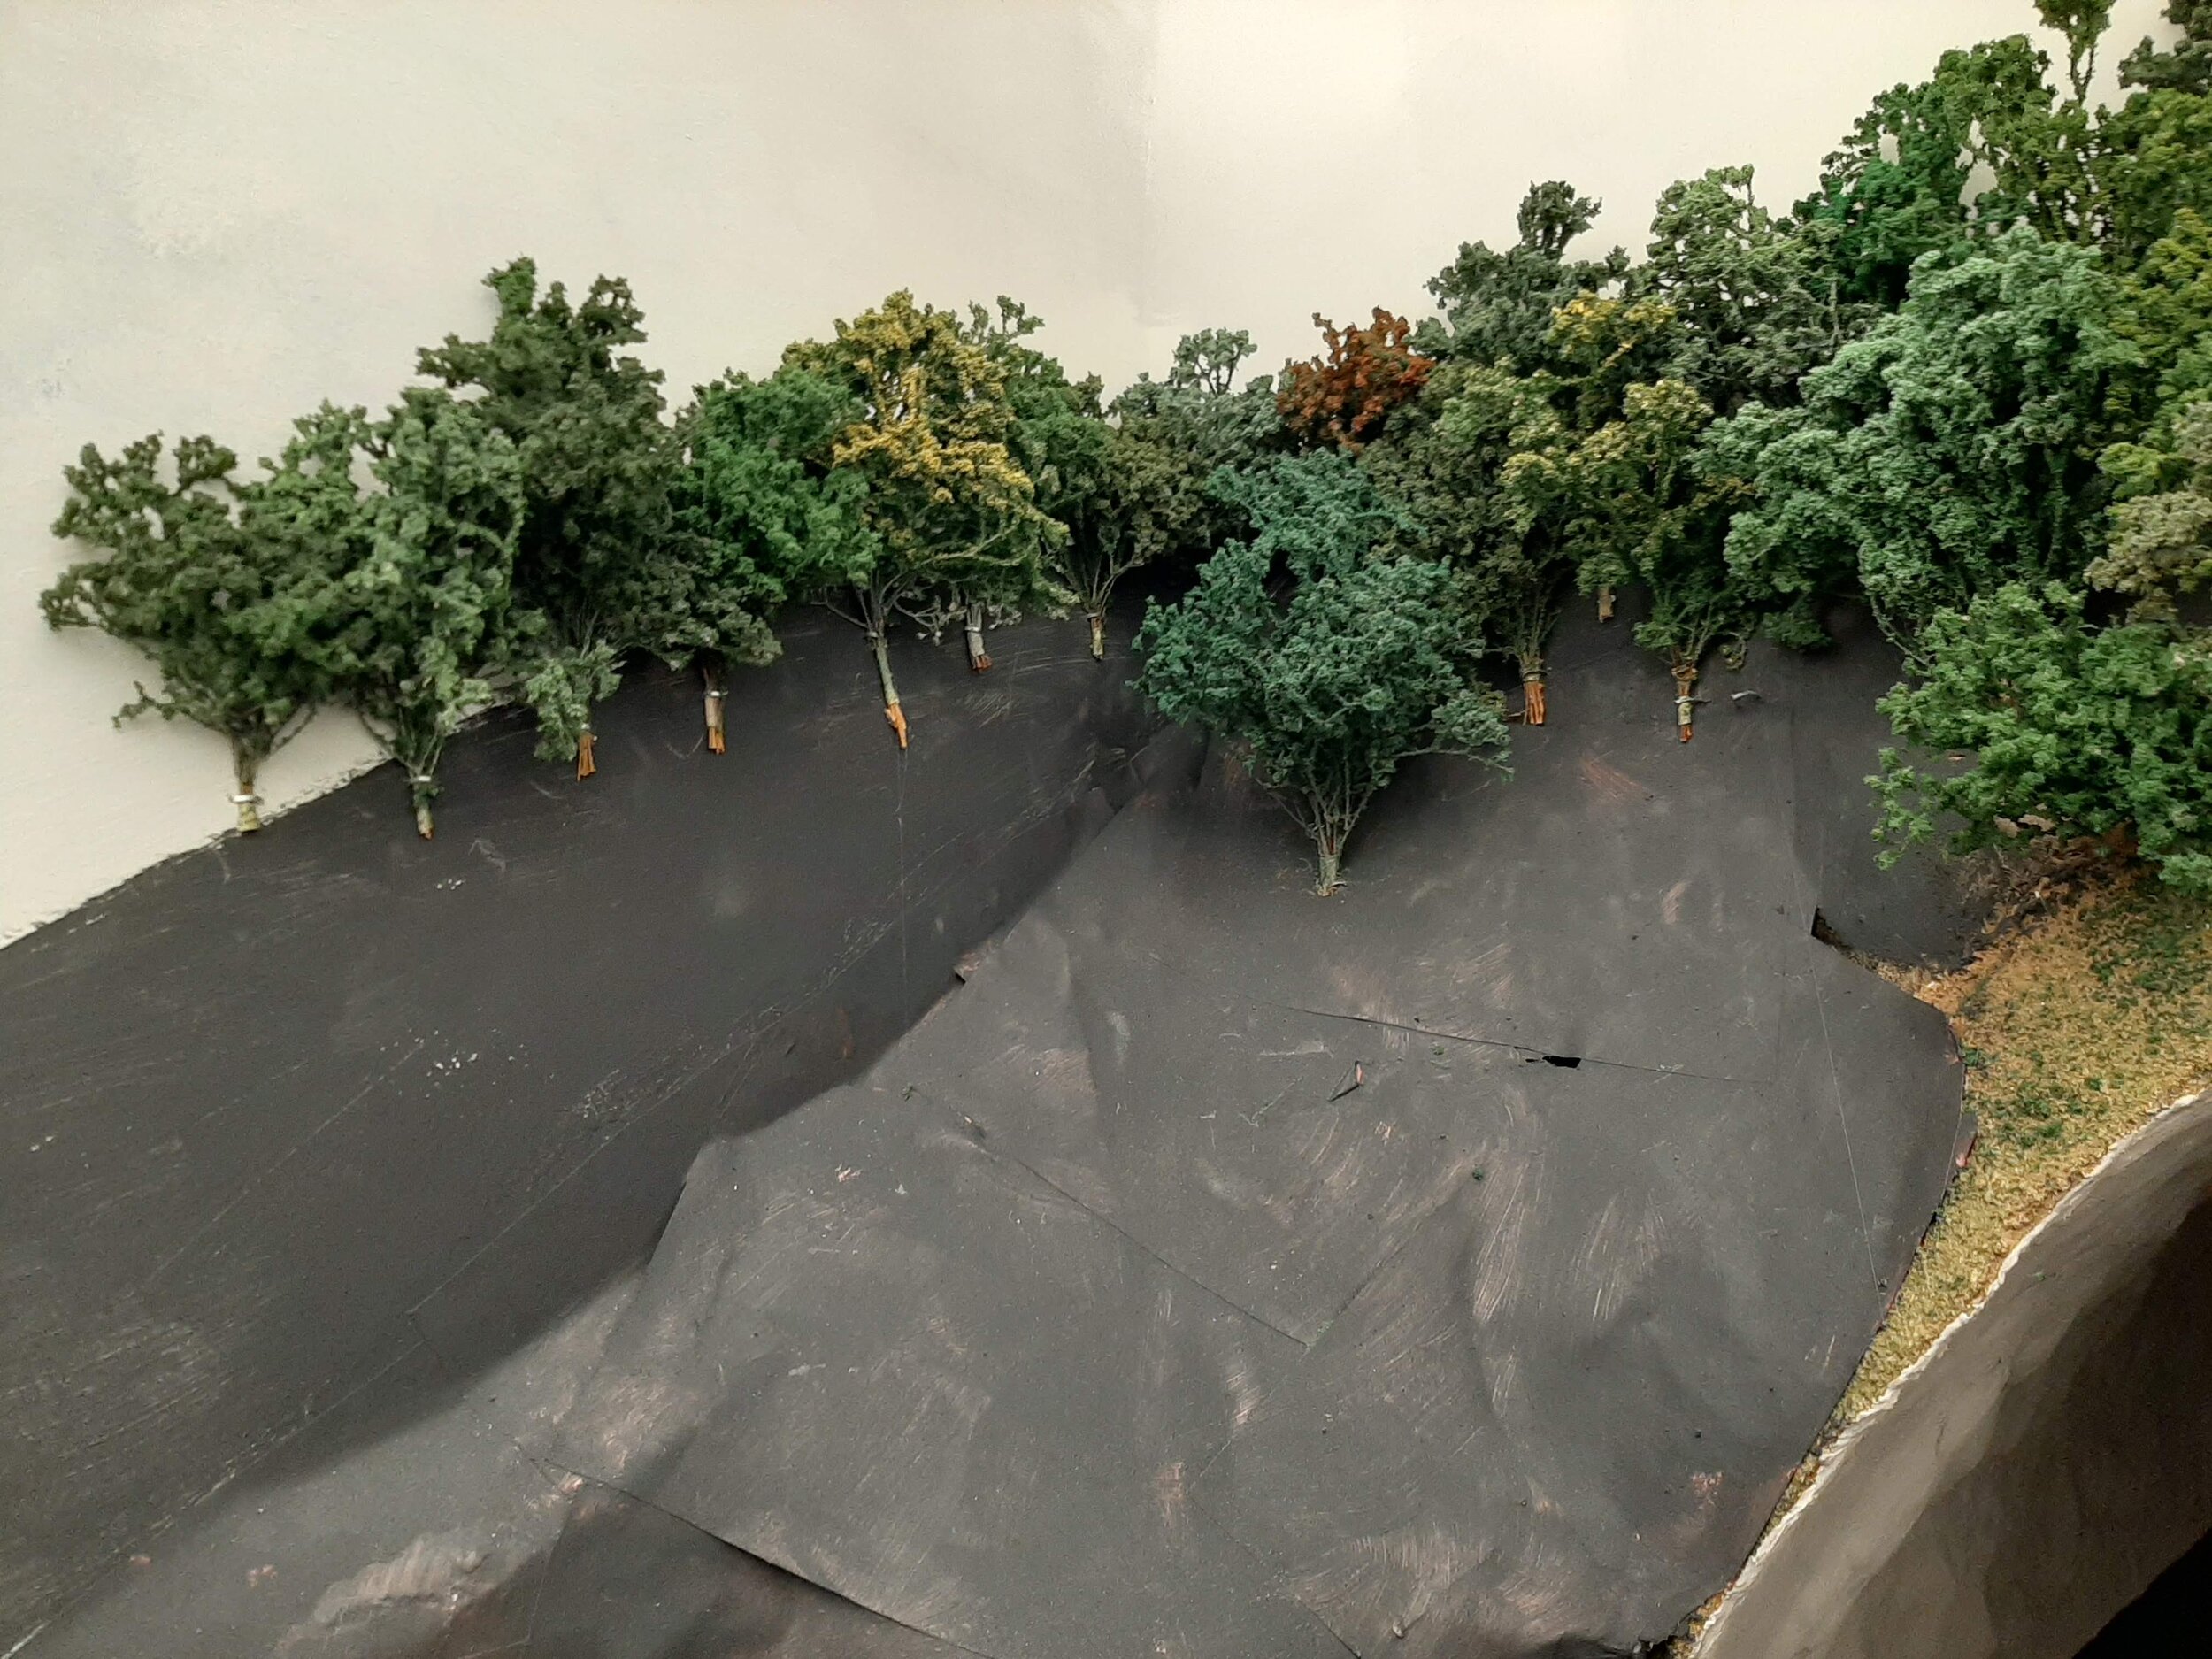
Trees are being “panted” by stapling them to the backdrop/wall. The black paint extends well above the actual landform, thus expanding the scene. And planting smaller trees at the ridge line and increasing in tree size as I progress down the hillside adds to the forced perspective.
The tree stems in the upper right are making use of the stems that extend below the masking tape. After a hole is punched in the rosin paper, I separate the stems in half, dip in yellow glue, and plant like they’re a clothes pin- half in the hole, and half outside on the surface of the rosin paper. This trick holds the trees in place upright while the glue dries.
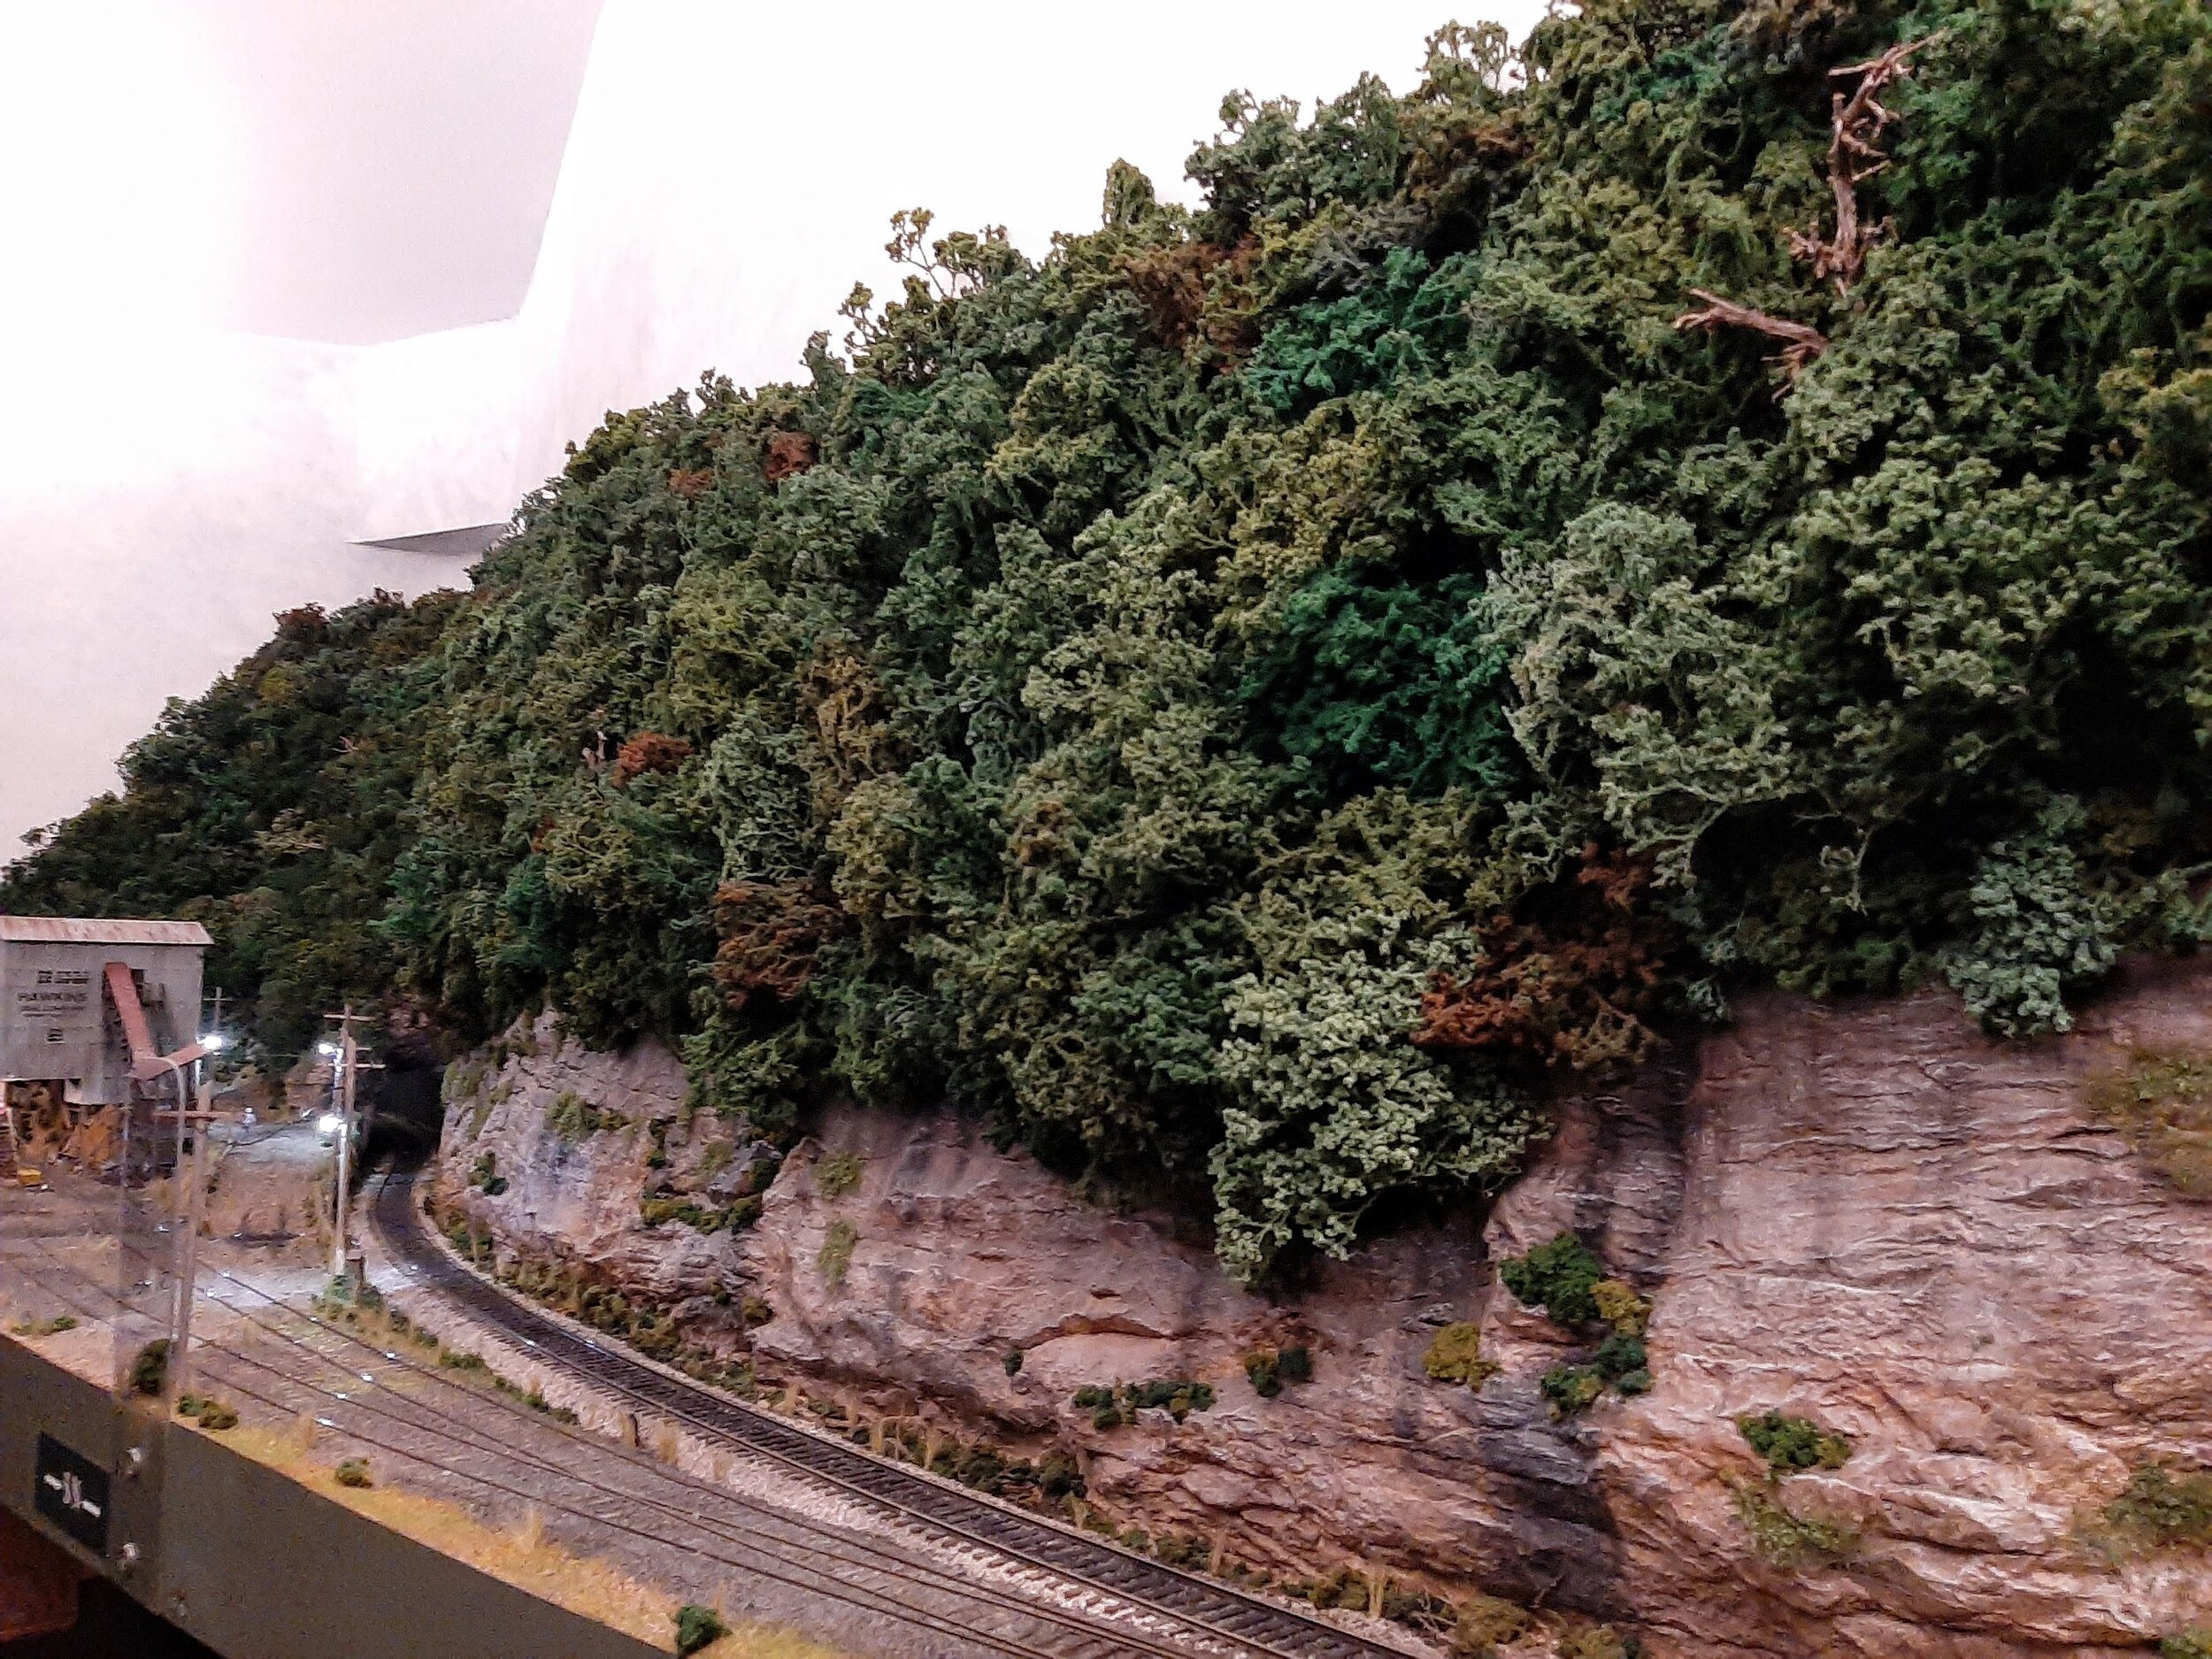
Here’s a look at the completed hillside above the Hawkins Loadout in middle Kayford. Smaller trees are planted/shoved-in under the lower larger trees to create a dense vegetation look. Hot glue to the tree stalk works well here.
An occasional dead tree also adds interest. Once finished, I use a piece of cardstock to protect the backdrop and rocks from overspray and drench the forest from all angles with Superhold hairspray to prevent shedding. You’ll be glad you did this!!
Note how the variation in color/texture separates the trees, catching the eye for just a moment, making the scene seem larger than it is. Also disguised is the absolute shallowness of the actual scene. (see Basic Landform page)
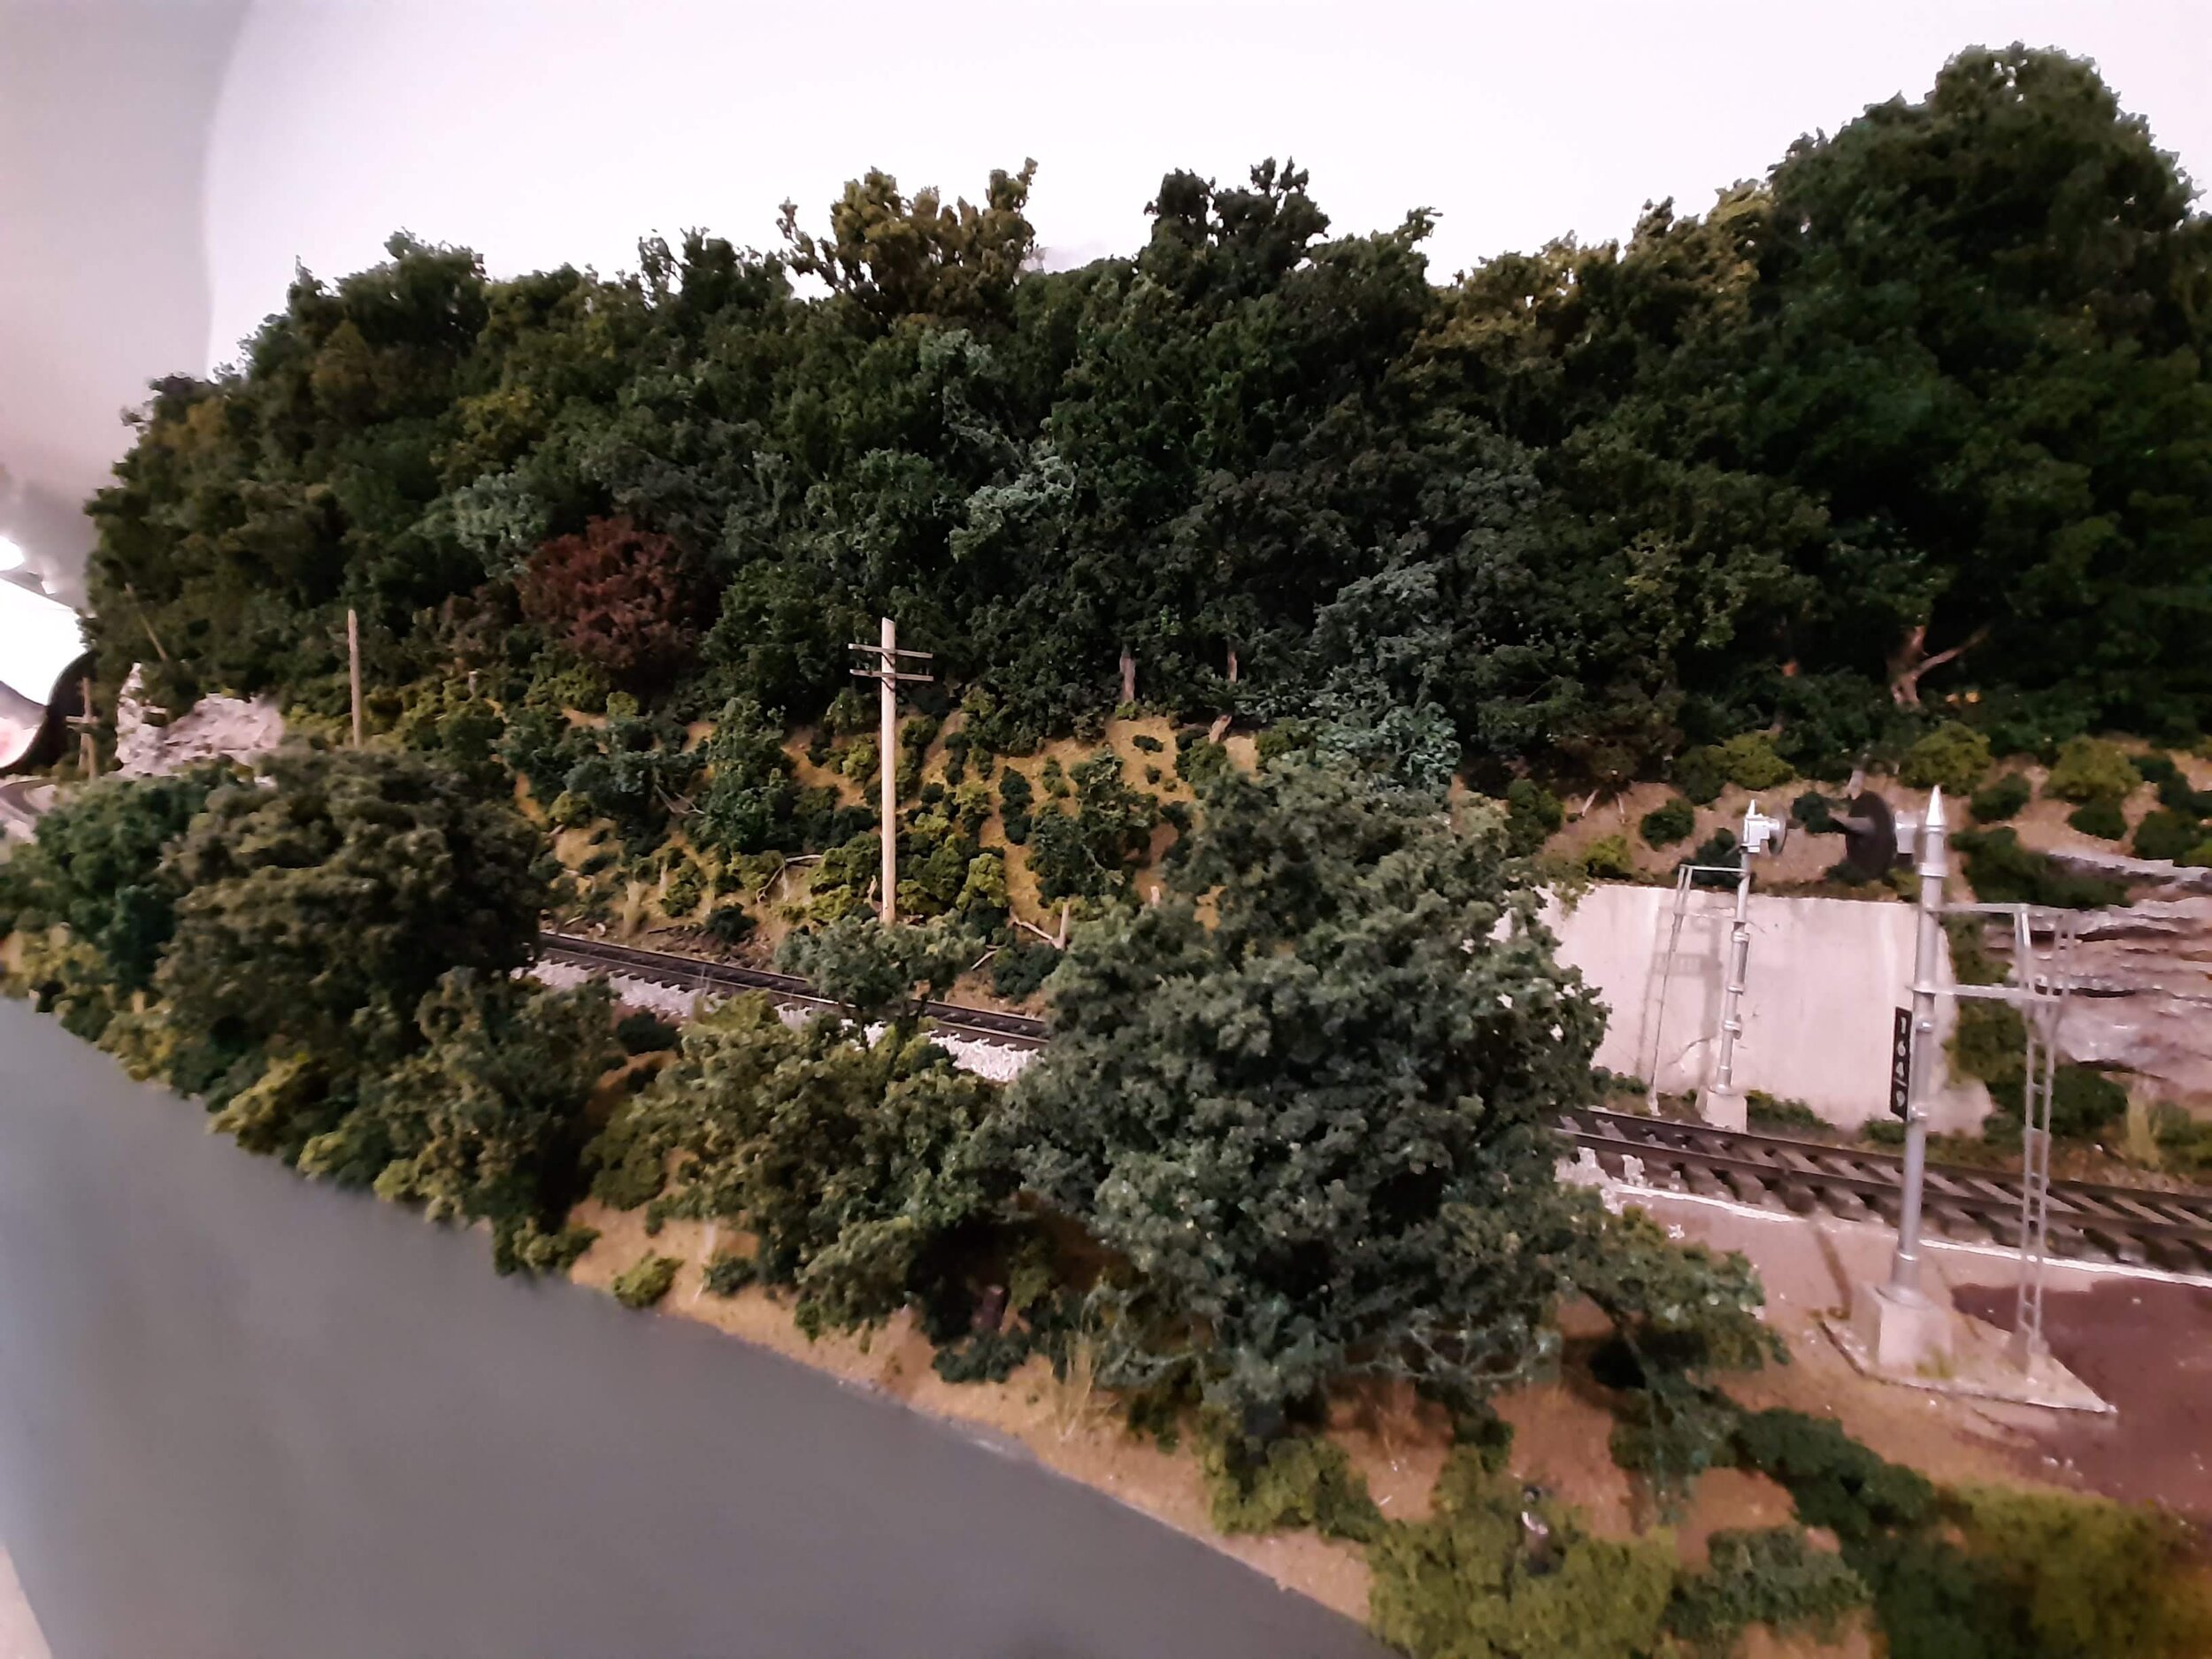
Even though the front edge of the scene is intentionally lowered (see Scenery- Landforms), where width allows, an occasional foreground tree allows trains to play peek-a-boo. Fun for the crew and great for photos.
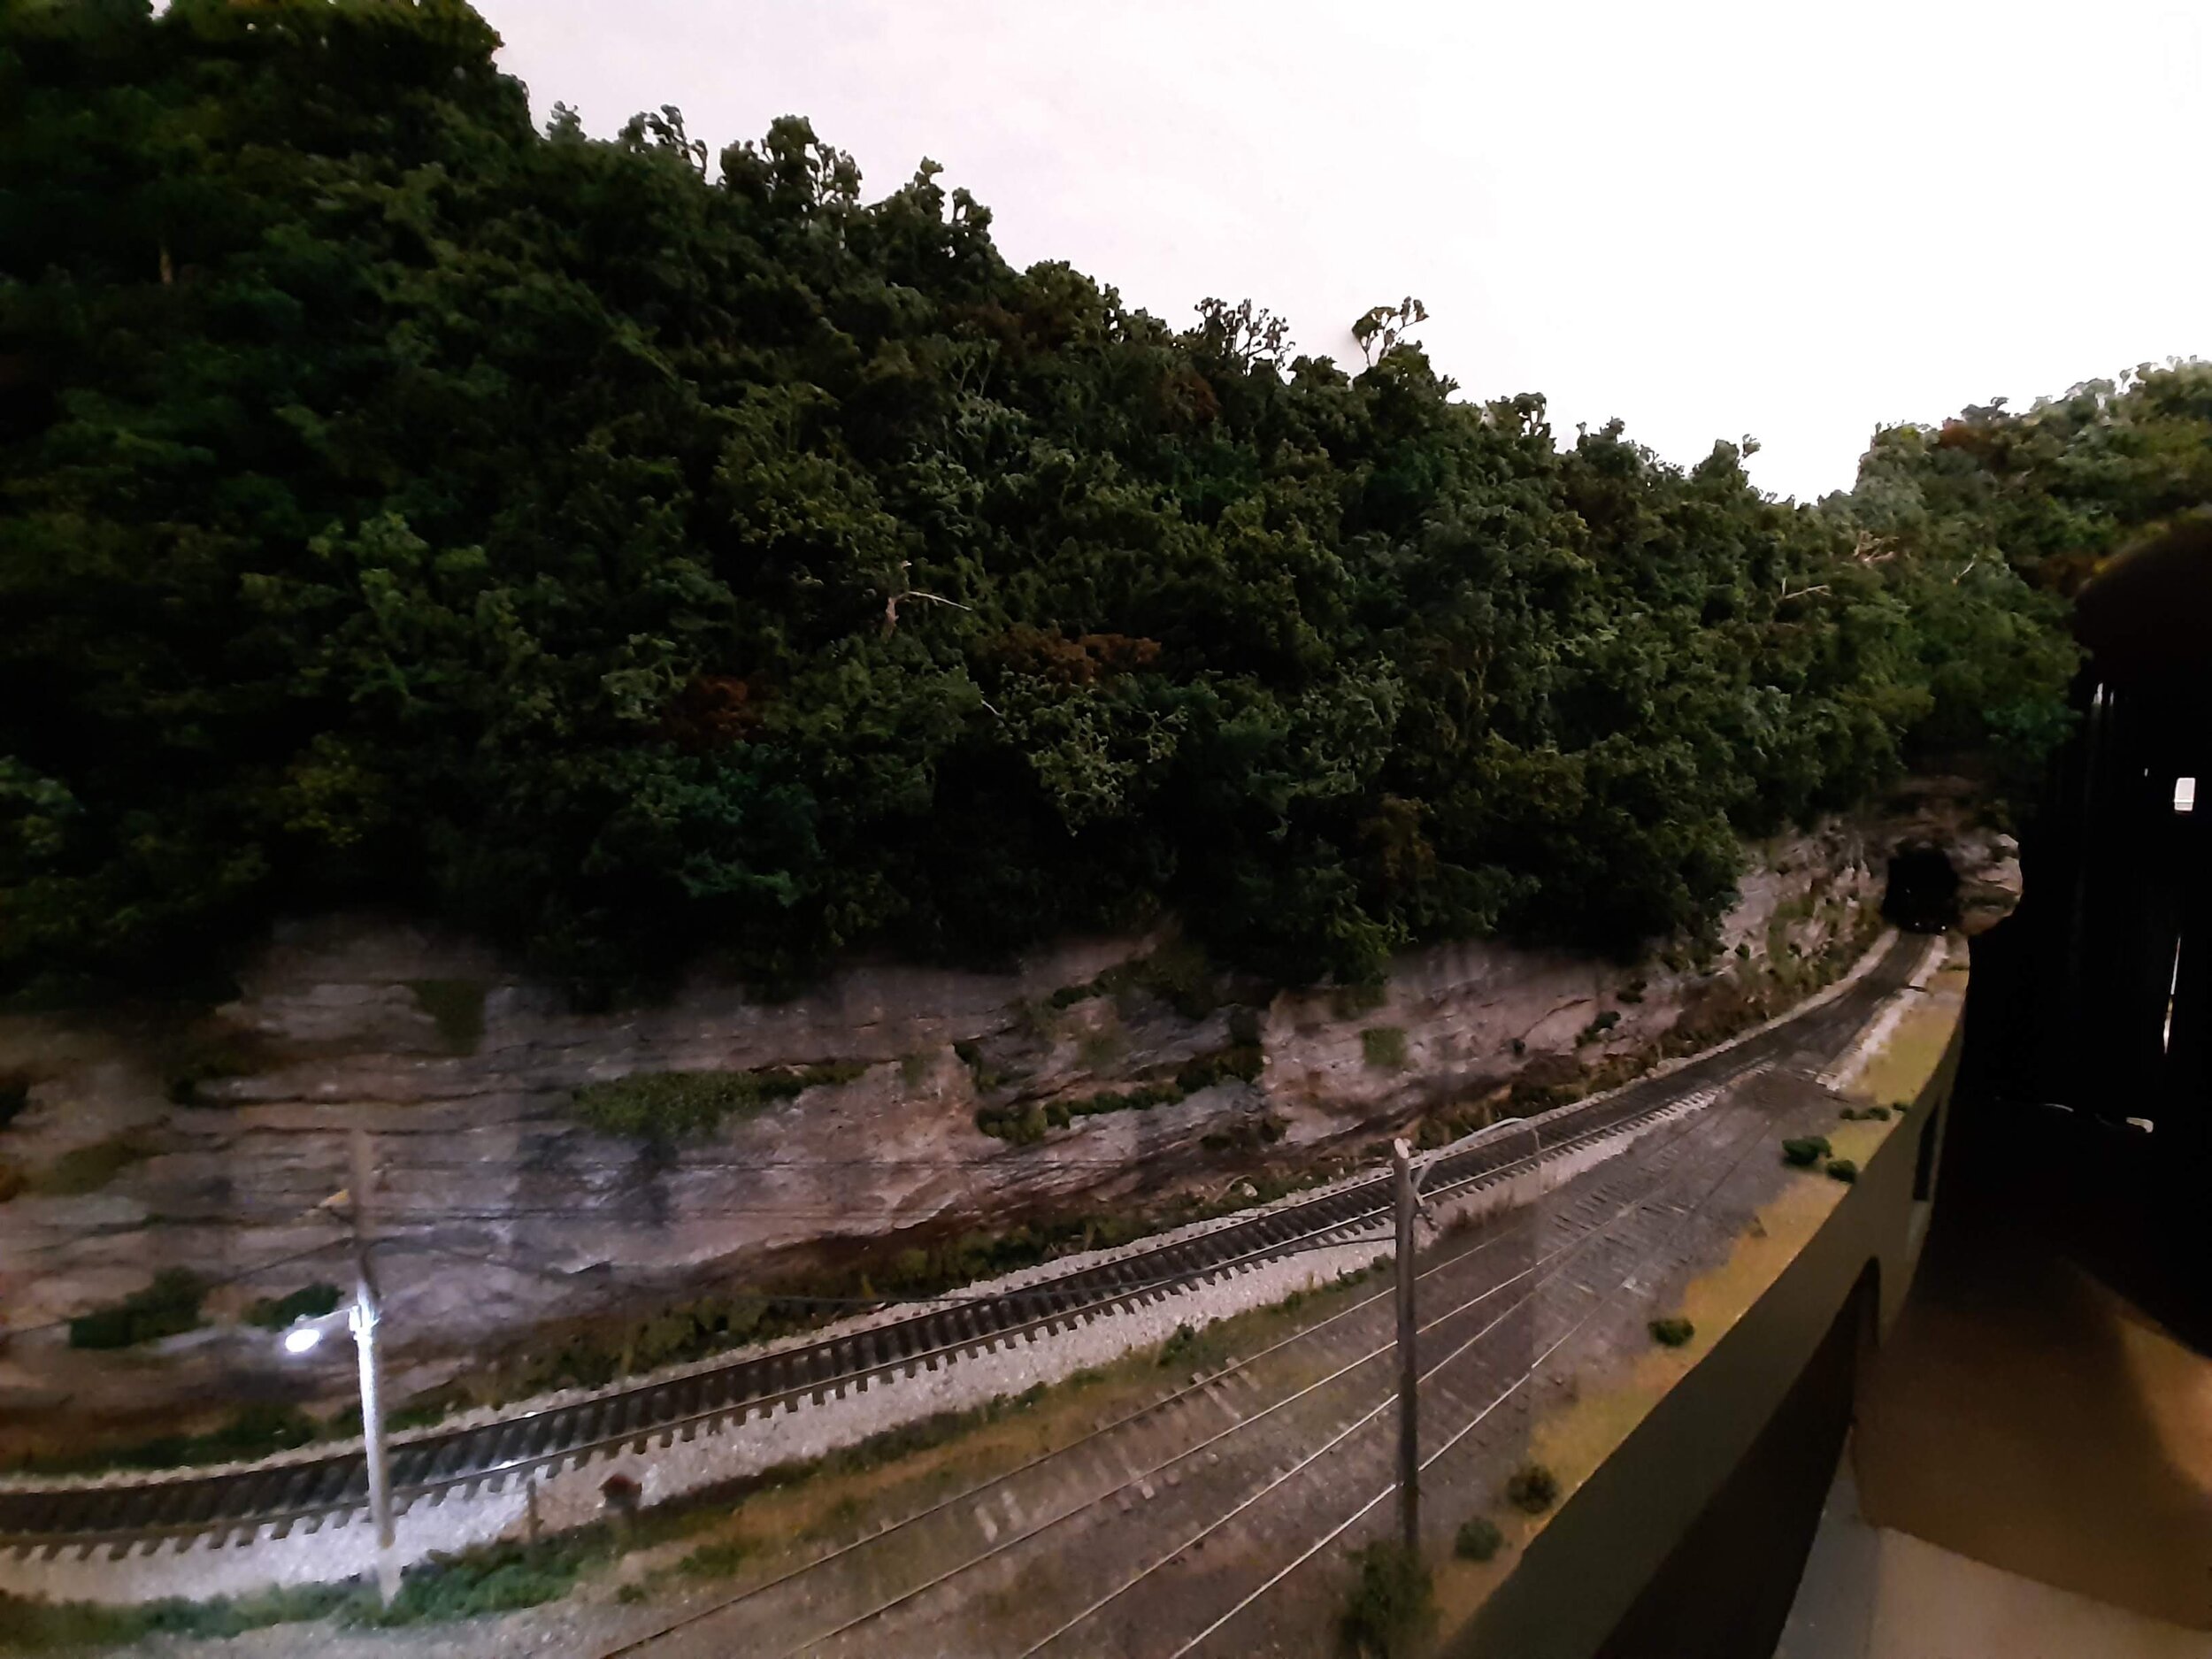
Back at Kayford, the virtually non-existent horizontal space from track to wall is now disguised by rock face and hillside- literally created out of thin air. Compare to Scenery “Landform” pix of the same area.
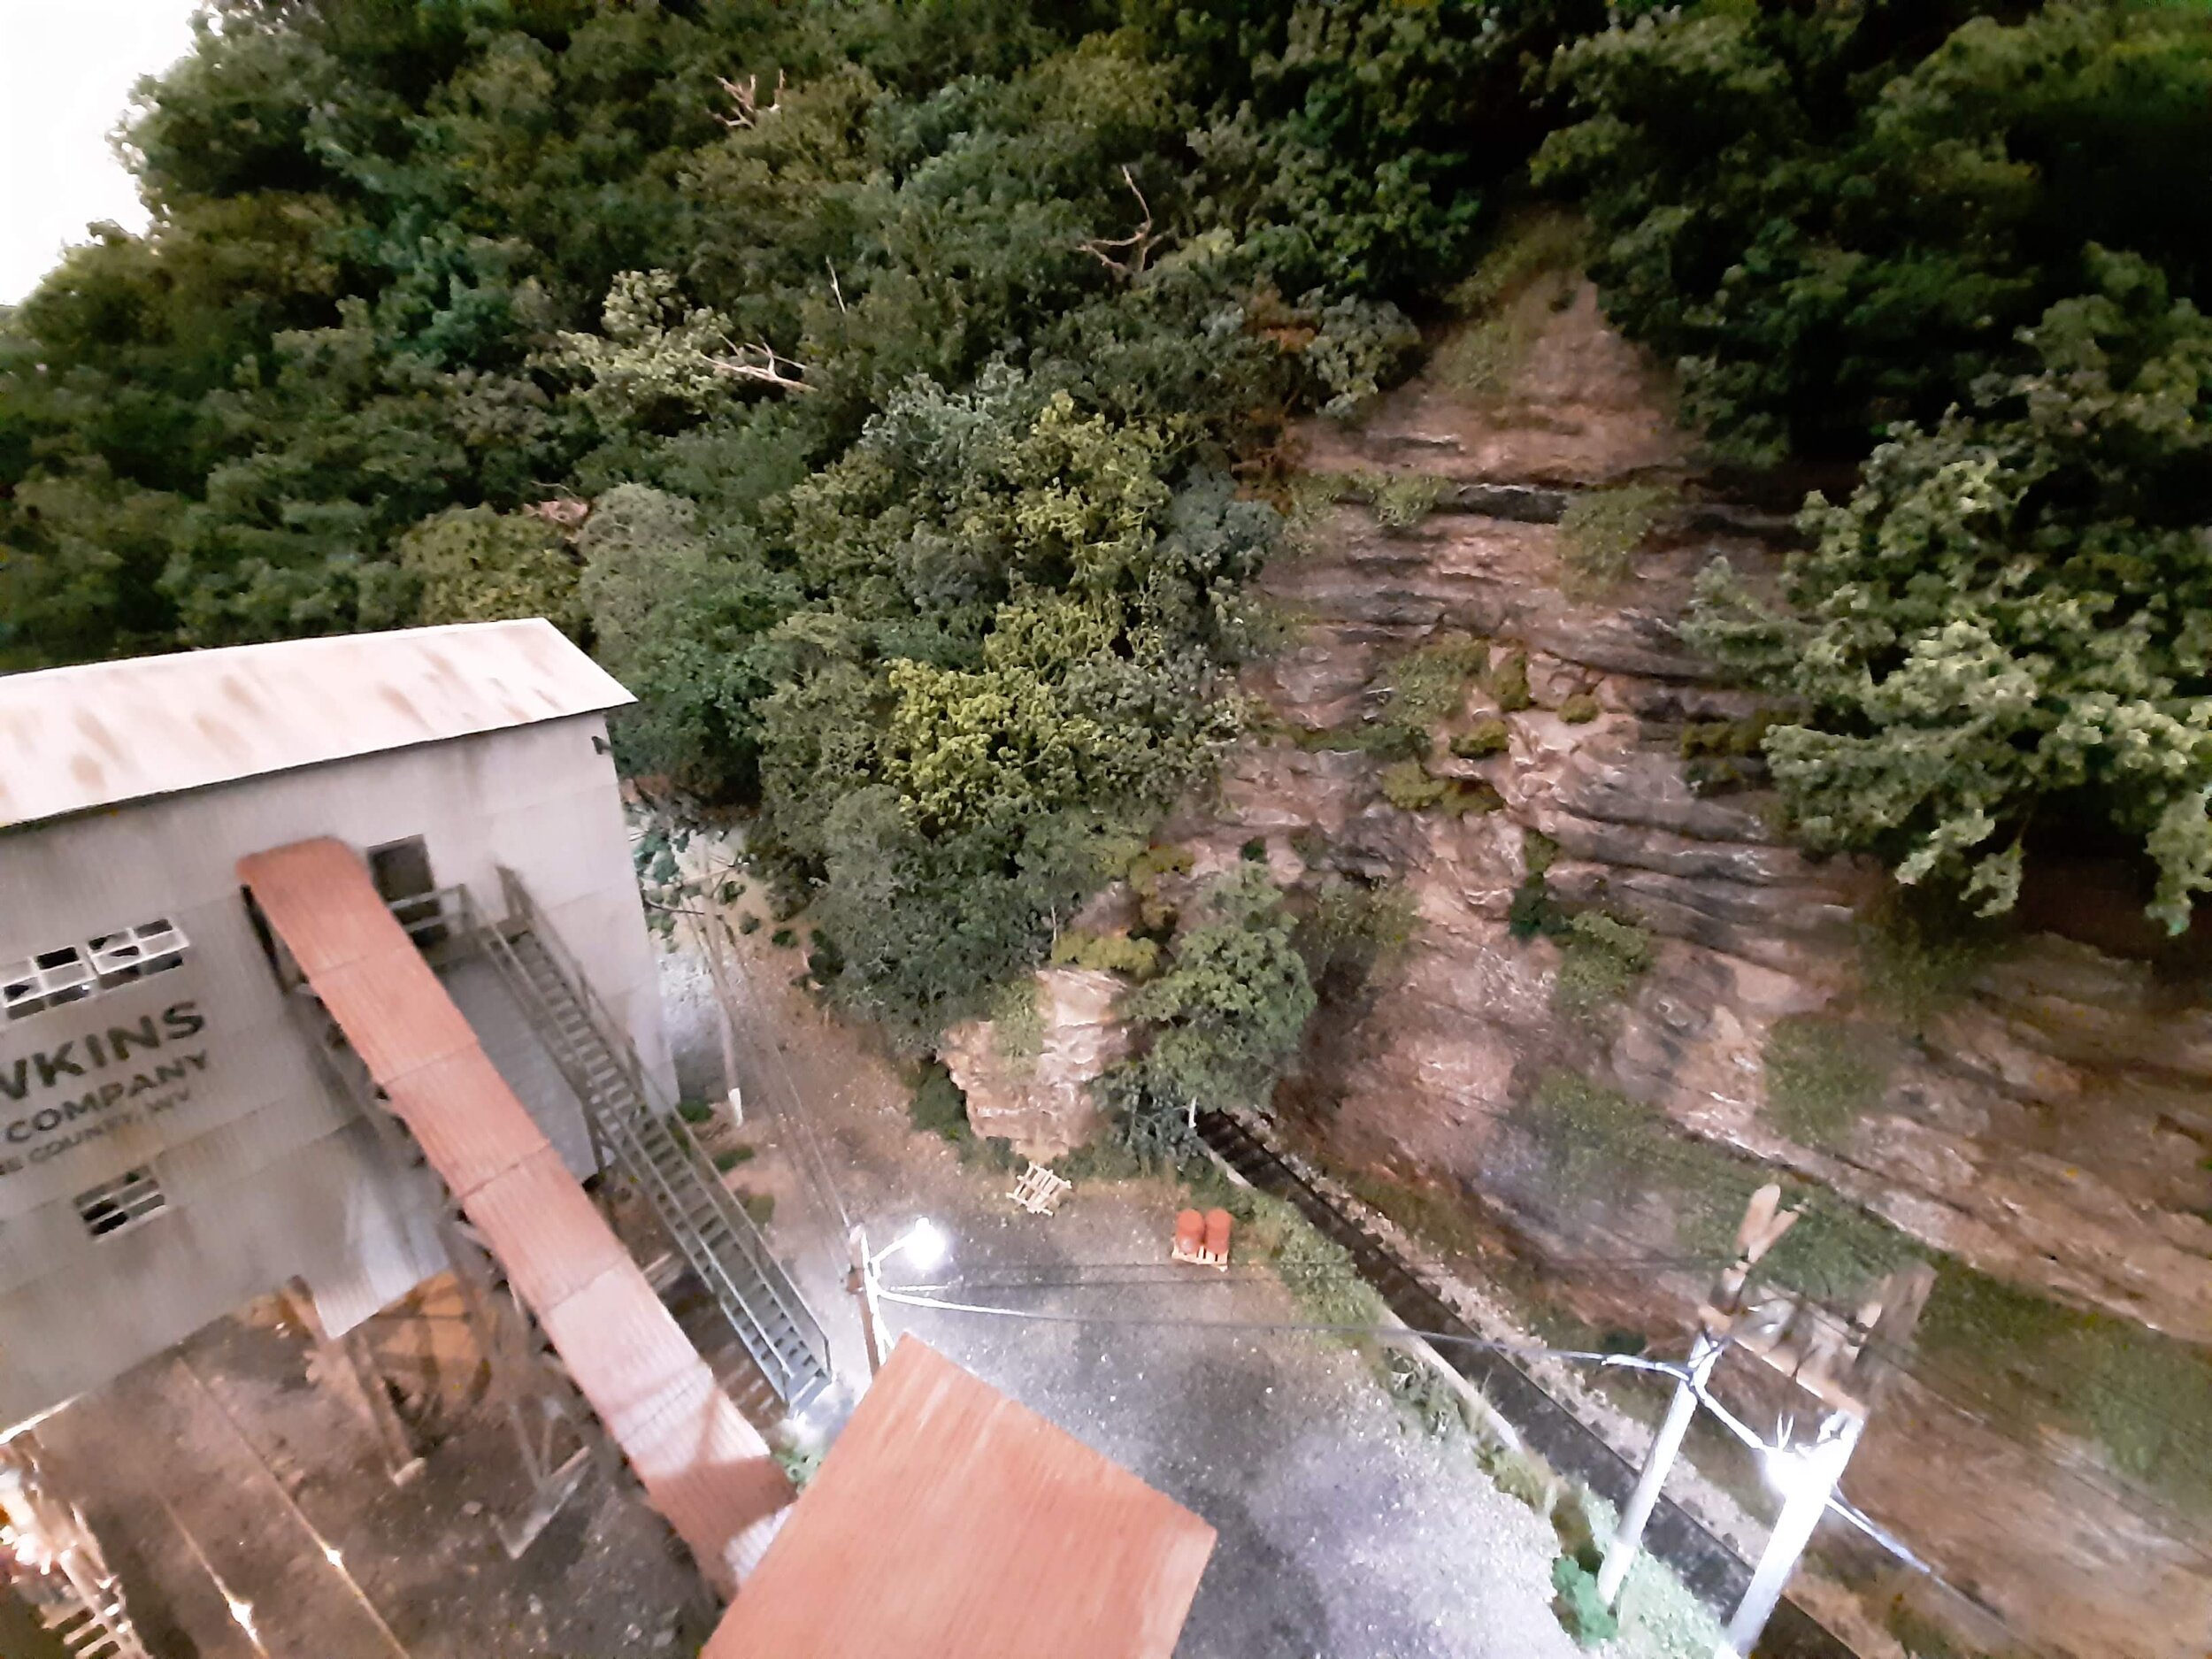
Super Trees? Yes, I use them where I want a more stand alone tree. Can you spot the ones in this photo? They’re directly along the roadway/parking edge.


