General Wiring and Panels
Unlike the wiring on the first A&O, all aspects of electrical work on 2.0 is being designed by crew members (and electrical engineers) Bob Sobol and Vince Griesemer. This is both a blessing to me, and a great benefit to the railroad. Wire gauge with voltage drop calculations, power districts with anticipated current draw, and many electrical devices- commercial and home made comprise the basics of the system.
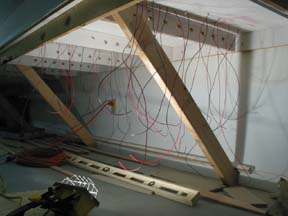
To facilitate easier viewing of the wires from under the layout, the underside of the plywood and framework was painted drywall primer white before construction. Holes were drilled through the crossmembers to support the various power buses. As rail is laid, the appropriate color wire is soldered to the underside of each rail and fed to the underside for later connection.
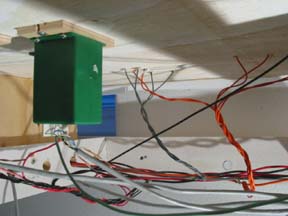
Wires are gathered, braided, and soldered as a group to their bus wire. To ease alignment and mounting of the Tortoise switch motors, vinyl underlayment wood is cut and drilled to allow mounting of the Tortoise. Slots on the edge of the board allow for adjustment of the motor before two screws affix it to the layout.
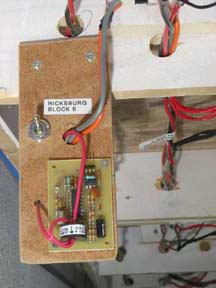
The block detectors are a homemade design by Vince Griesemer and feature a toroid transformer to sense DCC current. Each block has an on/off toggle to fully isolate the block to greatly aid in finding a short on the layout.

Bob Sobol is making six power supplies giving current for 10 amp DCC boosters. It provides +12 and +5 volts DC for panel power and CMRI circuits. And it provides a home for circuit breakers, and a DCC ammeter. These are spread around the layout.

Lighting for 2.0 uses a combination of 4' electronic ballast florescent fixtures with Philips F32T8/TL930 bulbs and 35-50W 12v halogen white floods (fixture MR16). These are mounted on a light valance with the halogens spaced about 6' apart. As the photo shows, the florescents provide the overall lighting, and the low, angled halogens provide the sun shadows.

Having wired the basement for the RR lighting, it was a simple matter to connect the lighting circuits to the ceiling outs. They are switched in the dispatchers office.

Looking at the ribs and grabs on A&O 1337 shows the subtle, yet detail-popping shadows provided by the low-grazing halogen floods. "Let there be (sun)light!"

Lighting the lower deck of Willow Creek was accomplished using "puck lights" aimed upwards, letting the light diffuse and flood the yard below with even light. Aiming the lights downward produced segmented pools of light and dark areas; not good. Up is better.

The puck lights are on a dimmer for softer lighting, and keeping them just below full voltage should insure they never burn out. A blue rope light along the front edge will provide lighting for night ops.
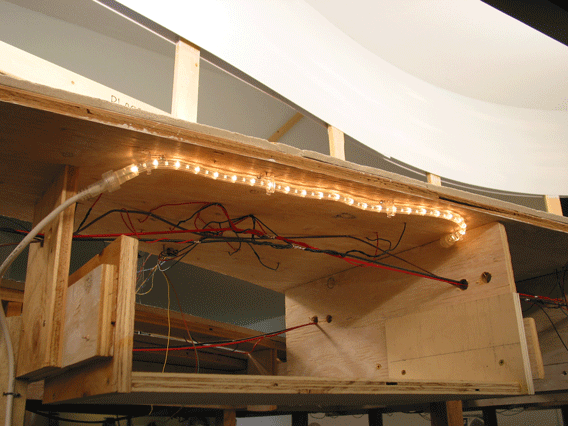
A work station under construction in Fillmore Heights shows the rope lighting installed for night ops at each station. Car cards will thus be readable under the moonlight of blue rope light.
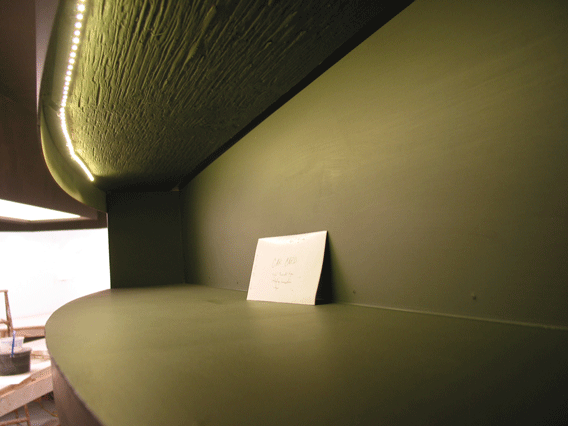
This is the work station between Morrison and Ricksburg showing LED strip lighting for reading car cards and night ops. The LED's are dimable lest they be too bright during night ops.
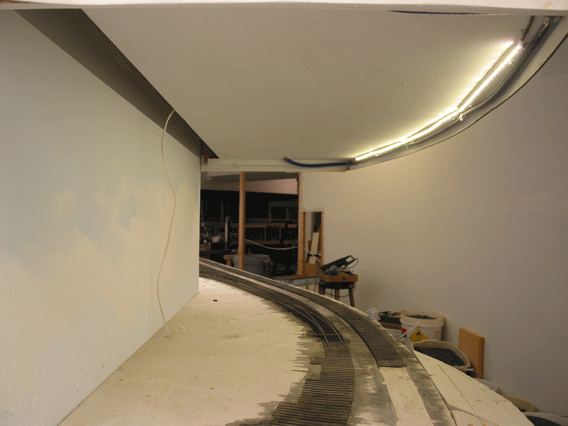
This is the underside of the work station (at the left). It also has LED light strips to illuminate this area during day ops. Notice the blue rope light threaded next to it for night ops.
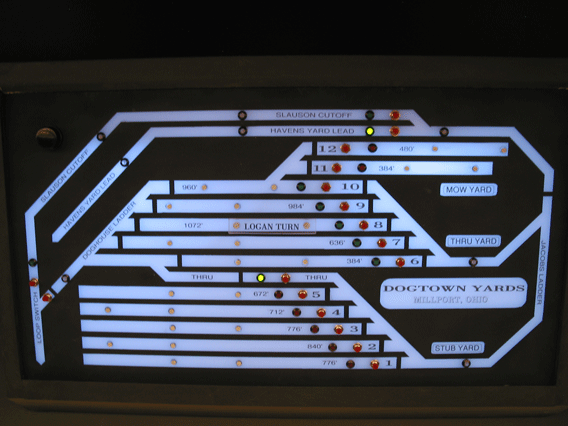
The most massive panel on the layout is the Dogtown Yards which handles the staging under Millport's Havens Yard. I did the artwork and made the panel on translucent acrylic and Bob Sobol did the electronics. The back lighting for night ops makes them easy and a joy to use.
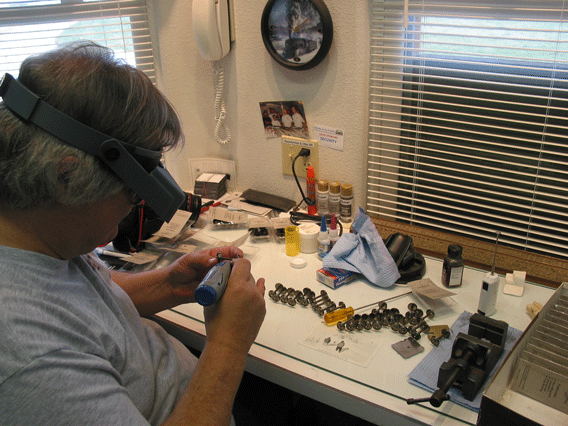
Bob Sobol has spent hours gauge-checking wheelsets and putting on resistors to make the car visible to the track detectors. All a necessary part of the CTC signaling system.
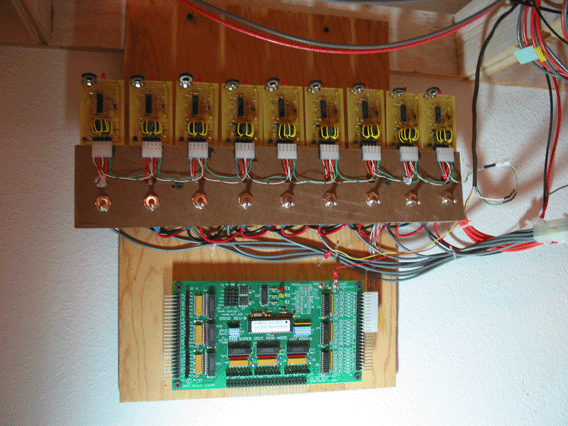
A bank of track-block detectors with Chubb s-mini board servicing the beginning of CTC from Point Vincent to Glen Forge. All blocks have an on/off toggle to help isolate should problems arise.
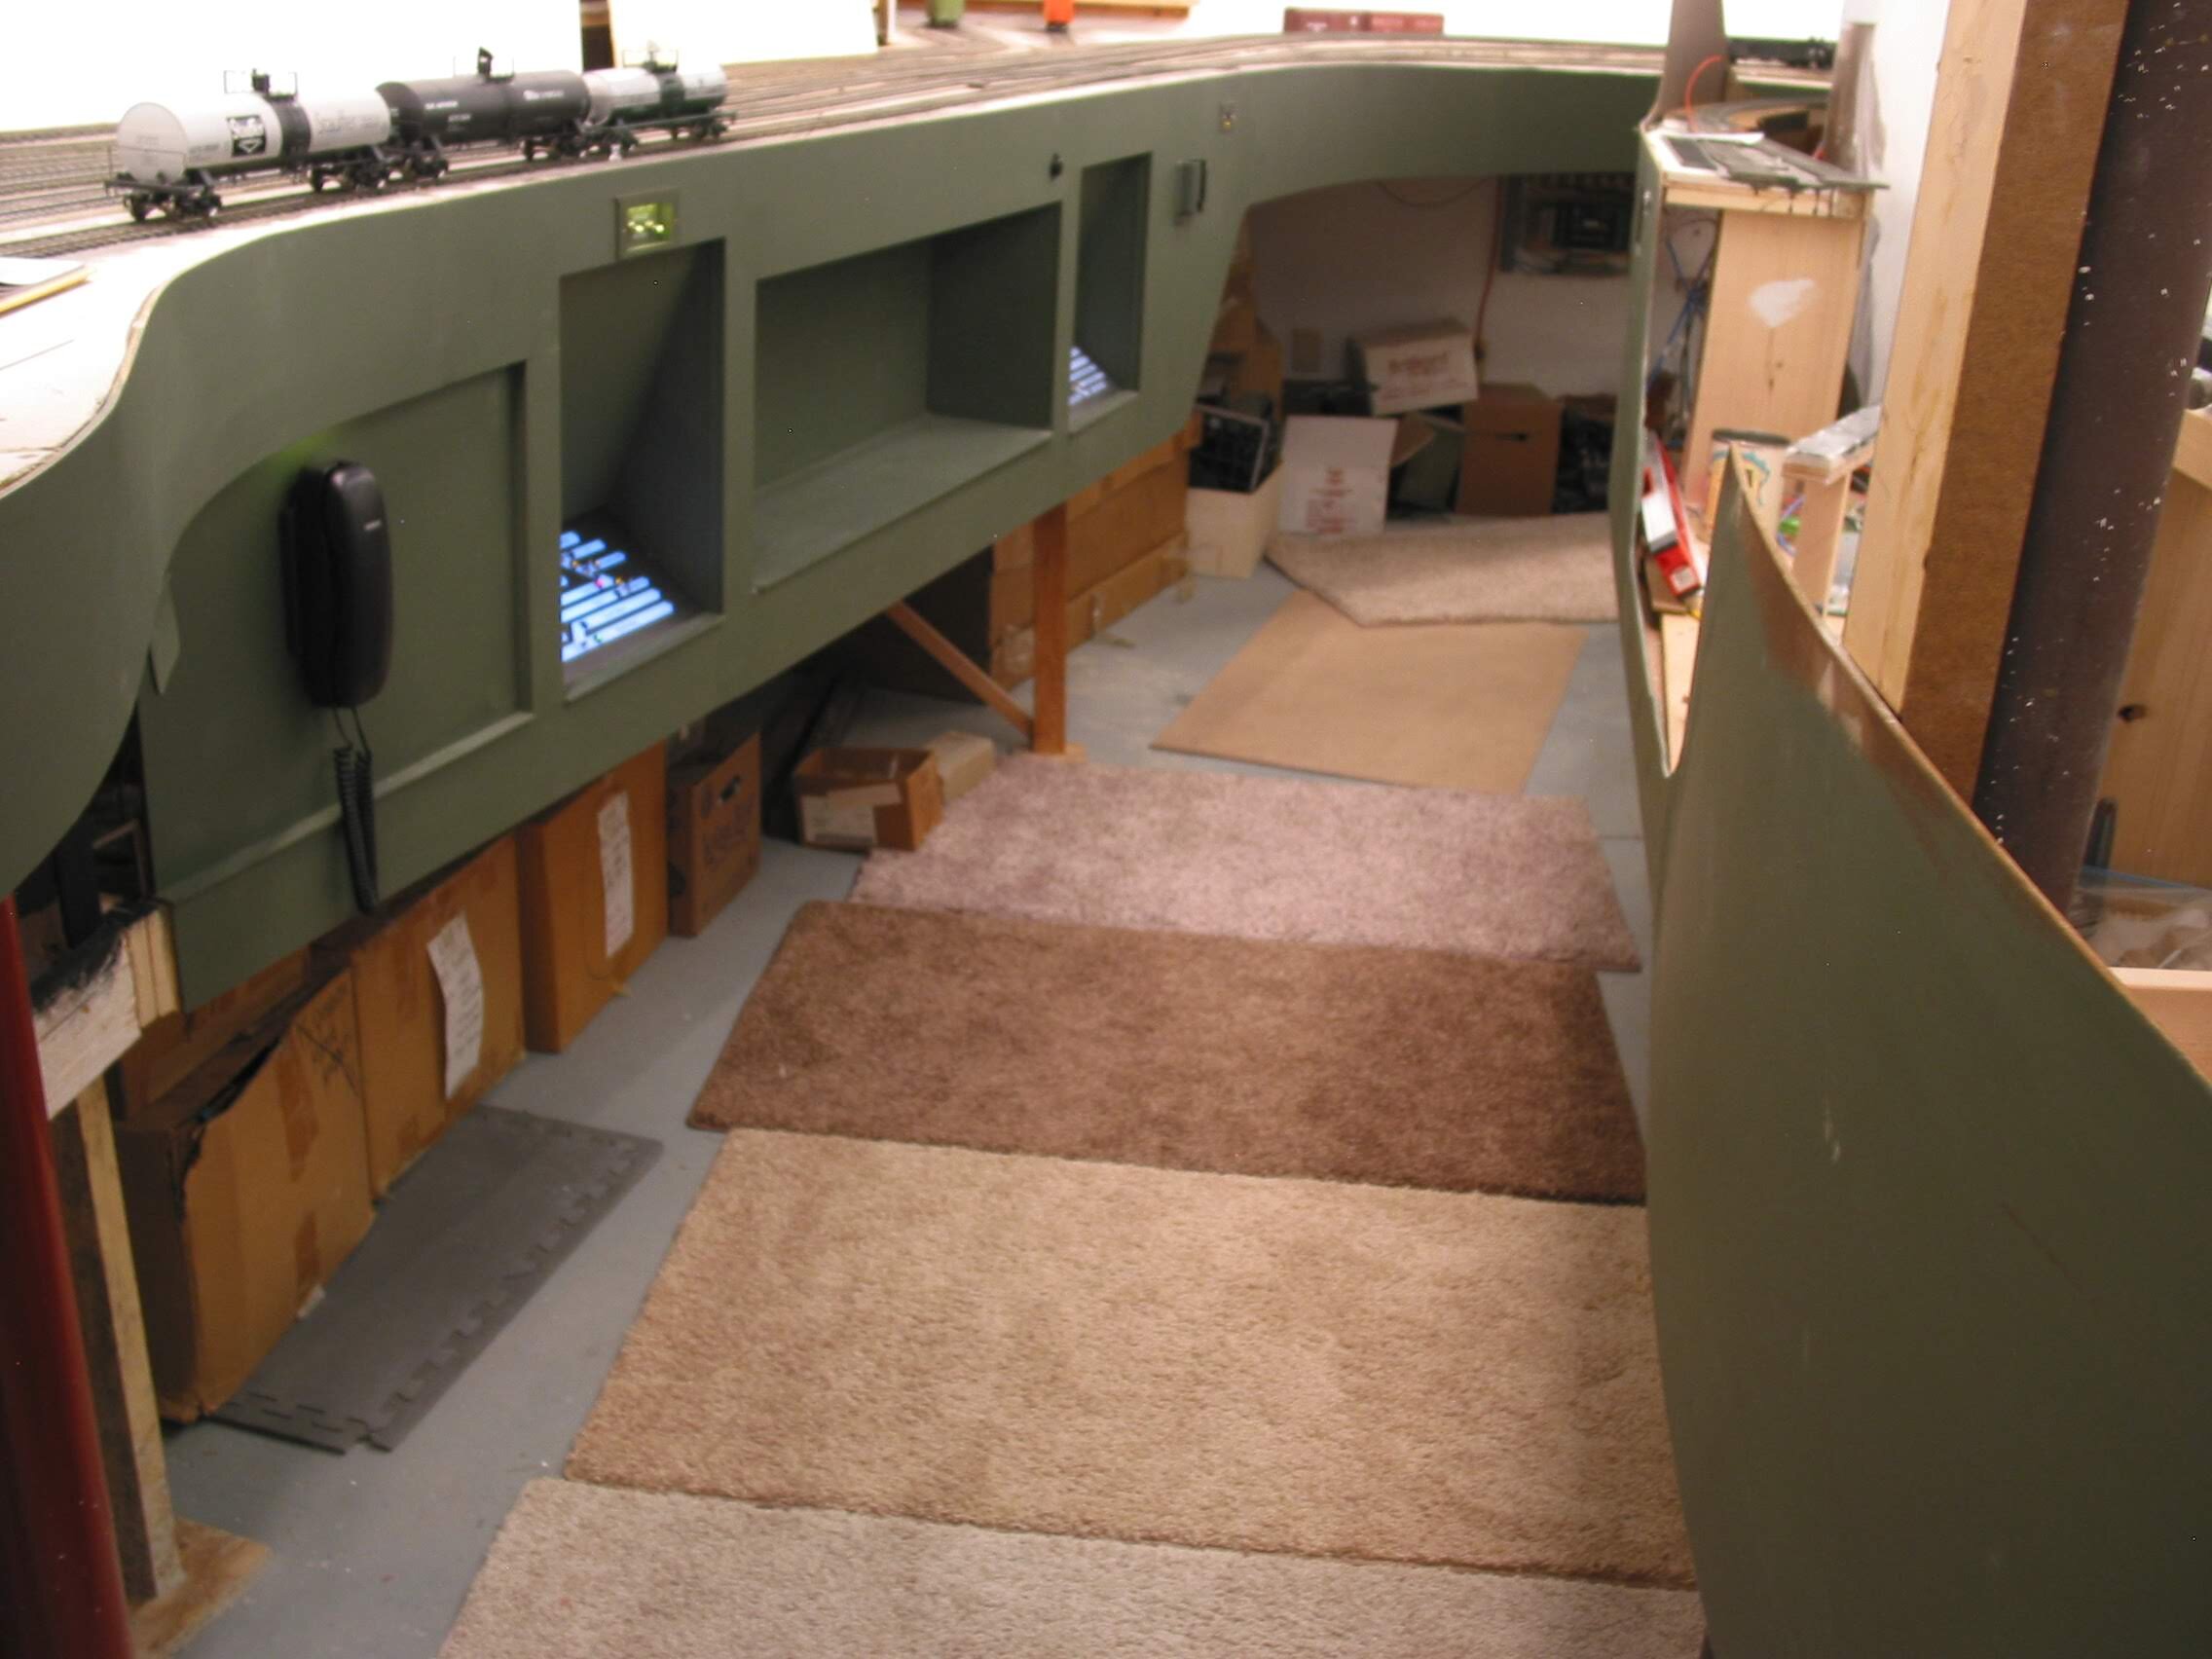
A&O 2.0 aisles are not generous, unfortunately. Therefore considerable effort was expended in keeping them free of protruding control and shelves. This photo of the International Paper Mill aisle shows a clean passage way, yet with recessed control panels, telephone, foldout paperwork horizontal space, and a cubbie for car cards and soft drink.
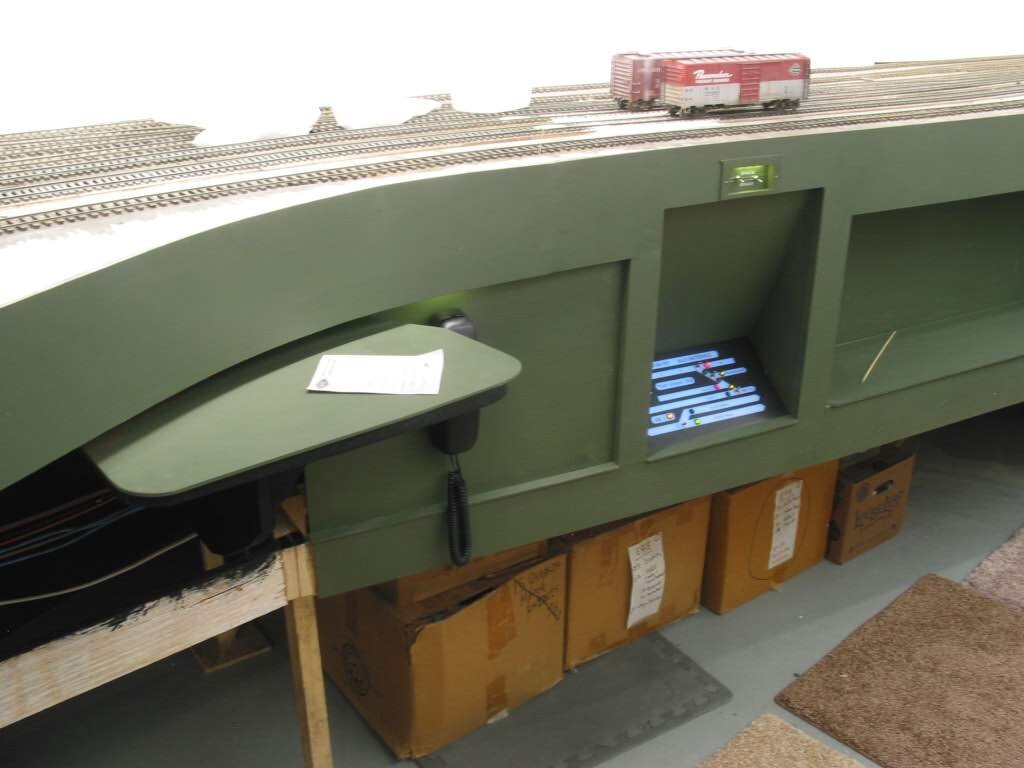
The foldout shelf is accomplished by a door hinge.
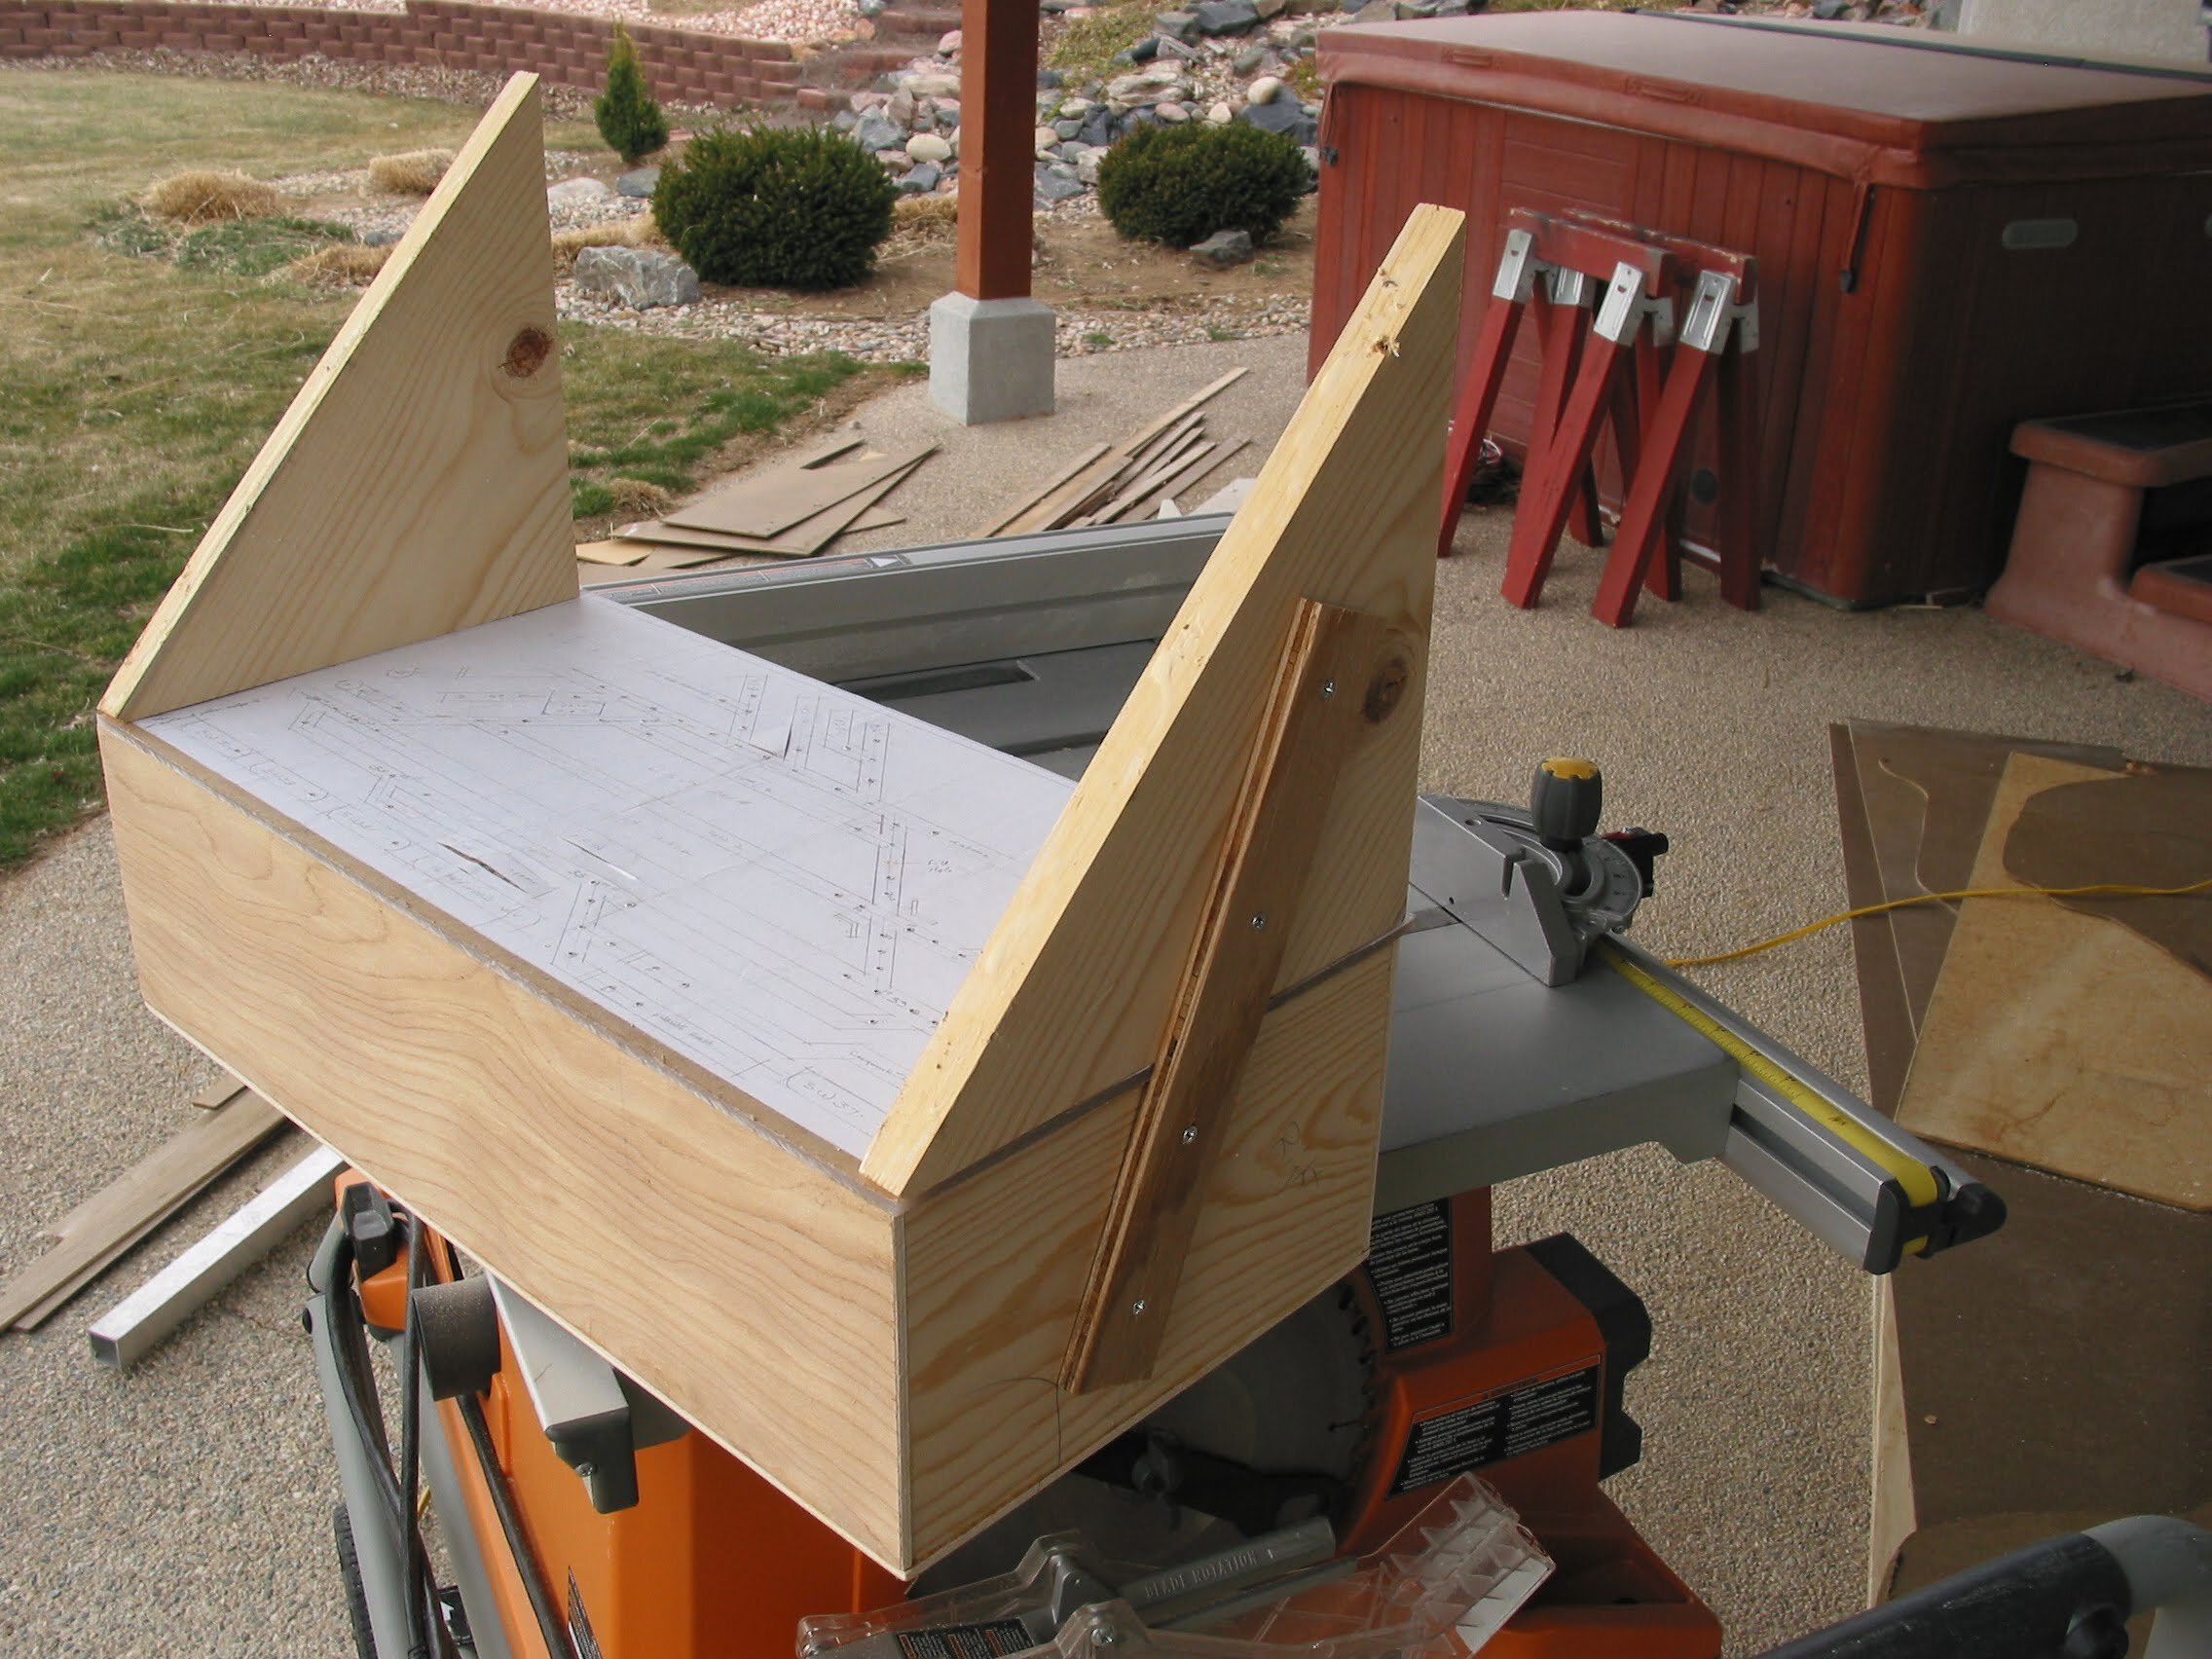
Building triangular mounting brackets for the panels. Depending upon aisle width, layout fascia height and thus viewing angle, the brackets varied greatly and all were one-of-a-kind. This photo shows the cut panel plex attached to reflector box with the connecting strips in place.
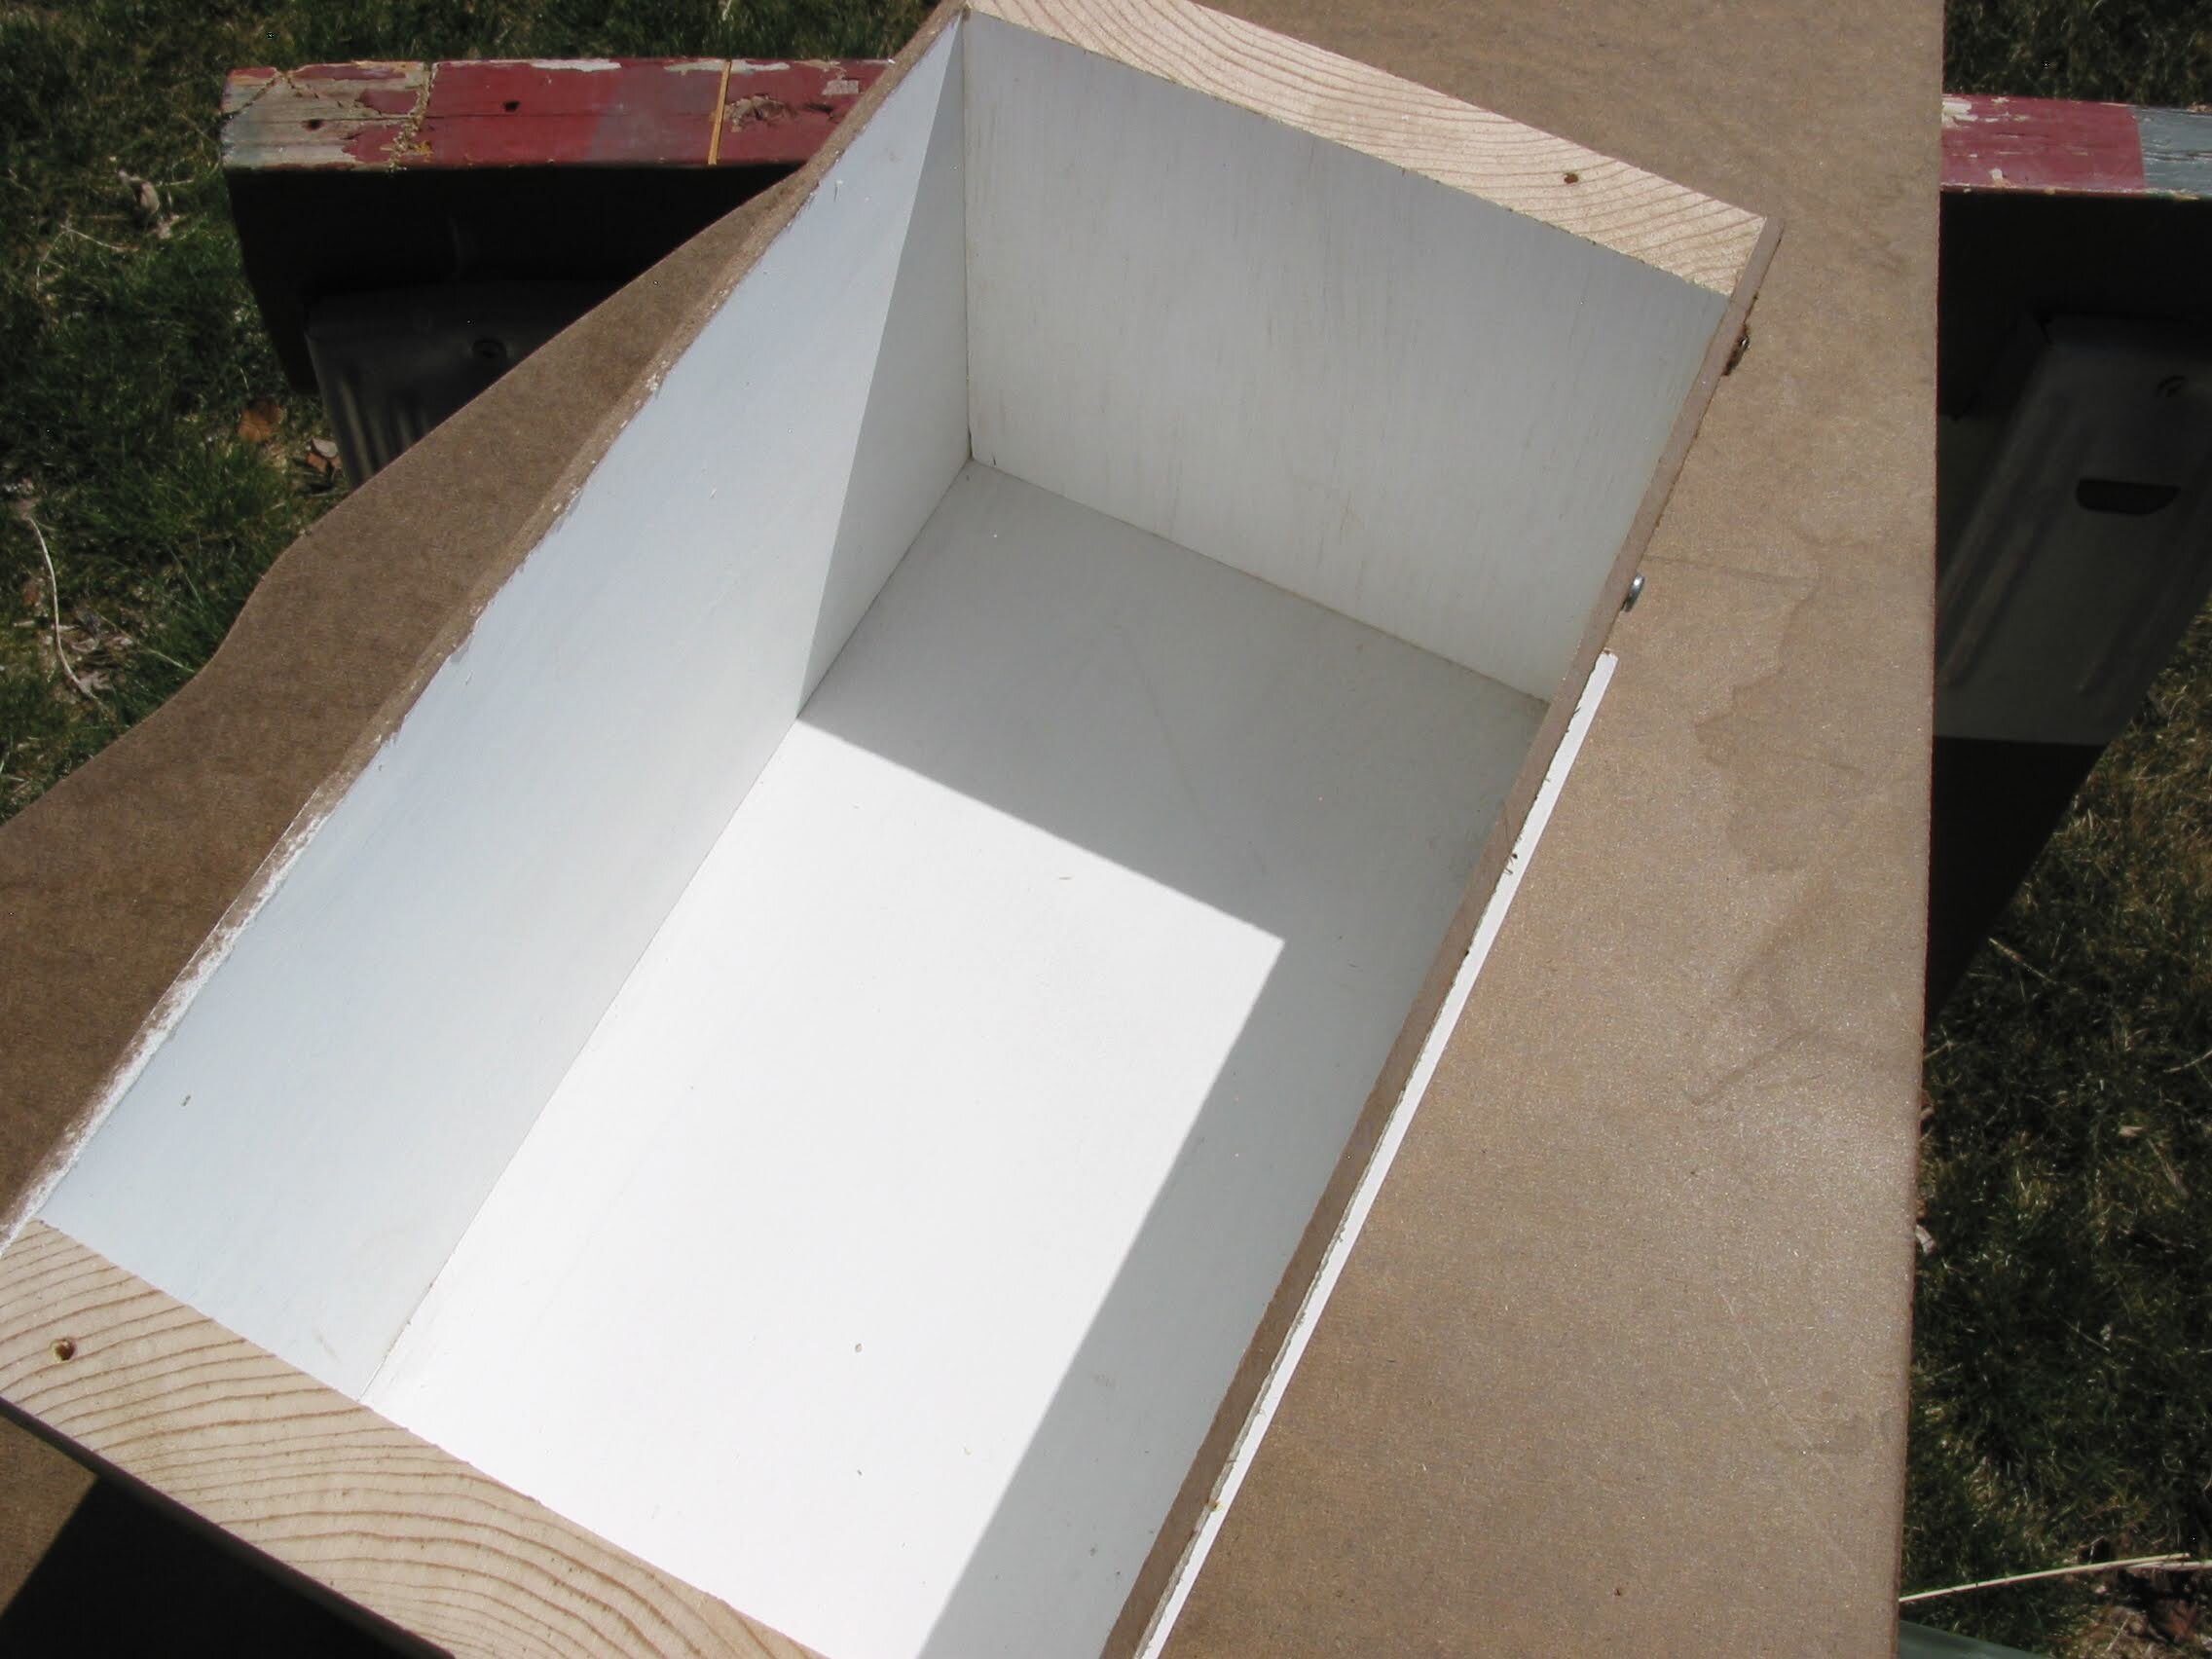
The reflector box ready for install to a completed panel. It was painted white to spread the light evenly across the back of the plex.
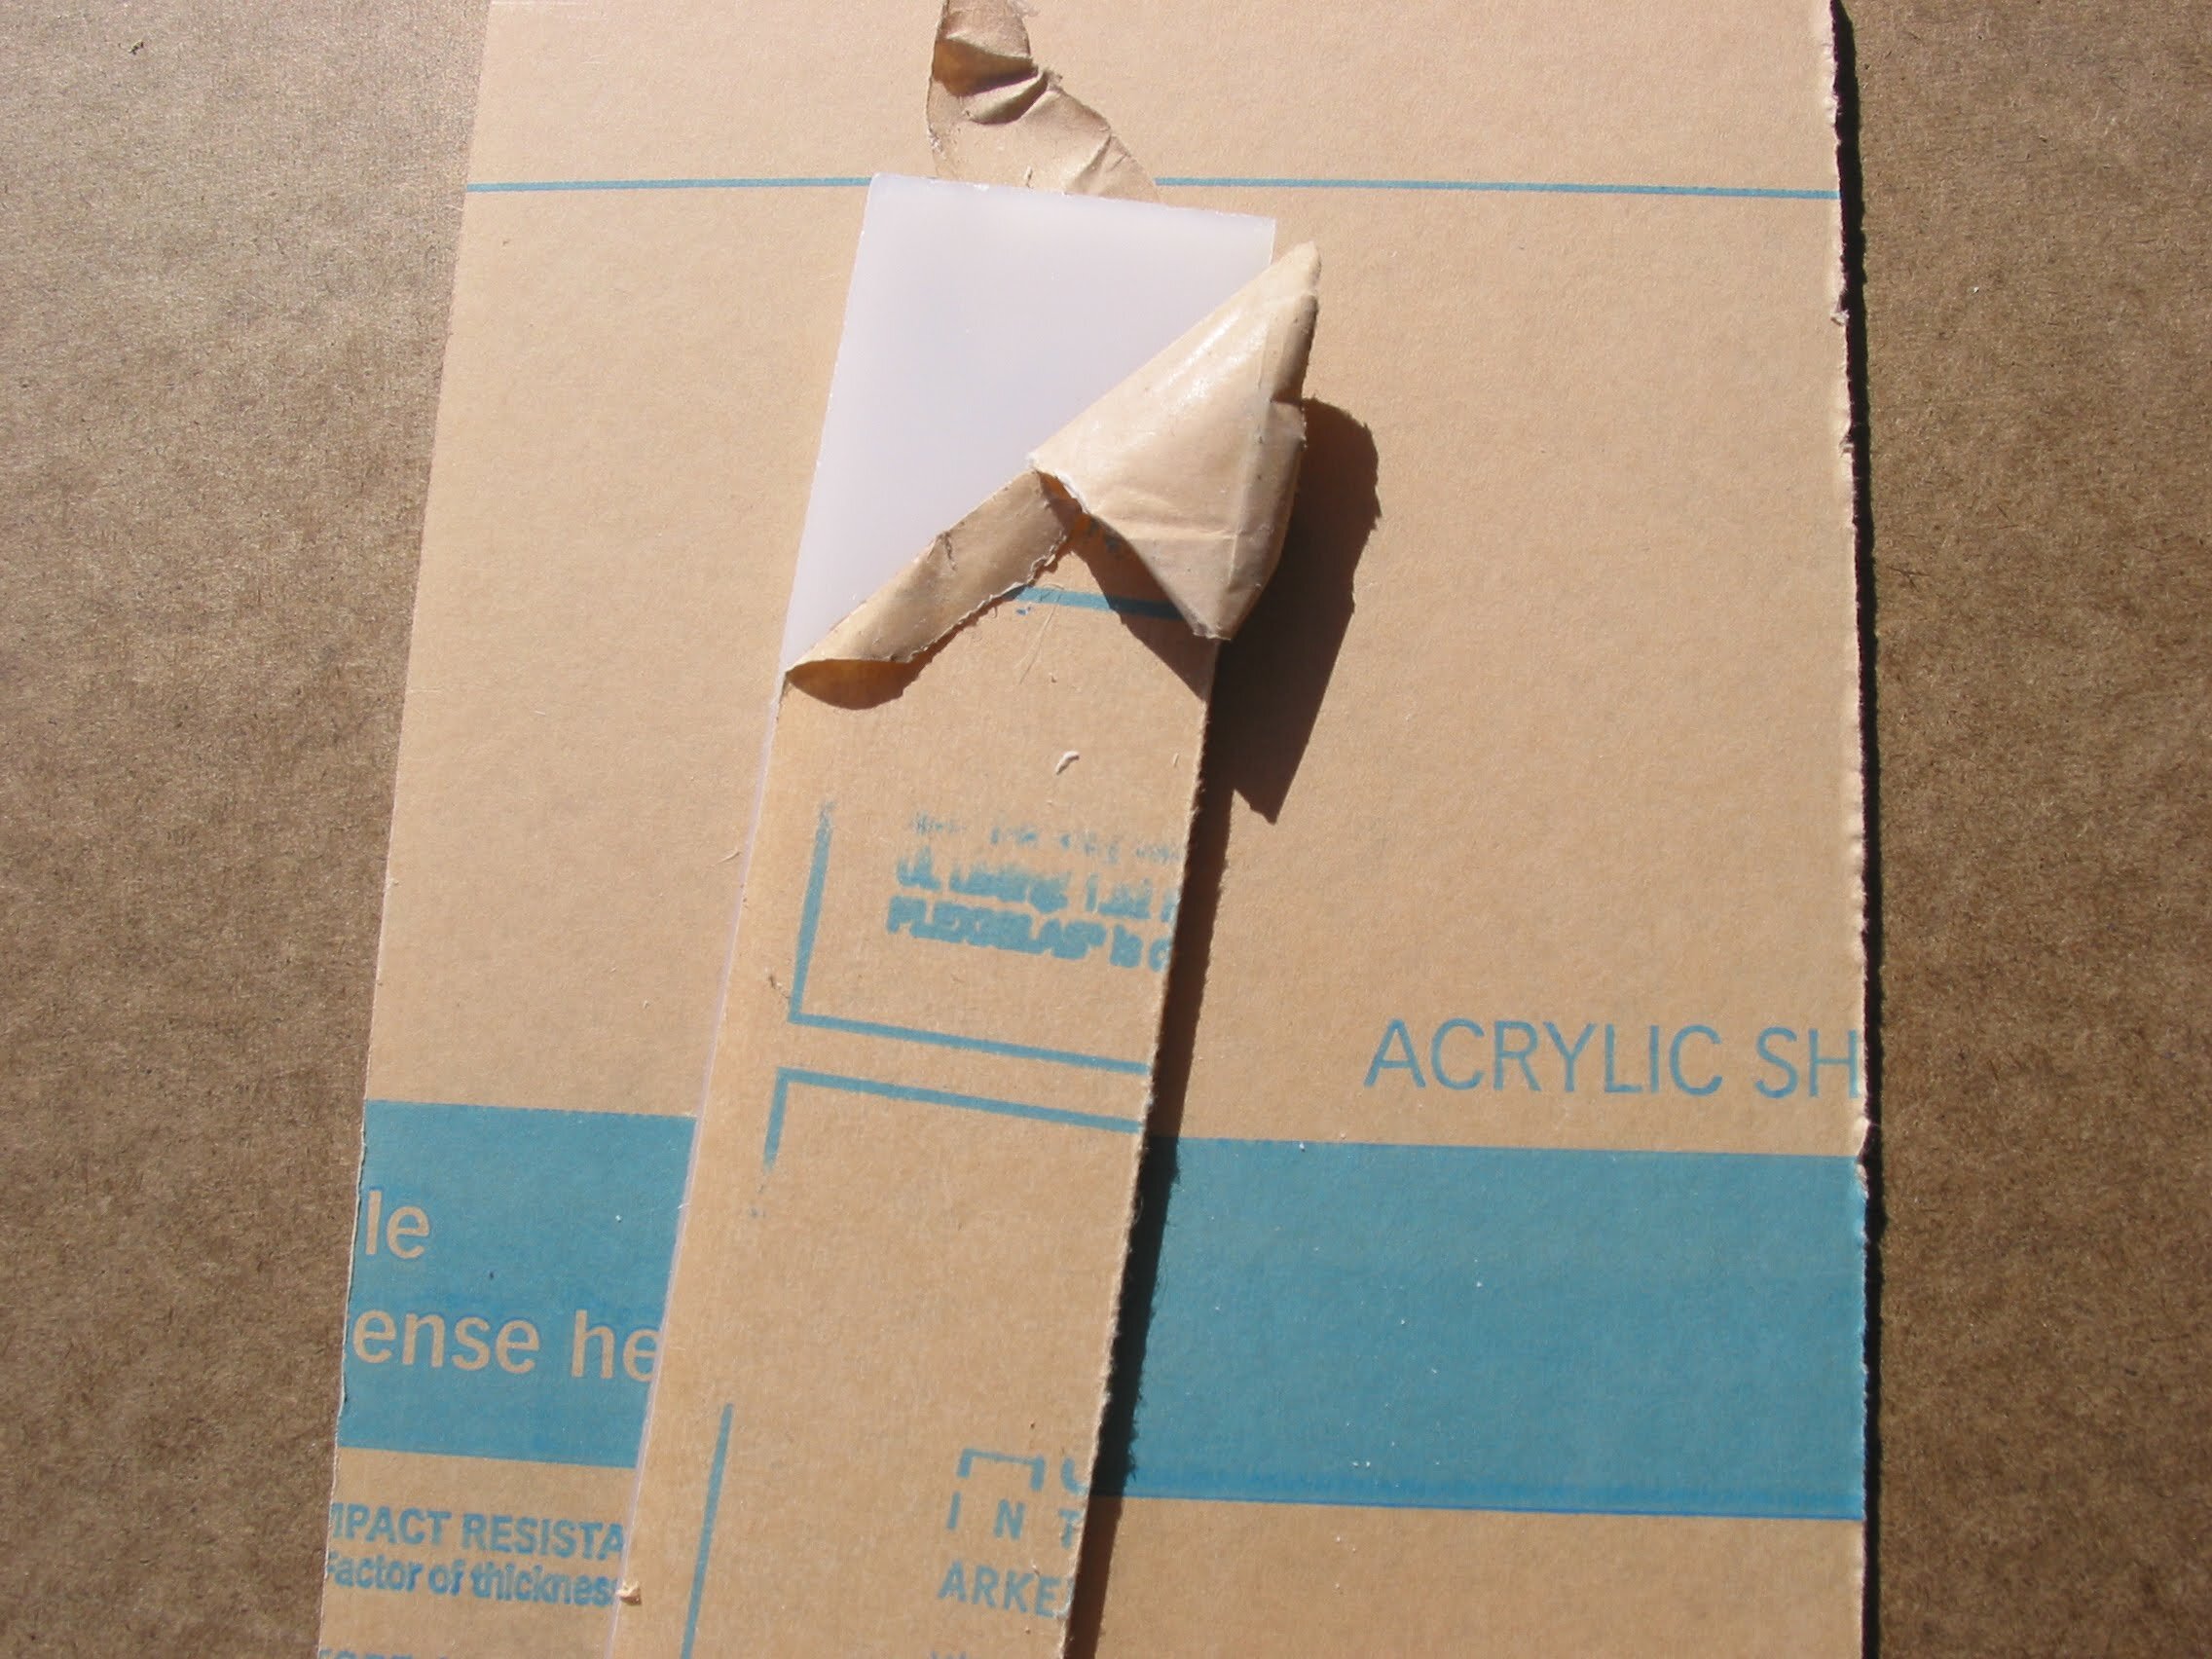
Translucent acrylic (plexiglass) was purchased from out of the scrap bin by the pound from a local plastics company. Thickness was 1/8” for smaller panels, and 3/16” for larger.
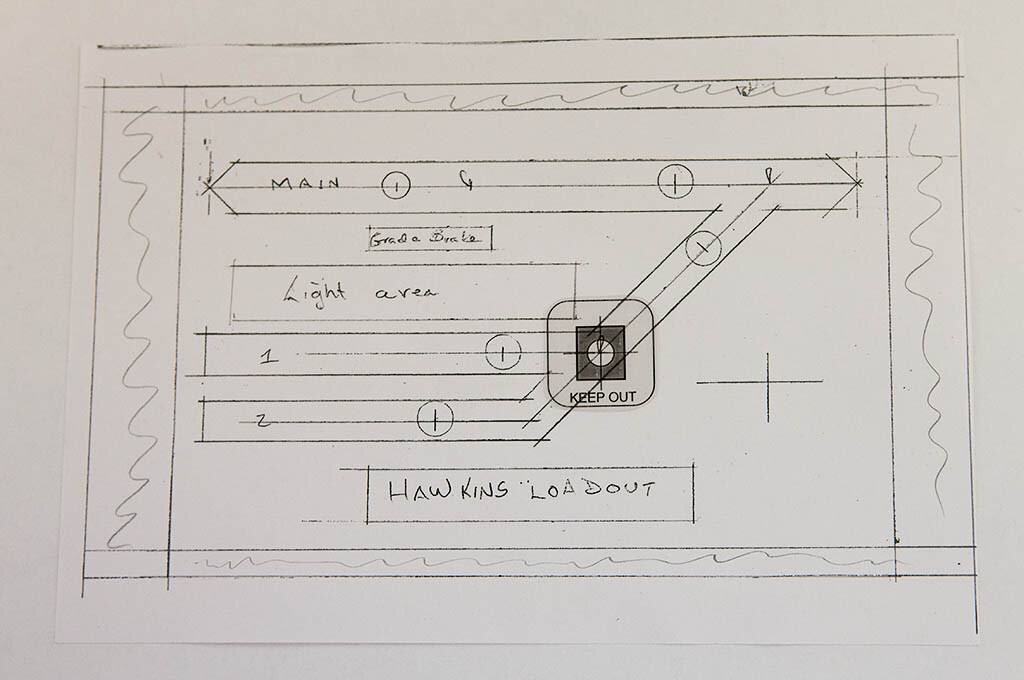
Panel track diagram was done on paper with T-Square and angle tools (OLD school, like me), Leave room for the wood attachment brackets on each side! Make a photocopy! Trim and cut plex on table saw to match. Use spray glue to attach paper diagram to the plex protective paper.
The clear plastic “Keep Out” template reflects the size of the switch toggles making sure the finished panels have enough clearance from one another on the wiring side. Experience speaks.
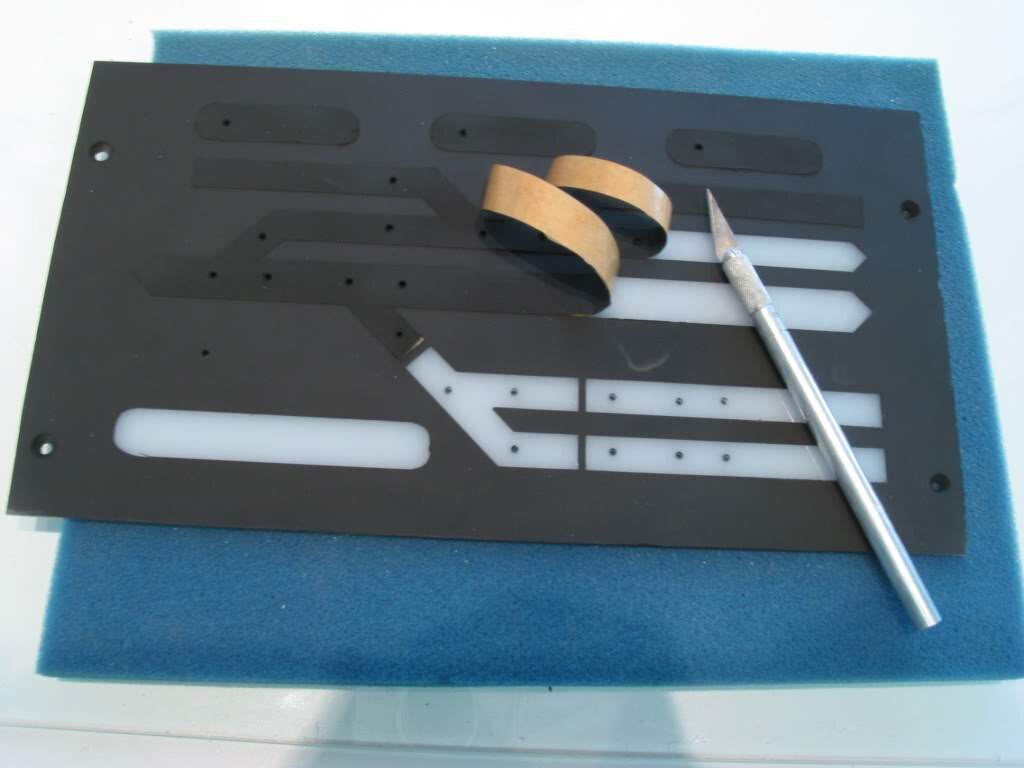
Next step is to drill pilot holes at each switch and LED location. Next cut along the diagram lines using a straight edge and #11 Xacto blade. Then peel up the plex paper, leaving just the diagram covered. This then becomes a mask. Lastly, spray the panel a flat black and pull up the diagram when dry.
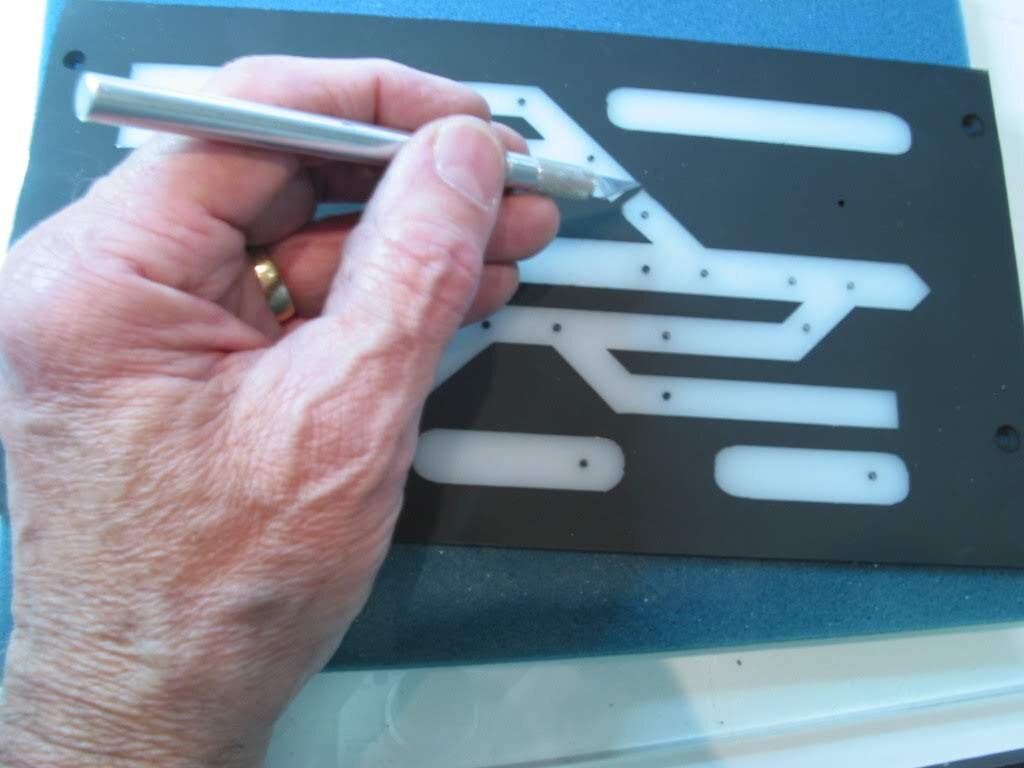
Cleanup any errors at this point. Then carefully drill out each hole to size.
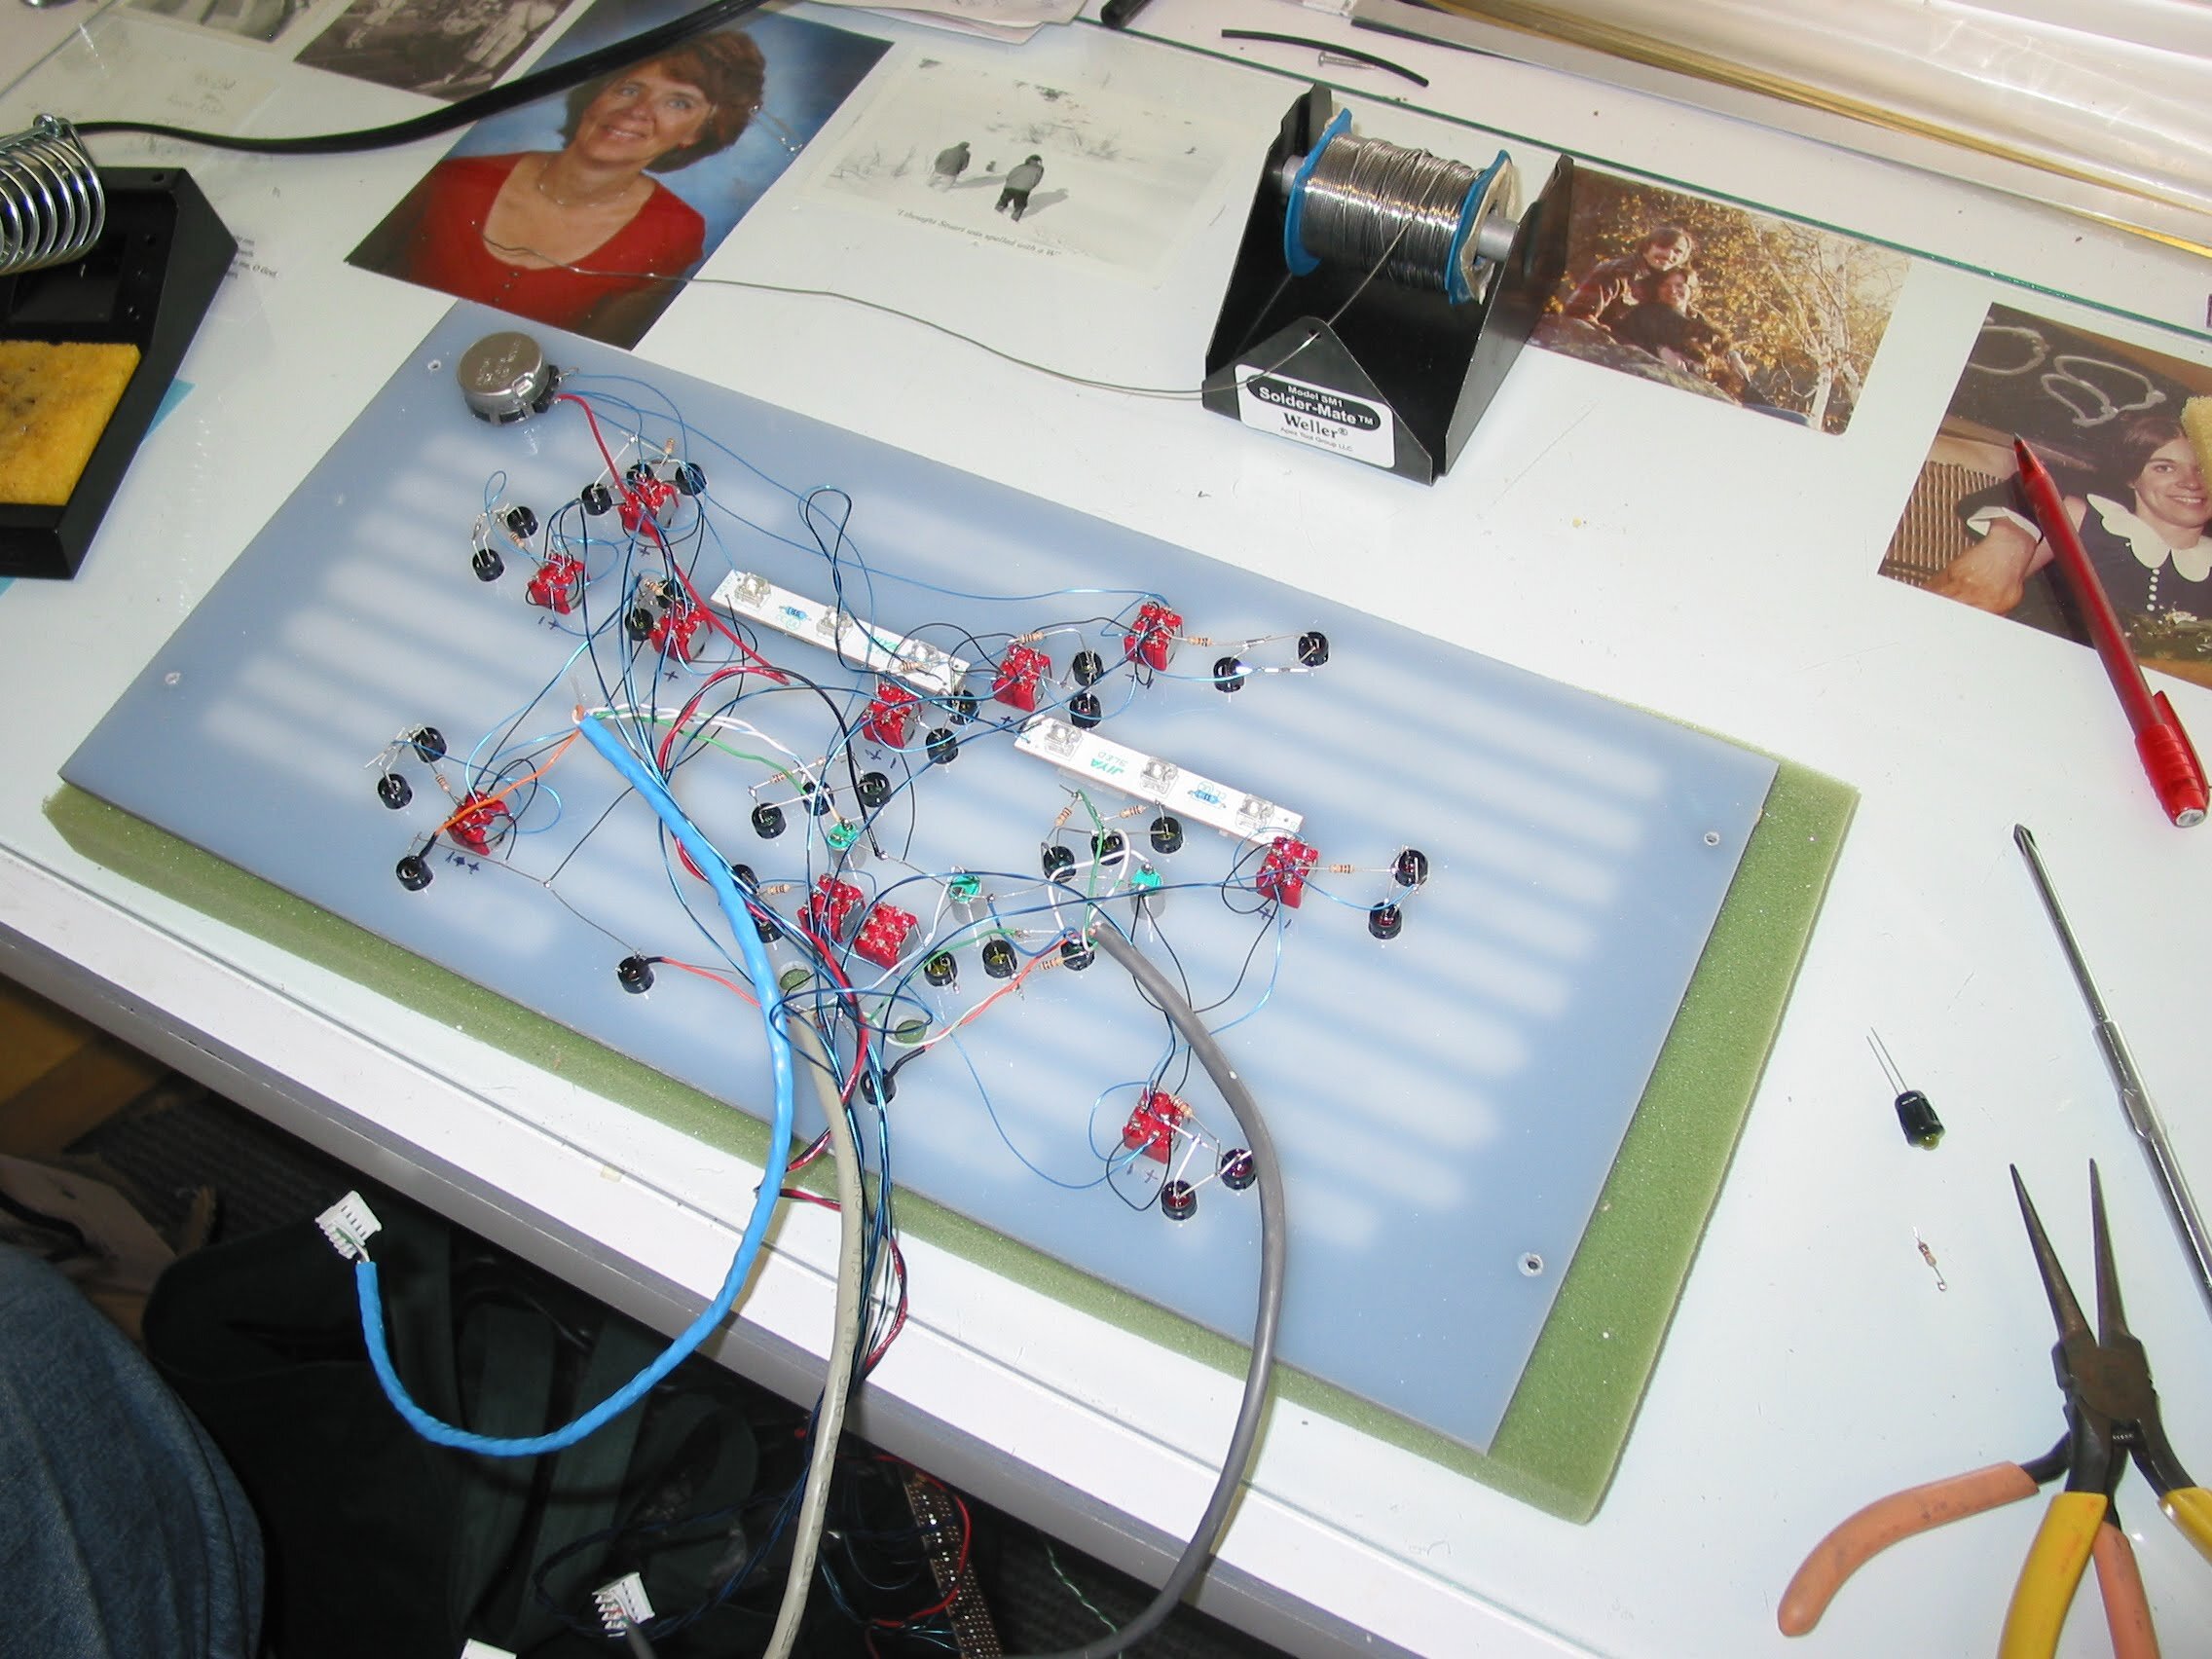
Next, give the panel and reflector box to your friend “Bob” and let him do the wiring!! Note that the white LED strips are attached to the back of the panel, shinning white LED light away and into the reflector box producing even light.. The pot in the upper left of the panel controls the brightness of the panel. This helps in night ops.
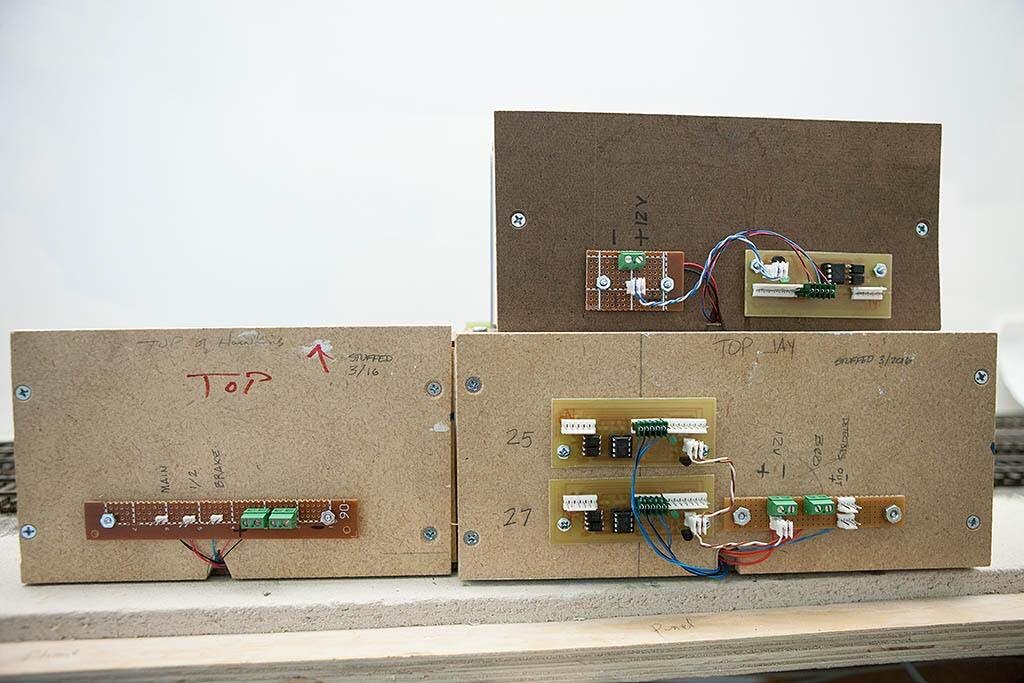
Three panel boxes ready for install. Note the connector plugs for power, Tortoise motors, etc. which greatly helps with install and trouble shooting. A&O 2.0 has 36 such panels. THANKS BOB!!!
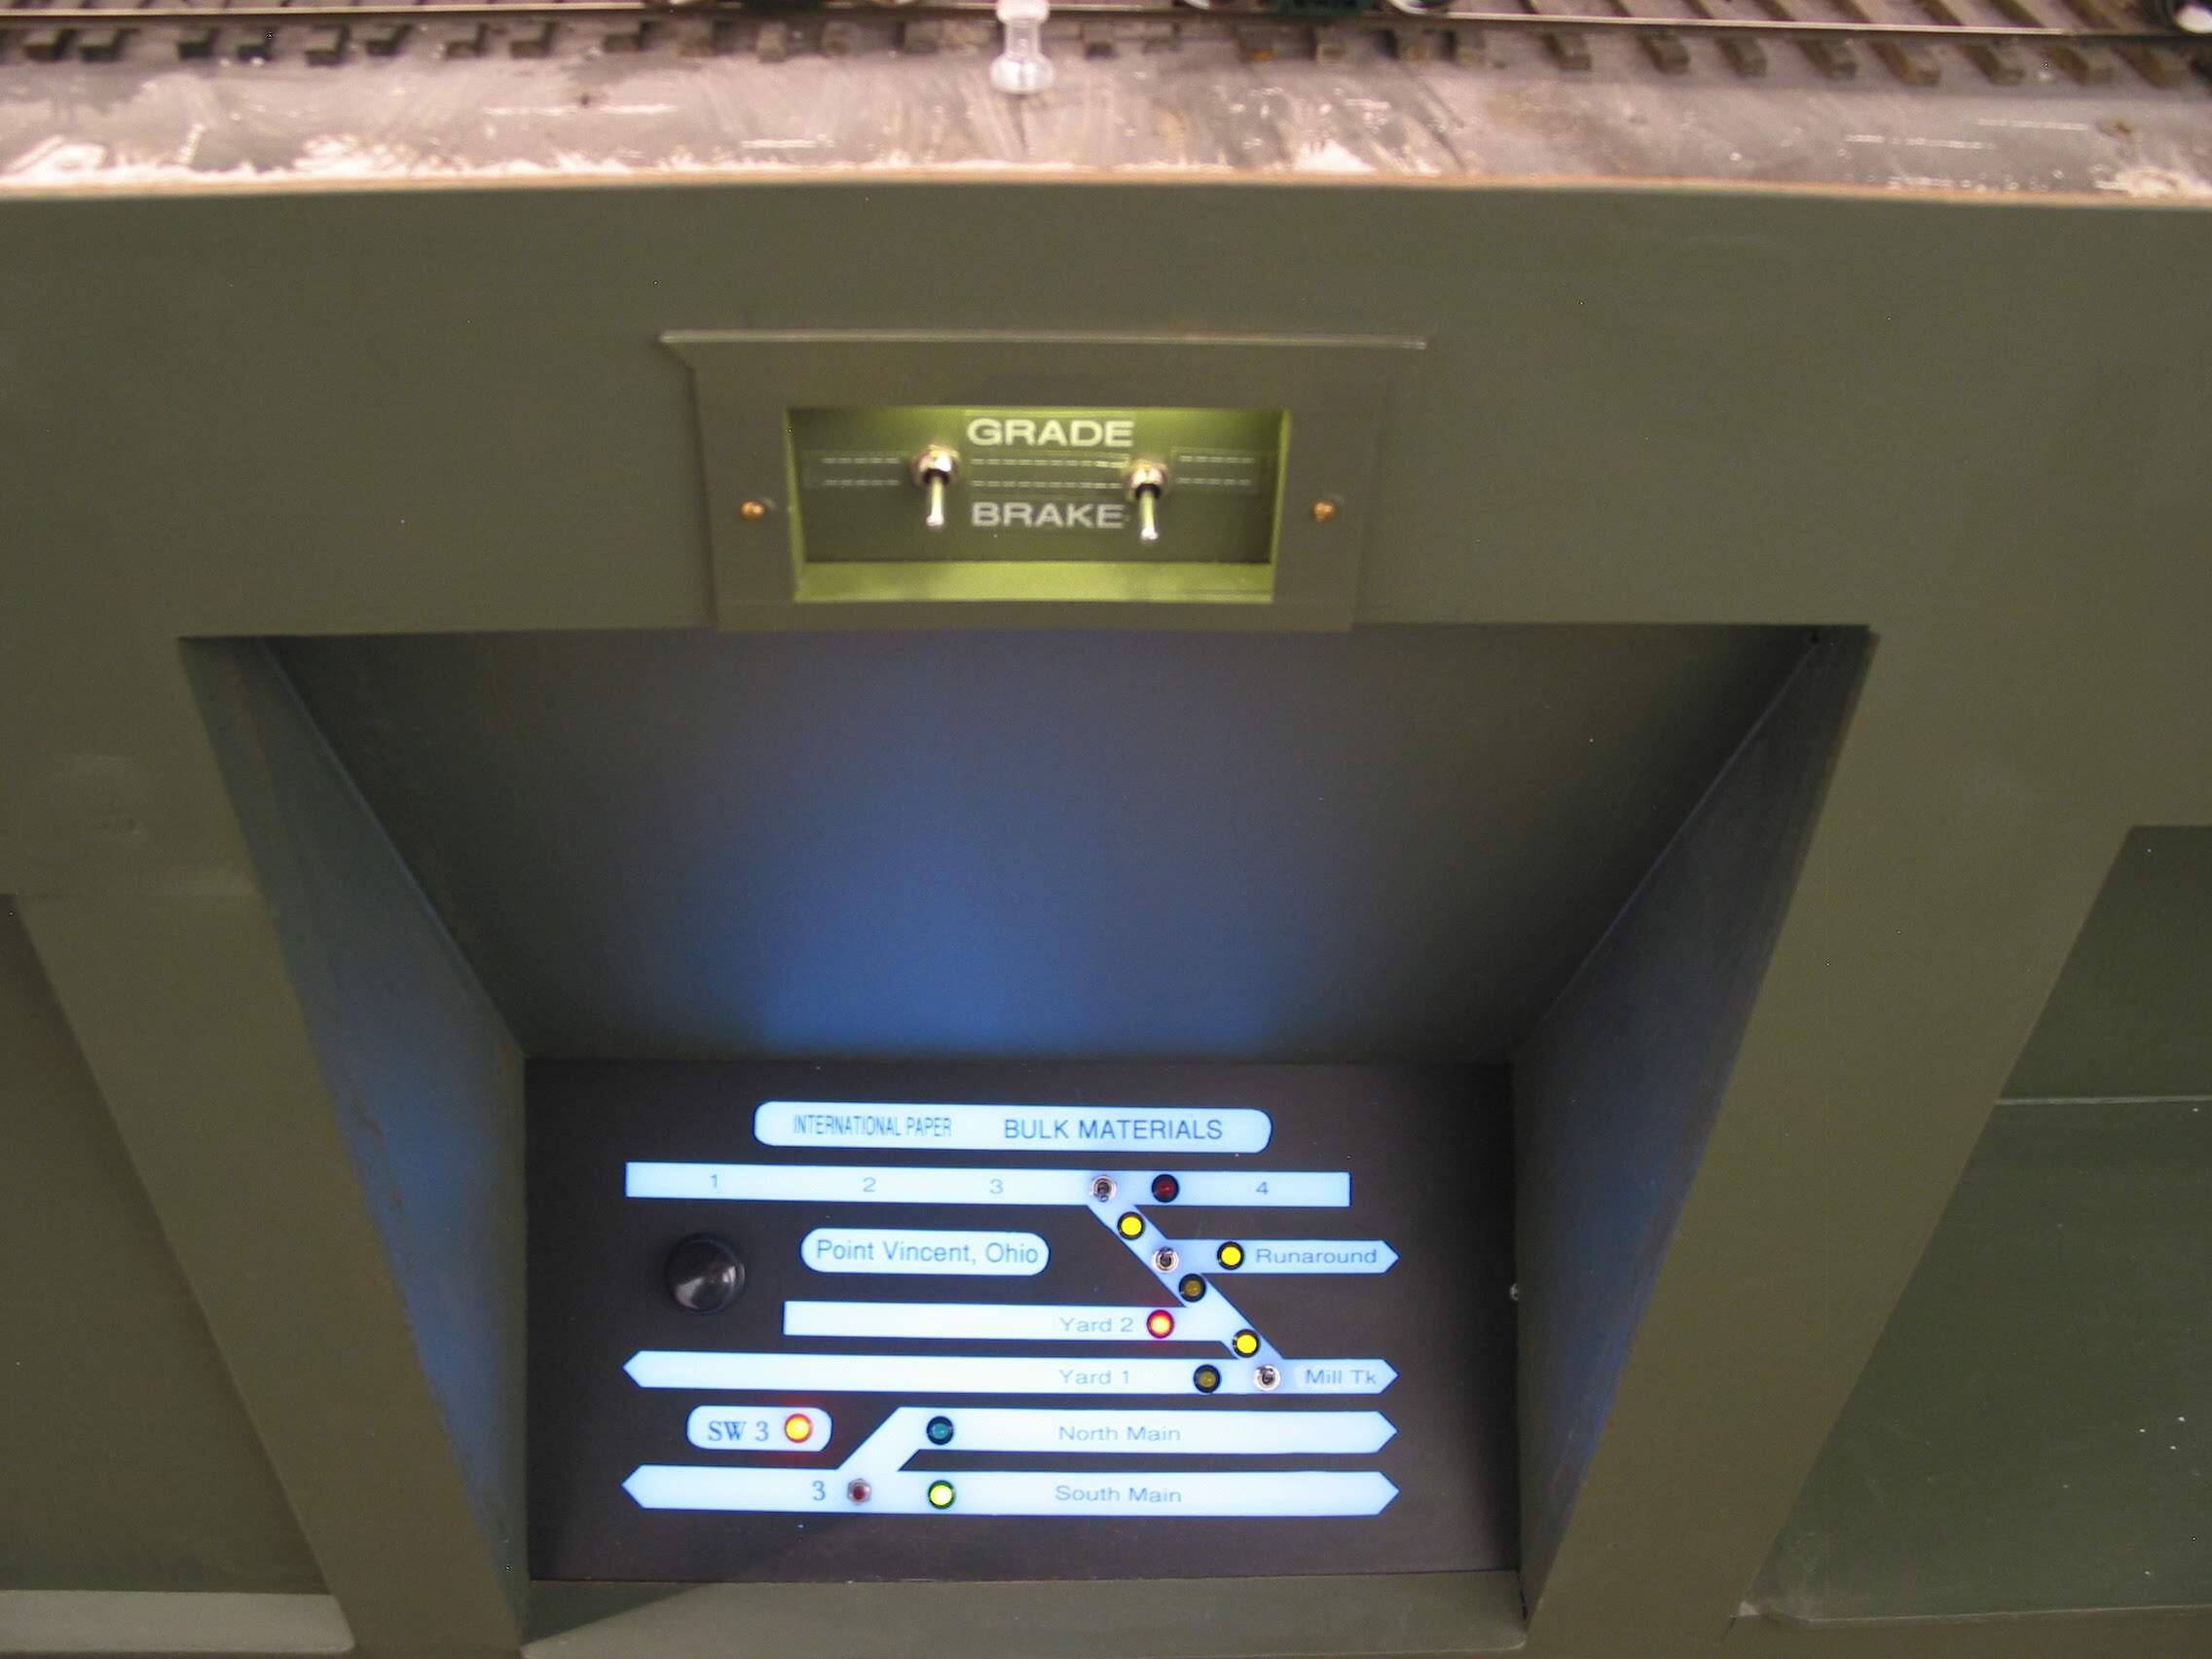
This is the completed “left” panel at International Paper. Dimmer pot is on the left edge of the panel. The narrow aisle makes for a longer, deeper viewing angle. A pair of grade brakes in the plant trackage were added to the fascia to assist switching.
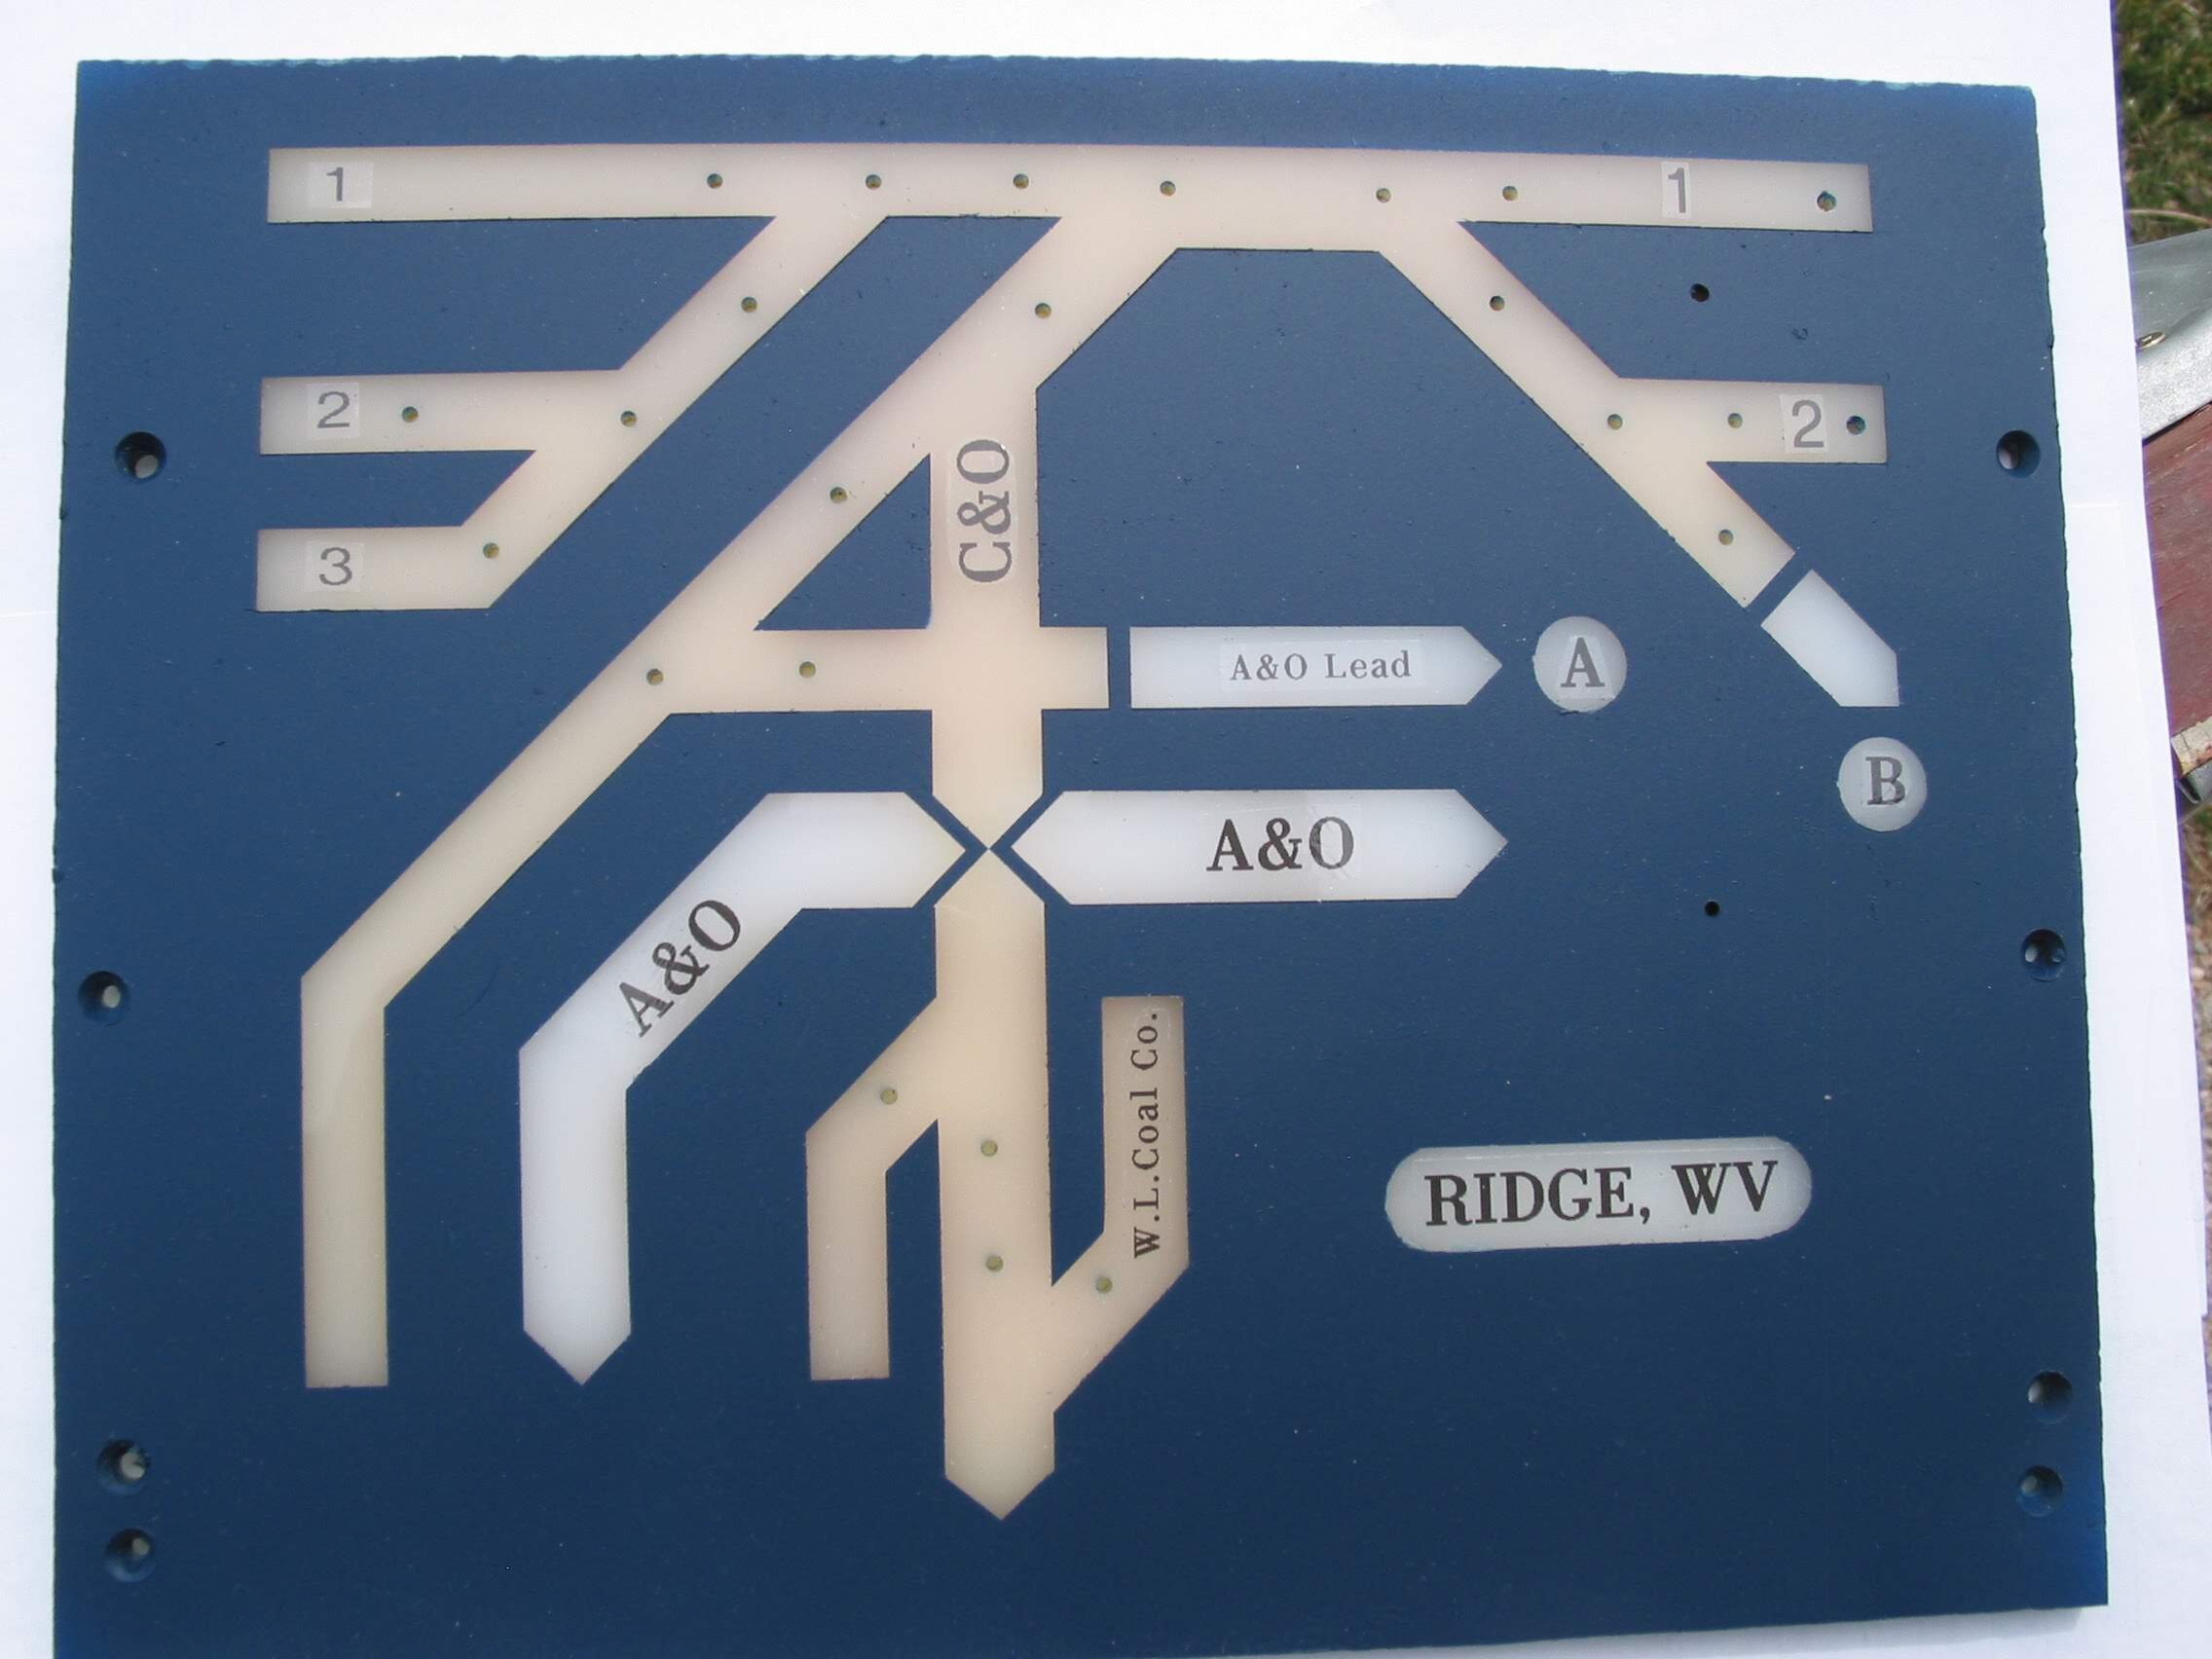
What do you do when there’s another RR’s tracks on the same panel? Color differential. The Ridge panel features lots of C&O trackage while the A&O merely passes thru. This panel is ready for hole enlargement.
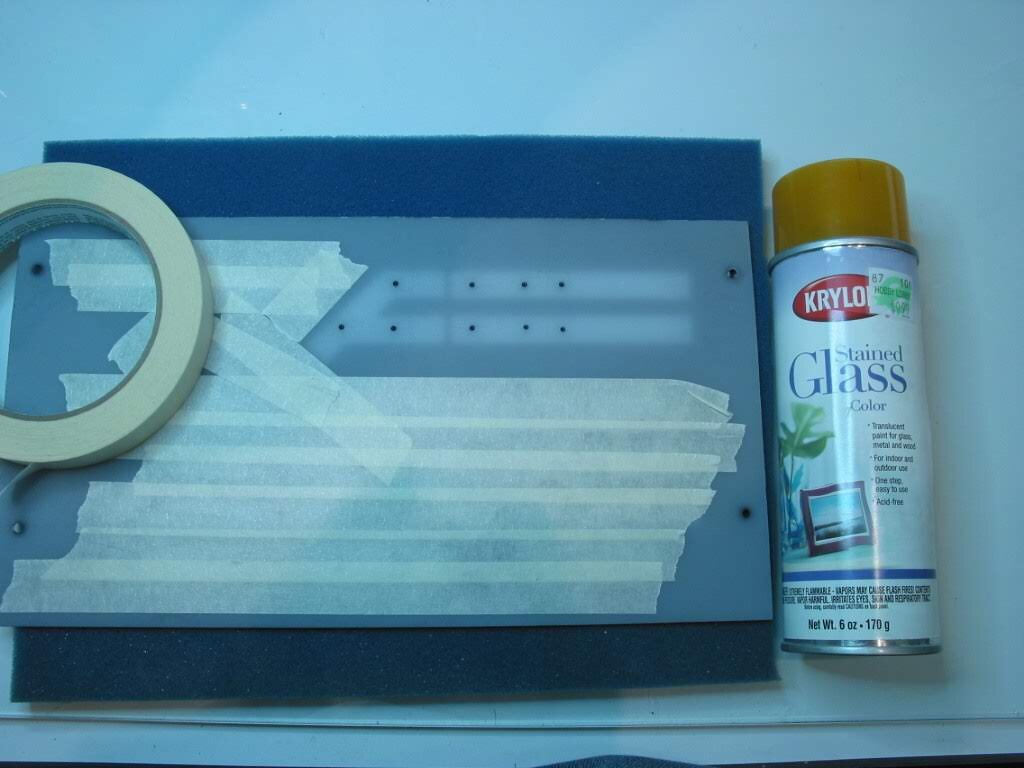
This is the back of the Mt. Union panel ready for spraying with yellow for N&W staging trackage. The masking tape will then be rearranged to hide the N&W and A&O tracks so the A&D blue can be sprayed.
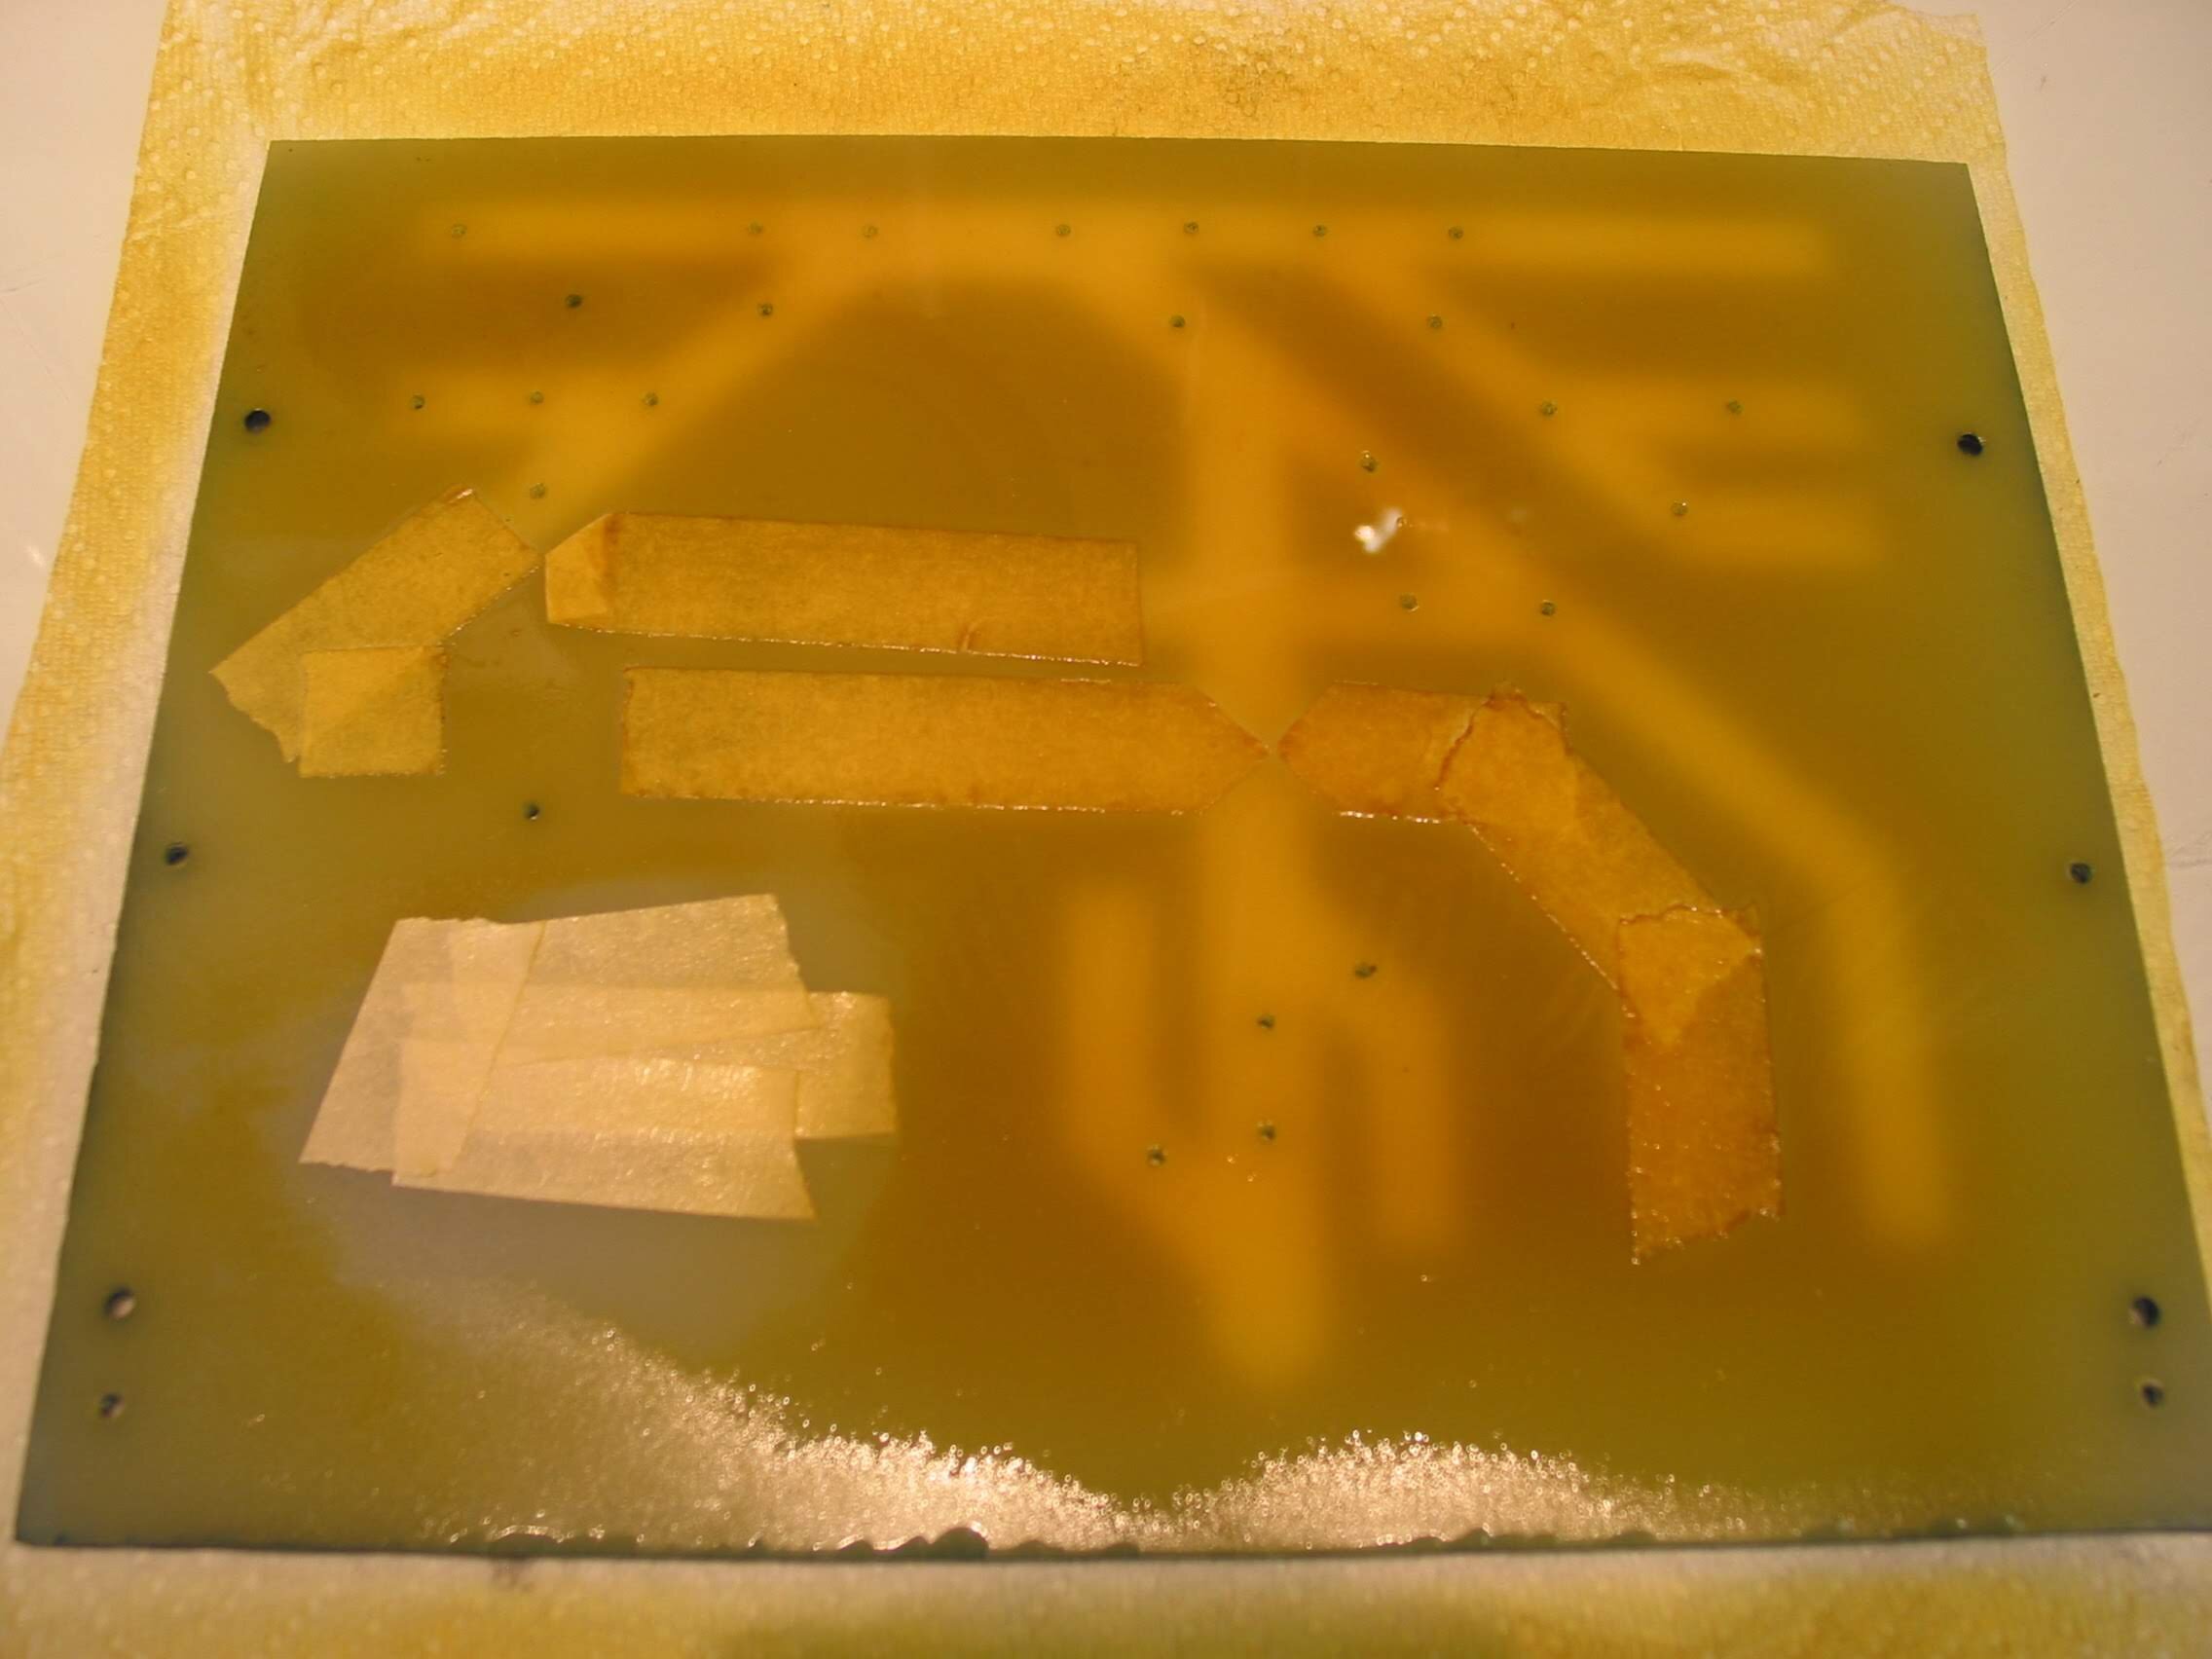
Back to the Ridge panel, the yellow has dried and tape will be removed. Using the “Stained Glass” spray paint makes this work.
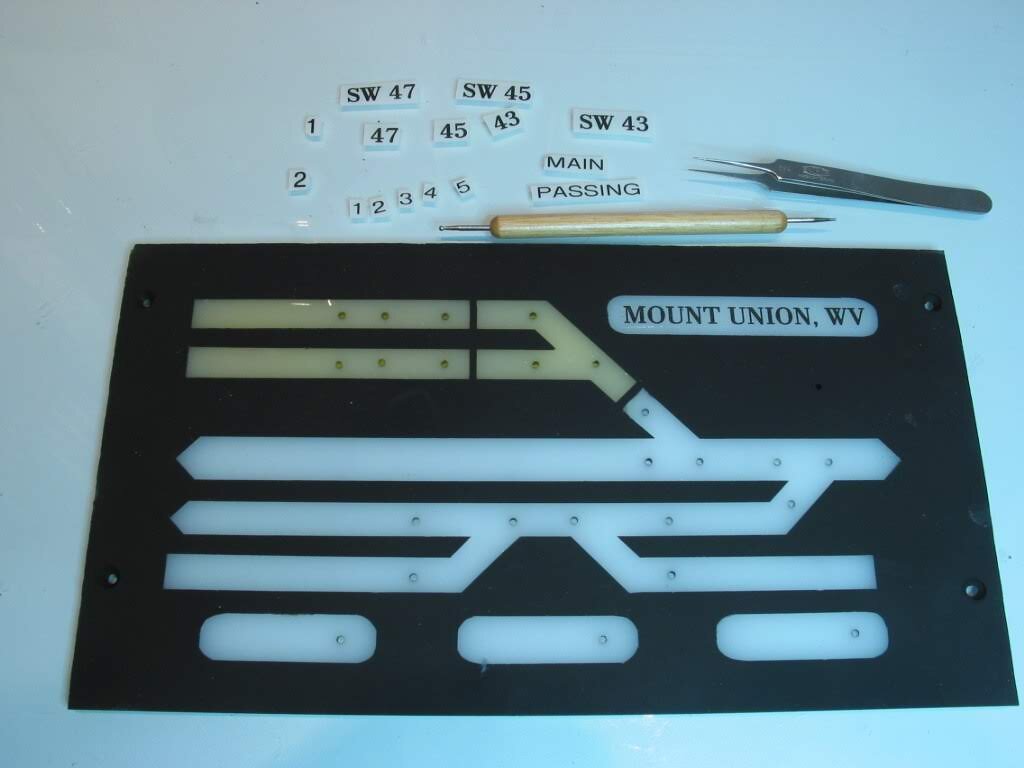
Here the Mt .Union panel is getting its lettering applied. A Brothers label maker with clear tape makes this job easy. Once everything’s in place, overspray with a MATTE ACRYLIC to protect. Do NOT use oil-based matte as it will craze the black paint (ask me how I know- and why you make a photocopy of the original artwork :(.
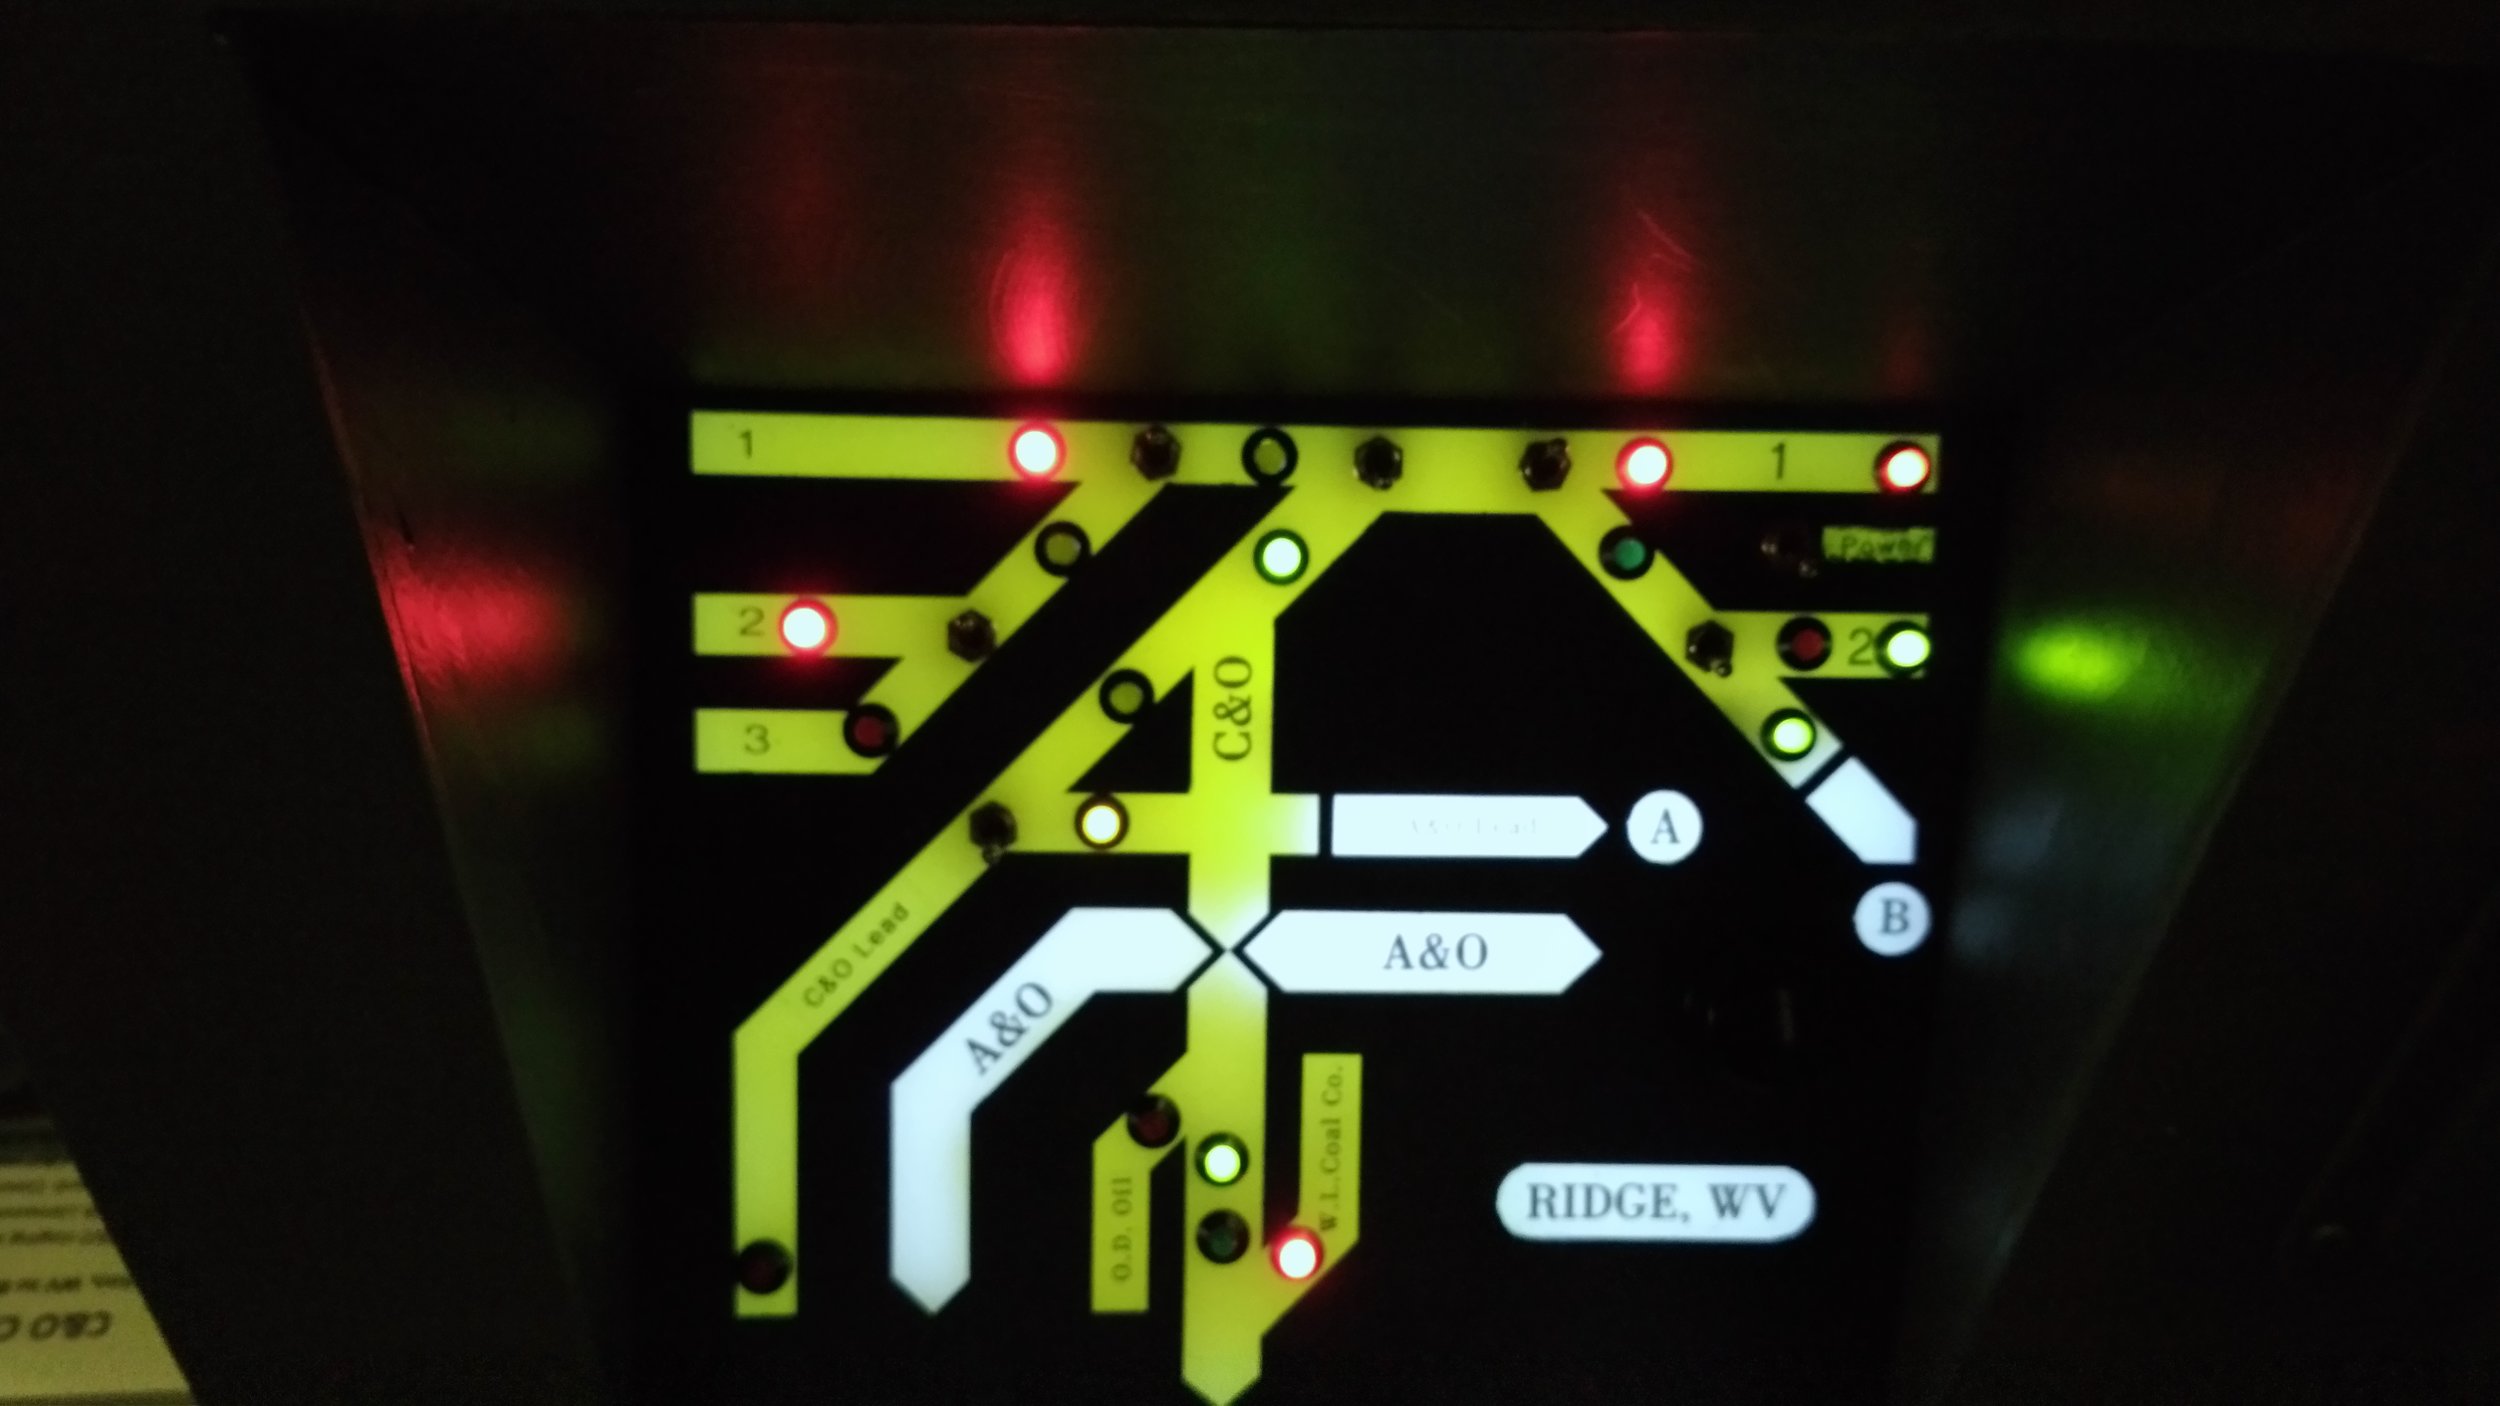
A look at the installed C&O panel shows its 2 staging tracks, 3 industries (top left 1-3 are the Blue Ridge Brick and Block), and two connection points ("A" and "B") with the A&O (see Linnwood panel for connection.)
The C&O Connector switch job is a challenge since it's the "guest" in the busy Linnwood Yard.
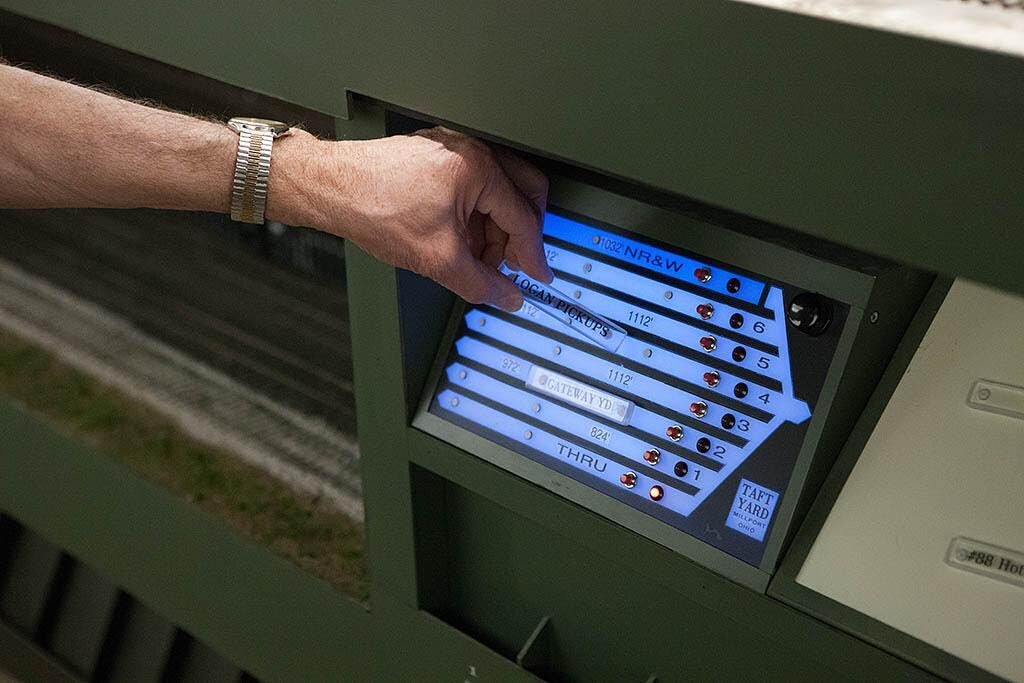
The panels can do more than control turnouts. They can also provide a place for train data. Keeping track of which train is in which staging yard track was accomplished using removable “Train Tiles”. The tiles are held to the plex panel using magnets. I added the necessary magnet dimples during construction of the panel. (Read on)
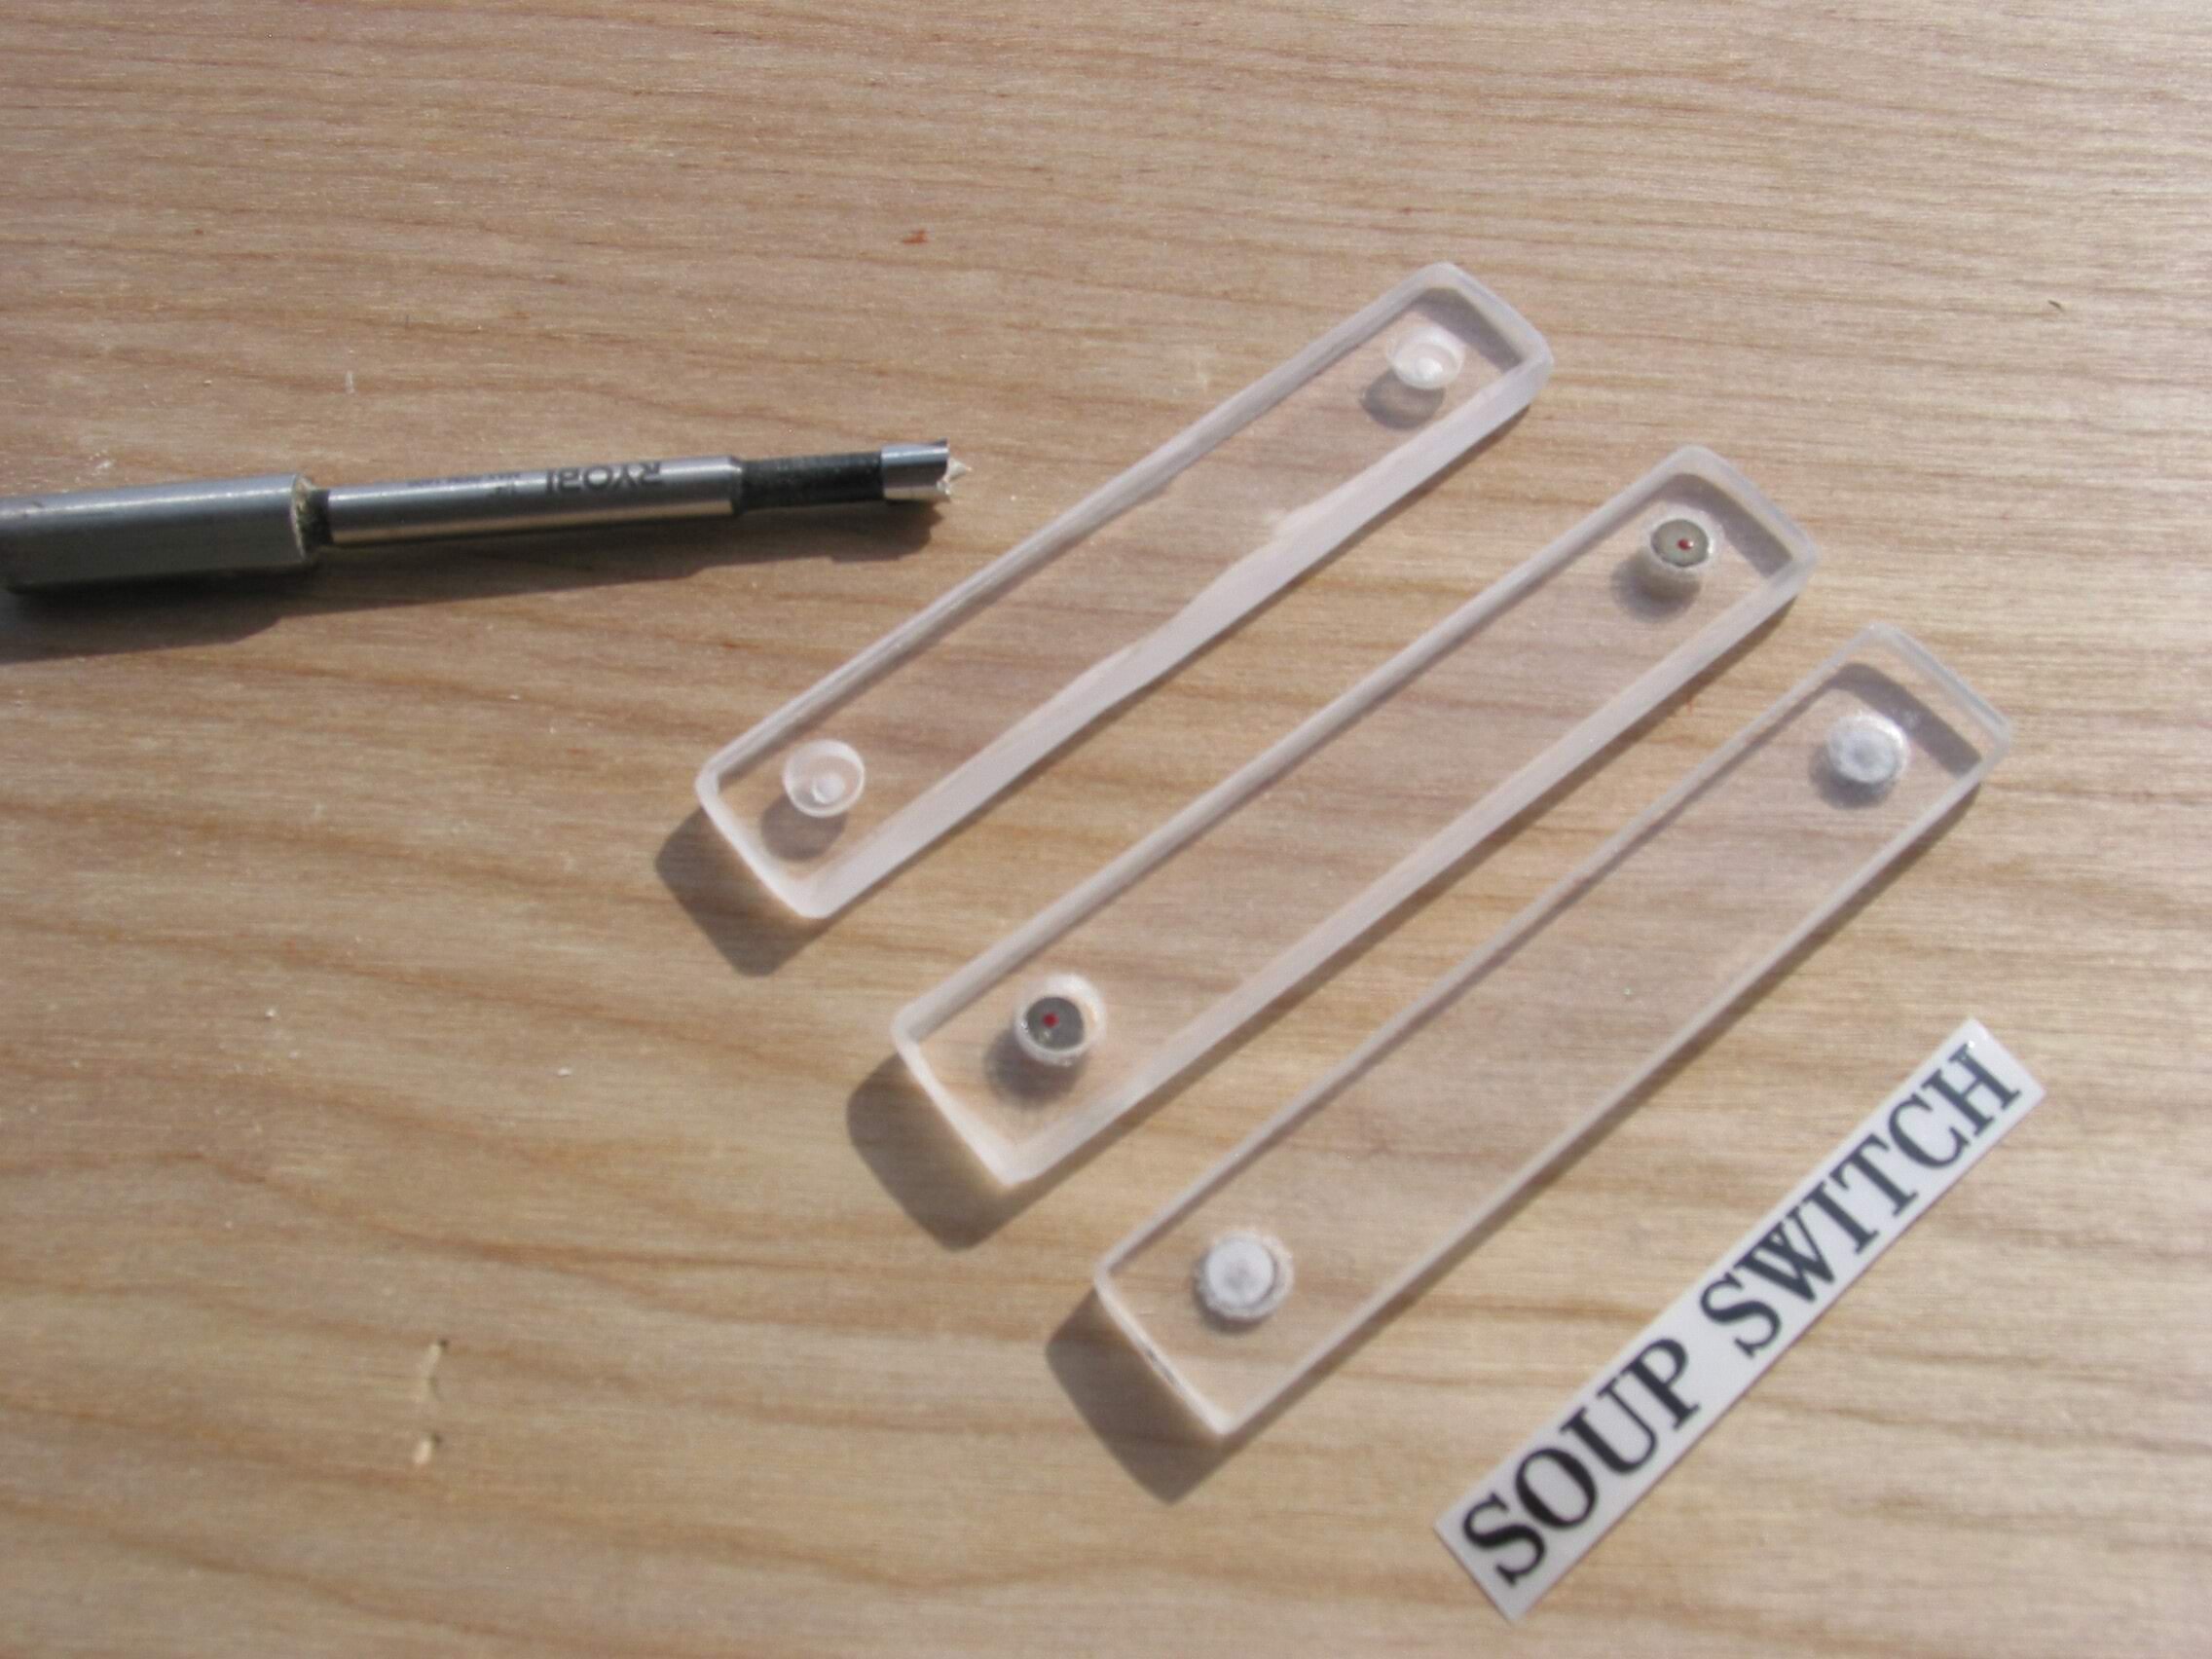
Clear acrylic tiles were cut and edge-sanded. A Forstner bit drilled a inset “dimple” in the tiles for the magnets. ACC holds them in place, observing +/- polarity. An identifying is then added.
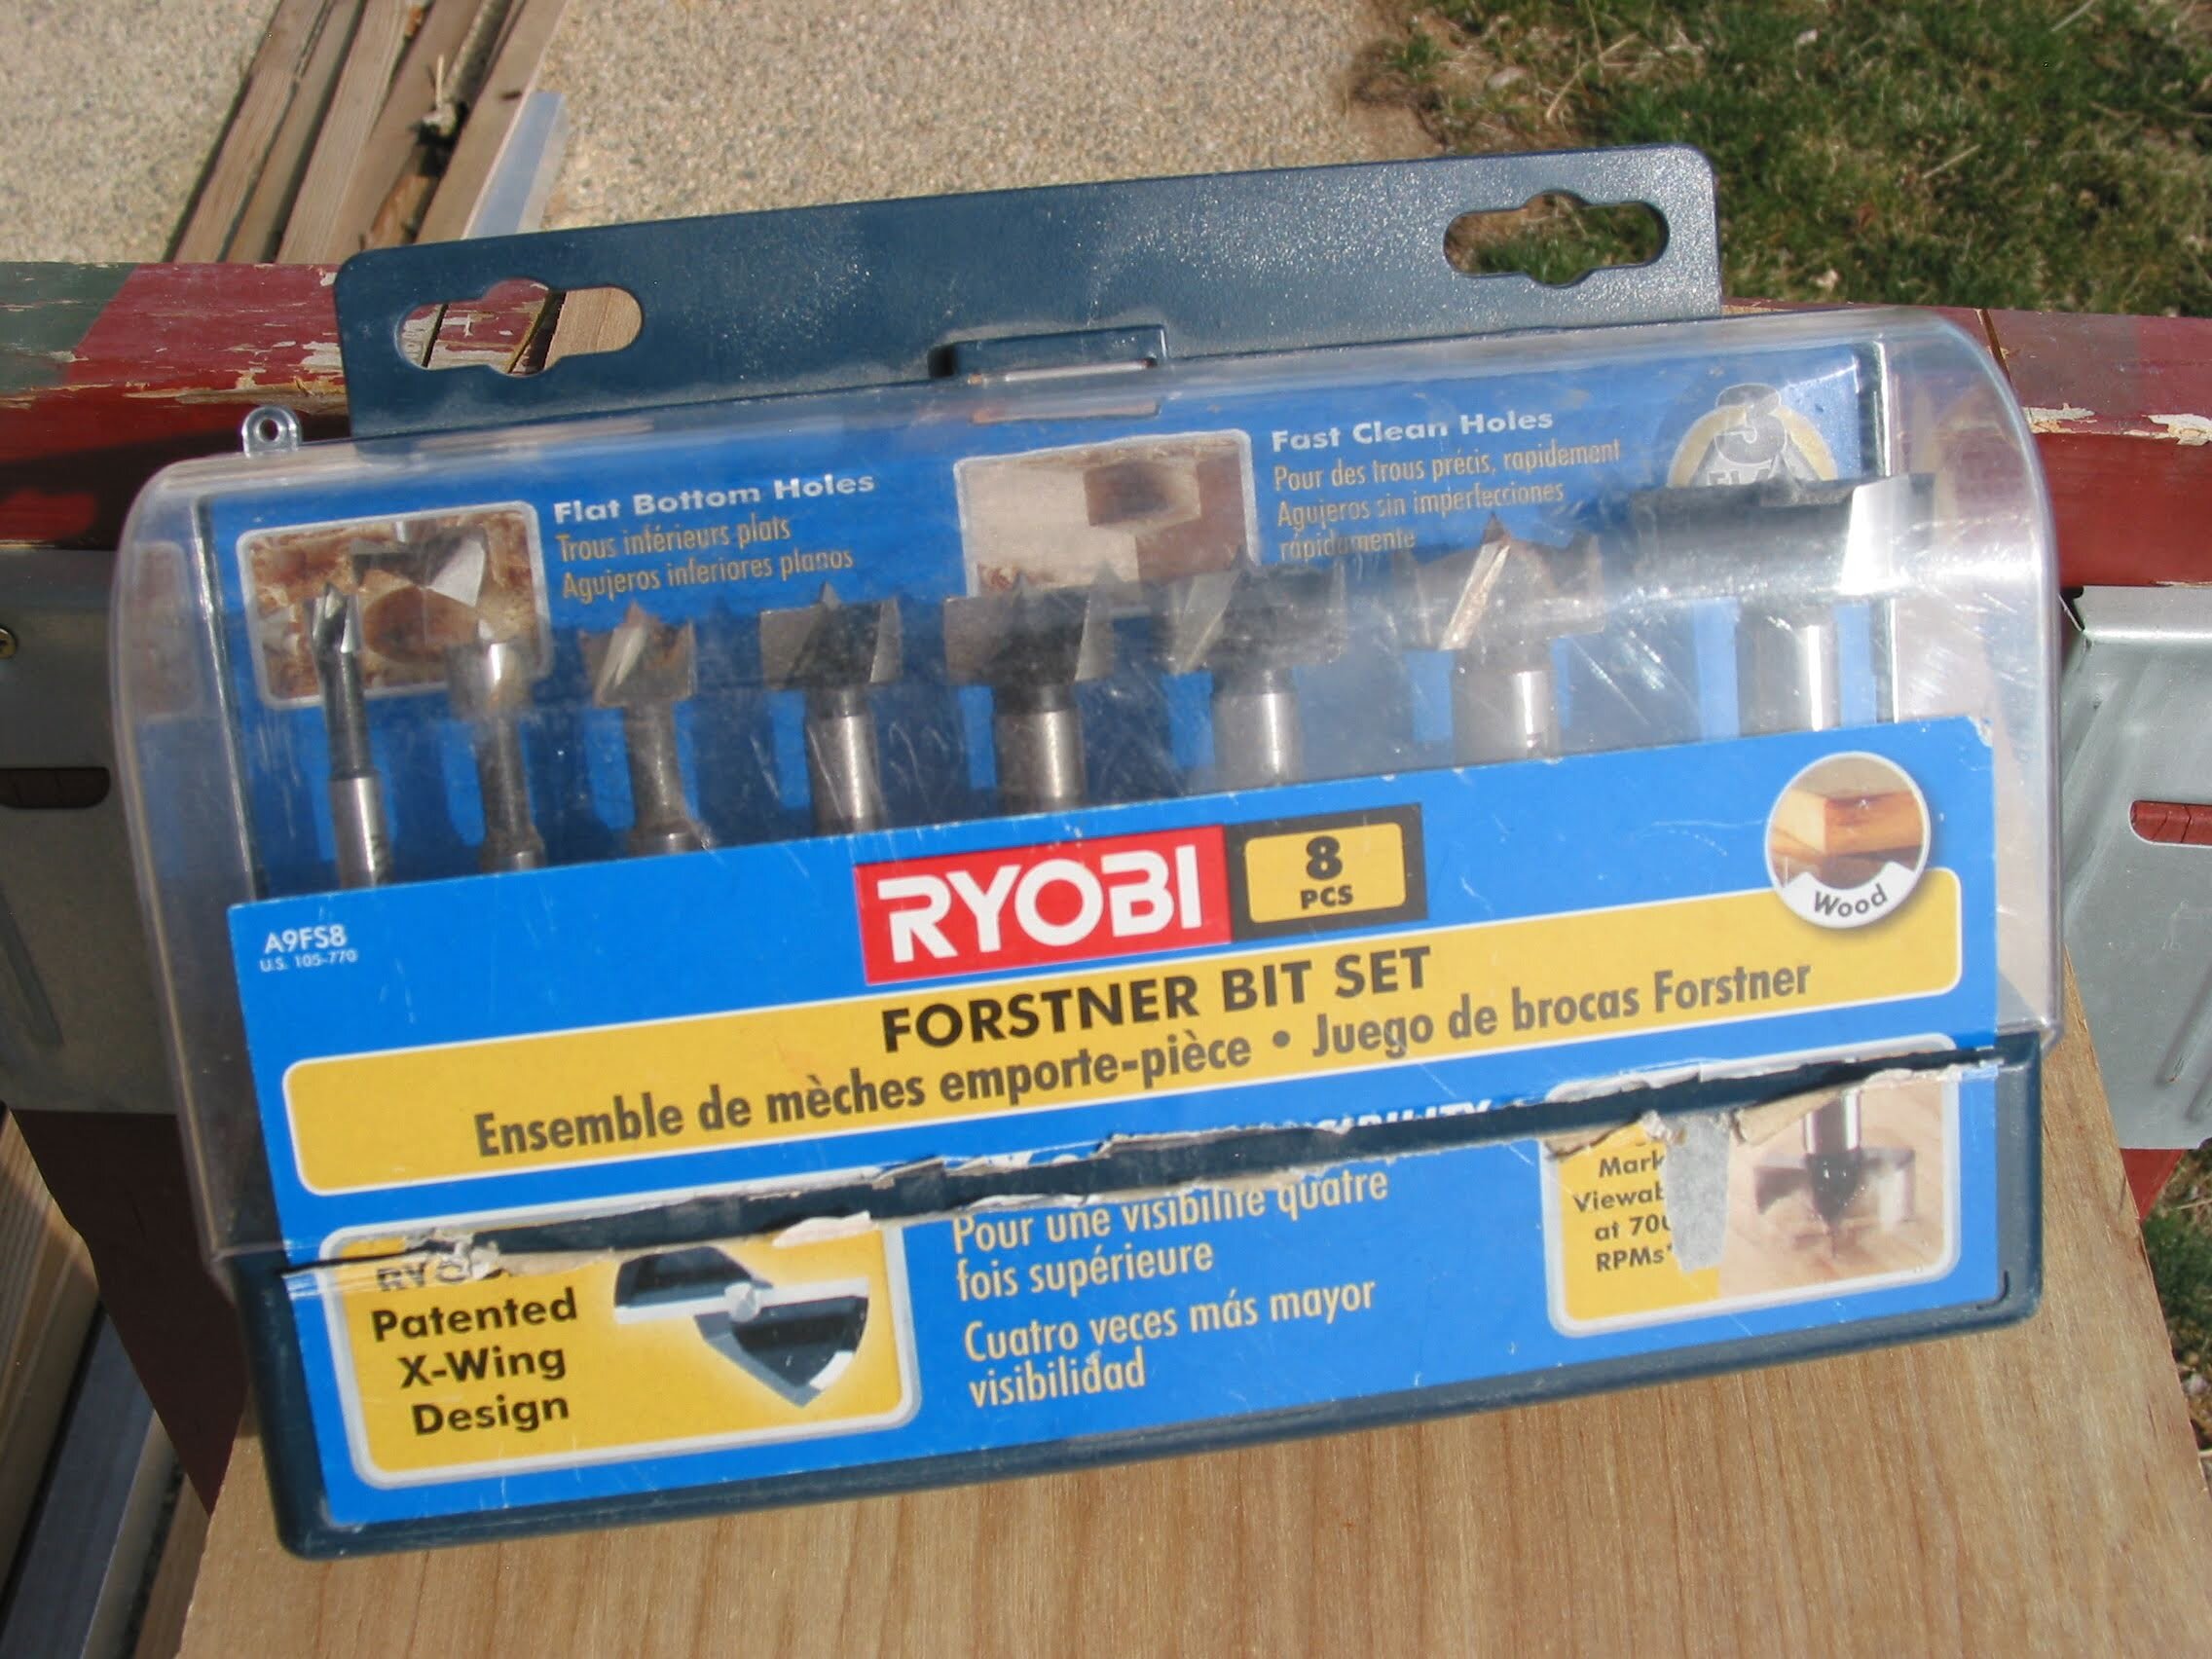
The smallest Forstner was the perfect size. I believe these came from Lowes.
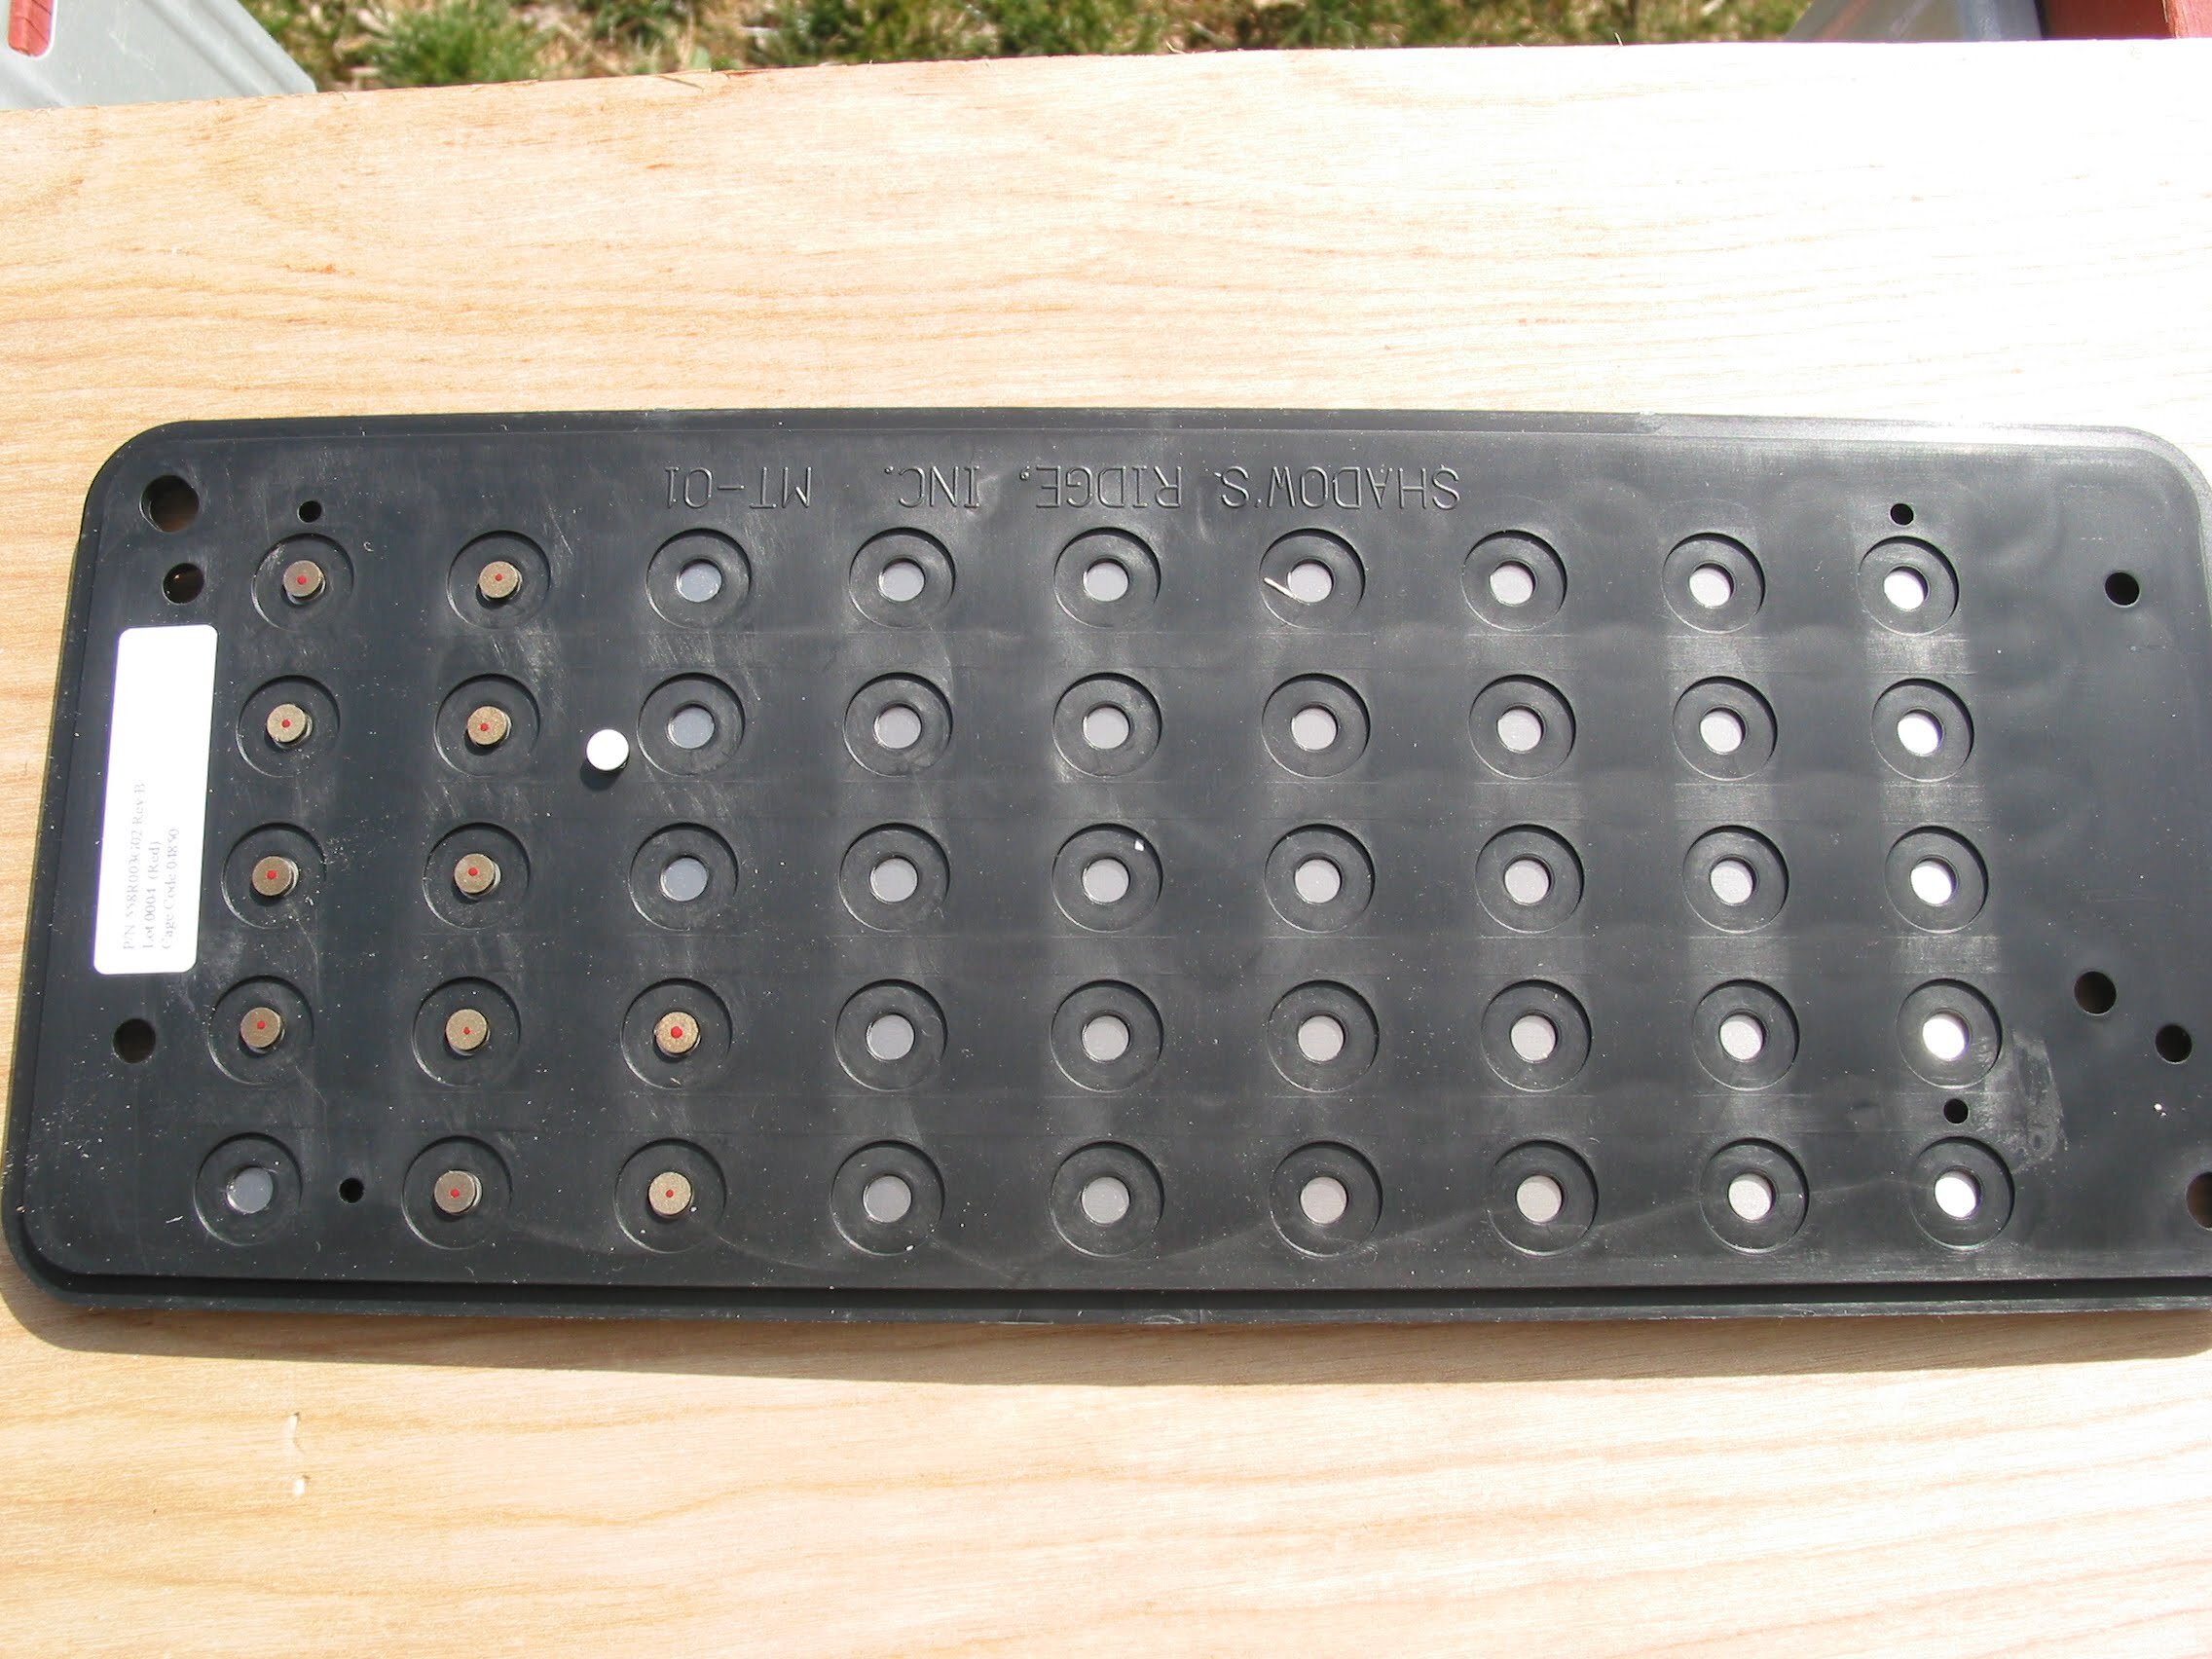
I went thru several trays of these rare earth magnets on 2.0. One side has a red dot, the other a white seal, as can be seen on the magnet between columns 2 and 3. I always put the white side up to blend in with the track diagram, and thus be consistent with polarity.
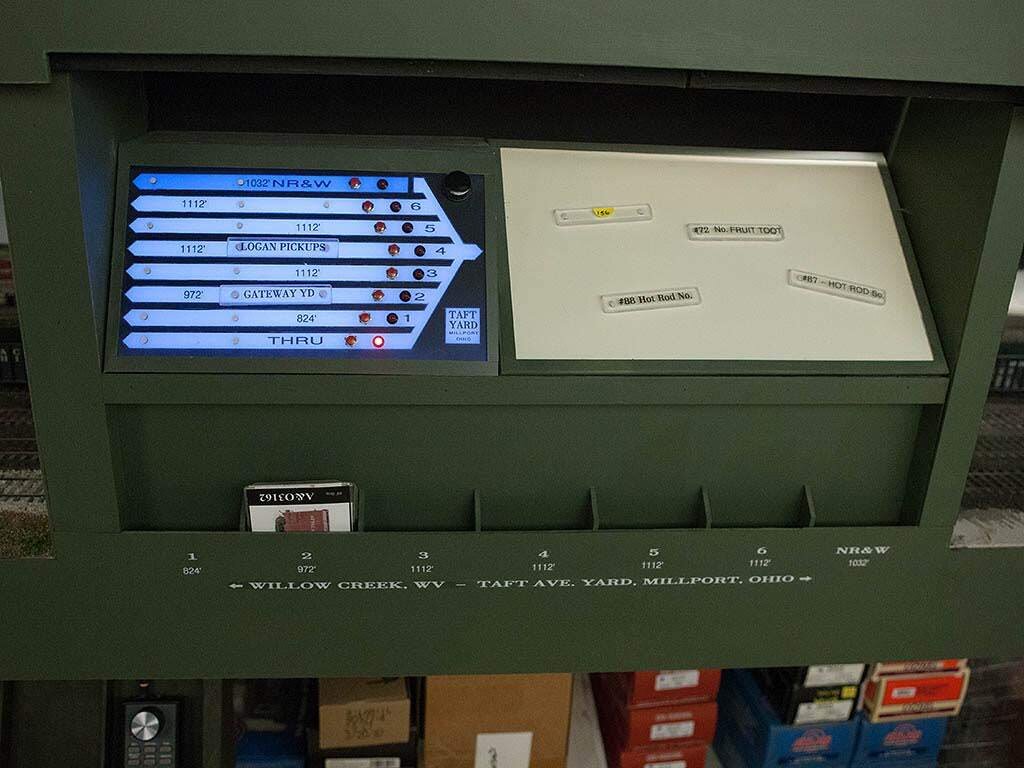
A look at the finished Taft Yd staging panel. The beige area to the right of the panel I made from styrene and attached a sprayed tin sheet for holding currently unused train tiles.
The pockets below hold the train packets for each given track. All lettering seen is done with the Brothers Label Maker.
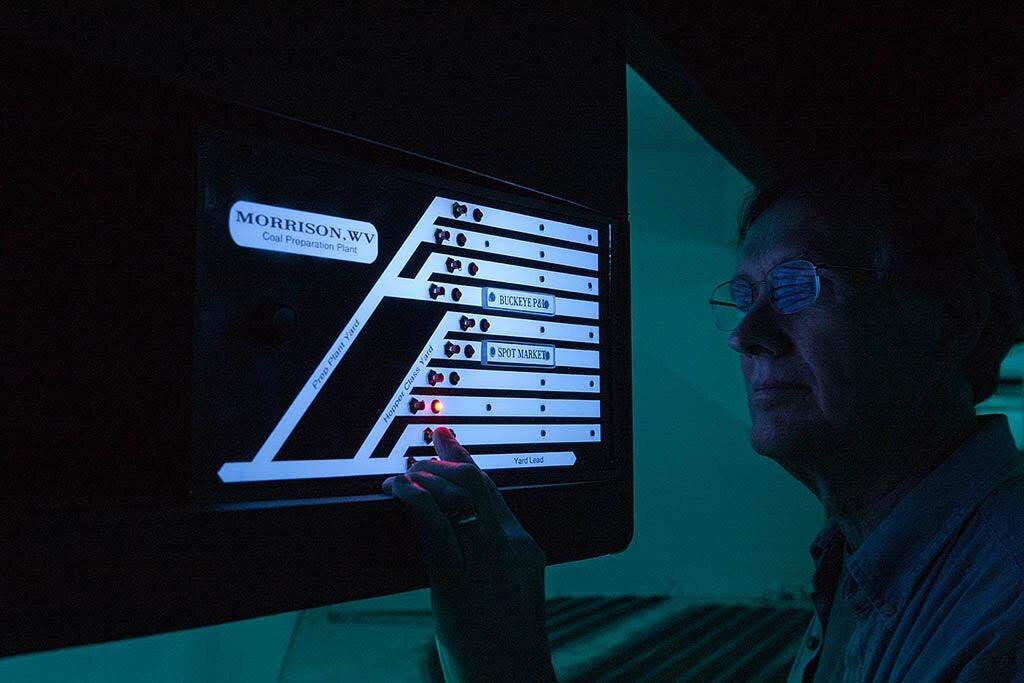
The backlit panel at Morrison showing off in night ops.
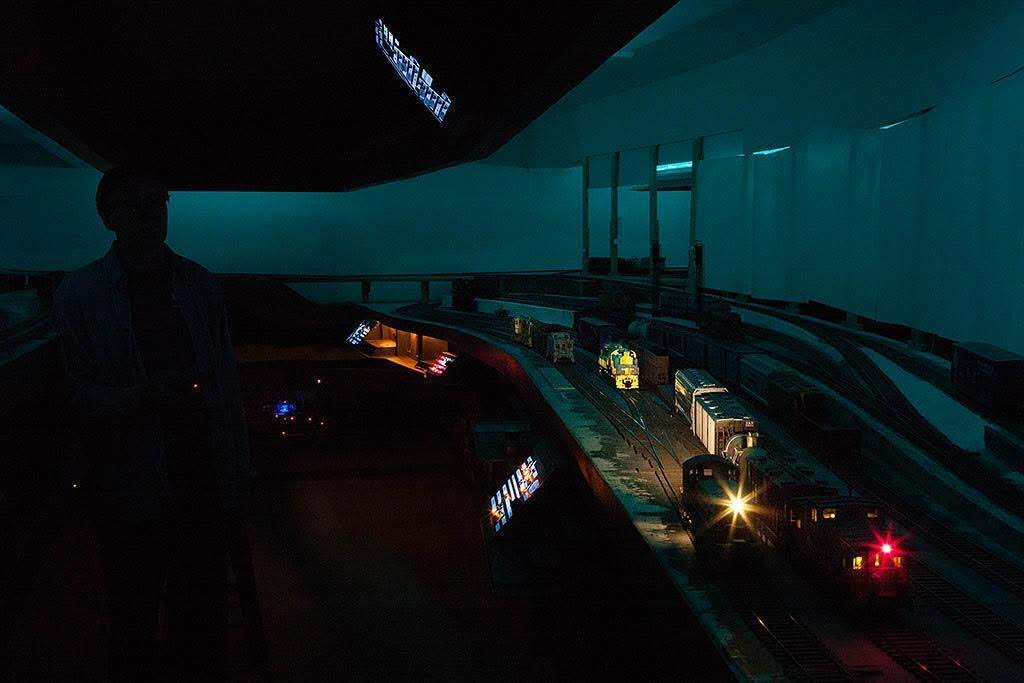
Headlights cast their beams in Havens Yard, Millport, O. The backlit panels show their worth.
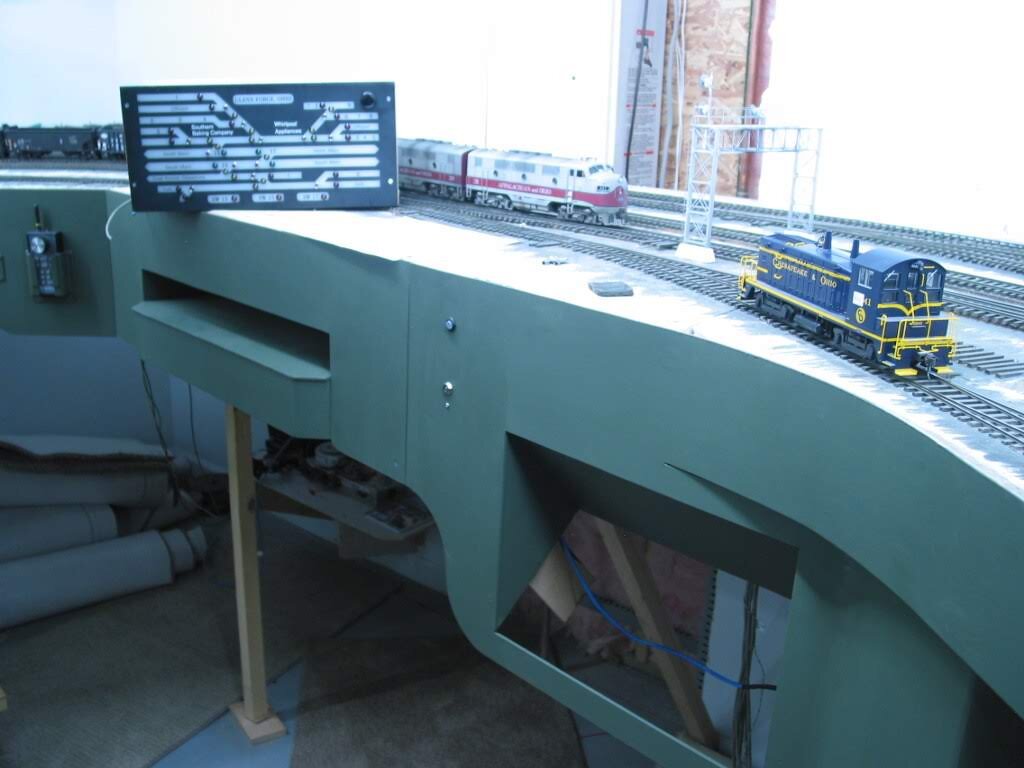
The Glenn Forge, O panel ready for install into the gaping hole below the SW.
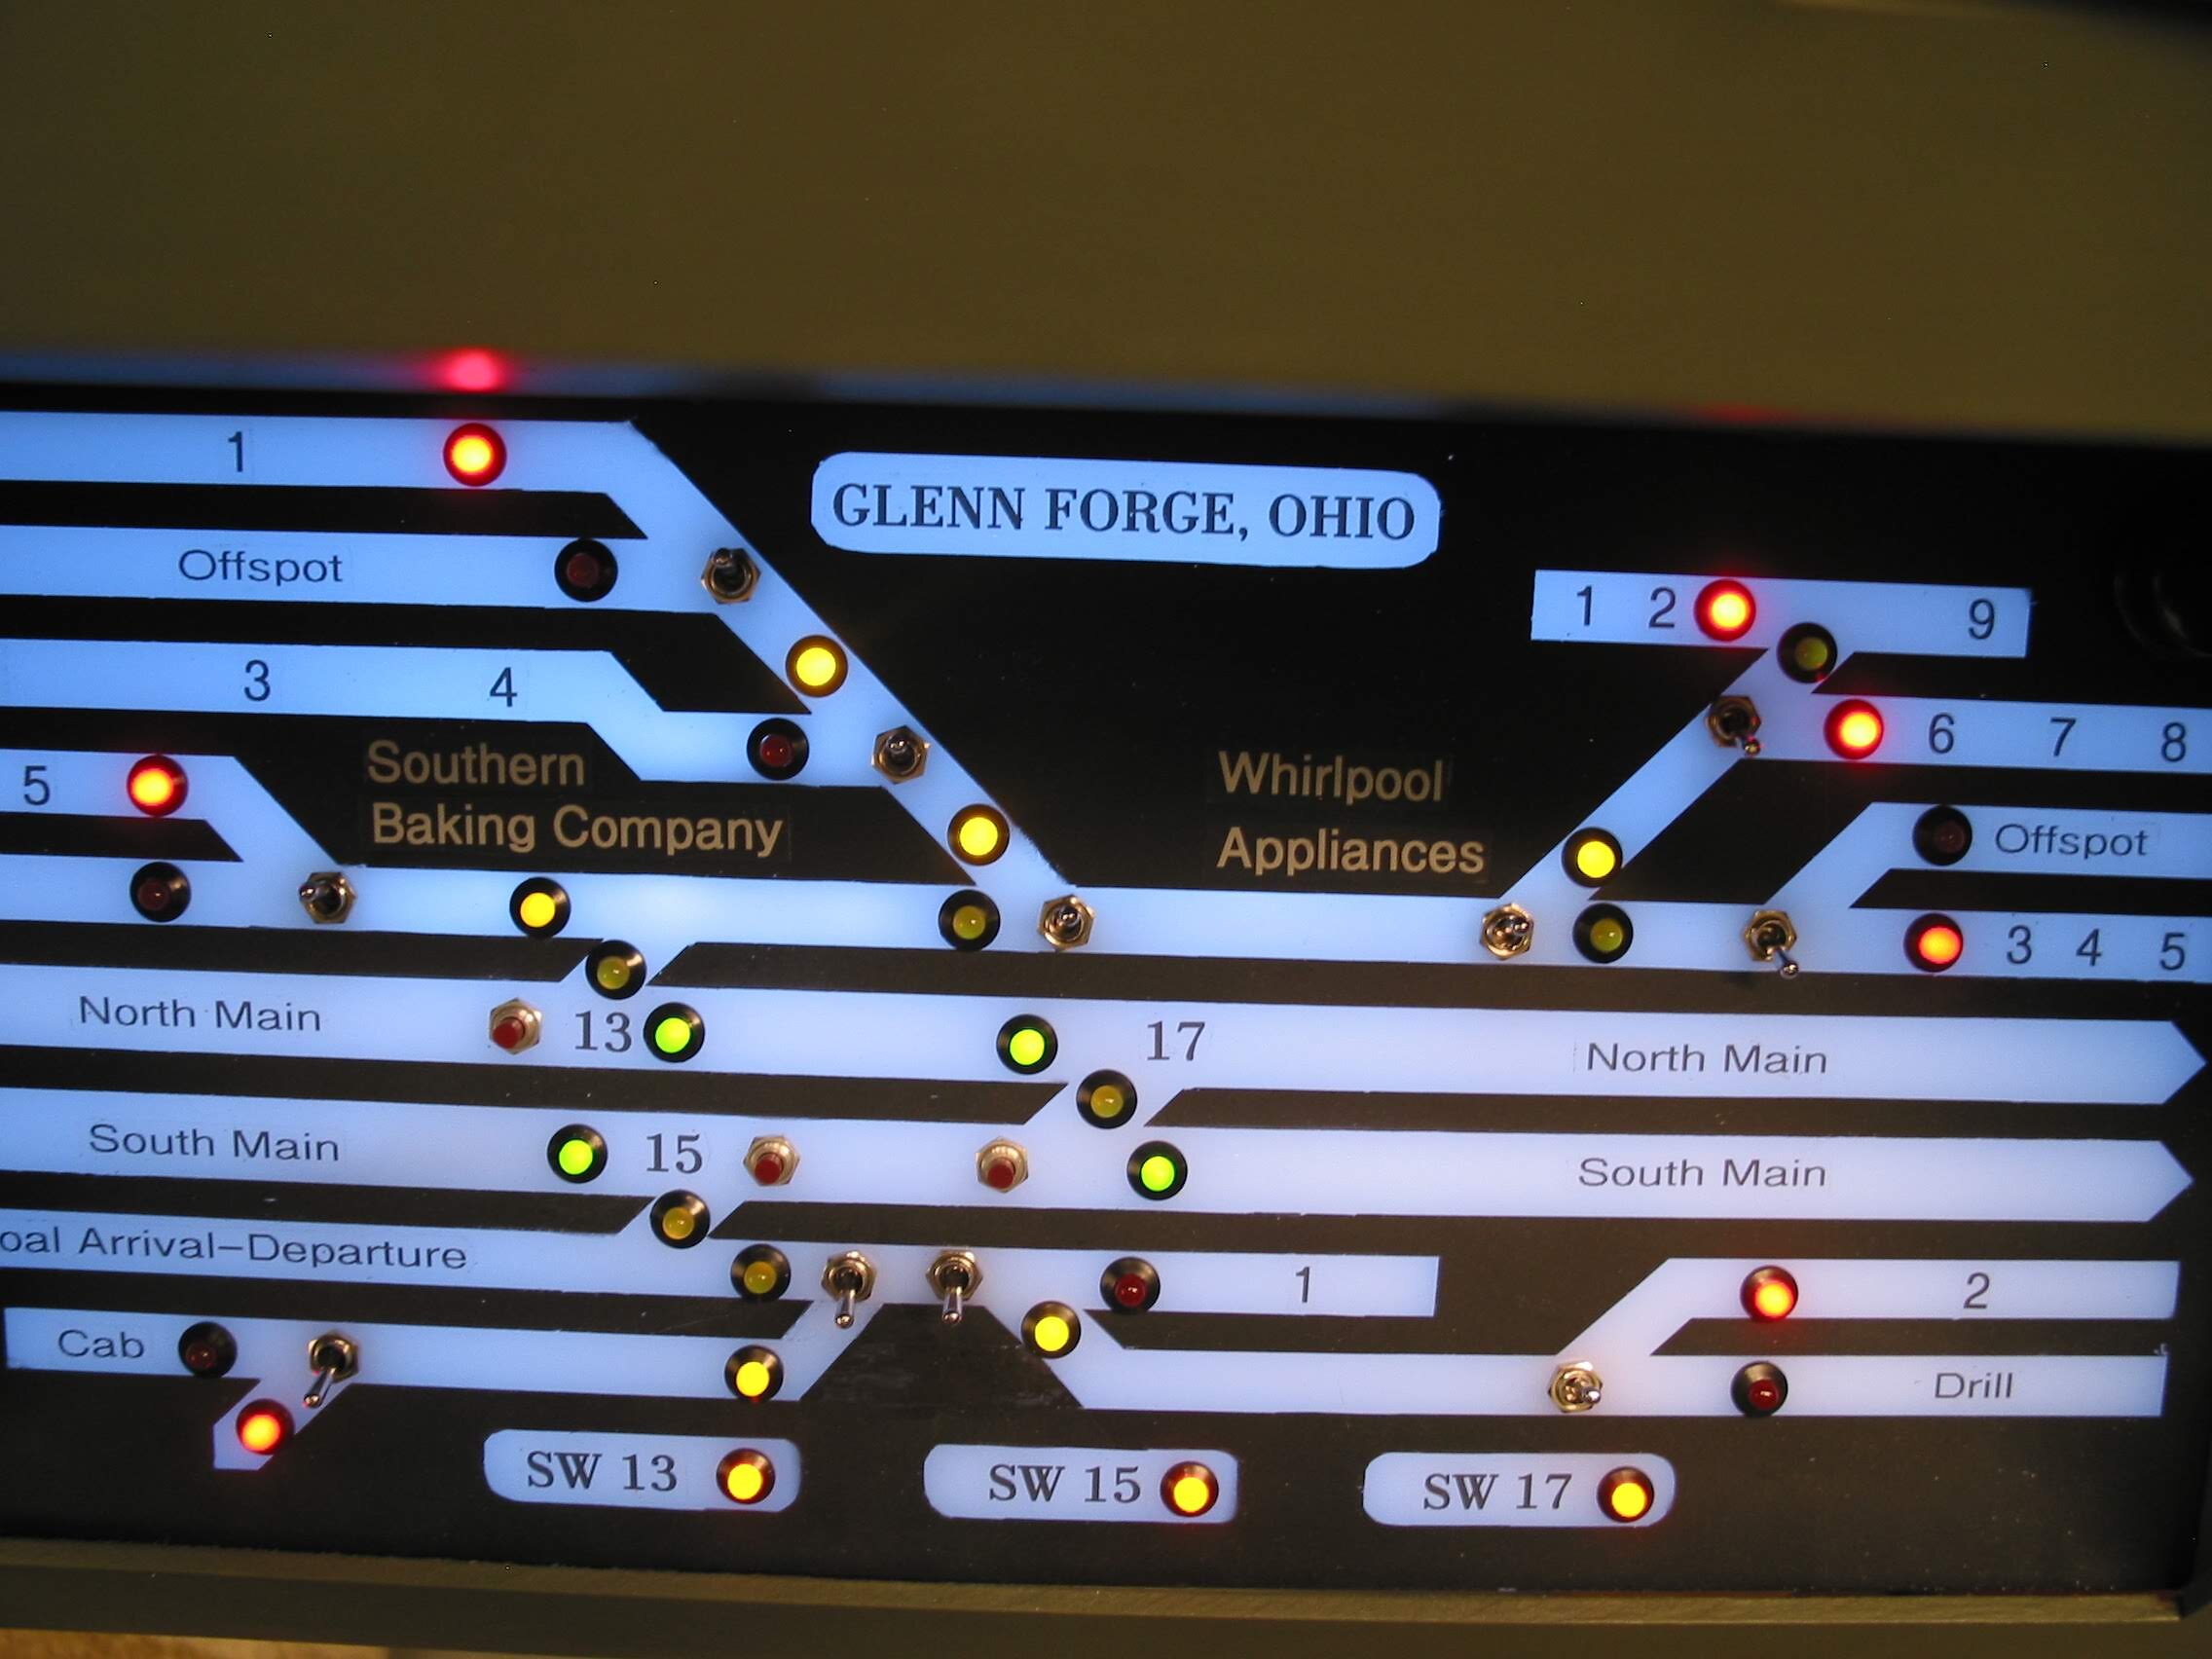
I used the panels as location data spots also. Industry spots and track identities are called out. The red push buttons for switch control are inactive unless unlocked/activated by the DS.
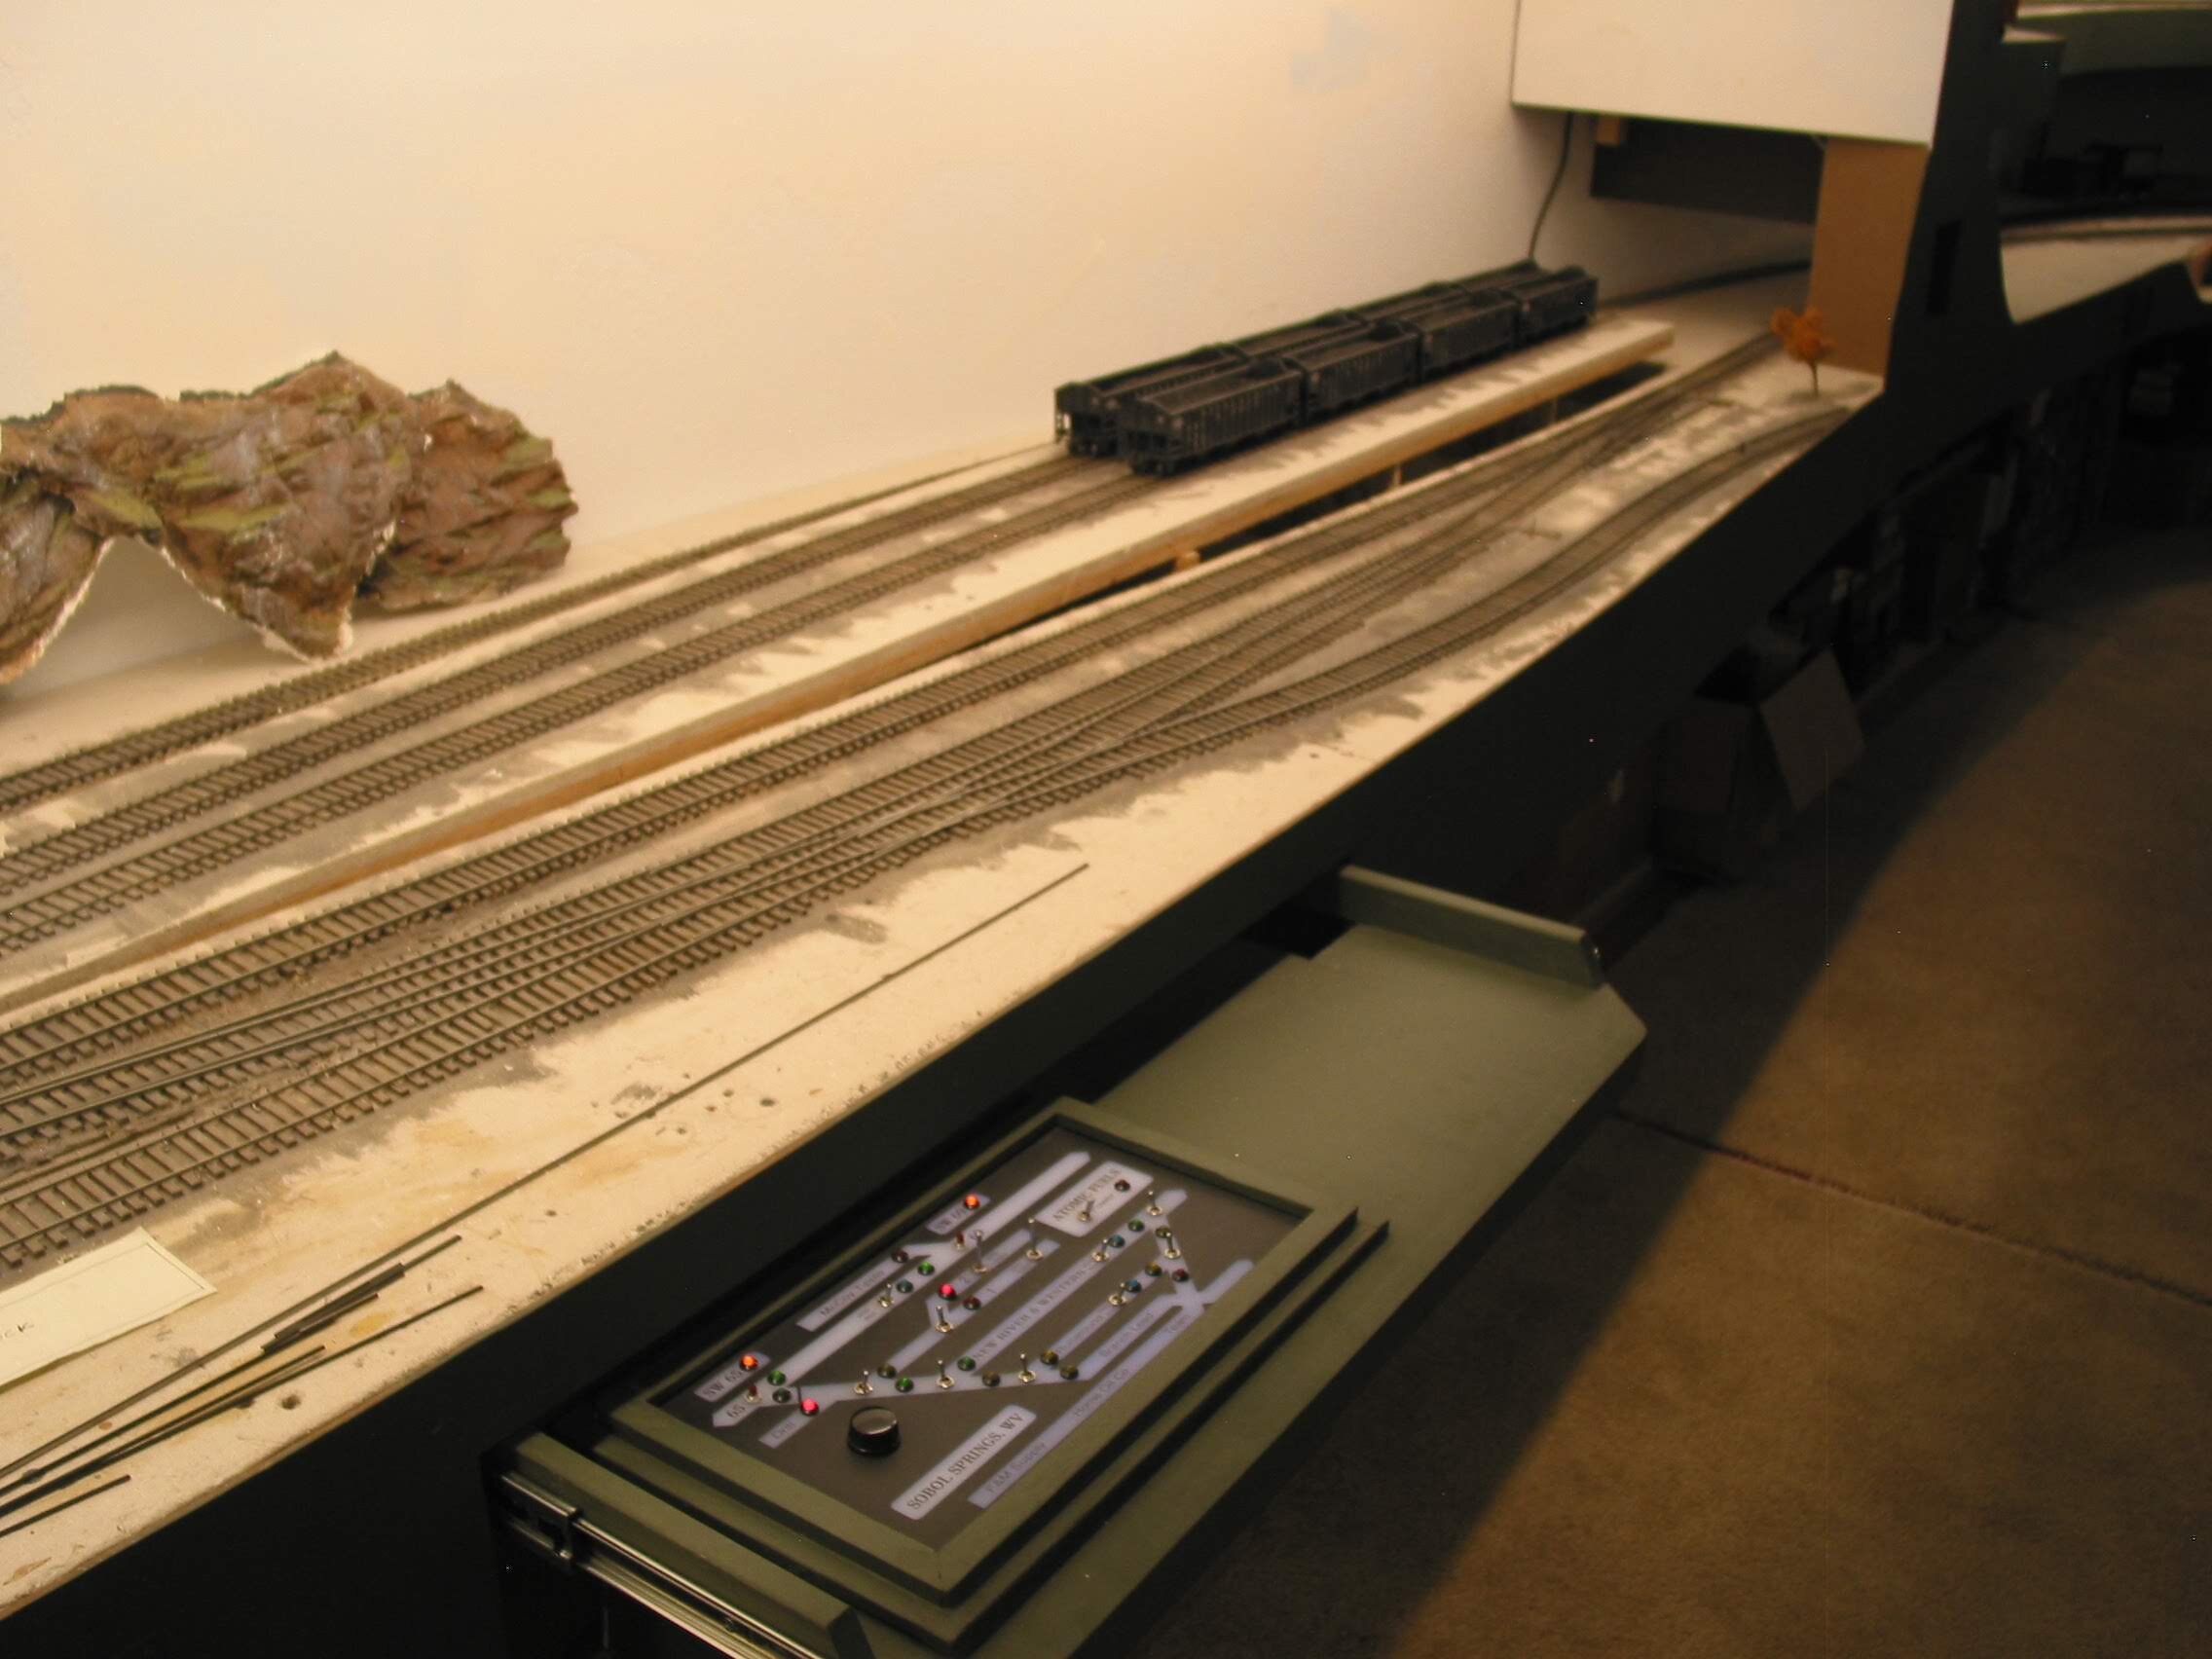
The Sobol Springs panel is a pull out drawer, thus saving aisle space when not in use. There five such on 2.0.
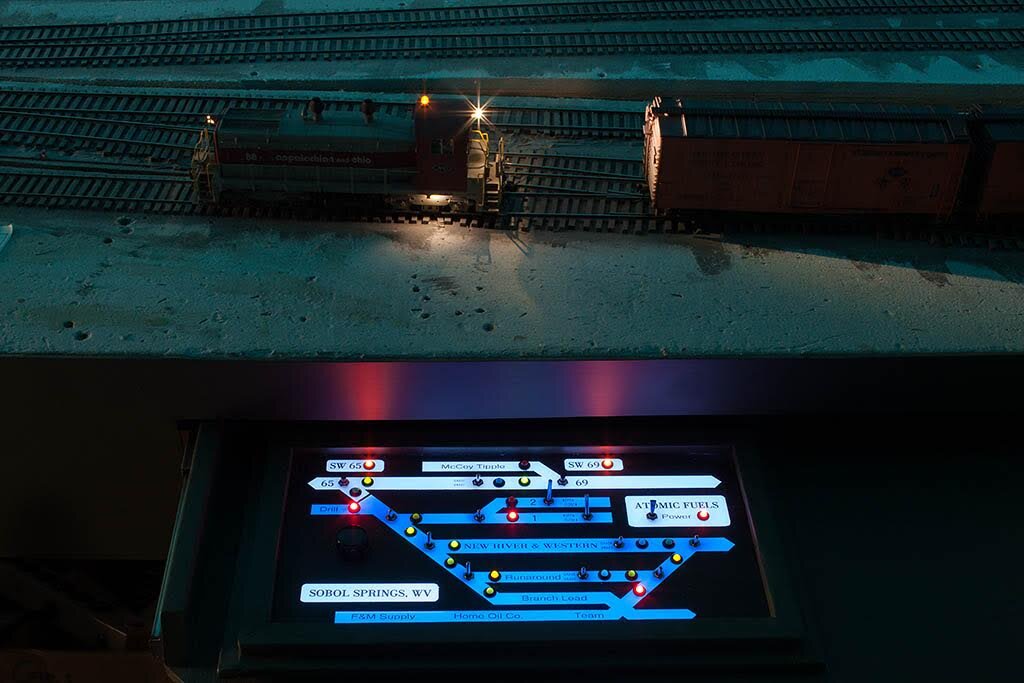
Night ops at “The Springs”. Note that Atomic Fuels has its controls also on the panel. And that the Springs is mostly New River & Western trackage, and thus ‘blue’ to distinguish it from the A&O.
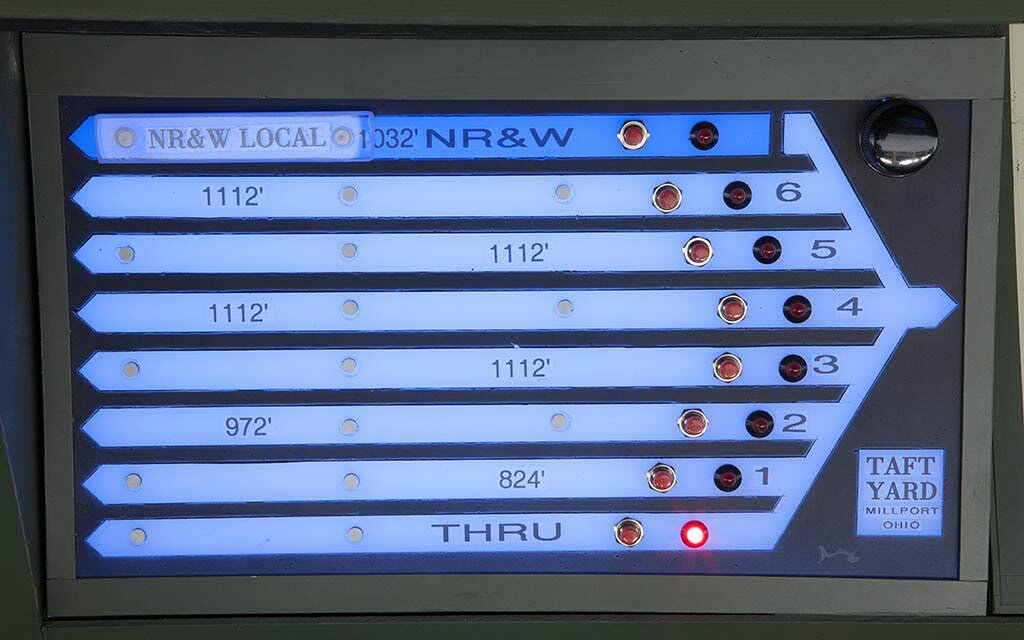
Another look at the Taft Yard staging panel observes that track routing circuitry is used to select each track via a single pushbutton. Selecting also powers up that particular track. Deselecting powers down. Pot dimmer is in upper right.
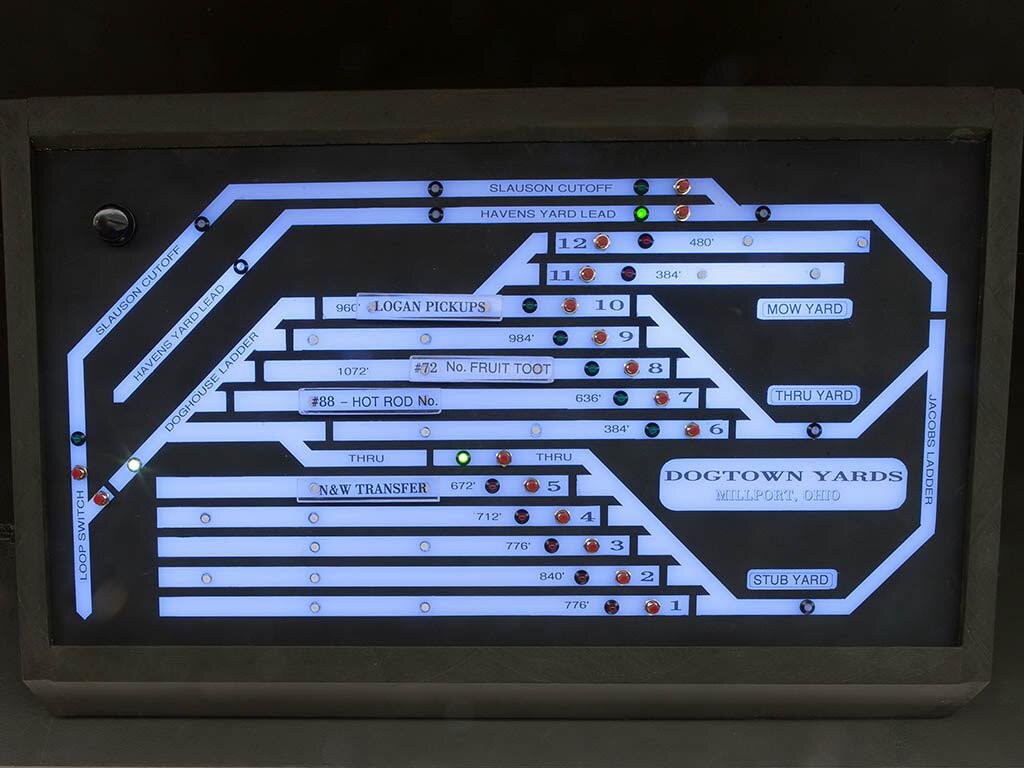
The lighting valence hanging Dogtown Yards panel is all route selected and features “progress” LEDs to follow your train as this trackage is beneath Havens Yard. The reverse loop “Slauson Cutoff” is seen which allows southbound trains to turn and eventually head back north. Ladder detectors enable the crew to make sure the train has been parked within the track without fouling the ladder. A single CAT5 connects this panel to an Arduino. Amazing. Thanks Bob.
The finished product looks quite professional and is extremely operator friendly.
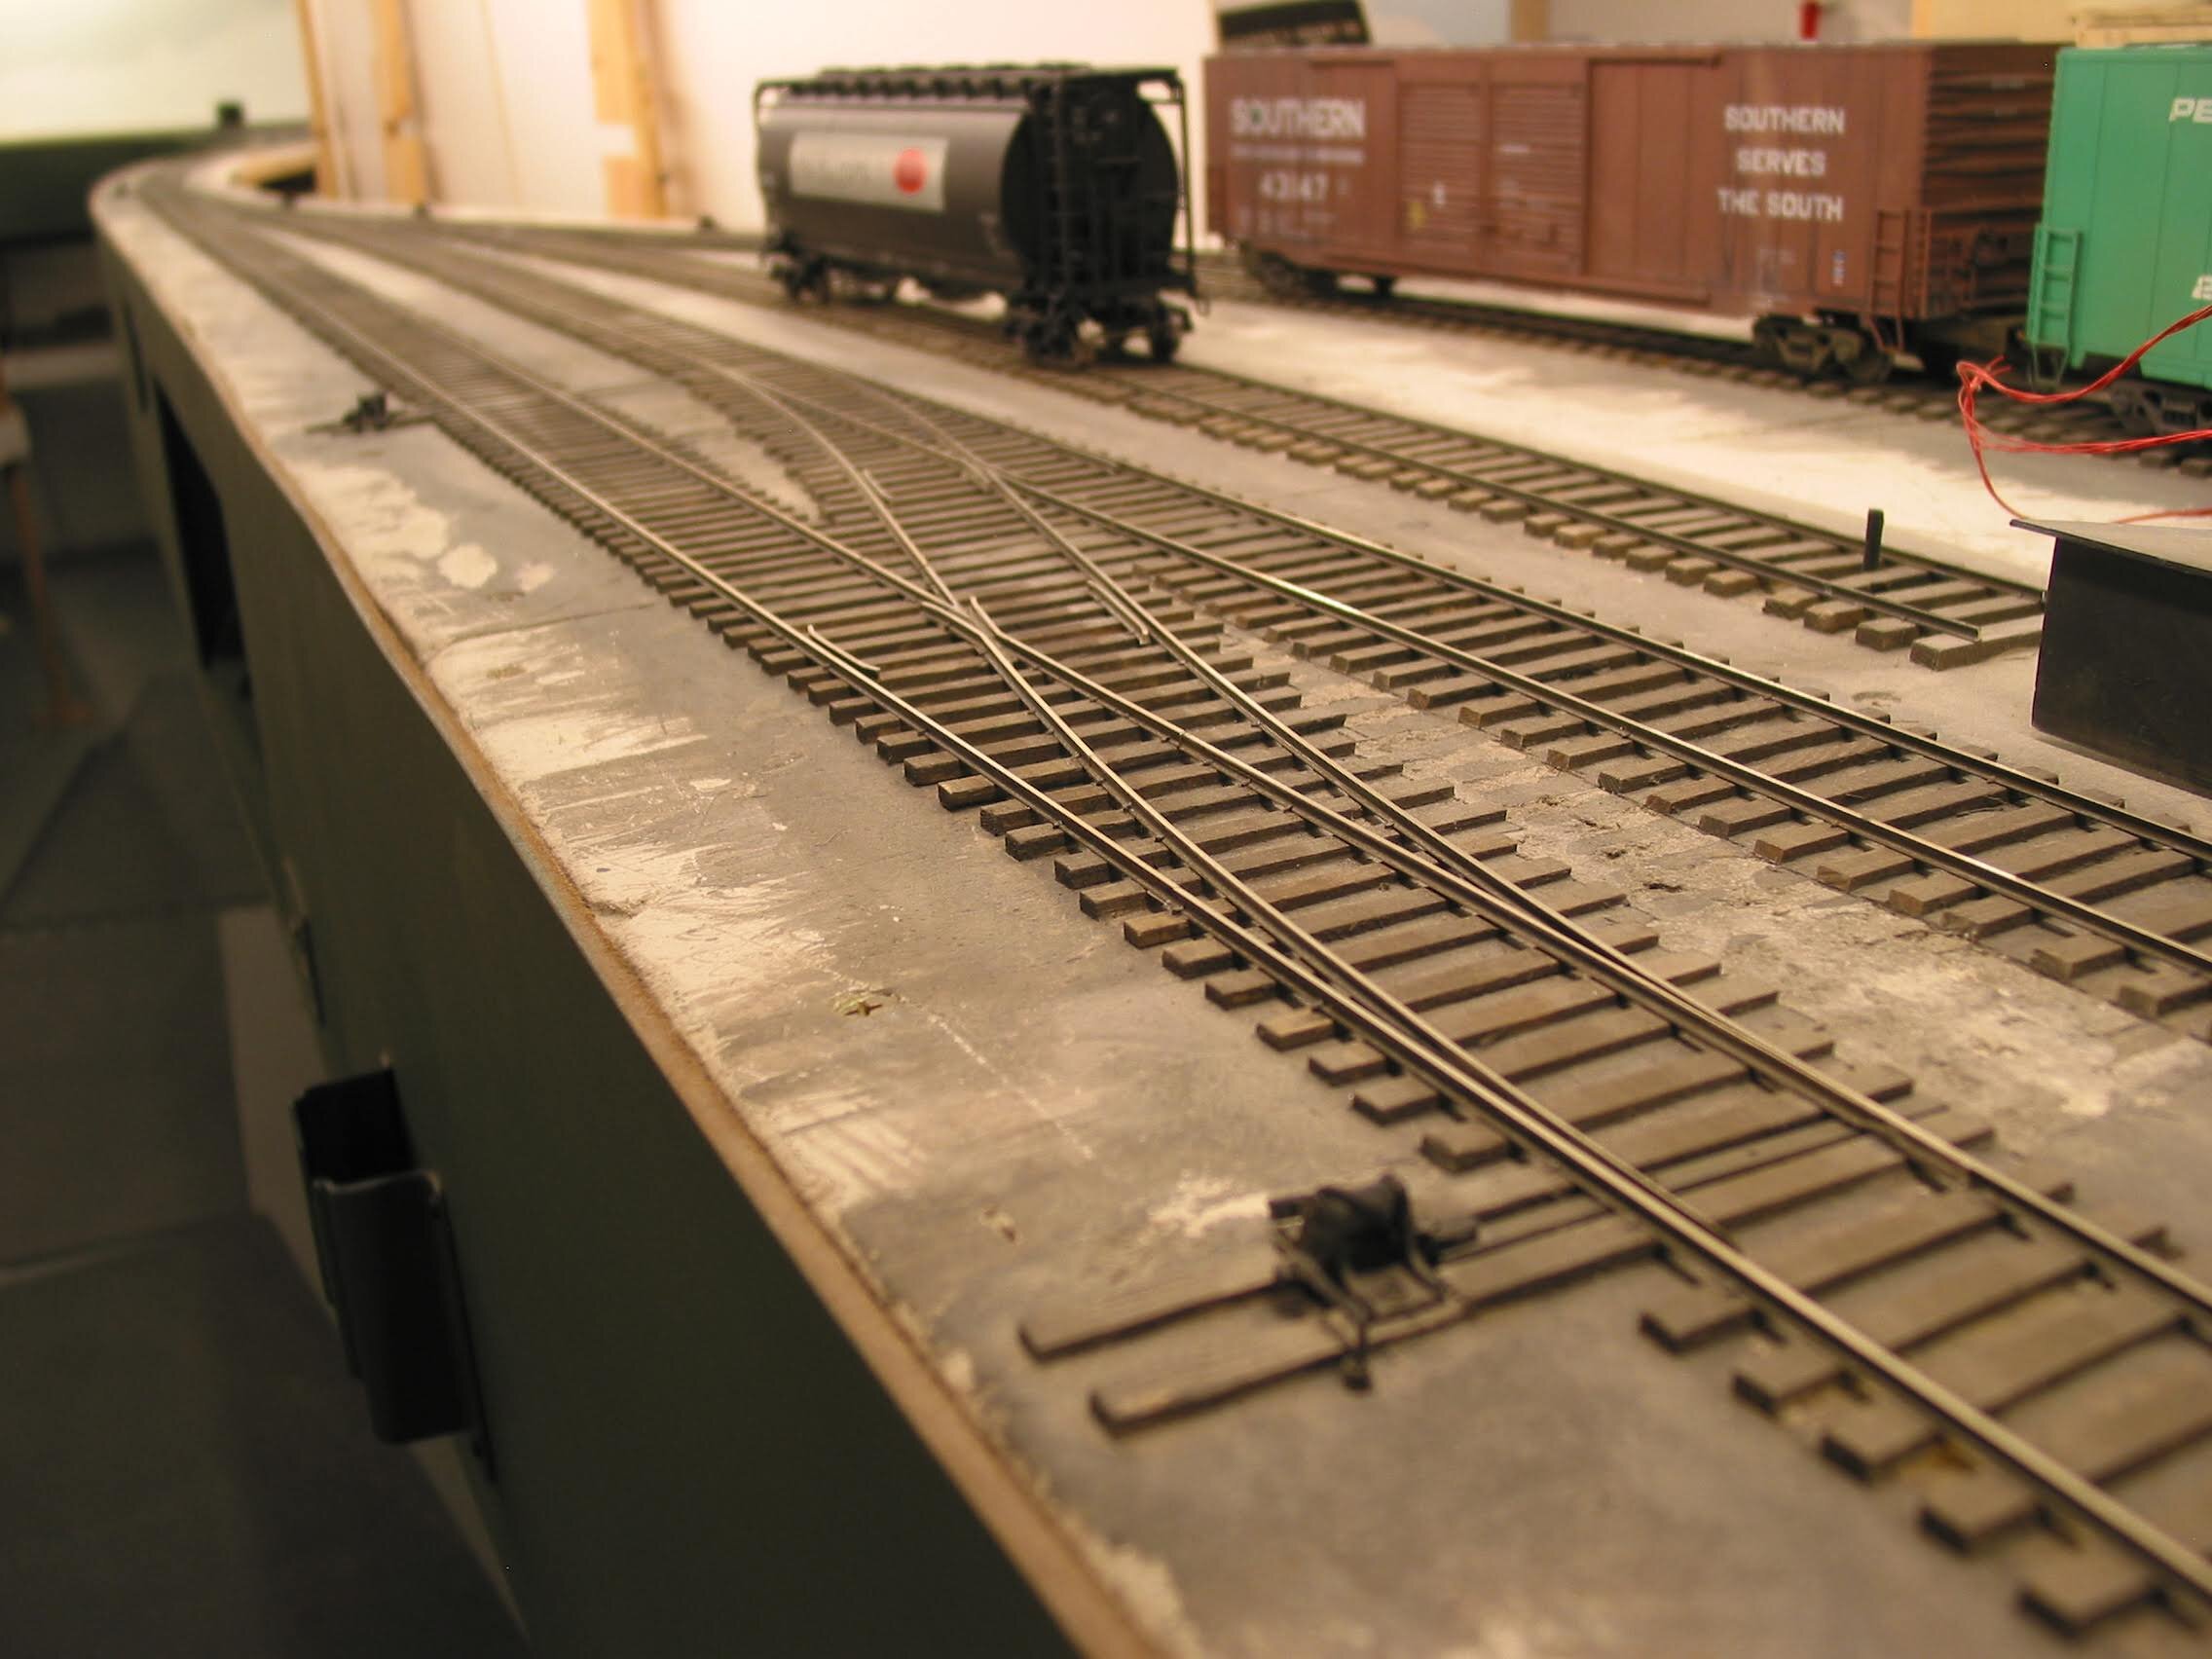
In Fillmore Heights Industrial the trackage is shallow, and high (intentionally). I chose to use HO scale Caboose ground throws with a crank mechanism to an underside two-leaf micro switch. Throwing the turnout changes frog polarity and also lights panel LEDs thru simple cascade circuitry.
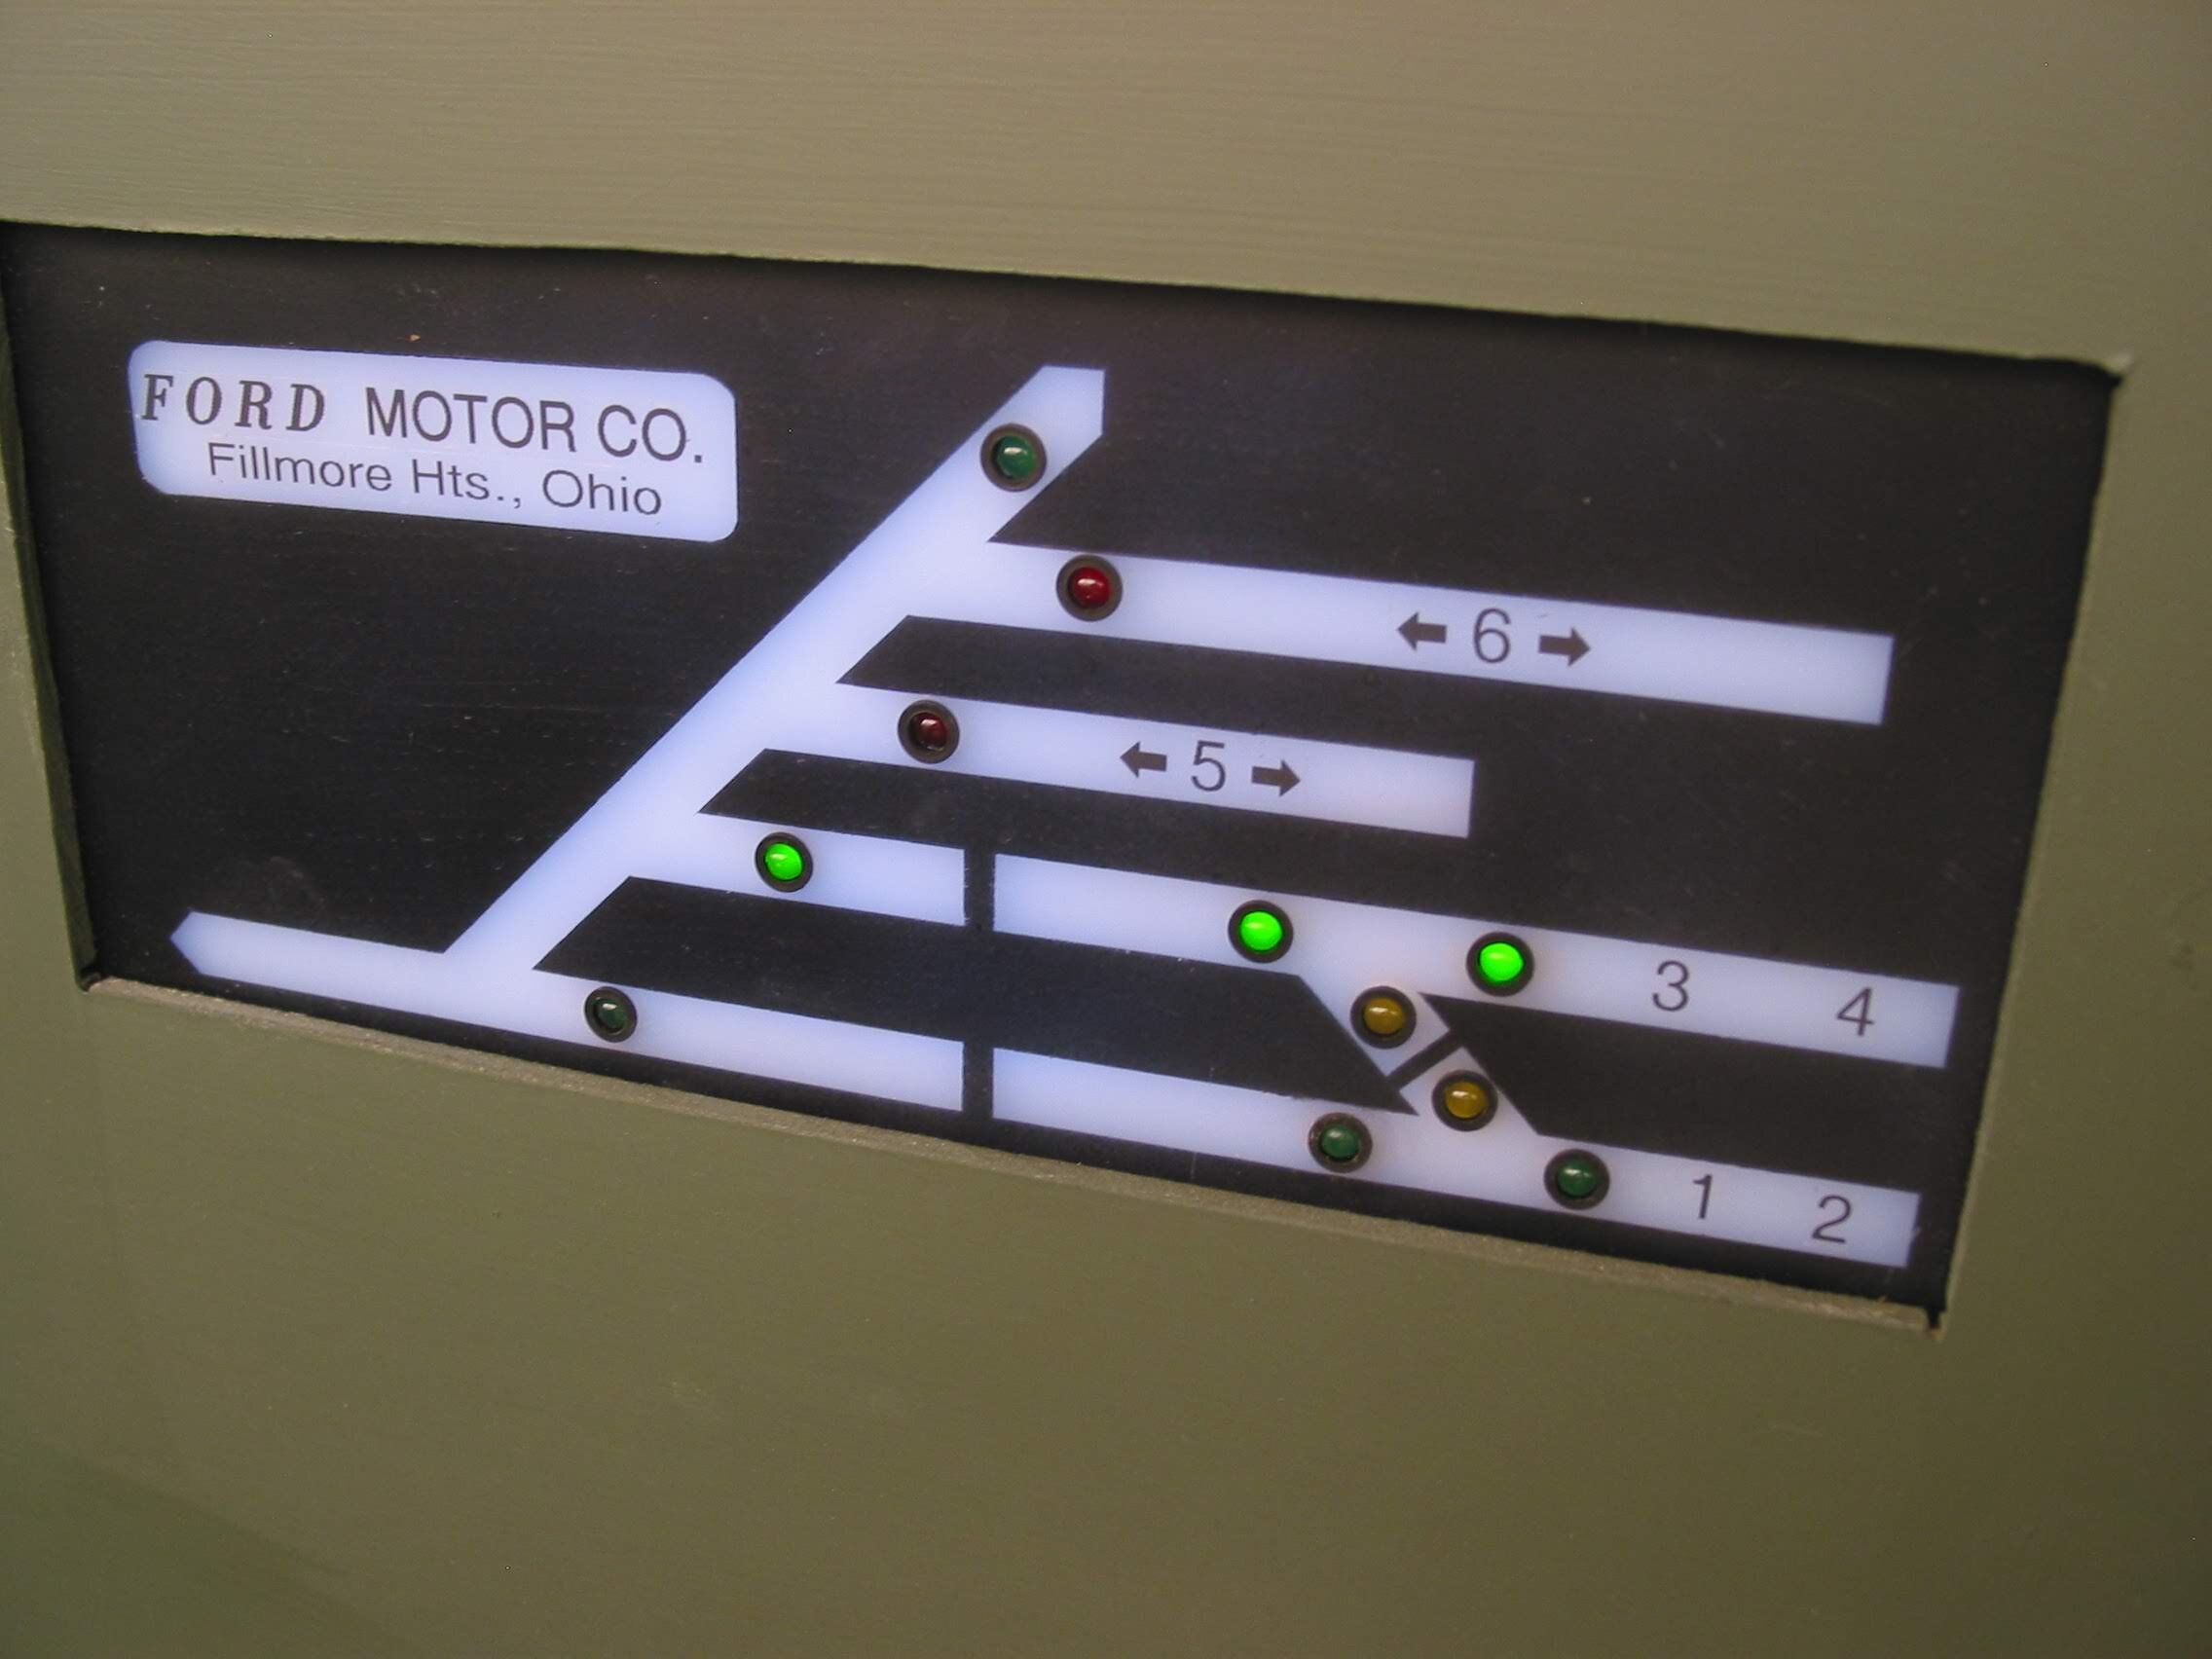
A look at the Ford plant LED panel. Why do this? Night ops helper. And spot indicator.
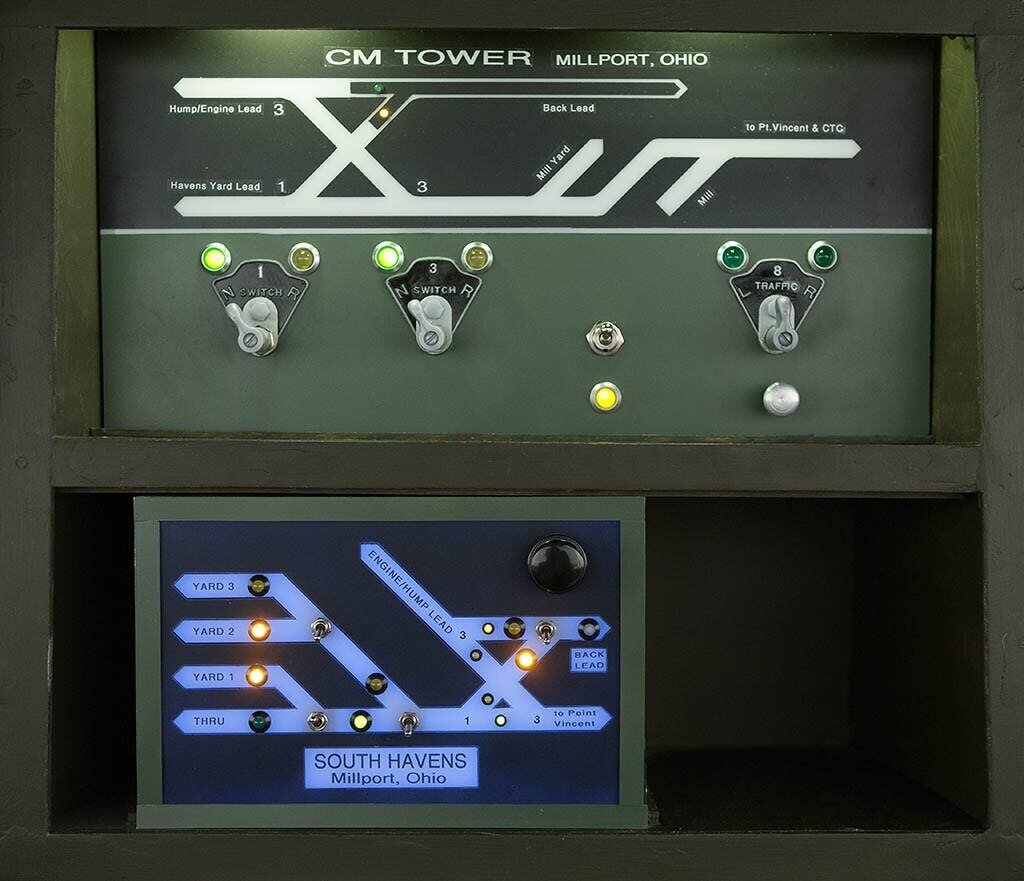
Why fwo panels at Millport’s CM Tower? The upper panel is a CTC like design and via the Traffic Lever connects with the DS panel. This would be appropriate for a tower panel and as such it is not backlit.
The lower panel is for all other turnouts in this vacinity. Note that there are small repeater LEDs on the lower panel to indicate which way the panel’s SW1 and 3 are thrown.
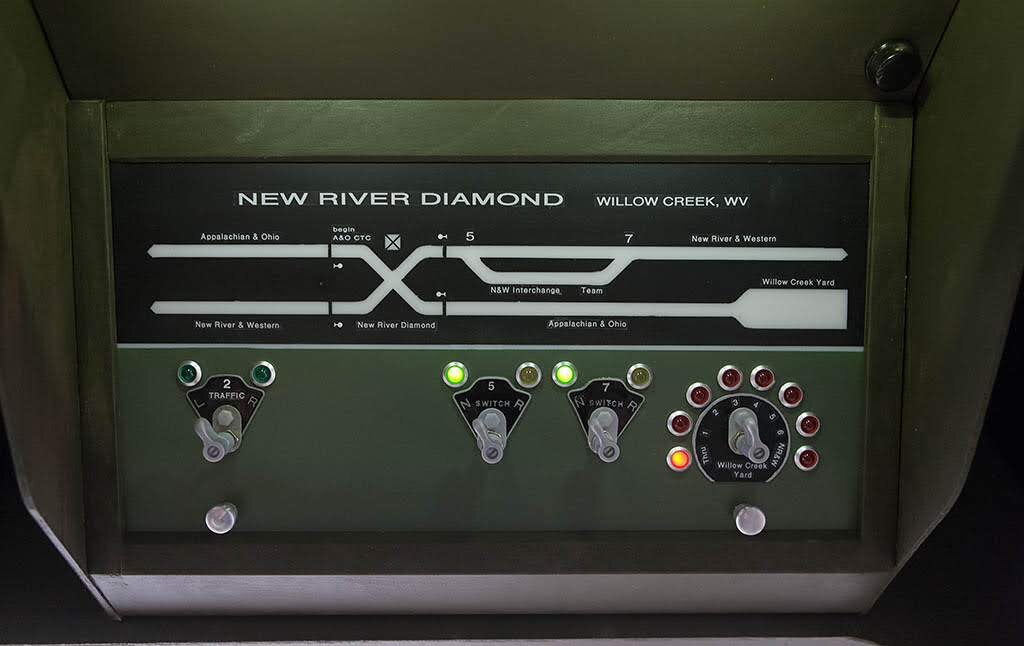
Directly across the aisle is the light valence-hanging New River Diamond panel. This is also a tower panel and connects with the CTC via the traffic Lever. A LED behind a light shade provides for night ops. The CM Tower Operator controls all three panels (previous slide).
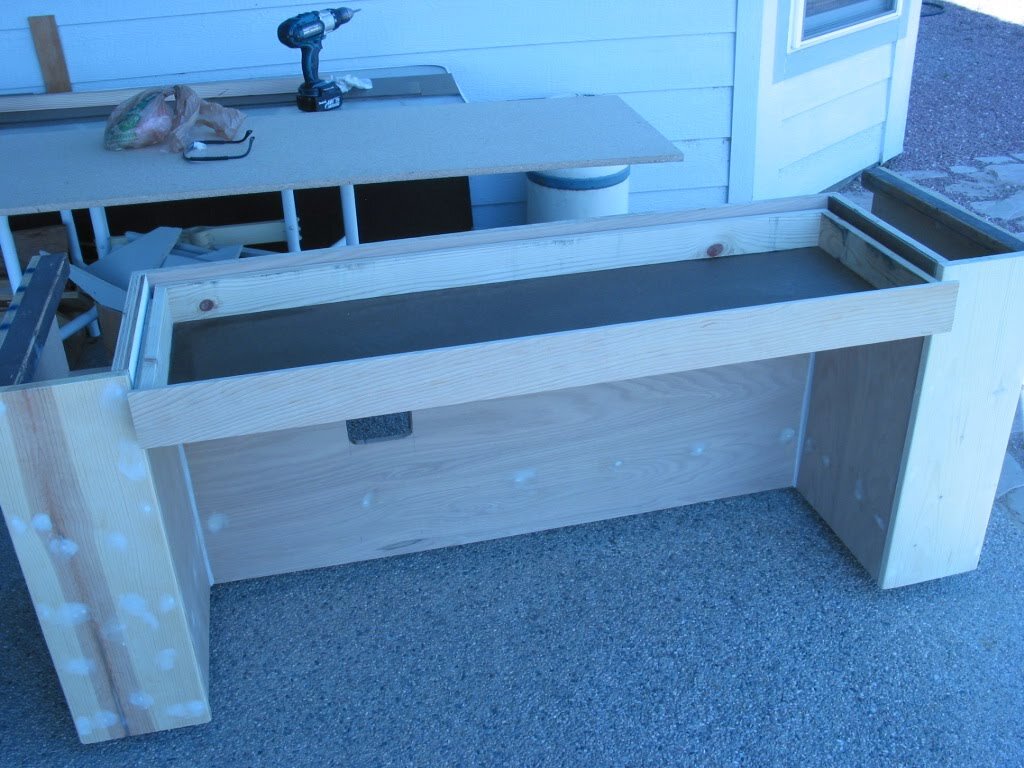
Construction of the CTC machine began with the purchase of some cabinet grade plywood and proceeded form there. Because the machine needs to be easily moveable, it sits on 4 swivel casters.
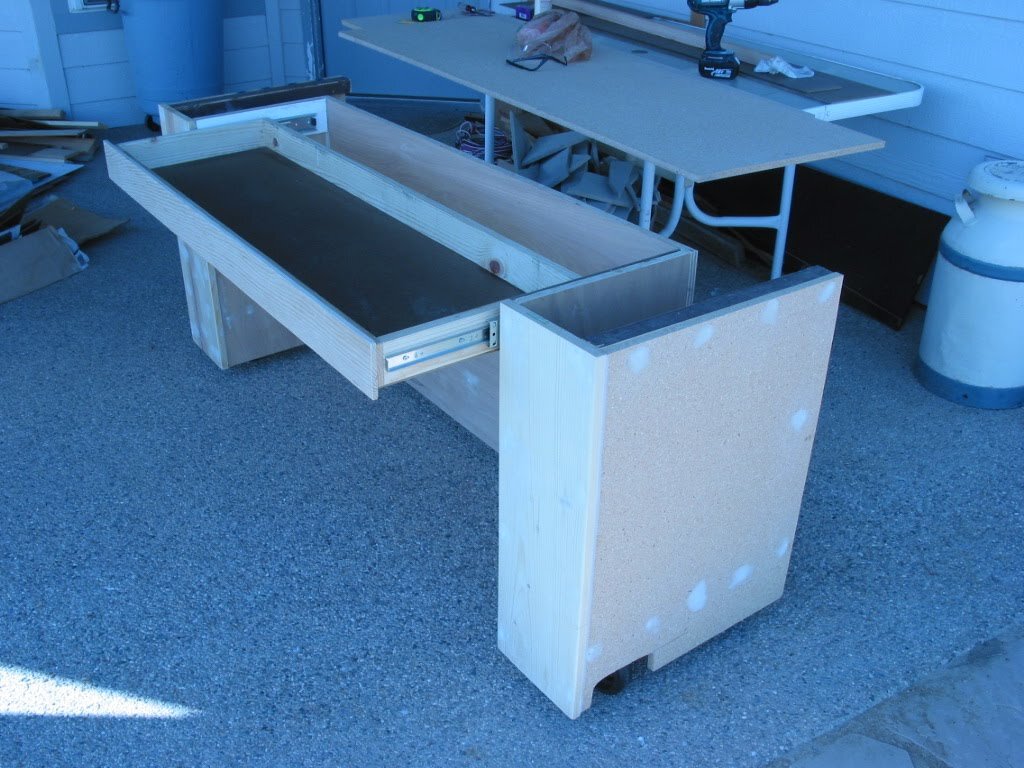
A drawer for storage of Train Sheets and supplies seemed like a good idea. It was.
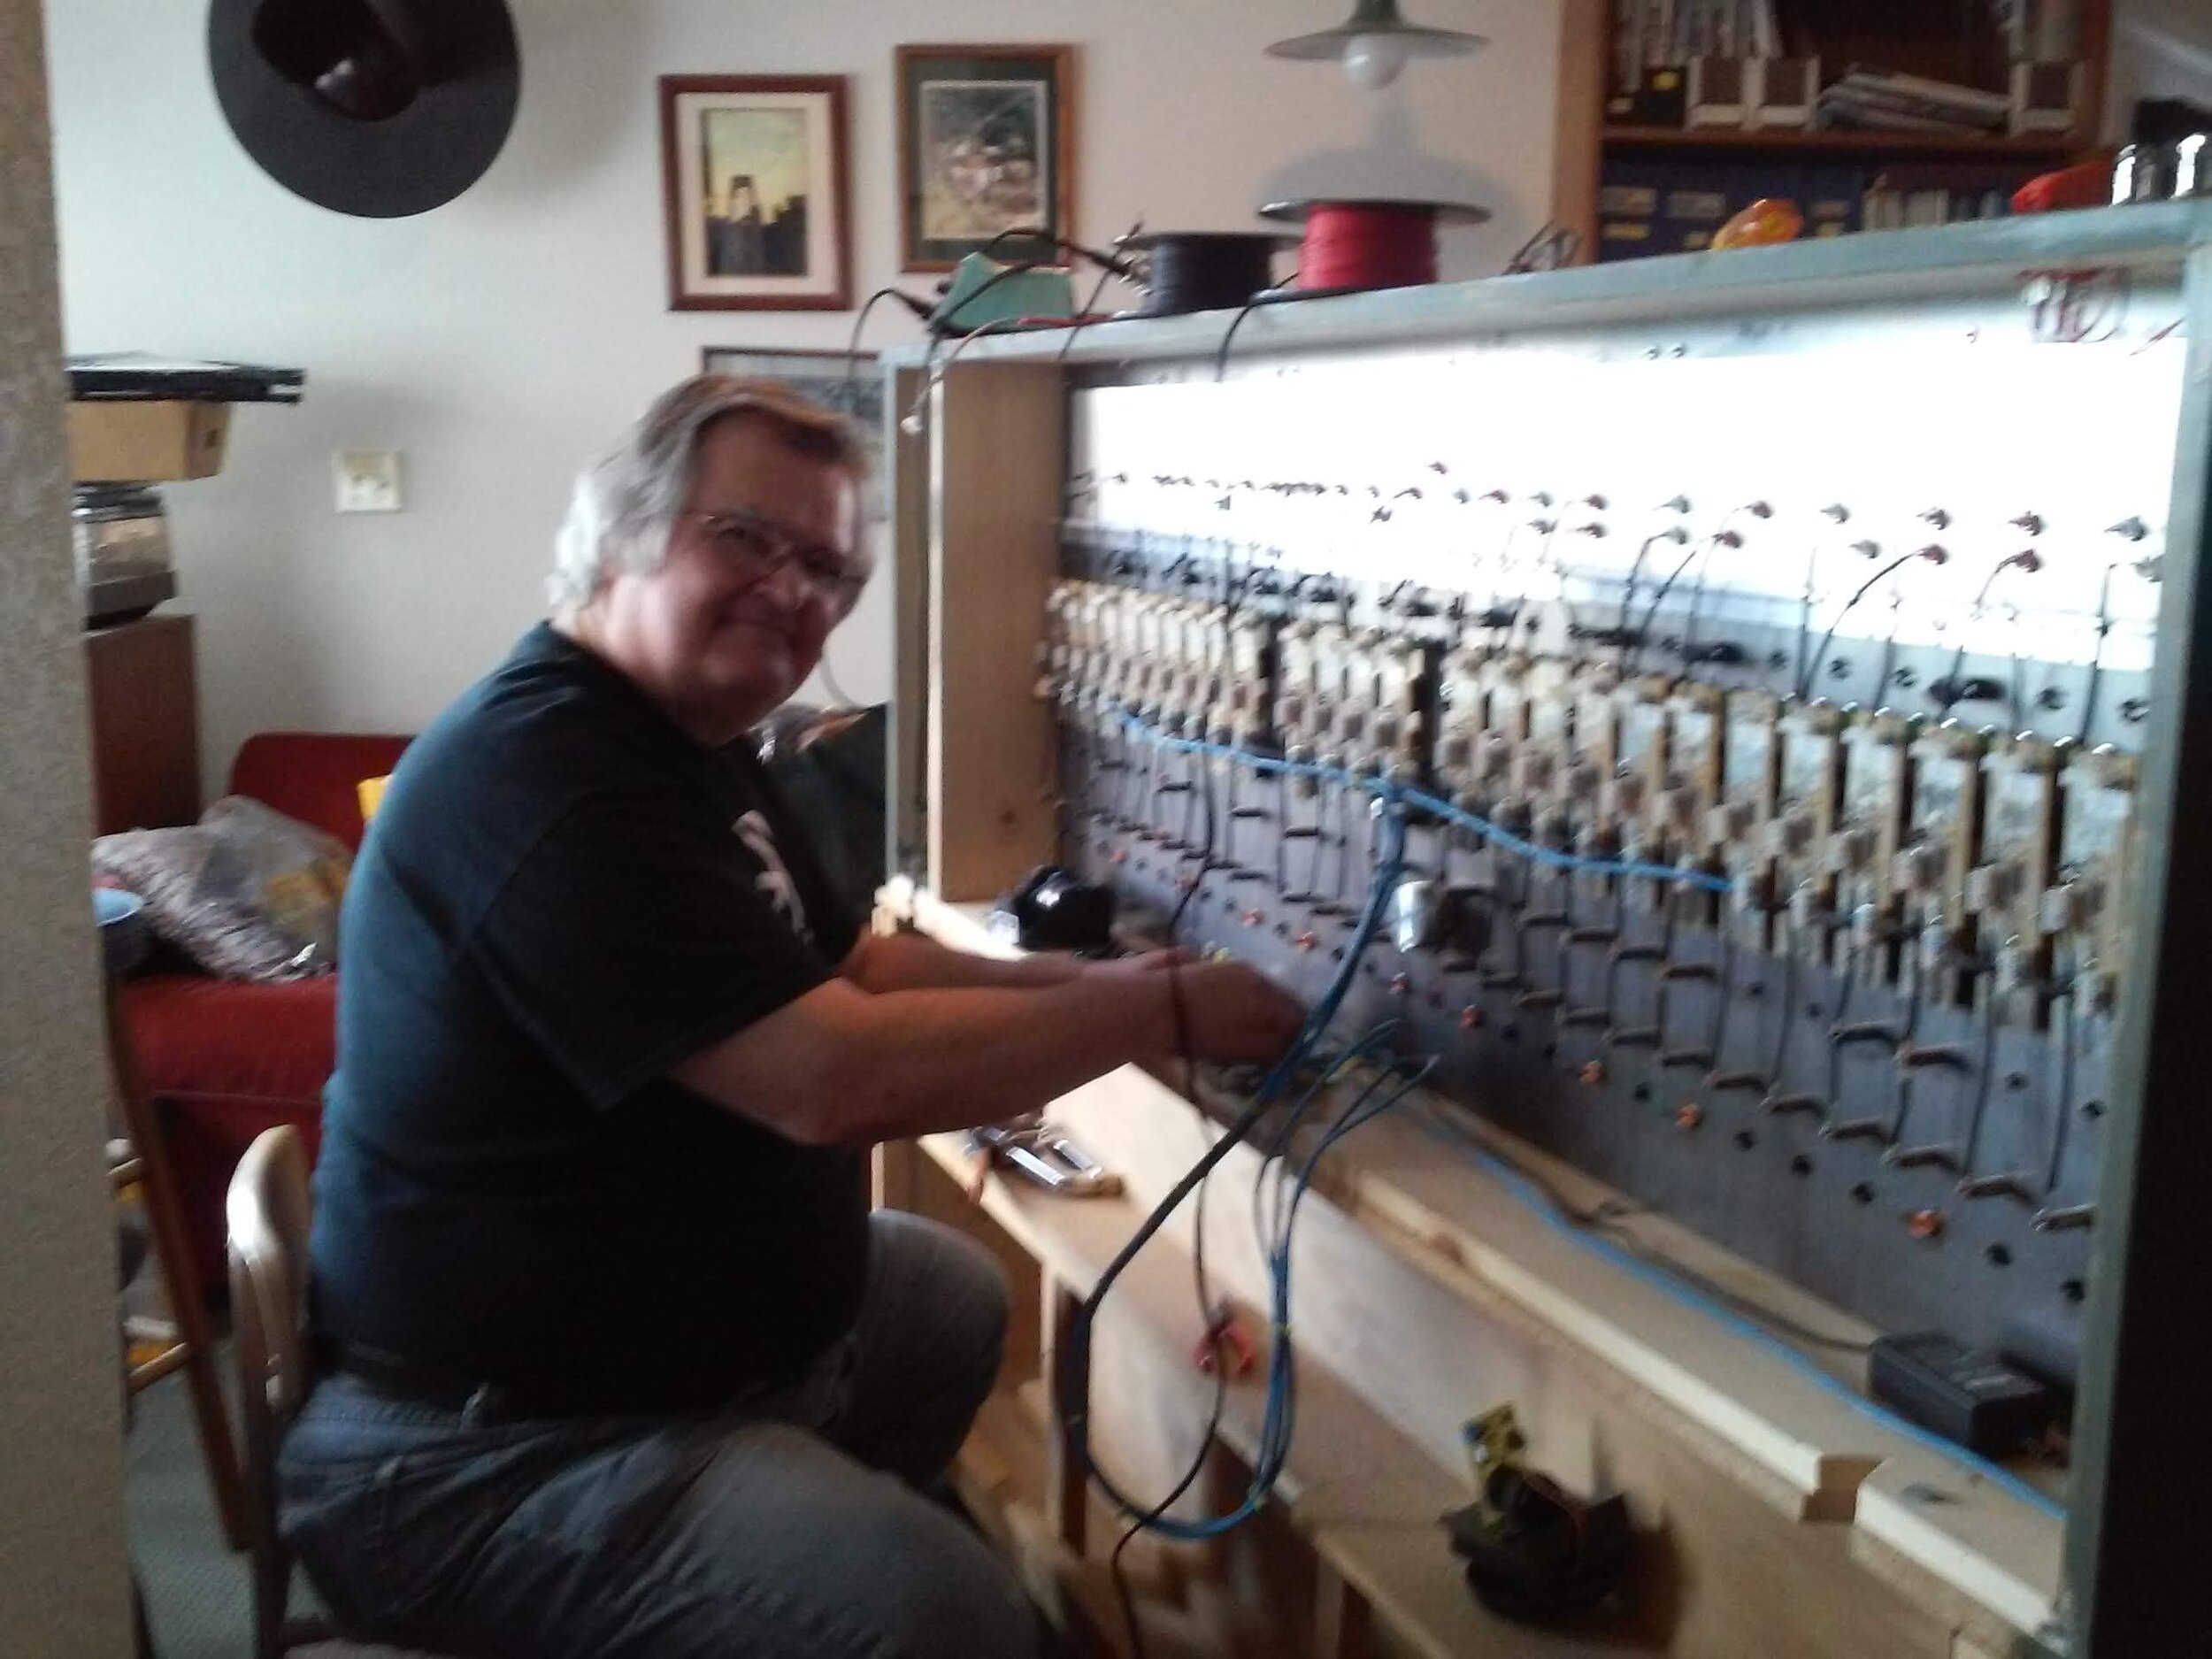
Bob Sobol connecting up his baby- an amazing machine. See the Forum post on “CTC Build” for many photos and description of his journey to make this a reality. It’s a lot of fun to dispatch the A&O.
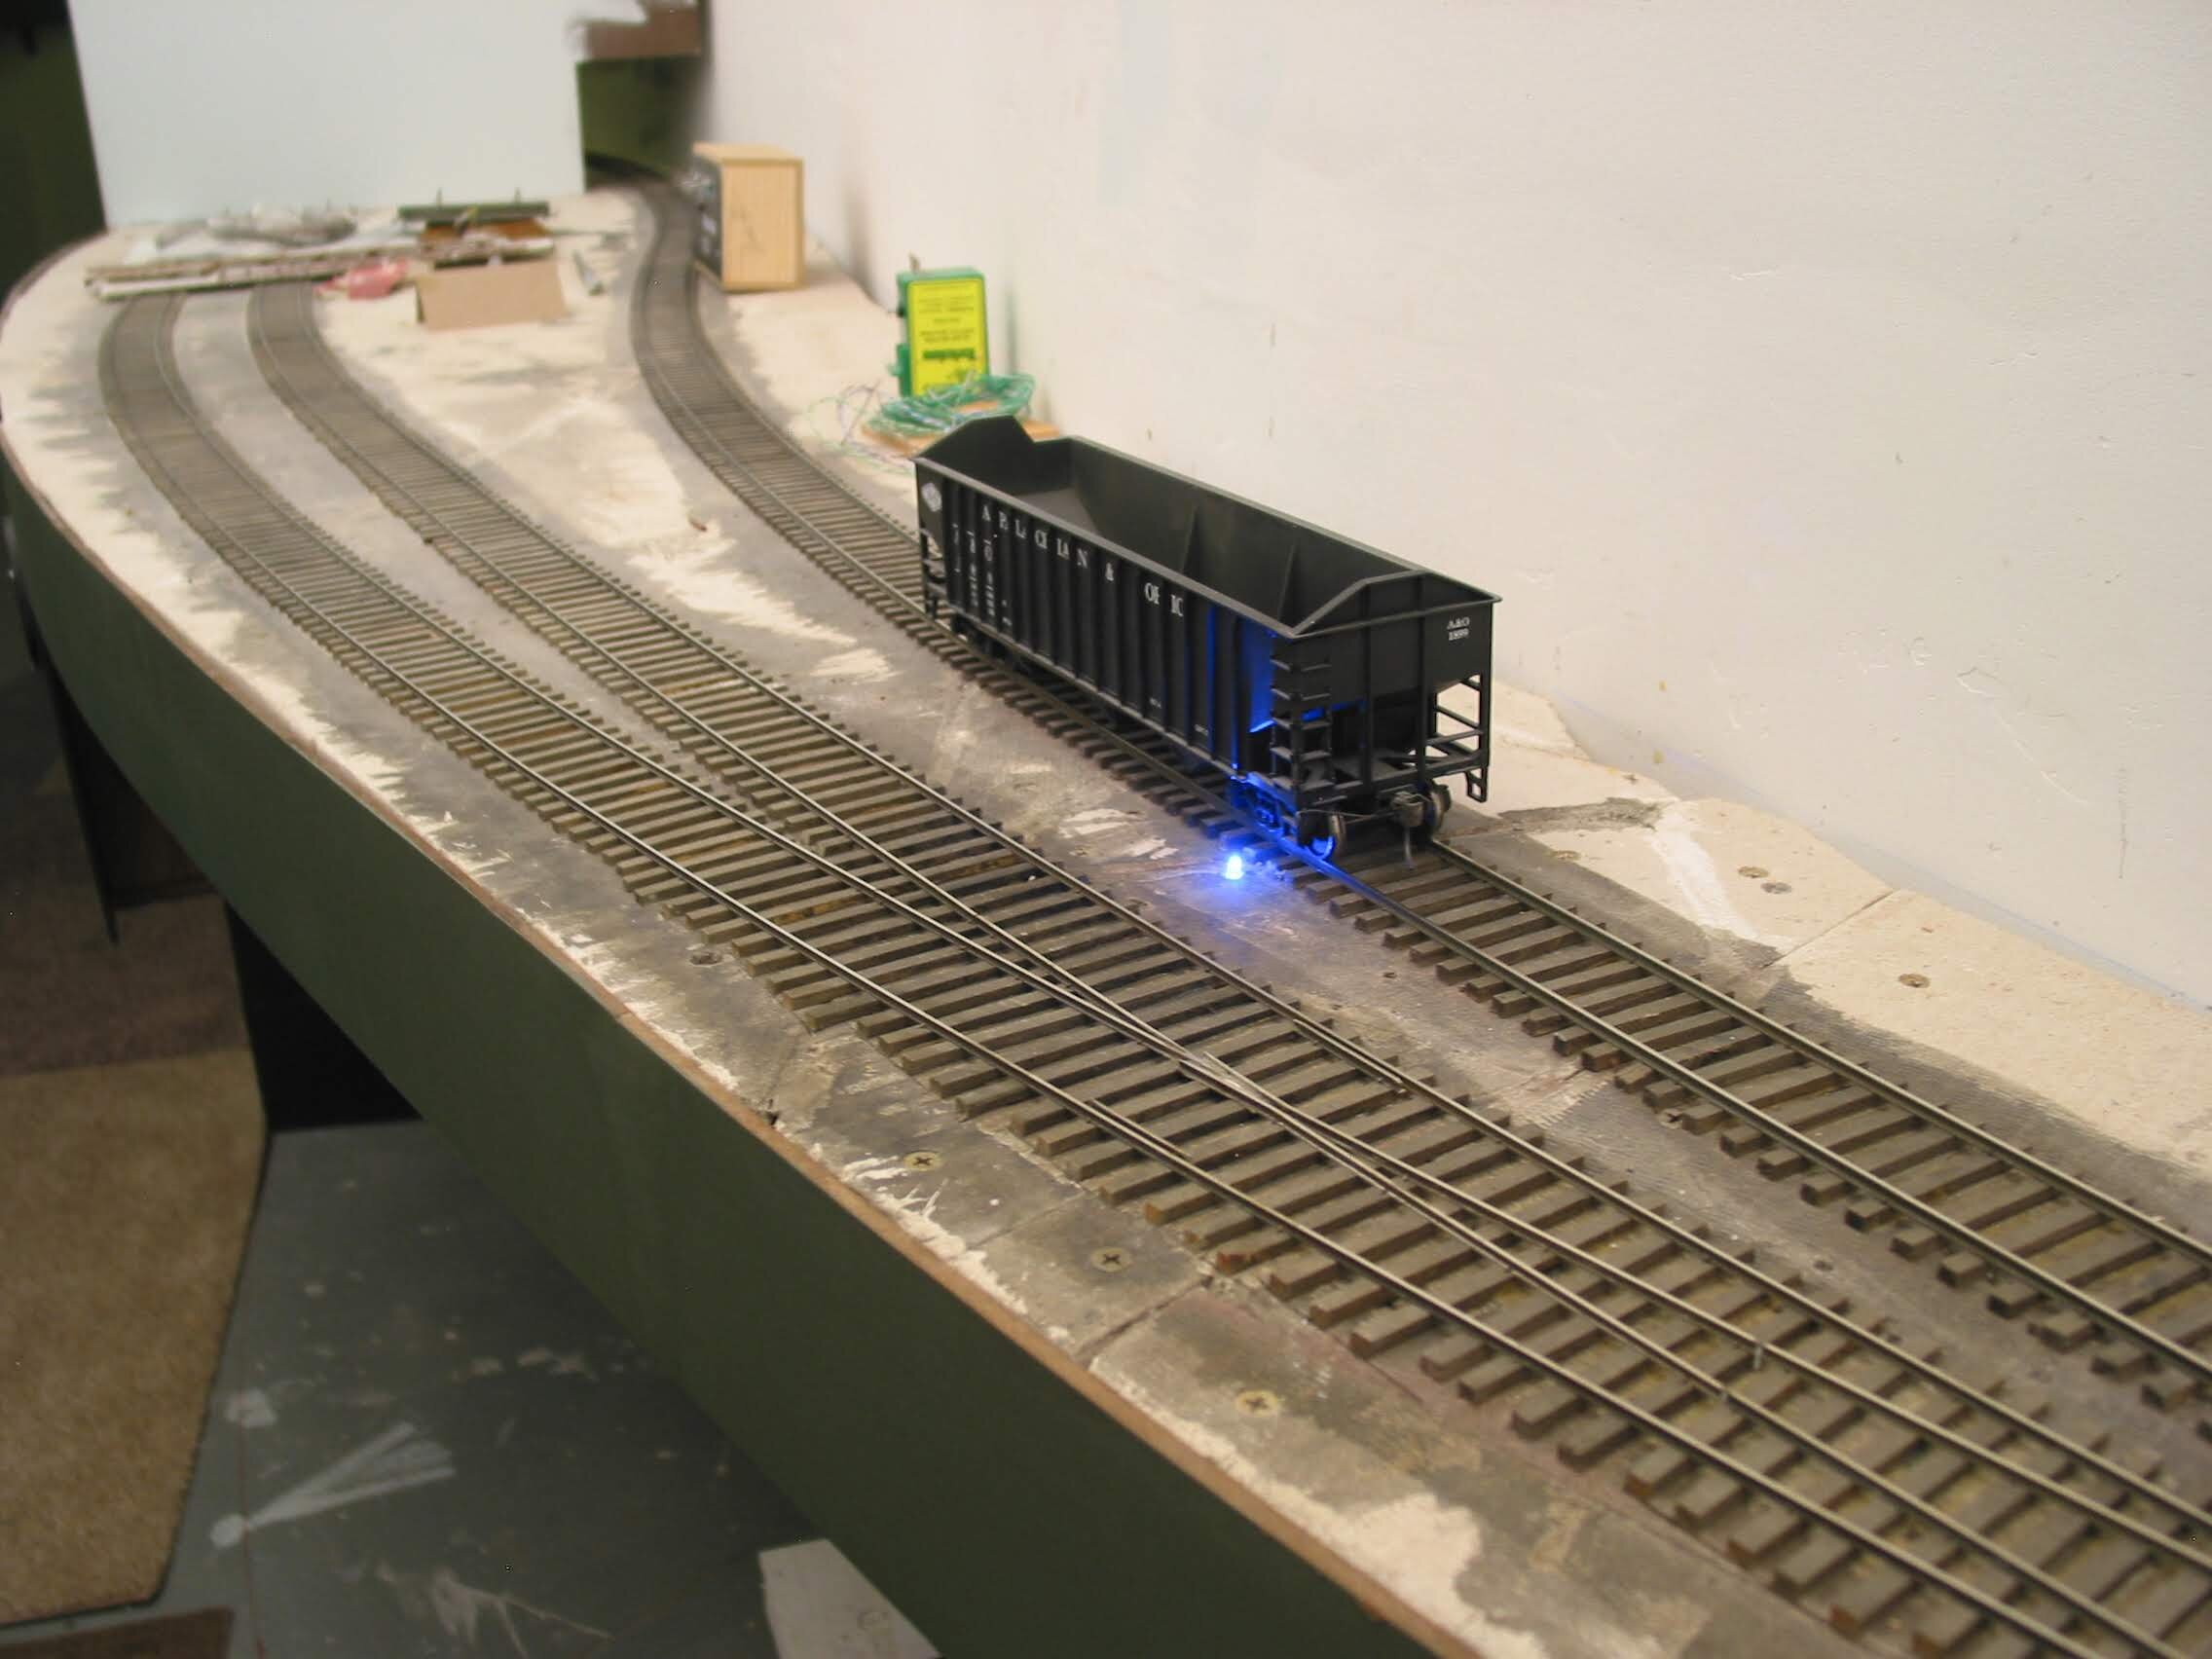
Grade brakes are needed here and there. At Hawkins a Tortoise mounted on its side raises and lowers a wire that engages the car axle. A blue LED in the ballast will give warning when the brake is raised.
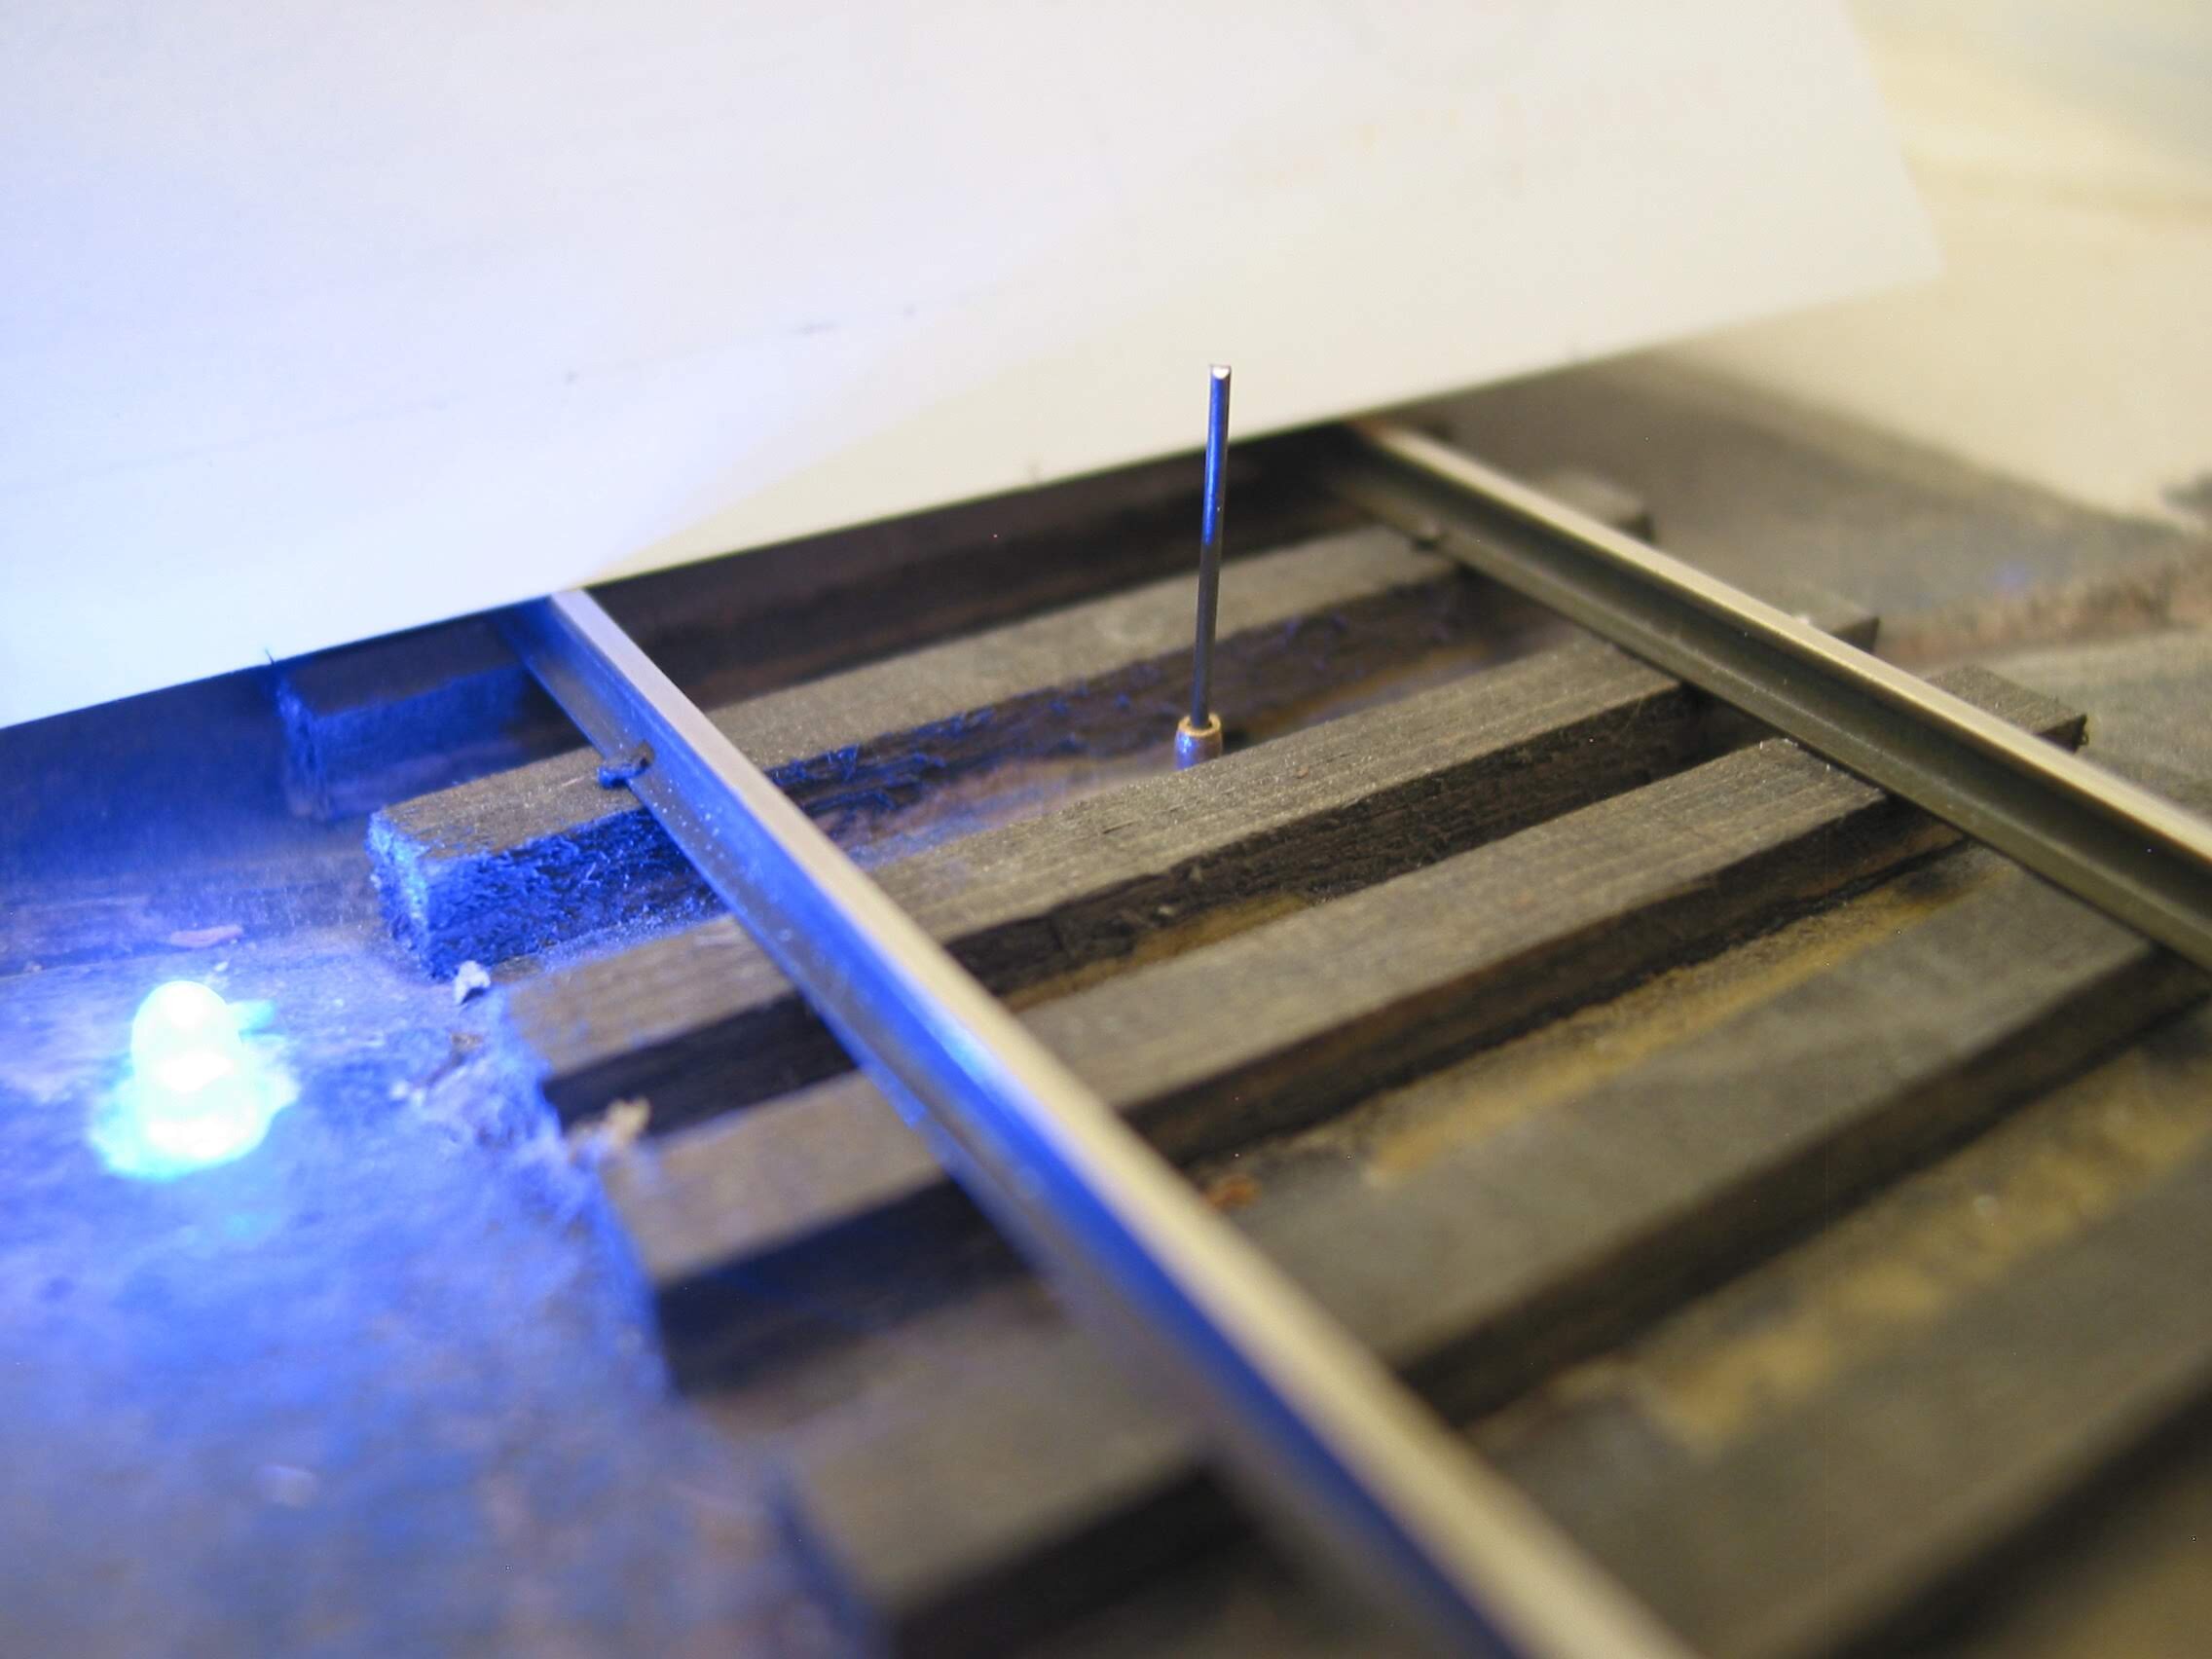
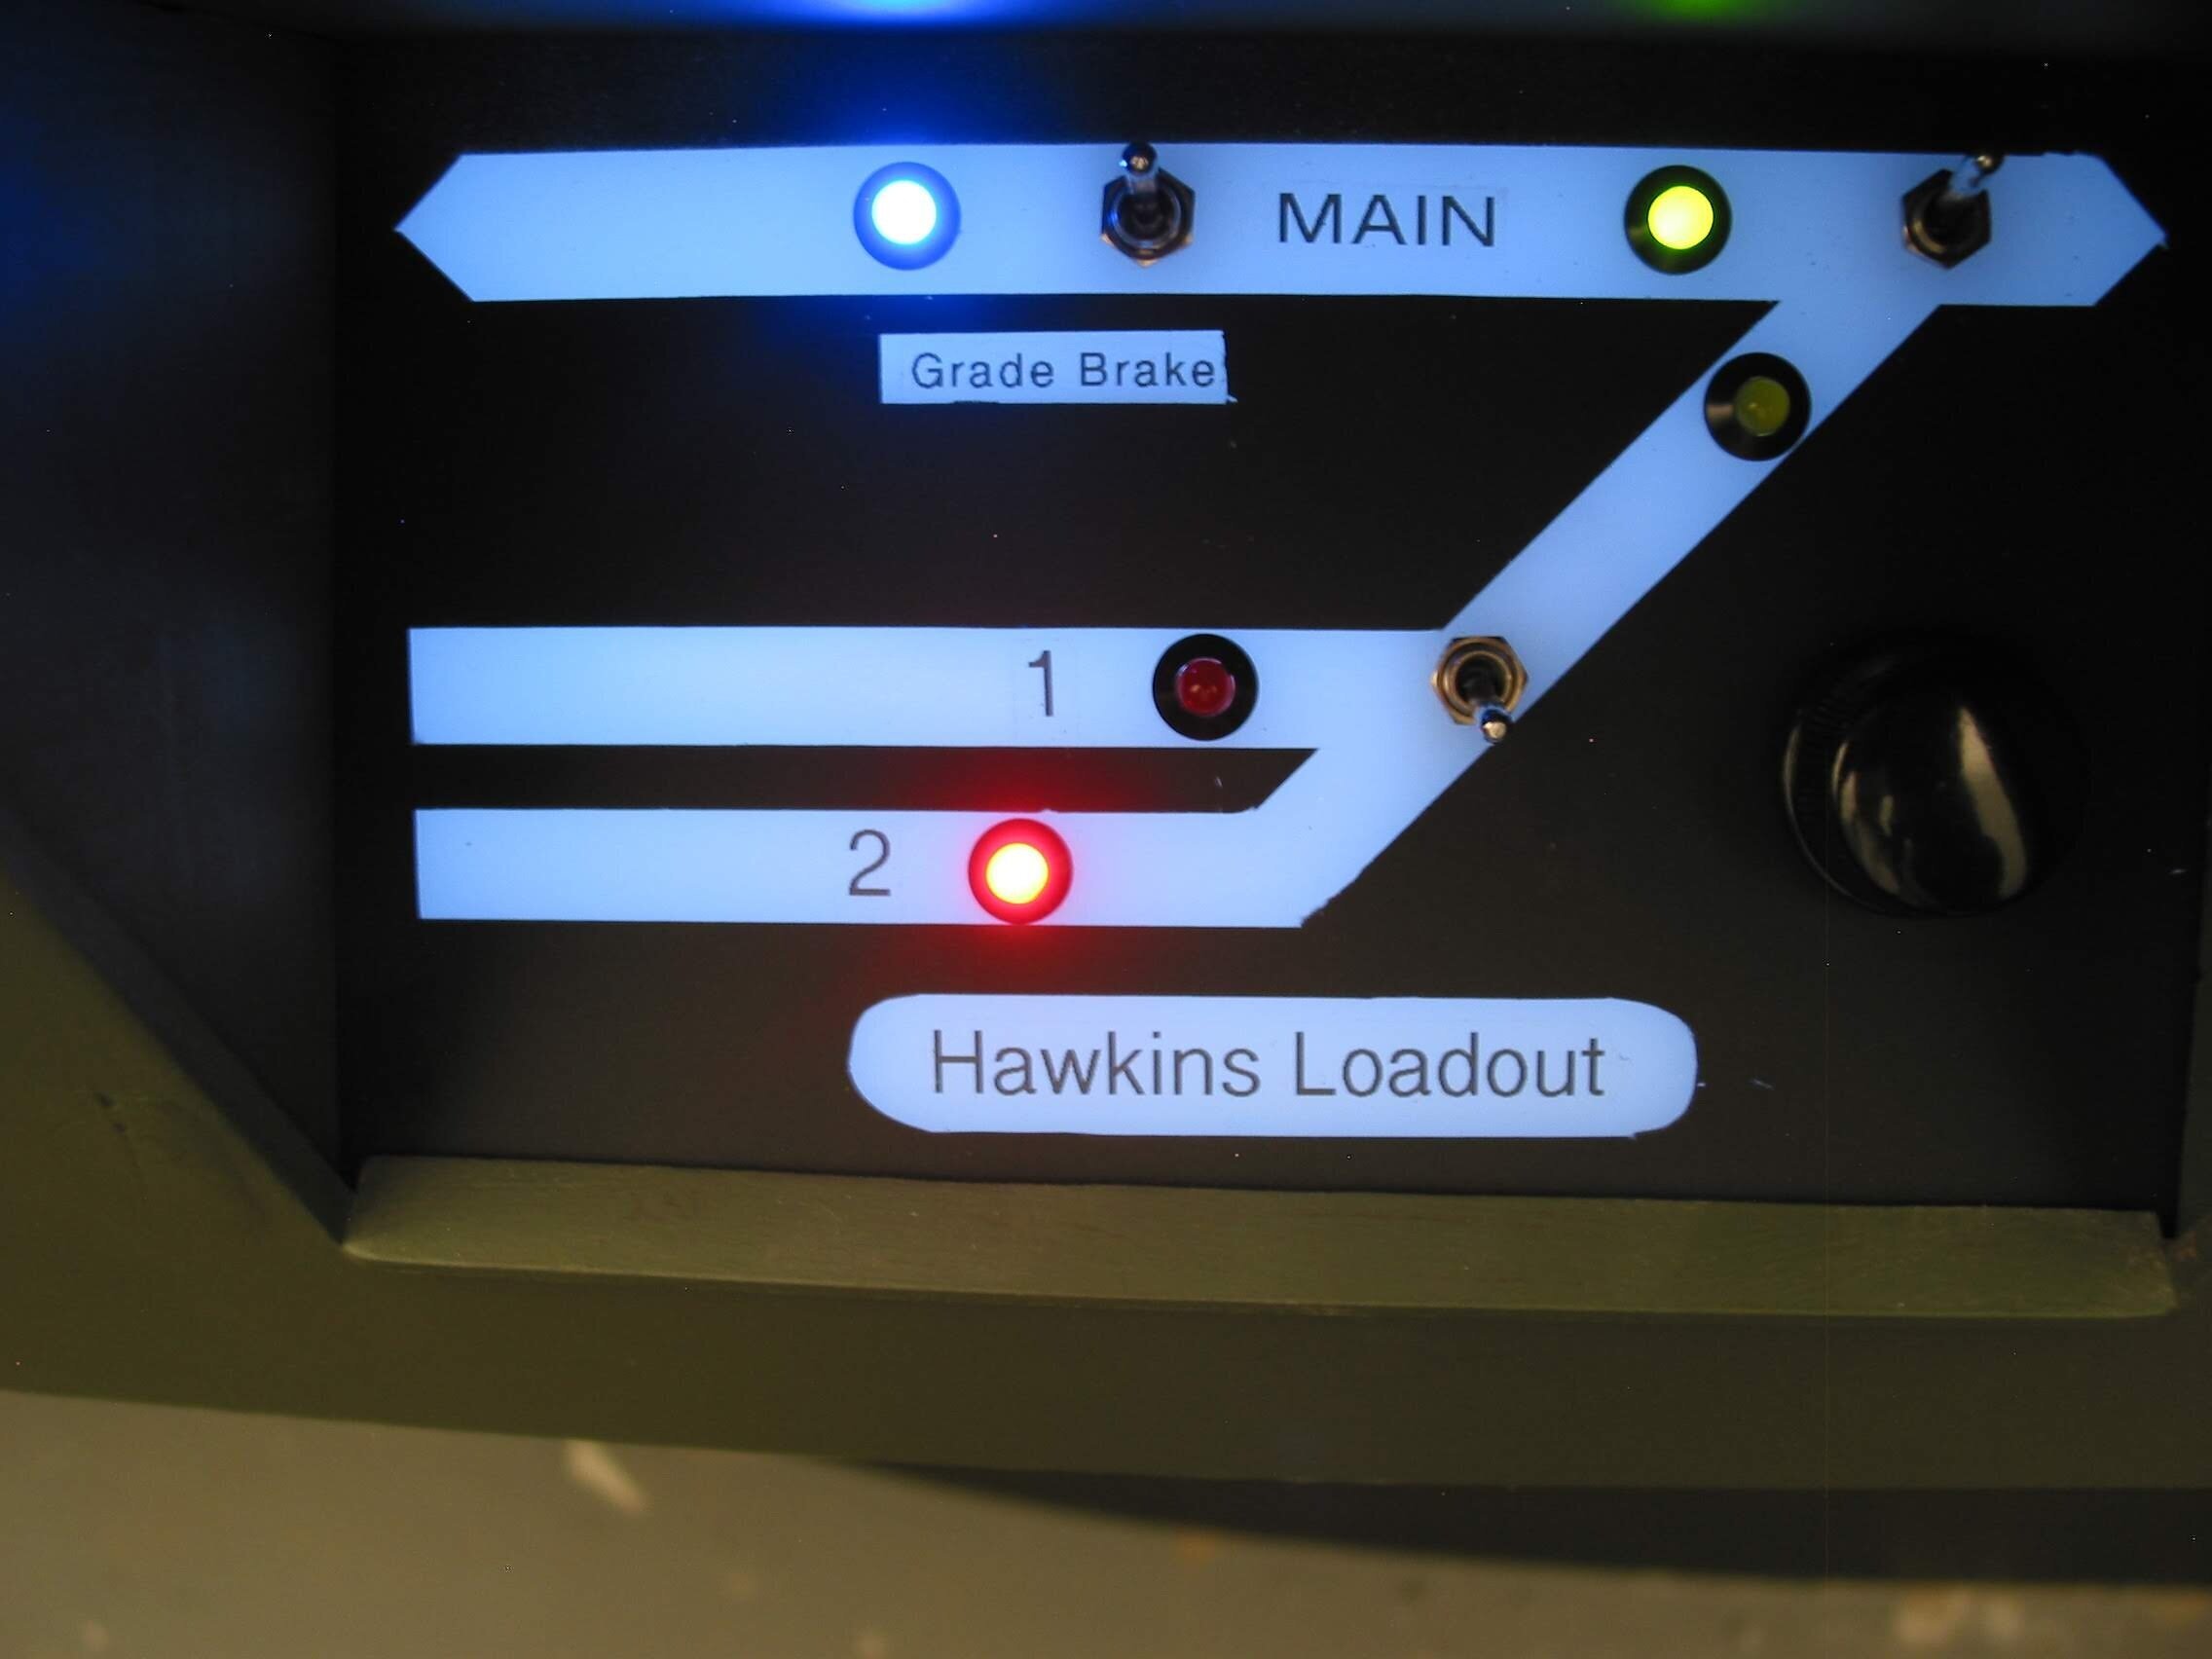
The Grade Brake is actuated from the nearby panel and a corresponding blue LED is lit when toggled up.
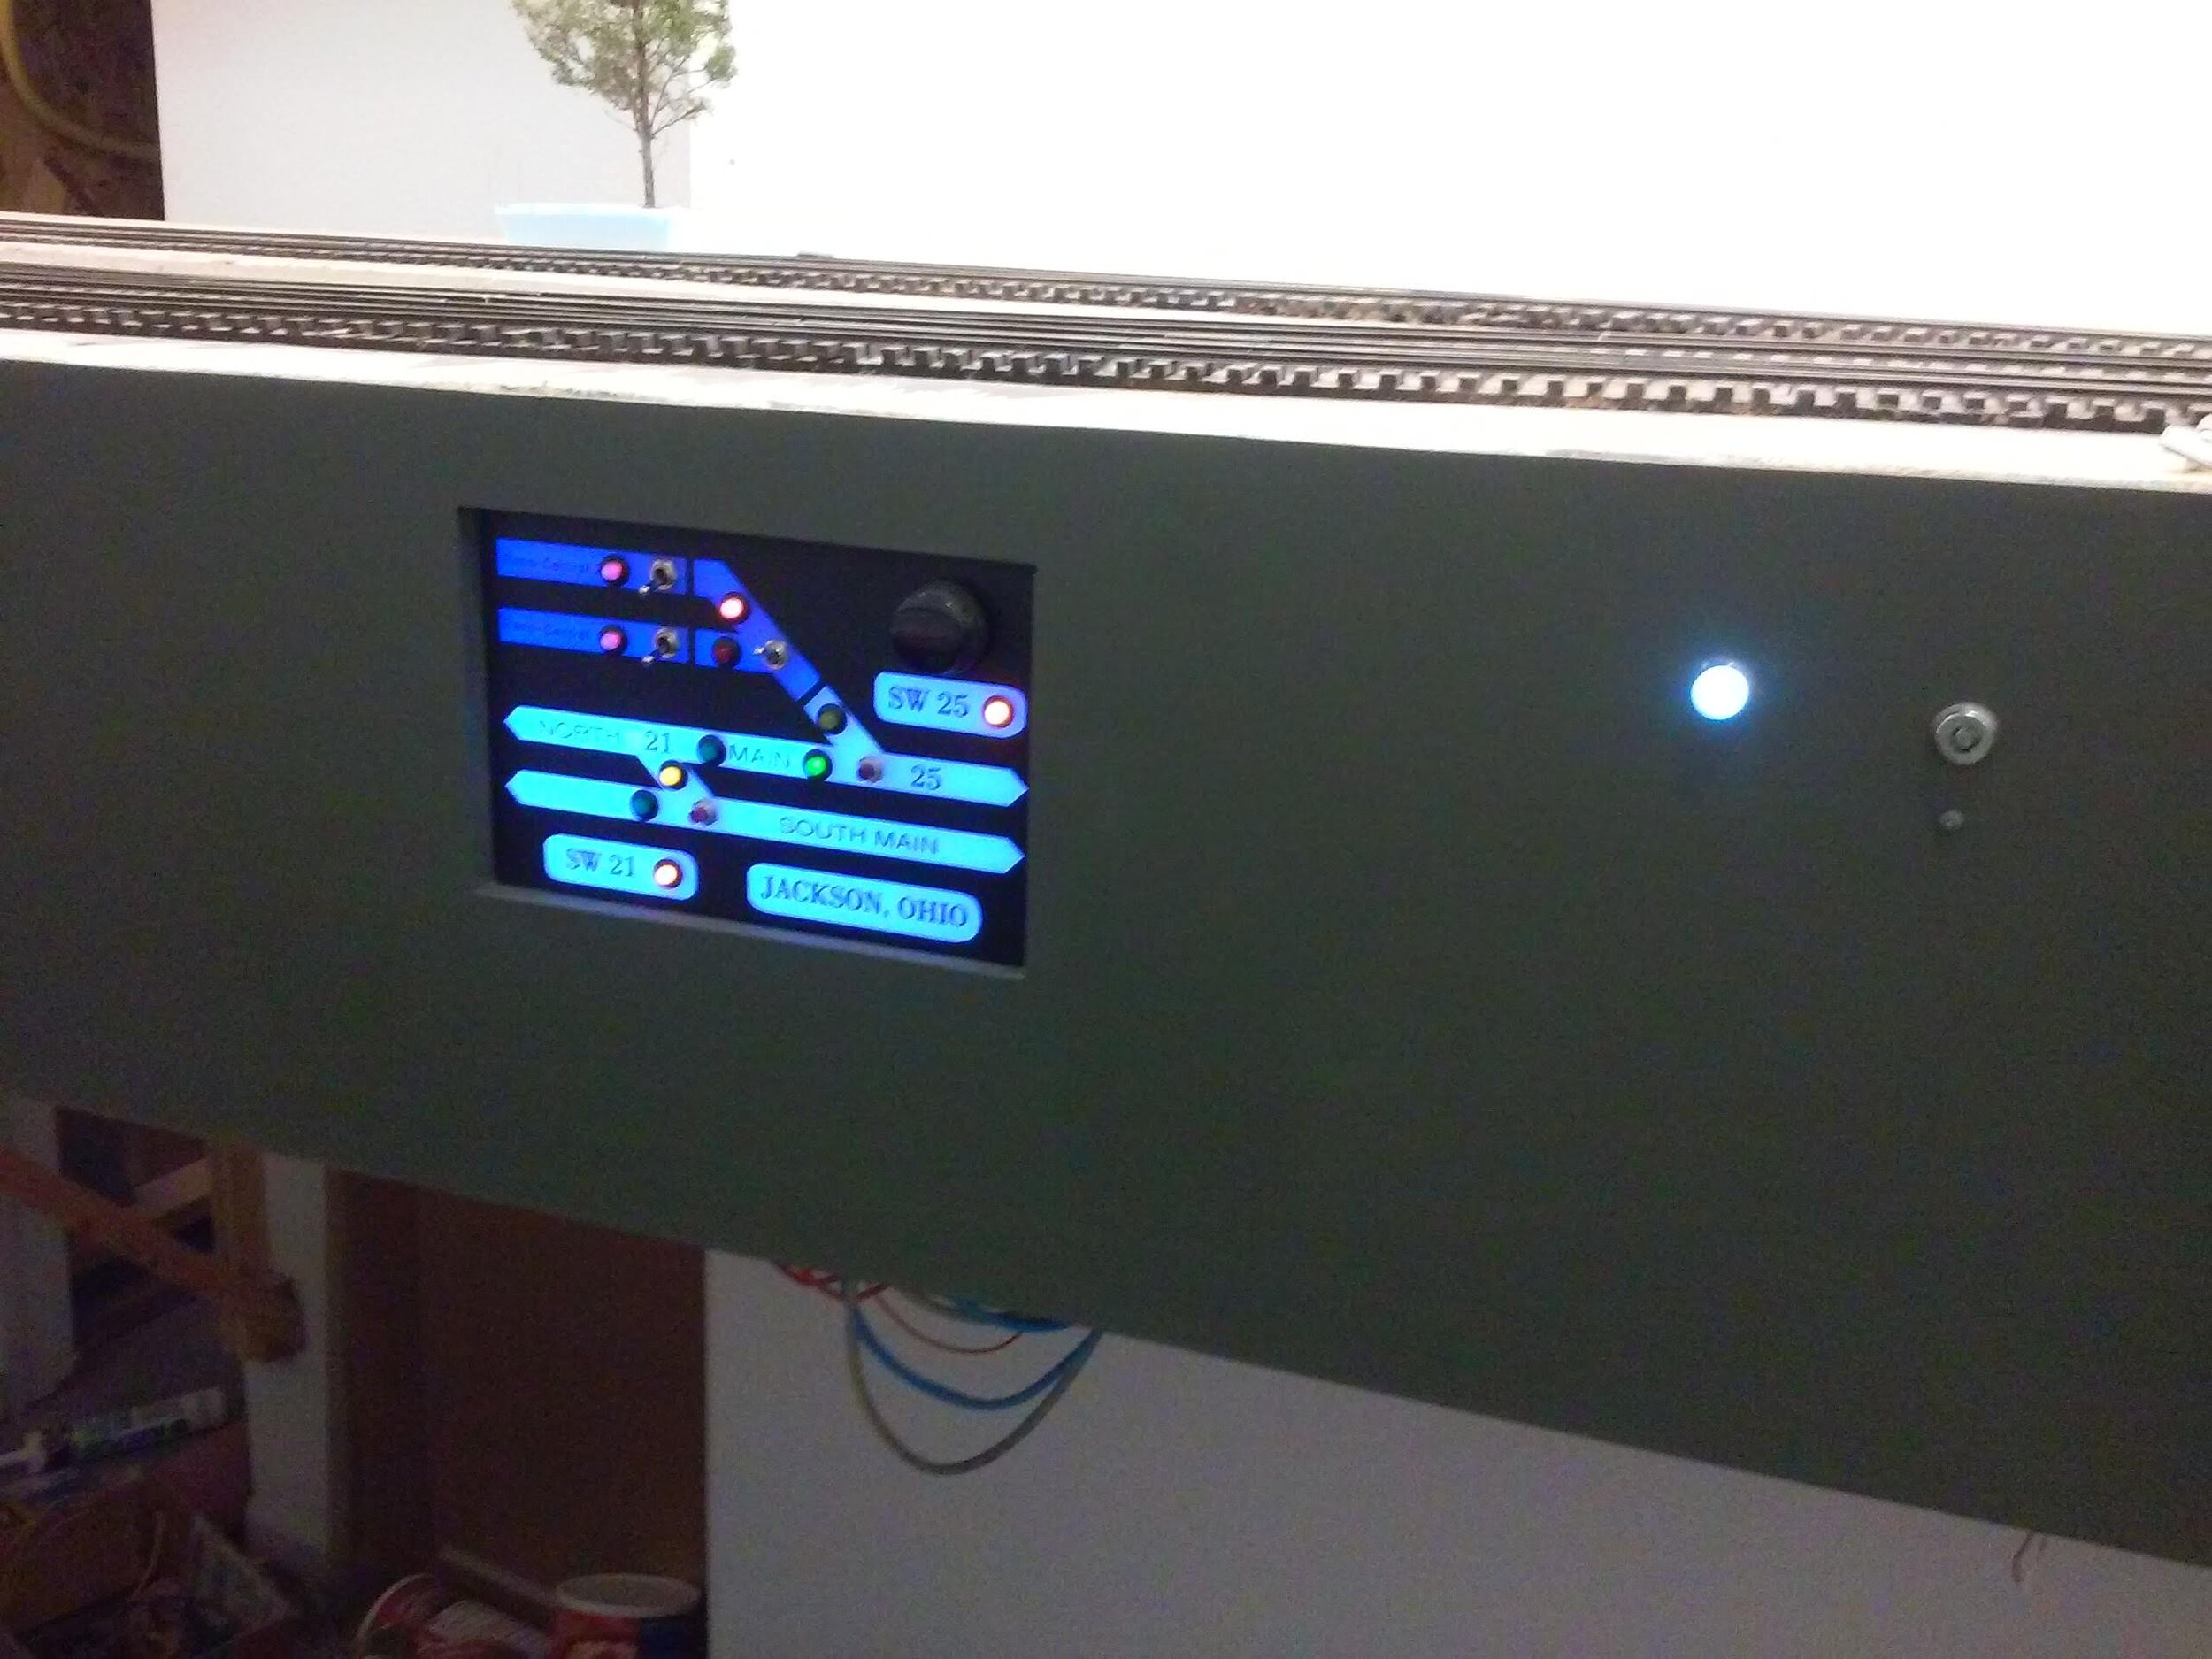
There are large white fascia mounted “Maintainer Call” LEDs around the layout, usually near an OS point. These are DS activated and are intended to get the attention of a passing crew. Then, call the DS!!! Do they work as intended. Not so much so far. Probably will do better in night ops.
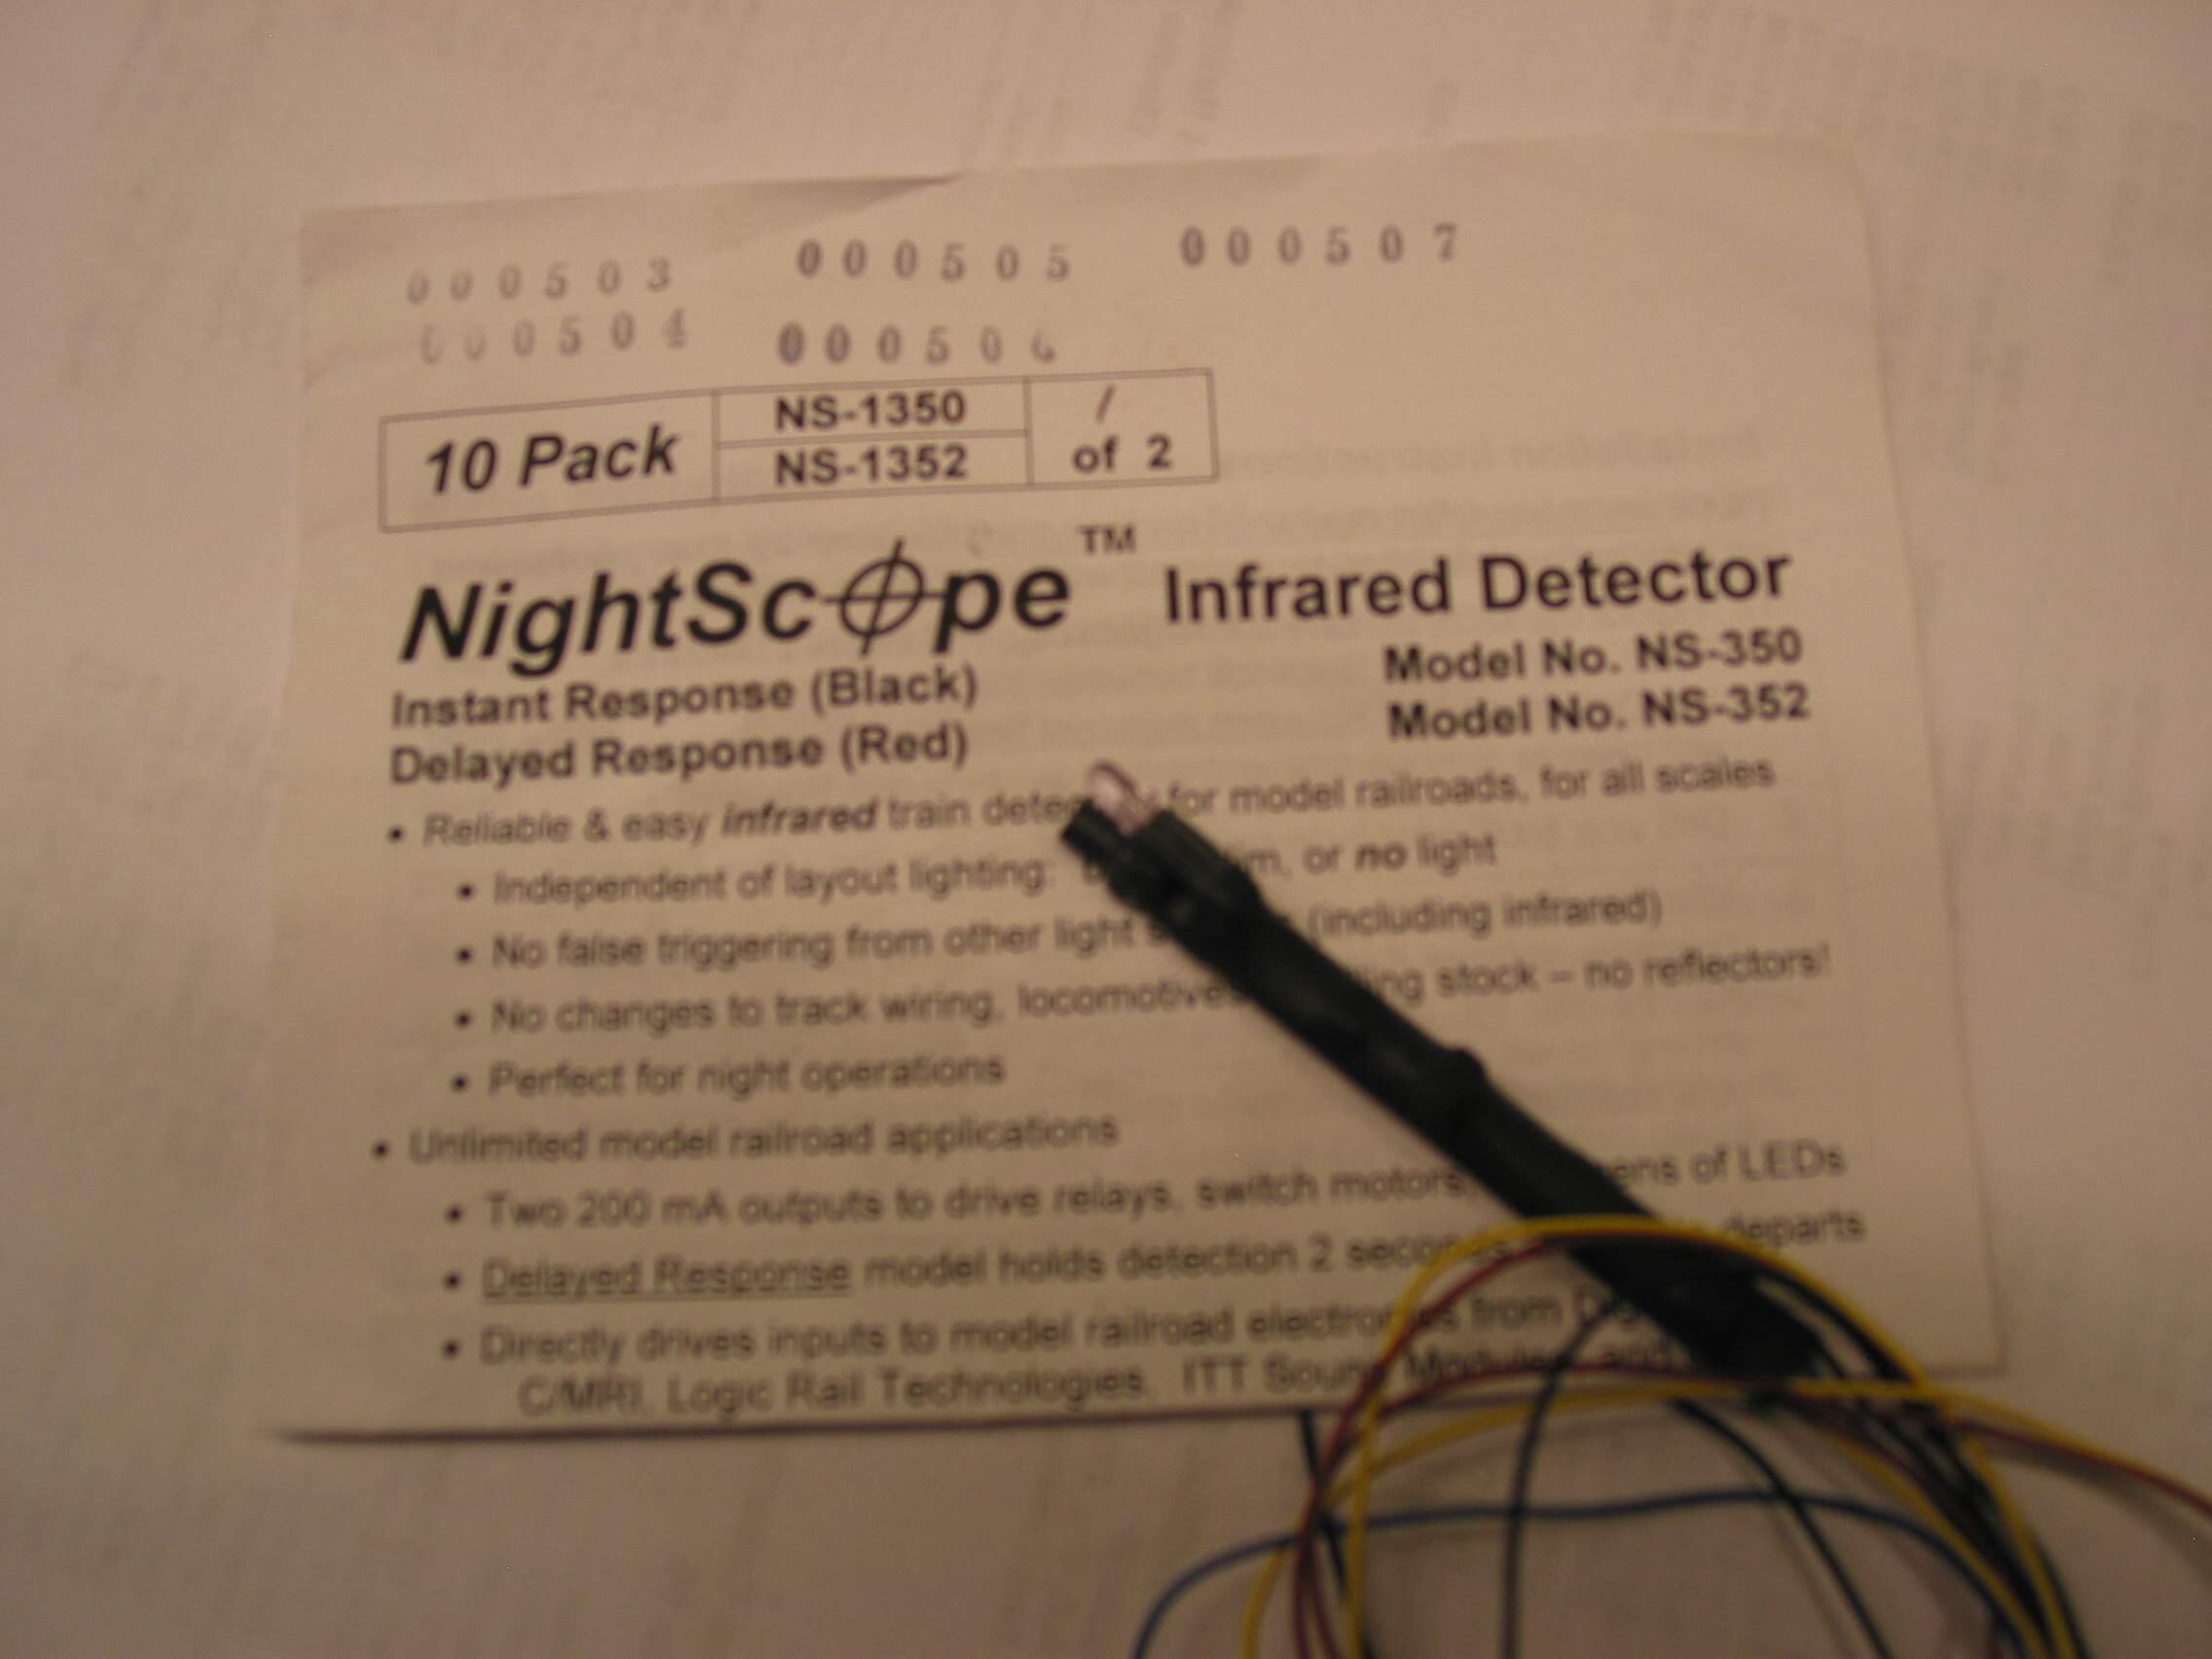
Several Night Scopes from Boulder Creek Engineering are used to provide indication of progress or clearance points.
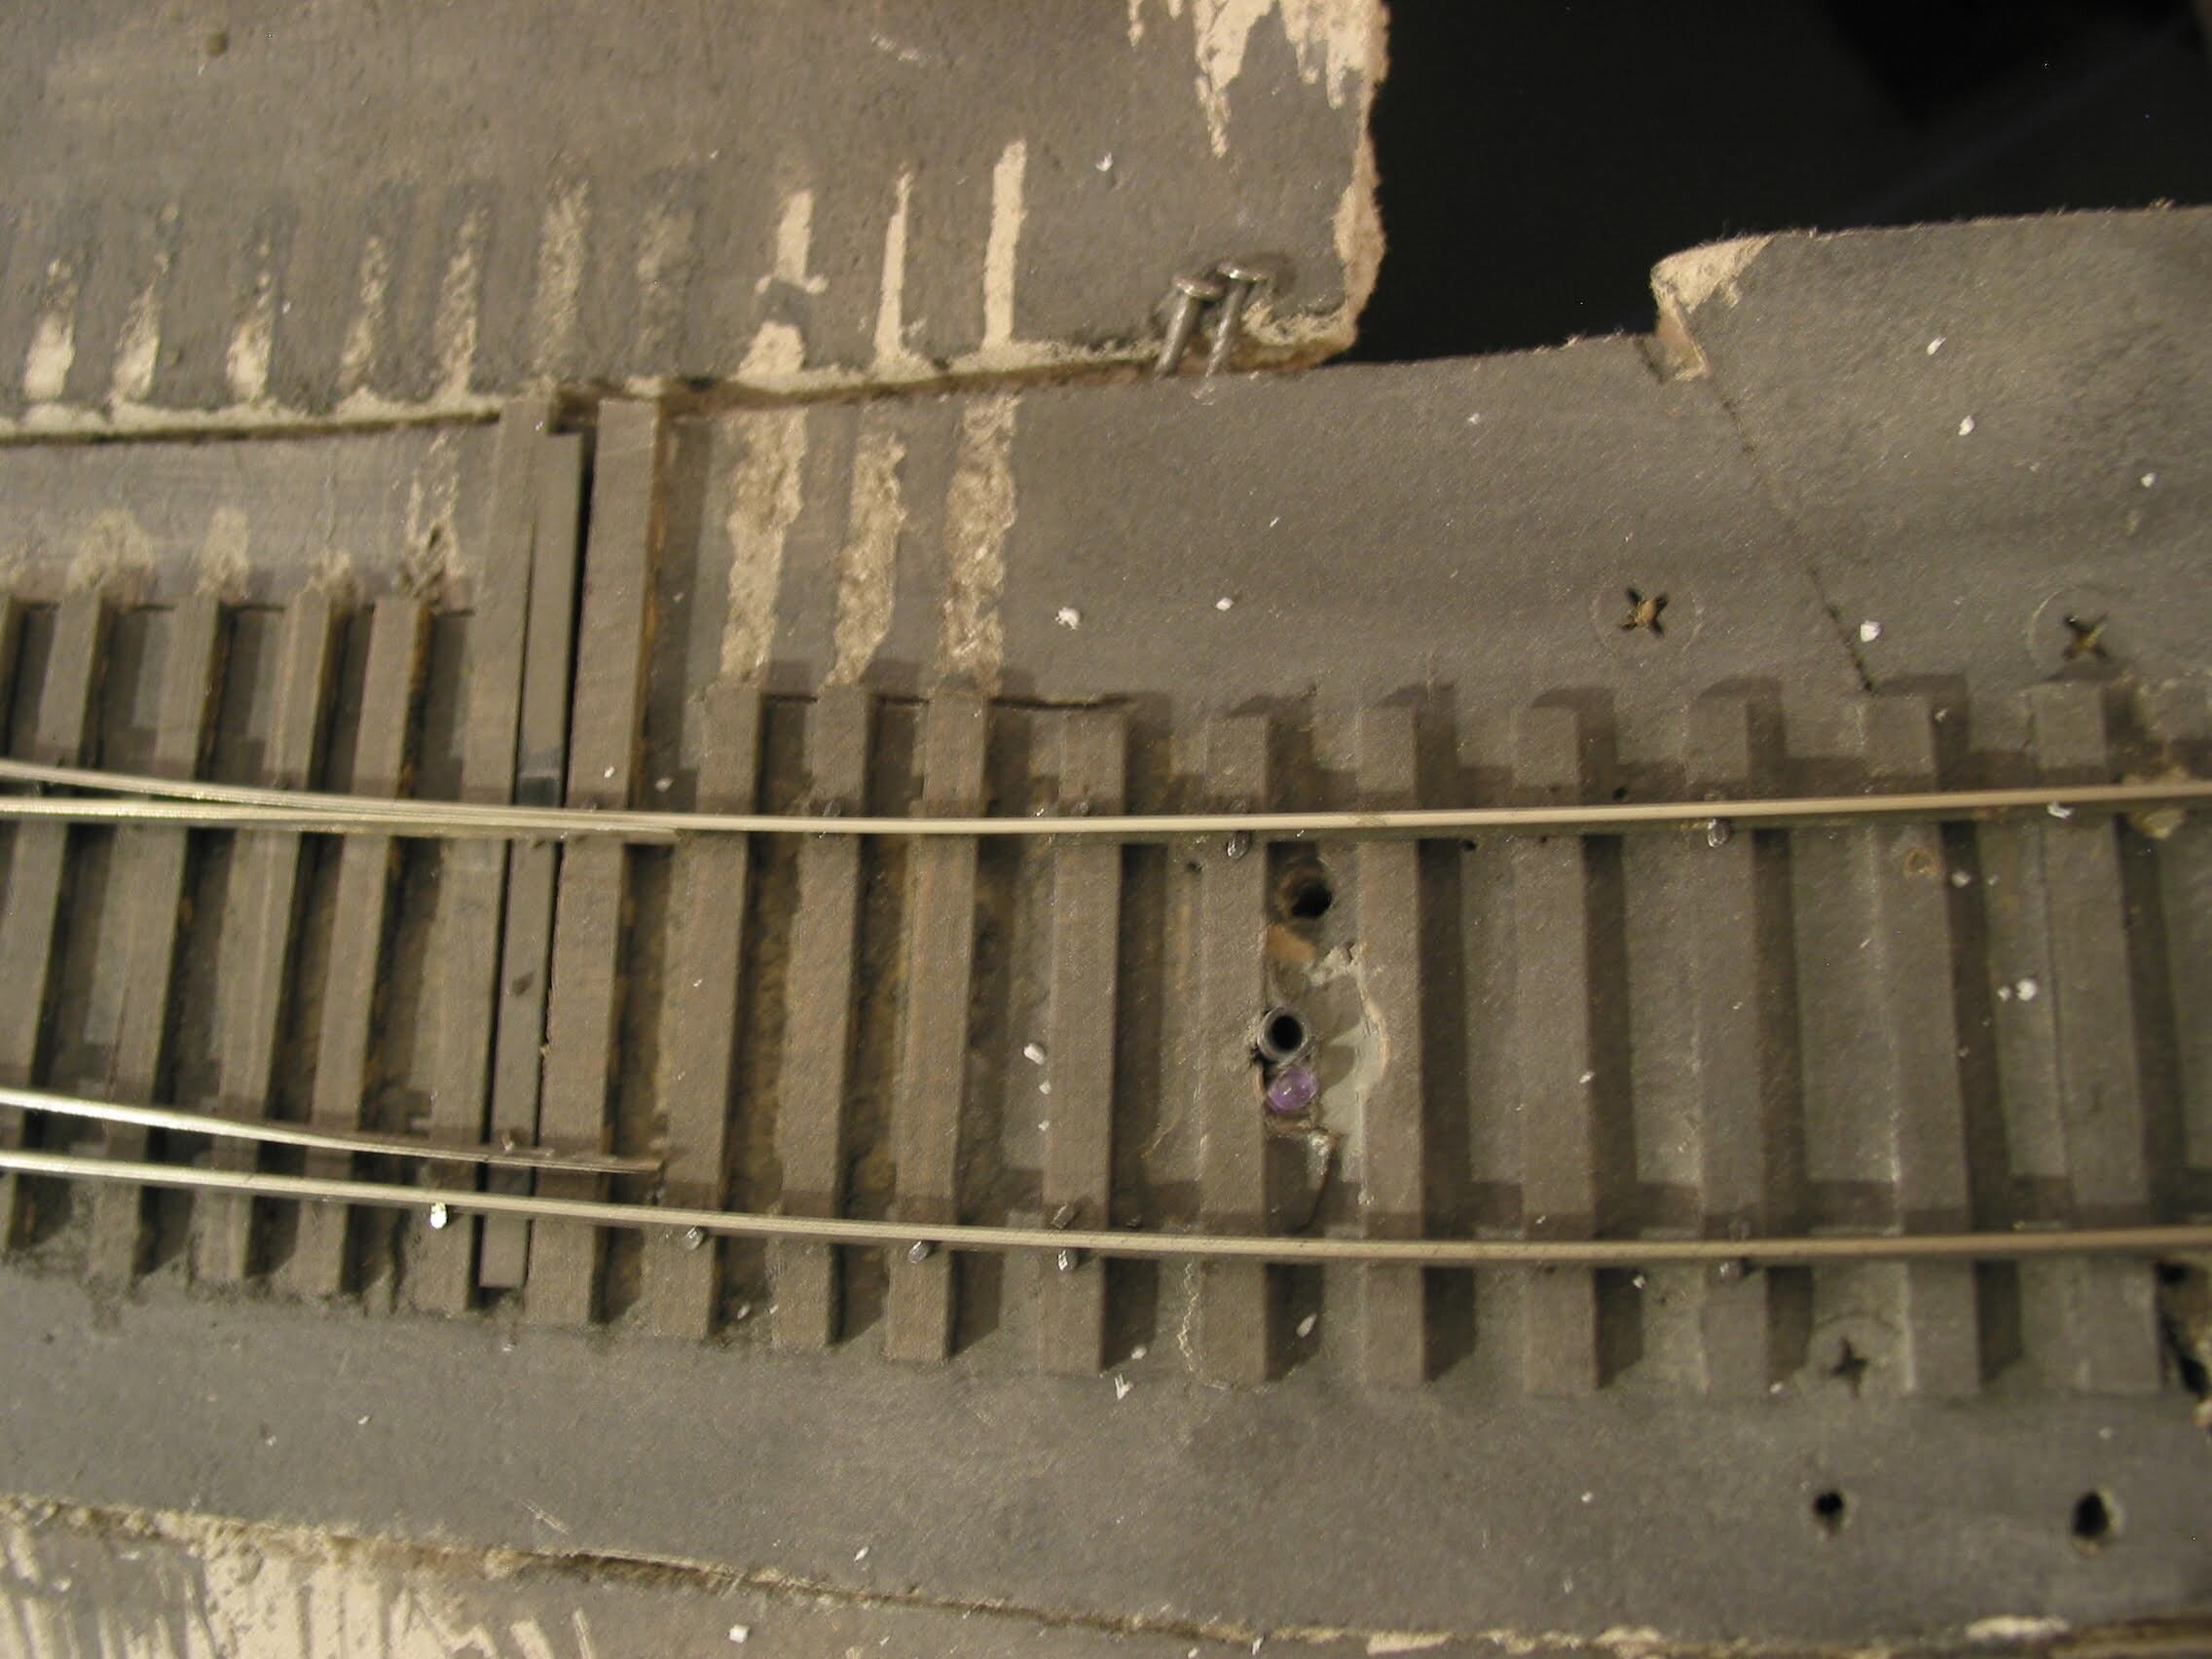
Here a Night Scope is located to indicate when a equipment has cleared the switch points onto a switch lead, and is ready for reverse movement.
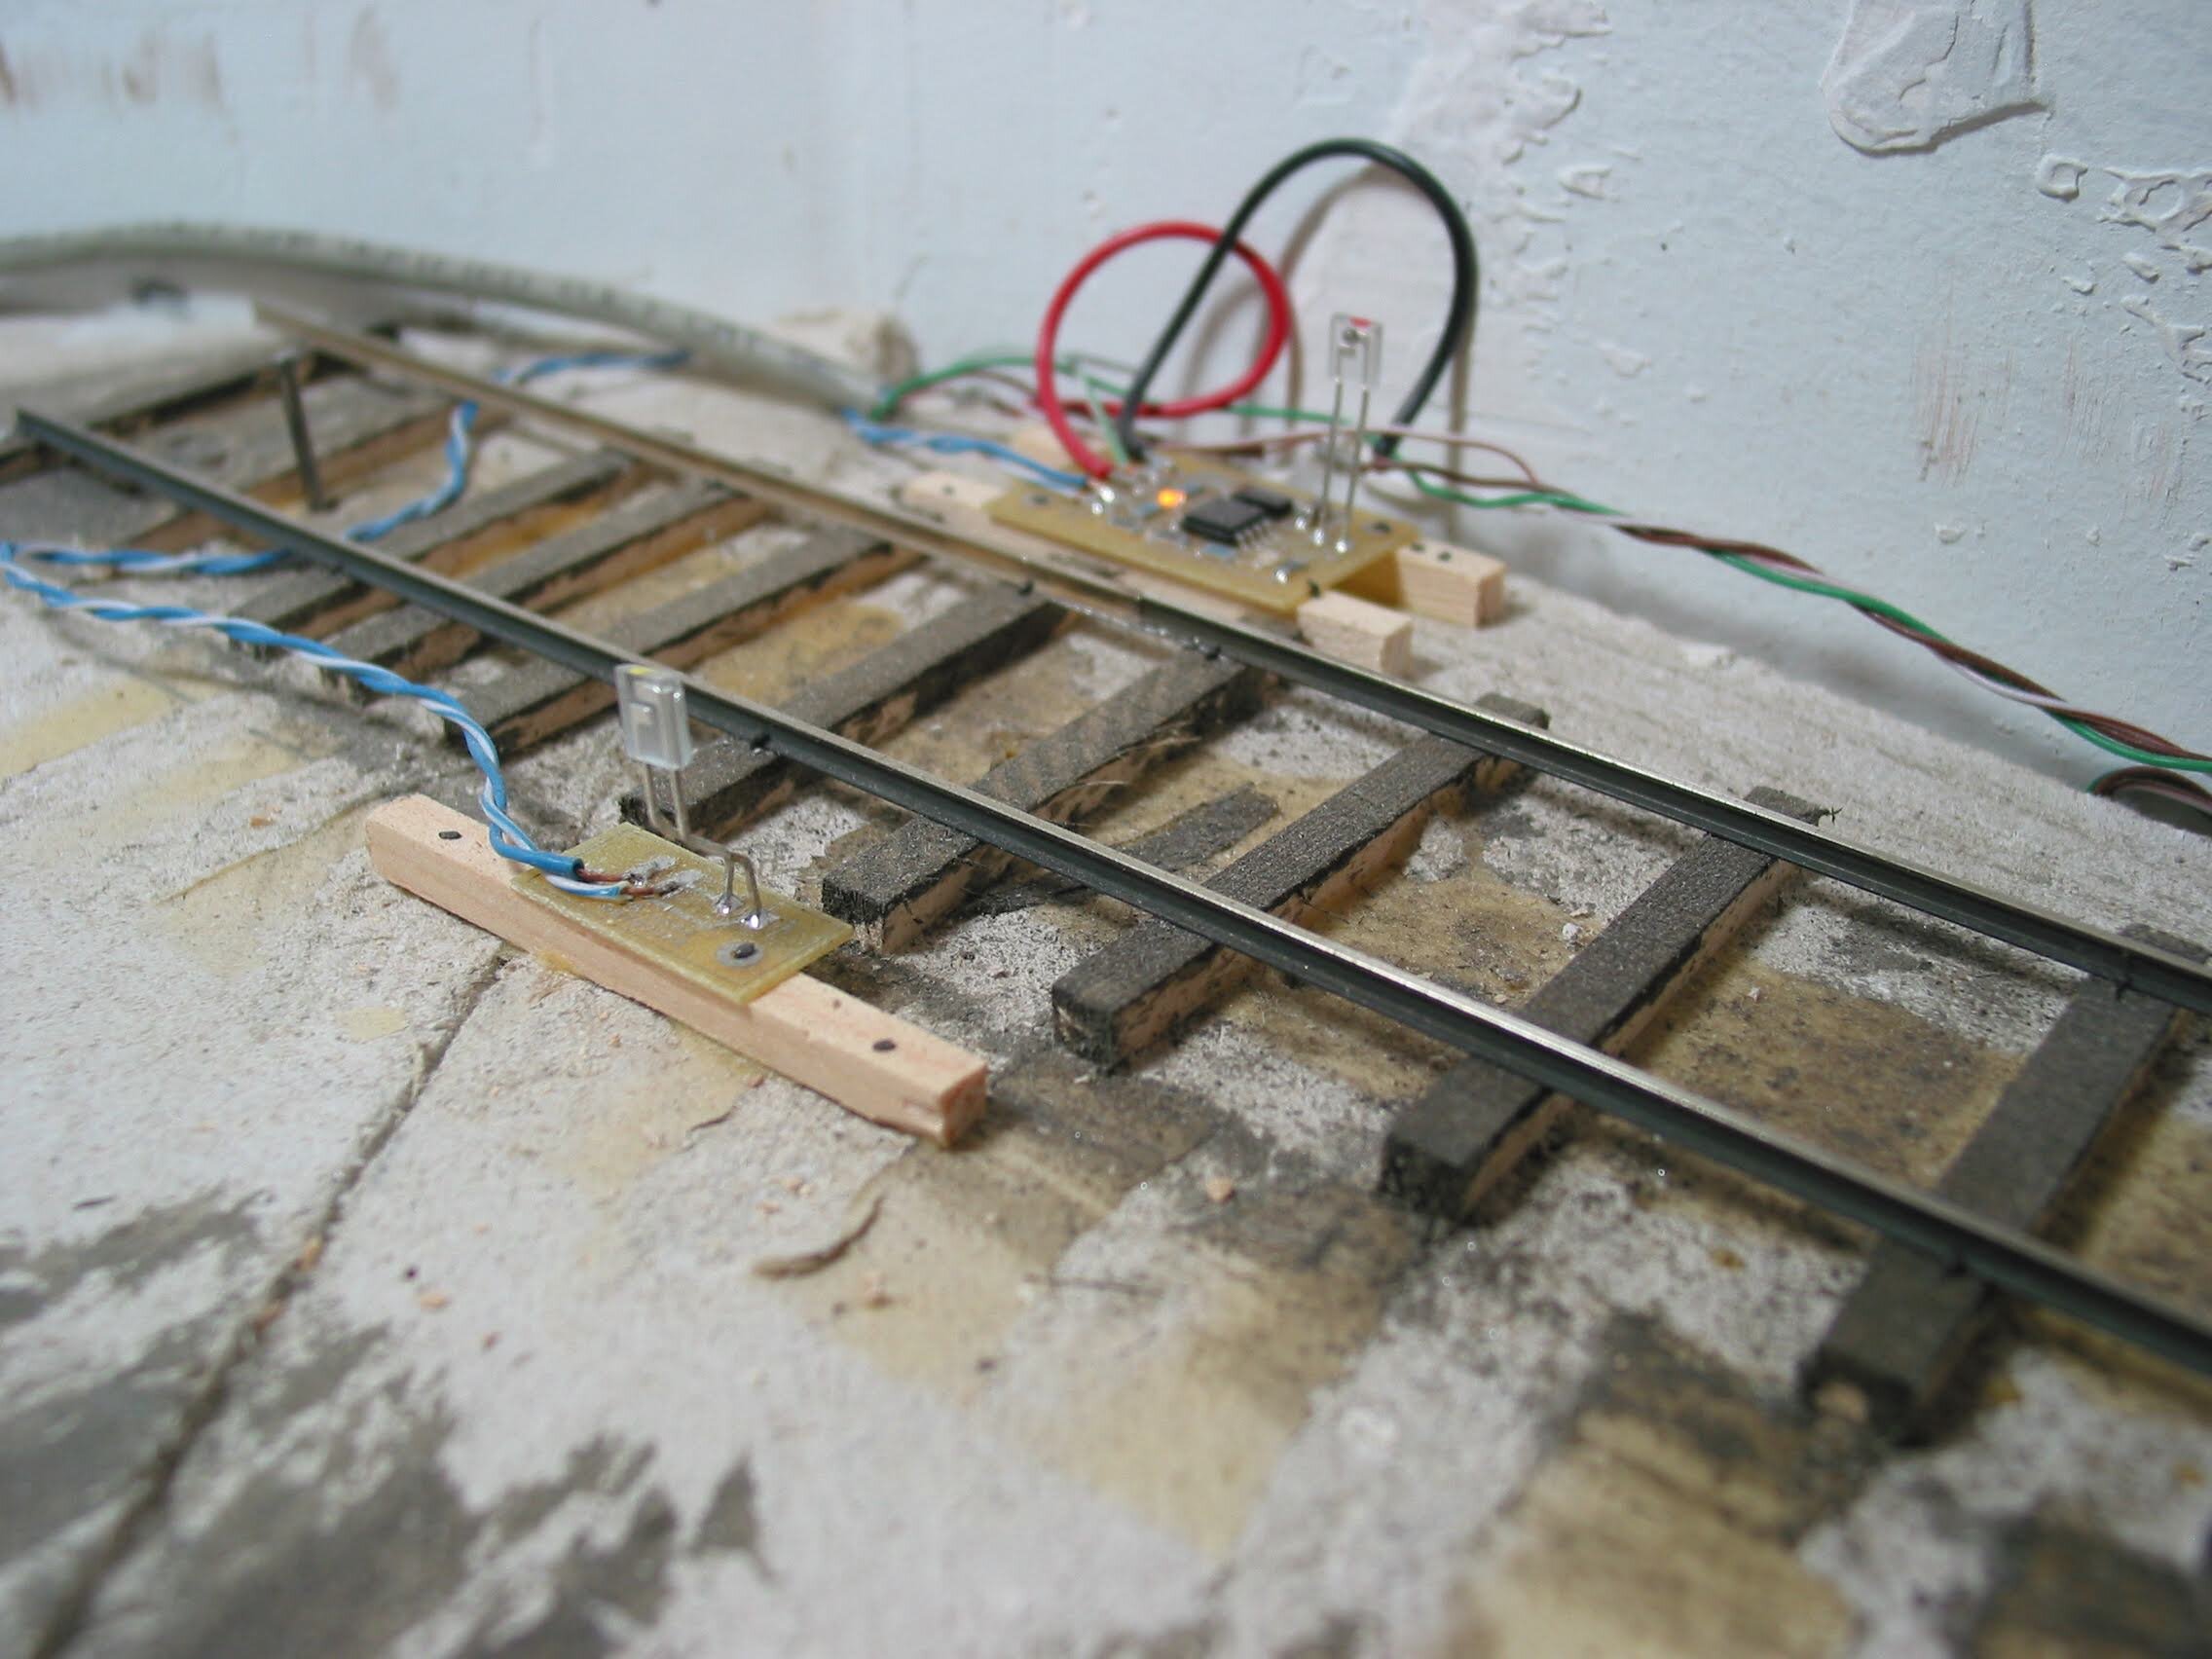
Bob came up with his own cross-track detector circuit. This one is at the end of a hidden (to the crew) coal spur at Apex.
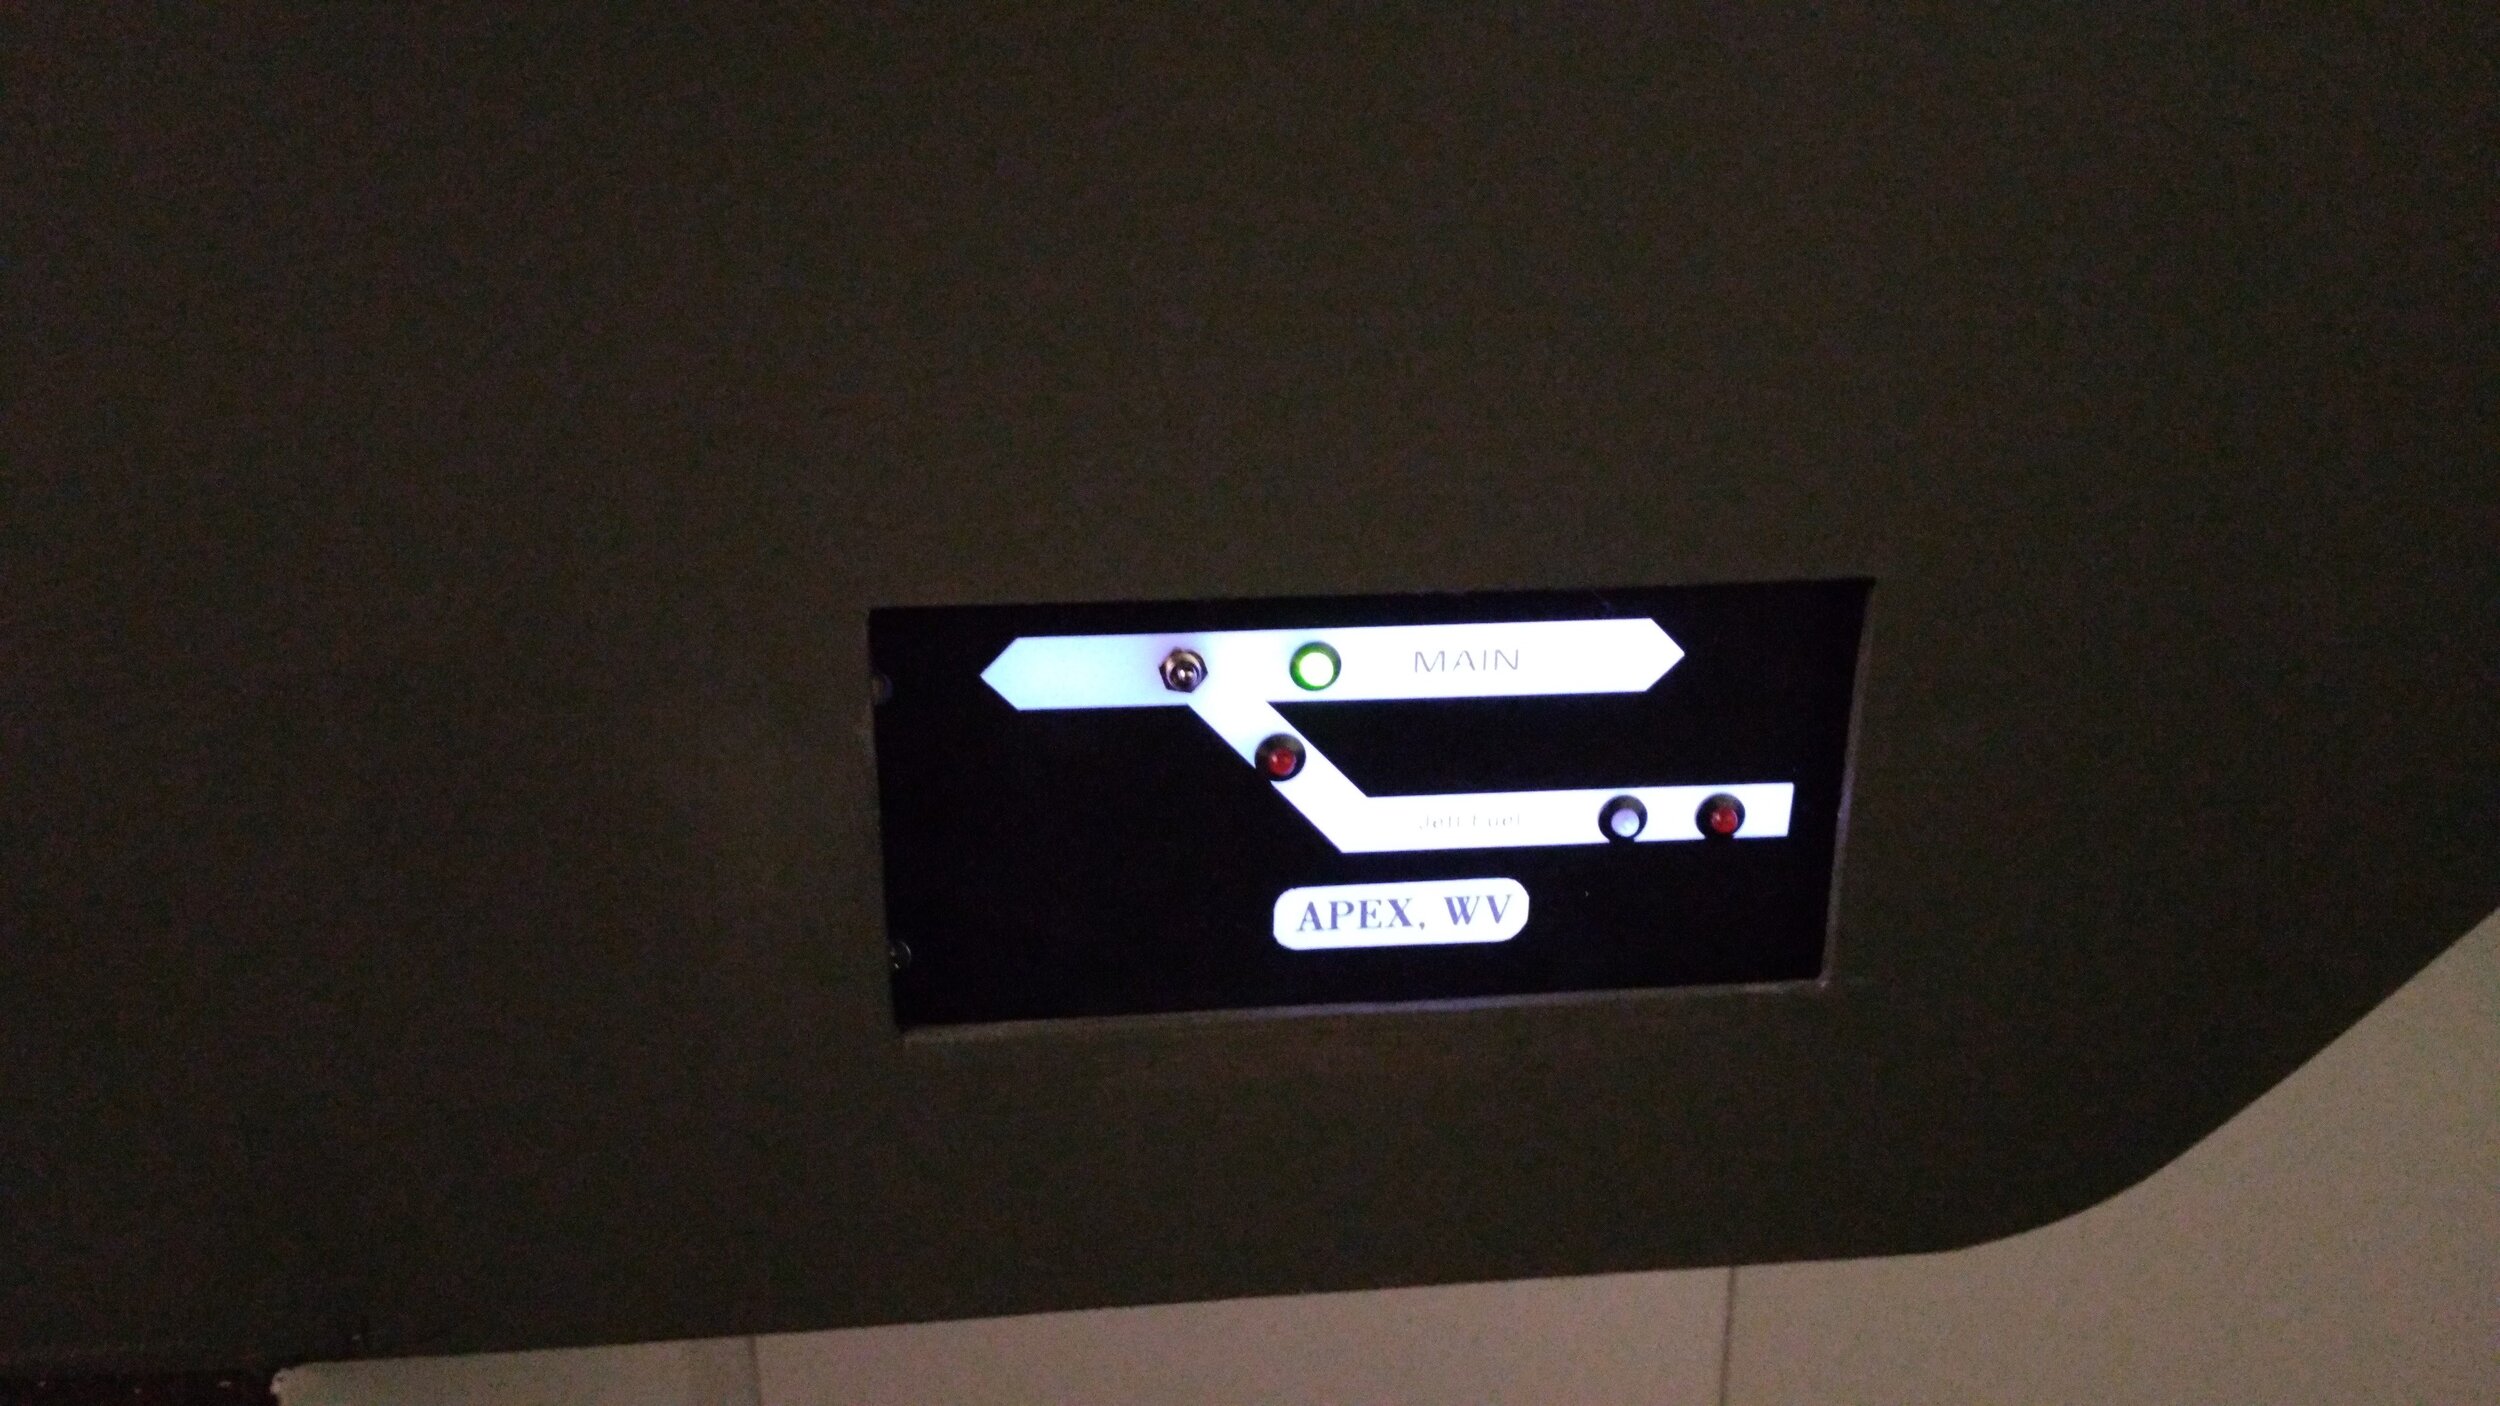
Apex features a usually abandoned coal spur serving Jett Fuel Co. The two LEDs, white, then red, tell the operator how close he is to the end of the track. Jett Fuel is used for empty hopper car storage when not active, and can hold about 20 cars.
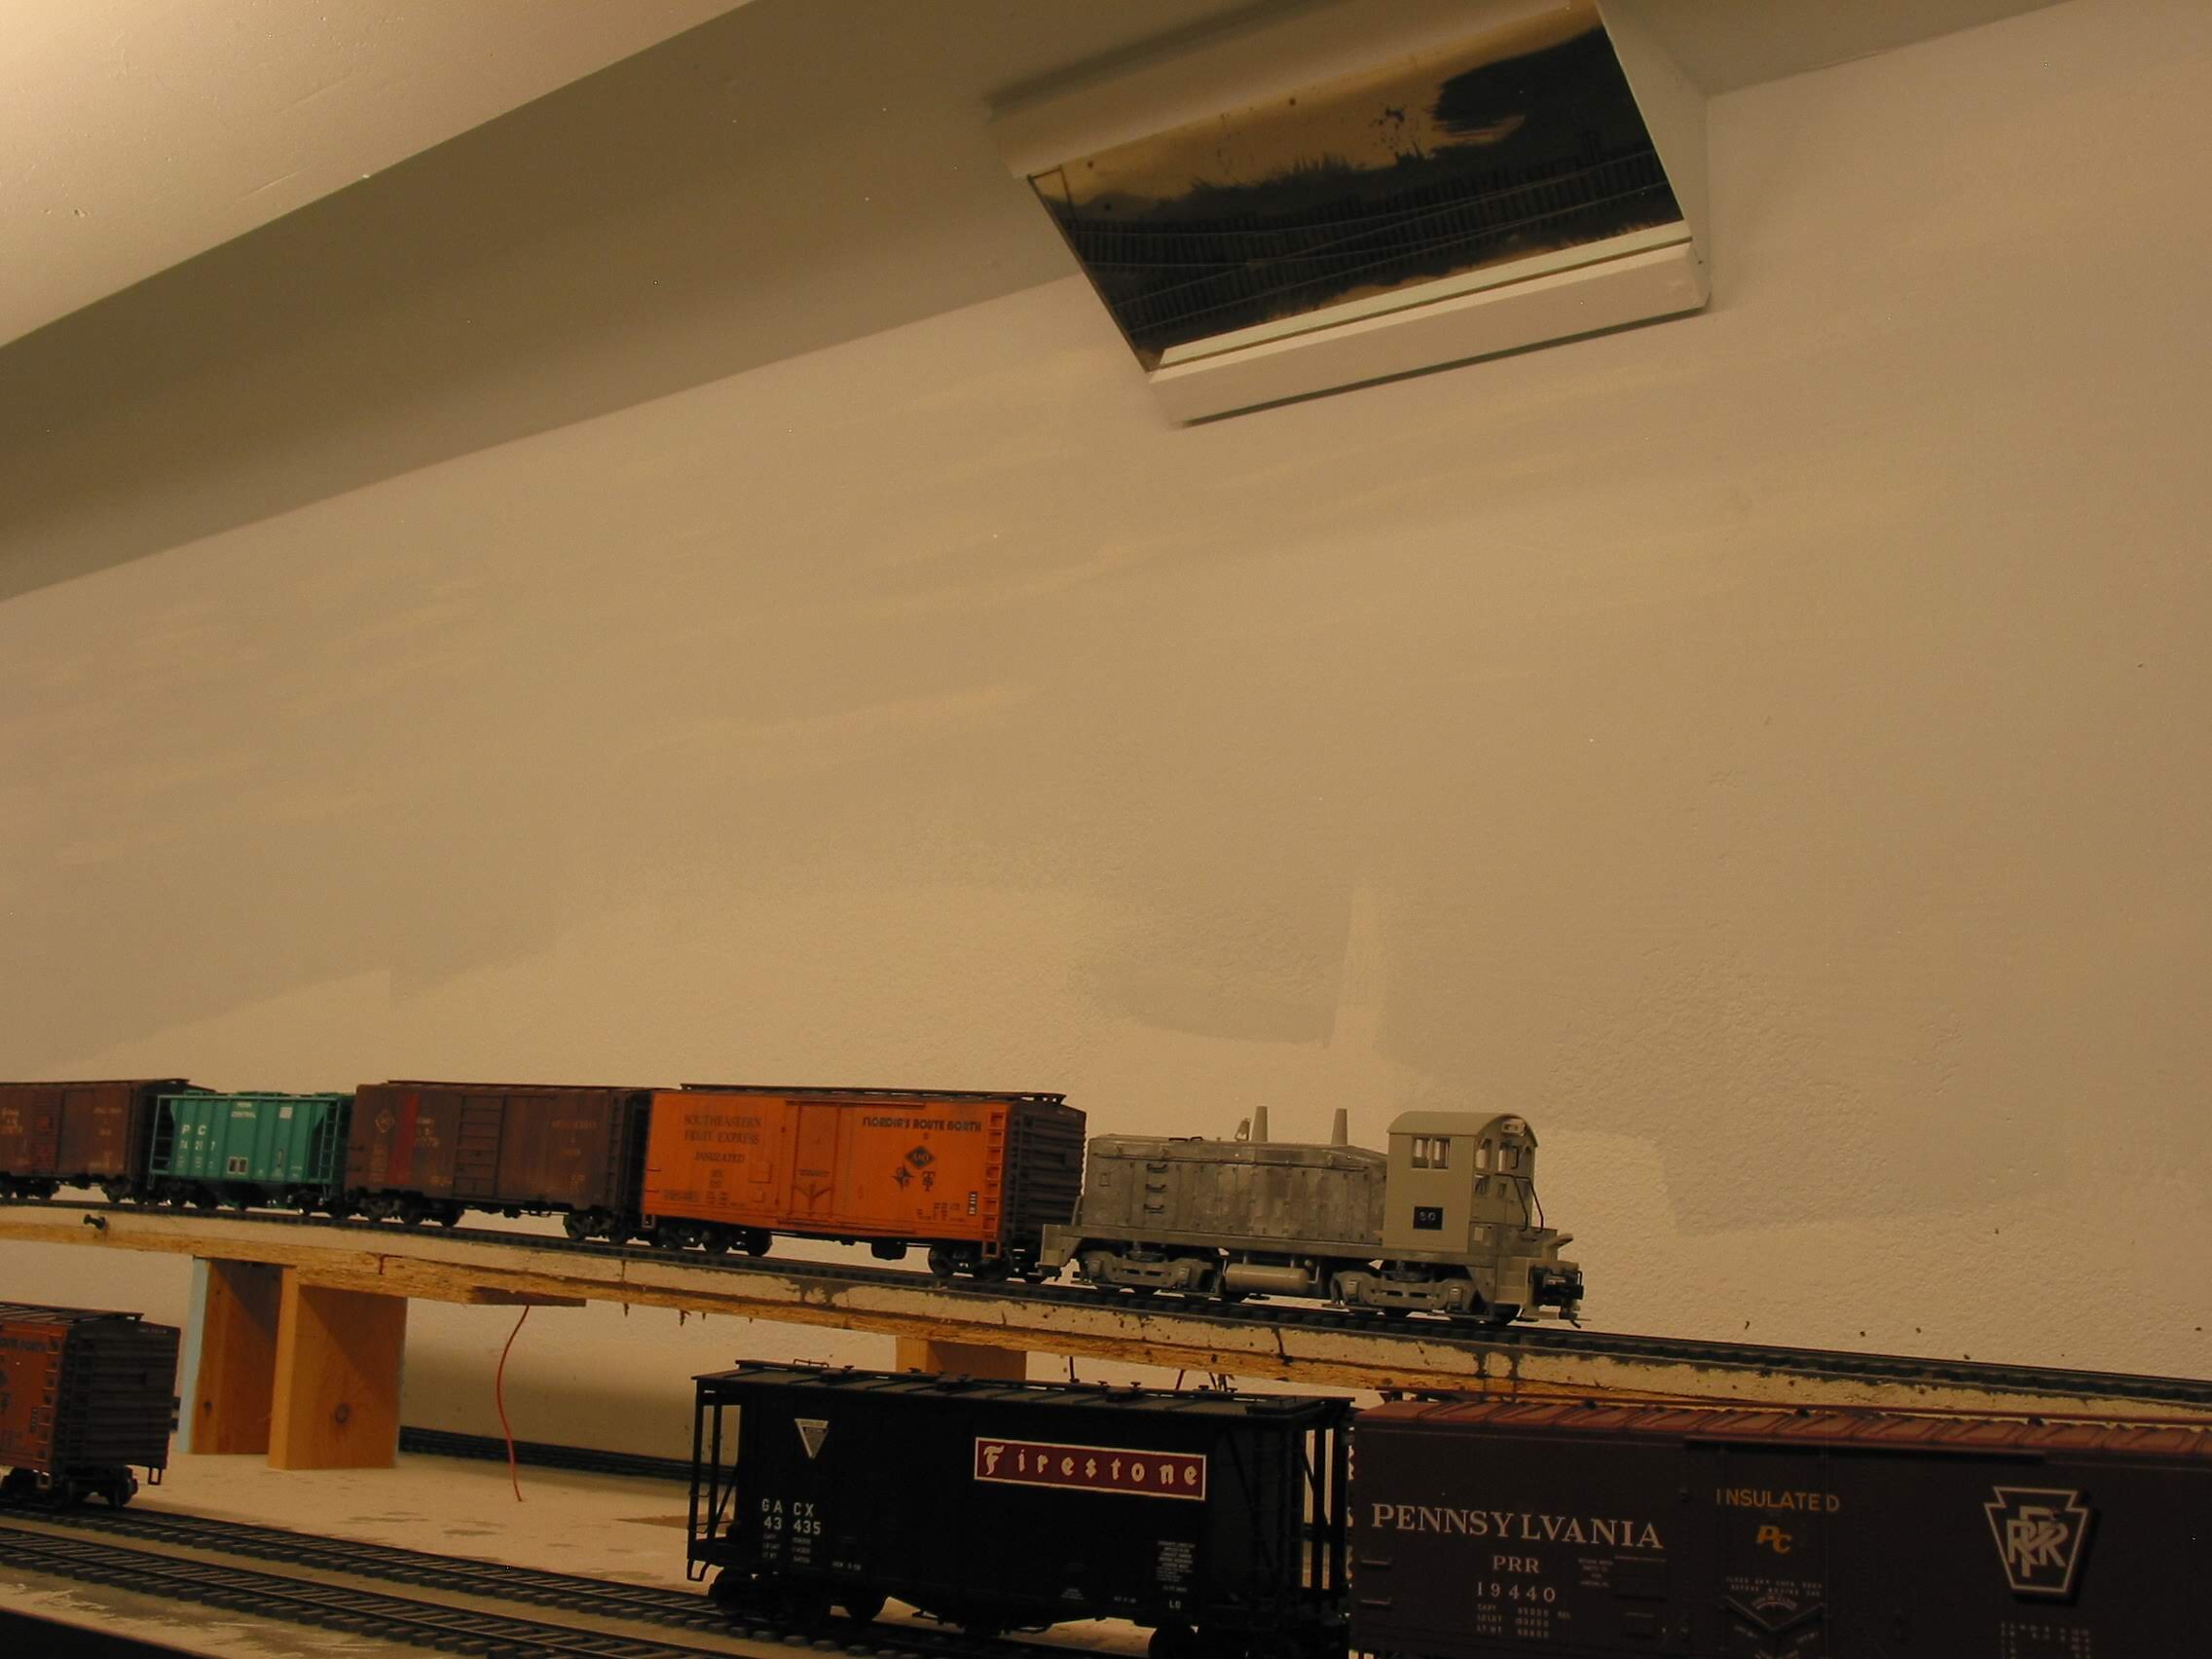
16th Street Hump rises in front of an industrial lead along the back wall. It is both impossible to see the switch points, let alone make the necessary uncoupling action.
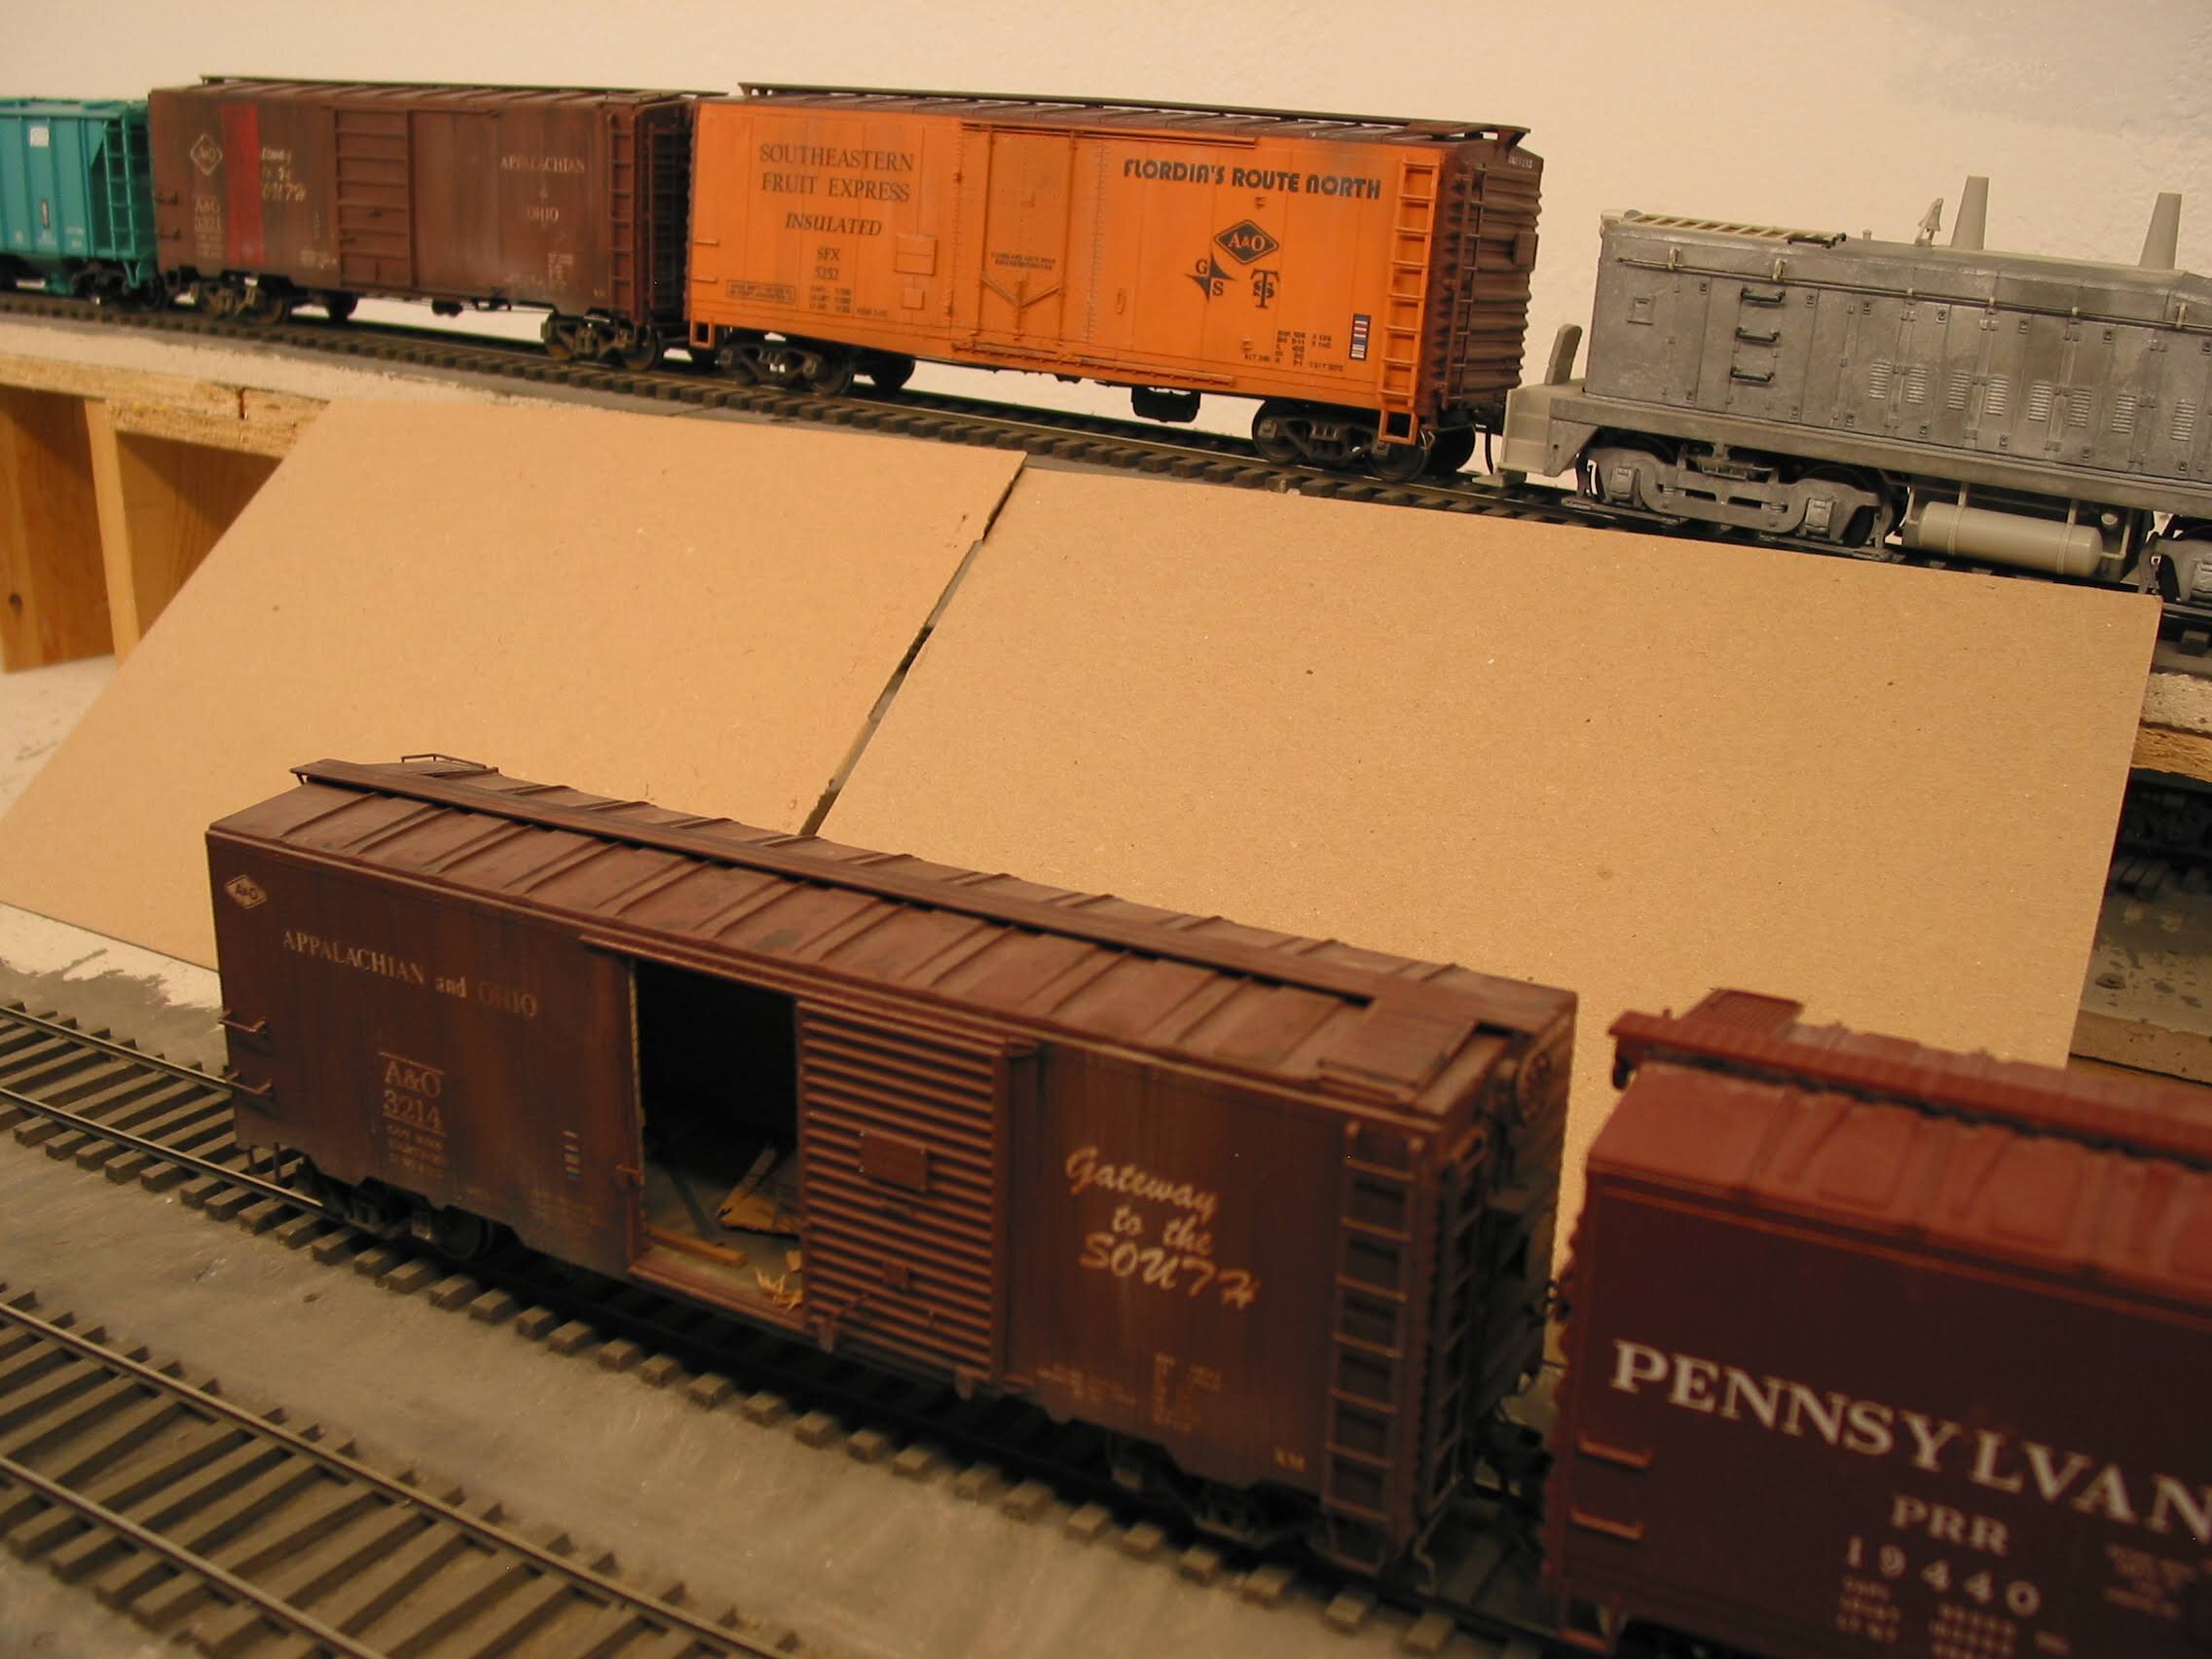
And as the scenery and hump tower are added, visibility will be even more impaired. What lame brain came up with this track plan?
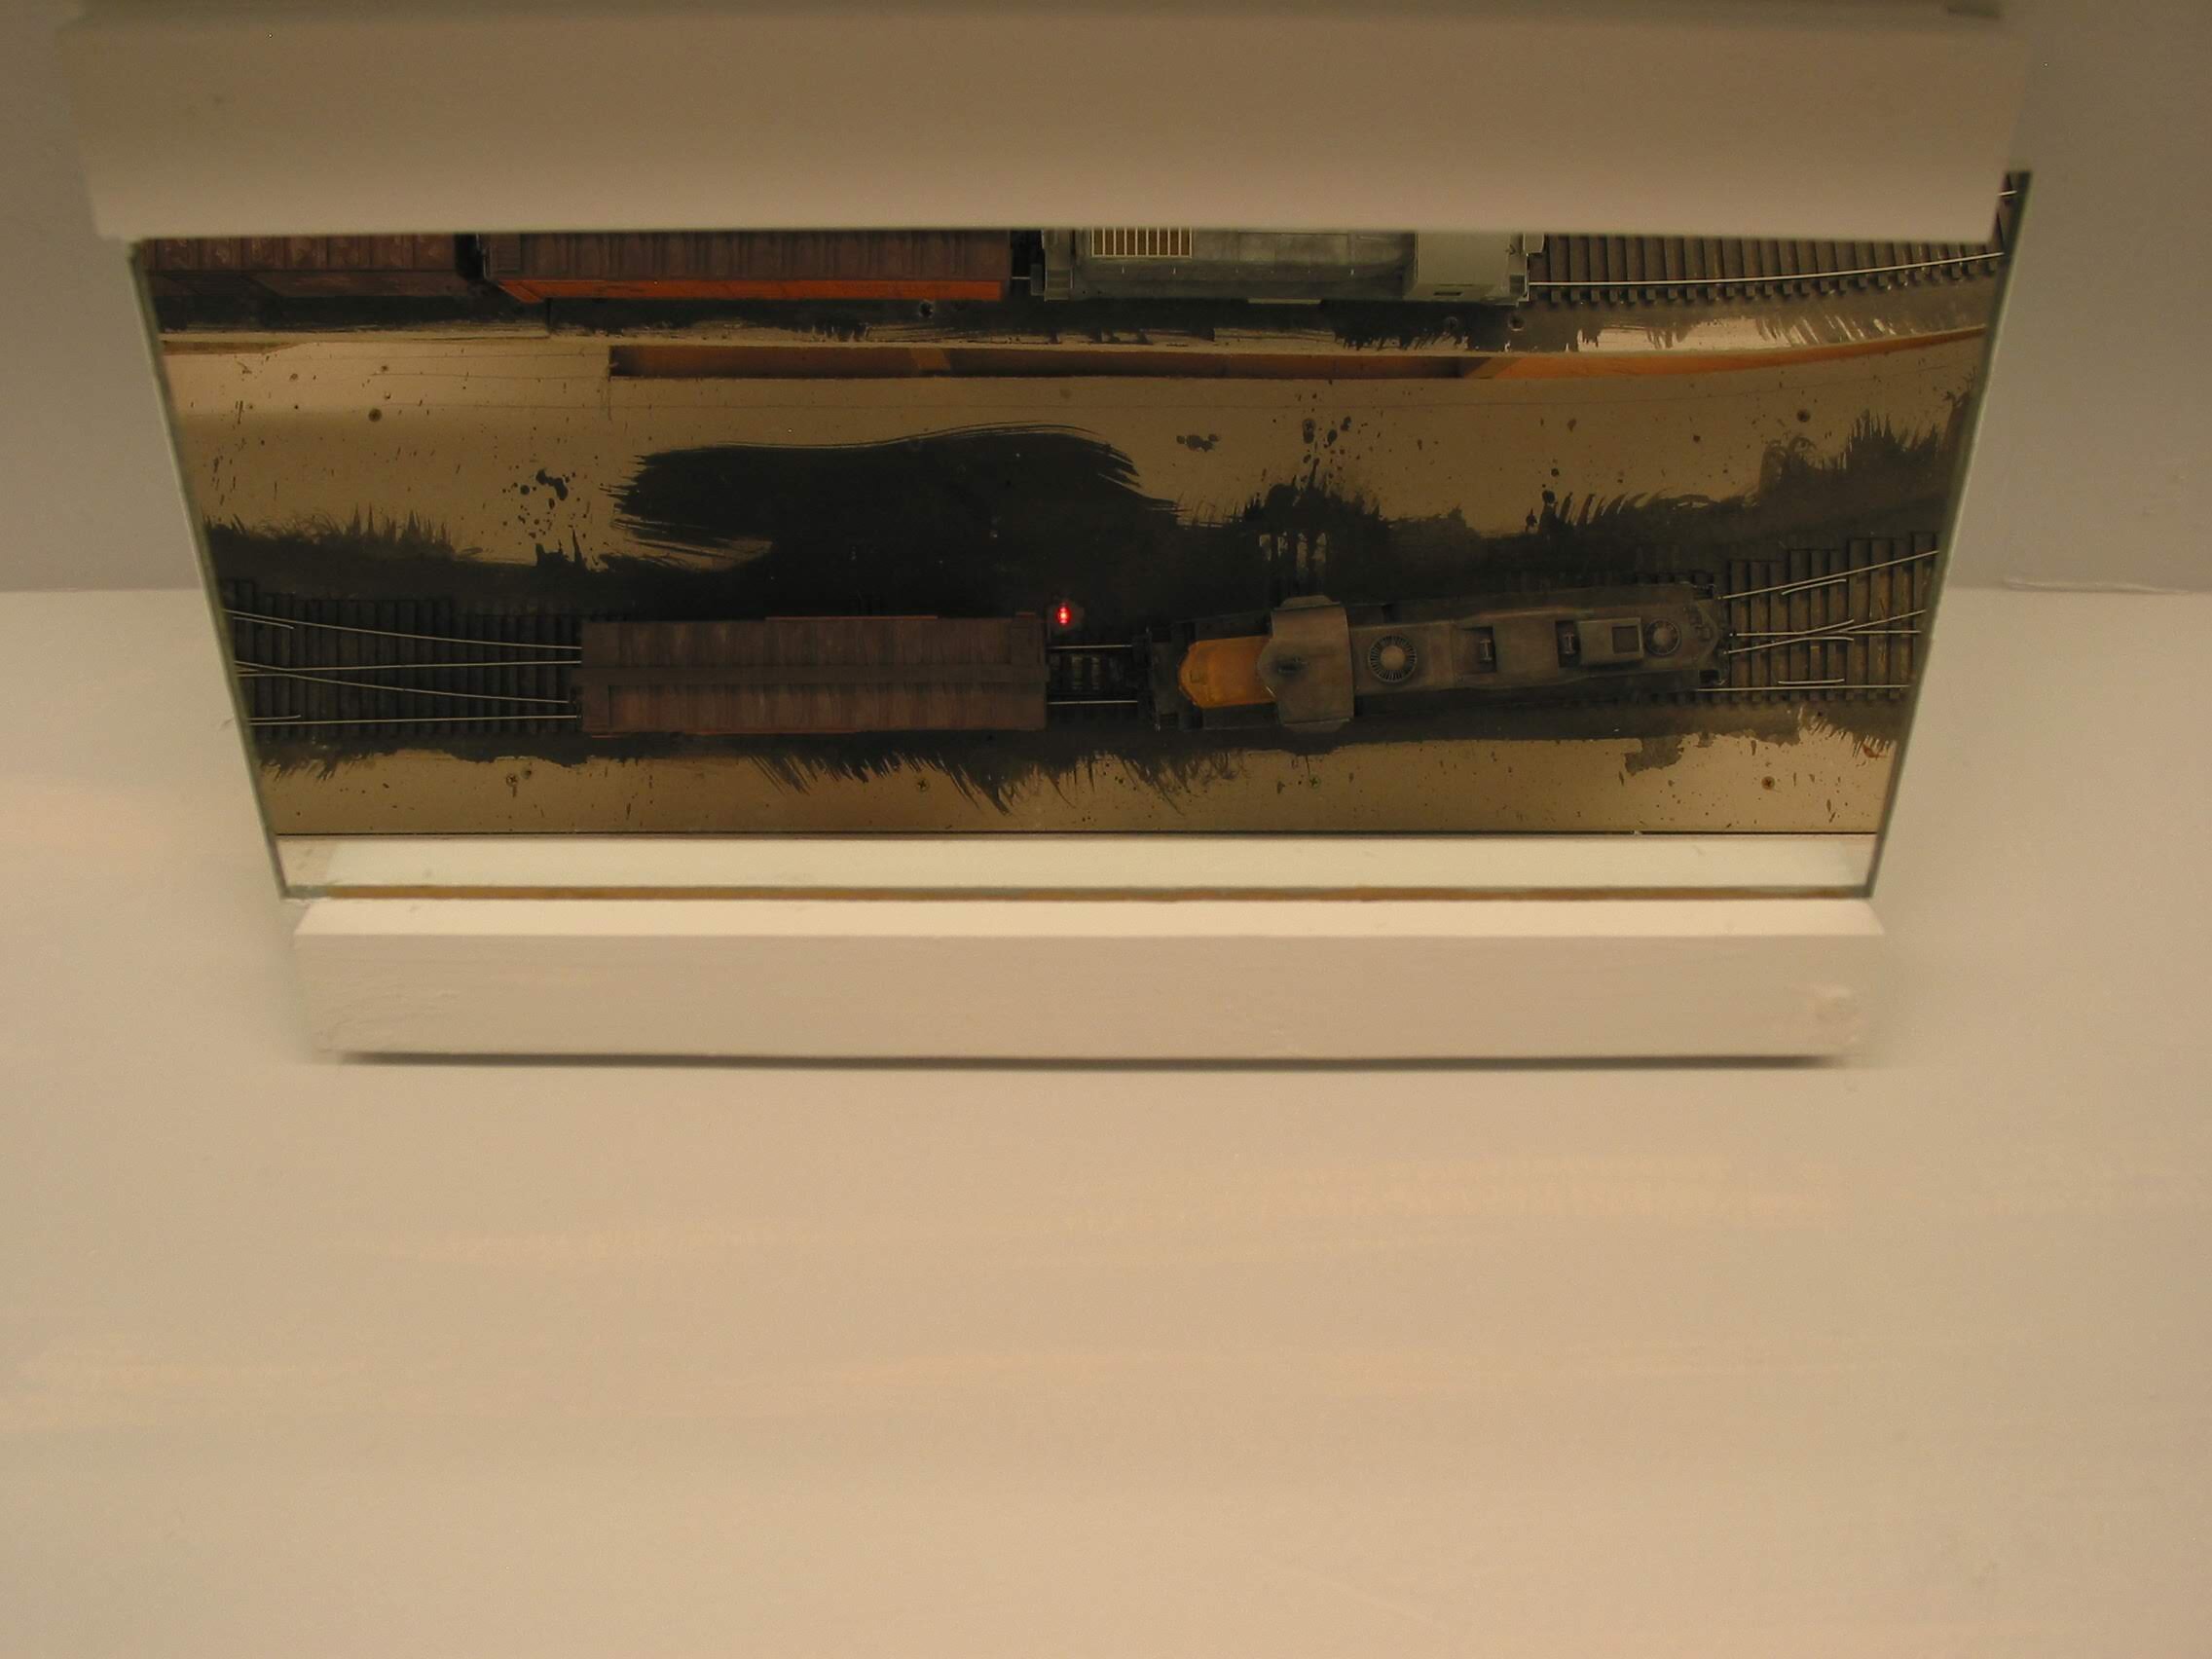
Ah-ha. The answer is a ceiling mounted angled mirror, an electromagnetic uncoupler, and an indicating LED. The uncoupler is a old CUDA product with a timer that allows for time to spot and back away, leaving the car in place. Then reactive and push car into position. Did it solve the problem and work during ops? Ya betcha.
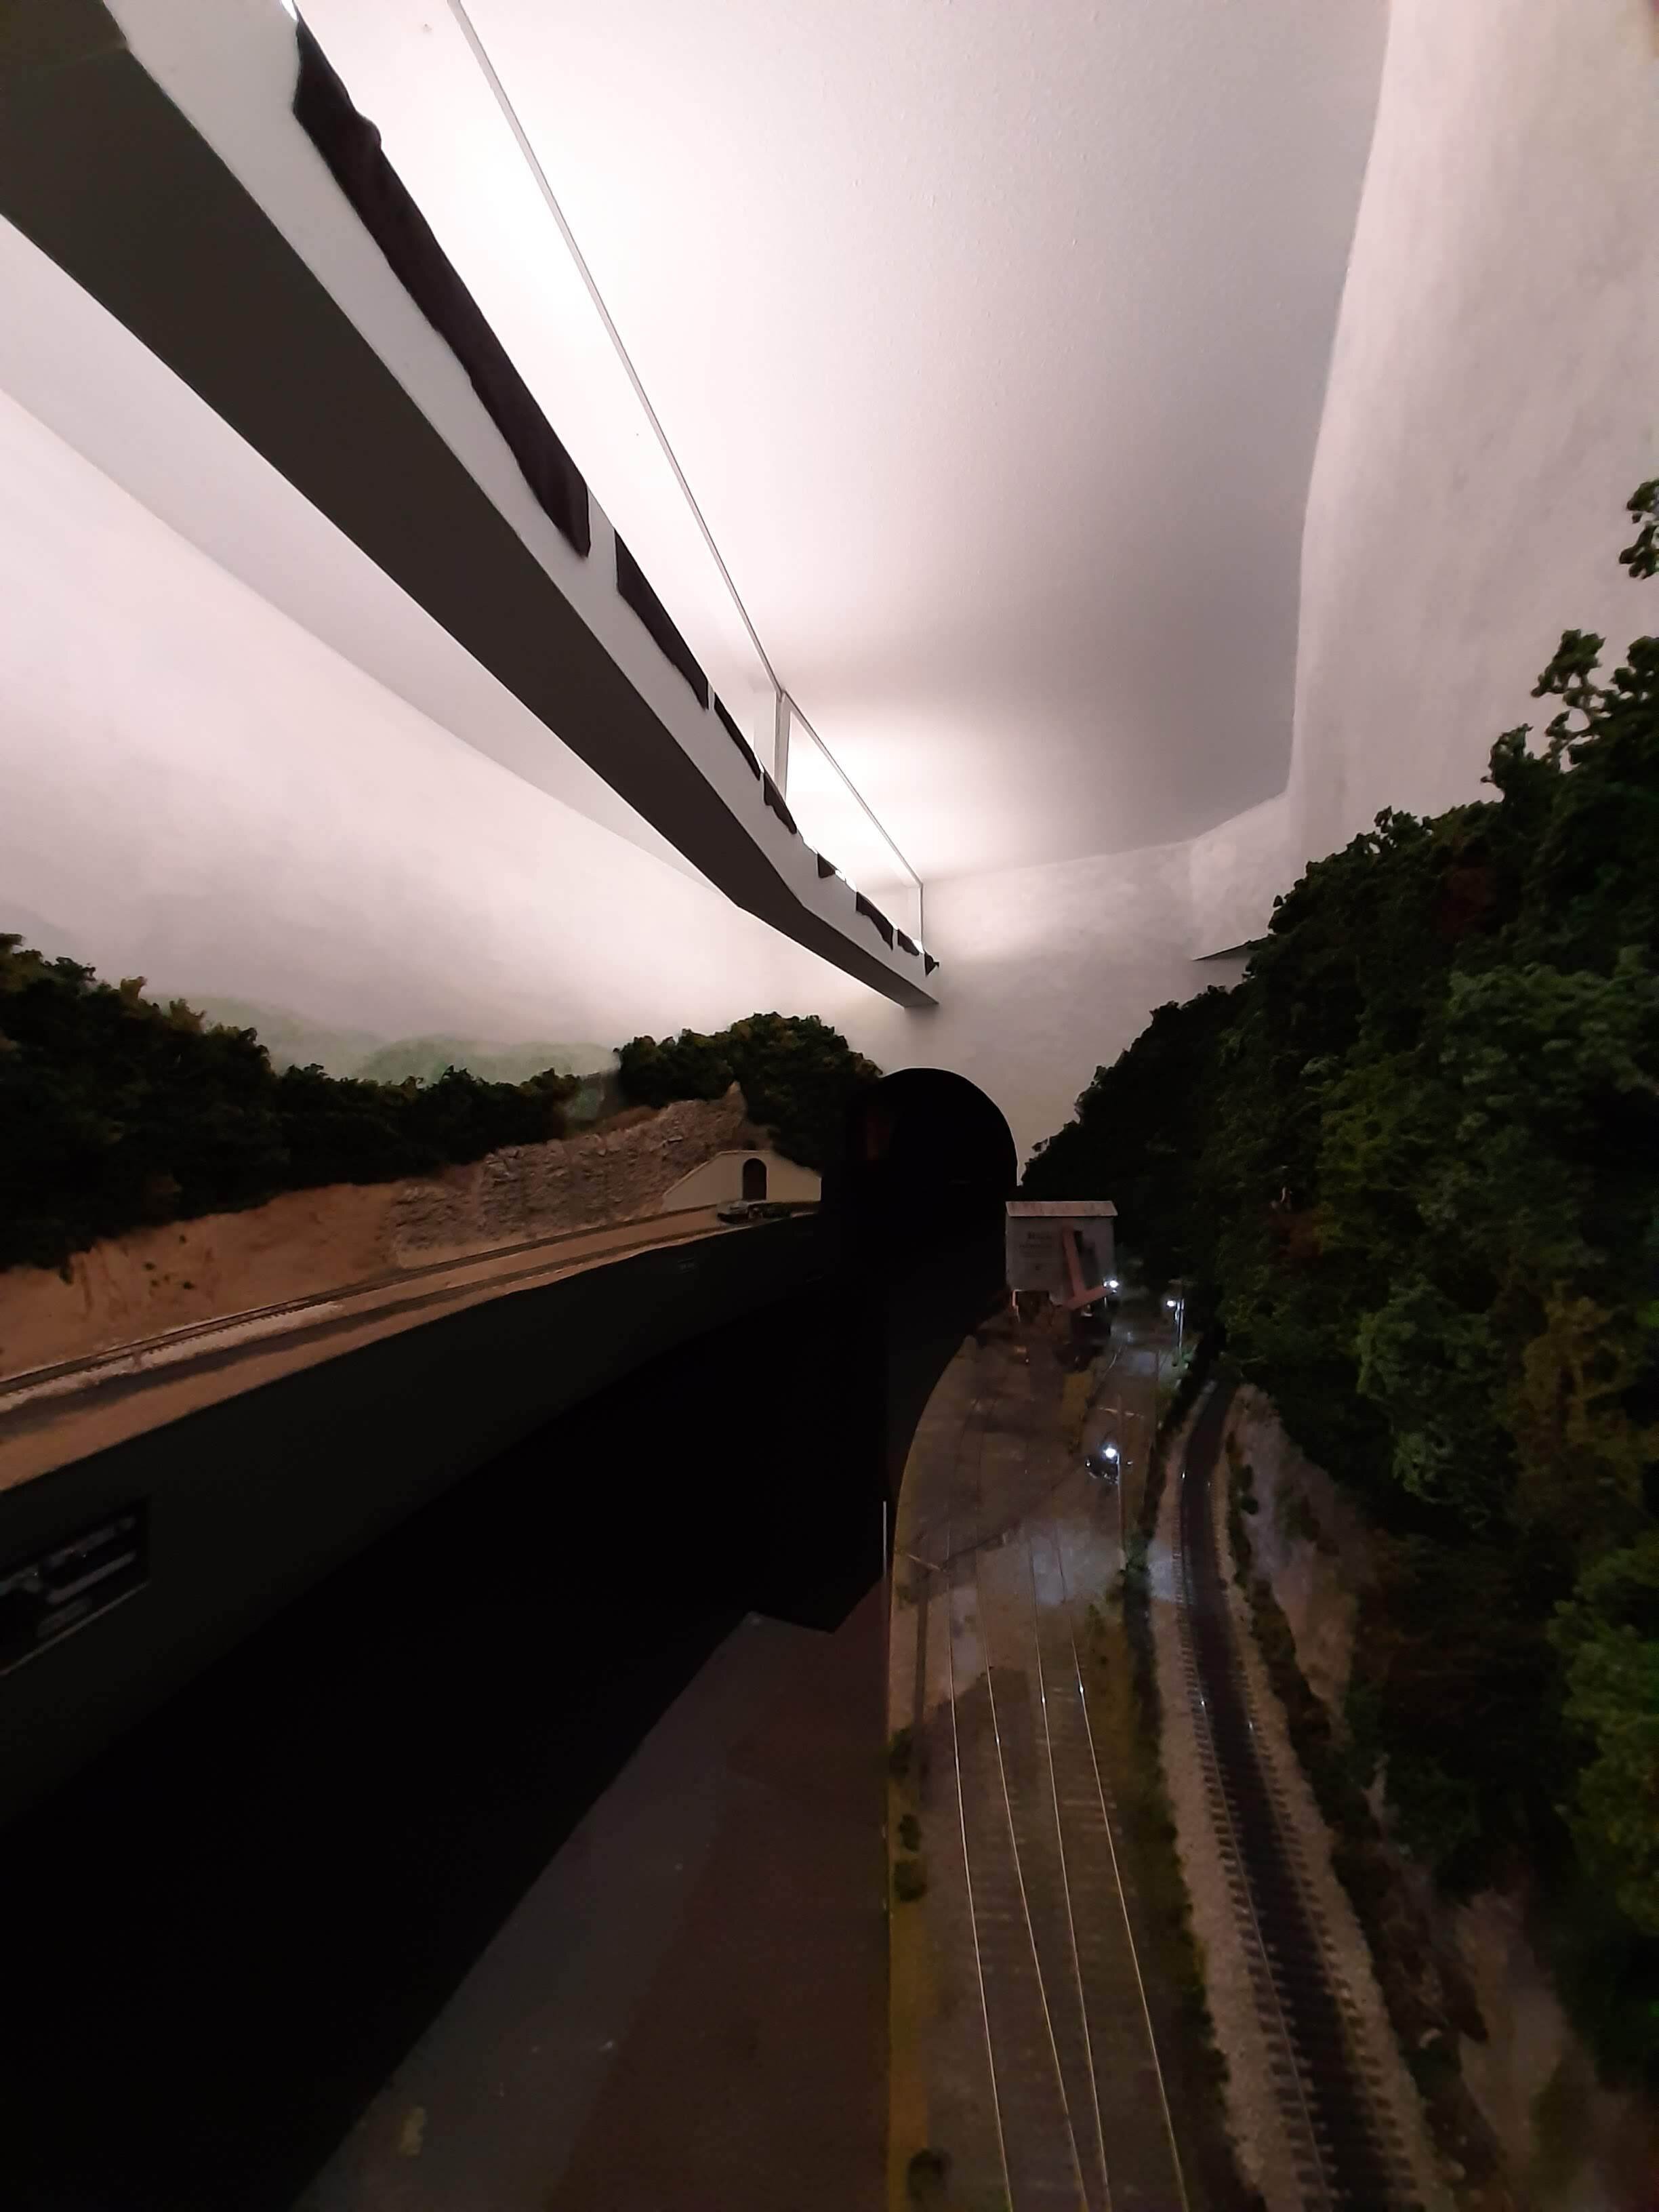
I wanted a subdued lighting in the middle section of the Kayford Branch. To accomplish this 3 florescent fixtures were hung in a trough with the light shining upward to diffuse the light.
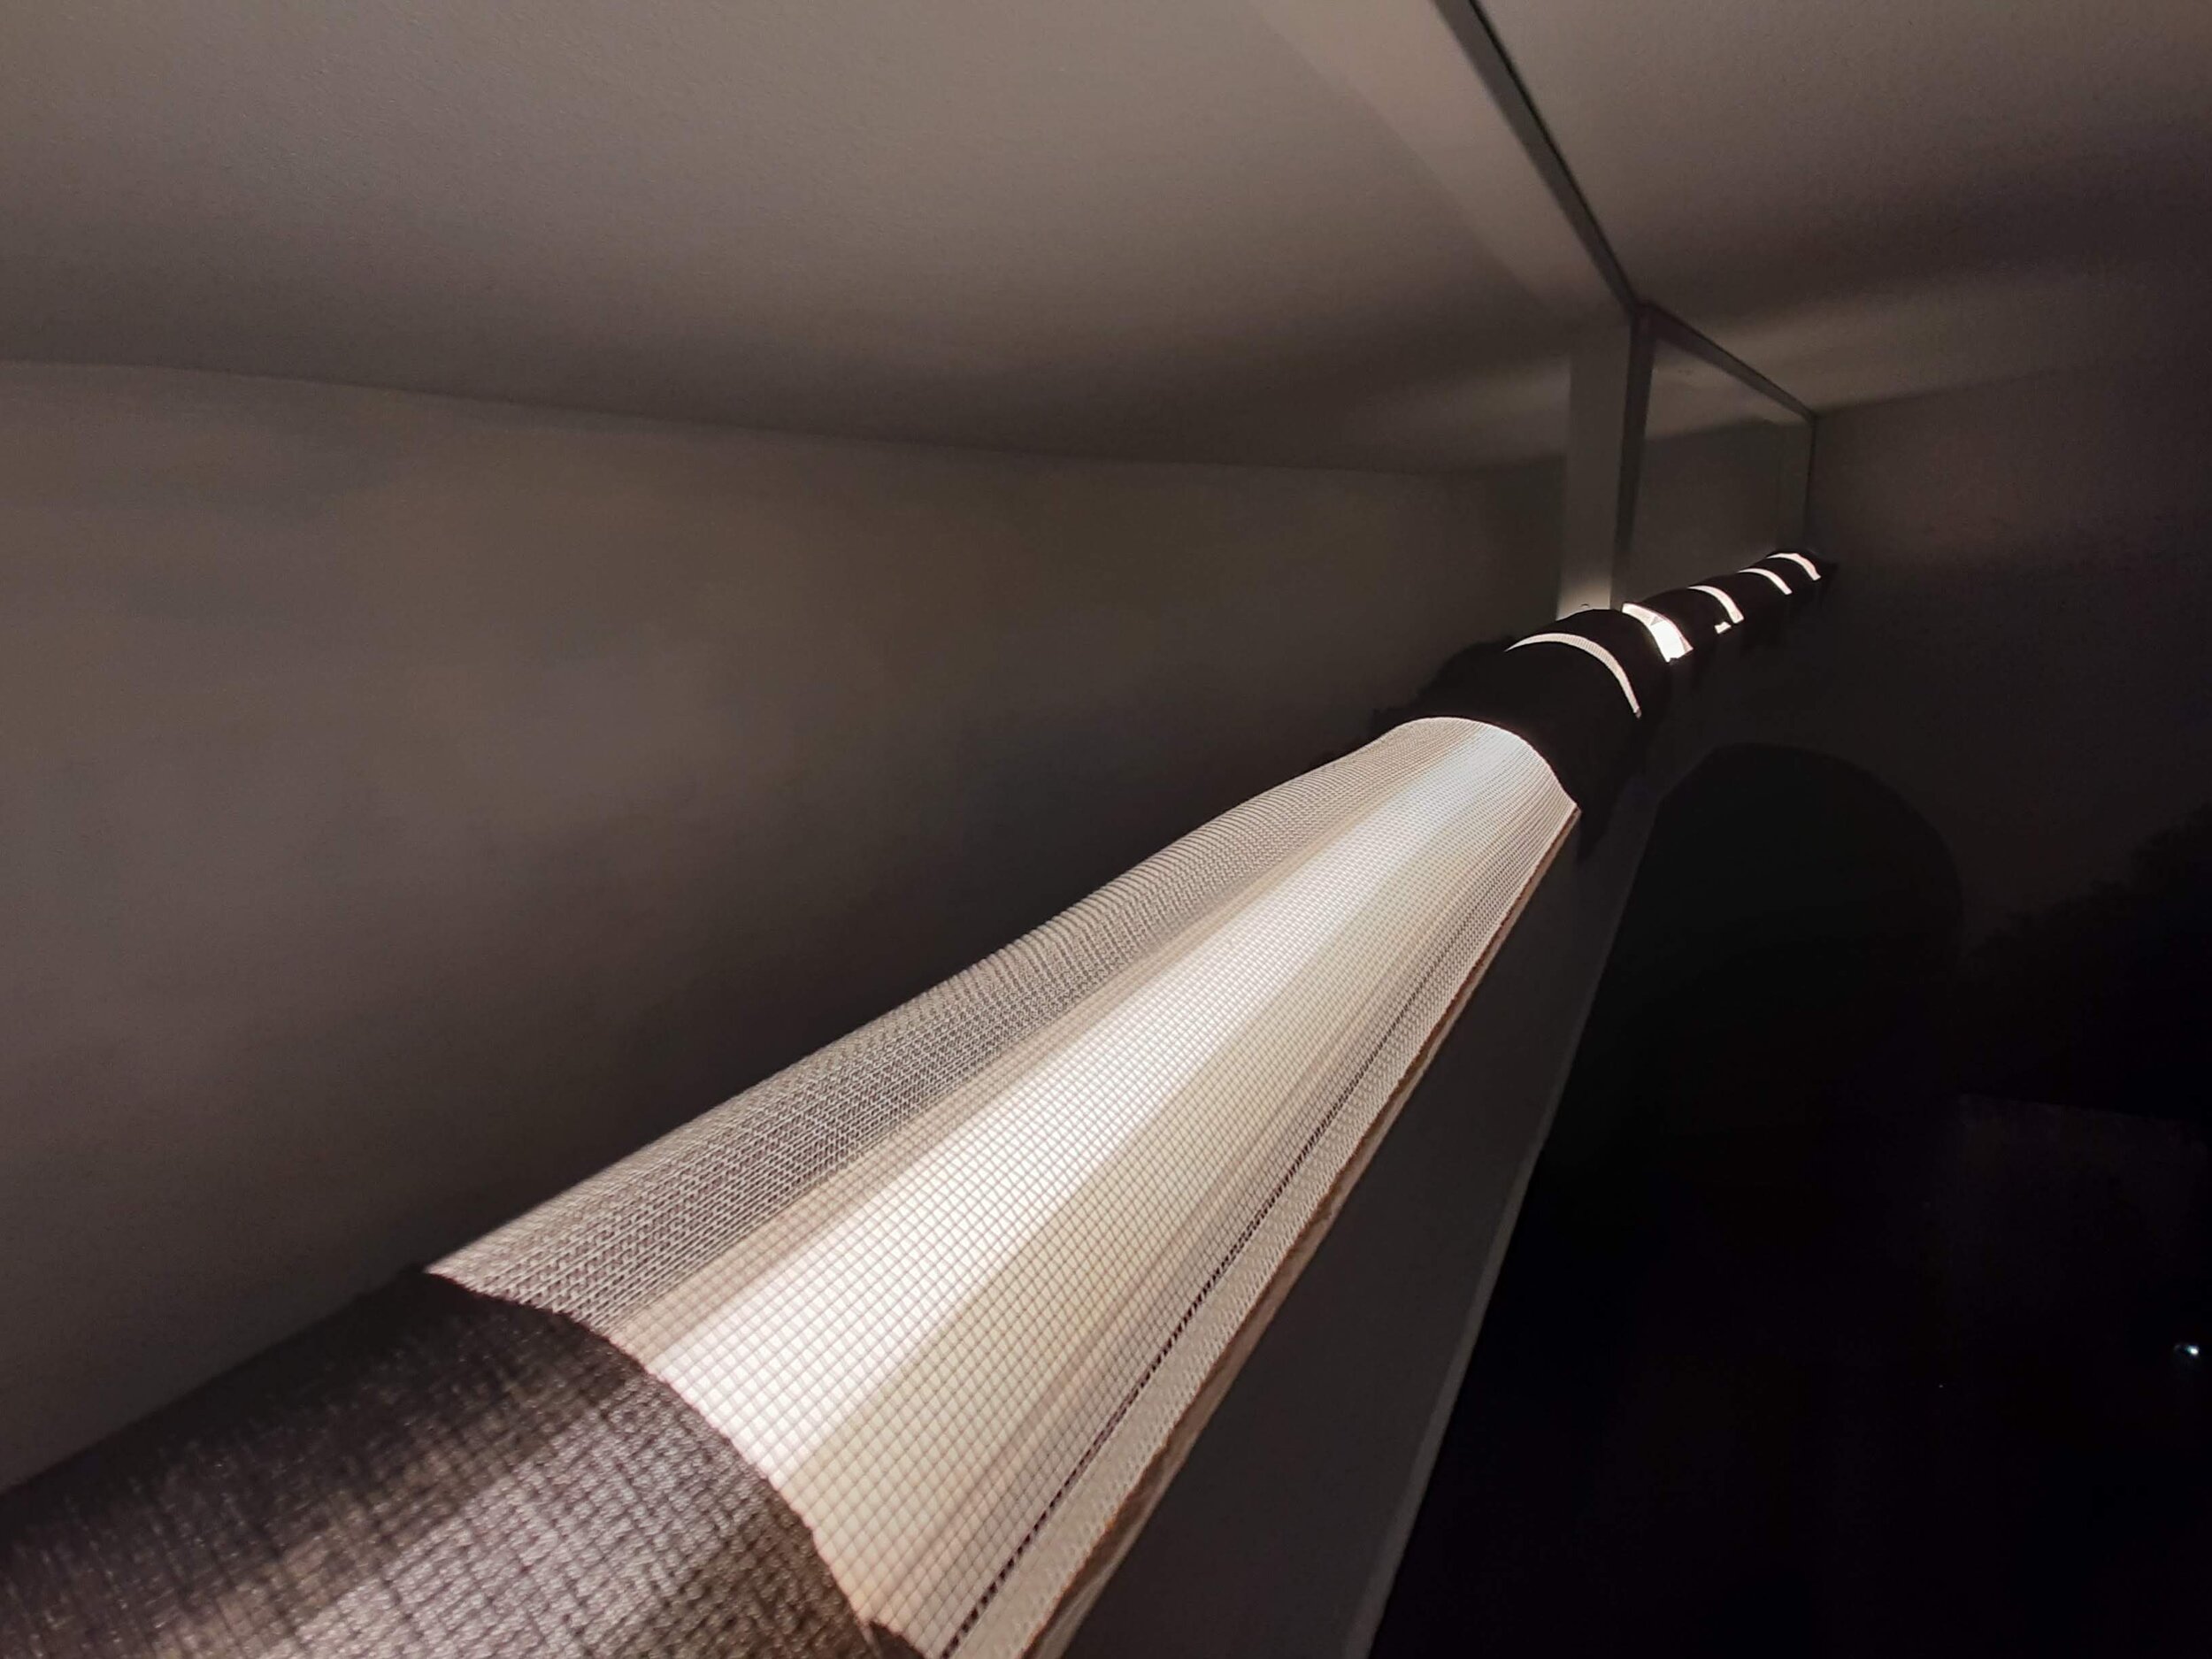
Screen wire was cut and placed in the trough, arching the wire up and over the florescent tube like a dome. This made for a couple inches of no contact and air space over the tubes.
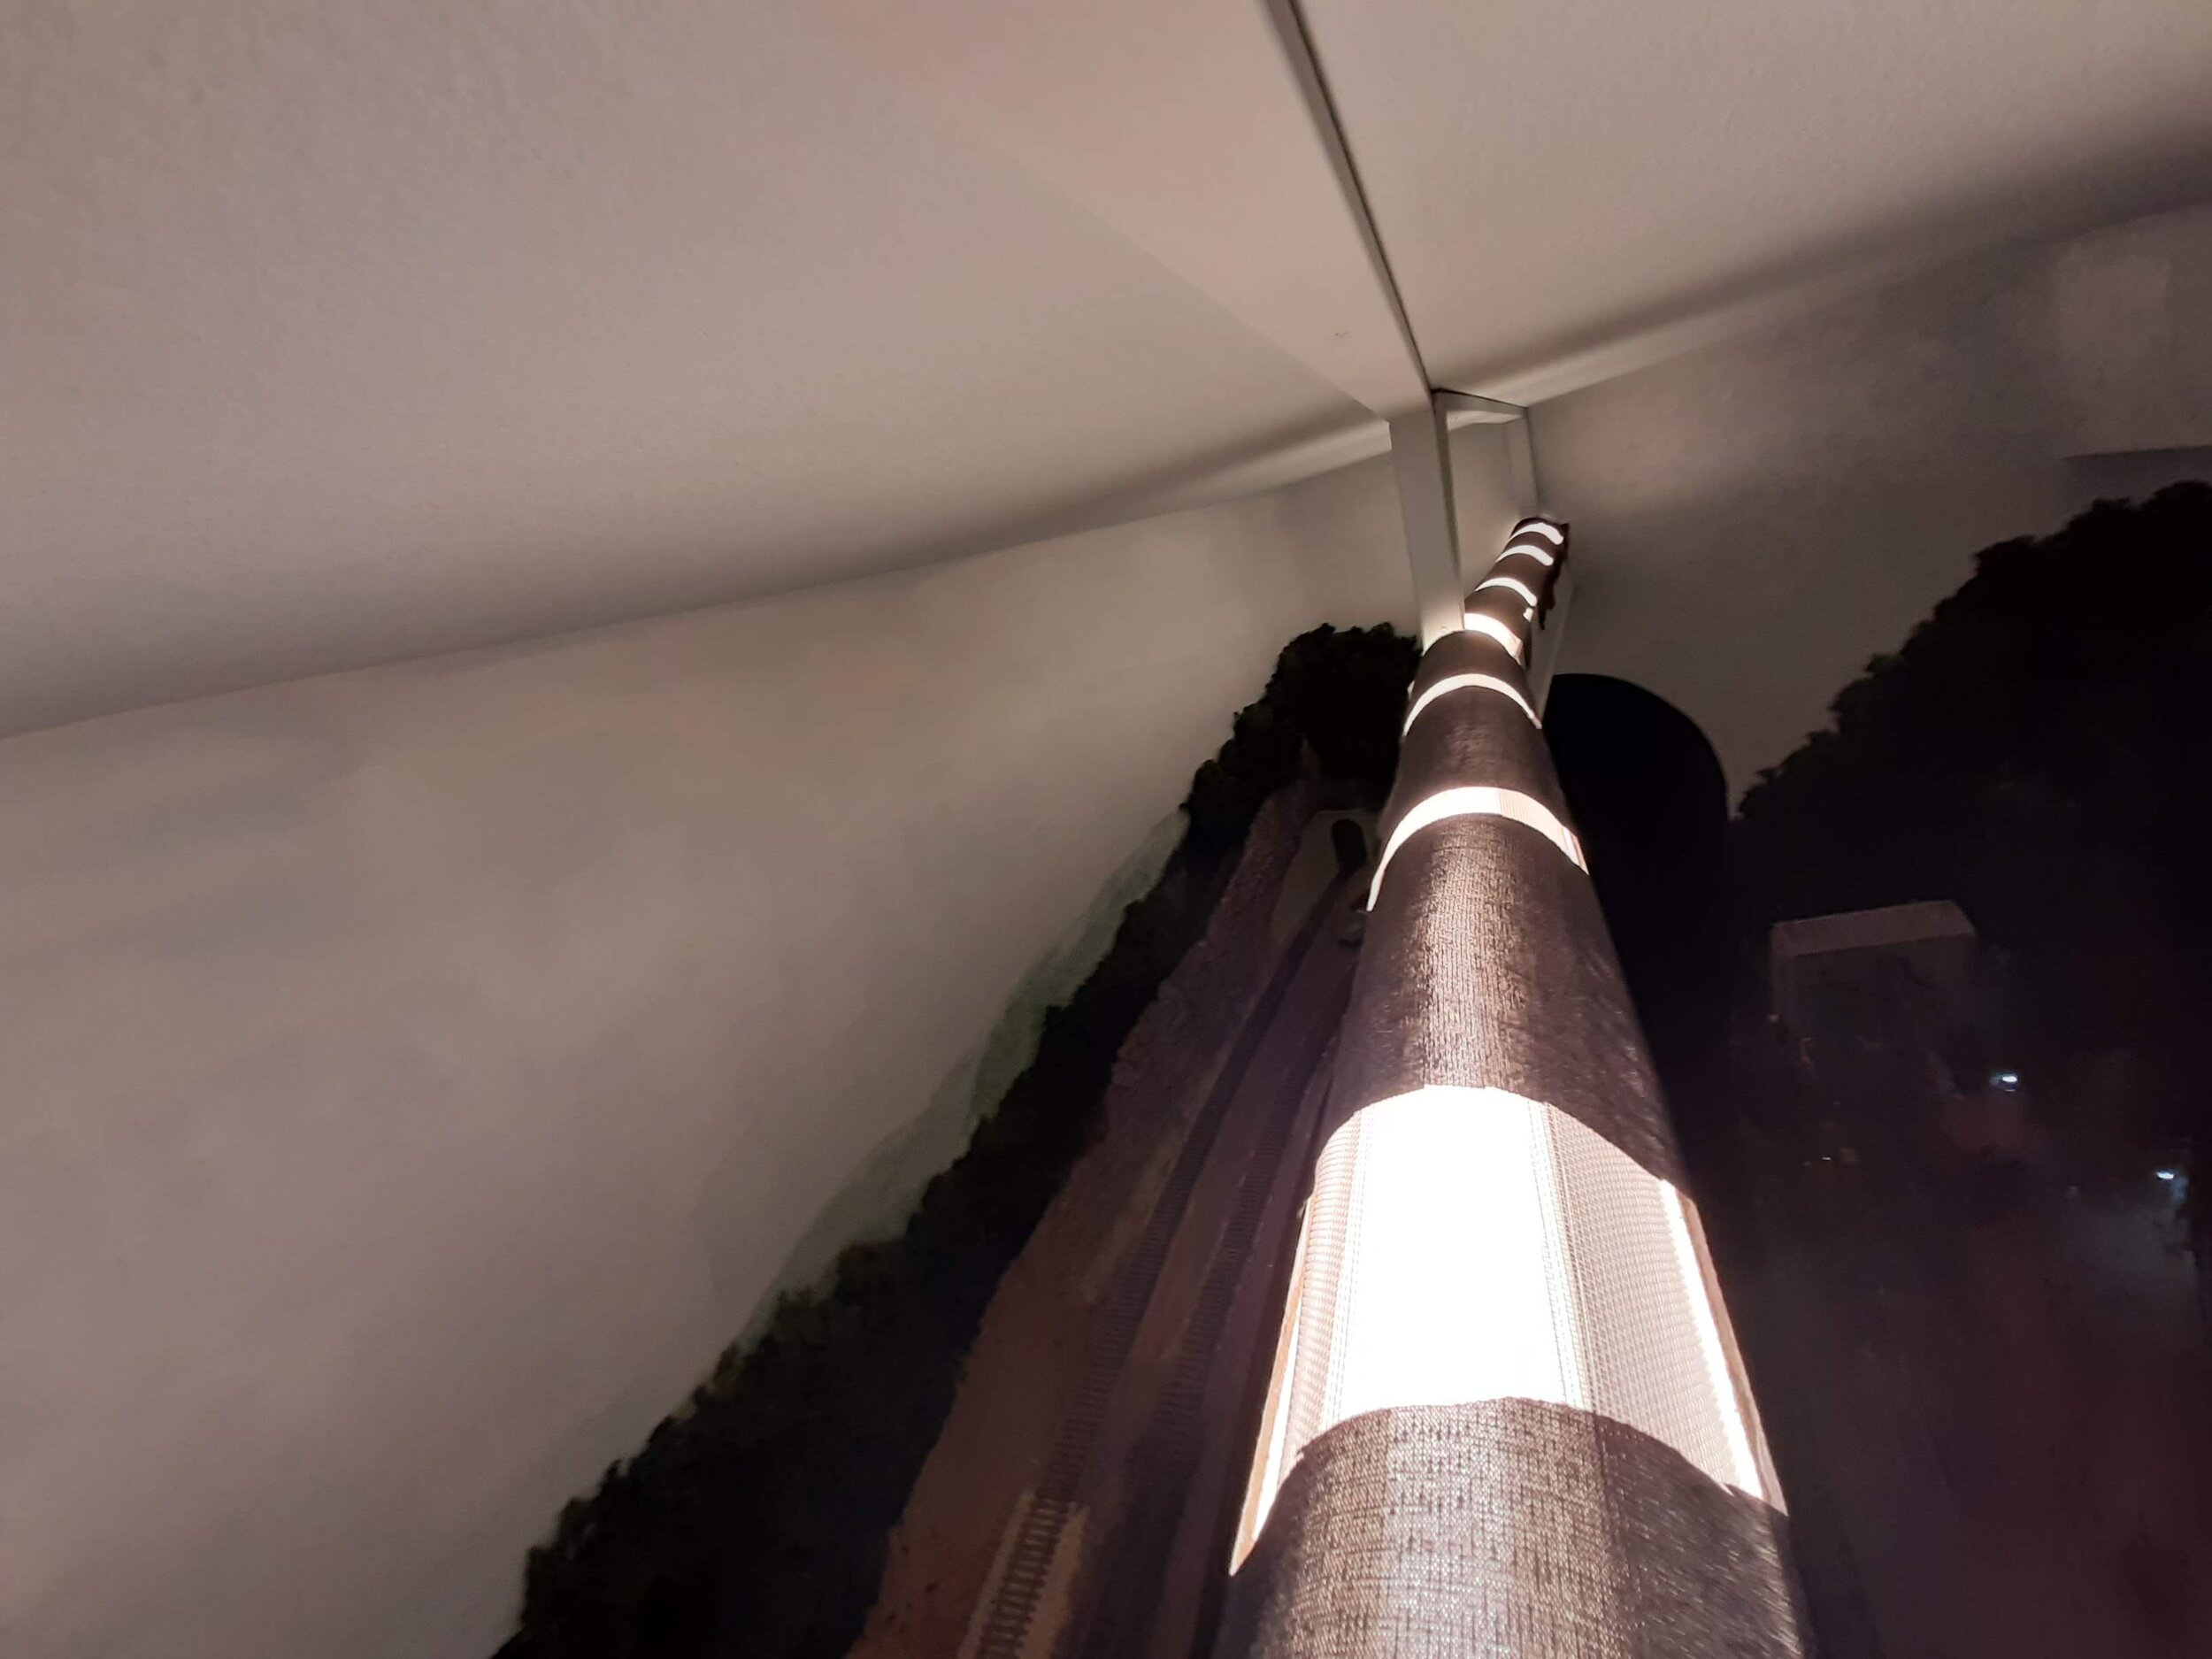
Finally I added strips of sheer black linen over the screen wire. Placement of these determines how bright or dim the scene will be,
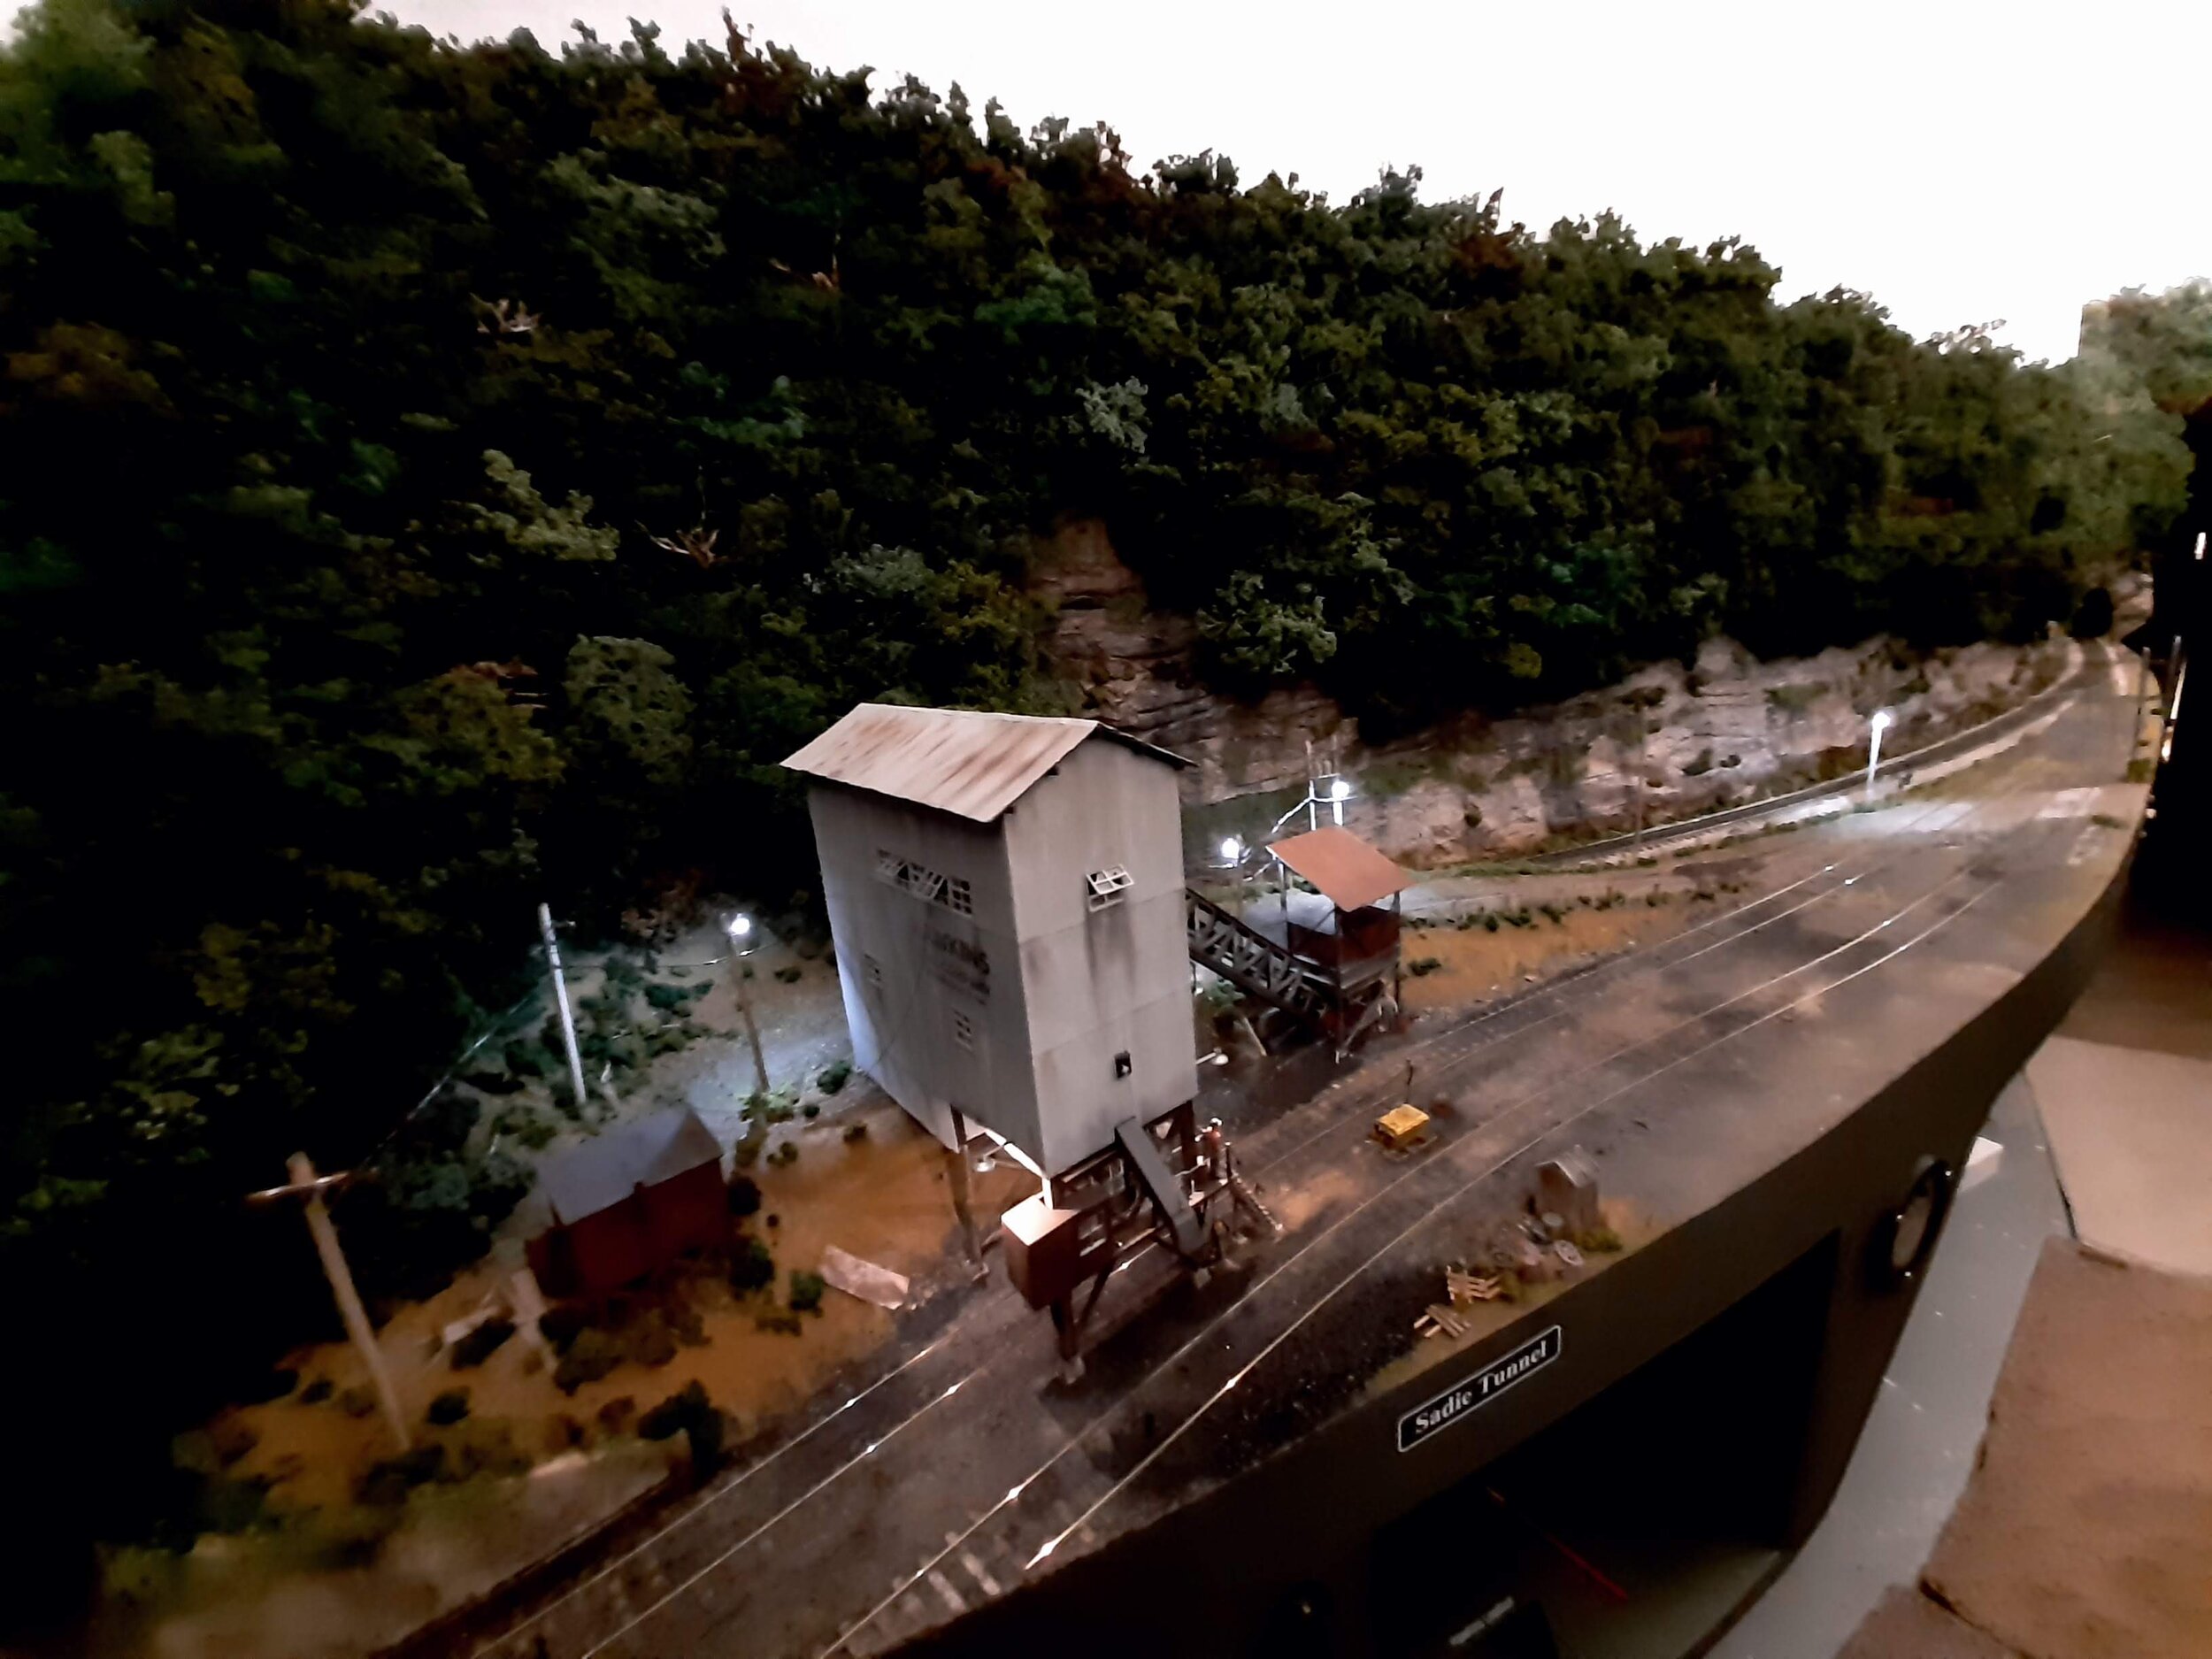
The photo is a close approximation of what it’s actually like being at the Hawkins Loadout in middle Kayford. A misty morning??


