Tunnels


Modeling in O Scale requires modeling tunnel interiors, thus they become models in themselves. And an Appalachian Road has them in abundance, so clearly I needed to devise a plan to build them at …scale.
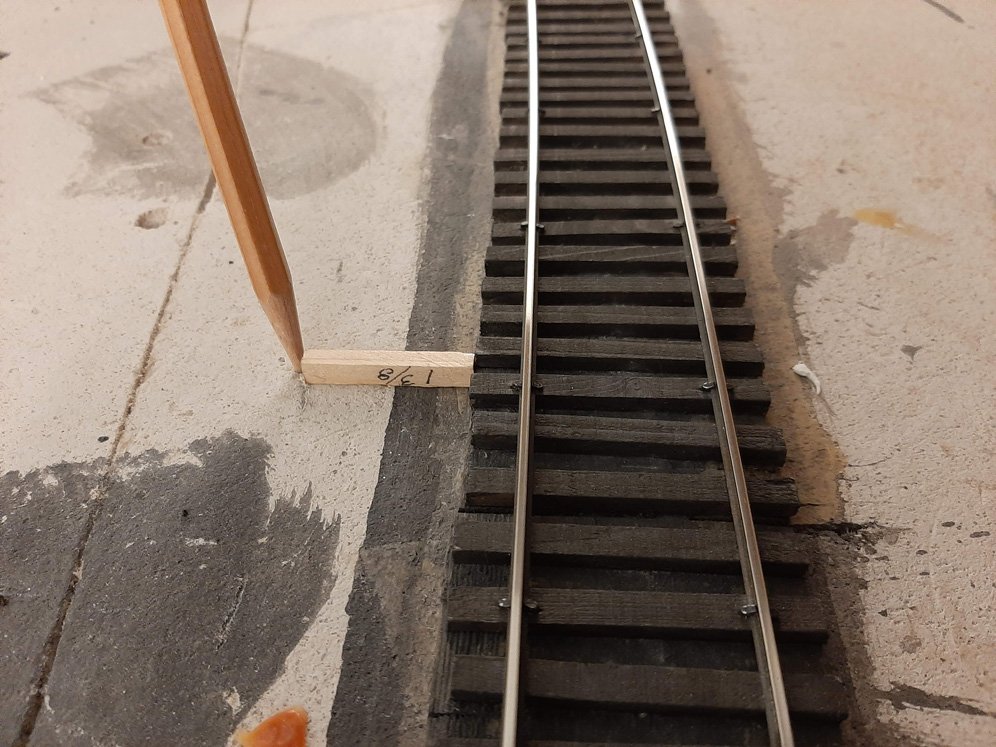
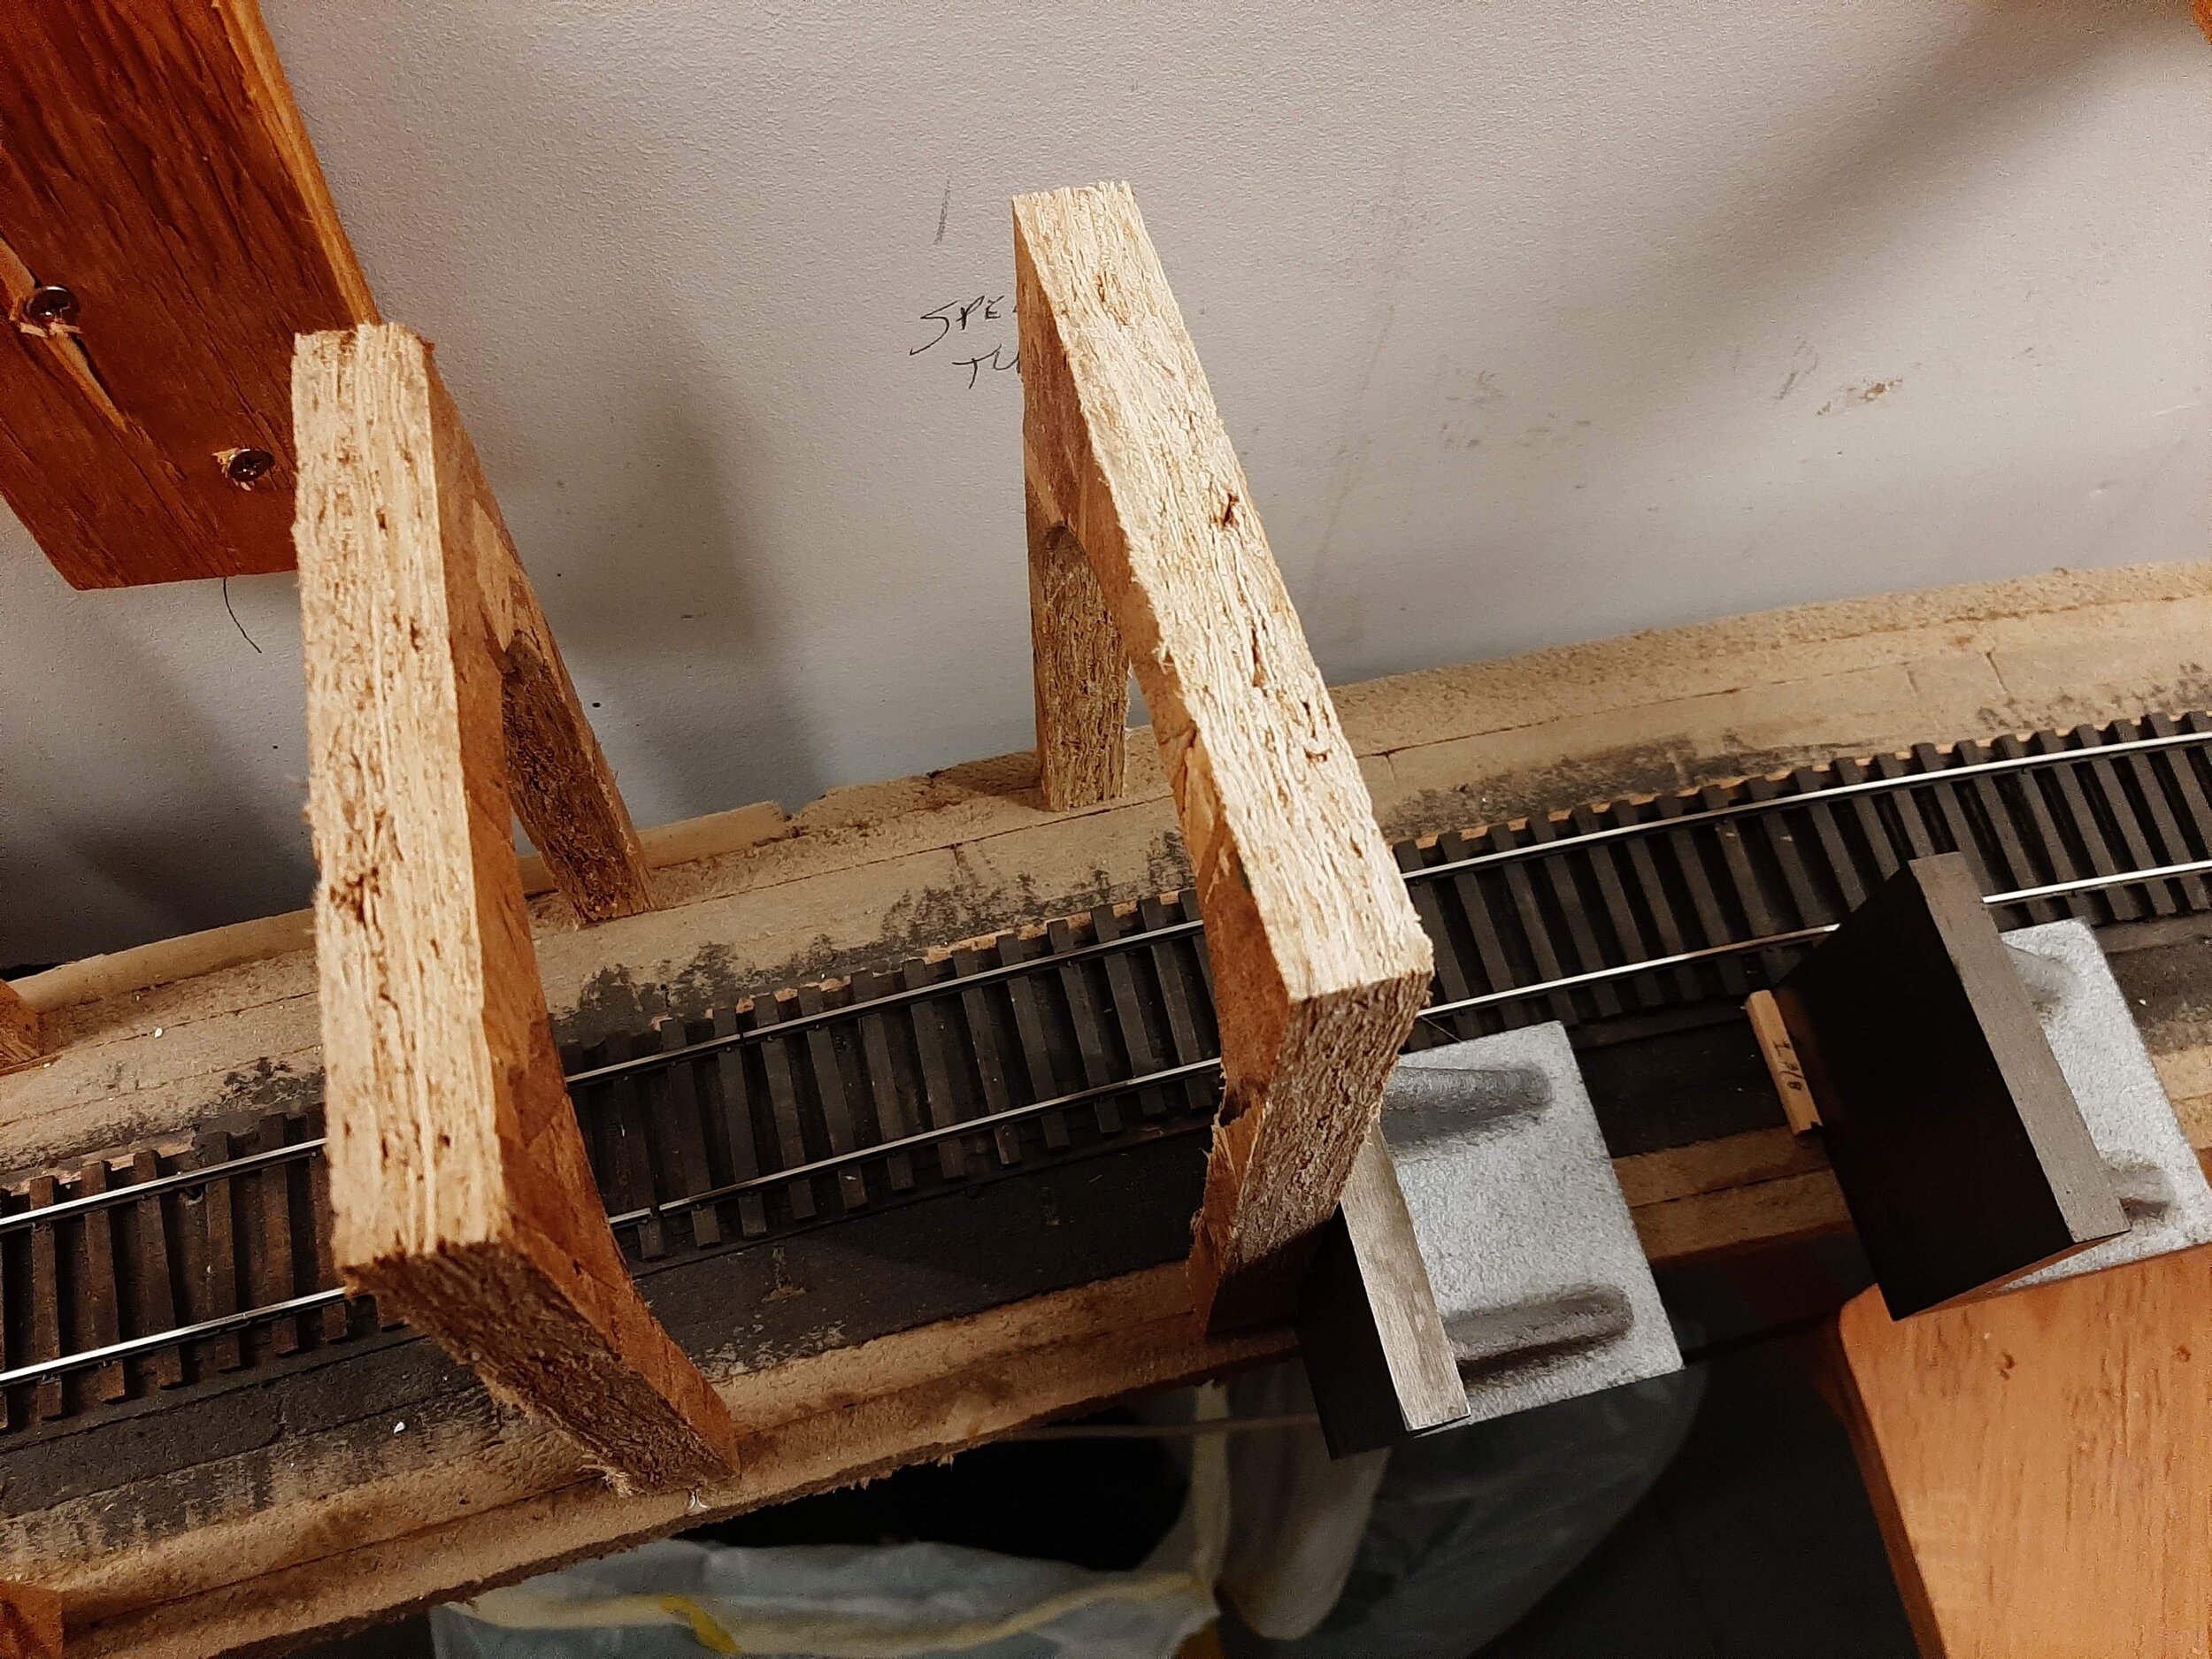
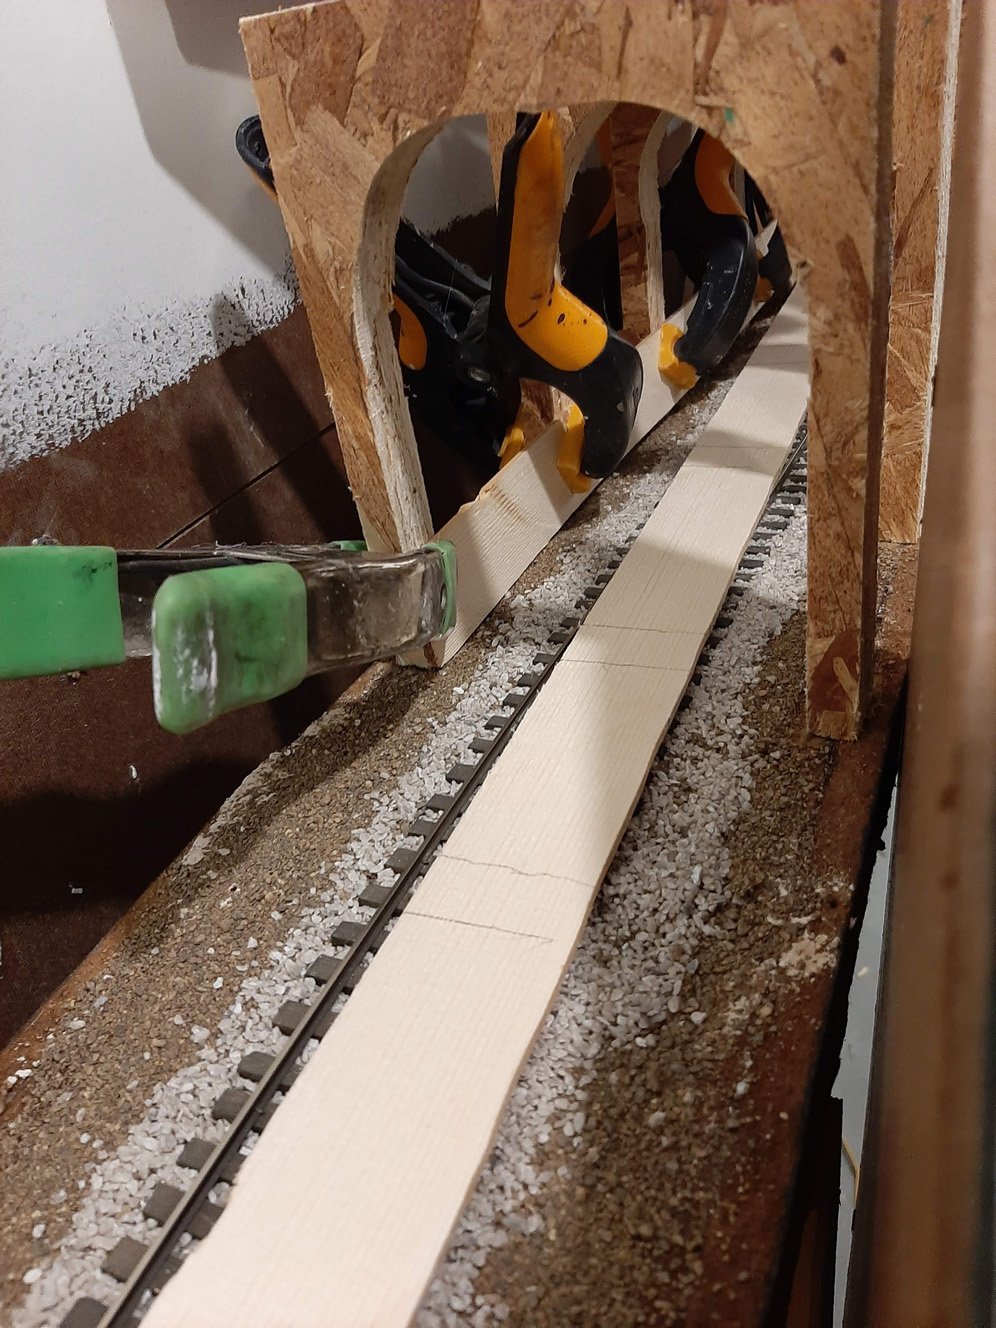
Here, I have determined that 1 3/8” on either side of the ties makes for a good width of the inside wall of the tunnel. Periodic pencil marks were made establish this distance.
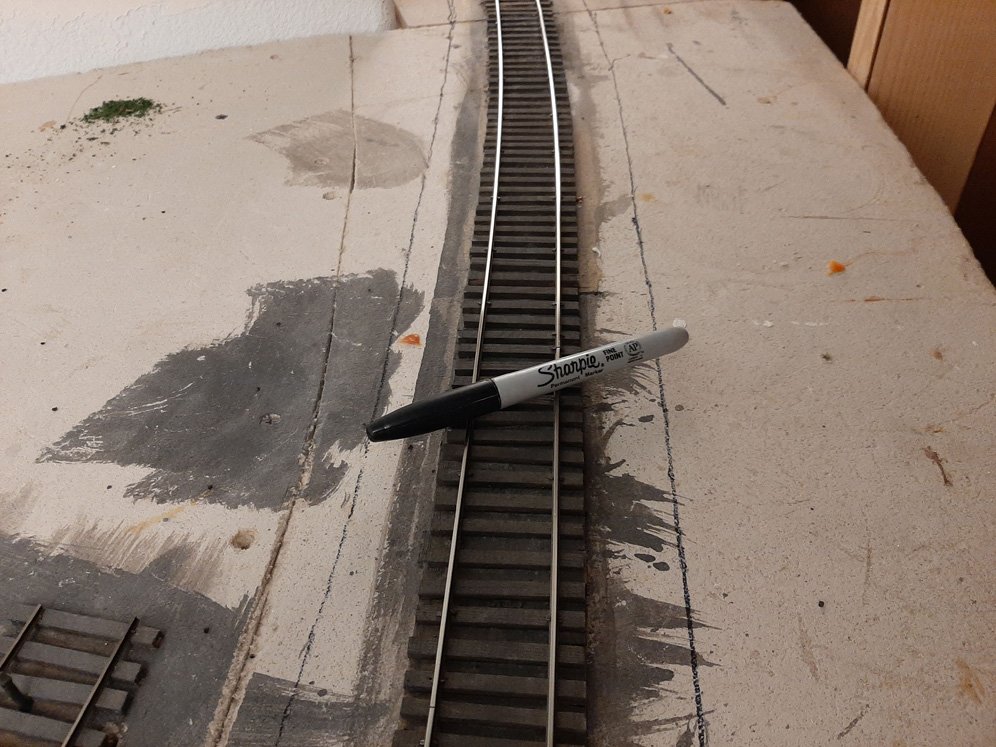
Next I connected the pencil marks with a black Sharpie establishing the tunnel wall location over the length of the future tunnel.
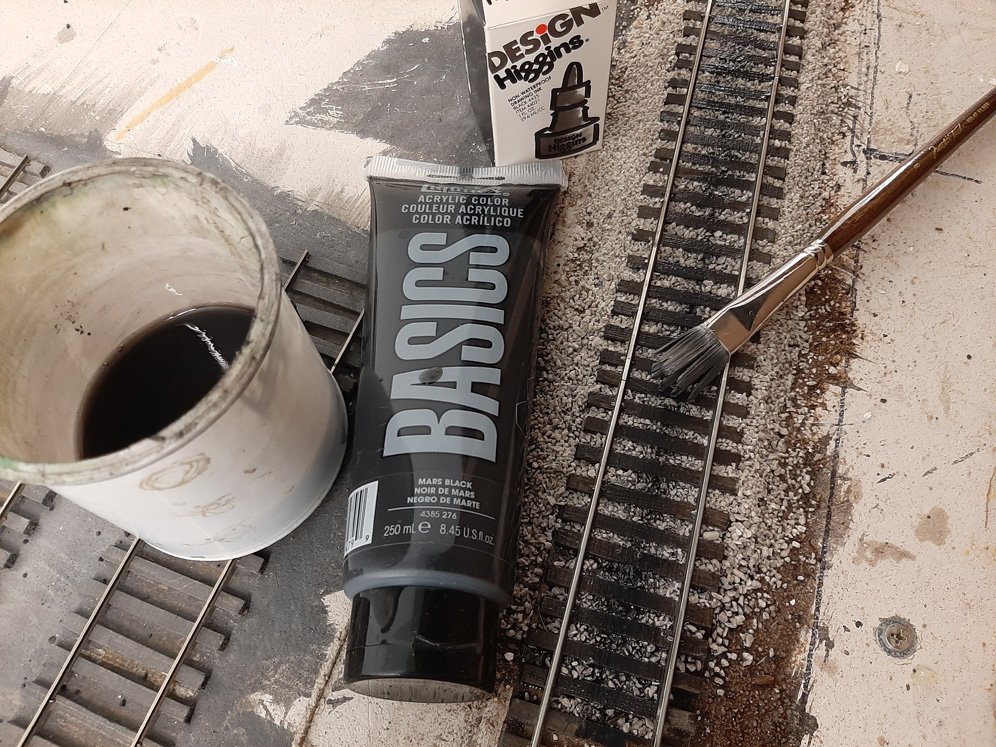
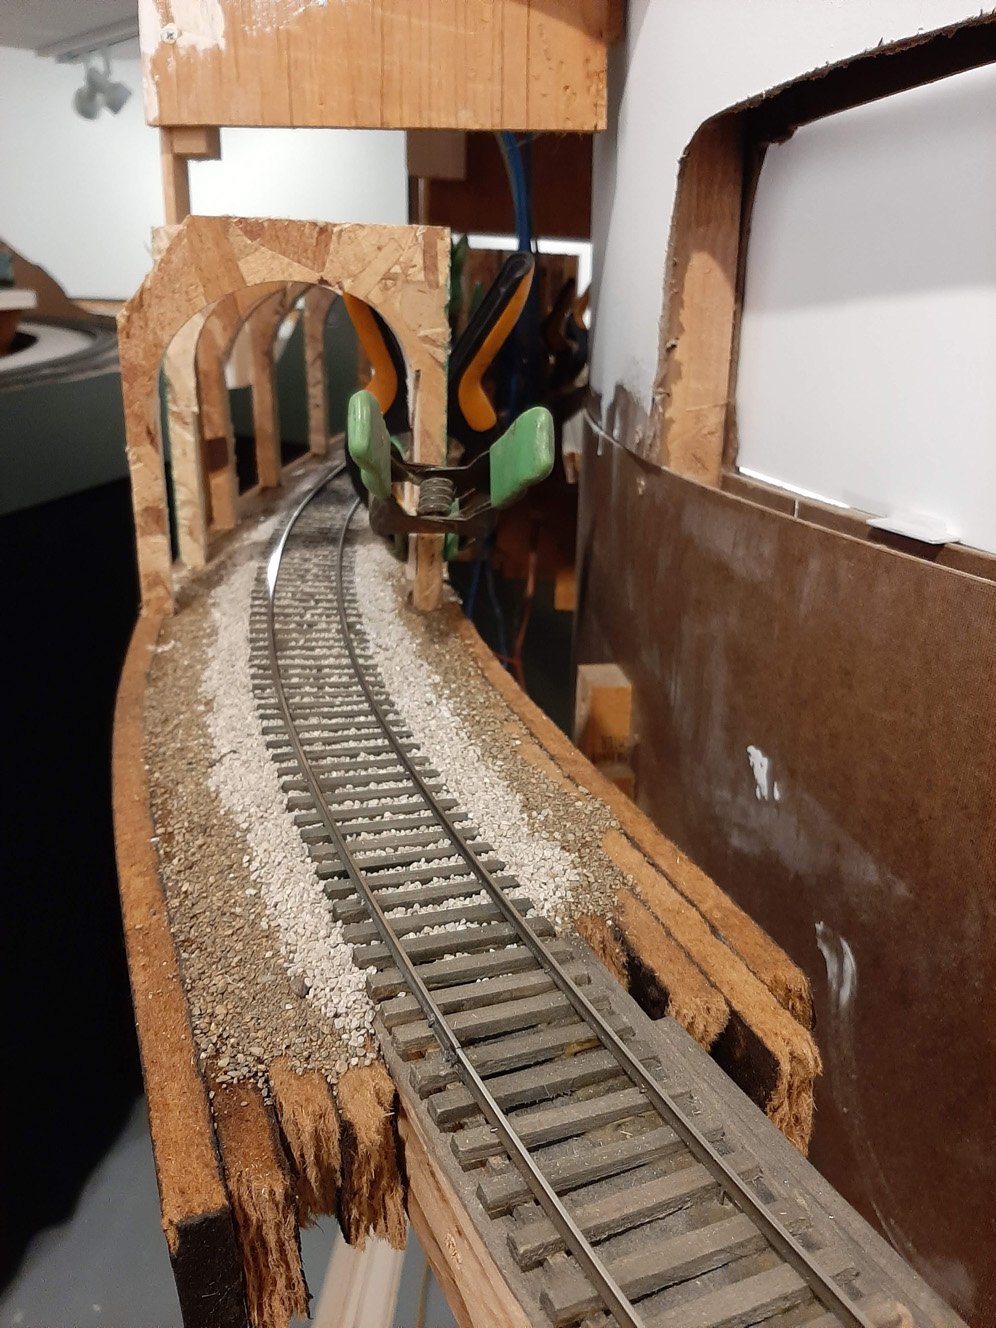
All tunneled areas are ballasted and track weathered before any tunnels were firmly installed.
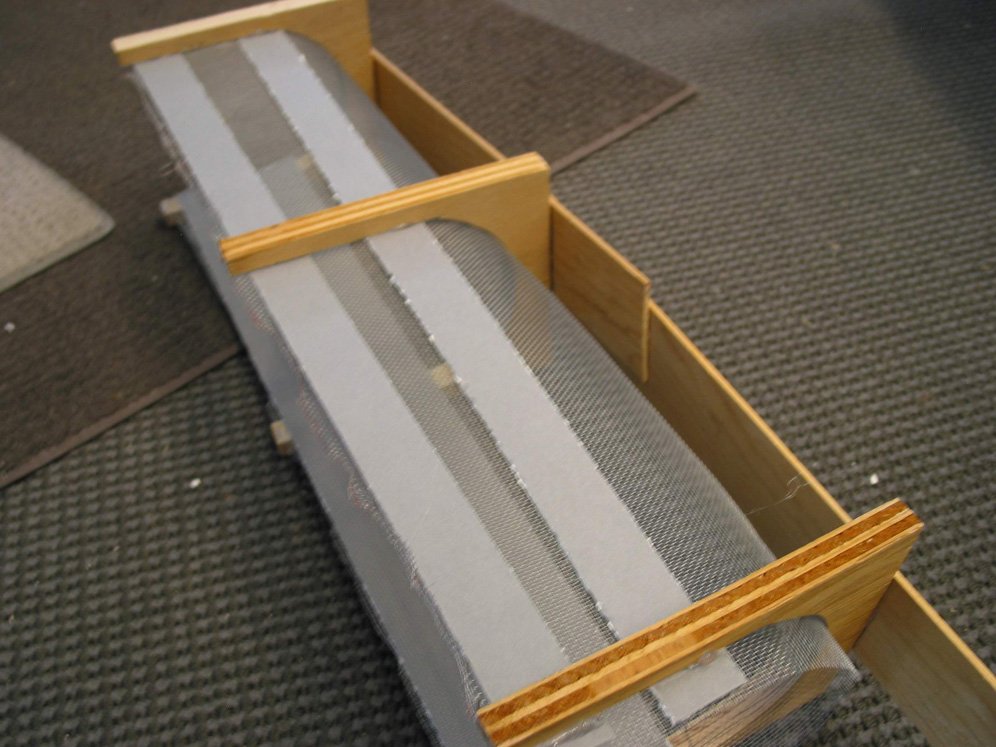
From cardstock I made a tunnel arch in a rectangular shape. This formed as a template for making MANY such tunnel supports from scrap wood using the table and band saws.
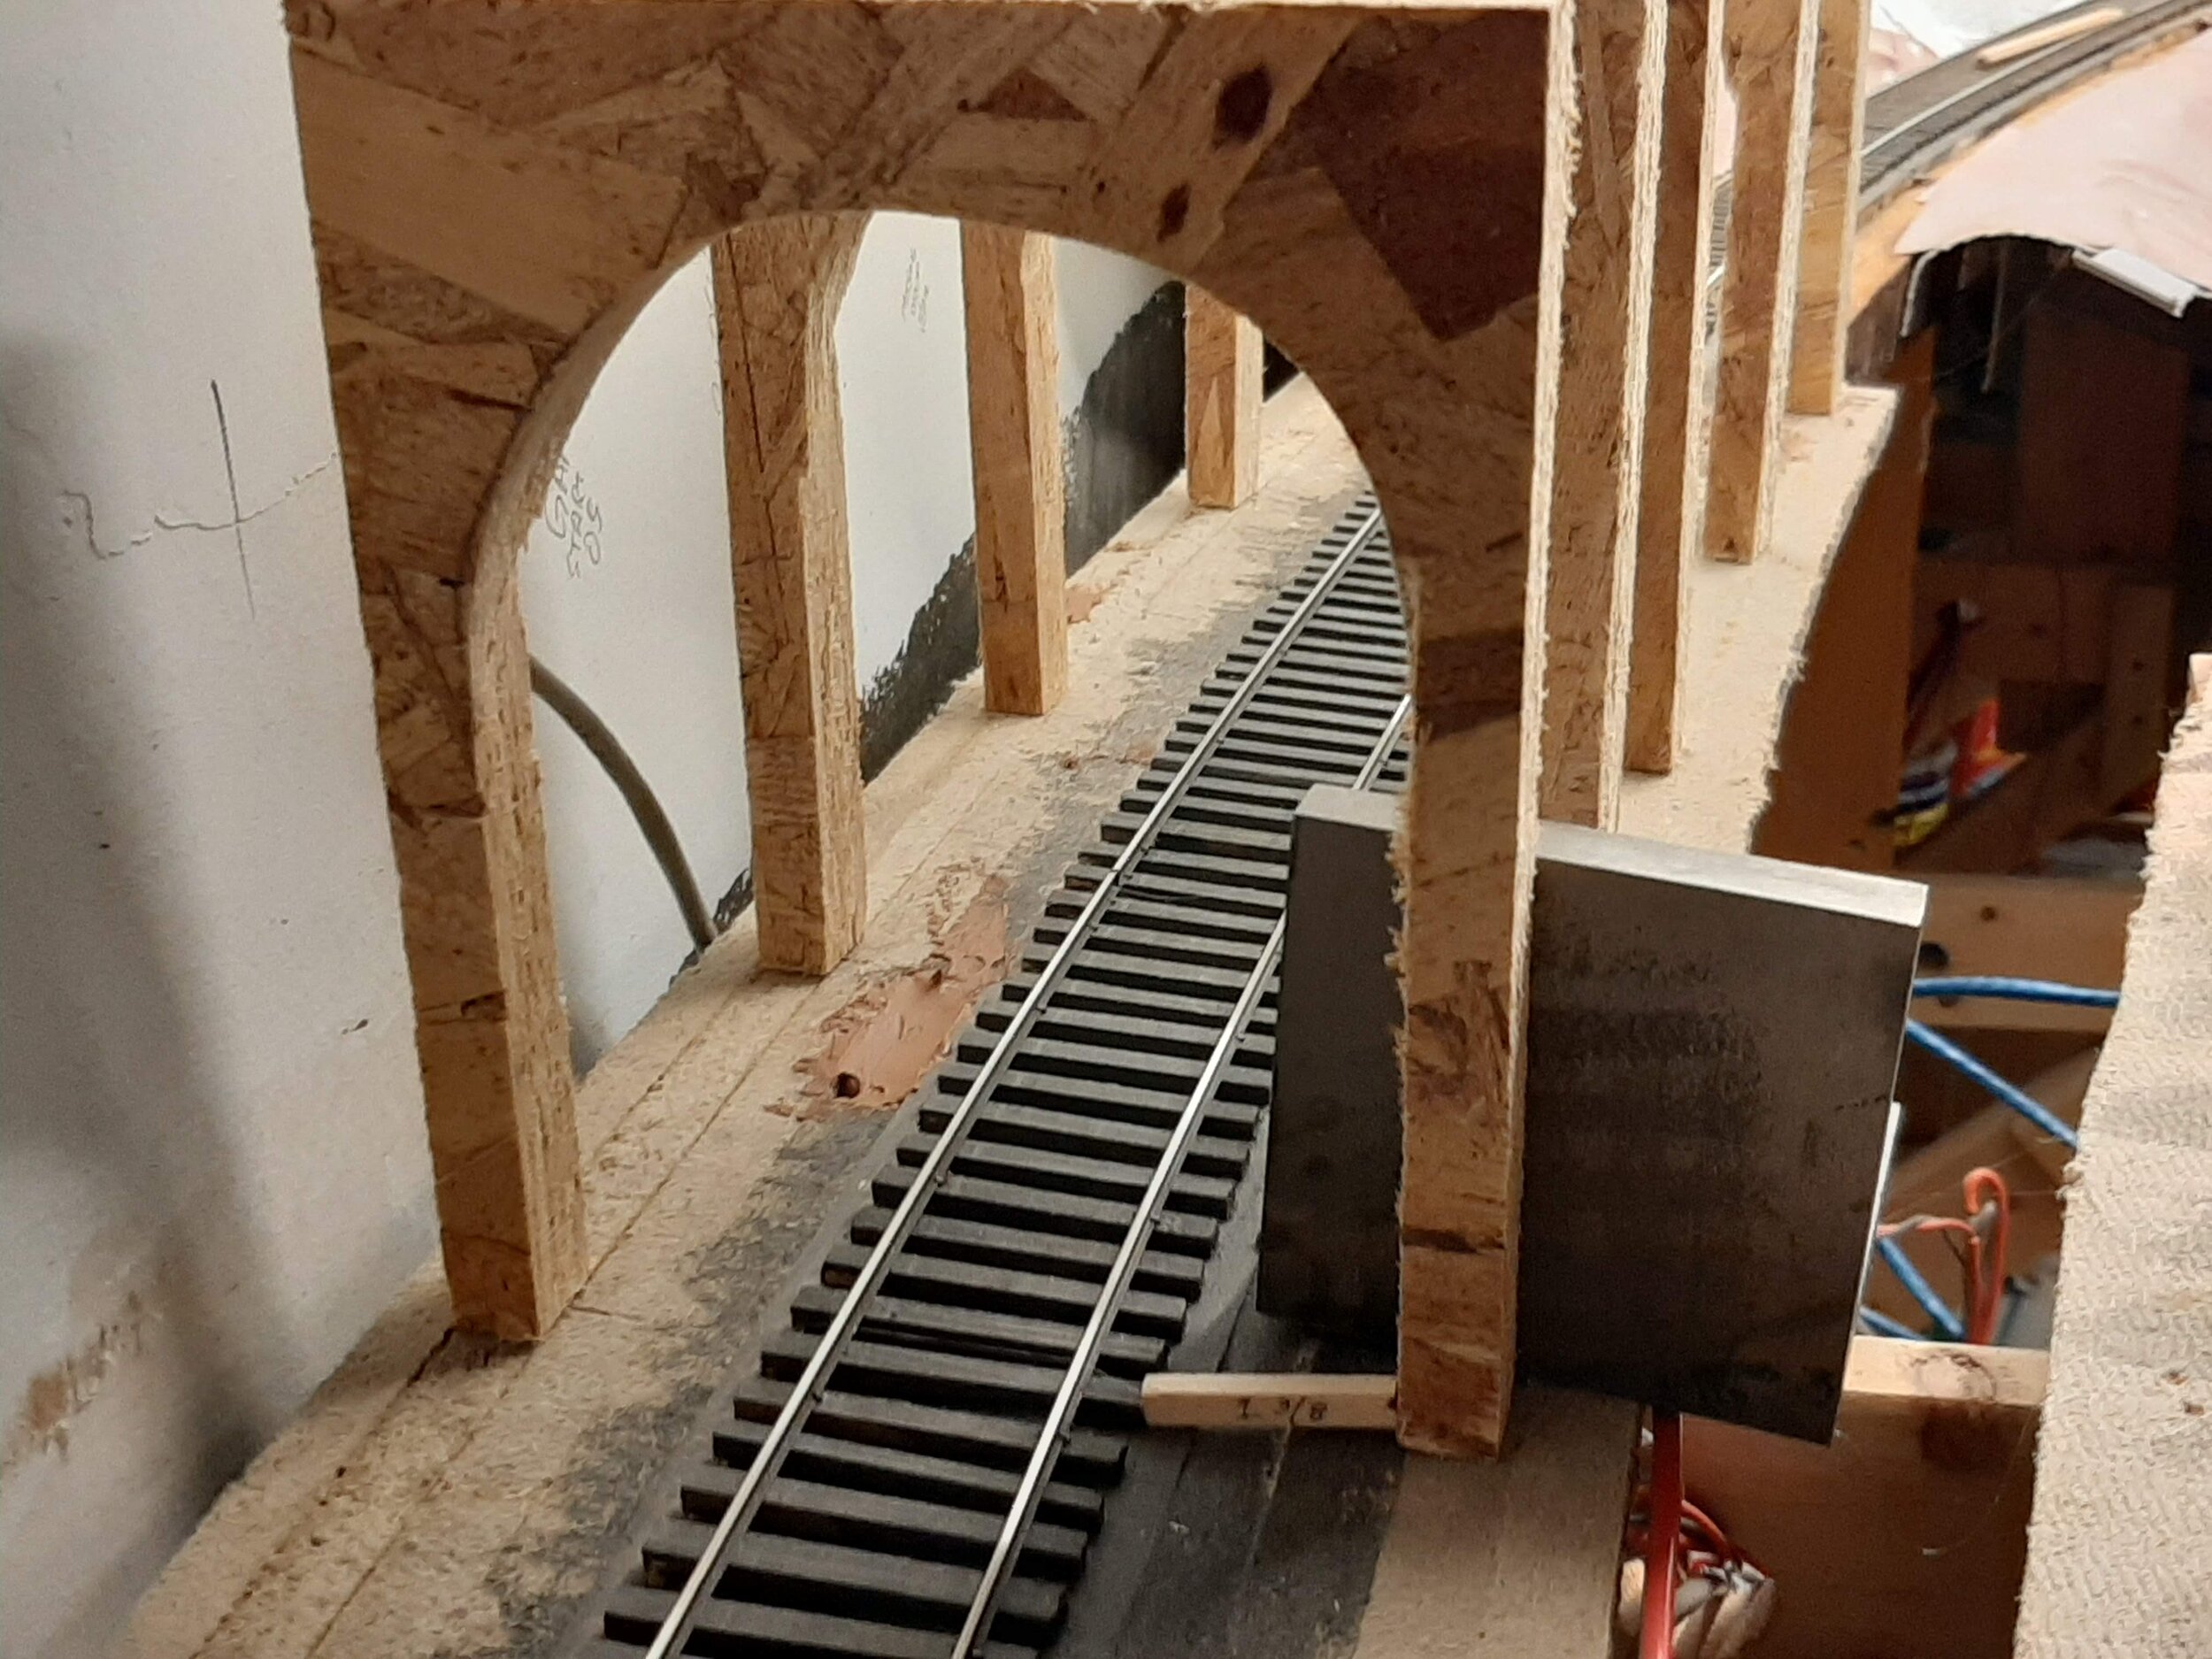
Using 90 degree builders blocks and the black Sharpie as location guide, the tunnel formers were lightly yellow glued to sub-roadbed- in my case, Micore.
Longer tunnels were worked from both ends at the same time to achieve somewhat of an even spacing of the formers.
County Line Tunnel is in process.
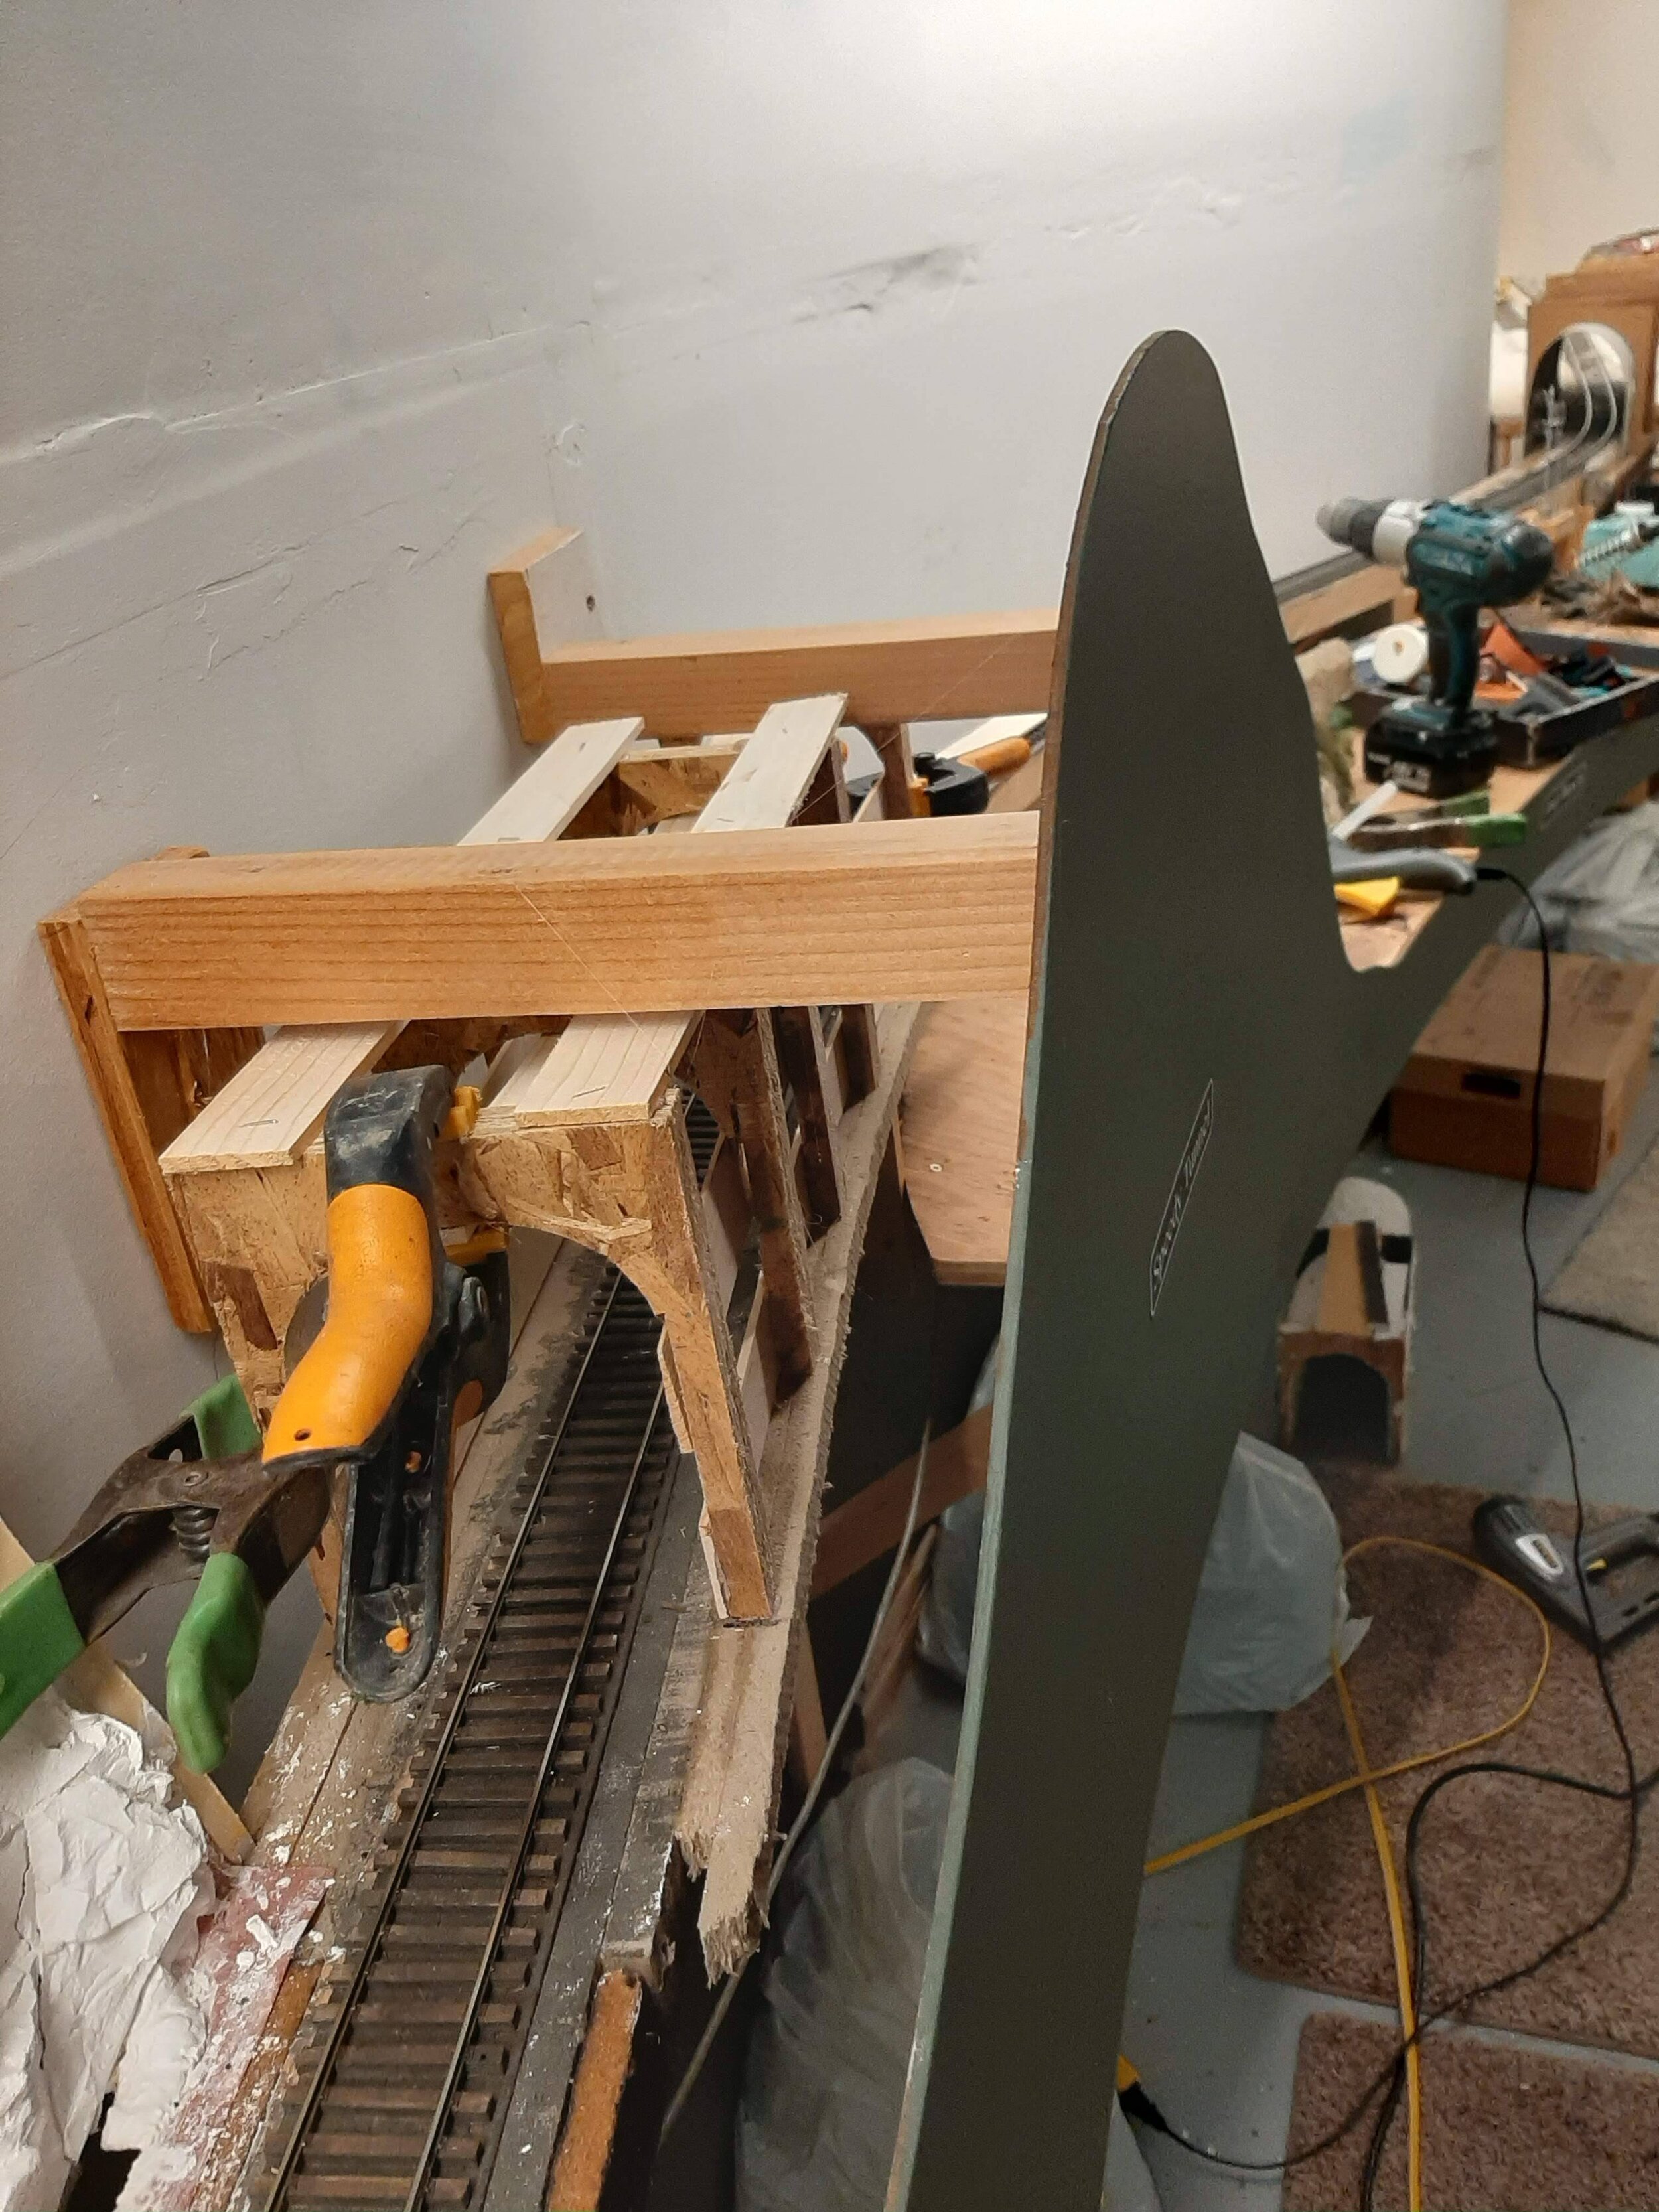
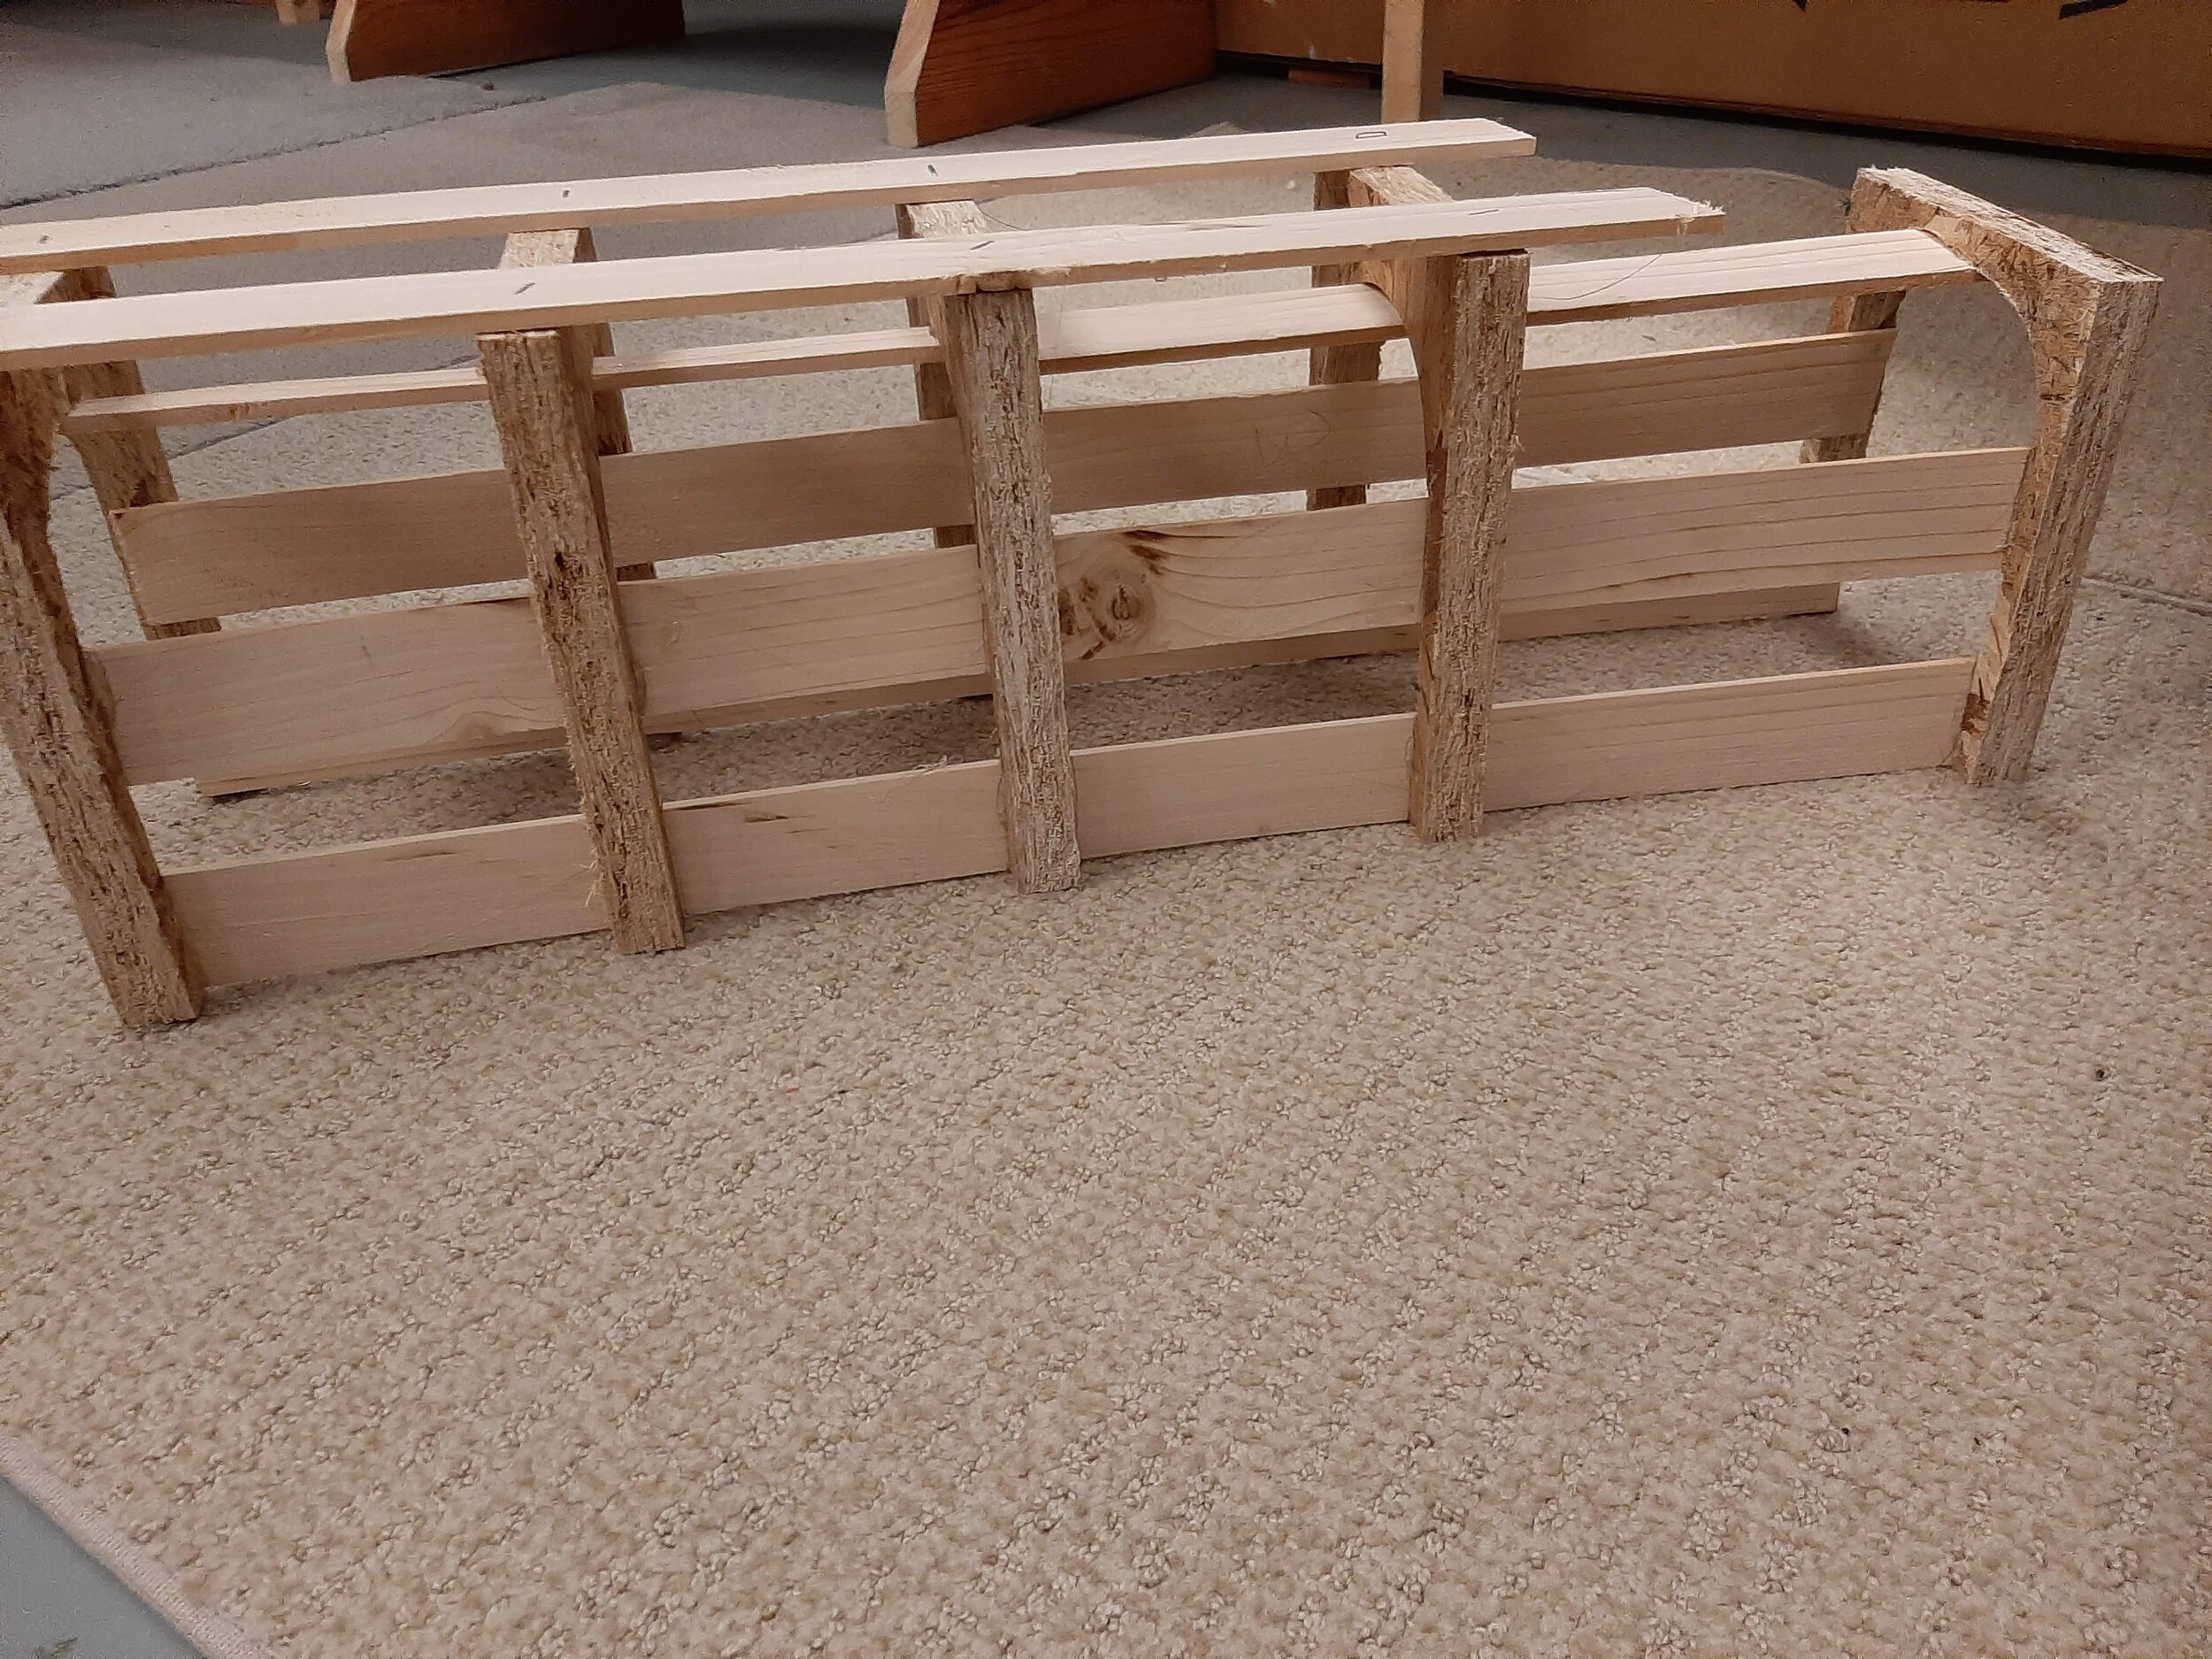
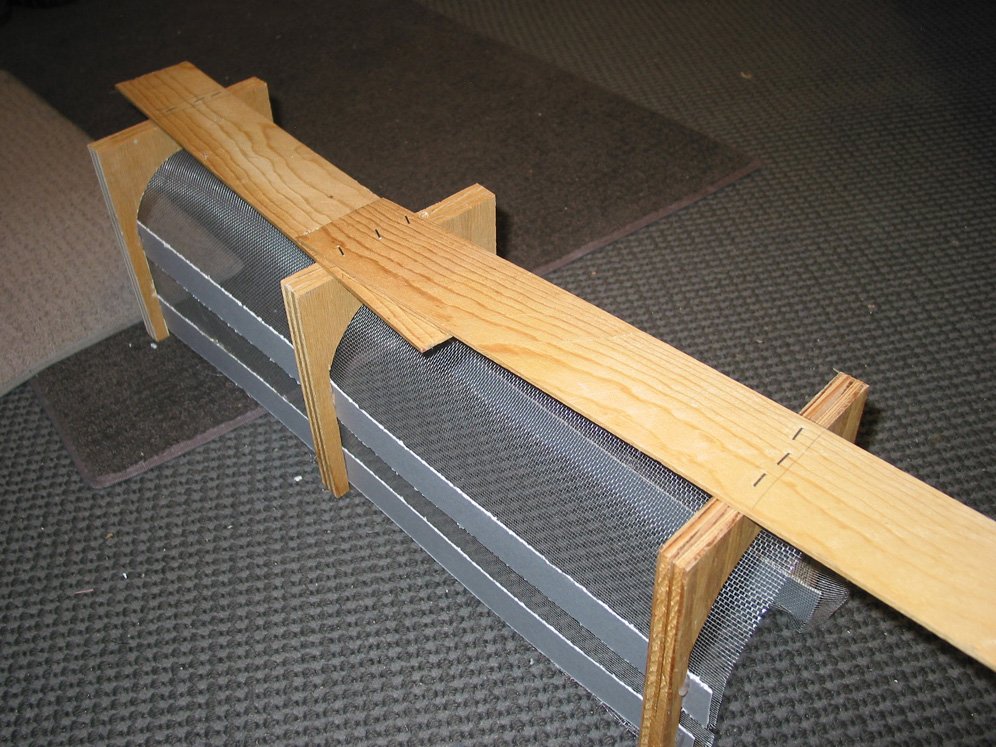
Next, thin stripes of “lathe” were ripped from 2×4s and yellow glued and stapled onto the tops of the formers.. This held the formers in their original position once removed. Thus, curved tunnels remained….curved in the correct orientation.
Speedy Tunnel made the process is tight!
Next, the thin lathe was glued to the inside of the formers-
Various clamps and creativity help.
Ready for for addition of the structural lathe to maintain its shape. County Line Tunnel actually encompasses a long S-curve.
Of note here, is that in areas where there is only riser-support for the laminated roadbed, width needed to be added to the sides of the roadbed to support the tunnel formers. In this case I cut and glued in place some strips of cheap Celotex I had laying around.
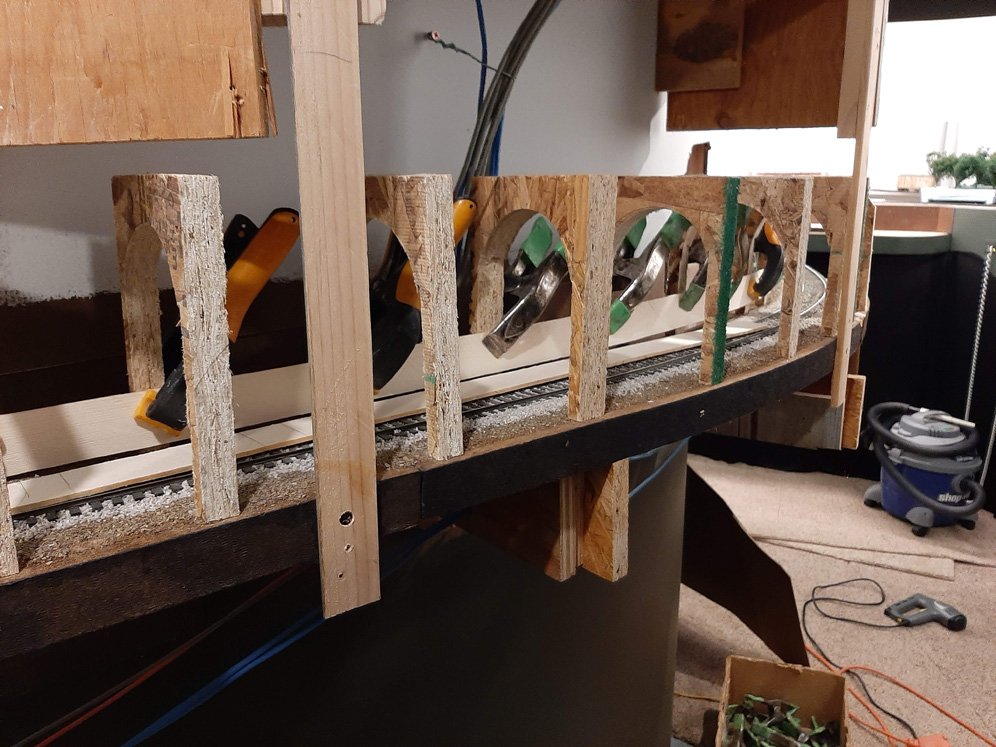
Got clamps? Yup.
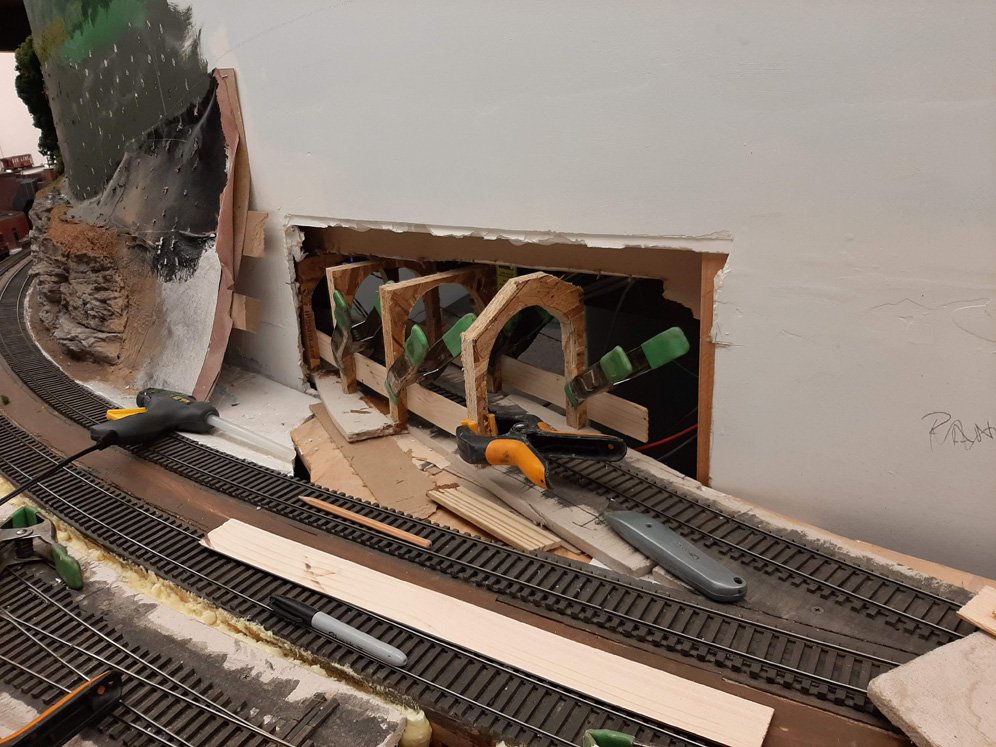
One after the next. Here the N&W gets it tunnel at Rock Bottom/Mt. Union toward its staging.
Once all is dry, the entire structure is gently rocked side-to-side to break the lightly-glued formers free from the subroadbed., allowing the whole tunnel to be removed.
BTW, I write on the top of the lathe where each tunnel liner lives on the layout. Duh.
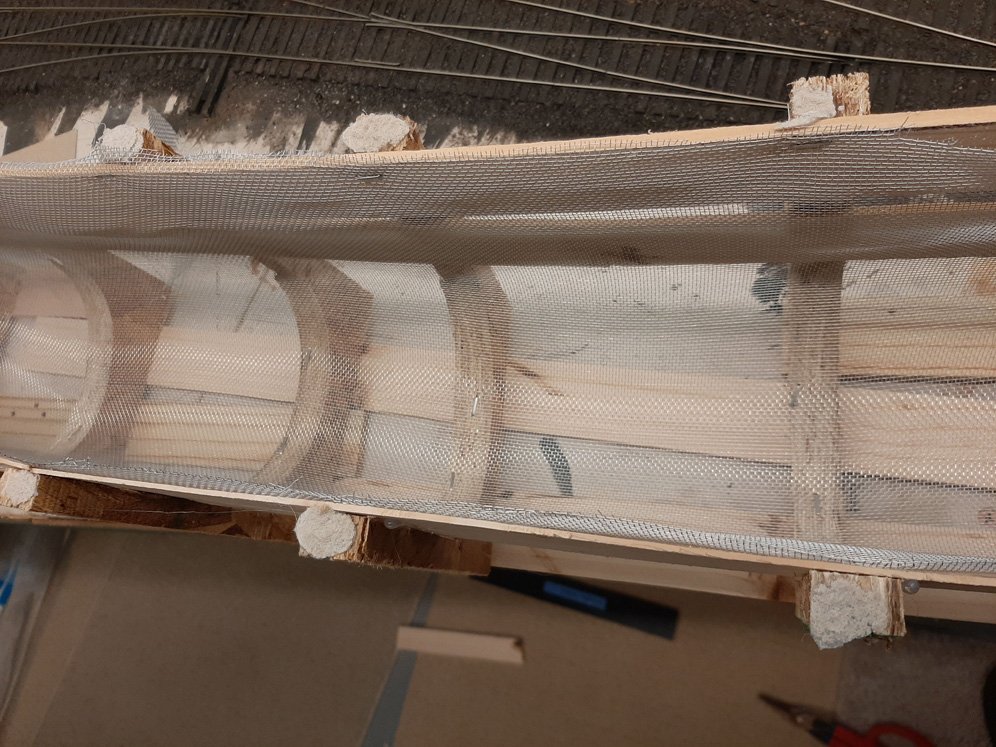
Next step is to line the tunnels with screen wire.
A staple gun is used to attach the wire to the formers.
Wire stapled and trimmed in place. BUT, it’s impossible to staple to the side lathe strips. What to do?
Hot glue gun to the rescue. Spread it liberally on the wire and lathes, using a paddle to work it in, and making the screen wire now affixed to the side lathe pieces.
This is a bit tedious, but necessary to ensure a secure U-shape of the tunnel interior.
On a couple locations I used strips of art matte board in place of the side wood lathe., securing with hot glue the same way. [I think I’d run out of lathe:(
The top lathe has yet to be trimmed off.
Some of these tunnels were pretty long.
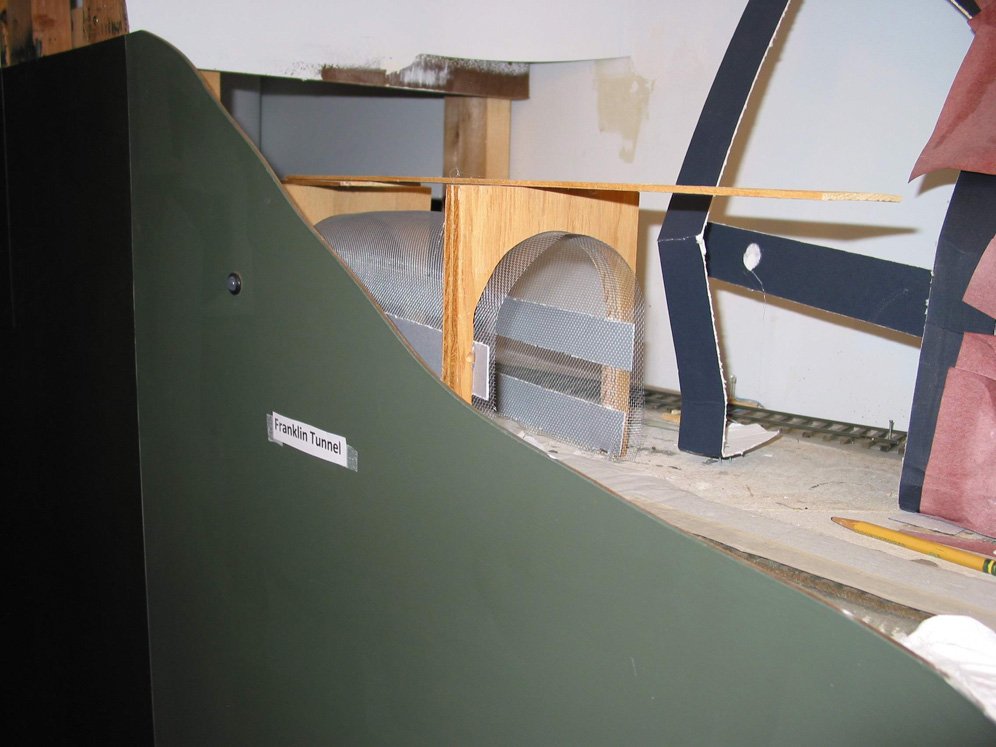
With taped-covered track, Franklin Tunnel is test fitted once again.
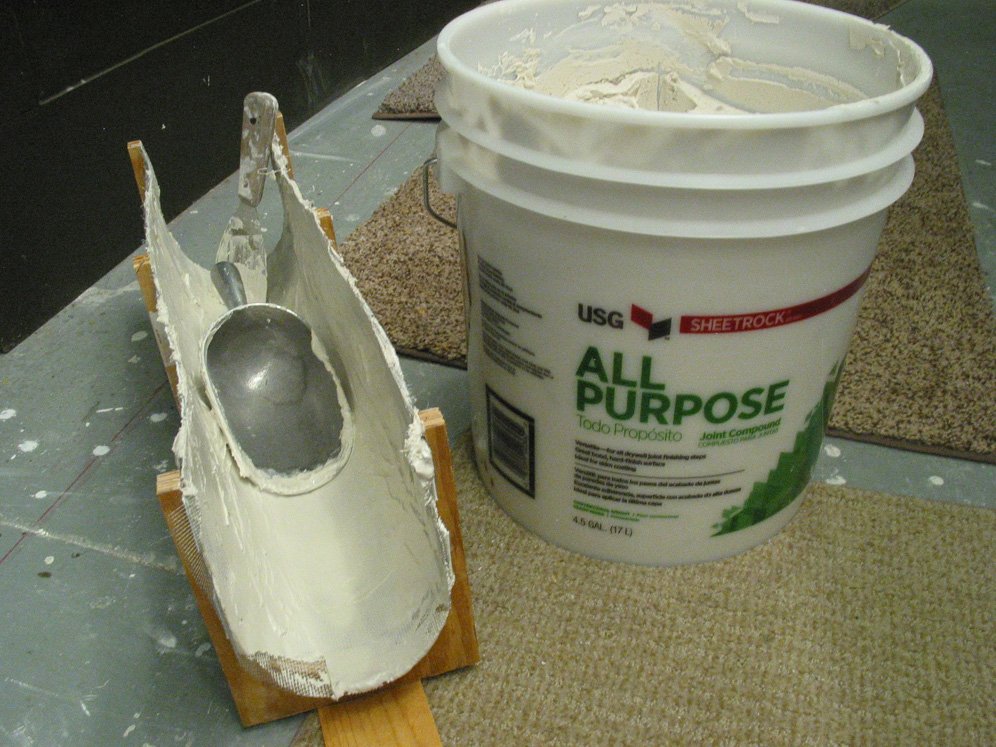
Drywall Joint Compound (“mud’'‘) was used for the interior wall, pressing it into the screen wire so it would self-hold. The backside of a scoop was used to help form the curved top of the tunnel.
If the tunnel was to be of concrete/shotcrete, I made the sides fairly smooth. If it was to be a rock bore, I roughly sculpted to represent rock.
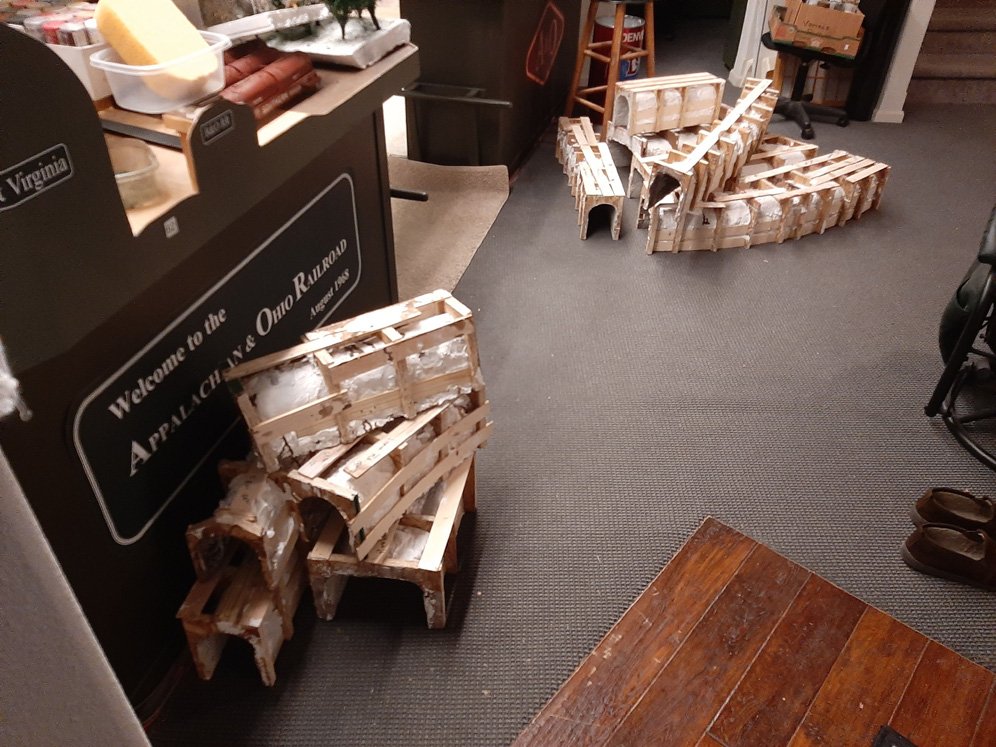
The finished and sculped tunnels gathered in the crew lounge, ready for painting on the patio. Wuff.
Of note is that tunnels which will receive concrete portals are taken to the belt sander and any sloppy extensions of mud or screen wire are removed to allow a smooth, perpendicular fit of the portal.
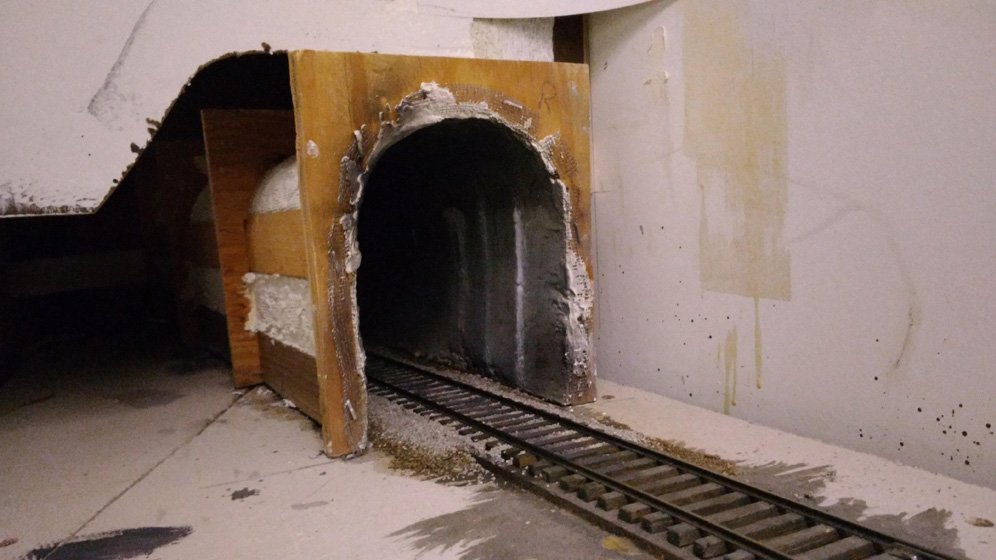
Dilute gray latex paint was used for the concrete tunnels, and acrylic washes for the rock bores. White streaks were added for water stains, etc. Finally, flat black spray paint was added to the curved ceilings to simulate exhaust smoke.
Here the A&O’s Union Gap concrete double track Tunnel sit above, but alongside the much older Antioch & Dover Post Tunnel.
This older brick tunnel has been lined with photo brick paper and awaits its bricked portal.
Concrete Apex Tunnel on the Kayford Branch has now been finished and yellow glued in place according to its Sharpie lines. Some interior ground at the bottom edge of the tunnel liner when the surrounding scenery is completed.
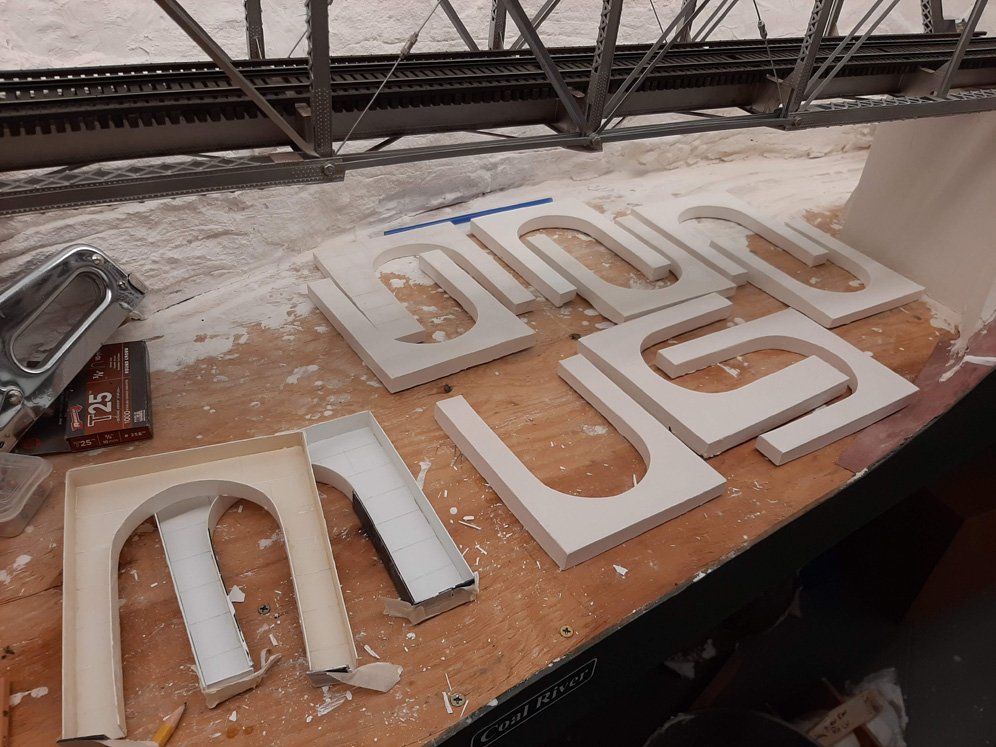
Hydrocal tunnel portals are cast from home made styrene tunnel forms.